535is Homebrew Turbo (ex 633 Callaway) - 2024 Update
-
downforce22
- Posts: 66
- Joined: Apr 06, 2015 9:24 PM
- Location: colorado springs
Re: Callaway 633CSi - 4/10/16 Track Day #2
^^ The rodent part was pretty funny to me, haha.
Here are some photos from the event website. The 633 was the first image shown!
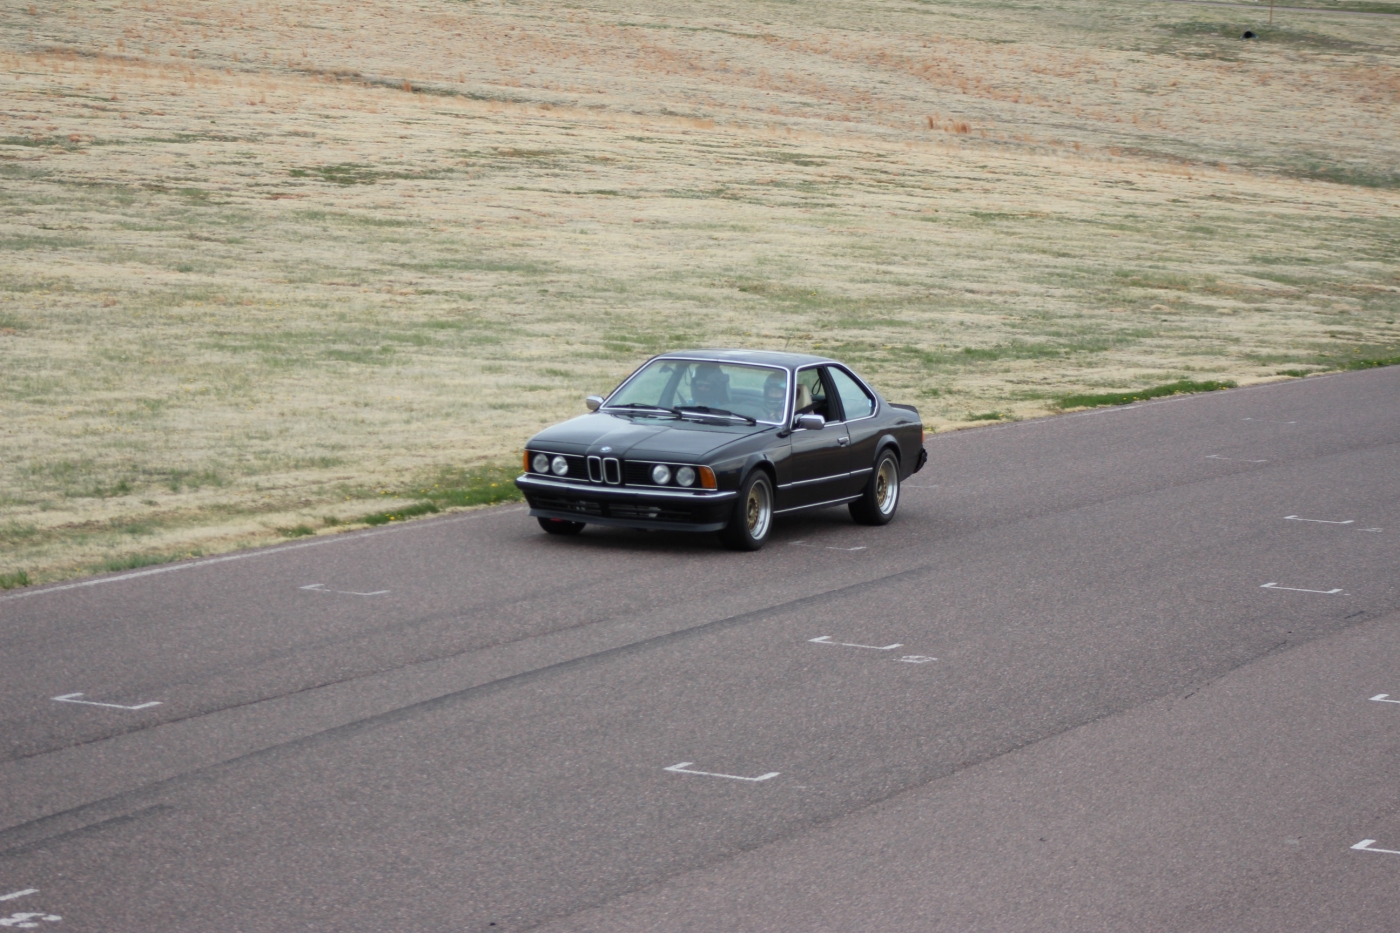
The 318 in action
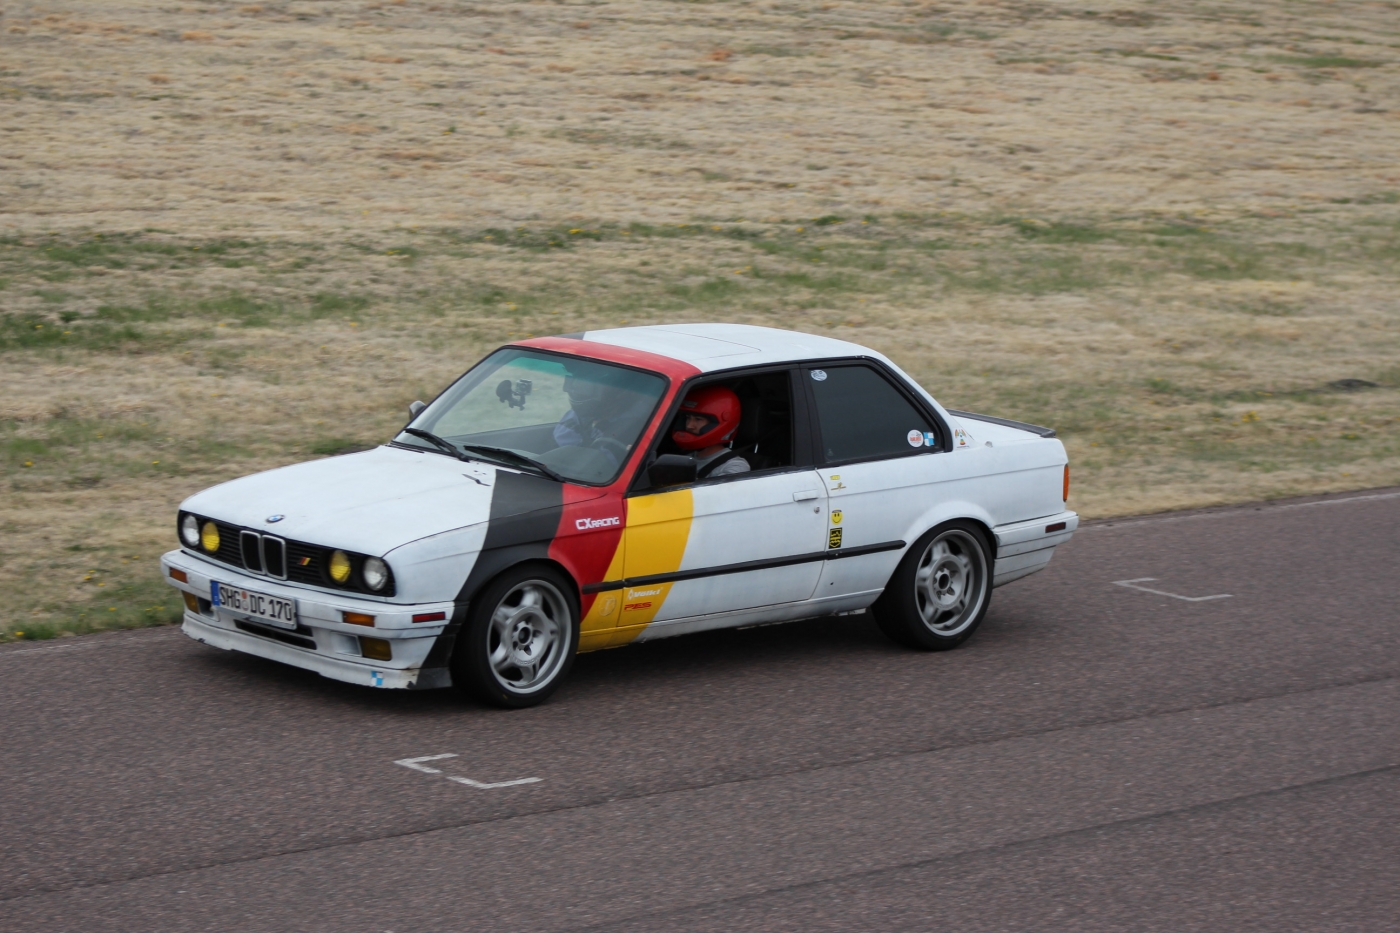
Here are some photos from the event website. The 633 was the first image shown!

The 318 in action

-
athayer187
- Posts: 1623
- Joined: May 10, 2006 11:27 AM
- Location: Cheshire, CT
Re: Callaway 633CSi - 4/10/16 Track Day #2
Rather than mixing pad compounds, I might suggest fixing the root cause with a brake proportioning valve:tschultz wrote:Thanks Todd. So at least somebody read through my ramblingsSeriously though, the turbo is awesome, my brother commented how it doesn't even feel like driving a turbo'd car.
I know your kits are 8-10psi non-intercooled but with the track use, I don't want to destroy the headgasket. Even at 8psi right now it can get into plenty of trouble. When getting on the gas early in the corners, I kept up fine with the Focus ST. He'd walk away from me in acceleration if I carried too much speed and had to let off the gas for a second when exiting the turns.
I have some thoughts on next upgrade. Likely a less aggressive rear pad to eliminate the rear brake locking, and then at some point some stickier tires. I certainly want to keep dialing it in before upping the boost. I did, however add a .035" restrictor last night for the RRFPR and that allowed me to increase the gain on the needle valve. The mixture seems closer to what I want (15:1 during cruise, 13:1 when passing through atmospheric, 12:1 at full boost), but I have to do more testing.
http://www.jegs.com/i/JEGS/555/63022/10 ... Aitv8P8HAQ
Re: Callaway 633CSi - 4/10/16 Track Day #2
Thanks Andy, good idea!
I found one thread on the topic, using either one or two of these proportioners. http://www.mye28.com/viewtopic.php?f=3& ... bias+valve
From my past research, I read that this wasn't easily added since RR and LF were tied together from factory. I'll double check this is the case for my car with no ABS unit. It seems the valve simply closes off the supply of fluid, so less fluid pressure is allowed to reach the brake caliper. I could add two of these proportioners (one to each rear brake line), or simply plumb brake lines so they are matched as front/rear pairs and use a single proportioning valve for the rear lines.
I'll have to look at how the brake lines are run without the ABS system to determine if this is a feasible solution. It certainly seems handy to have brake bias fine tuning available.
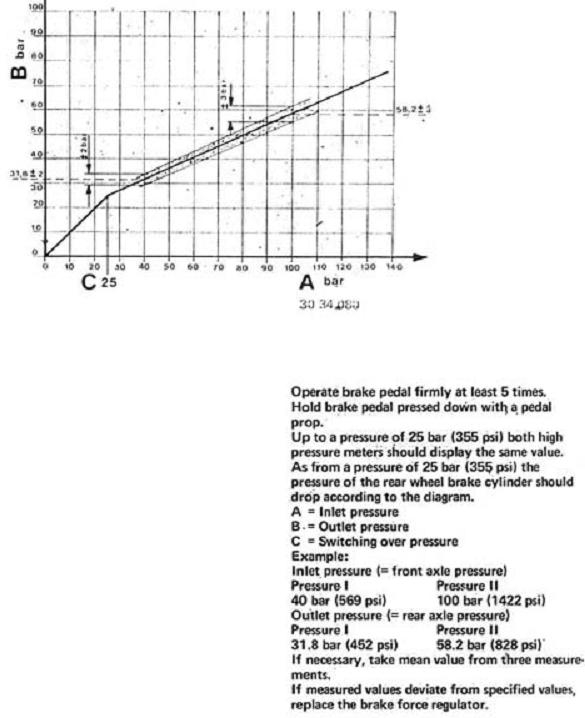
EDIT: Here's a graph of the E30 325i (early) brake proportioning valve as posted on specE30 forum (part# 34331152494 I believe):
Apparently our rear piston is about 25% smaller then front. That plays into the bias. So until the 355psi knee, we have 100/75 F/R bias. After the knee the hydraulic pressure difference starts getting larger by the 40% noted in the graph.
Re: Callaway 633CSi - 4/10/16 Track Day #2
I looked into this brake-bias problem a bit more to find the following:
As best as I can tell, my car without ABS links RF and LR together as I suspected. In the case that one side of the system fails, there will be brakes on both sides, and in front and back, as opposed to on one side only, or in the front/back only.
Here are the RealOEM diagrams that I think are supposed to be linked together:
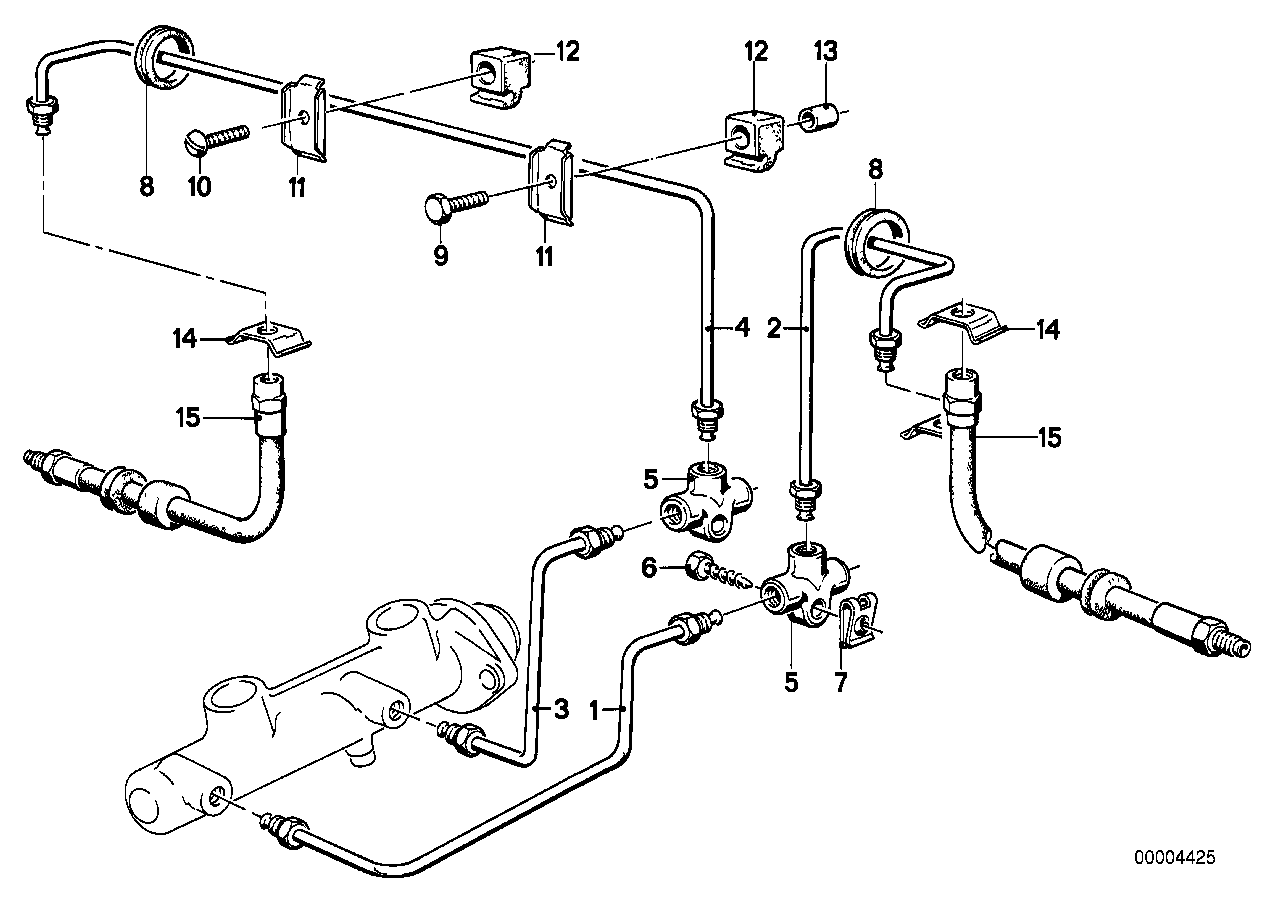
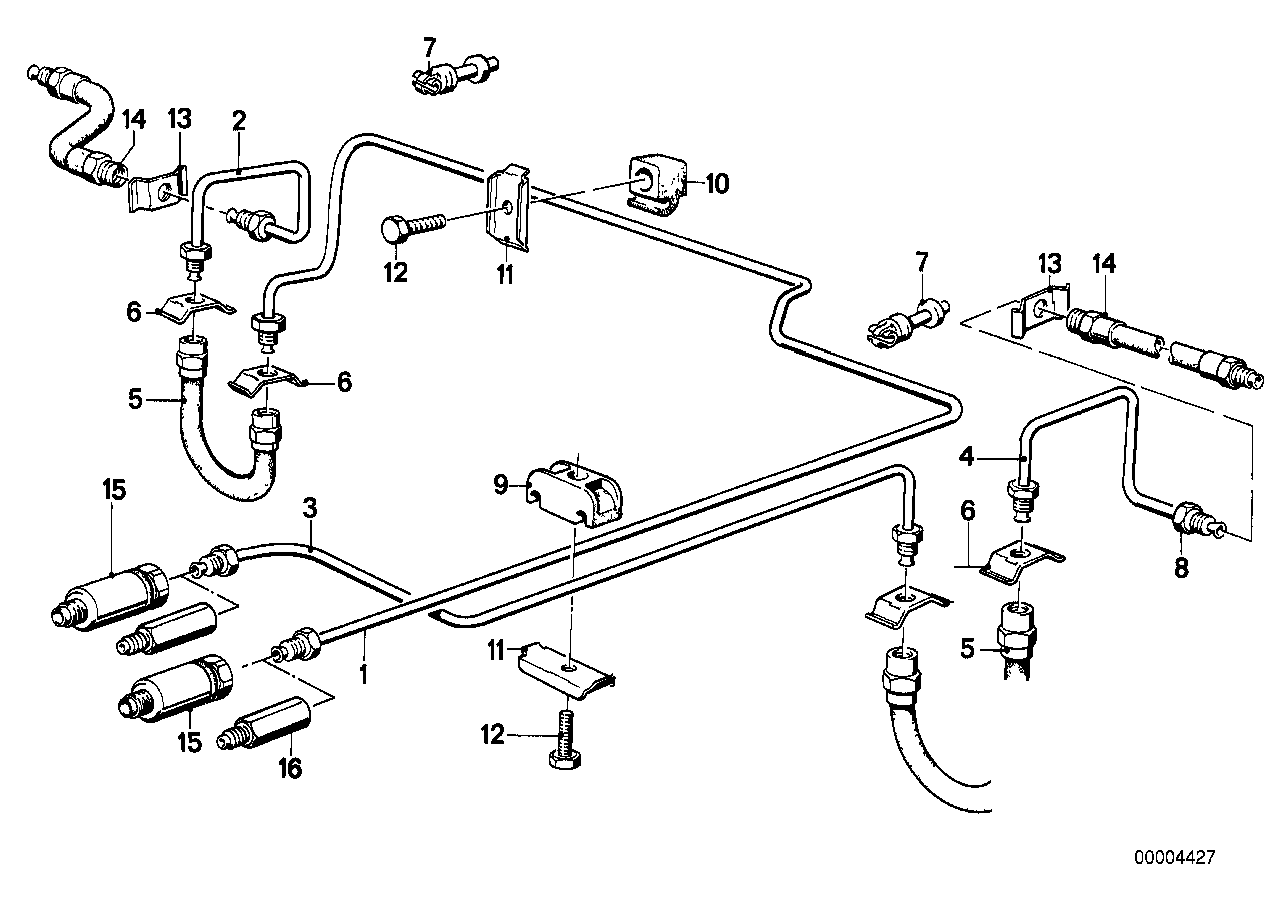
Item 15 is BRAKE PRESSURE REGULATOR (34331154025), and is only used on the E24 (but not M6). There isn't a lot of information for these, but they simply limit braking force at the rear of the car, as described in the image in my last post. I found some additional in-depth information on this here: http://stoptech.com/technical-support/t ... ing-valves
So I could attempt to find another valve from BMW with the right characteristics, but since there is almost no information on these valves, especially compared to one another, I don't think this is a feasible option.
I could use an aftermarket valve, IE sells one with BMW M10x1 female brake connections: http://www.iemotorsport.com/bmw/2002-br ... valve.html
Ideally, one of these valves would be used to 'dial-down' the rear braking force as desired. In thinking about it, I would have to isolate the front and rear circuits. Below is a diagram of how I would do it. Basically make one brake circuit Fronts and the rear circuit go through the brake bias valve before distributing to both rear calipers. I'm not sure if the brake proportioning valves should be removed or not-- their non-linear performance seems like it is a safety feature...
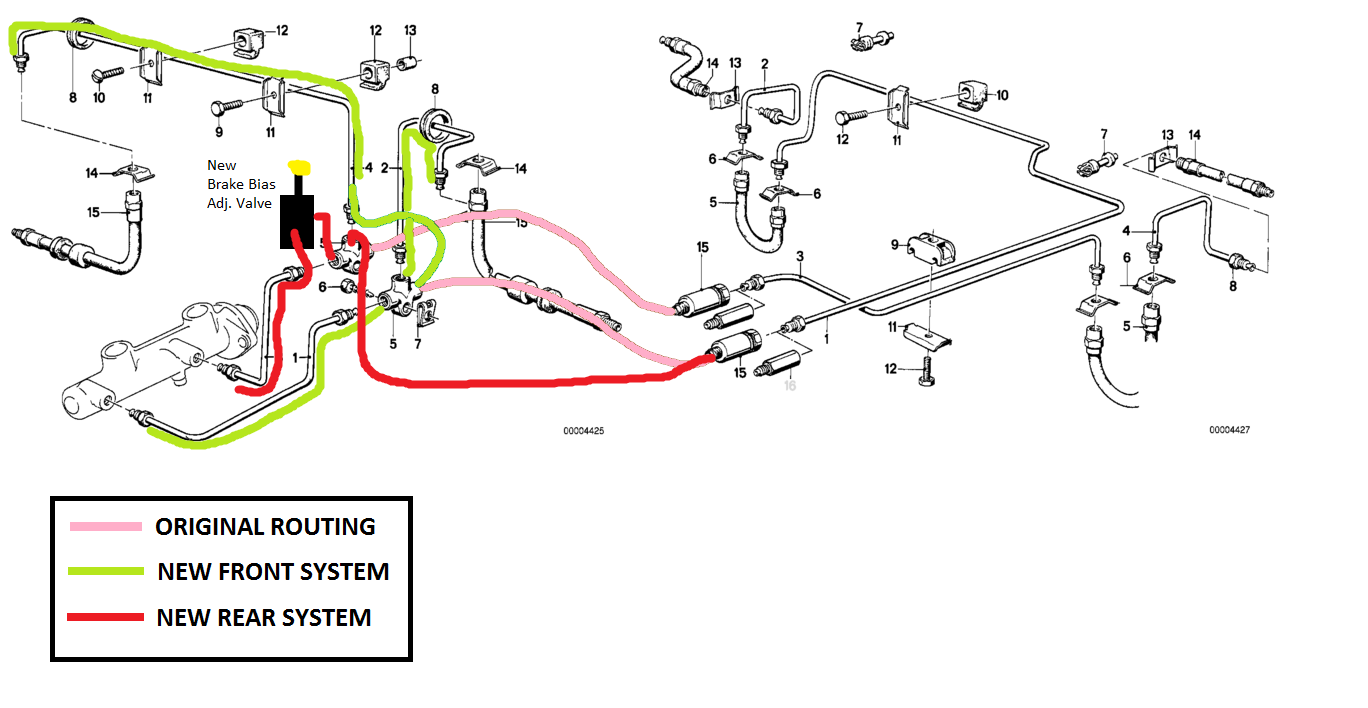
I think I would need simply 3 or 4 flexible brake hoses to make it work.
I'm not sure if this is the route I want to go, or if a different pad selection would be better. I like the idea of being able to adjust bias as required, but I don't want to over complicate the problem either...
As best as I can tell, my car without ABS links RF and LR together as I suspected. In the case that one side of the system fails, there will be brakes on both sides, and in front and back, as opposed to on one side only, or in the front/back only.
Here are the RealOEM diagrams that I think are supposed to be linked together:


Item 15 is BRAKE PRESSURE REGULATOR (34331154025), and is only used on the E24 (but not M6). There isn't a lot of information for these, but they simply limit braking force at the rear of the car, as described in the image in my last post. I found some additional in-depth information on this here: http://stoptech.com/technical-support/t ... ing-valves
So I could attempt to find another valve from BMW with the right characteristics, but since there is almost no information on these valves, especially compared to one another, I don't think this is a feasible option.
I could use an aftermarket valve, IE sells one with BMW M10x1 female brake connections: http://www.iemotorsport.com/bmw/2002-br ... valve.html
Ideally, one of these valves would be used to 'dial-down' the rear braking force as desired. In thinking about it, I would have to isolate the front and rear circuits. Below is a diagram of how I would do it. Basically make one brake circuit Fronts and the rear circuit go through the brake bias valve before distributing to both rear calipers. I'm not sure if the brake proportioning valves should be removed or not-- their non-linear performance seems like it is a safety feature...

I think I would need simply 3 or 4 flexible brake hoses to make it work.
I'm not sure if this is the route I want to go, or if a different pad selection would be better. I like the idea of being able to adjust bias as required, but I don't want to over complicate the problem either...
Re: Callaway 633CSi - 4/10/16 Track Day #2
A brief video from behind (the lemons E28 535i). You can certainly see how the heavier 633 is able to corner the same speed (with suspension upgrades), but then take off on the straights:
https://youtu.be/b_H6WyxVDhU?t=42m35s
https://youtu.be/b_H6WyxVDhU?t=42m35s
-
downforce22
- Posts: 66
- Joined: Apr 06, 2015 9:24 PM
- Location: colorado springs
Re: Callaway 633CSi - 4/10/16 Track Day #2
With the warmer temperatures I went out on a drive yesterday. A friend asked to join, so we went in the late afternoon. He bought this 930 years ago after a fire (aptly named, Scorch) and I was surprised at how well my car was able to keep up with it!
Cool 60 degree temperatures felt great!

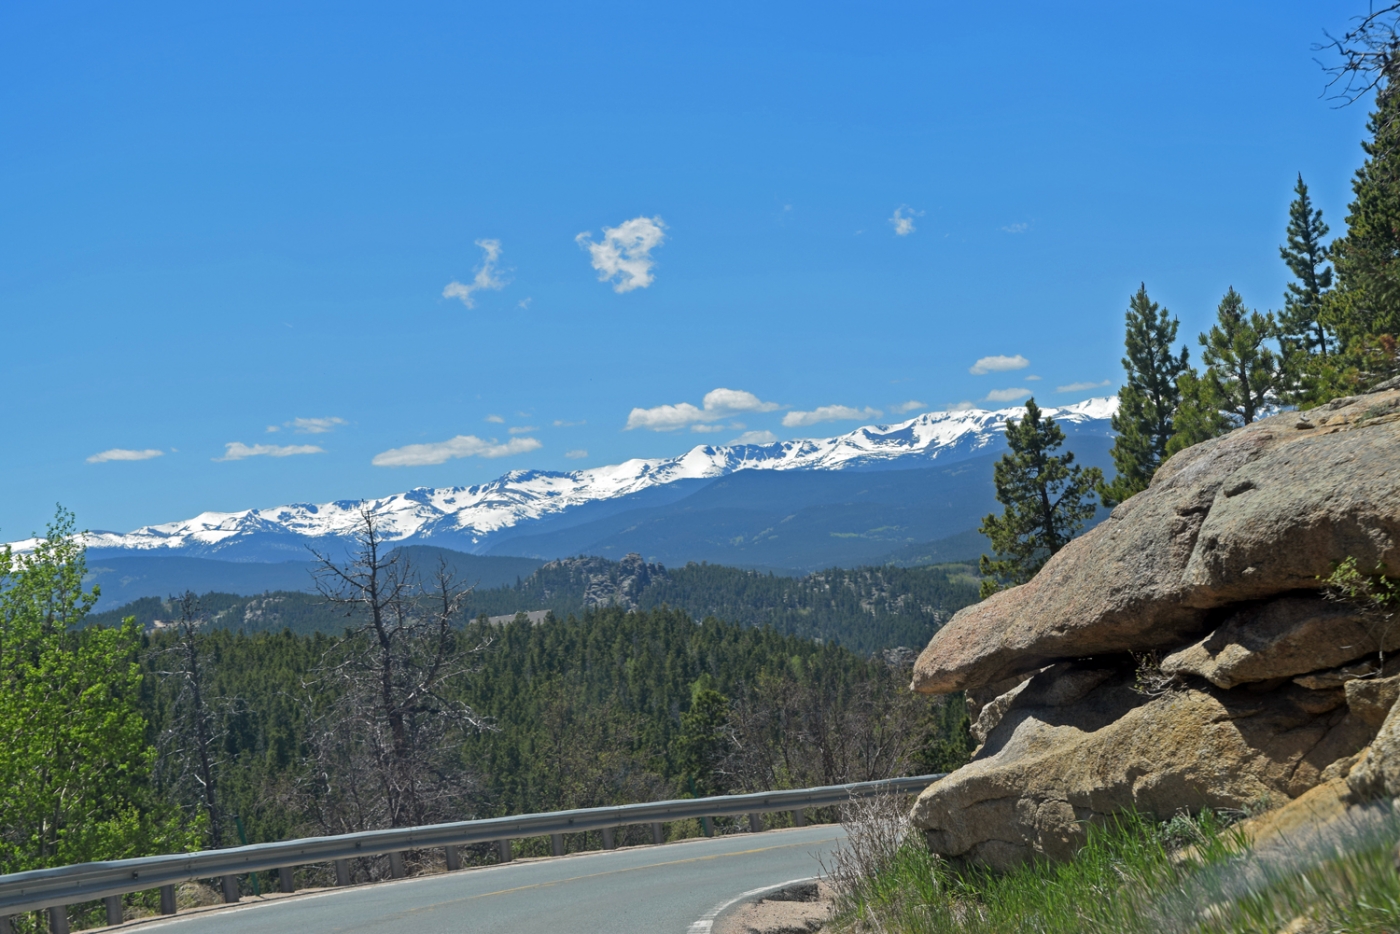
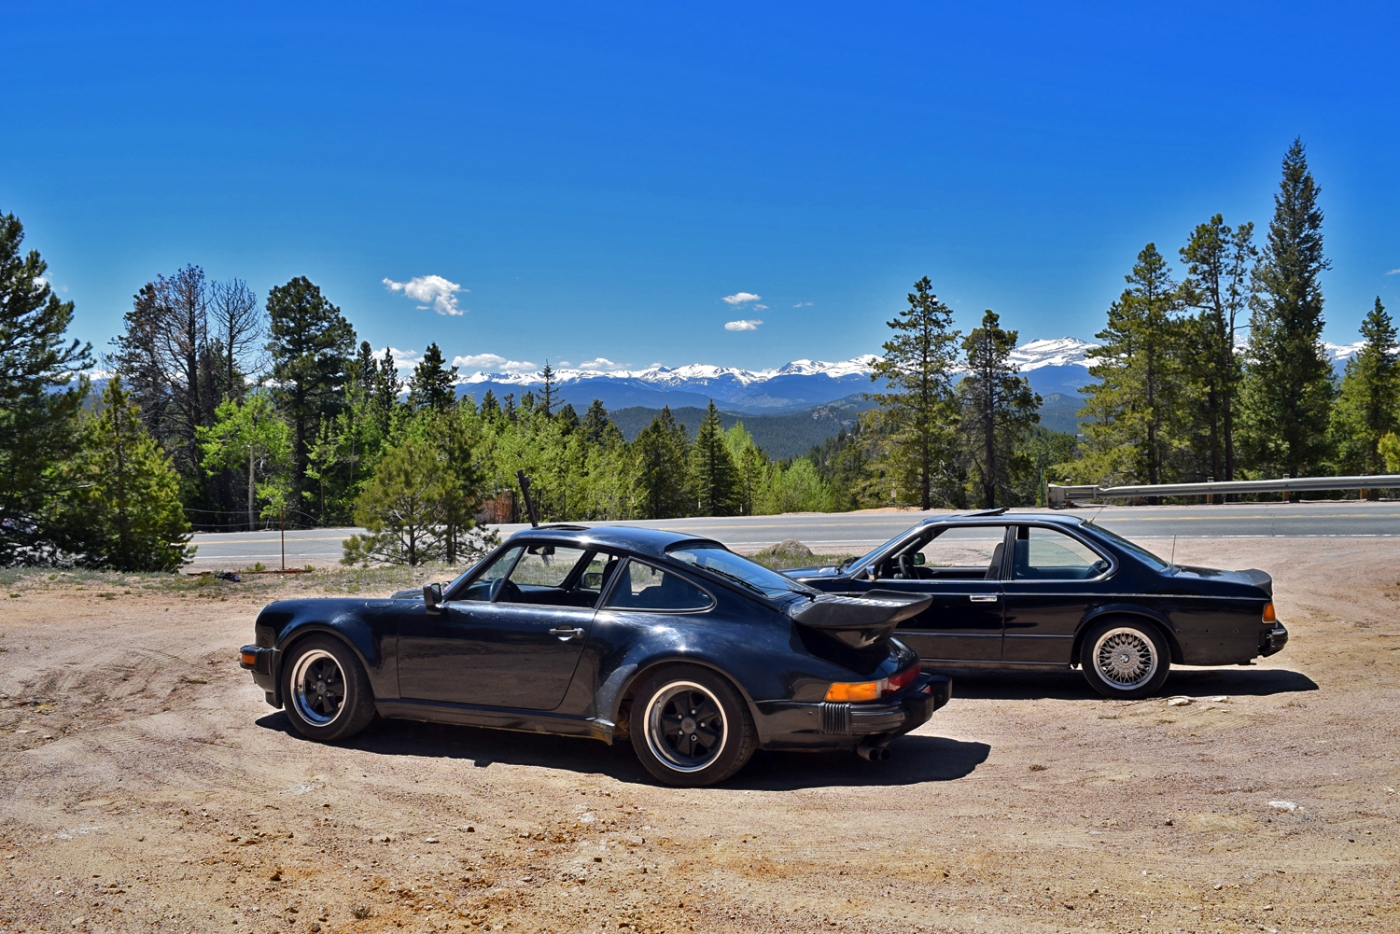


We did a bit of dirt road driving, climbing to over 9000ft.
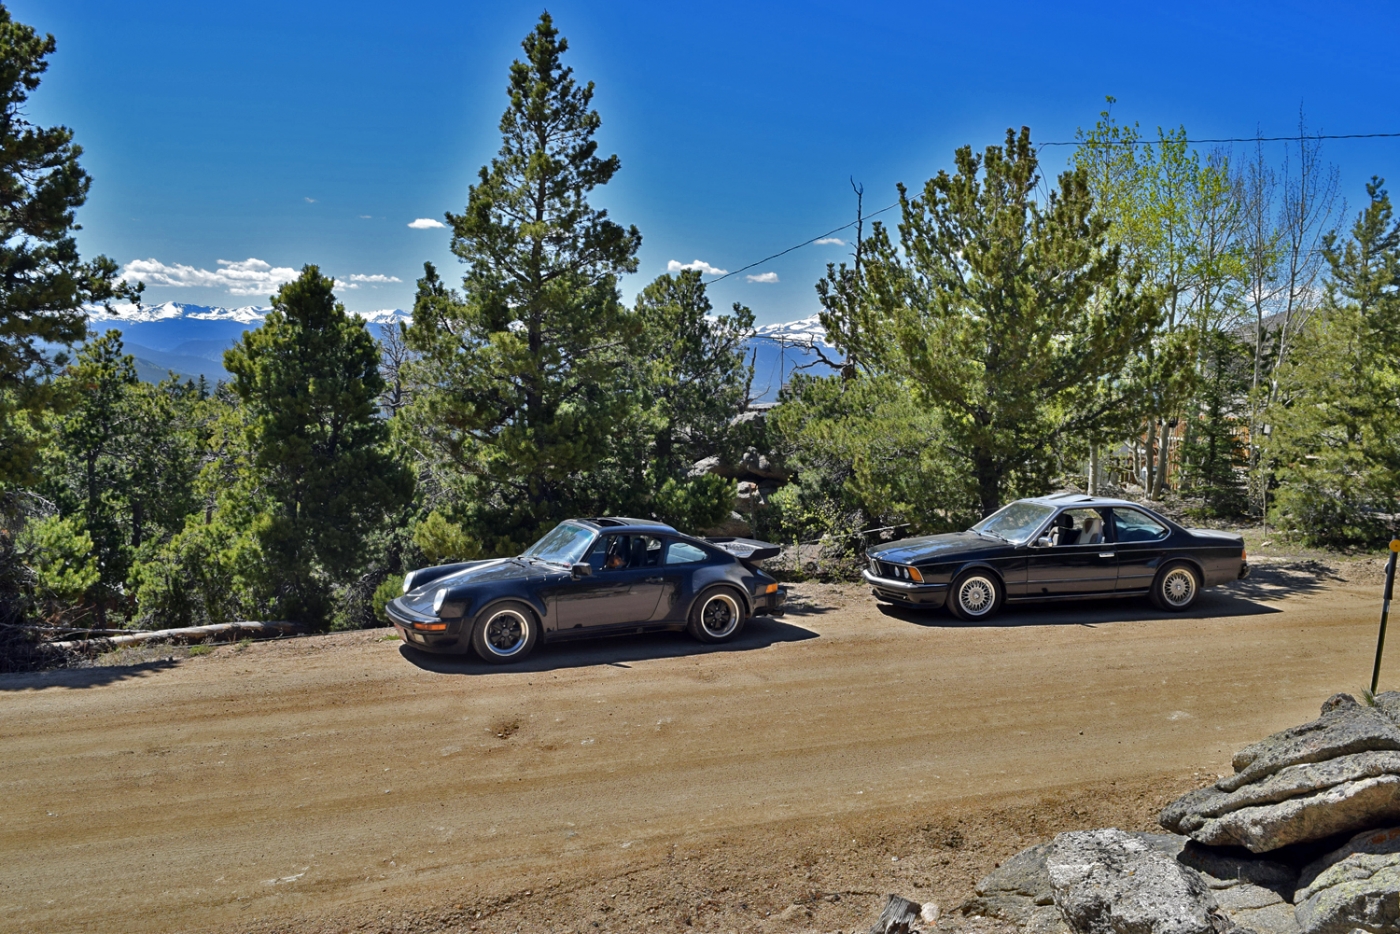
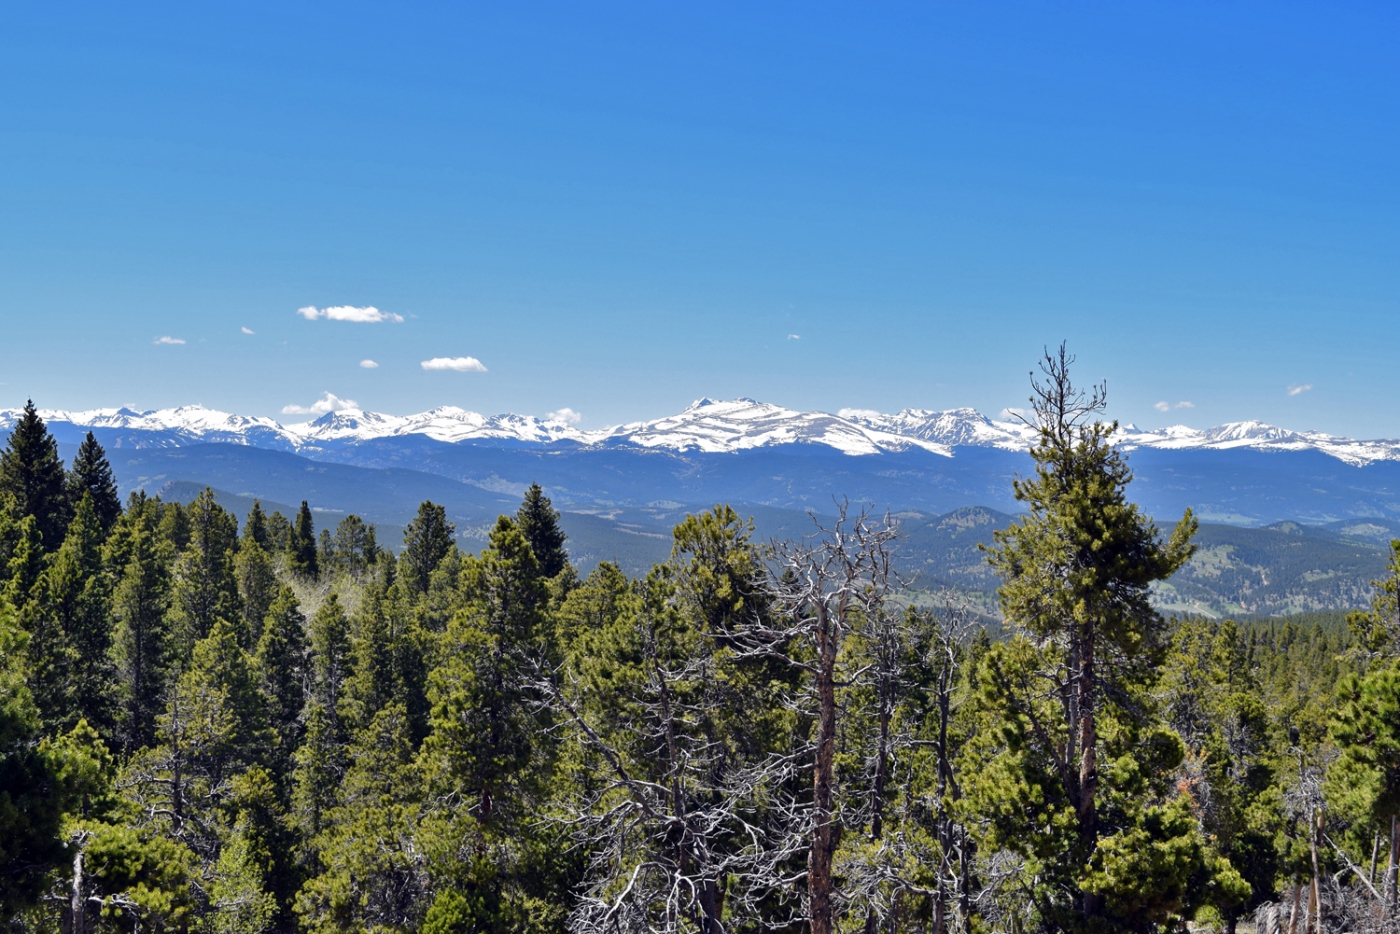
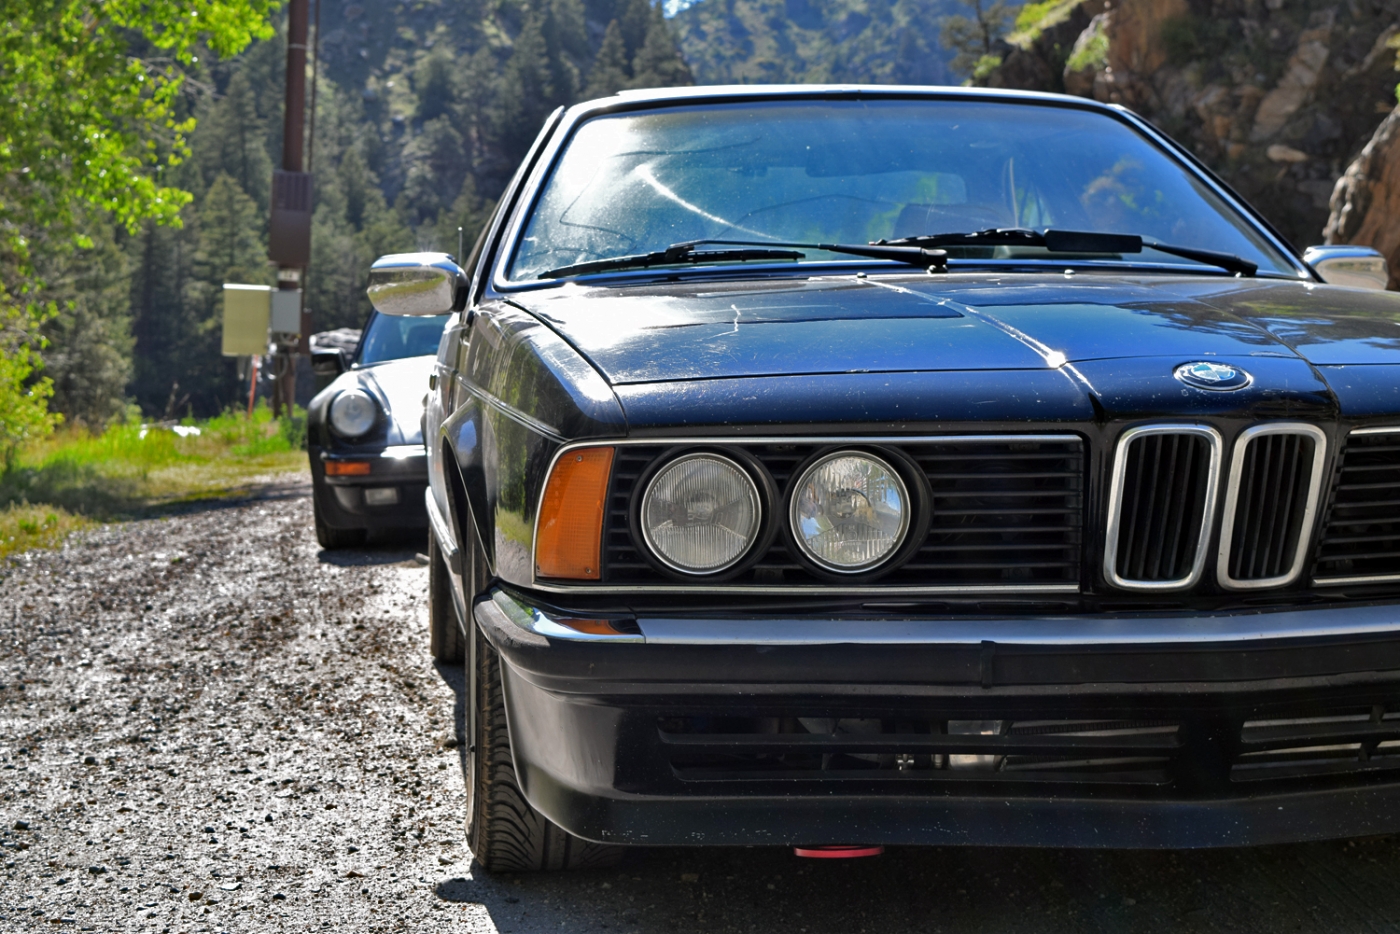
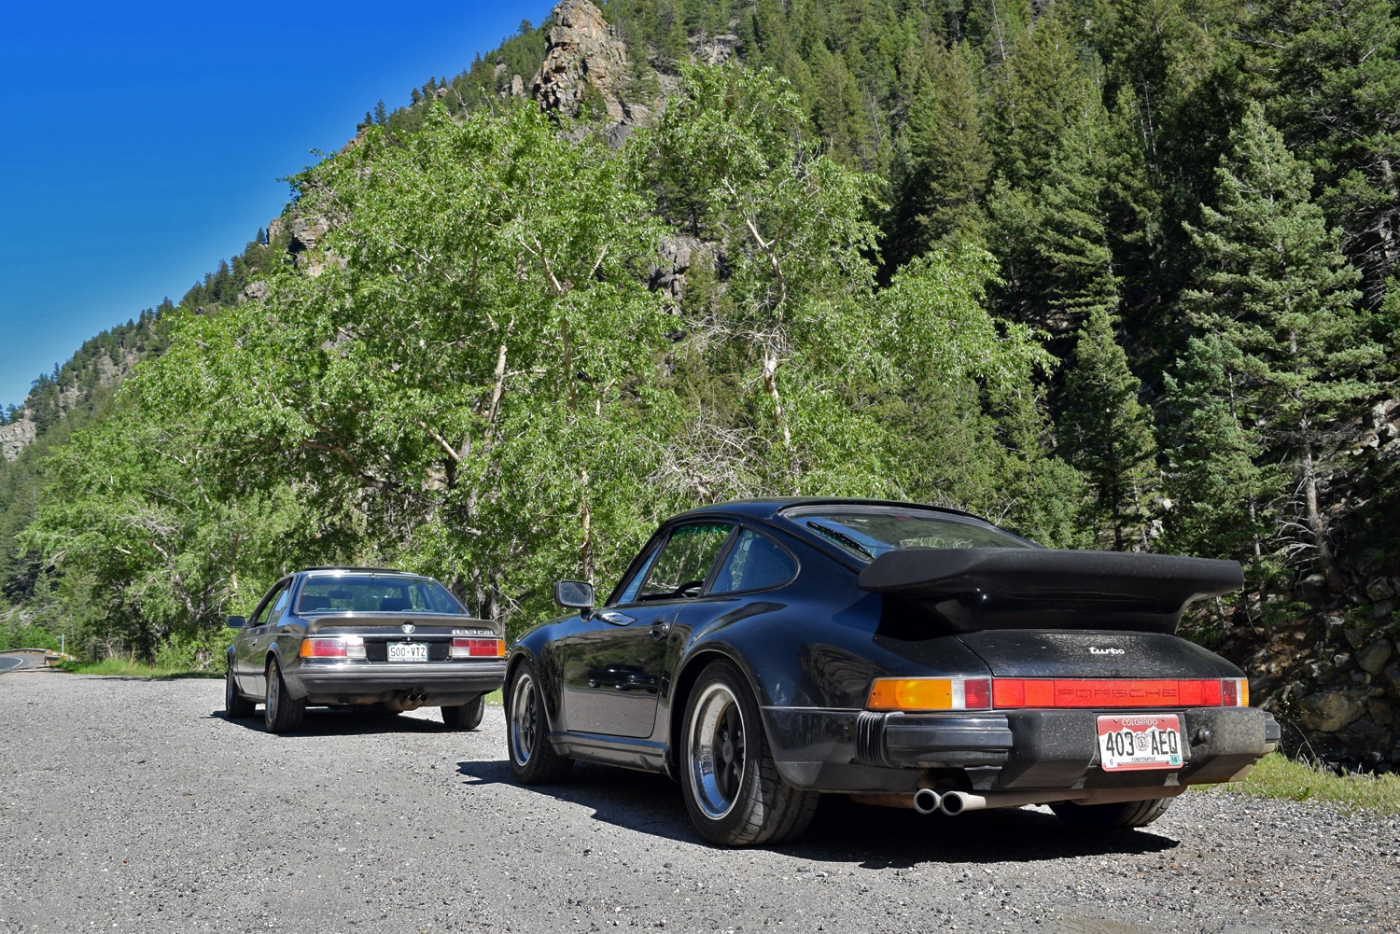
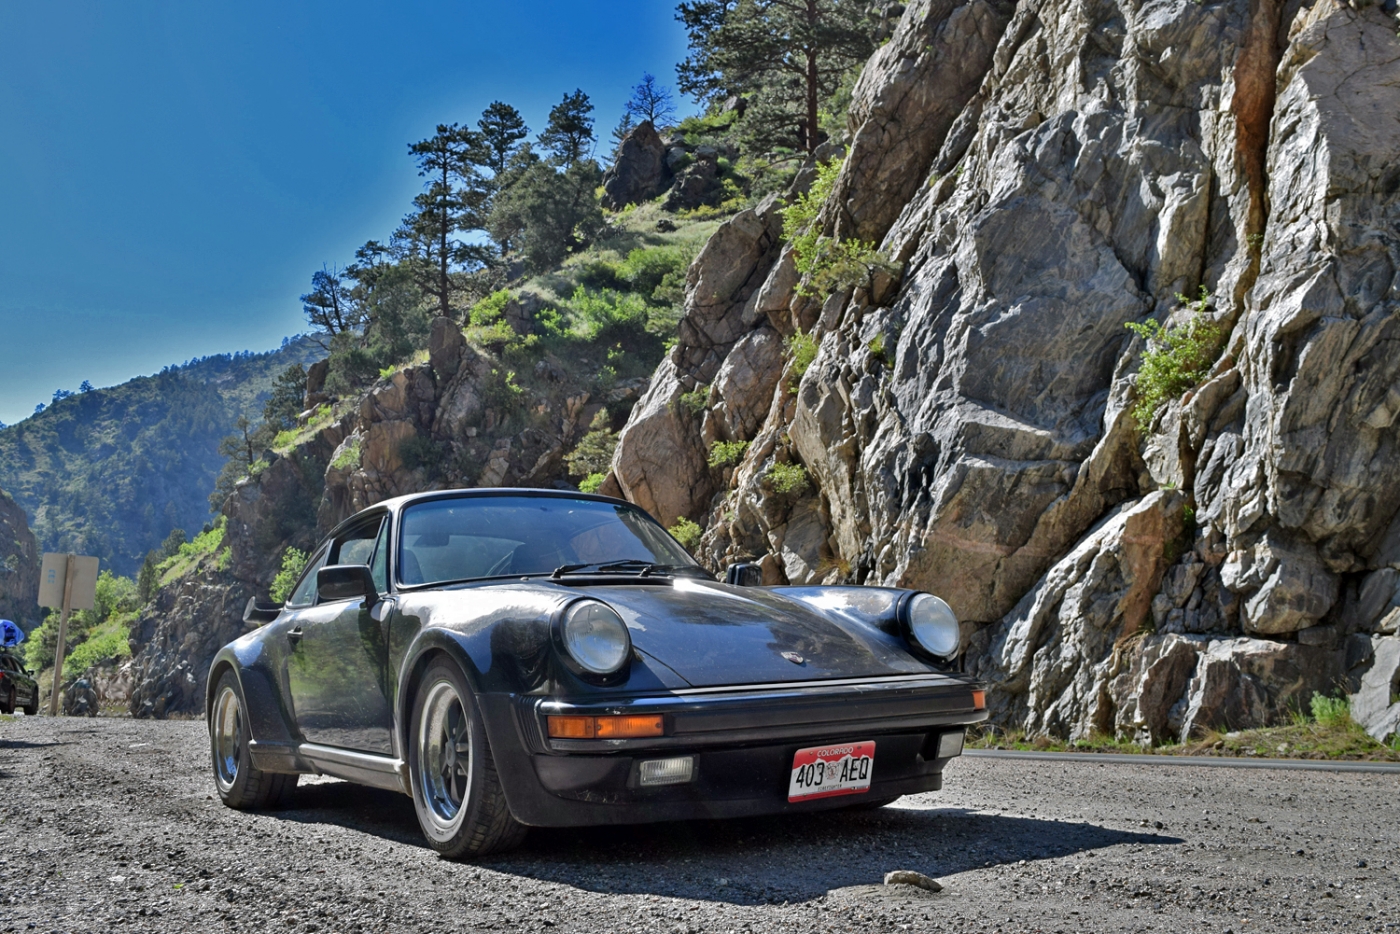
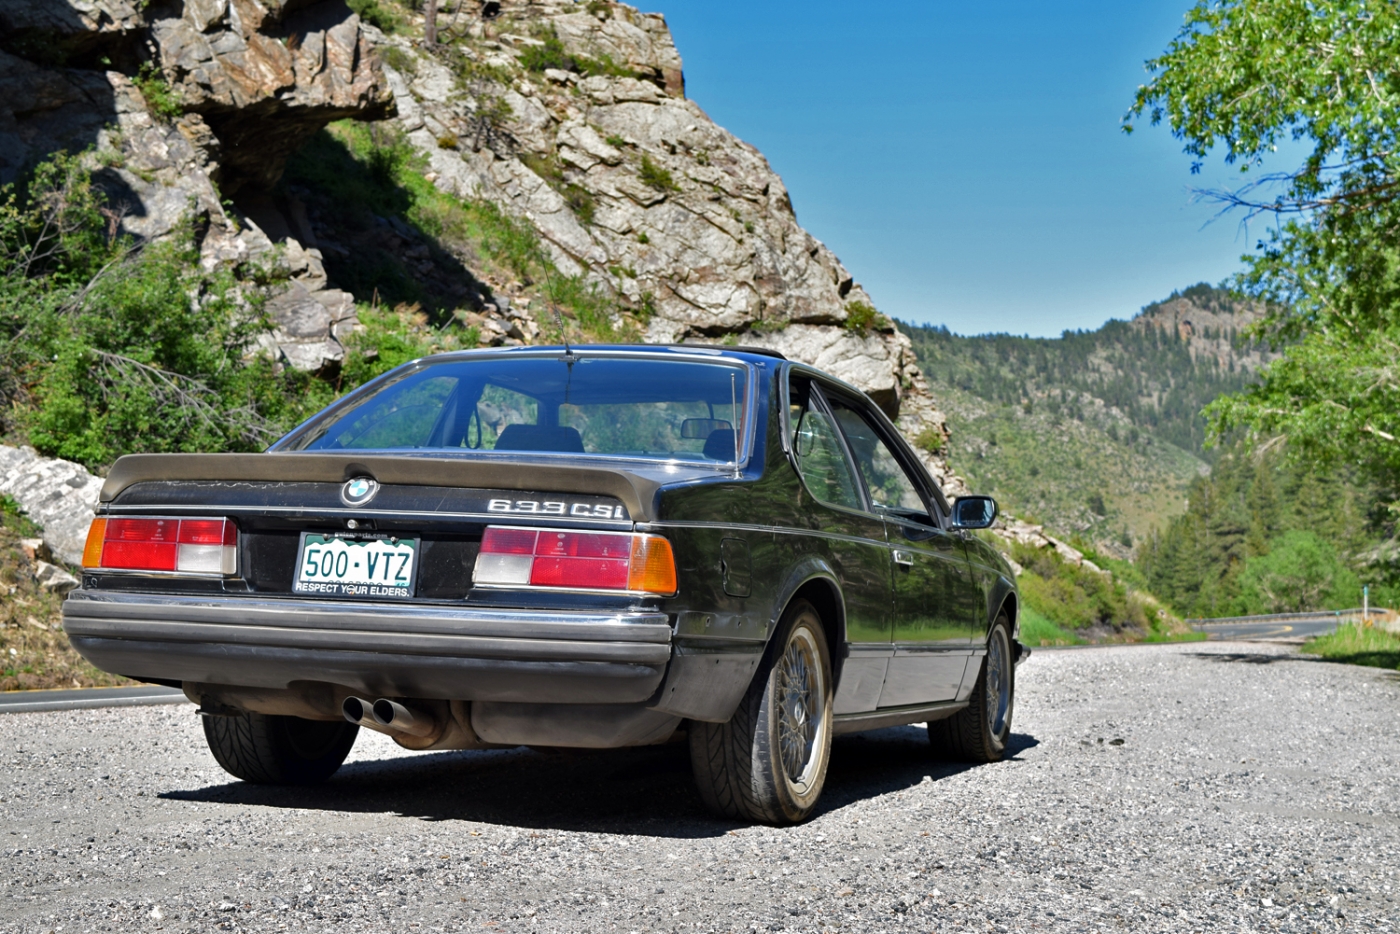
Overall the car did very well, and reaching 7000ft along most of the journey, it was sure nice for the car to not feel 'out of breath' due to altitude! Quite a contrast to the same route in my 535i.
still trying to decide if I want to go with a brake proportioner or not. I haven't decided but have been doing misc fixes on the other cars and the house lately.
Cool 60 degree temperatures felt great!


We did a bit of dirt road driving, climbing to over 9000ft.


Overall the car did very well, and reaching 7000ft along most of the journey, it was sure nice for the car to not feel 'out of breath' due to altitude! Quite a contrast to the same route in my 535i.
still trying to decide if I want to go with a brake proportioner or not. I haven't decided but have been doing misc fixes on the other cars and the house lately.
-
white chocolate
- Posts: 428
- Joined: Sep 21, 2011 9:44 PM
- Location: Canton, Ohio
Re: Callaway 633CSi - 4/10/16 Track Day #2
Whoa  that is a seriously blue sky. Awesome pictures man!
Re: Callaway 633CSi - 4/10/16 Track Day #2
I had the car loaded up for a track day at a new track, but then they told me it got cancelled due to flooding.
I was seriously bummed out because I had some R-comps to throw on and test out I also swapped to a 2.5bar FPR which seemed to get to really close to target AFM's under boost (before it was a bit too rich with the RRFPR all the way open).
Anyway, I went down to Colorado Springs for the weekend and stayed at my brother's house. We made some progress on his cars and then took a late night drive.
His Euro E30. In the process of refreshing and titleing. We had actually swapped the front springs before taking this photo:

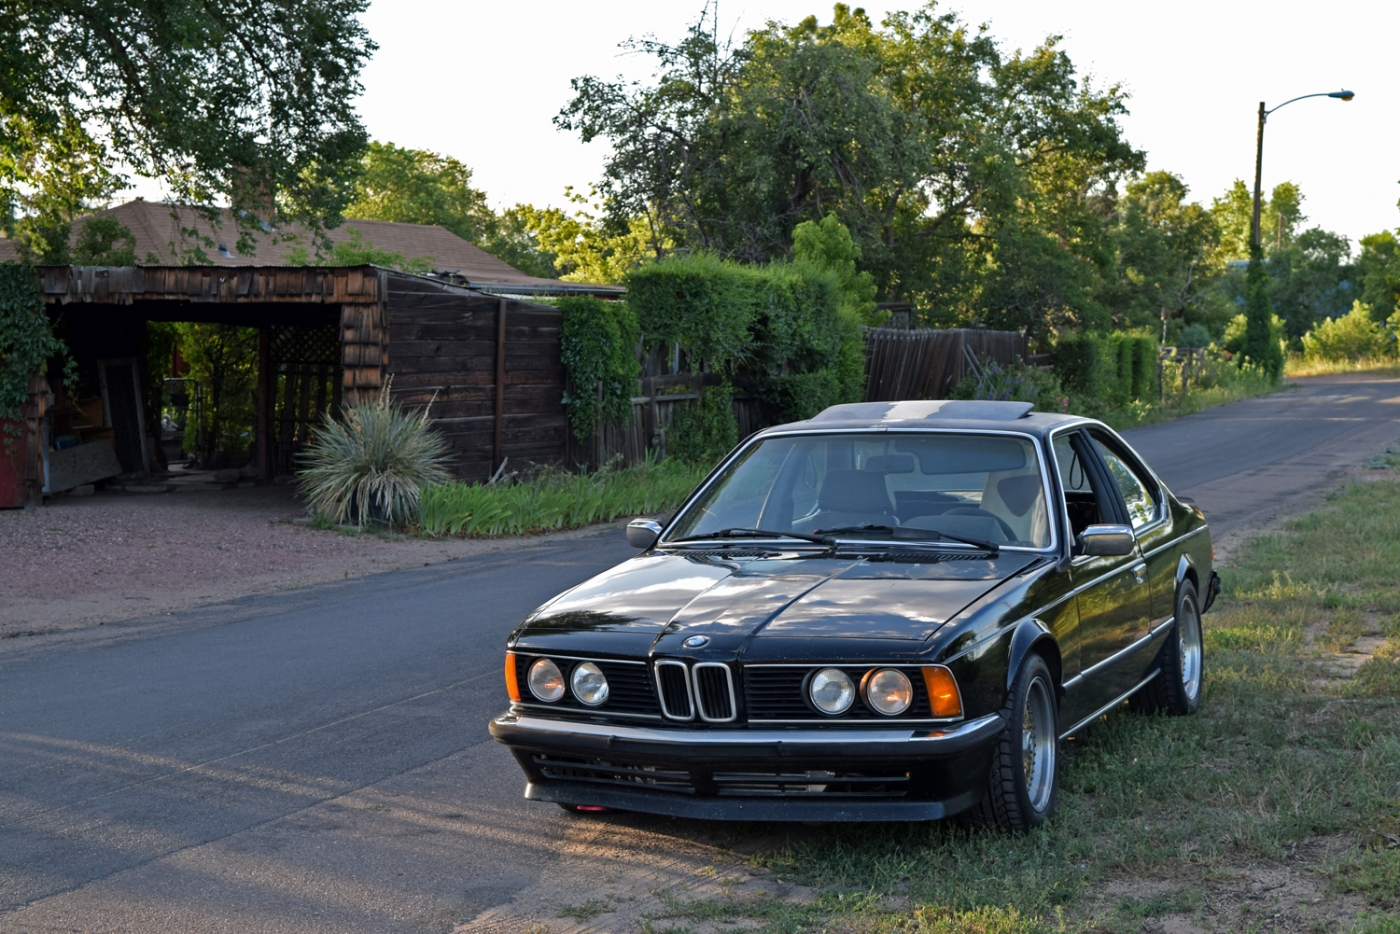
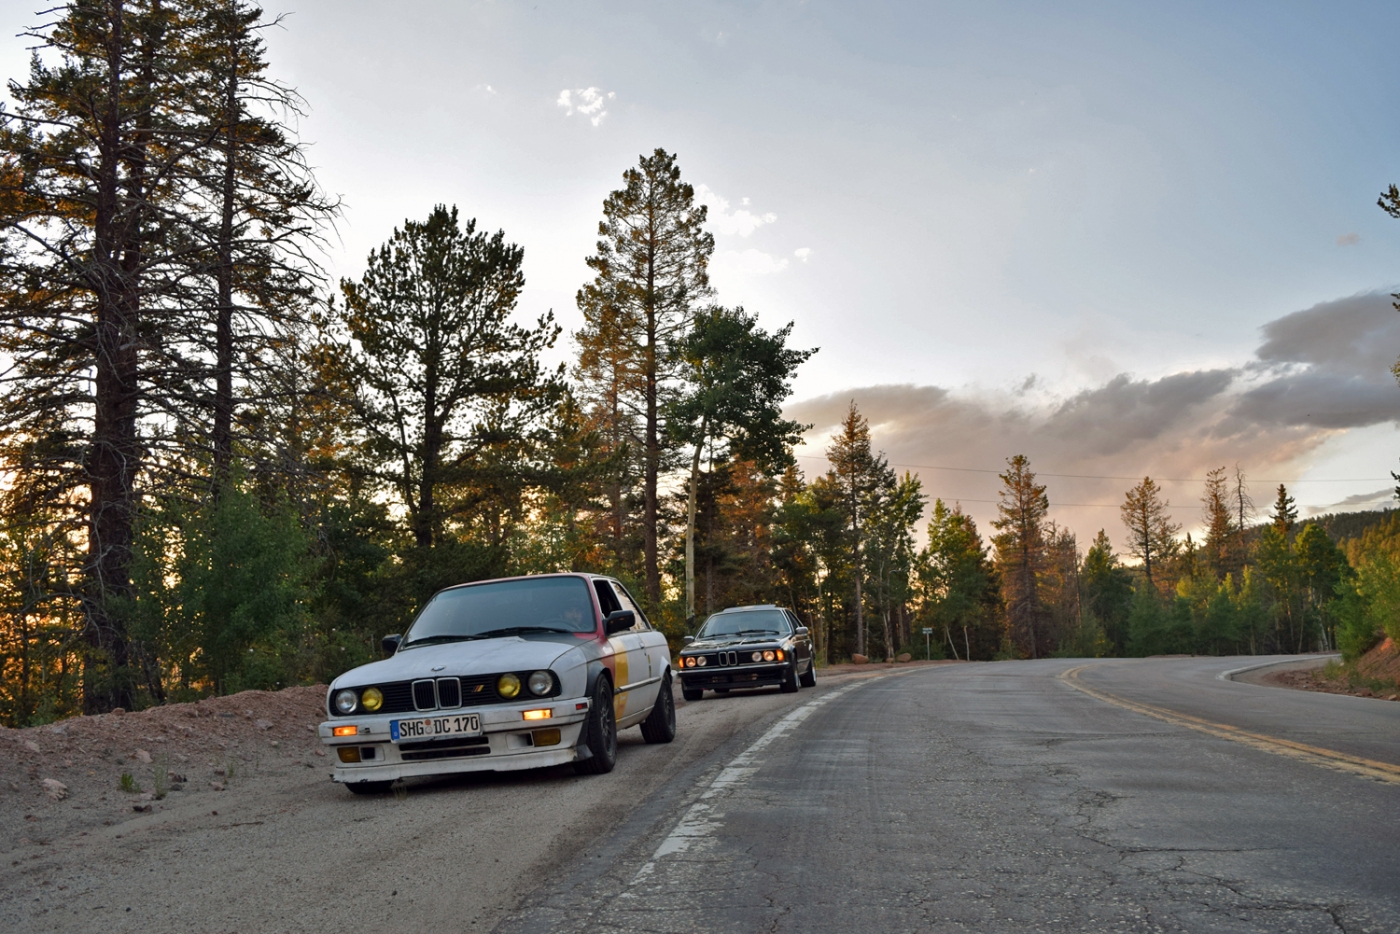
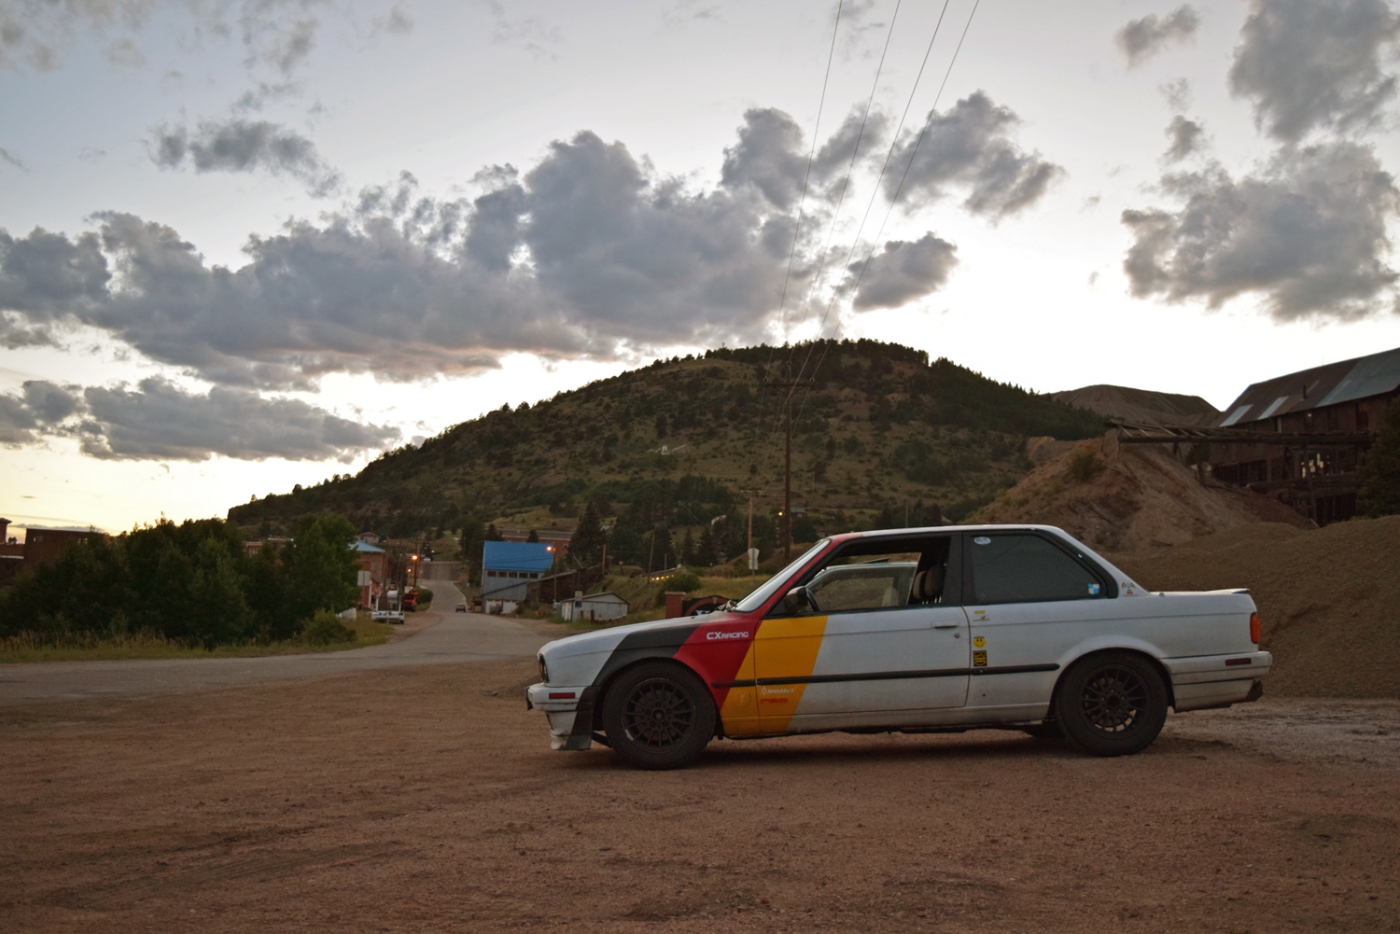
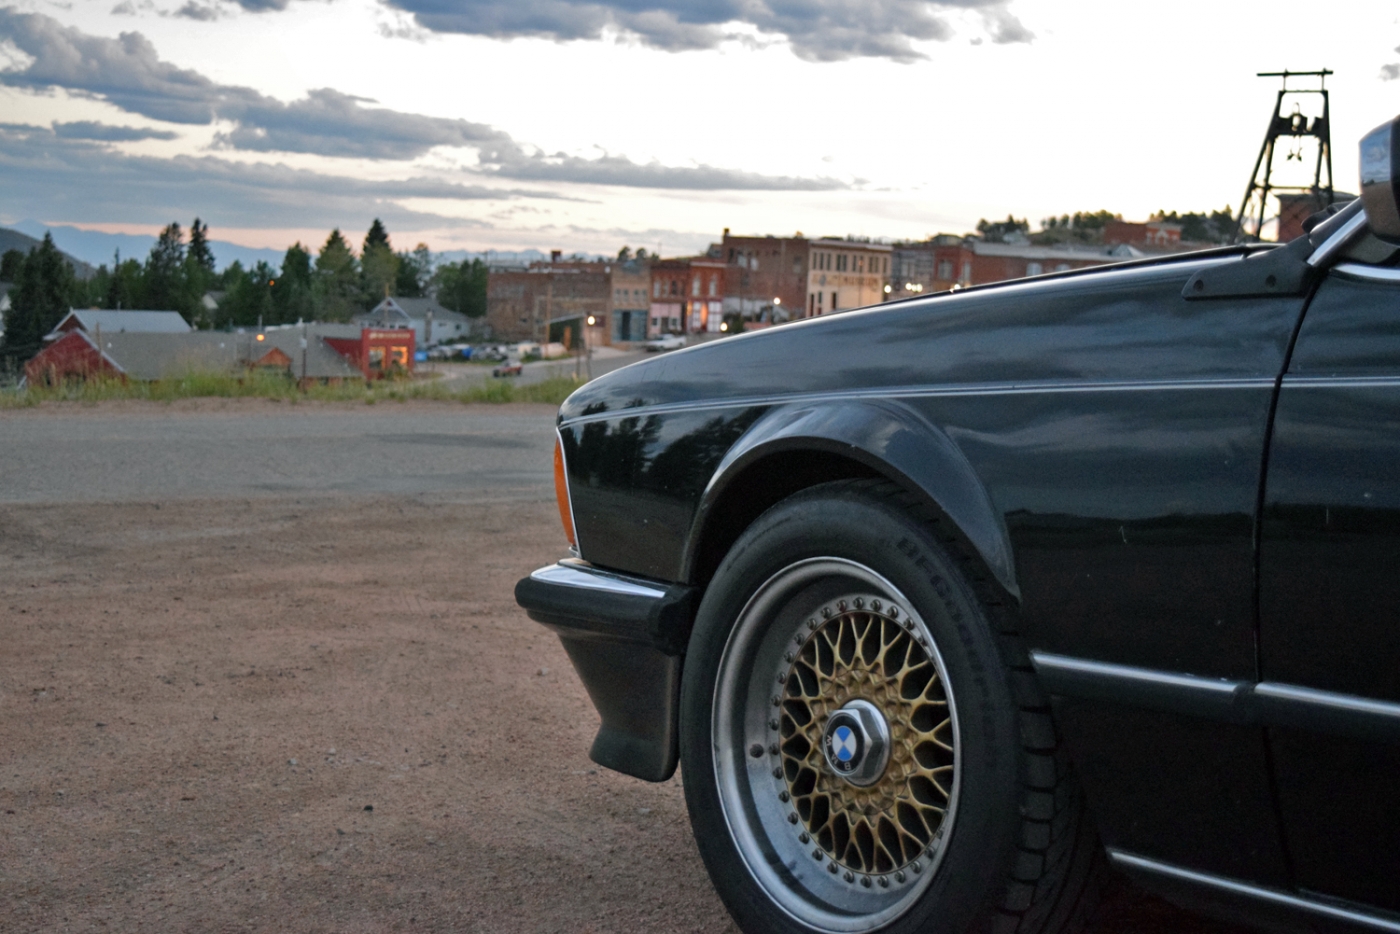
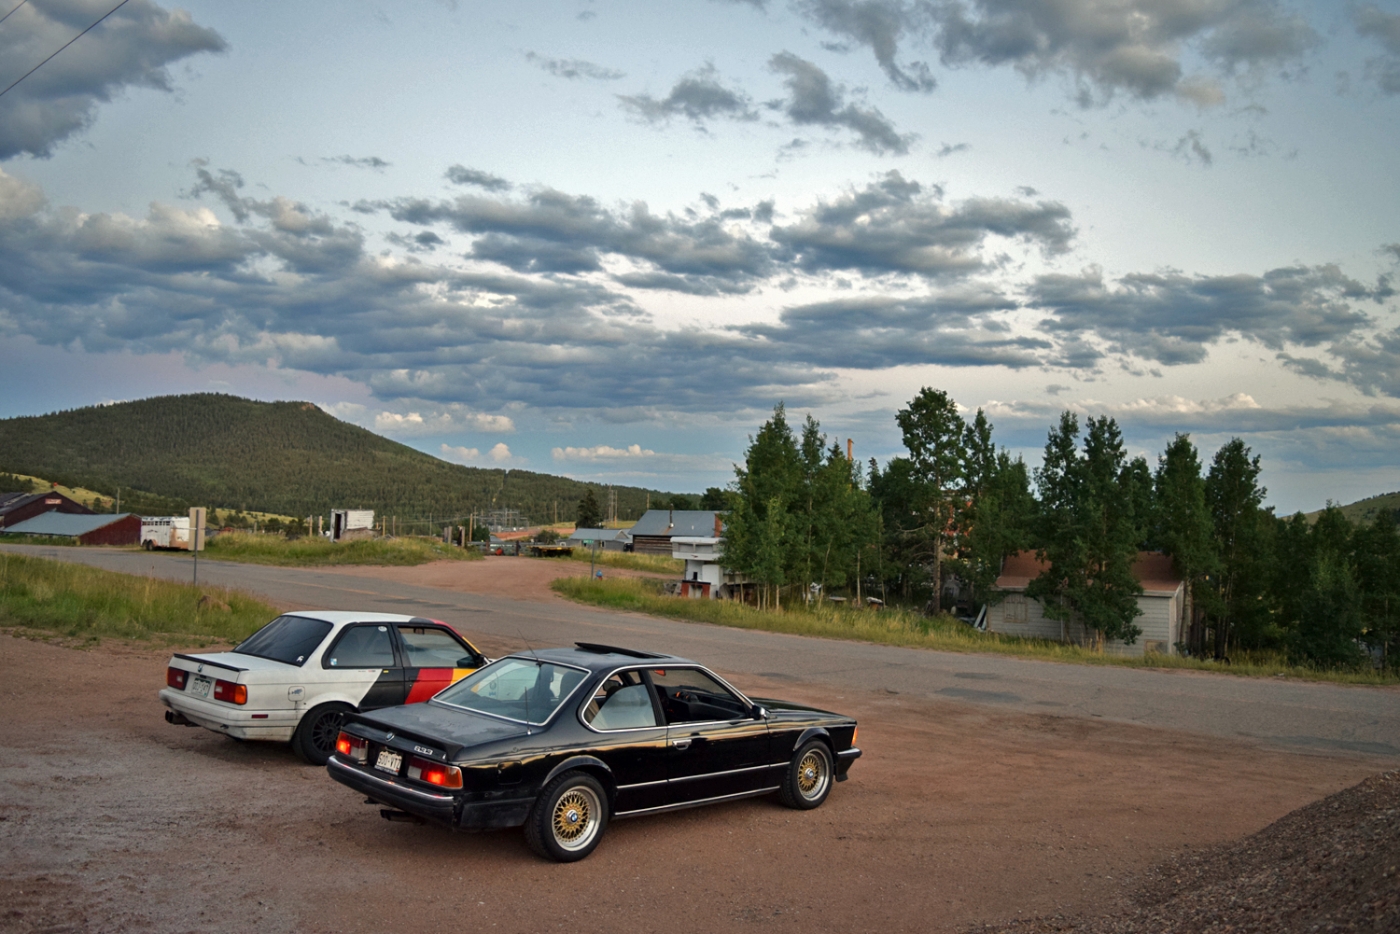
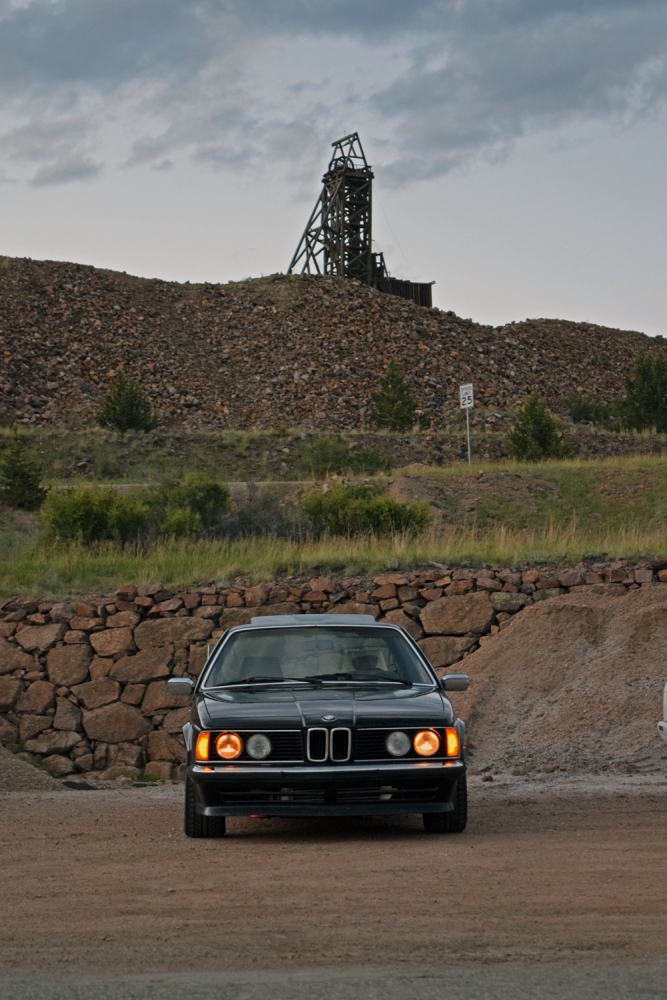
This old mining town was pretty neat to see. The pass to get to this town was over 10,000 feet. The car really did awesome with the cool temperatures and the elevation.
I have noticed that if temperatures get above 80F, I have to trim the ECU using the FQS switch to -3% fuel, and above 95F to standard 0% fuel change (Below 80, the -6% covers the entire range). I suspect it is related to the trim adjustment (based on temperature) built into the M1.0. My larger injectors overcompensate rich/lean with exaggerated temps. I still haven't messed with the AFM...
I was seriously bummed out because I had some R-comps to throw on and test out
Anyway, I went down to Colorado Springs for the weekend and stayed at my brother's house. We made some progress on his cars and then took a late night drive.
His Euro E30. In the process of refreshing and titleing. We had actually swapped the front springs before taking this photo:


This old mining town was pretty neat to see. The pass to get to this town was over 10,000 feet. The car really did awesome with the cool temperatures and the elevation.


I have noticed that if temperatures get above 80F, I have to trim the ECU using the FQS switch to -3% fuel, and above 95F to standard 0% fuel change (Below 80, the -6% covers the entire range). I suspect it is related to the trim adjustment (based on temperature) built into the M1.0. My larger injectors overcompensate rich/lean with exaggerated temps. I still haven't messed with the AFM...
-
white chocolate
- Posts: 428
- Joined: Sep 21, 2011 9:44 PM
- Location: Canton, Ohio
Re: Callaway 633CSi - 4/10/16 Track Day #2
Interesting, I have been following this over on R3vlimited.His Euro E30. In the process of refreshing and titleing. We had actually swapped the front springs before taking this photo:
Cool cars, cool pictures!
Re: Callaway 633CSi - 4/10/16 Track Day #2
white chocolate wrote:Interesting, I have been following this over on R3vlimited.His Euro E30. In the process of refreshing and titleing. We had actually swapped the front springs before taking this photo:
Cool cars, cool pictures!
It is running again now! We installed a pusher fan and did the shocks/ springs but he is still getting some overheating at idle. I'm sure he will make a post soon once he gets it titled and such. It is certainly faster than this car and the sound is sure good too.
Re: Callaway 633CSi - 4/10/16 Track Day #2
I was able to buy the MS2/extra unit with M1.0 harness adapter.
I have been researching what I need to get it installed and working so I will be posting my progress and notes regarding install.
I'm going to take the car as is to D4C 2016 before installing the MS parts. The plan is to have it up and running in September for a track day in October if not sooner.
To clarify my own thoughts and attempt to list all of the modifications I will need to perform.
1. Install M30B35 60-2 wheel and crank sensor. Verify wiring from MS unit and wire in the new sensor to the old reference sensor(grey connector) or speed sensor (black connector) wires. Speed sensor probably makes the most sense, where the yellow (engine speed-) and black (engine speed+) wires on the harness connect Pins 1(white wire, vr-) and 2 (yellow wire, vr+) of E34 VR sensor cable (pin 3 is a shield).
2.Install E34 variable TPS for ramped signal to MS2. Brown/blue for throttle position signal , brown/black wire as 5V reference.
3. I need to install the IAT sensor (thinking about in my callaway manifold where 7th injector used to be) and remove the AFM. This means wiring up the temp sensor to what was the AFM harness (grey/violet temp signal and grey/blue for common). Grey/yellow airflow input from the AFM is not used, instead MAP vacuum signal is used for airflow values.
4. TBD: Determine idle control circuit. Is Glen's garage board already installed on my unit? If not, I may need to do this mod to my v3.0 board: http://www.megamanual.com/ms2/IAC.htm#pwm
5. Revert back to 3.0bar FPR. Install 42lb injectors. Remove BEGI 2025.
6. Connect AFR signal to MS2 unit. Is this done via my adapter harness 'O2' wires, or will the signal work through the length of the stock wiring harness and O2 plug?
7. Send vacuum signal to MS2 unit for MAP signal.
8. Calibrate and verify all sensors (CTS, TPS, ICV, IAT, AFR?)
From here, hopefully I can work through starting and idling.
I will continue researching and I'm sure there will be some updates after D4C but before I continue with the MS2 install. I figure the control of fuel/spark along with removal of the AFM will really help to improve low end throttle response.
Last edited by tschultz on Aug 03, 2016 10:58 PM, edited 4 times in total.
Re: Callaway 633CSi - 4/10/16 Track Day #2
Took apart the MS2 v3.0 unit to check out if mine has the idle mod:
Q4 transistor was not installed.
TIP122 transistor installed in R37 heat sink position. However; no wire was run to position E on Q4 position. (The other two wires do match up)
Q20 transistor was not removed
D8 diode is installed, but is jumped to the s12 position
R39 resistor is in position, so i assume that means it is not jumpered...
It sounds like this is NOT setup for PWM idle, anybody have some thoughts?
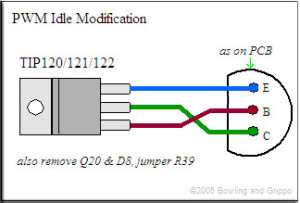
I took a look at my 3.0 board and wanted to see if the PWM idle modification was configured (as described here: https://www.diyautotune.com/product/meg ... od-kit-39/) but I got a little confused.DO NOT install the small Q4 transistor that comes with the full ECU kit for use with PWM idle valves – it cannot handle the current directly for PWM idle valves. (‘On/Off’ type idle valves used with a relay are fine with the default Q4.)
For a PWM idle valve use a TIP120/121/122 transistor (included in this kit) mounted on either the heat sink (if you have a spare spot) or the case. You should use a mica insulator with heat sink grease (both also included). Run wires to the Q4 location as shown below:
Do not install (leave unpopulated) Q20 or D8. Jumper across R39 as well. You will also have to put the 1N4001 diode (included) across the PWM Idle valve itself – the banded end goes to the 12 Volt supply, the non-banded end goes to the pulsed ground signal lead that goes to MegaSquirt. This diode is for voltage flyback purposes.
Q4 transistor was not installed.
TIP122 transistor installed in R37 heat sink position. However; no wire was run to position E on Q4 position. (The other two wires do match up)
Q20 transistor was not removed
D8 diode is installed, but is jumped to the s12 position
R39 resistor is in position, so i assume that means it is not jumpered...
It sounds like this is NOT setup for PWM idle, anybody have some thoughts?
Re: Callaway 633CSi - 4/10/16 Track Day #2
Quick little video. Will have some photos and such from D4C 2016 up later.
https://www.youtube.com/watch?v=Tv-1MML_f6o
Got a great feel for the RRFPR setup in the mountains with probably 6-7 passes at 10,000ft or higher on the trip. The MS2 will be much better for all around usage and work should commence in about another two weeks.
https://www.youtube.com/watch?v=Tv-1MML_f6o
Got a great feel for the RRFPR setup in the mountains with probably 6-7 passes at 10,000ft or higher on the trip. The MS2 will be much better for all around usage and work should commence in about another two weeks.
-
offroadkarter
- Posts: 557
- Joined: Nov 03, 2014 1:00 PM
- Location: Lehigh Valley, PA
Re: Callaway 633CSi - 4/10/16 Track Day #2
I'm going to stay tuned for your MS2 install. I am fully fed up with my POS M1.0 setup and want to get back to collecting parts for a MS3 conversion.
Your IAT sensor in the cold start injector location is an interesting idea, in theory it sounds like the perfect place since its what, basically smack center of the intake manifold?
Your IAT sensor in the cold start injector location is an interesting idea, in theory it sounds like the perfect place since its what, basically smack center of the intake manifold?
Re: Callaway 633CSi - 4/10/16 Track Day #2
Sure.
I figure I can place it in the Callaway manifold. If I tap it 1/2" NPT I will have the flexibility to change my BOV to vent to atmosphere if I really wanted.
The injector is just visible in this photo sort of under the elbow: http://drive4corners.com/wp-content/use ... C_0083.JPG
Pulled out the radiator and pulley wheel so I can take off the harmonic balancer and replace it and the new VR sensor.
Re: Callaway 633CSi - 8/24/2016 - MS2 Install/ No-start issu
So the last two days I was getting the car ready for MS2. Below is what I did:
1. Remove and replace harmonic balancer with 60-2 from B35. Replaced old sensor and bracket with the new one. Checked clearances to the wheel and all looked good.
2. While I had the front end apart, I removed the AC condenser, compressor, and lines in the front. I realized I wasn't going to retrofit to R12 and why bother having all of those parts in the way.
3. I removed the AFM and reinstalled the Callaway manifold with the IAT sensor in place. I wired up the sensor to the AFM connector.
4. I removed the 2.5bar FPR and reinstalled the 3.0. Then I removed the RRFPR and put a fuel accumulator in place of it.
5. I replaced the 24lb injectors with new 42lb injectors (BOSCH 0280155968). My tune Req_fuel setting is 8.8 with these injectors.
6. I replaced the 3 pin TPS with the M30B35 vTPS. After connecting the MS2 unit, I was able to rewire it and then verify proper operation.
7. I connected the MAP signal (vacuum tube) to the back of the MS2 unit.
8. I put my wideband AEM UEGO in P00 mode and connected it to the MS2 via the stock harness. In MS2, I set it for this sensor and verified that the readings matched.
9. I connected the wiring of the VR sensor to the speed sensor input. My unit came with a harness that seemed to plug in directly. From what I understand, polarity does not matter on this signal.
10. So then I supplied power and found that the ICV was buzzing and getting power. I check and IAT sensor is sending a good signal. AFR signal is good; CLT temp appears good. TPS was configured and calibrated.
I cranked and noticed that the car was getting an rpm input signal. unfortunately the car did not start. I tried a few more times but still nothing.
So I went back through the MS FAQ here on the forums and changed my idle settings to that of Shawn D. Unfortunately this did not do it either. It had been getting sort of late so I decided to take a break for the night. I didn't get a catch like it was even close to starting.
I have uploaded my .msq and would like to get any feedback/comments if possible...
https://ufile.io/df029 (file should be good for 30 days)
I could try somebody else's tune, like the one George sent me, but I haven't yet.
EDIT: After rereading the FAQ, I notice my cranking rpm of 175 may possibly be low. I think tonight I'll try 300rpm as suggested in the FAQ. I'll also go down to 2 squirts/cyl instead of 6 as preloaded on my unit.
I'll also follow this procedure: https://www.diyautotune.com/support/tec ... up-tuning/
-
downforce22
- Posts: 66
- Joined: Apr 06, 2015 9:24 PM
- Location: colorado springs
Re: Callaway 633CSi - 8/24/2016 - MS2 Install/ No-start issu
If that doesnt fix you starting issue. Make sure you have the most up to date firmware and then follow this write up to confirm your settings are right. It says the same 300 for cranking rpm
http://www.megamanual.com/ms2/configure.htm
http://www.megamanual.com/ms2/configure.htm
-
marc79euro645
- Posts: 513
- Joined: Dec 08, 2008 11:33 PM
Re: Callaway 633CSi - 8/24/2016 - MS2 Install/ No-start issu
Pull a spark plug, and verify spark.
Is plug wet?
good luck
Is plug wet?
good luck
Re: Callaway 633CSi - 8/24/2016 - MS2 Install/ No-start issu
Crank signal appears good. Solid square waves on the log viewer.
I do have fuel definitely, but I will have to check for spark tomorrow.
I have a weird condition on the TPS where I can get from 0-100% but hardly anything in between. When I put it part way down, it is really slow to build up. I am wondering if I need to check that ground...
I do have fuel definitely, but I will have to check for spark tomorrow.
I have a weird condition on the TPS where I can get from 0-100% but hardly anything in between. When I put it part way down, it is really slow to build up. I am wondering if I need to check that ground...
Re: Callaway 633CSi - 8/24/2016 - MS2 Install/ No-start issu
You might want to upgrade to the latest line of firmware. They added some simplification of the idle control settings and map sampling settings, which makes things a bit easier to tune. You can just set a gain slider for the closed loop idle and use the event average for map and avoid the whole angle and duration calculation. Also, you have your idle valve frequency set to 120hz, whereas most sources I've seen say our valve runs around the 90hz setting.
Also, you have multiply map set, but your VE table looks like it's setup for multiply map being off. I have cells around idle set to the low 40s.
Here's a link to my current tune: https://ufile.io/da0f3
Also, you have multiply map set, but your VE table looks like it's setup for multiply map being off. I have cells around idle set to the low 40s.
Here's a link to my current tune: https://ufile.io/da0f3
Re: Callaway 633CSi - 8/24/2016 - MS2 Install/ No-start issu
Thanks guys for all the help!
So i checked the wiring on my TPS and found that I had it incorrect. I have it fixed and all is working smoothly now.
I also updated firmware and now open up tunerstudio and the current tune in the updated format.
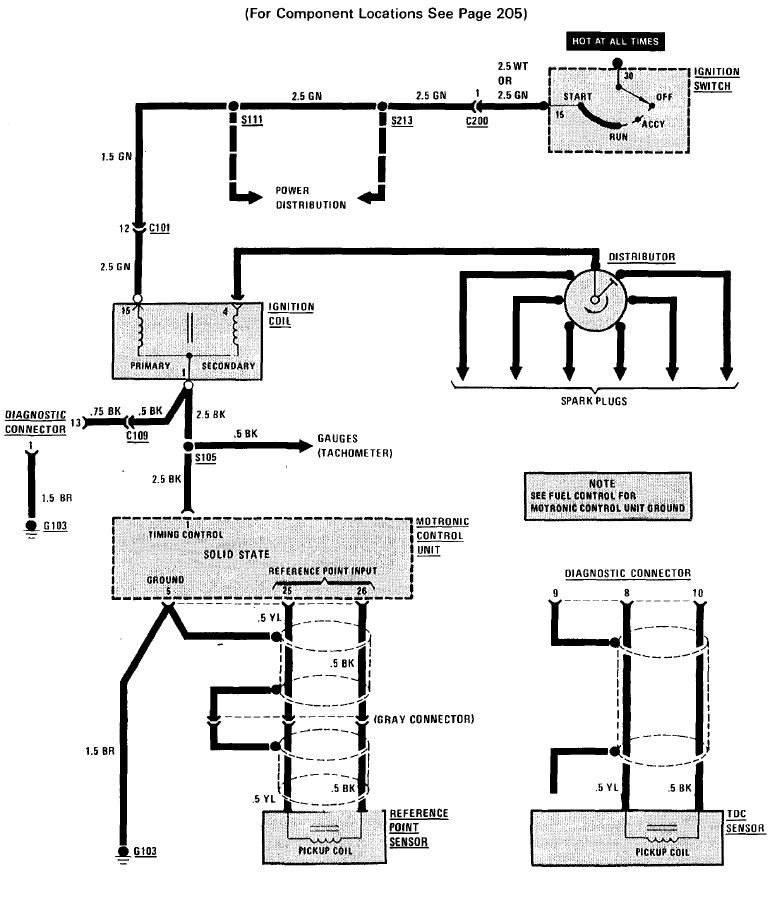
Unfortunately I am still having a starting issue, even after using Elcrazon's tune. I checked for spark and found that I am NOT getting spark. So i checked the wiring to the coil and I am not getting power there during cranking.
Not sure where to go from here as my traditional troubleshooting suggests ECU.
Is there a setting that that I may be missing in tunerstudio? OR maybe a jumper on the MS2 board? I'll do some reading...
EDIT: Looks like I need to double check power through the ignition switch to the coil wire and verify the ground is good. From what I am seeing, it takes power directly through the ignition on crank. If I am not getting spark because of lack of 12V power, this would seem to be the only possible cause. I will investigate tonight.
Re: Callaway 633CSi - 8/24/2016 - MS2 Install/ No-start issu
After some further testing:
I seem to have injector pulse as I do get fuel smell and wet on the spark plugs after cranking.
I confirmed 12v power on green lead to coil. I confirmed fuel pump operation with the test mode.
I just tried the coil in test mode and was not able to get a spark from the main coil lead in any test mode setting. Coil set to 'one' and all possible Coils (A-F).
I imagine I need to look at something on the board but I am really not sure where to start. The hardware manual is jibberish to me...
EDIT: Peter at PF tuning thinks the board or harness has issues after I mentioned the test mode not working. Going to send him the board to check it out.
Re: Callaway 633CSi - 8/24/2016 - MS2 Install/ No-start issu
Ms2 is great once you get all the bugs sorted but you made the right decision by sending it out, i made the mistake of building mine and after spending 50+ hours diagnosing a bad vr signal, i had to finally send it out to someone who knew the board well. Turned out to be a faulty transistor and a short. only cost $80 to have shipped and fixed.tschultz wrote:After some further testing:
I seem to have injector pulse as I do get fuel smell and wet on the spark plugs after cranking.
I confirmed 12v power on green lead to coil. I confirmed fuel pump operation with the test mode.
I just tried the coil in test mode and was not able to get a spark from the main coil lead in any test mode setting. Coil set to 'one' and all possible Coils (A-F).
I imagine I need to look at something on the board but I am really not sure where to start. The hardware manual is jibberish to me...
EDIT: Peter at PF tuning thinks the board or harness has issues after I mentioned the test mode not working. Going to send him the board to check it out.
After seeing what you have gone through with trying to get your arfs on target and fuel issues sorted, it makes me happy to see you switching to ms2. Now you can tune all those parameters with only a few clicks. Only thing left is to get the electronic boost controller setup.
Re: Callaway 633CSi - 8/24/2016 - MS2 Install/ No-start issu
mitch5 wrote: Ms2 is great once you get all the bugs sorted but you made the right decision by sending it out, i made the mistake of building mine and after spending 50+ hours diagnosing a bad vr signal, i had to finally send it out to someone who knew the board well. Turned out to be a faulty transistor and a short. only cost $80 to have shipped and fixed.
After seeing what you have gone through with trying to get your arfs on target and fuel issues sorted, it makes me happy to see you switching to ms2. Now you can tune all those parameters with only a few clicks. Only thing left is to get the electronic boost controller setup.
Thanks for the thoughts! It's annoying having the car sit there and waiting for UPS to deliver the package, but oh well.
The idea was to have a track car and learn along the way, which has been the best part. I feel like I really understand M1.0 now, and I understand the differences with it and M1.3 a bit better. I am also understanding a bit of the theory of engine modifications from the perspective of things like AFM flapper vs MAF, spark timing control and alpha-n vs speed density fuel methods. I will be curious to understand charge IAT's with my current layout and see how a different airbox or air ducting can reduce these.
I haven't converted to the electronic boost control but I will have to explore this as I get more familiar with MS2.
Re: Callaway 633CSi - 8/24/2016 - MS2 Install/ No-start issu
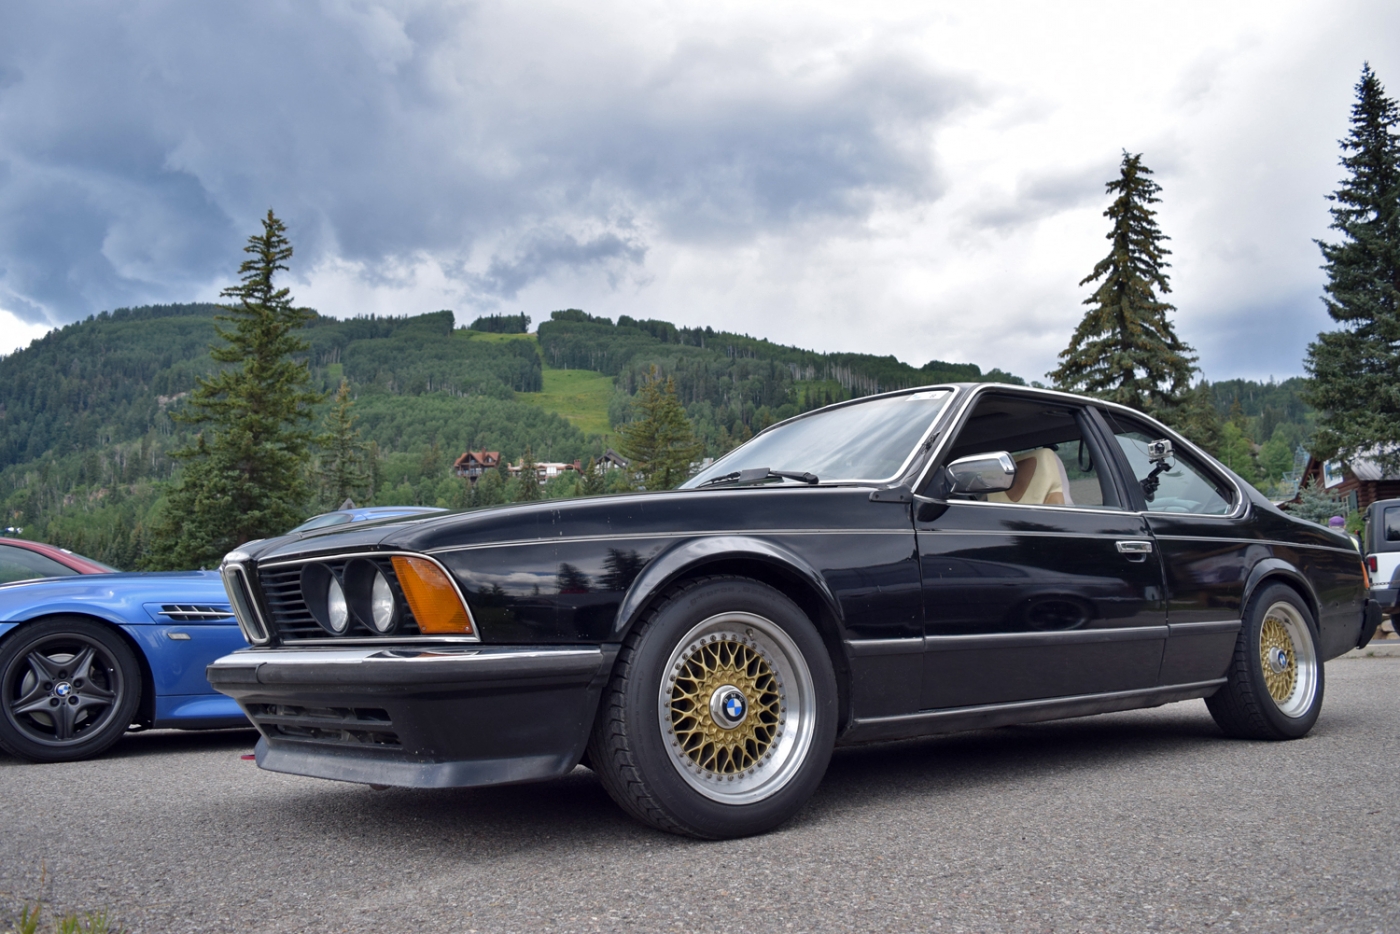
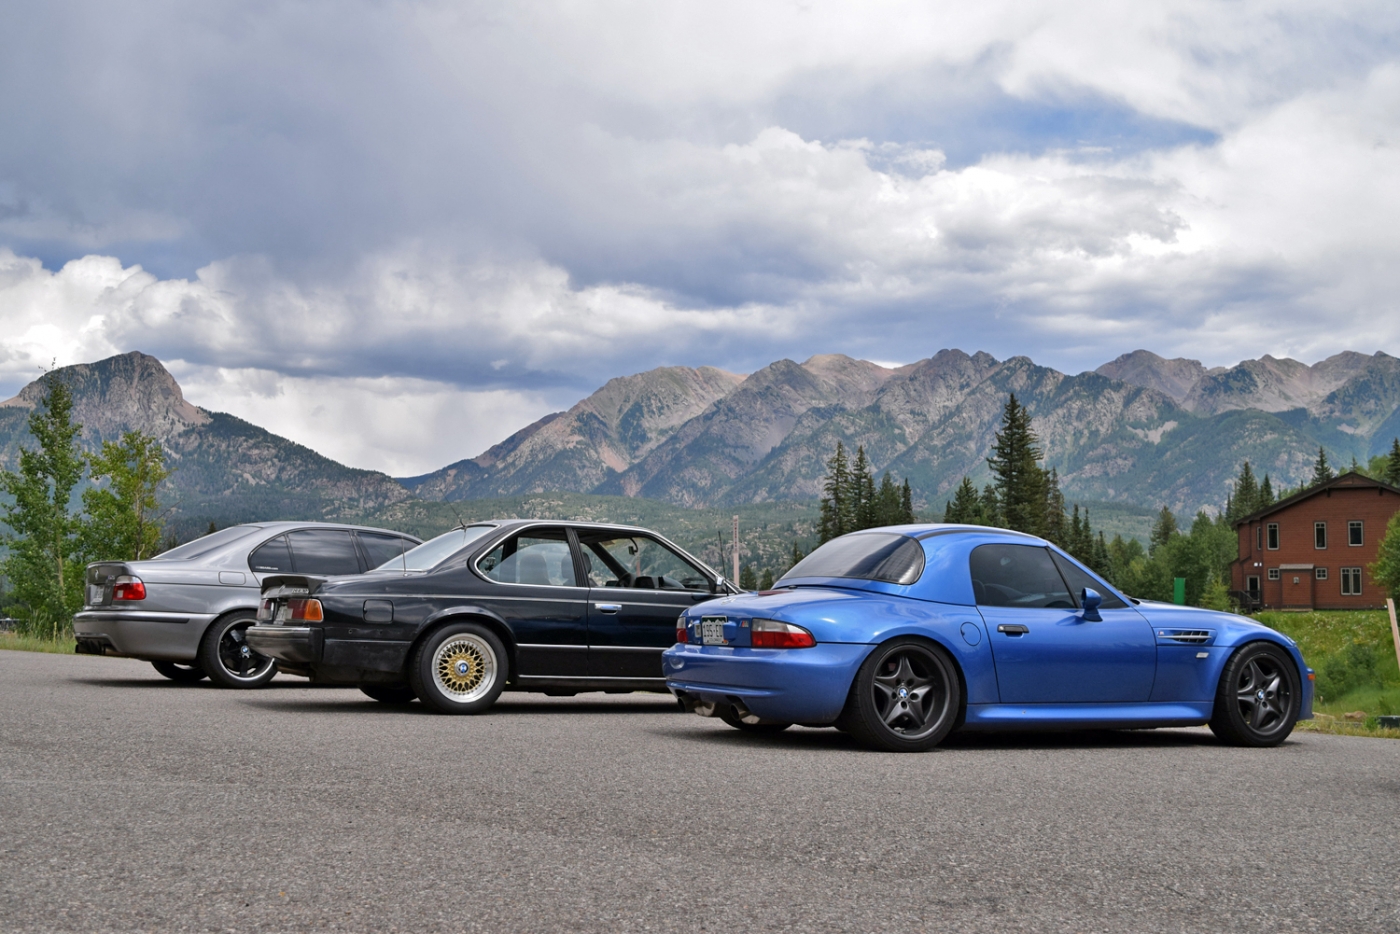
Waiting for Peter F to get me my MS2 unit back, i decided to review some photos from D4C. If you didn't already see, there's some video footage in the 2016 D4C event video here: https://www.youtube.com/watch?v=X_01-wKaOe0
But I also got some photos of the car on the long return route home. We took US 550 from Durango along the Million Dollar Highway (some of the footage in the above video is from that route) to Ouray. It isn't the best driving road as there isn't much passing space but it is very scenic and there are quite a few cliffs without guard rails.
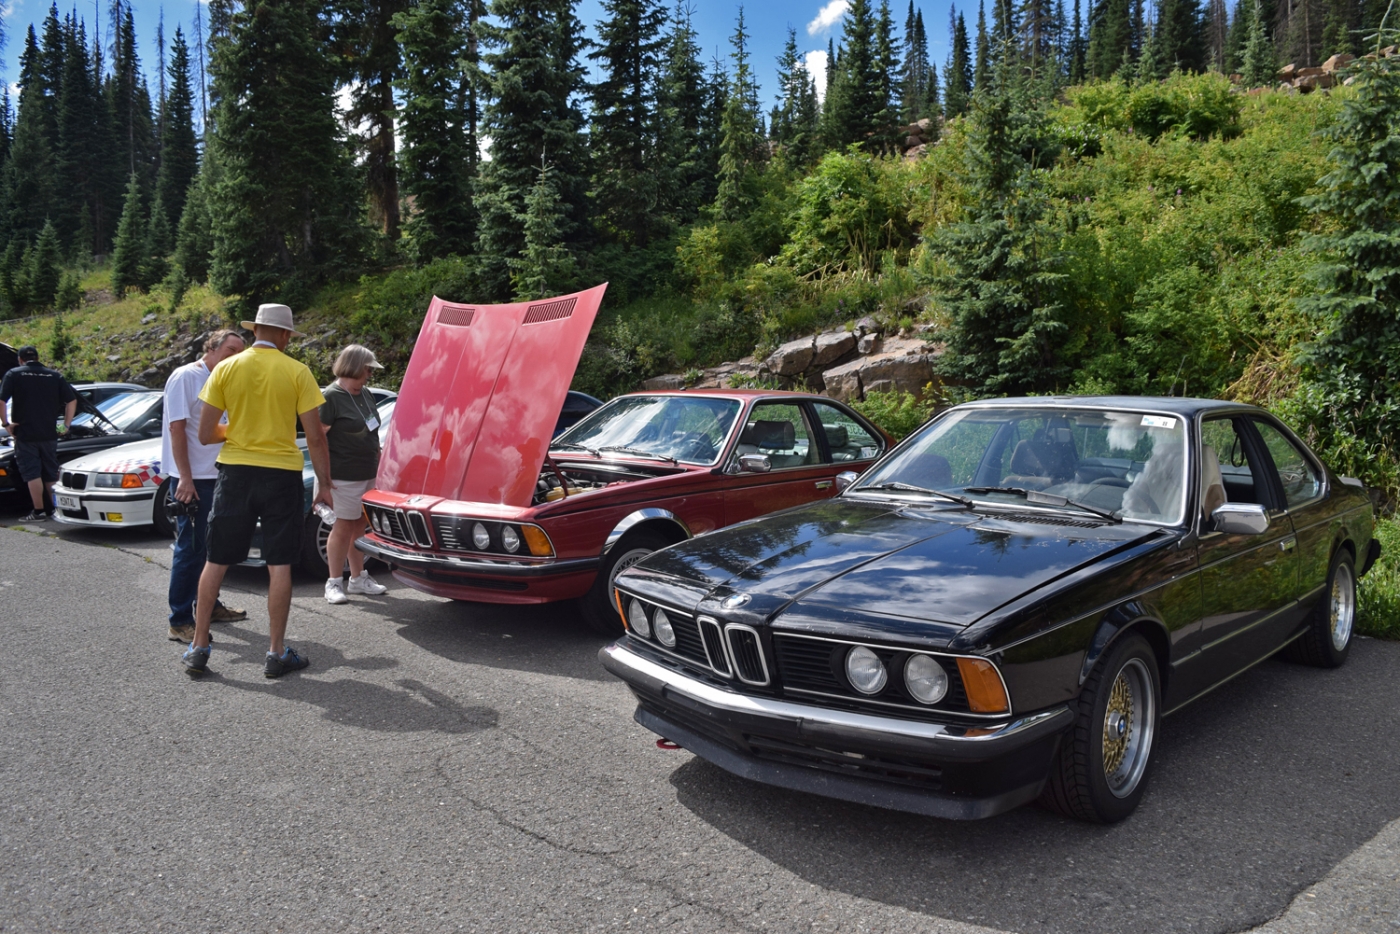
The two sharks at Wolf Creek Pass. The other is a true euro 633CSi, very early production in 1976. He actually showed me something with the original headlights-- they had the VIN stamped into the glass. He had only one remaining original headlight. Avery rare color too.
On our extended drive, we made a stop in Purgatory... let me tell you it is not so bad with a group of BMW enthusiasts!
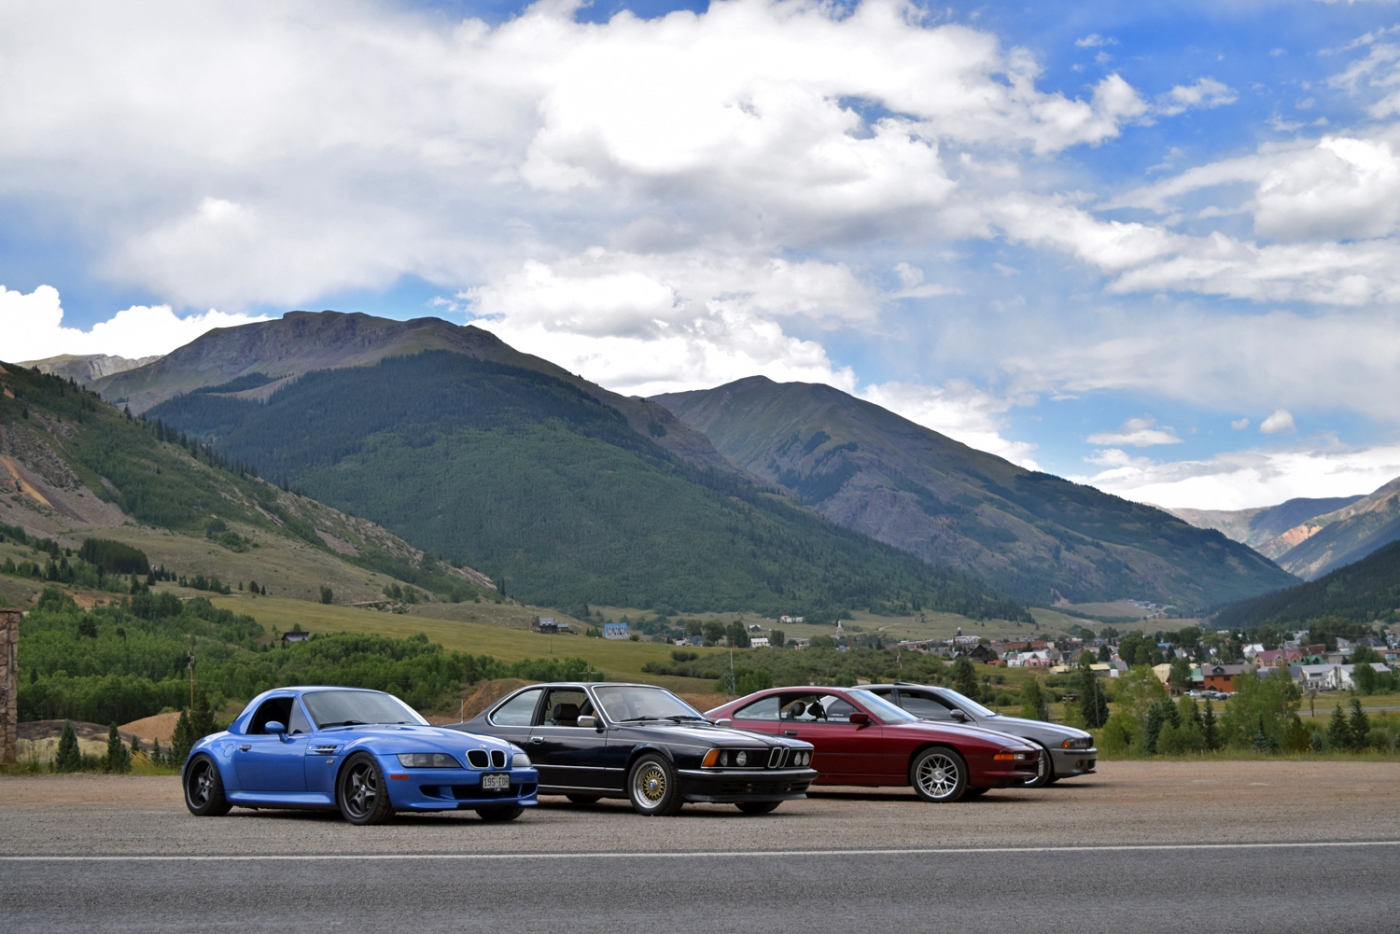
Looking over the historic mining town of Silverton
My headlight got busted on the way up Wolf Creek Pass. Poor euro lens

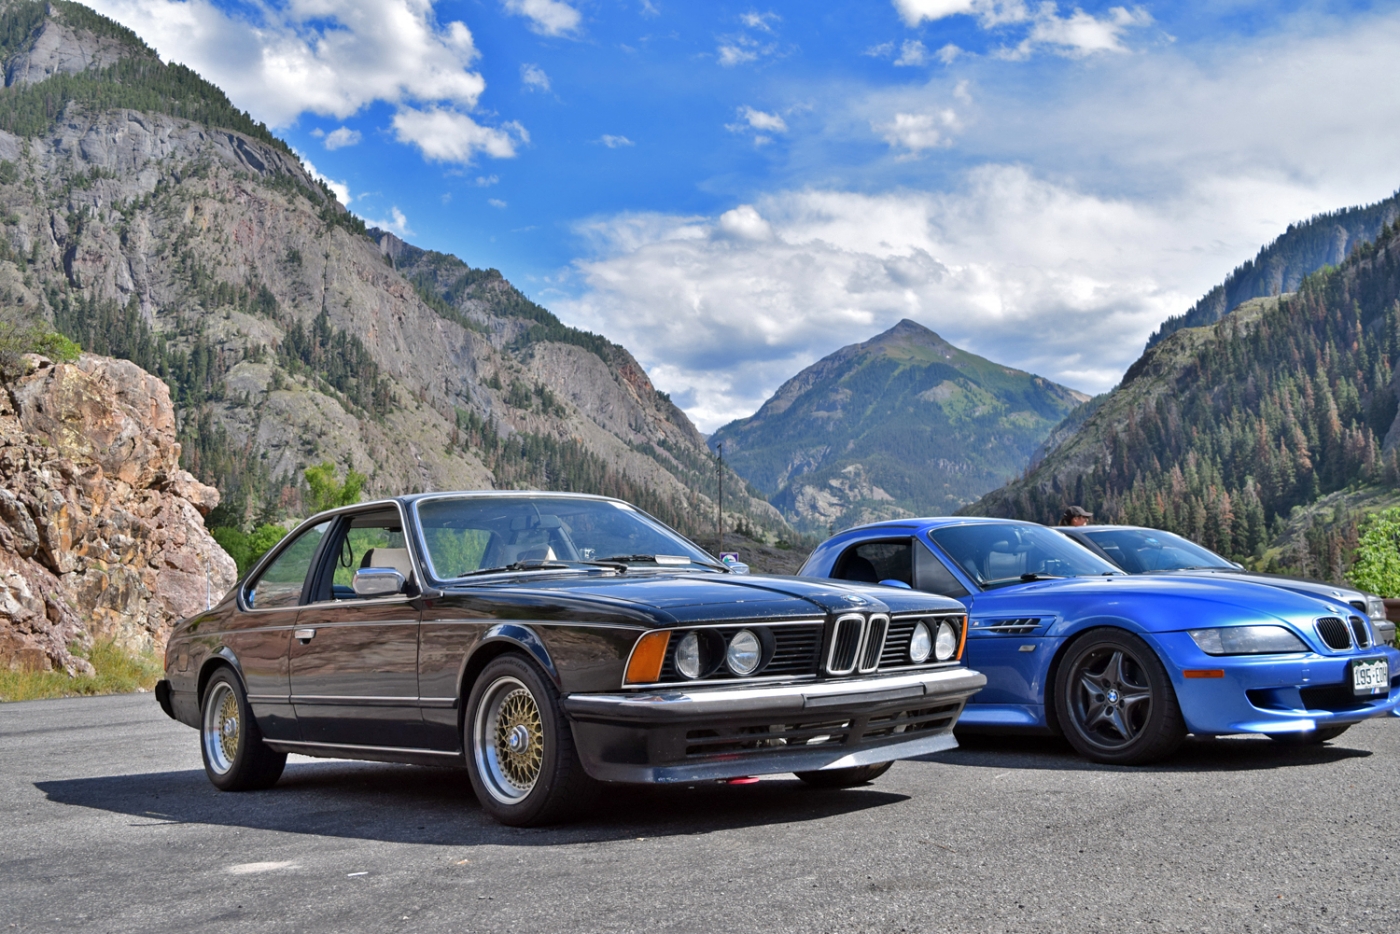
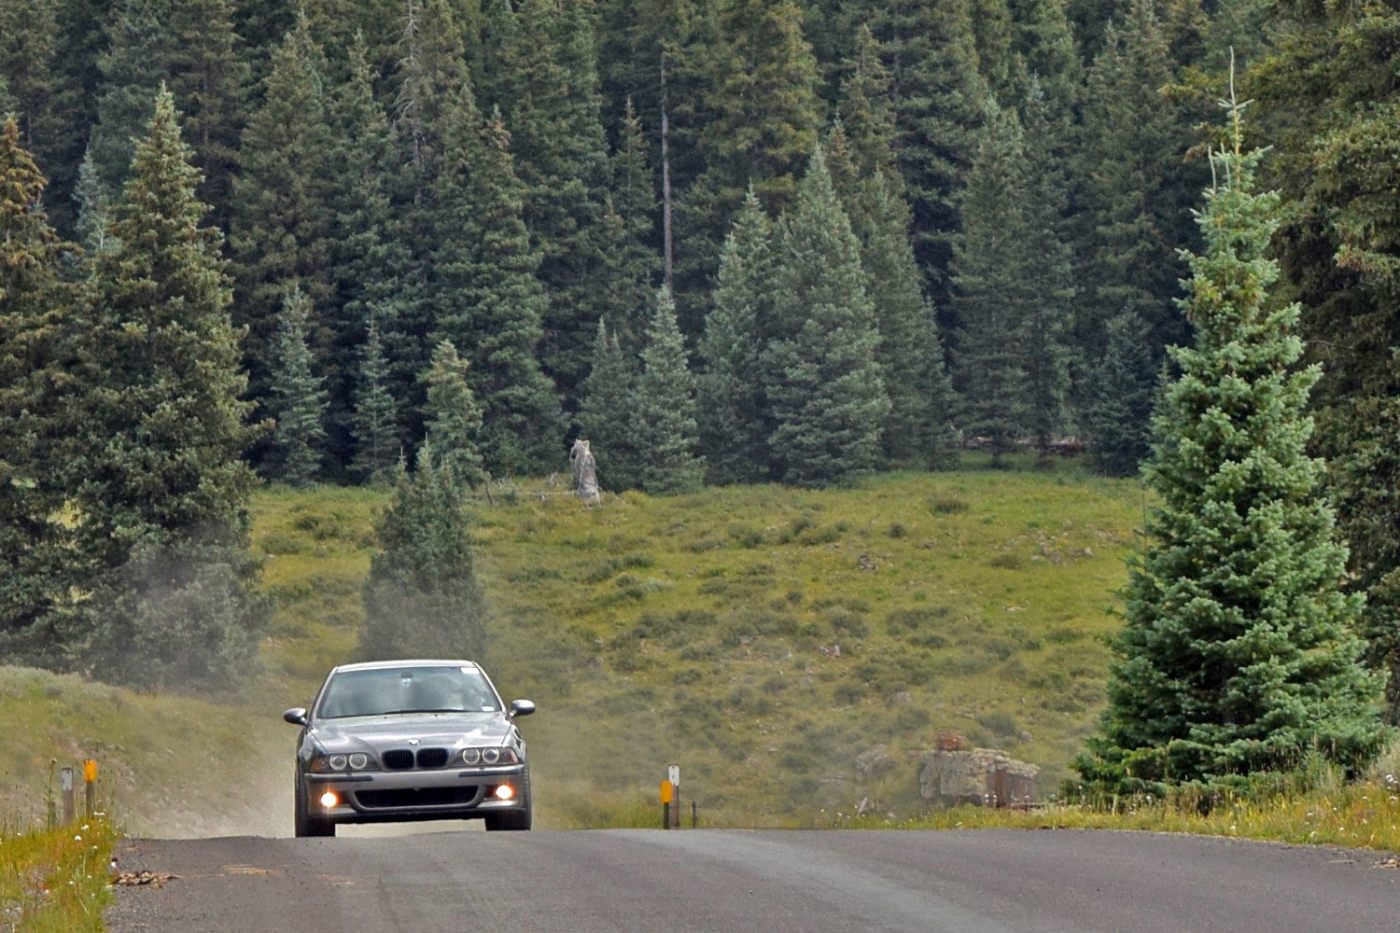
We did some dirt road driving. The dirt road and billowing dust was the most awesome I have ever driven. Didn't get good pictures of it, but got a neat one of my friend's M5.
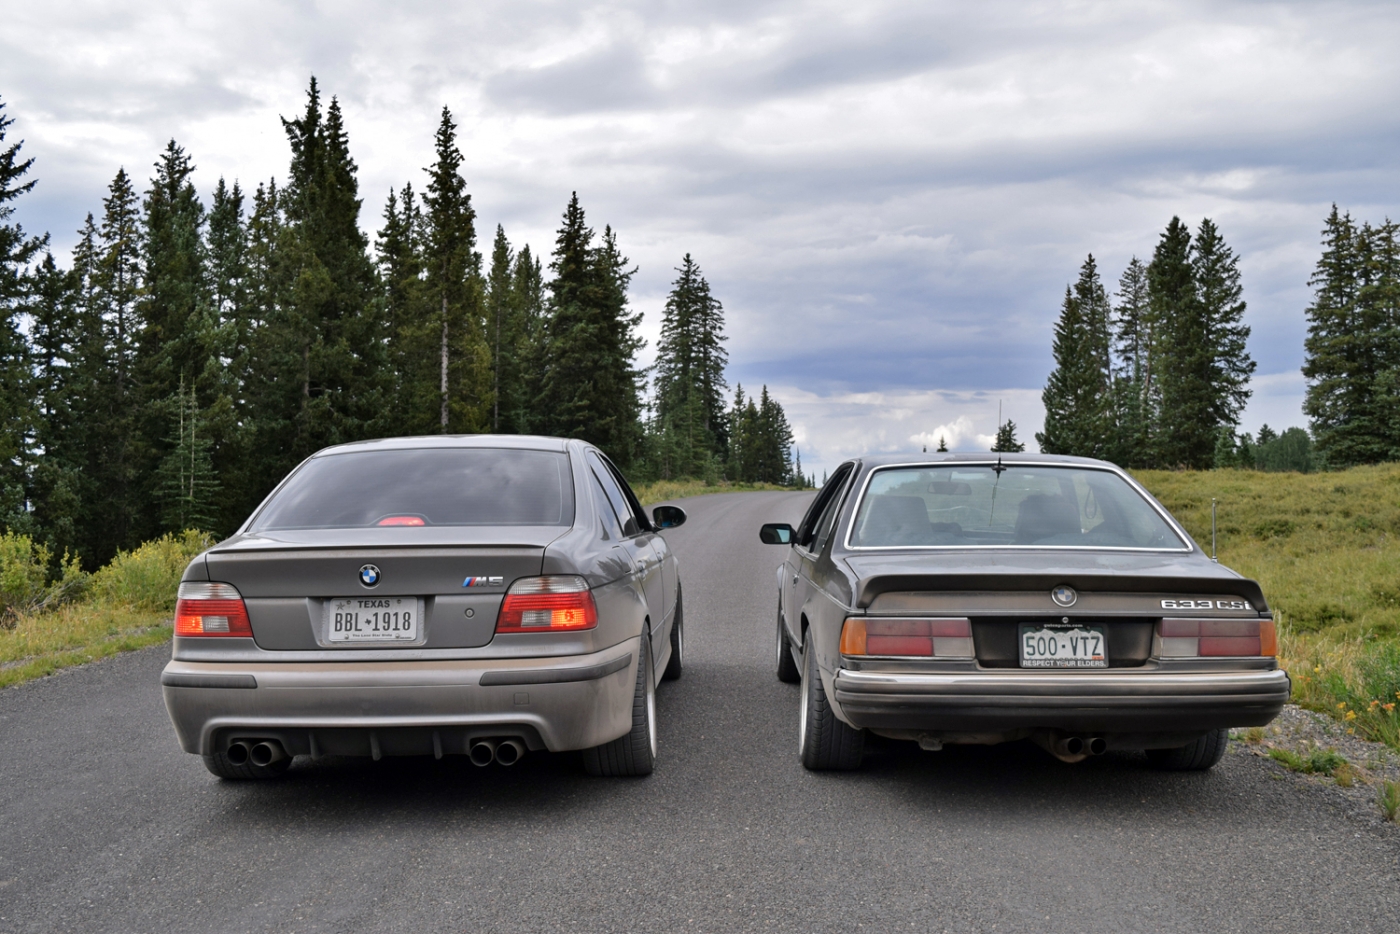
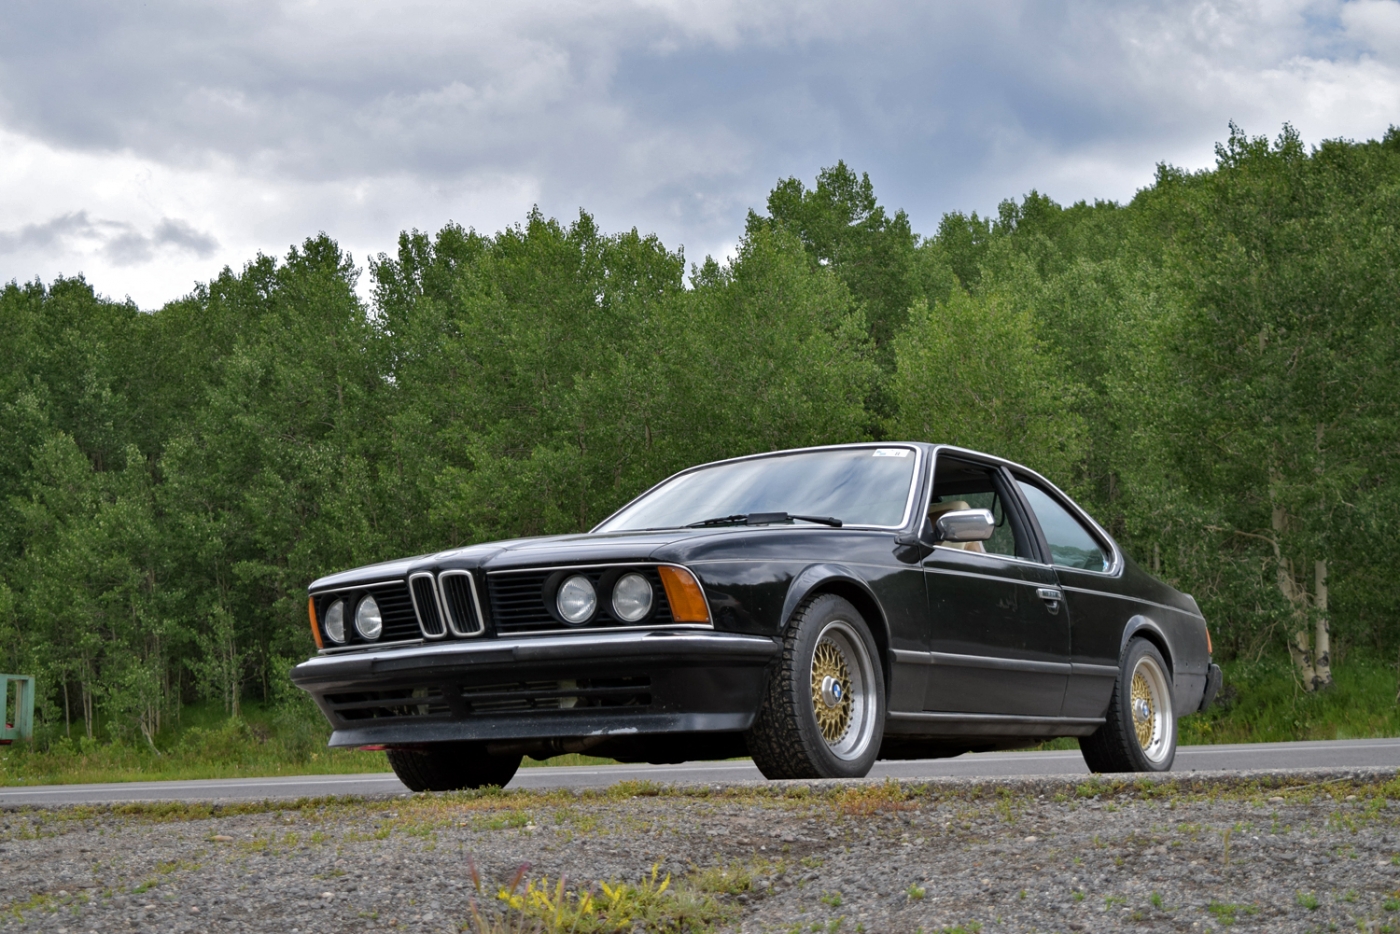
Intercooler is visible. But i sure did get a lot of rock chips on my spoiler this trip!
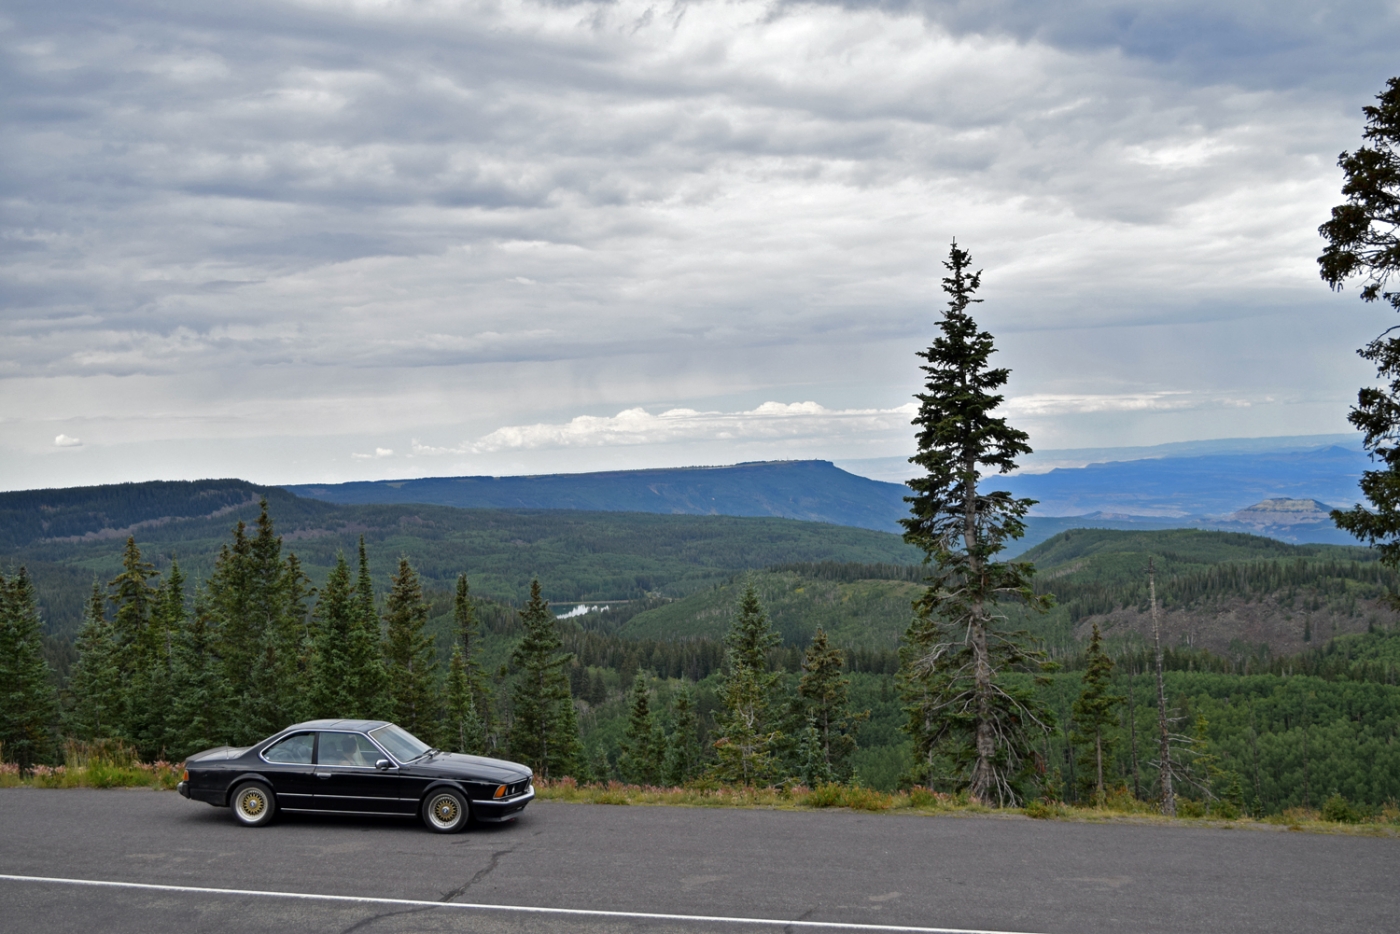
Overlooking the Land's End observatory of Grand Mesa.
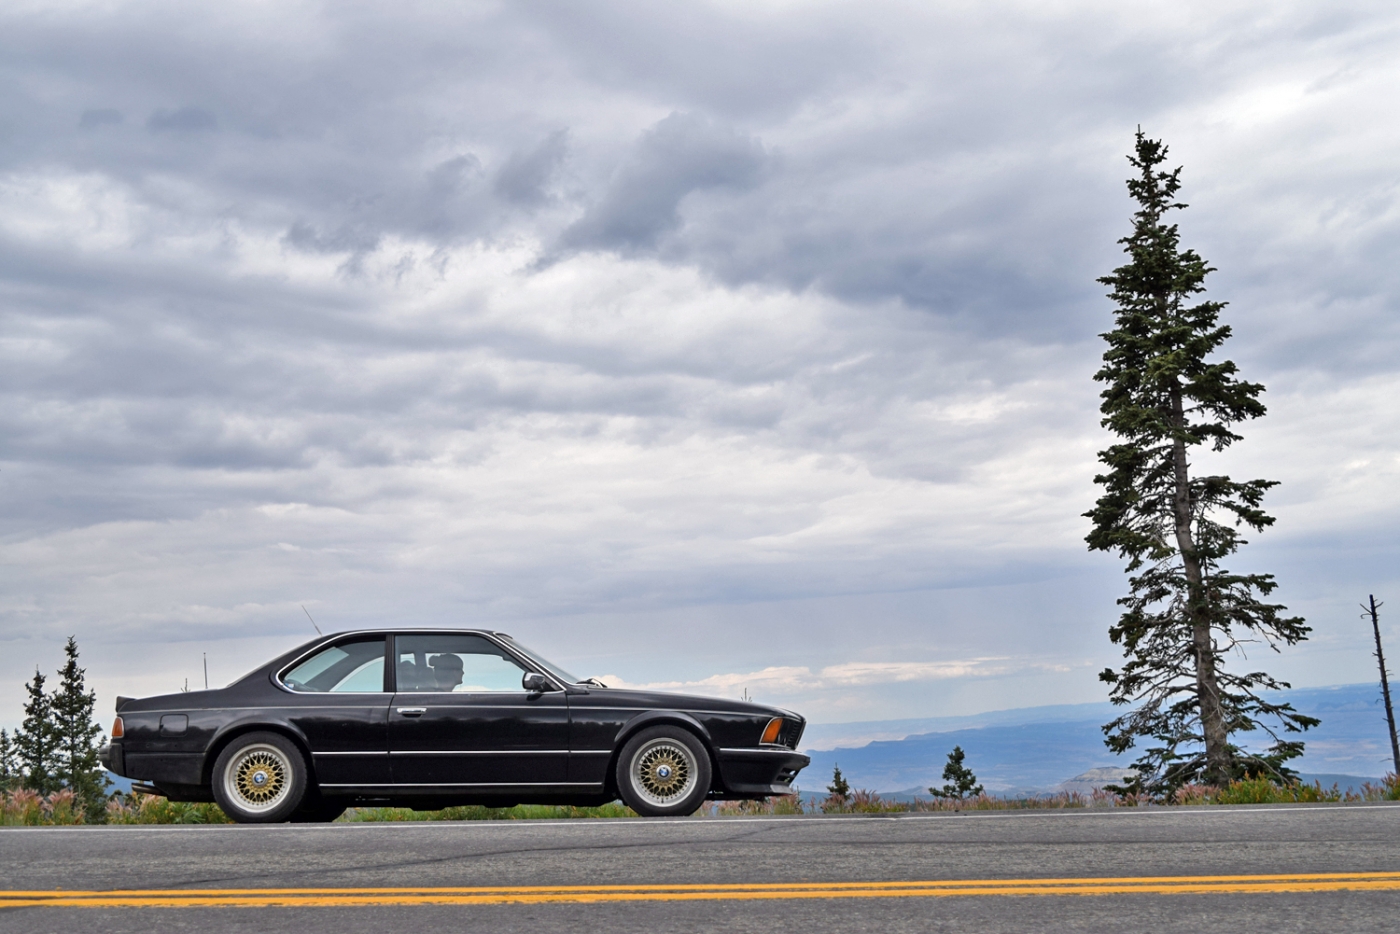
But I also got some photos of the car on the long return route home. We took US 550 from Durango along the Million Dollar Highway (some of the footage in the above video is from that route) to Ouray. It isn't the best driving road as there isn't much passing space but it is very scenic and there are quite a few cliffs without guard rails.
The two sharks at Wolf Creek Pass. The other is a true euro 633CSi, very early production in 1976. He actually showed me something with the original headlights-- they had the VIN stamped into the glass. He had only one remaining original headlight. Avery rare color too.

On our extended drive, we made a stop in Purgatory... let me tell you it is not so bad with a group of BMW enthusiasts!


Looking over the historic mining town of Silverton

My headlight got busted on the way up Wolf Creek Pass. Poor euro lens

We did some dirt road driving. The dirt road and billowing dust was the most awesome I have ever driven. Didn't get good pictures of it, but got a neat one of my friend's M5.


Intercooler is visible. But i sure did get a lot of rock chips on my spoiler this trip!

Overlooking the Land's End observatory of Grand Mesa.


-
marc79euro645
- Posts: 513
- Joined: Dec 08, 2008 11:33 PM
Re: Callaway 633CSi - 8/24/2016 - MS2 Install/ No-start issu
Nice to see some other sharks on this board. Yours looks nice,very similar to mine(also black euro).
Nice scenery too.
Nice scenery too.
Re: Callaway 633CSi - 8/24/2016 - MS2 Install/ No-start issu
marc79euro645 wrote:Nice to see some other sharks on this board. Yours looks nice,very similar to mine(also black euro).
Nice scenery too.
Thanks-- I don't think I have seen pictures of yours! I imagine it is very similar to my '80, but do you have M90, M30B34 or B35 in your shark?
