Minerva: The S54 powered, better than new, E28
Re: Project Minerva: S54 powered E28 daily driver
Difficulty is all perspective.
-
delorean175
- Posts: 493
- Joined: Nov 16, 2009 5:36 PM
- Location: San Antonio TX
Re: Project Minerva: S54 powered E28 daily driver
I feel like the wiring aspect shouldn't be too difficult. I wanted to wire the car up so the e24 fuse box lid was correct.cek wrote: I am actually, seriously, considering it. All I've heard is "ooh, that will be hard". But I've studied the wiring diagrams and I don't think it will be.
Been meaning to post a WTB ad for an e24 wiring harness and box...
As far as fitting correctly and looking stock, I saw 2 issues. On the e24 box there are 2 tabs with bolt holes in them, they are spaced too far apart to bolt right up to the e28 studs (the ones the e28 base bolts with). I'm sure a nice clean bracket could be fashioned up to solve this. The other issue is the air shock base mounts to a welded on bracket, its right in the way of where the wiring harness exits the box. I've even considered making an adapter to allow the blade fuse panel to bolt to the e28 base. The 2 screws that secure the panel to the base are oriented backwards. So the e24 panel can't screw into an e28 base. Other than that the e24 panel fits up to the e28 box and looks correct. I have an extra e28 base for mocking up some sort of an adapter for the e24 panel. All of this went on hold a while back and I haven't had any motivation to pick it back up.
-
maybeillbuyit
- Posts: 535
- Joined: Feb 01, 2014 12:00 PM
- Location: Vancouver BC
Re: Project Minerva: S54 powered E28 daily driver
I also couldn't zoom in enough to see the sched. Doesn't matter, I was just looking to confirm it was way beyond me. I love the blue fire spitting out that S54 though. Its a great project Charlie. I'm going back to my garage and keep puttering and muttering to myself.
Re: Project Minerva: S54 powered E28 daily driver
On Monday the car moves from the shop that got the engine in and running (Phase 2) to the shop that will complete the build (Phases 3-7). I'm going with 425 Motorsports. I've known the owner (Dan) since the 90s when he was my go to guy for service on my 911 before I figured out I could do it all myself. I've seen tons of his work and like his style. We spent 2 hours a few weeks ago reviewing my plans and he gave me confidence he 'gets it'.
Yes, I'm going there with the 'checkbook wrench' and paying someone else to do most of the work....life is such that it's clear I do not have the time to do all the work as originally planned. I still have the option of restoring subcomponents and parts myself, and can pull back to my garage at anytime.
Phase 3 is "prep for body and paint" and involves complete tear down, selection of paint/body guy, and selection of doors.
The paint/body guy preferred by 425 will meet me at the 425 shop on Weds and, with the patient present, I will discuss my plans and 'interview' him. Ken (the guy who did Vlad) just texted me 'im ready' but his new shop is in Eastern Washington which is very sub-optimal. So my inclination going in is to go with Dan's guy. I have seen his work and it meets my standards, but we need to 'click' too.
Phase 4 is body/paint.
Phase 5 is reassembly sans interior.
Phase 6 is interior.
Phase 7 is shakedown/tweaks.
These are not really serialized as there's a lot of stuff that can and will be done in parallel such as seat upholstery.
Yesterday I got all the parts that need paint together (euro bumper parts, new euro rear panel, mirrors, etc...). Also the doors from the 88 turbo car so we can pick which doors to use. I'll drive these over to 425 on Weds.
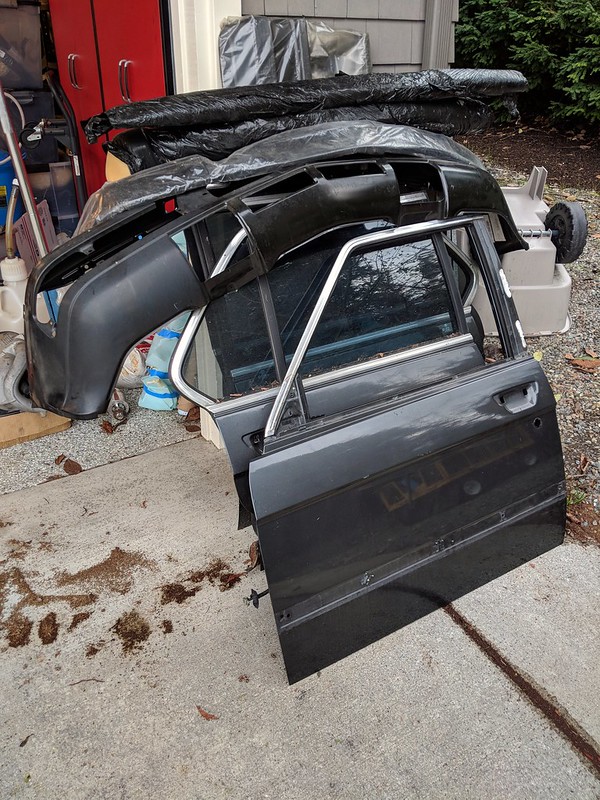
Dan is ready to move quickly and says the paint guy is too. I'm excited to bear down on the inventory of all parts and ticking off more and more 'new or as-new' checkboxes in the 'condition' column (I have a massive spreadsheet with almost every part listed).
Yes, I'm going there with the 'checkbook wrench' and paying someone else to do most of the work....life is such that it's clear I do not have the time to do all the work as originally planned. I still have the option of restoring subcomponents and parts myself, and can pull back to my garage at anytime.
Phase 3 is "prep for body and paint" and involves complete tear down, selection of paint/body guy, and selection of doors.
The paint/body guy preferred by 425 will meet me at the 425 shop on Weds and, with the patient present, I will discuss my plans and 'interview' him. Ken (the guy who did Vlad) just texted me 'im ready' but his new shop is in Eastern Washington which is very sub-optimal. So my inclination going in is to go with Dan's guy. I have seen his work and it meets my standards, but we need to 'click' too.
Phase 4 is body/paint.
Phase 5 is reassembly sans interior.
Phase 6 is interior.
Phase 7 is shakedown/tweaks.
These are not really serialized as there's a lot of stuff that can and will be done in parallel such as seat upholstery.
Yesterday I got all the parts that need paint together (euro bumper parts, new euro rear panel, mirrors, etc...). Also the doors from the 88 turbo car so we can pick which doors to use. I'll drive these over to 425 on Weds.

Dan is ready to move quickly and says the paint guy is too. I'm excited to bear down on the inventory of all parts and ticking off more and more 'new or as-new' checkboxes in the 'condition' column (I have a massive spreadsheet with almost every part listed).
Re: Project Minerva: S54 powered E28 daily driver
I. Can't. Wait. To see this really get moving now.
Re: Project Minerva: S54 powered E28 daily driver
cek wrote:I had a bunch of very important work to do at work today. Instead of doing that, I built a complete schedule for Minerva.
That's the attitude.
Re: Project Minerva: S54 powered E28 daily driver
How long until 5erWest? Phase 7 FTW.
#goals
#goals
Re: Project Minerva: S54 powered E28 daily driver
Wrong year. Goal is 5erWest 2019.davintosh wrote:How long until 5erWest? Phase 7 FTW.
#goals
Maytag is going to 2018.
Re: Project Minerva: S54 powered E28 daily driver
Well 5erWest is never important enough to make it on the E28 calendar so cut him some slack I guess.
-
delorean175
- Posts: 493
- Joined: Nov 16, 2009 5:36 PM
- Location: San Antonio TX
Re: Project Minerva: S54 powered E28 daily driver
I might make it out this year :-) I think I saw Vlad at 5erwest in 2015. I saw a several red e28's parked next to each other.
Re: Project Minerva: S54 powered E28 daily driver
your signature photo is upsettingdelorean175 wrote:I might make it out this year :-) I think I saw Vlad at 5erwest in 2015. I saw a several red e28's parked next to each other.
Re: Project Minerva: S54 powered E28 daily driver
wkohler wrote:Well 5erWest is never important enough to make it on the E28 calendar so cut him some slack I guess.
My apologies. Won't happen again.
Re: Project Minerva: S54 powered E28 daily driver
A Gantt Chart! Now that is proper project management.
Re: Project Minerva: S54 powered E28 daily driver
All the chart doesn’t help if nothing gets done. What’s the status? Is she done yet?
Re: Project Minerva: S54 powered E28 daily driver
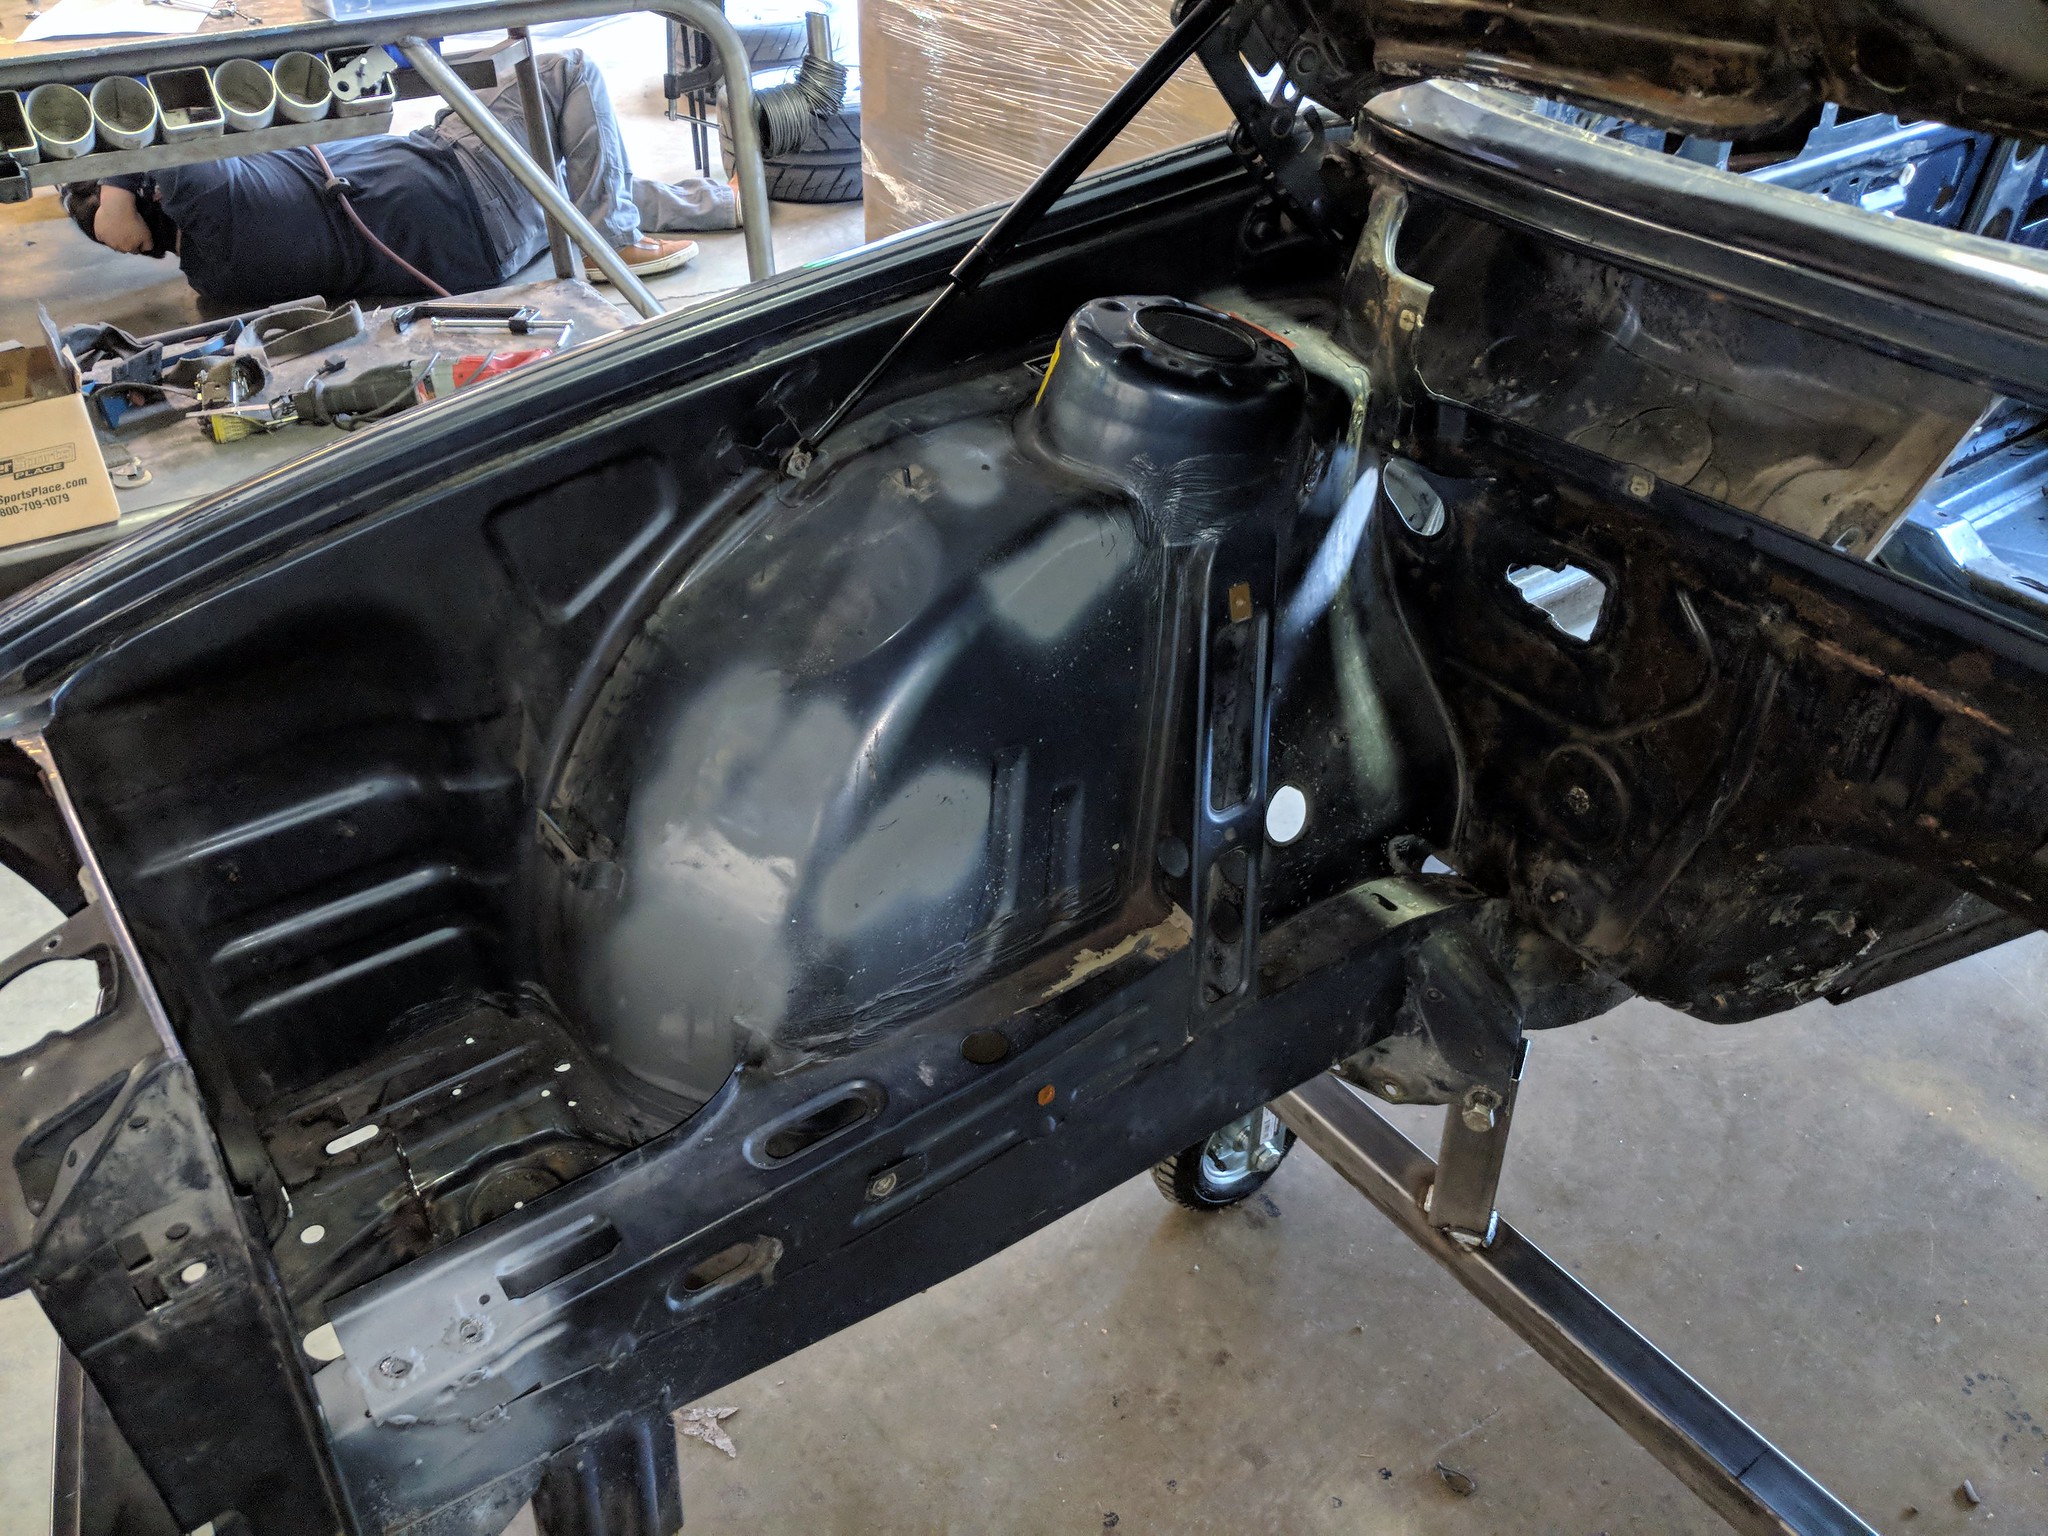
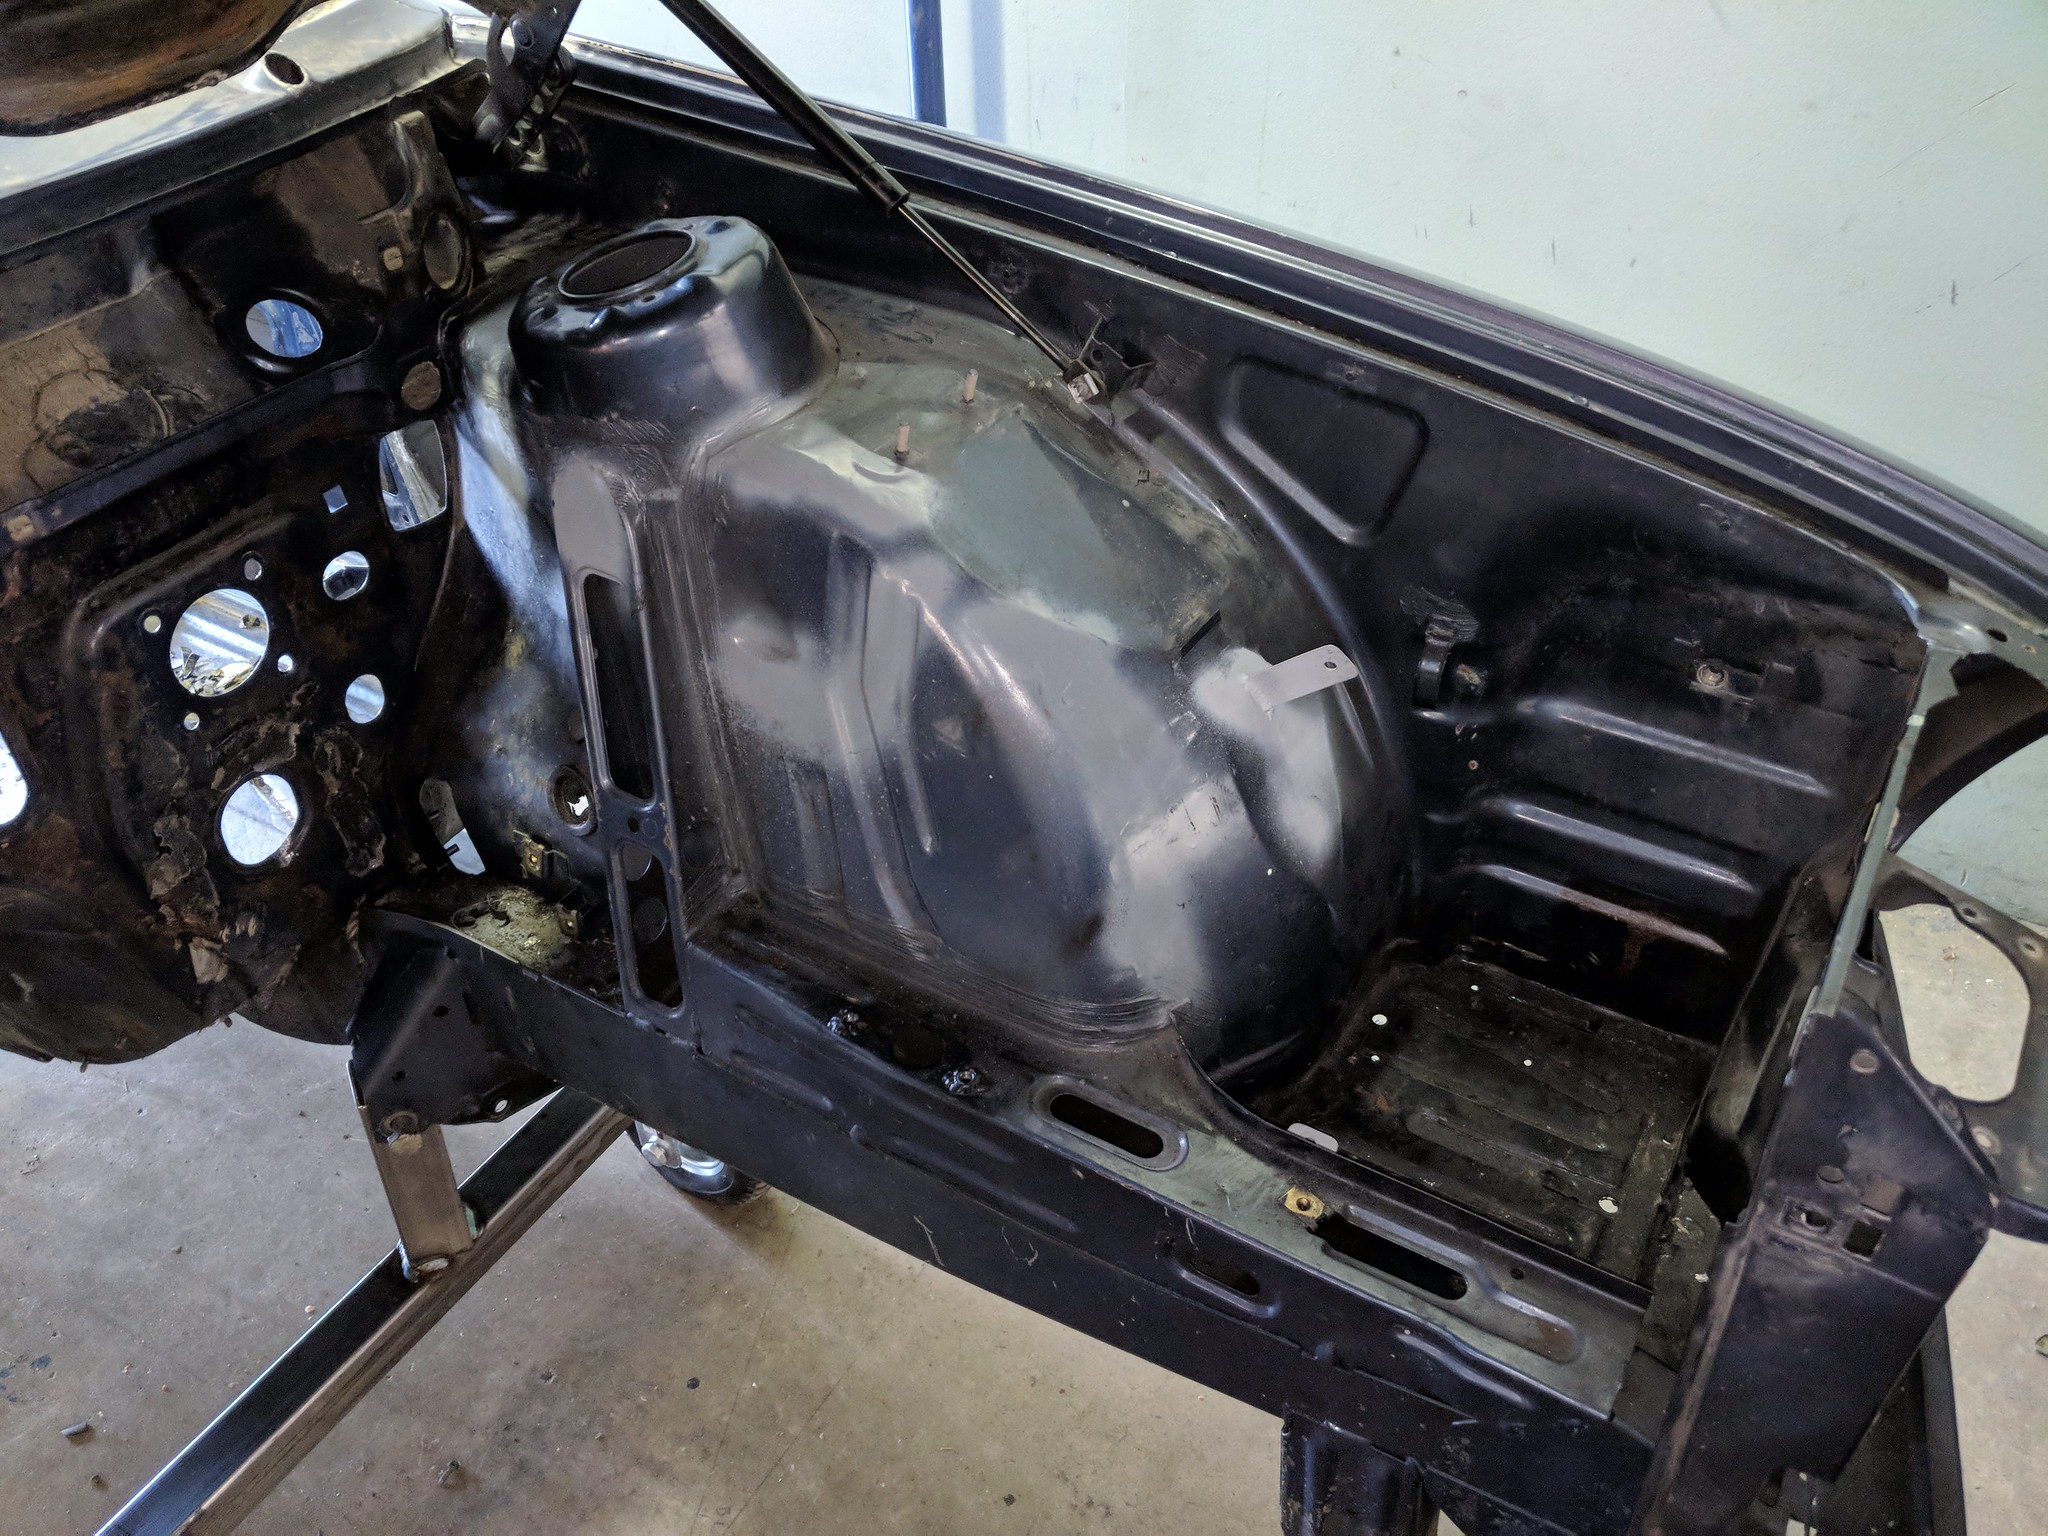
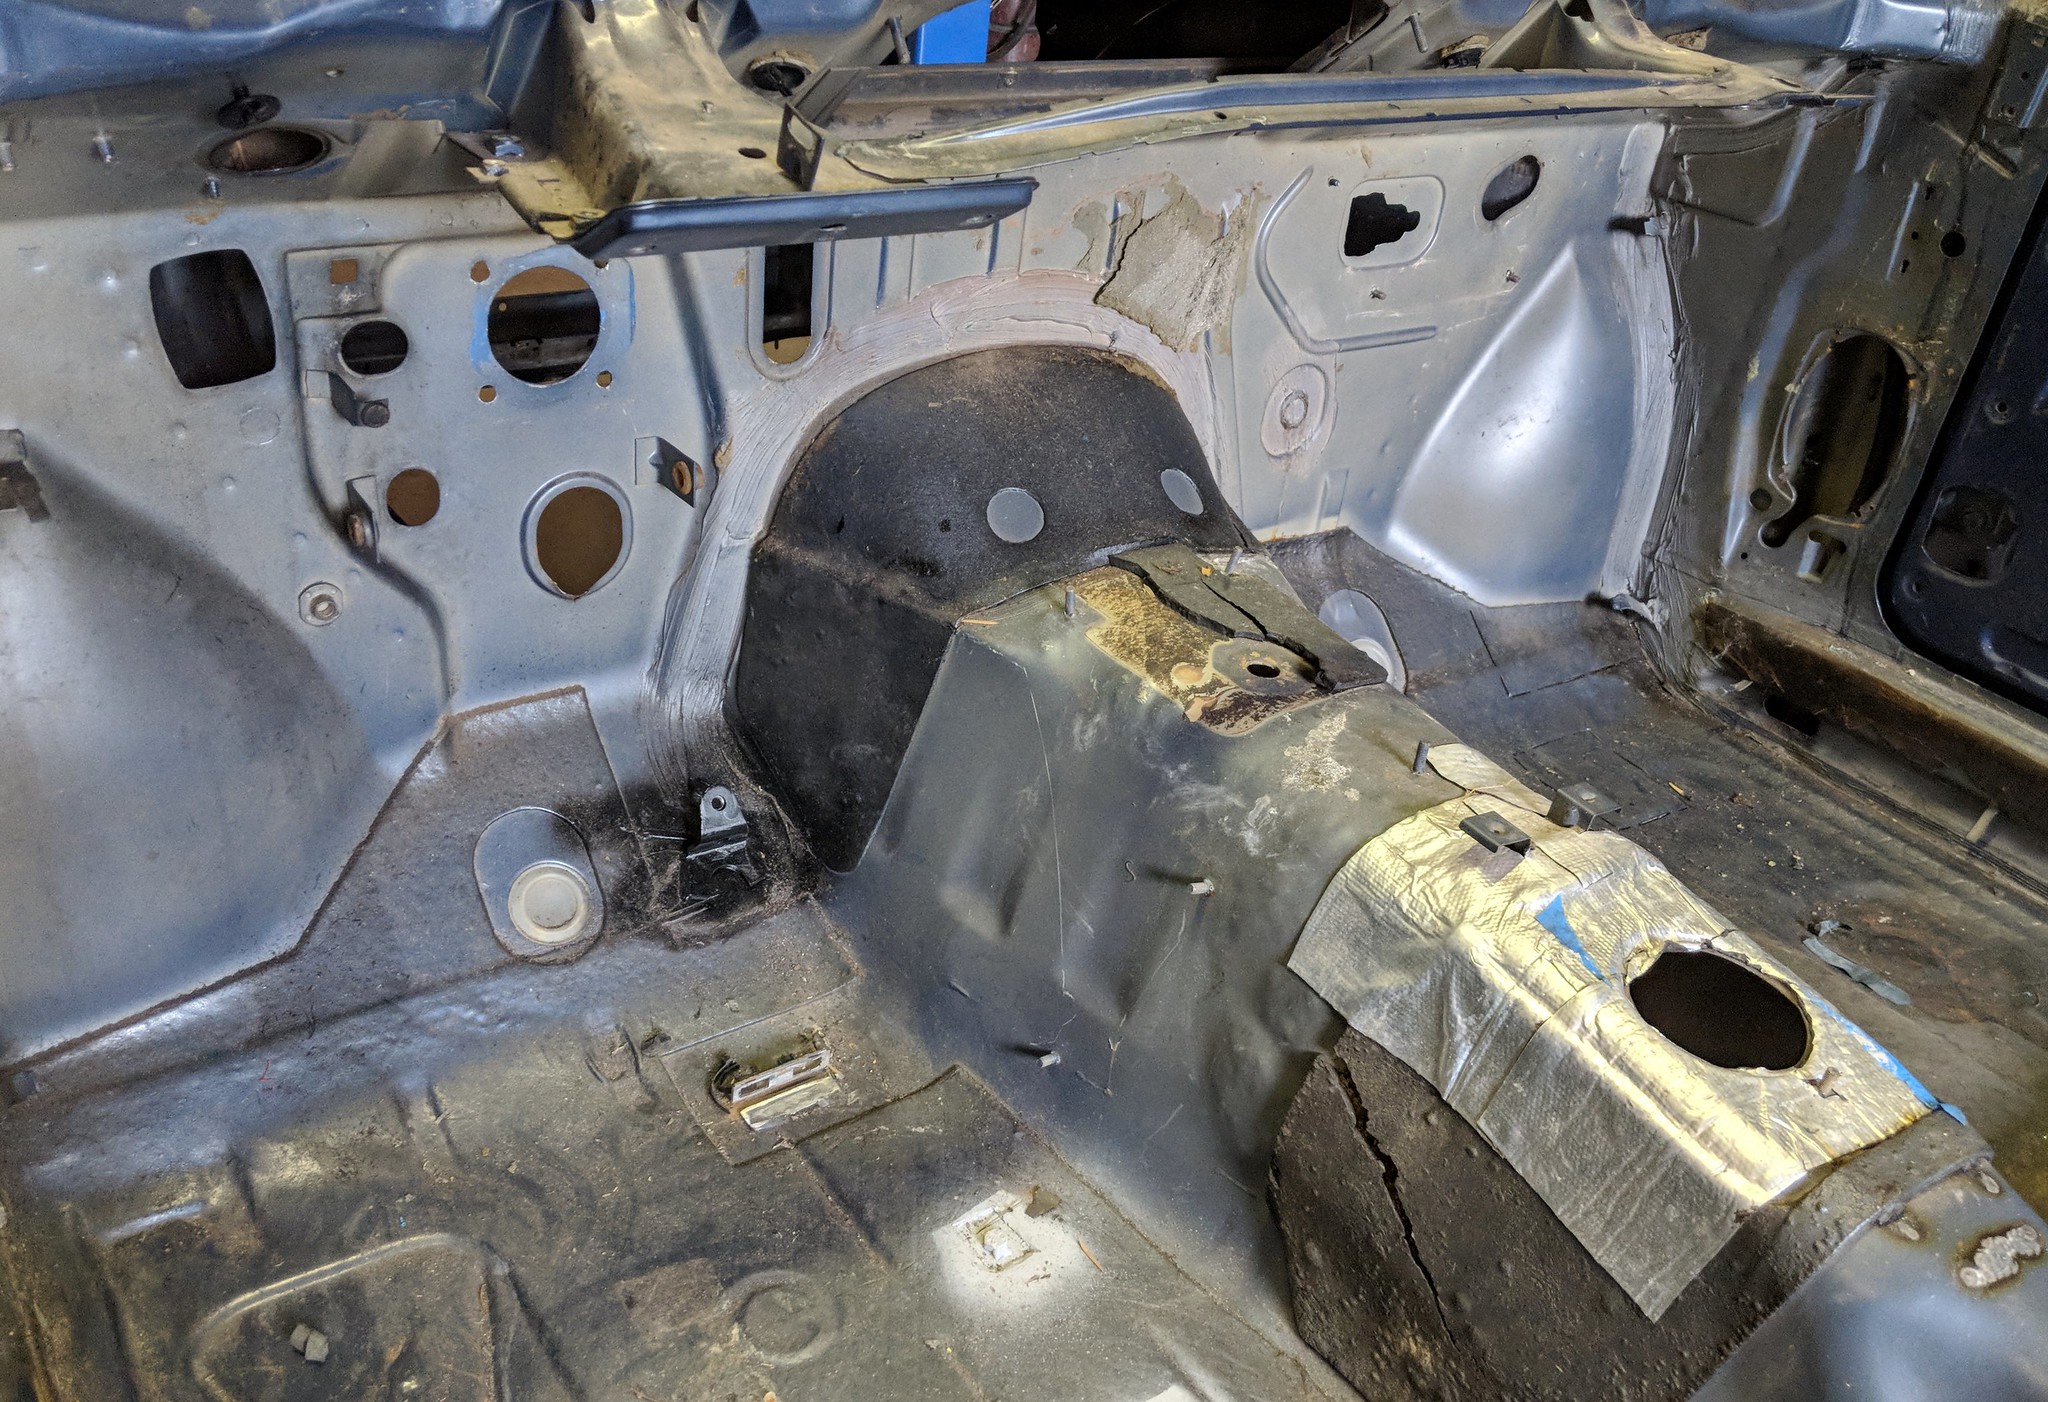
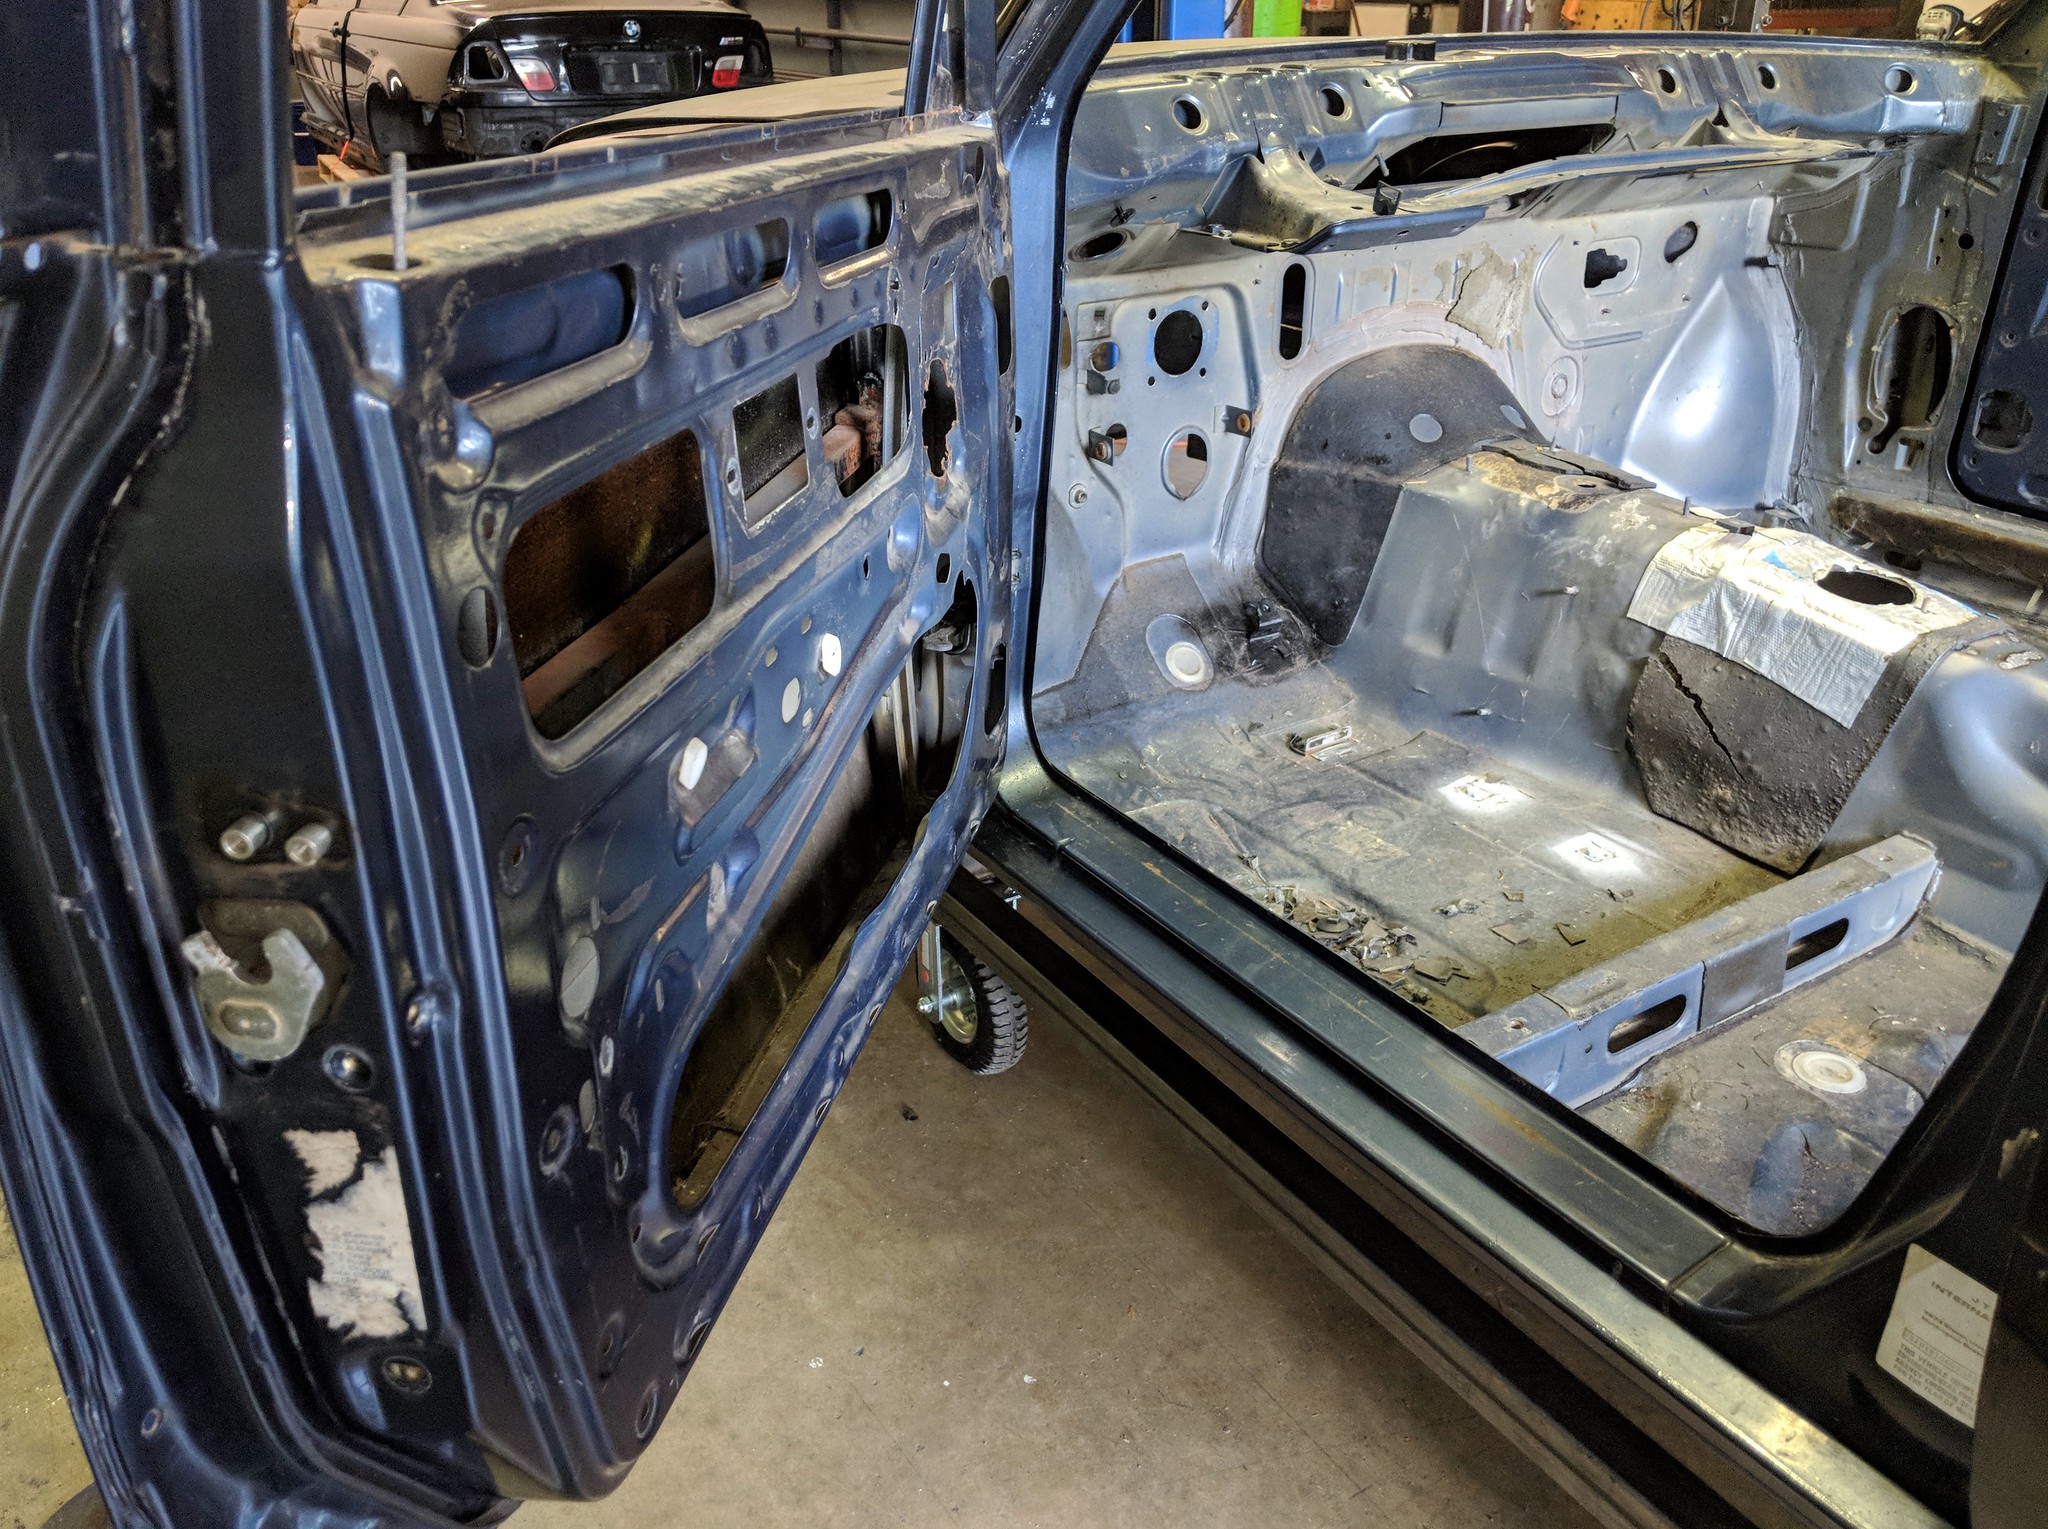
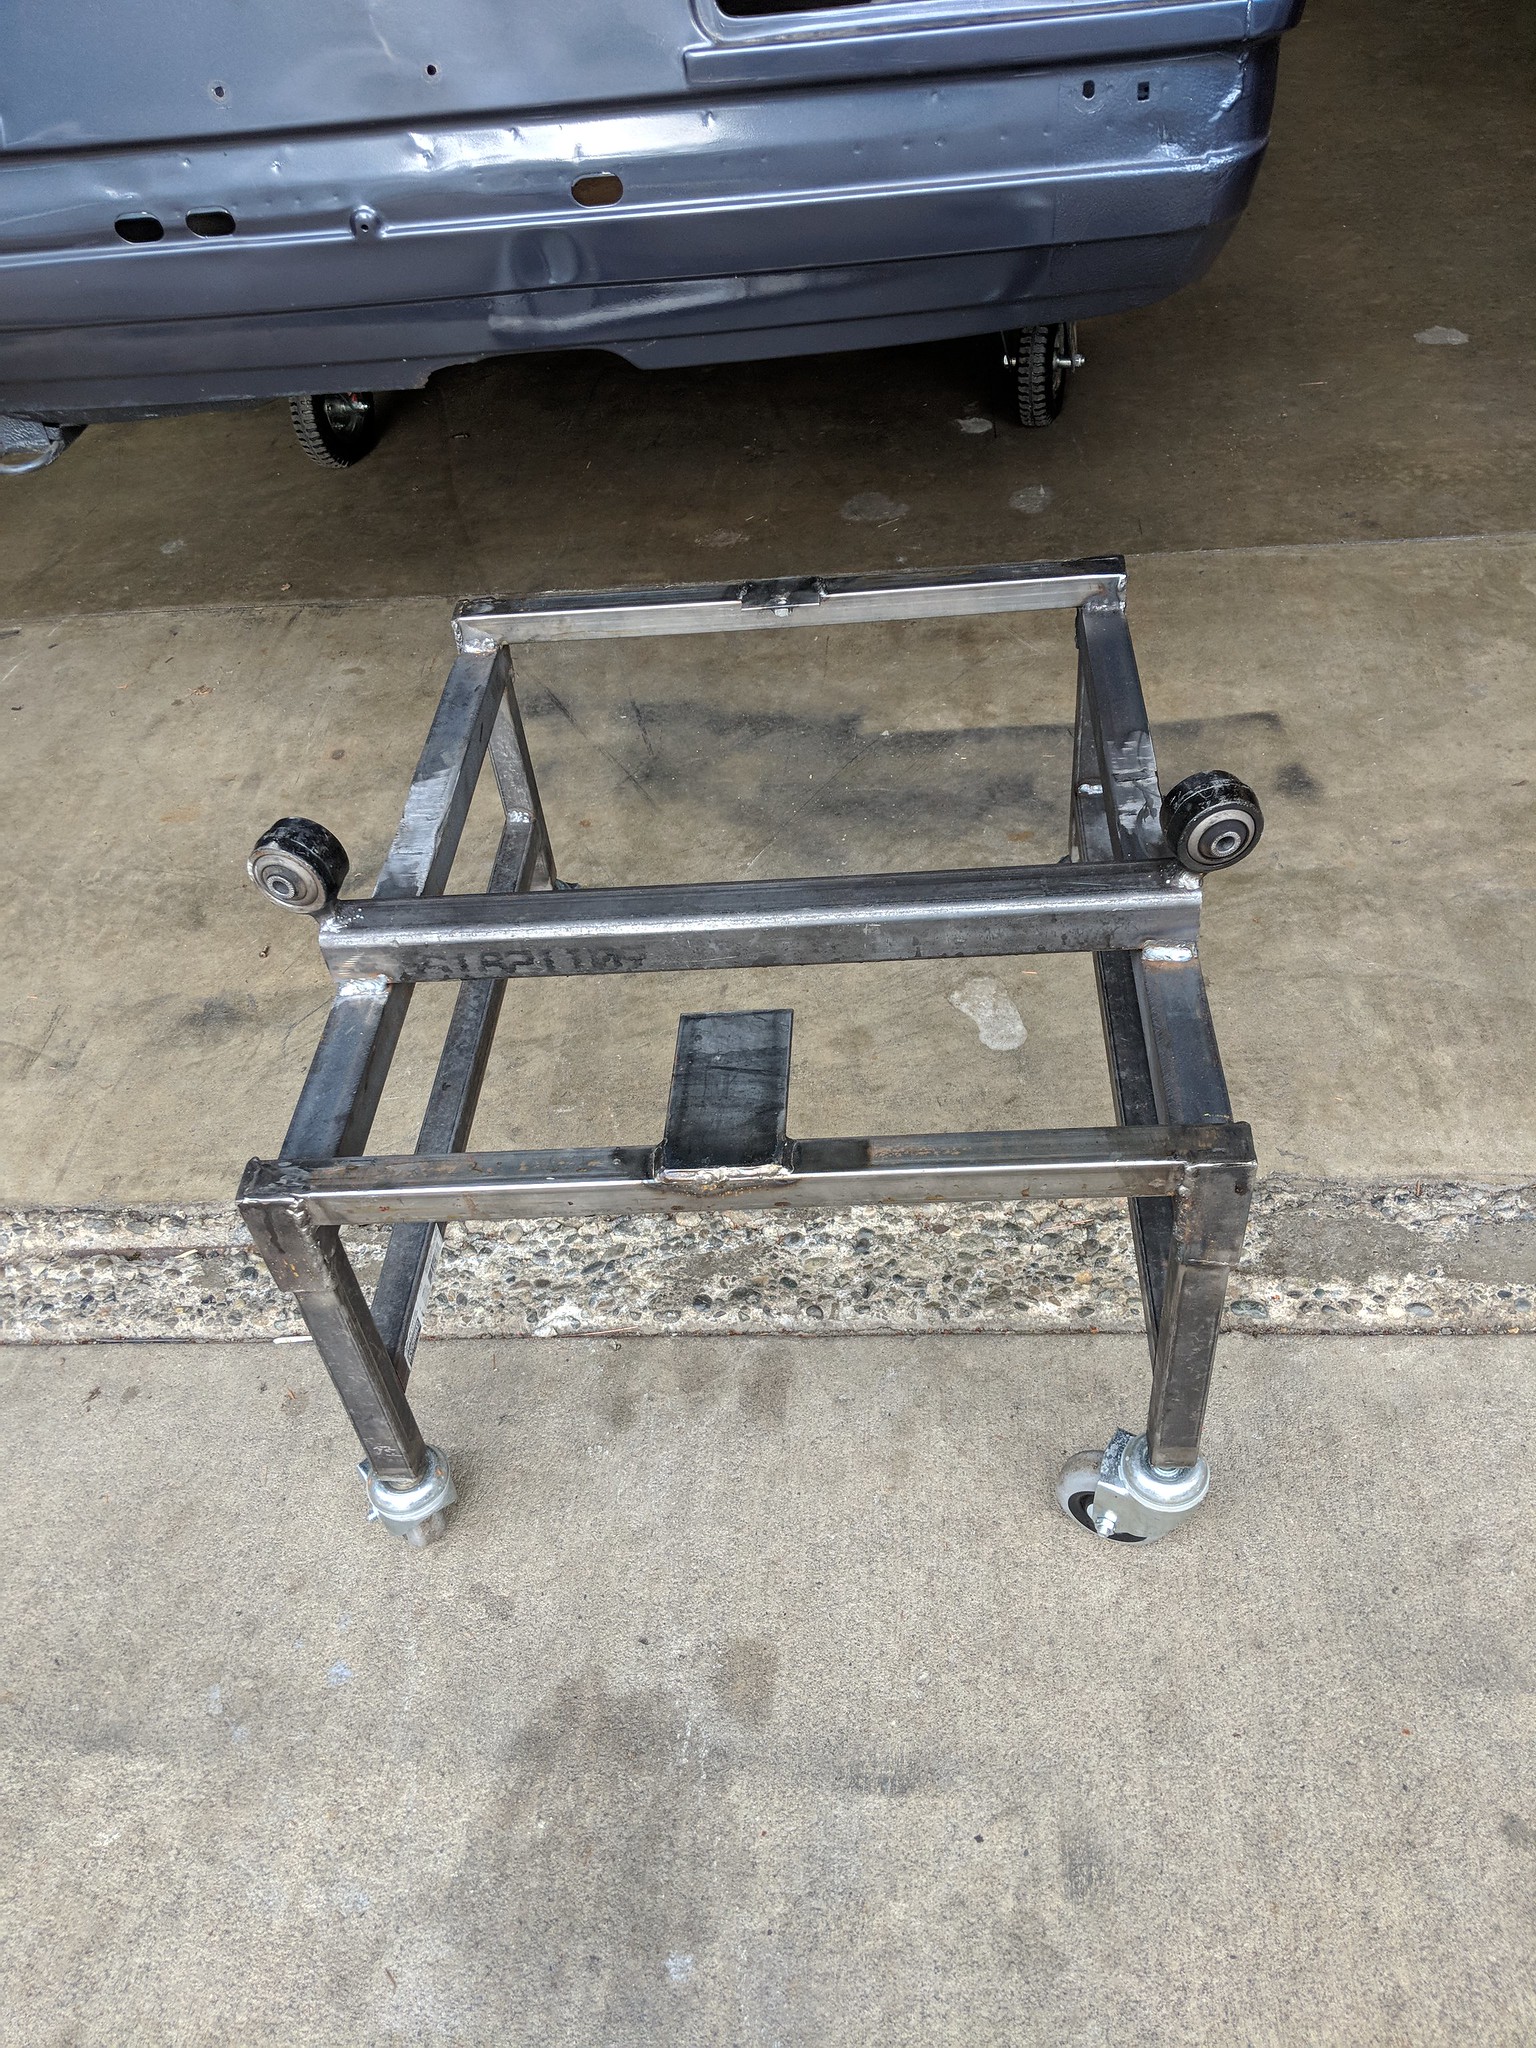
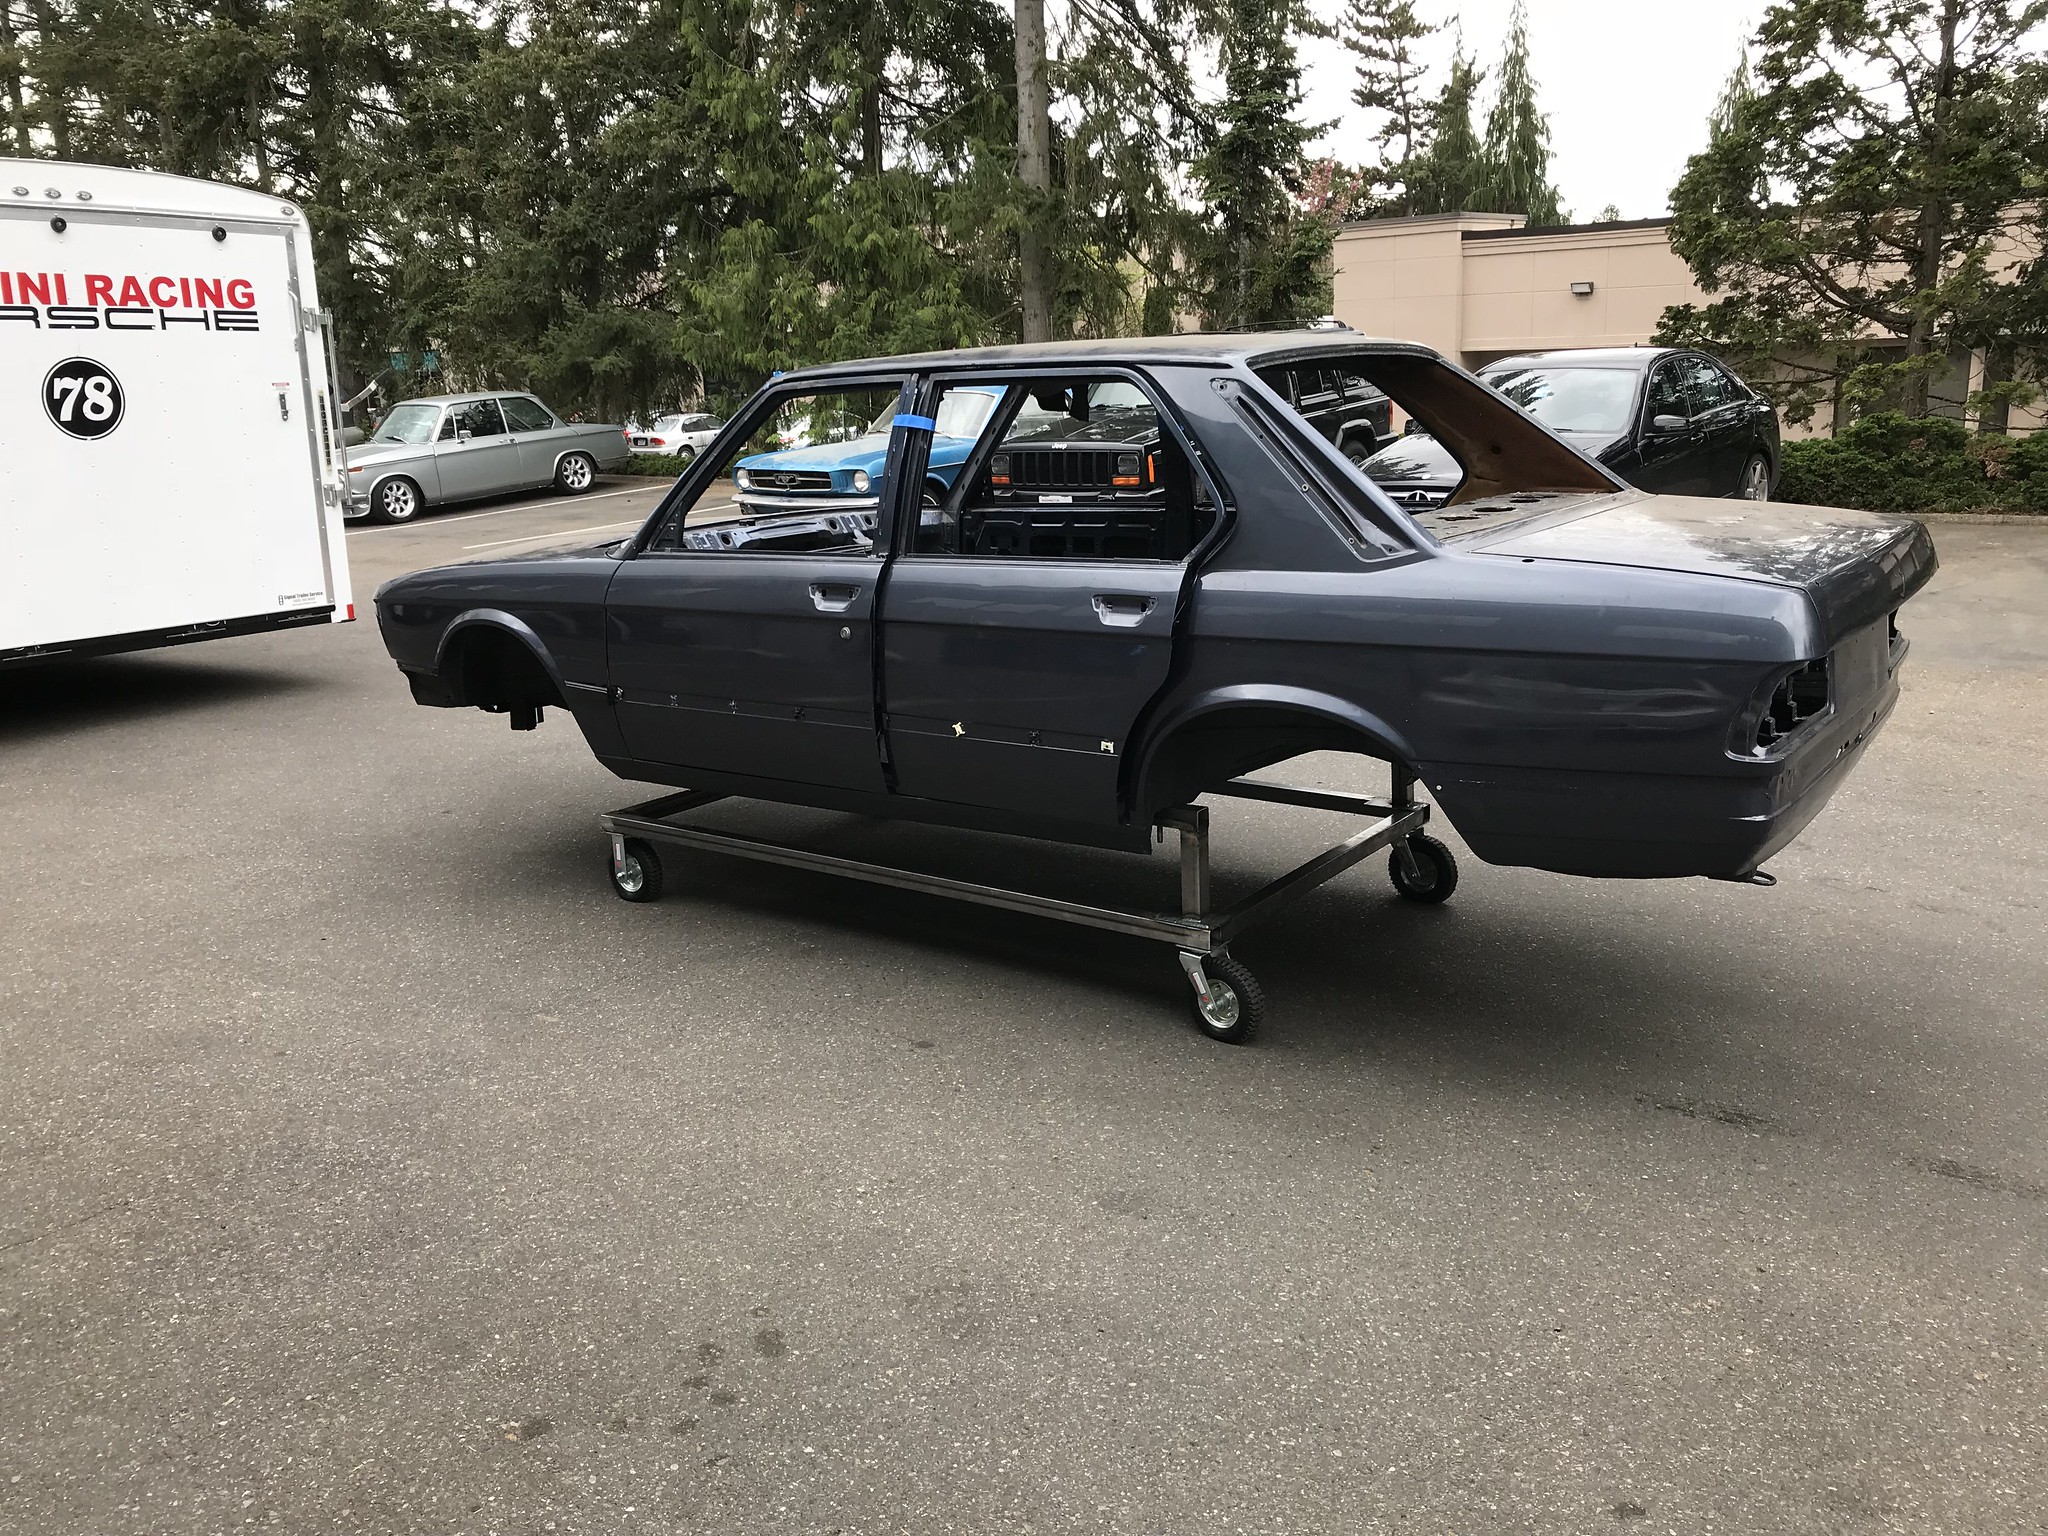
Today was a very, very good day... It heads to the body/paint shop tomorrow!BenGerman wrote:All the chart doesn’t help if nothing gets done. What’s the status? Is she done yet?
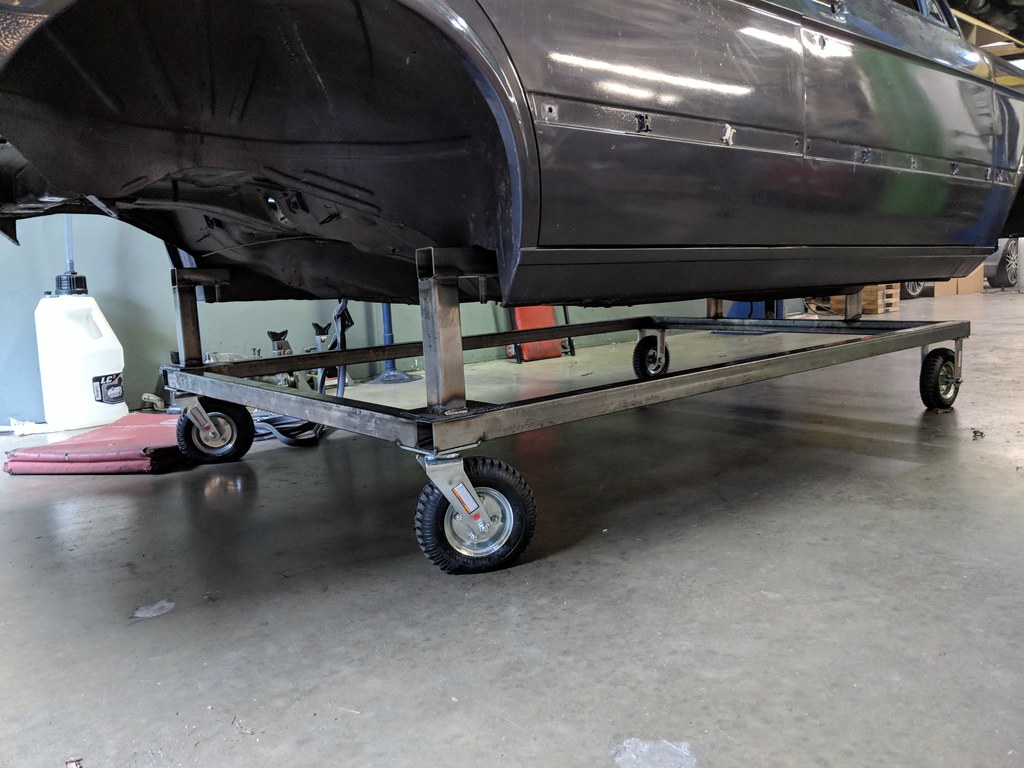
I'm digging the dolly they made. I get to keep it.
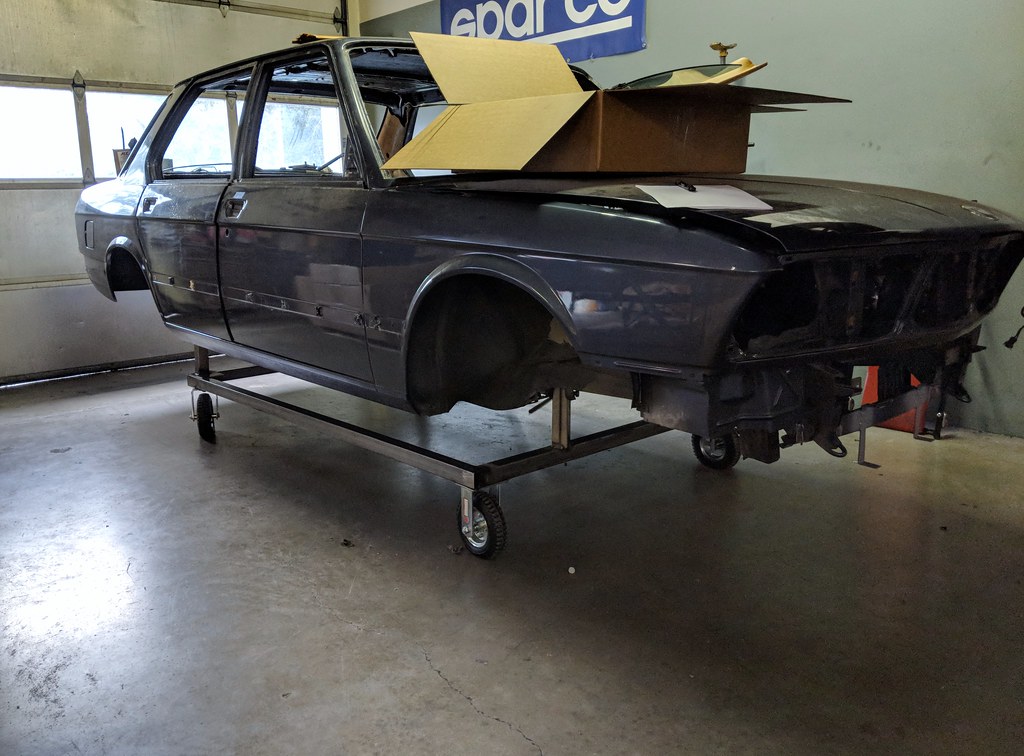
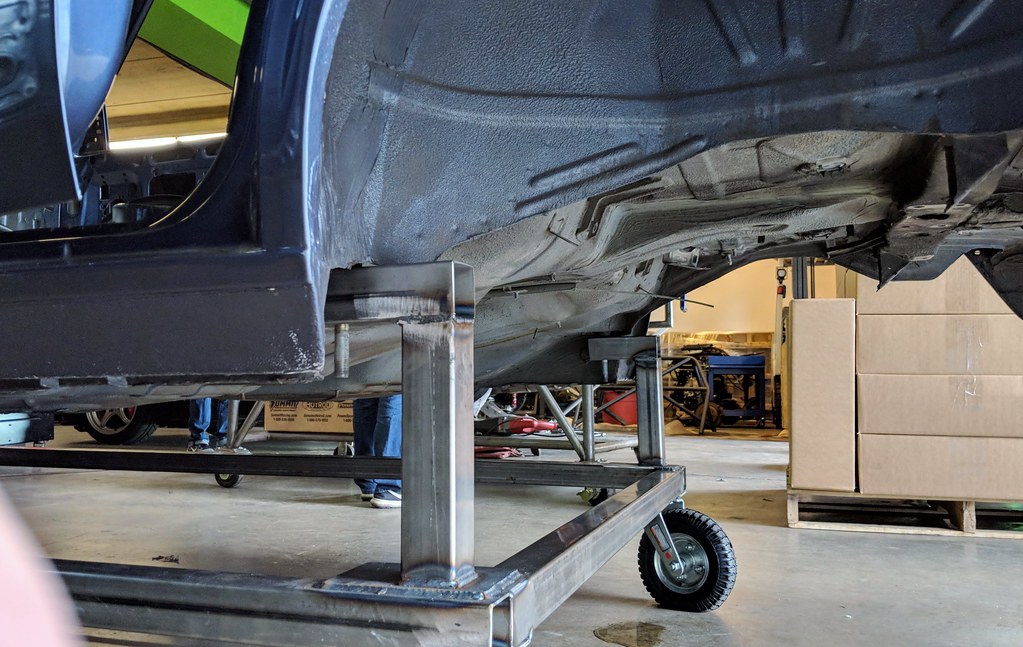
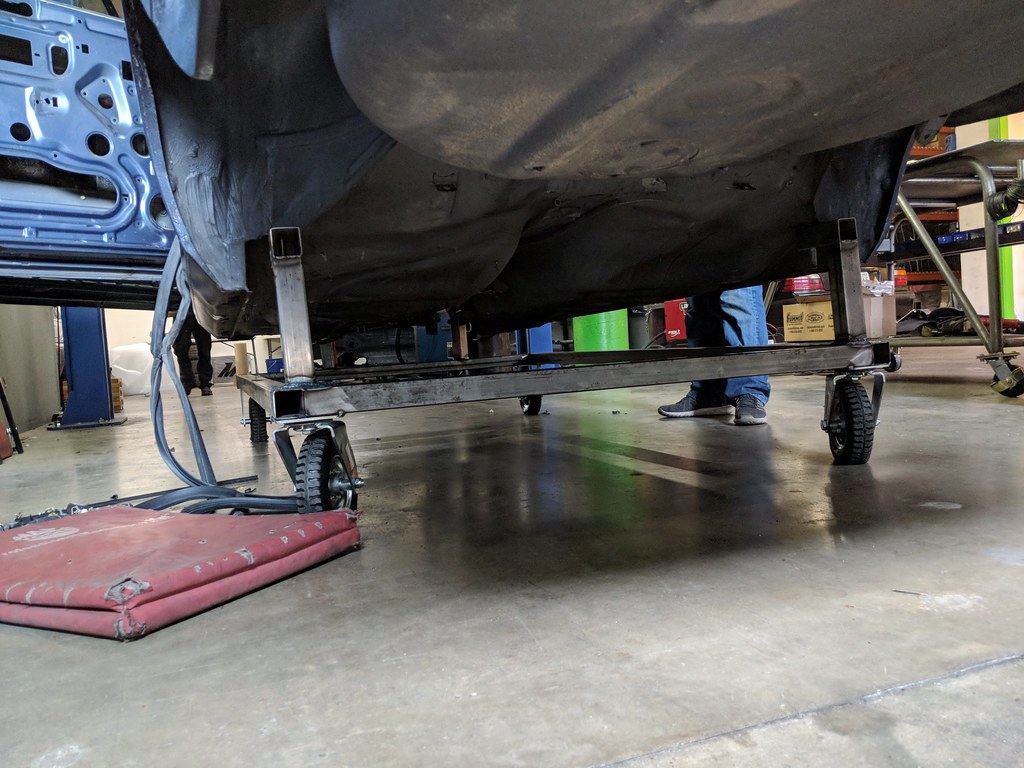
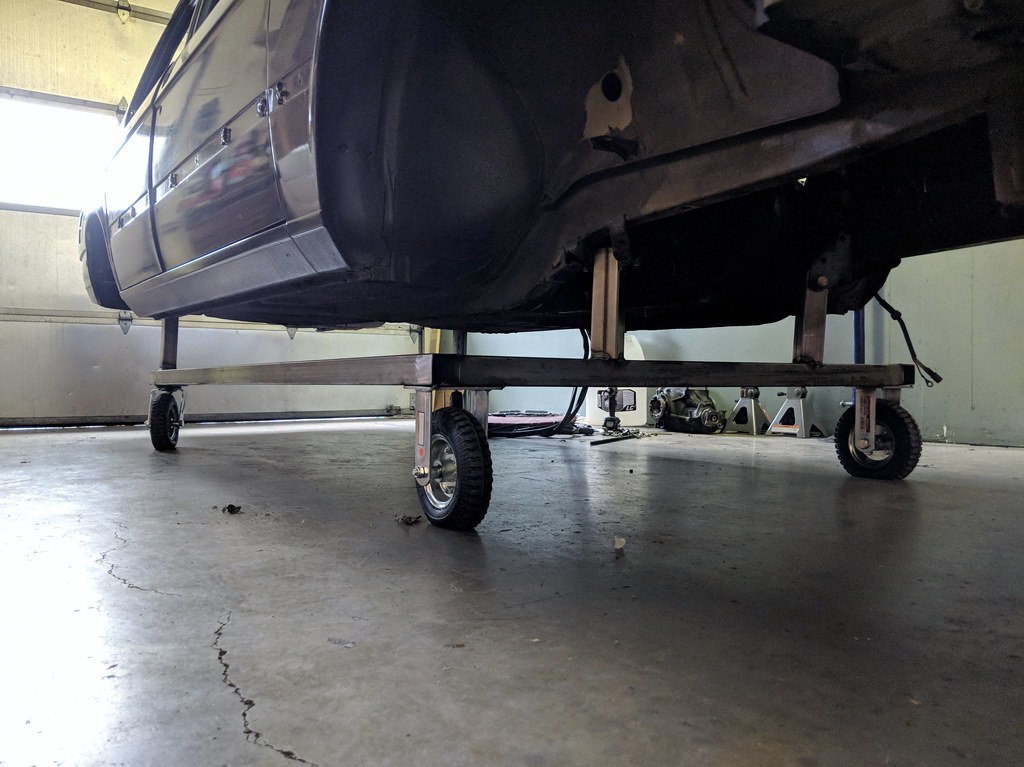
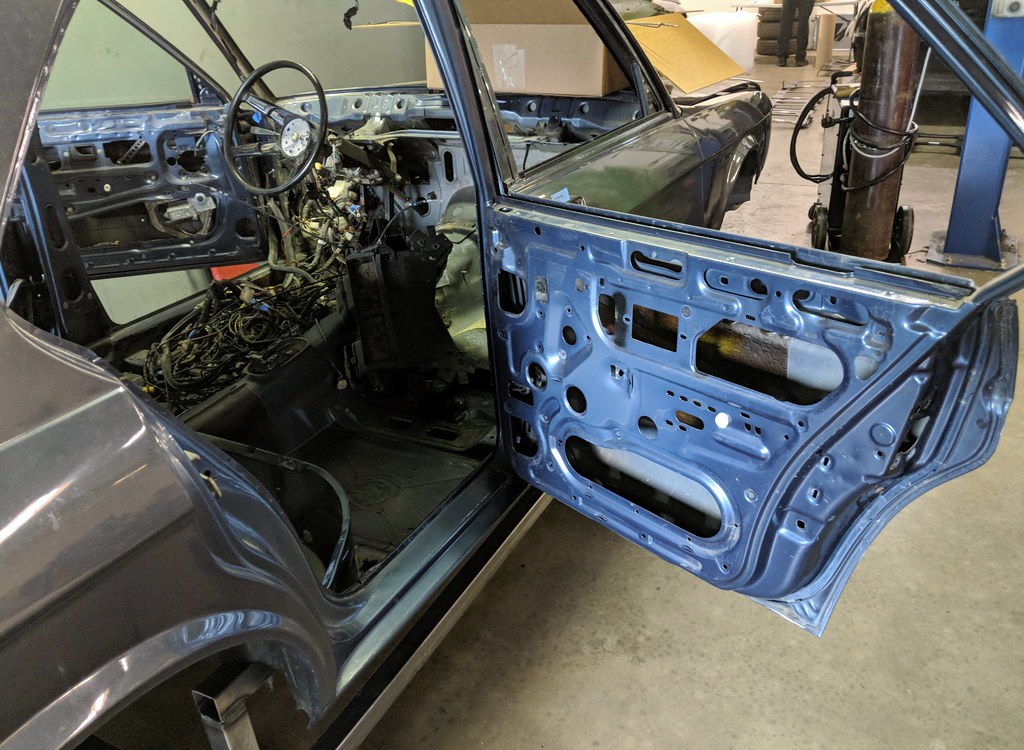
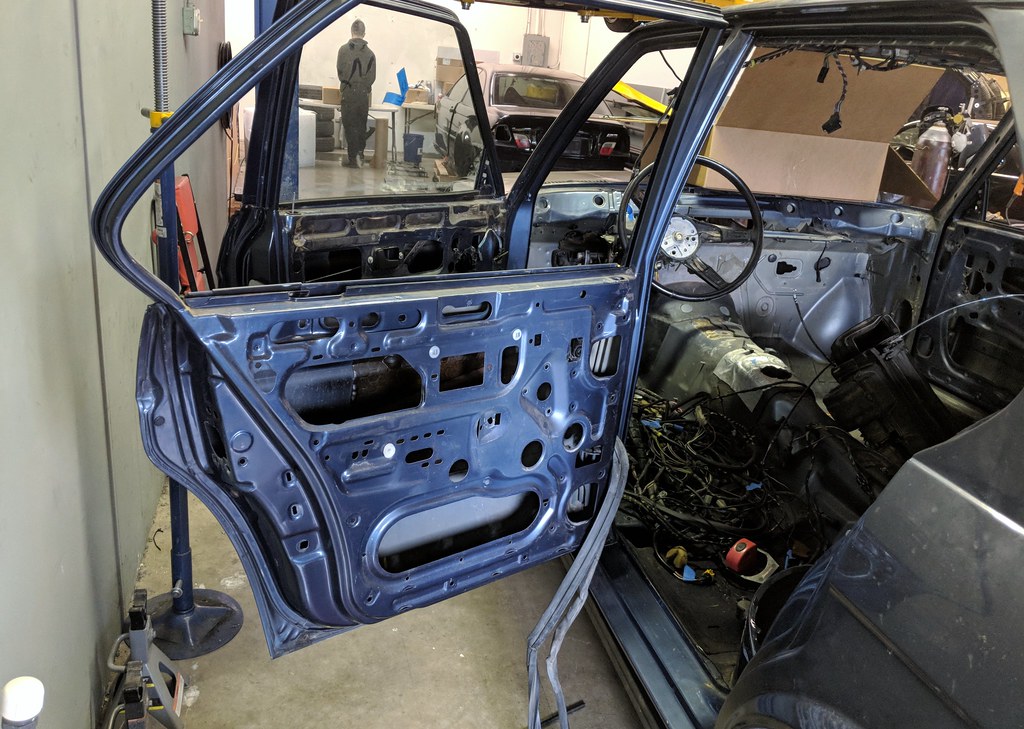
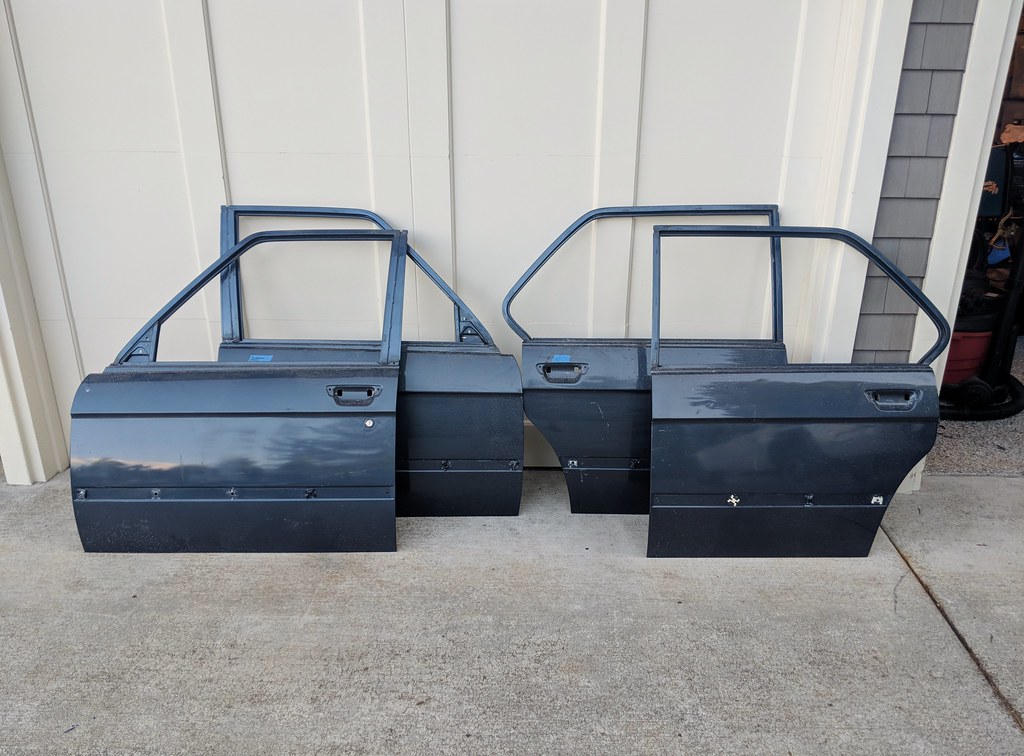
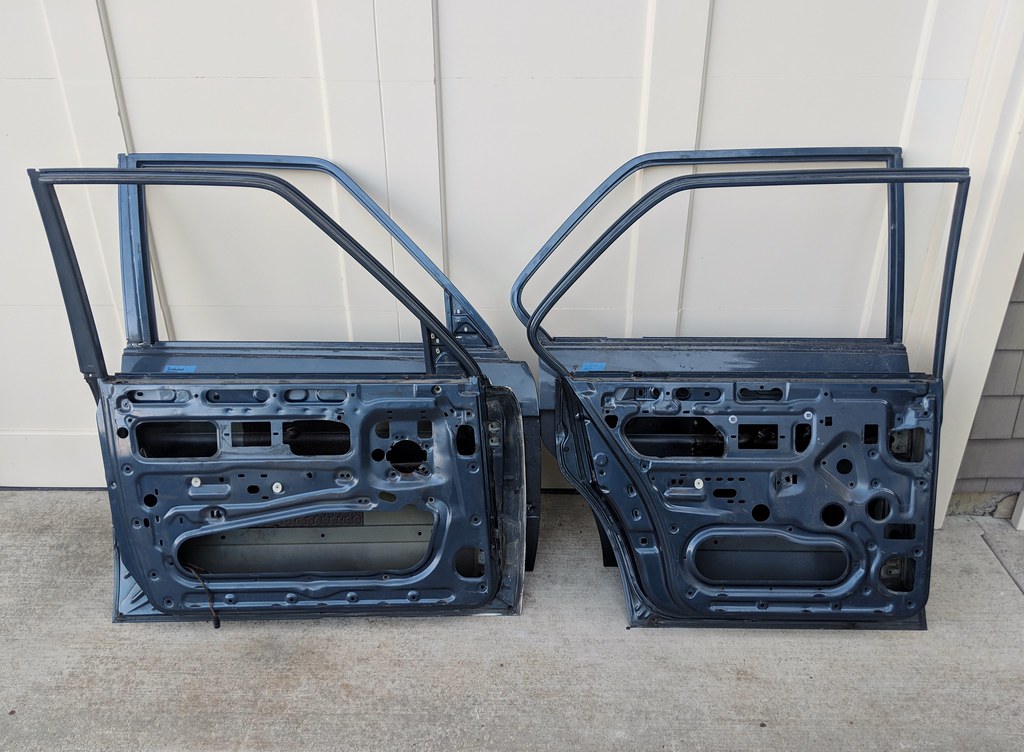
Still debating whether I use these Federalized doors or the doors from the 88 Turbo US car. I hate these ghetto welded in bars.
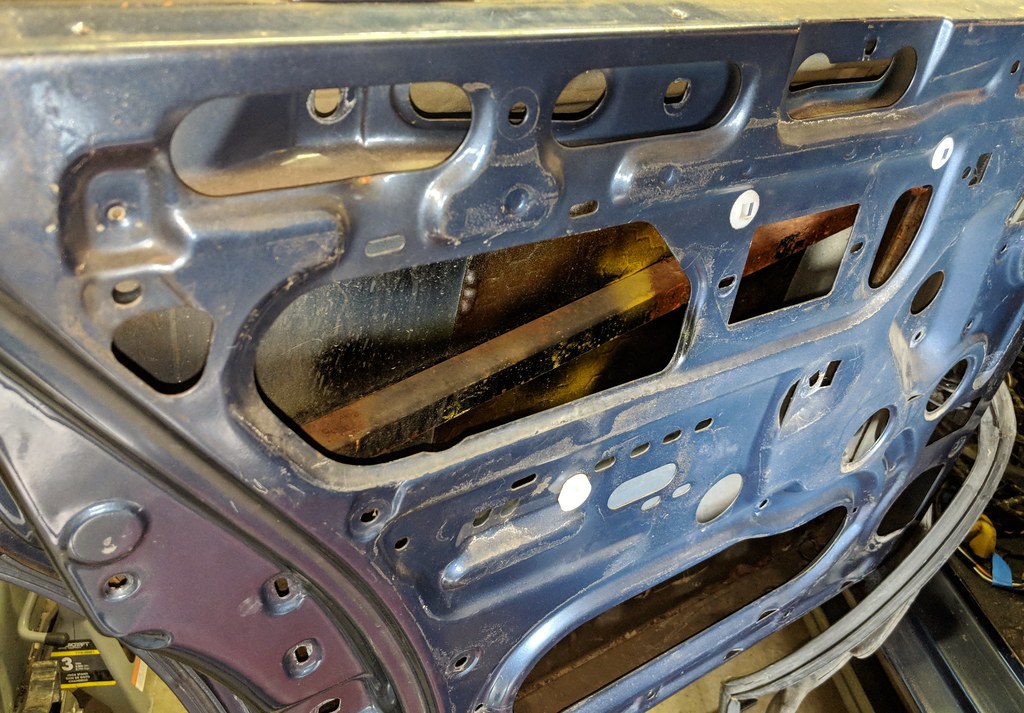
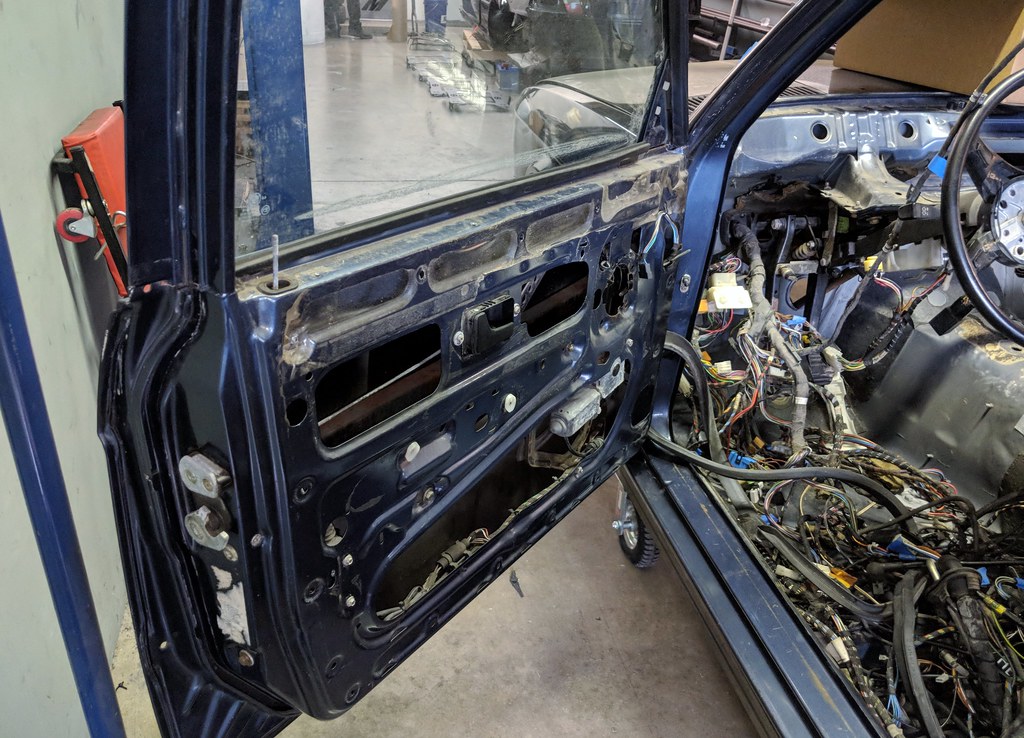
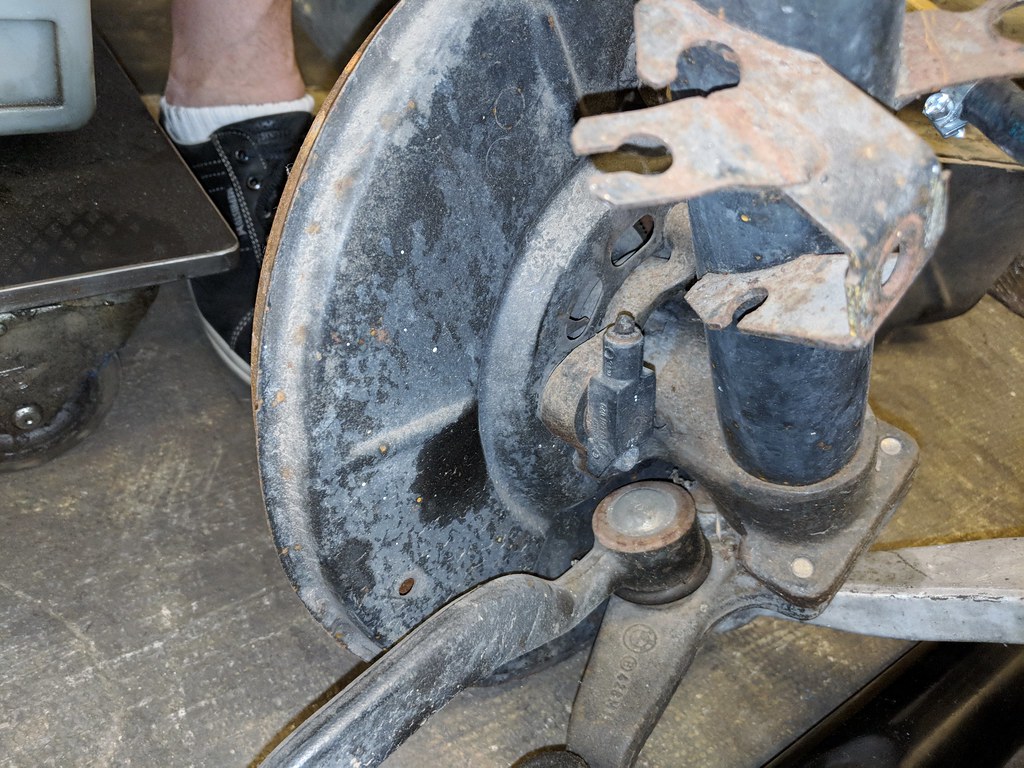
The story of ABS is odd on this car. VIN says "Has ABS". There's no ABS plumbing and there was no ABS pump and no brackets for an ABS pump. I've since had brackets welded in. I couldn't remember if the struts were ABS struts or not. Glad to see they are, because otherwise I'd be sourcing another set...
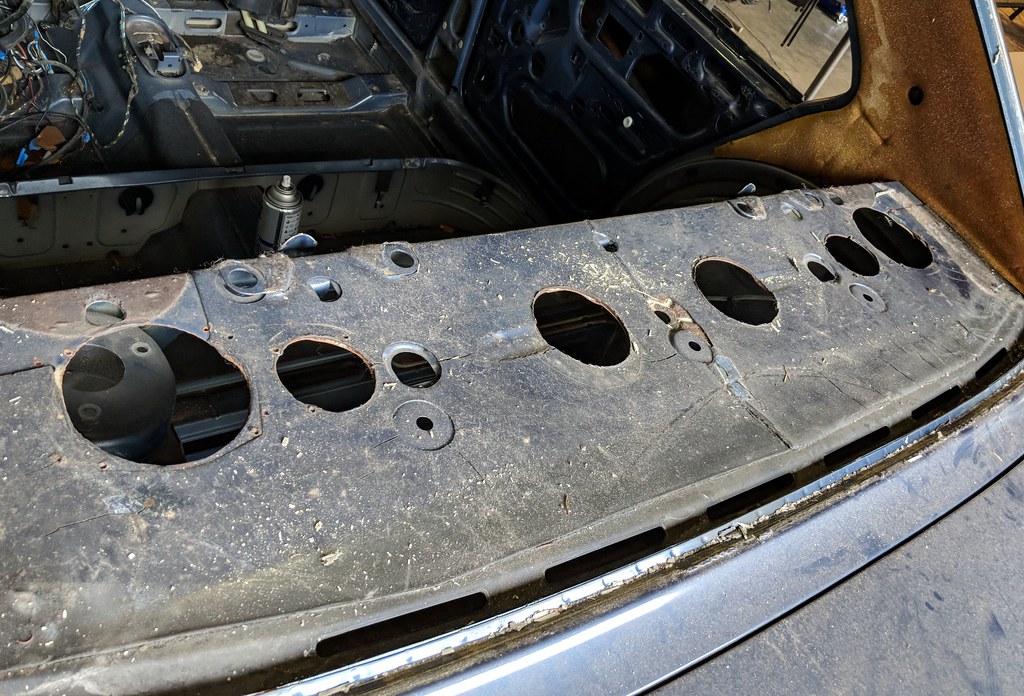
Between the shelf and the cut-outs of the rear seats, I would have loved to see the stereo some PO had in this car.
Fun!
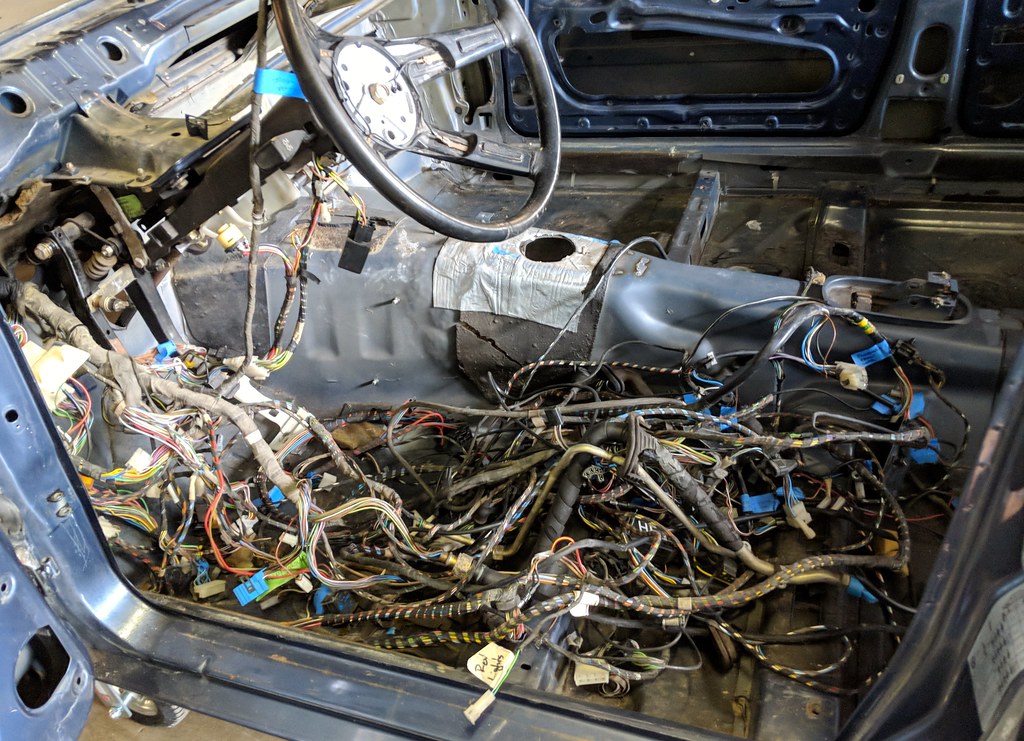
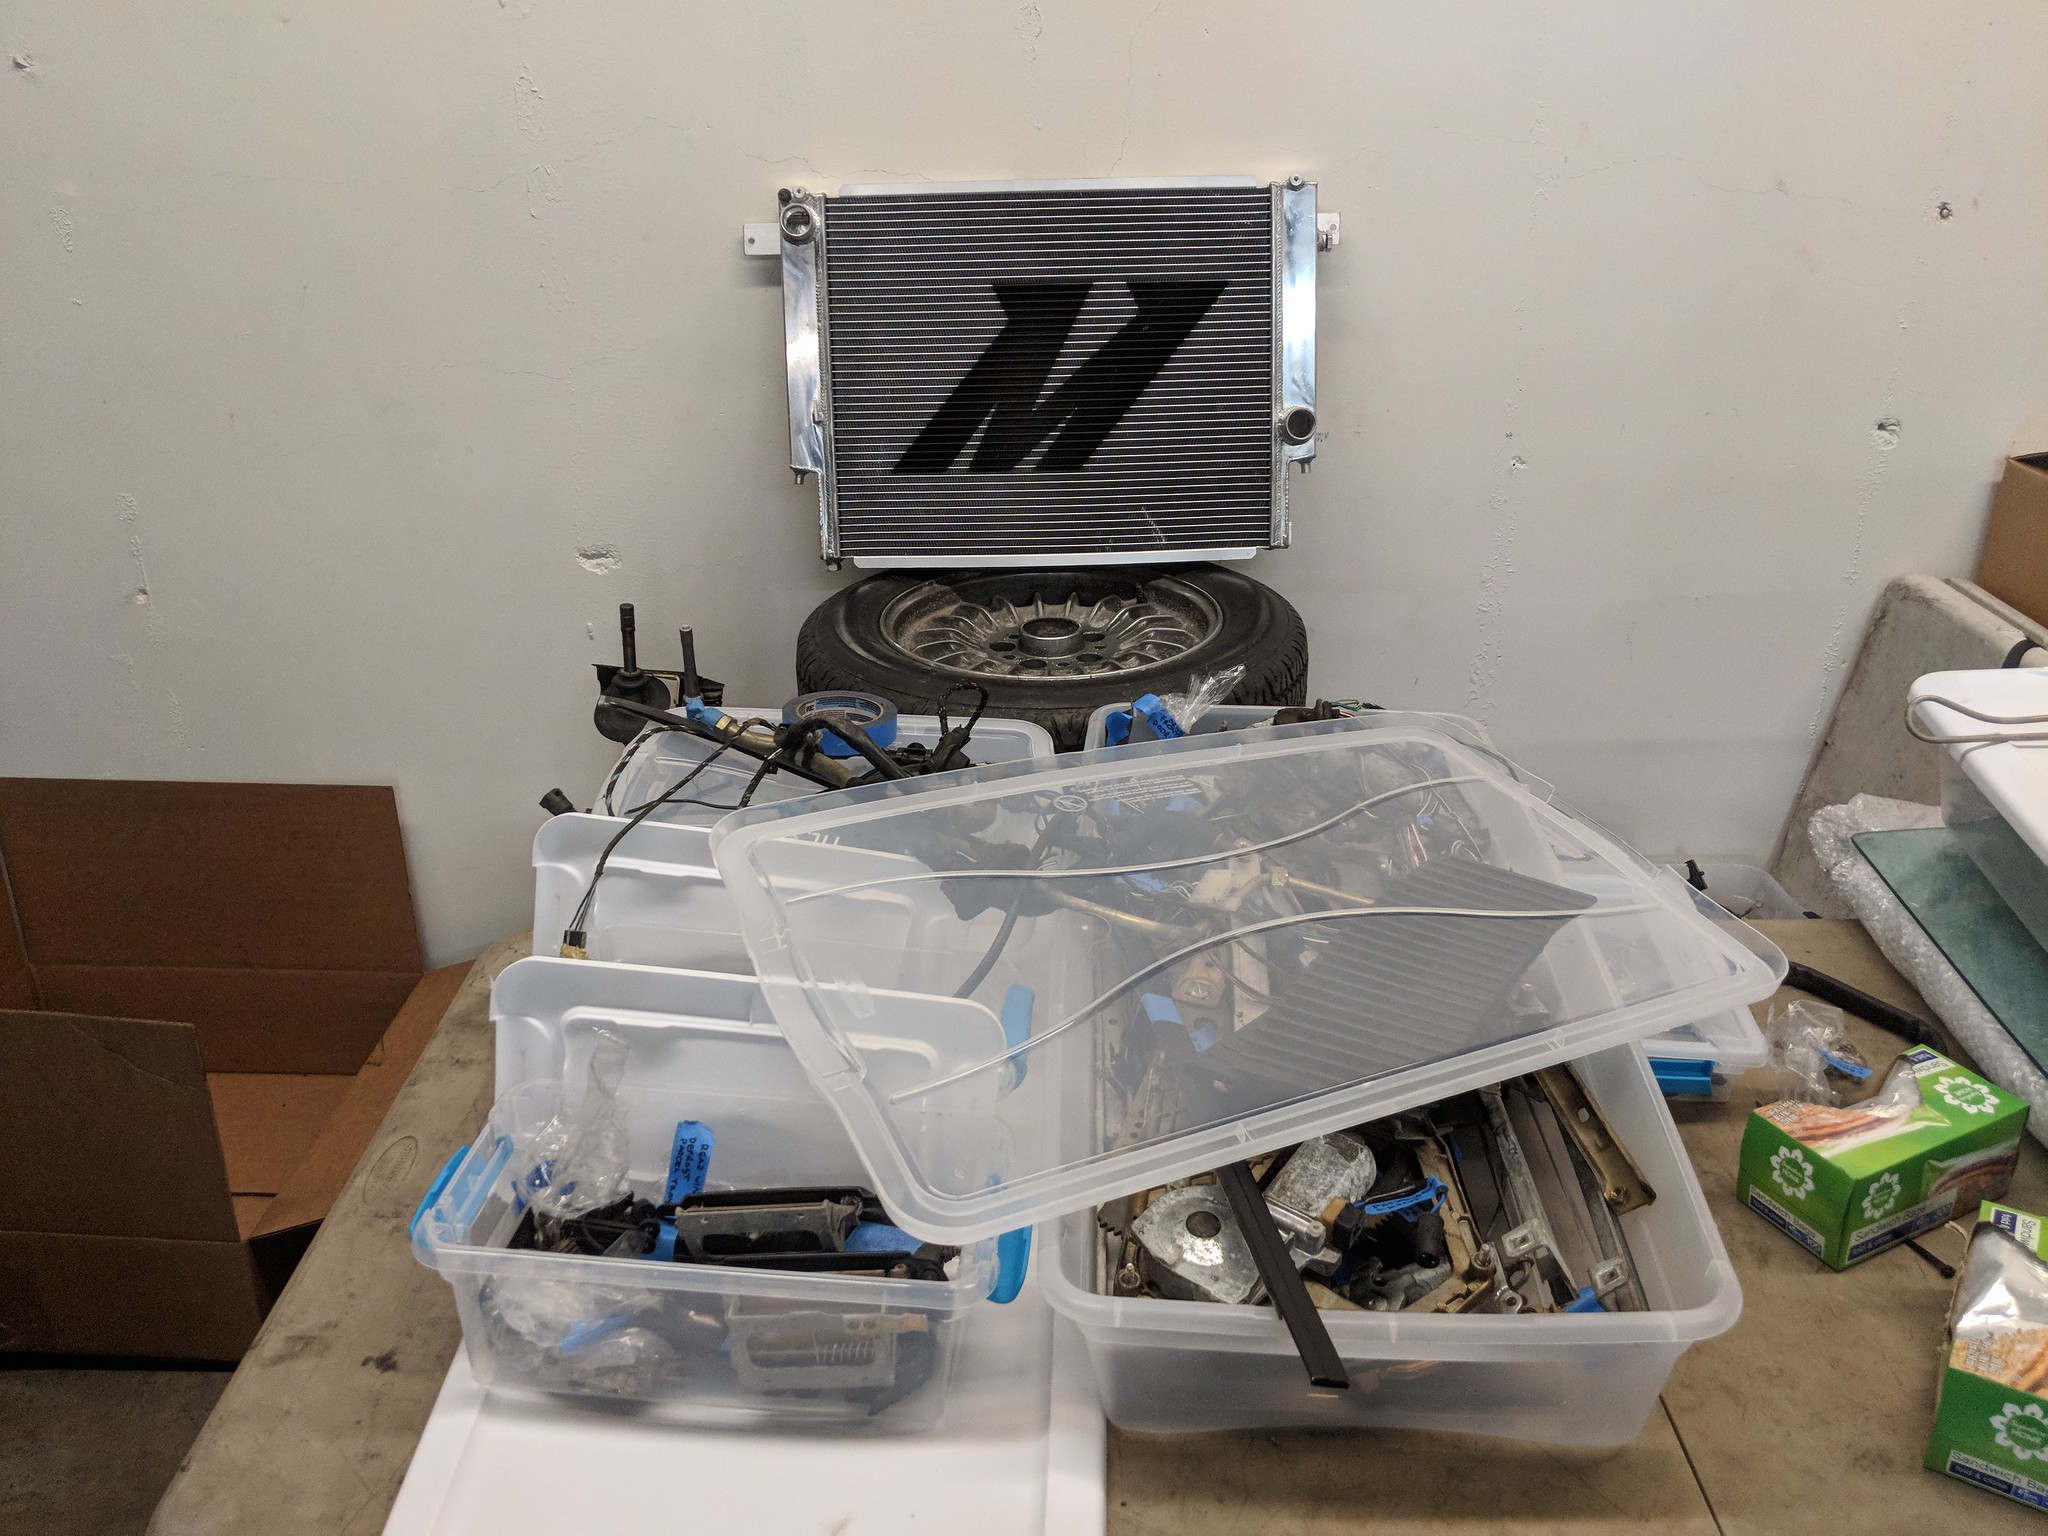
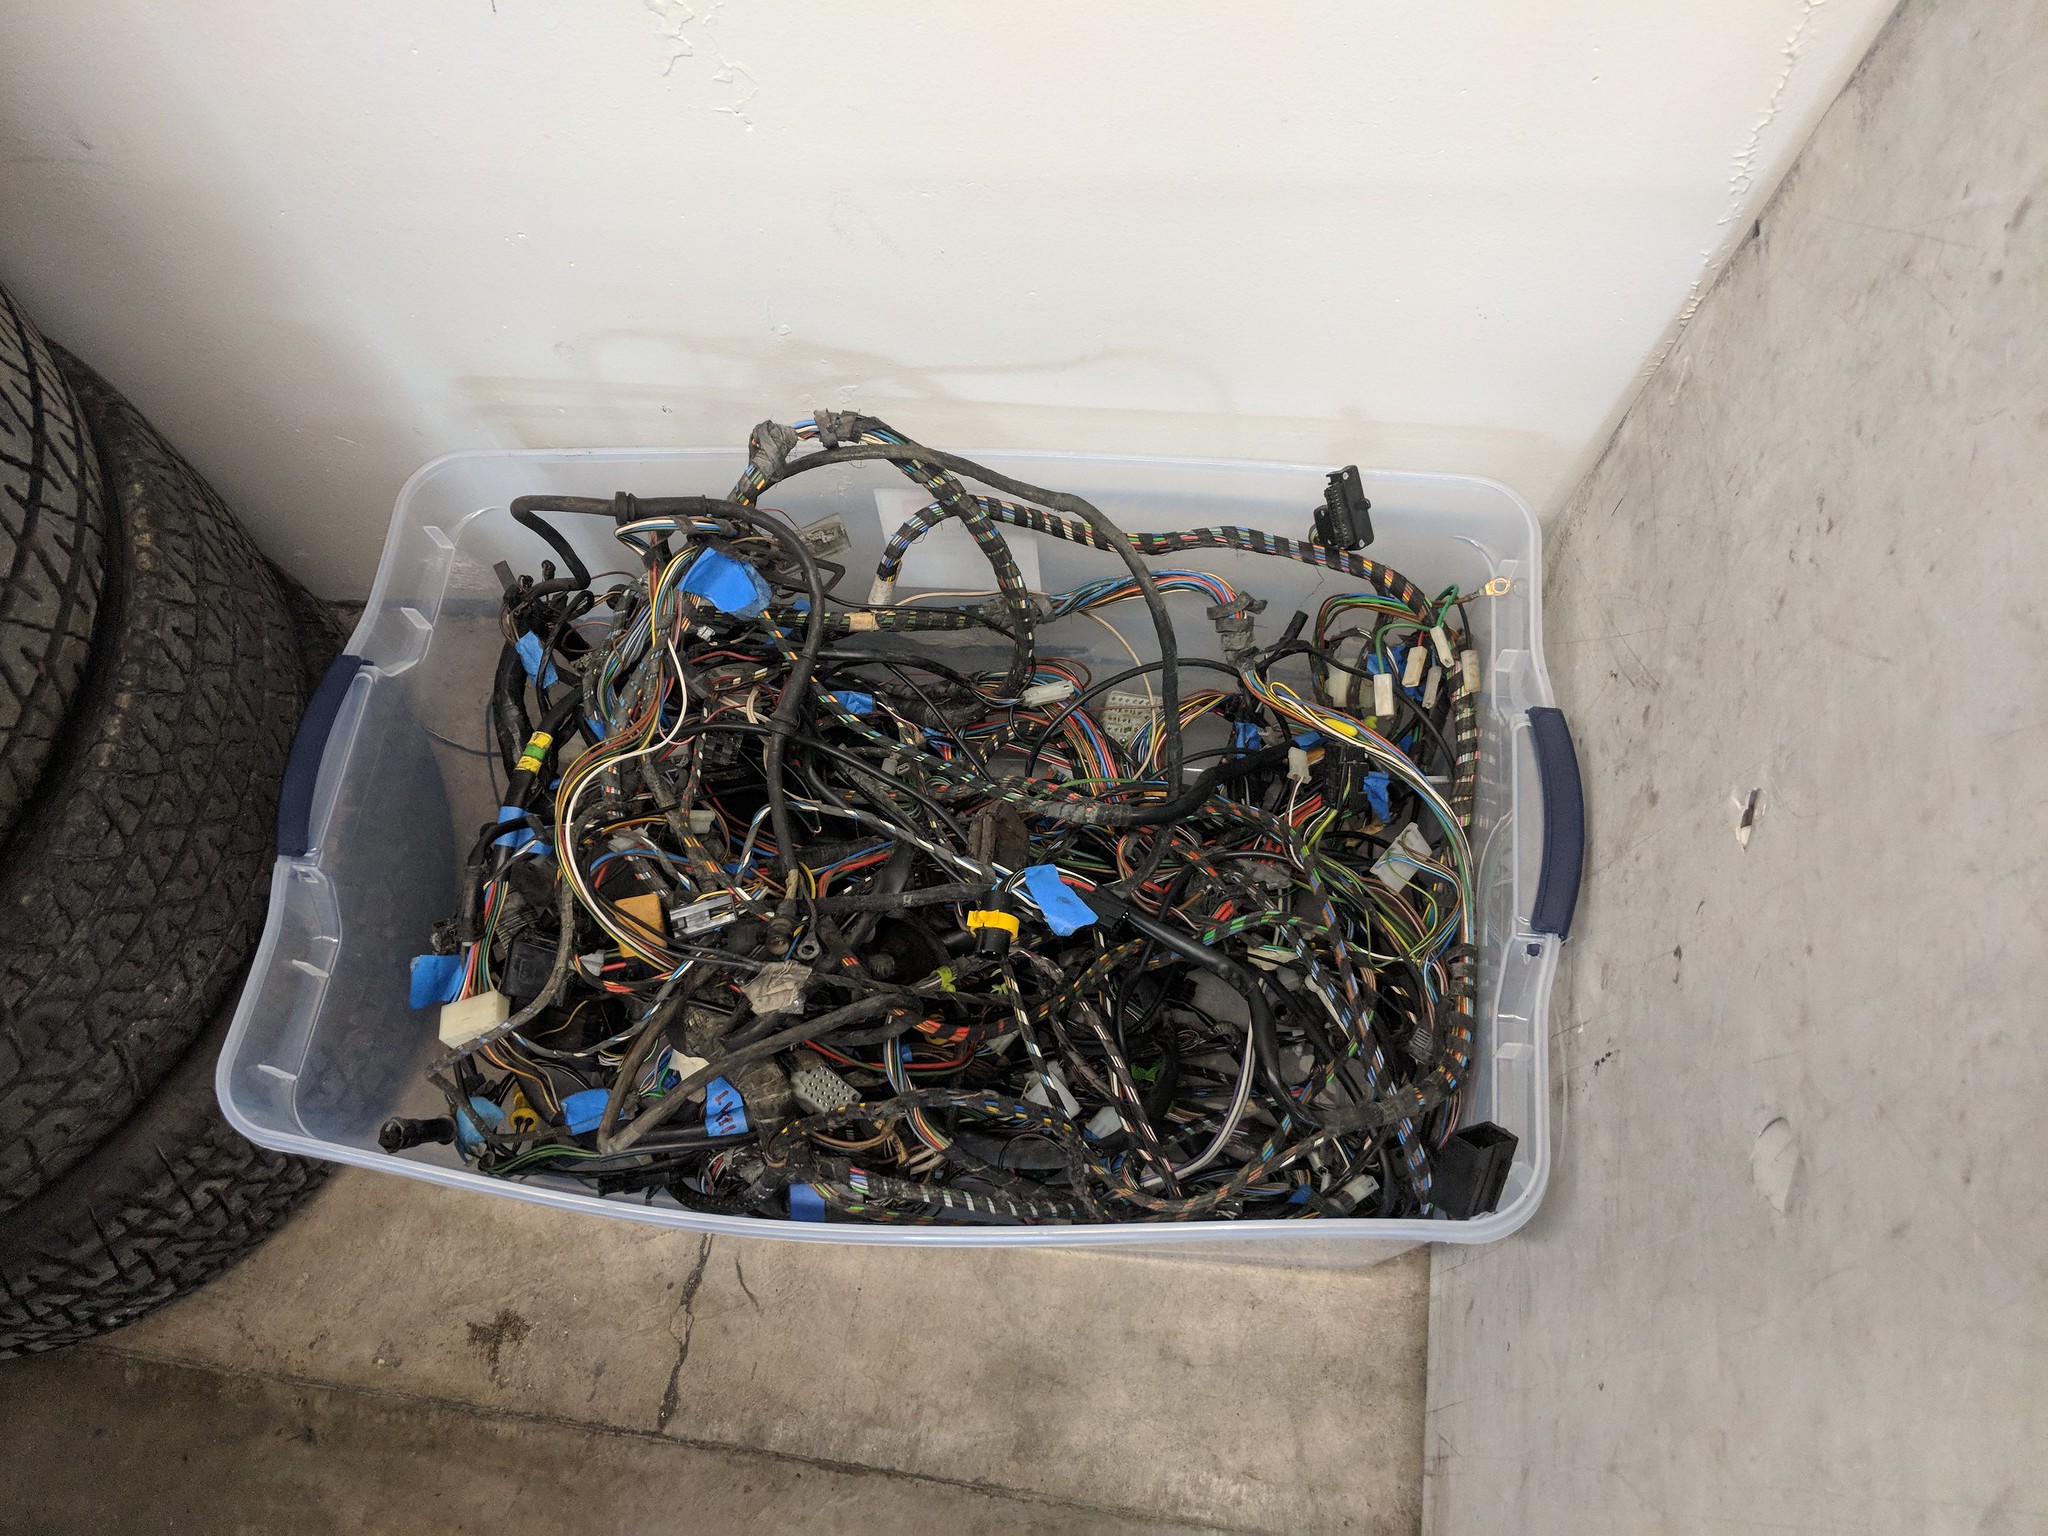
Parts, parts, parts. Man, do I have my work cut out for me.
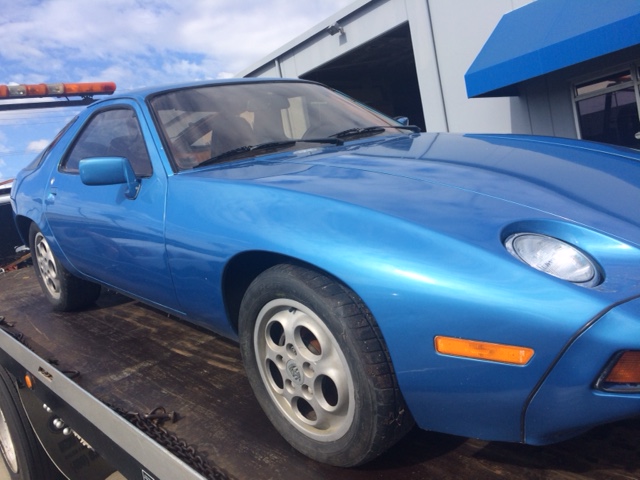
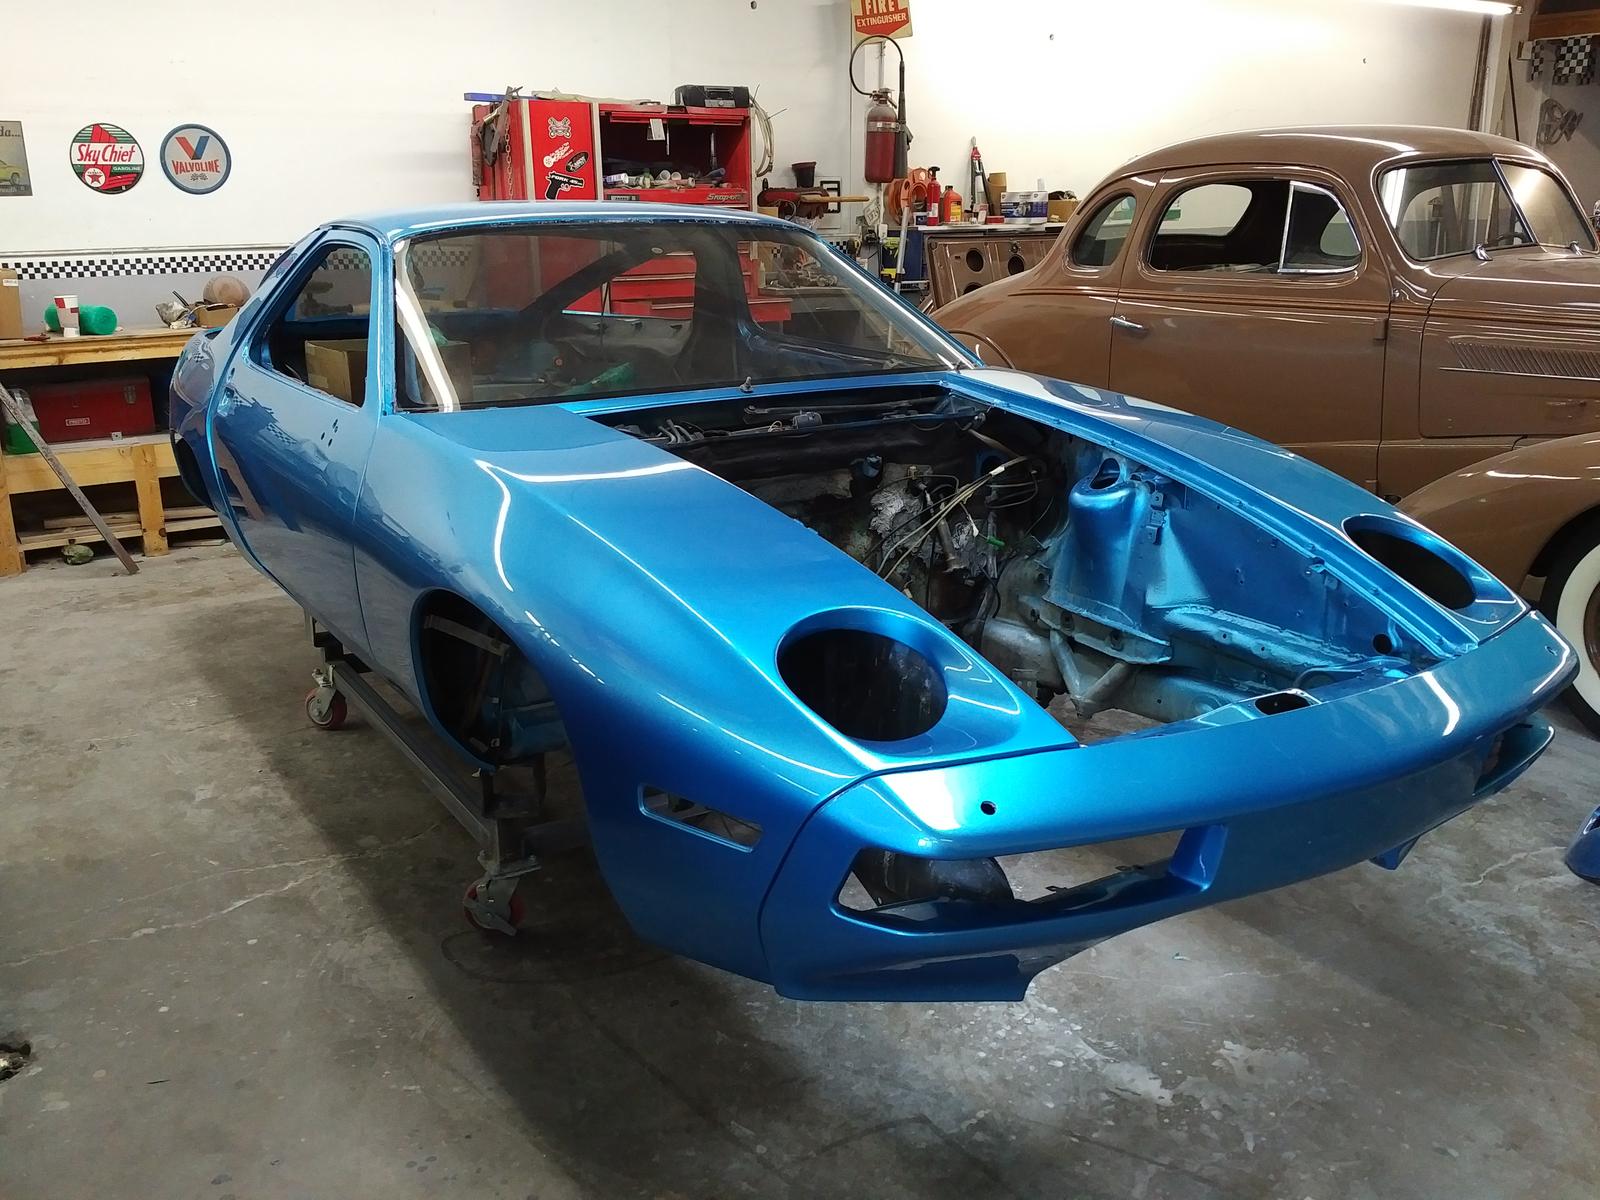
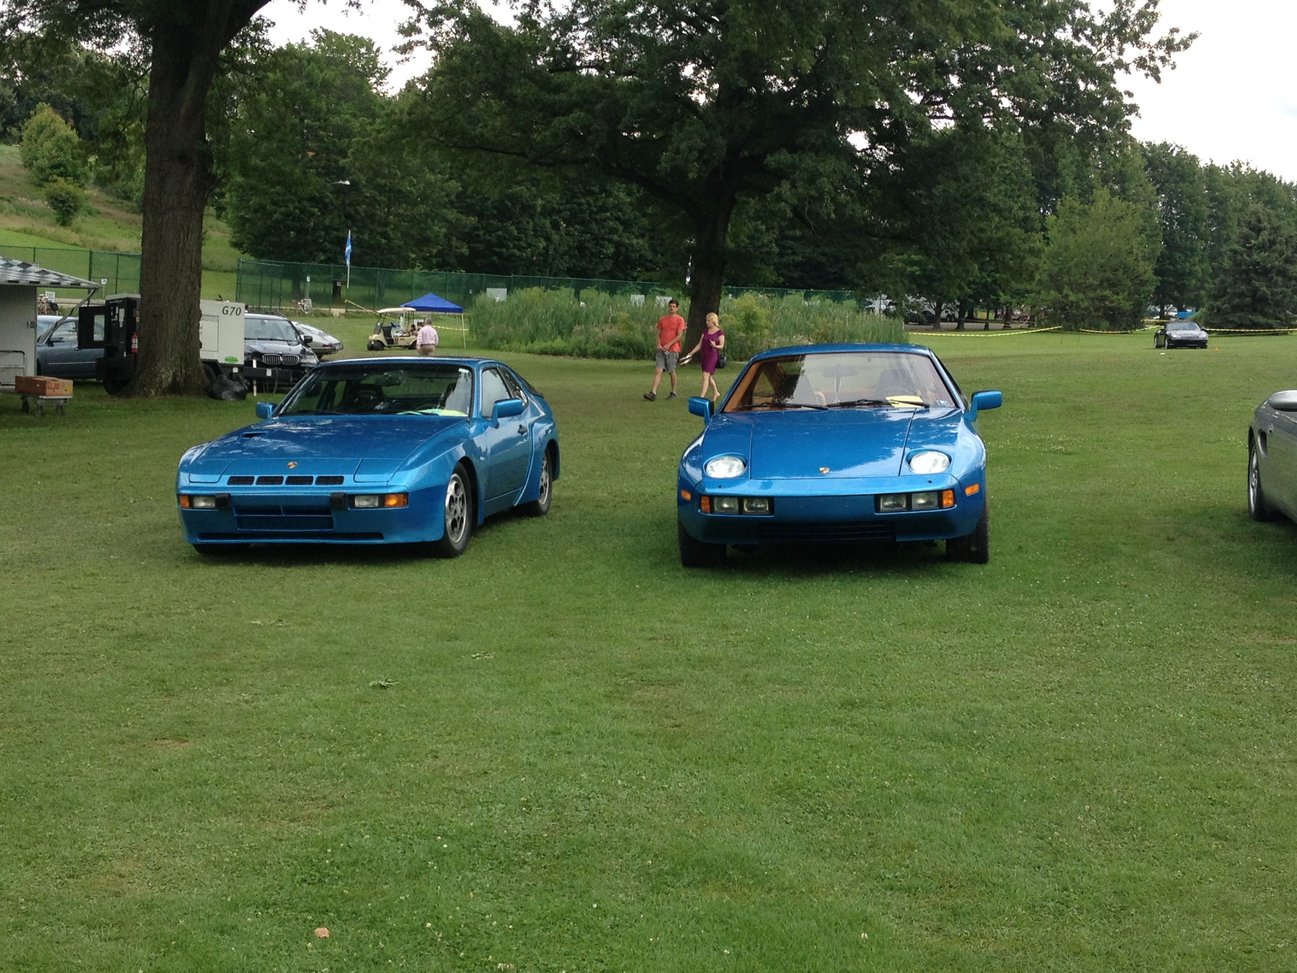
In related news, the latest Panorama magazine (the Porsche Club magazine) had a story on a Minerva Blue '79 928 a guy just restored:
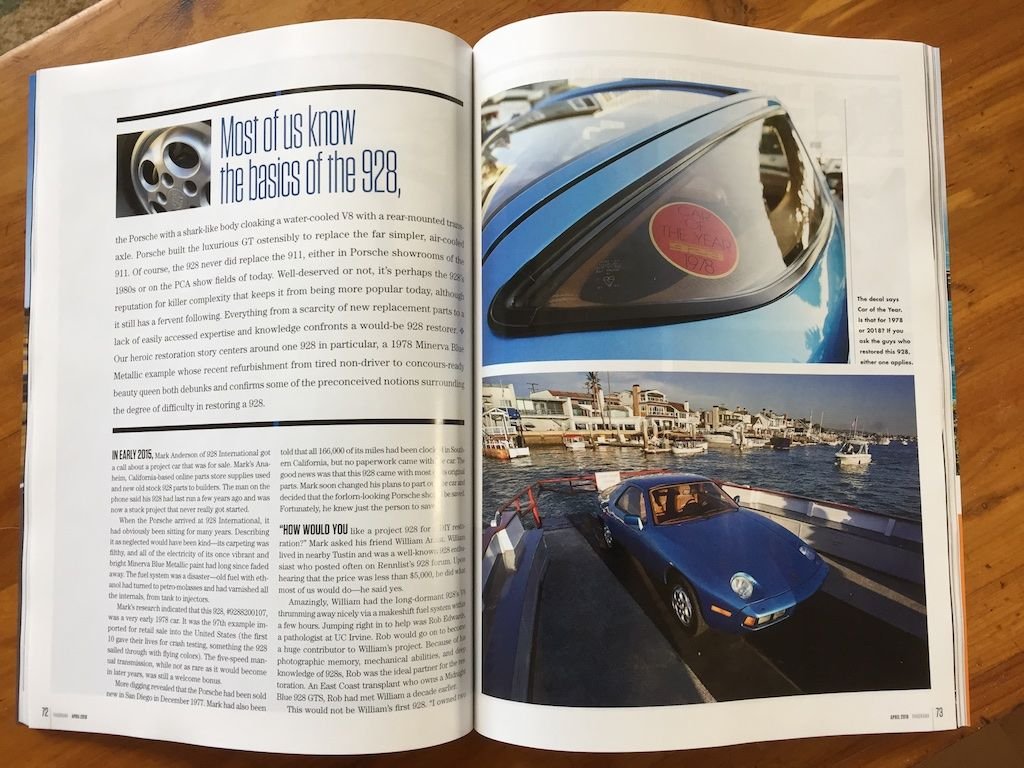
Fun build thread here: He went ALMOST all the way down as far as I'm going, but didn't remove the harness and some other stuff. In his thread he says he regrets not going further.
https://rennlist.com/forums/928-forum/8 ... nerva.html
Before:
During:
After:

Re: Project Minerva: S54 powered E28 daily driver
What an awesome project. Why is there a metric wheel in the parts pile?
Re: Project Minerva: S54 powered E28 daily driver
I am more fascinated by the dolly than the progress. Is that ok? 
Re: Project Minerva: S54 powered E28 daily driver
Whatever gets your rocks off. I'm happy to oblige.Pavel wrote:I am more fascinated by the dolly than the progress. Is that ok?
Re: Project Minerva: S54 powered E28 daily driver
So what is going on with the sunroof cables thing?
I'd think you'd want to get this solved before the rest of the body work, no?
I'd think you'd want to get this solved before the rest of the body work, no?
Re: Project Minerva: S54 powered E28 daily driver
From above:Ken H. wrote:So what is going on with the sunroof cables thing?
I'd think you'd want to get this solved before the rest of the body work, no?
Getting the sunroof out has been left as an exercise for the body guy, who apparently has a BMW Tech working for him.
Re: Project Minerva: S54 powered E28 daily driver
Missed that. My Bad. Sorry.Getting the sunroof out has been left as an exercise for the body guy, who apparently has a BMW Tech working for him.
Random thought: sunroofs seem to be a PITA--leakage, debatable reliability. Has anyone considered just welding it in and removing all the related hardware?
Yah, replacing the headliner and related coverings are sure to be an issue, but depending how (in)frequently it gets used, I thought I'd ask . . .
Re: Project Minerva: S54 powered E28 daily driver
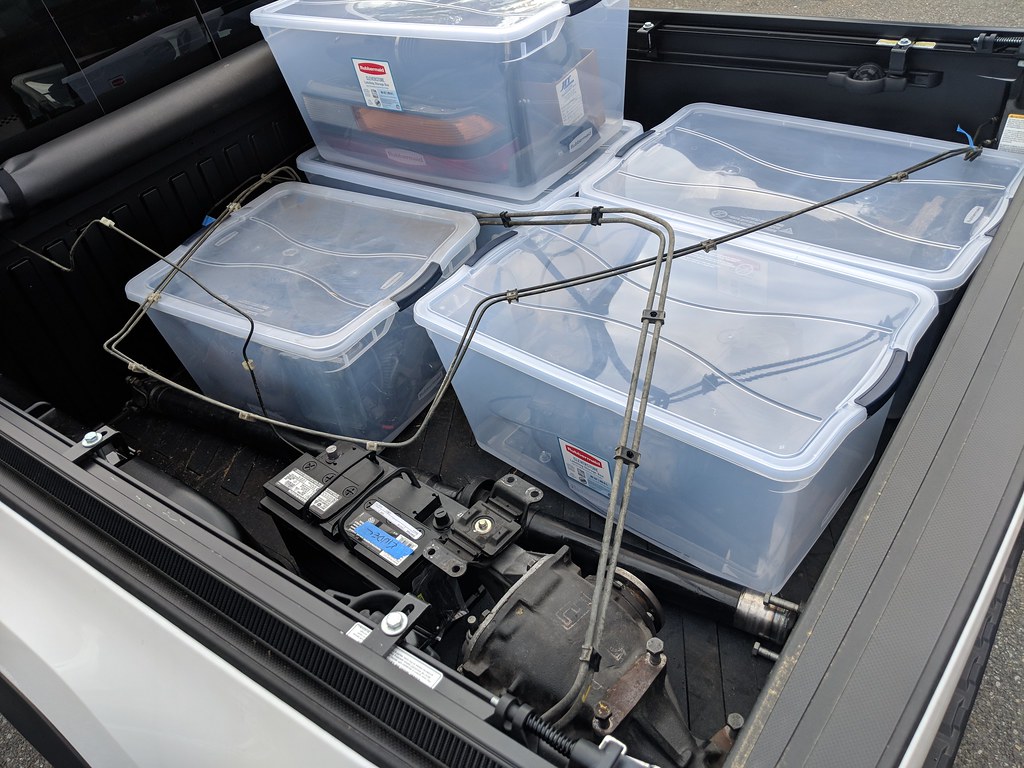
Just getting warmed up on inventorying, sorting, and restoring parts... The garage was a total mess since I dropped the new engine in Maytag. I had just let stuff pile up and up to the point where I had no counter space and my tools where everywhere. So most of yesterday was spent procrastinating getting organized. But eventually I got the counters cleaned off and I dove in. Step one was buying more storage containers. I should own stock in the companies that make them.
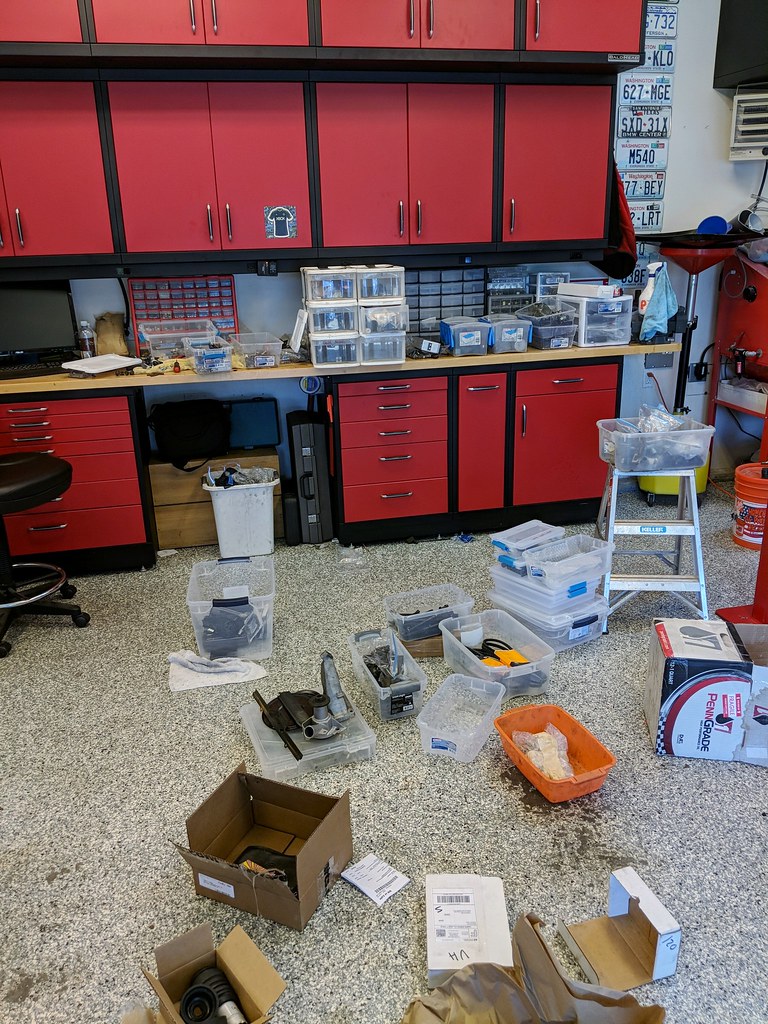
Lots of bits to be cleaned and plated. I have duplicates of almost everything, and much of it replated already, because I've previously parted out two E28s. One endeavor for the future will be picking the best of the best parts.
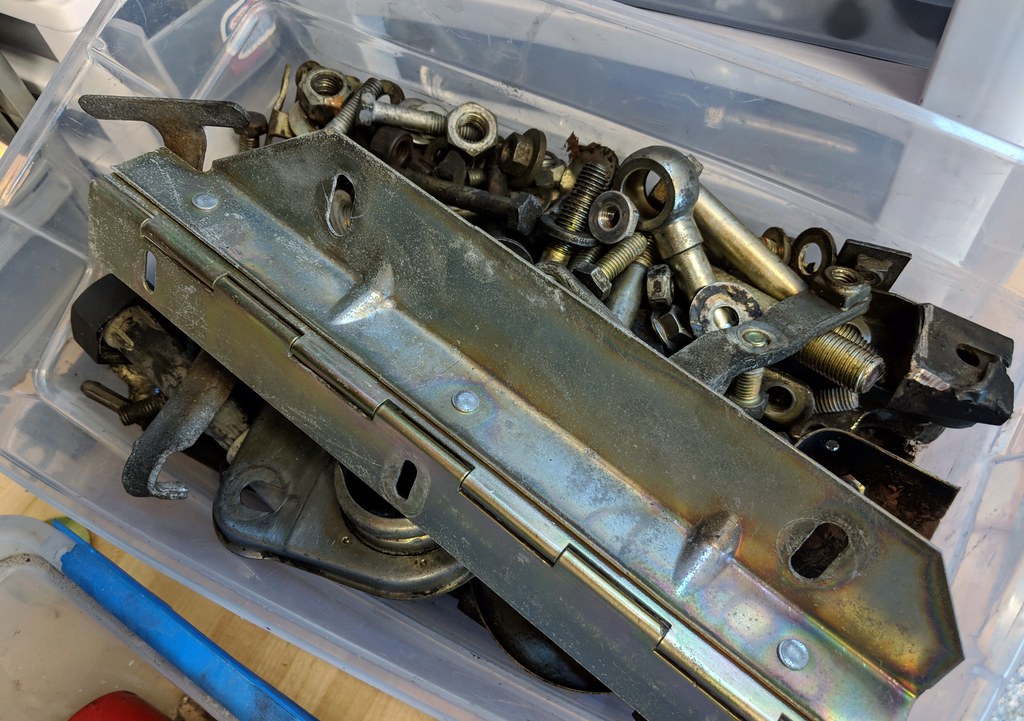
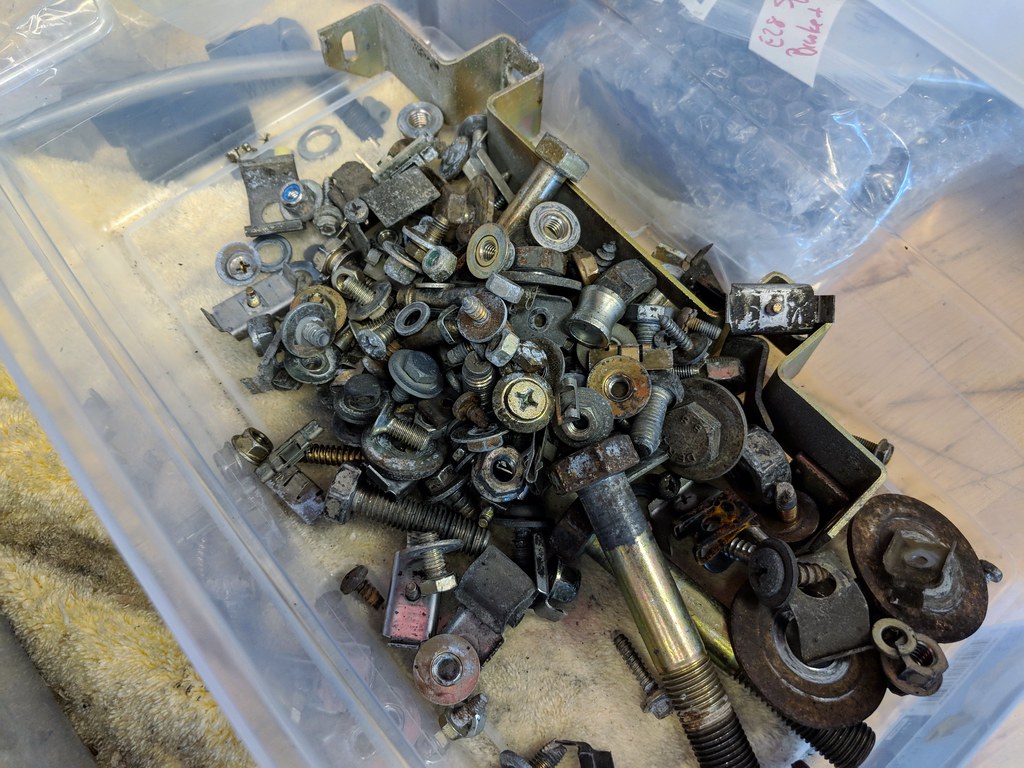
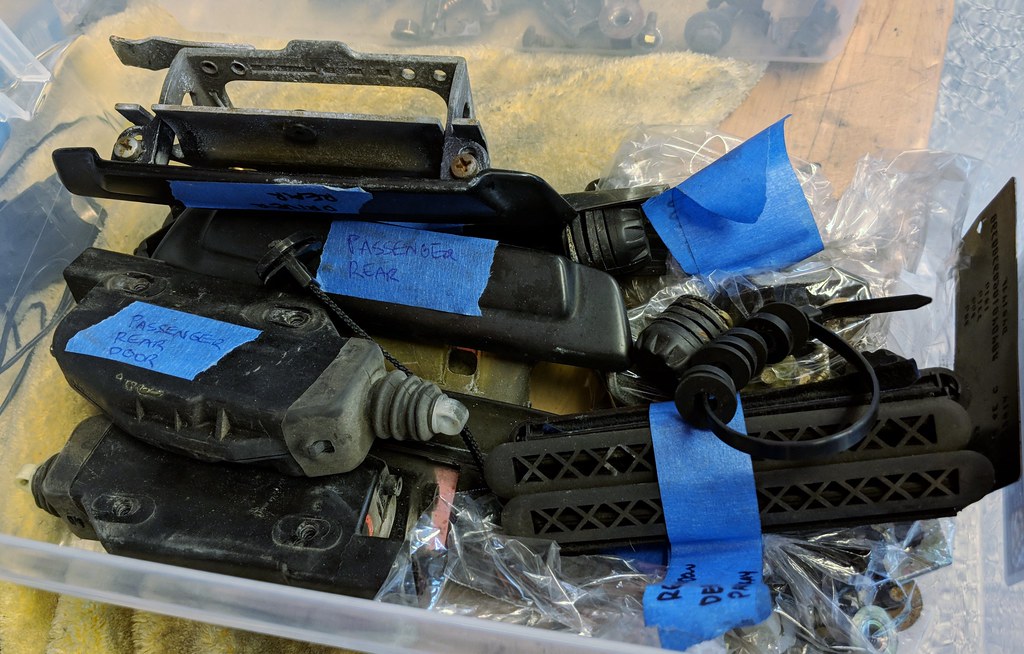
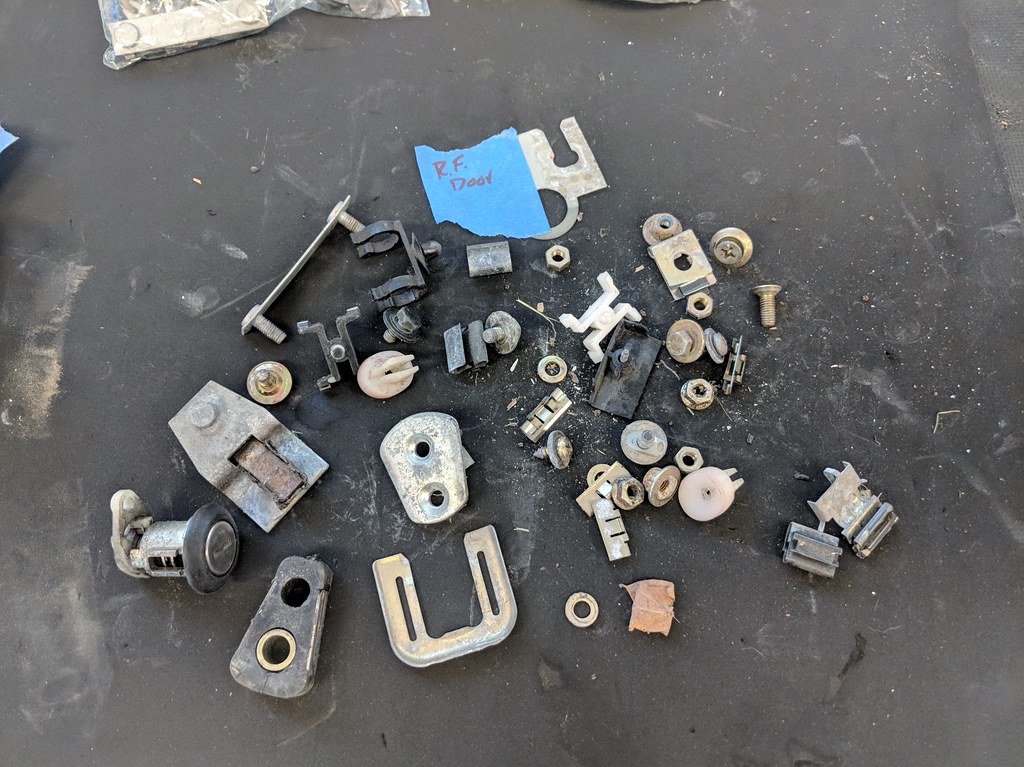
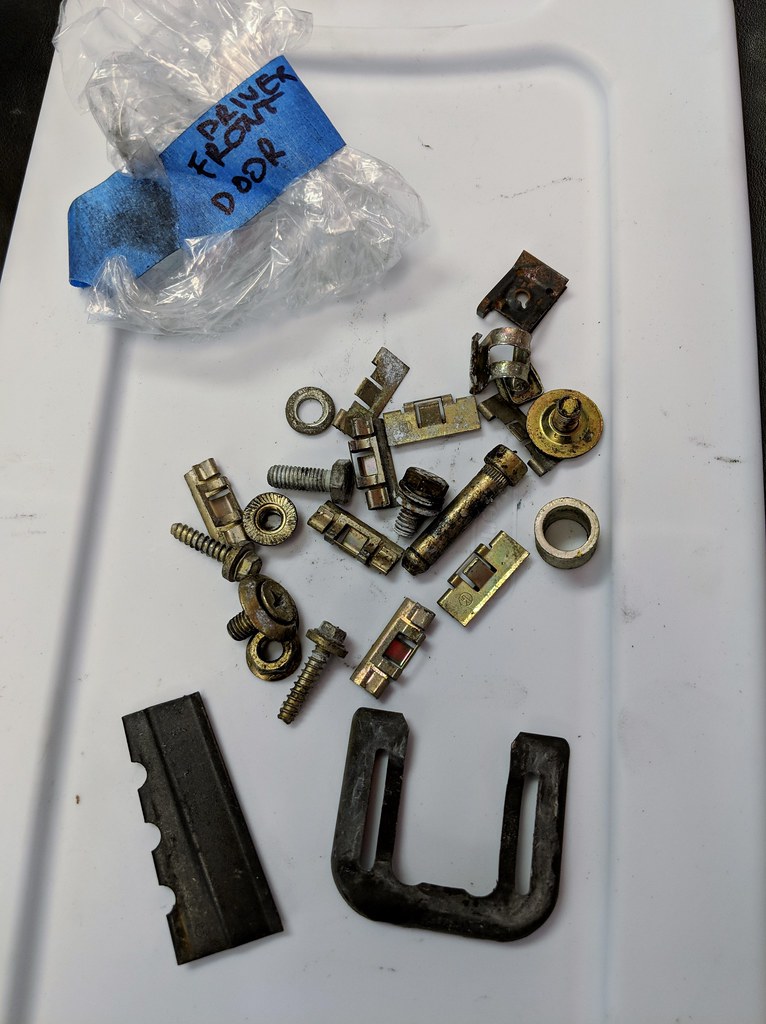
I take tons of pictures of collections of related parts because they will get separated during refurbishing.
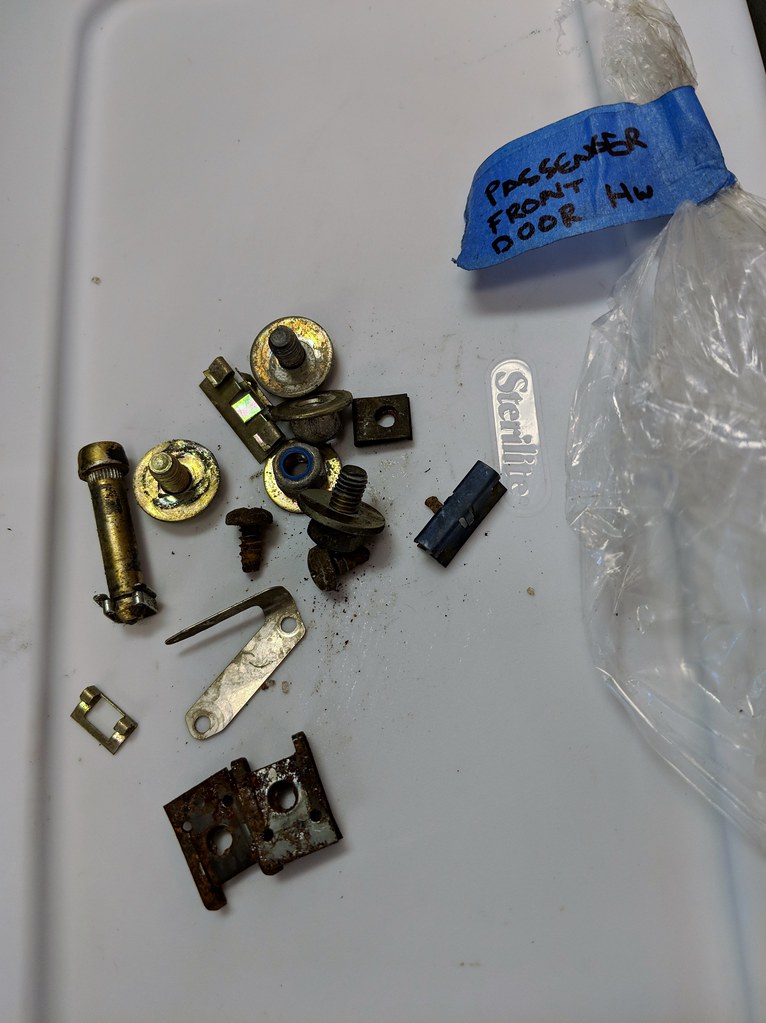
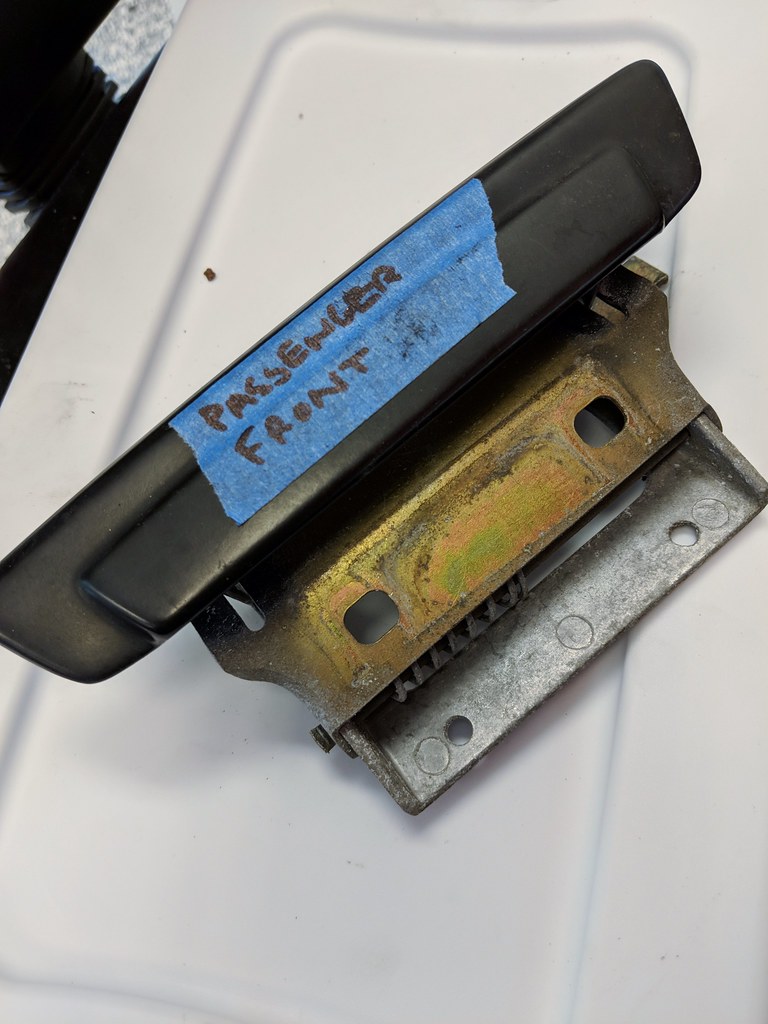
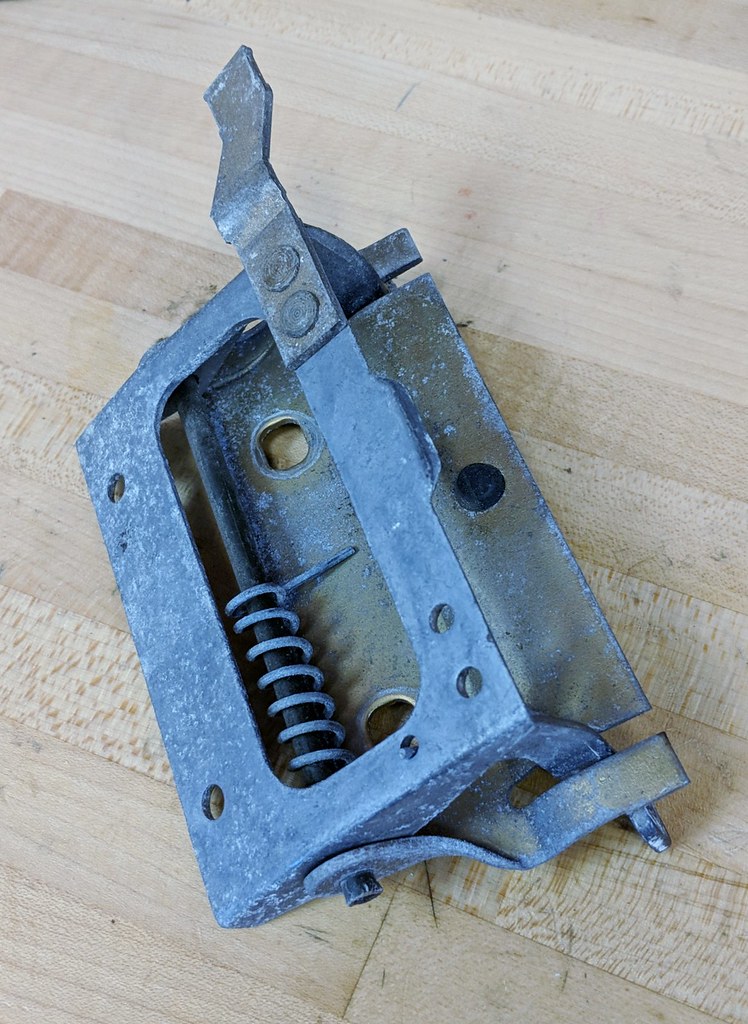
Some stuff is tricky. The door handle mechanisms, for example, have springs that can get weakened by the plating process, and are difficult to disassemble. In addition, they are not all originally plated. Is that partially aluminum? I have two full sets of these, and one set is in pretty good shape (not this one). So I will send these to get plated, as is....if they come out ok, great. Otherwise I'll use the other set and refinish by hand.

Lots of bits to be cleaned and plated. I have duplicates of almost everything, and much of it replated already, because I've previously parted out two E28s. One endeavor for the future will be picking the best of the best parts.


I take tons of pictures of collections of related parts because they will get separated during refurbishing.


Some stuff is tricky. The door handle mechanisms, for example, have springs that can get weakened by the plating process, and are difficult to disassemble. In addition, they are not all originally plated. Is that partially aluminum? I have two full sets of these, and one set is in pretty good shape (not this one). So I will send these to get plated, as is....if they come out ok, great. Otherwise I'll use the other set and refinish by hand.


Re: Project Minerva: S54 powered E28 daily driver
More boring parts organization this morning. Then I headed out to Sultan, WA where the body shop is. Minerva is with some good company.
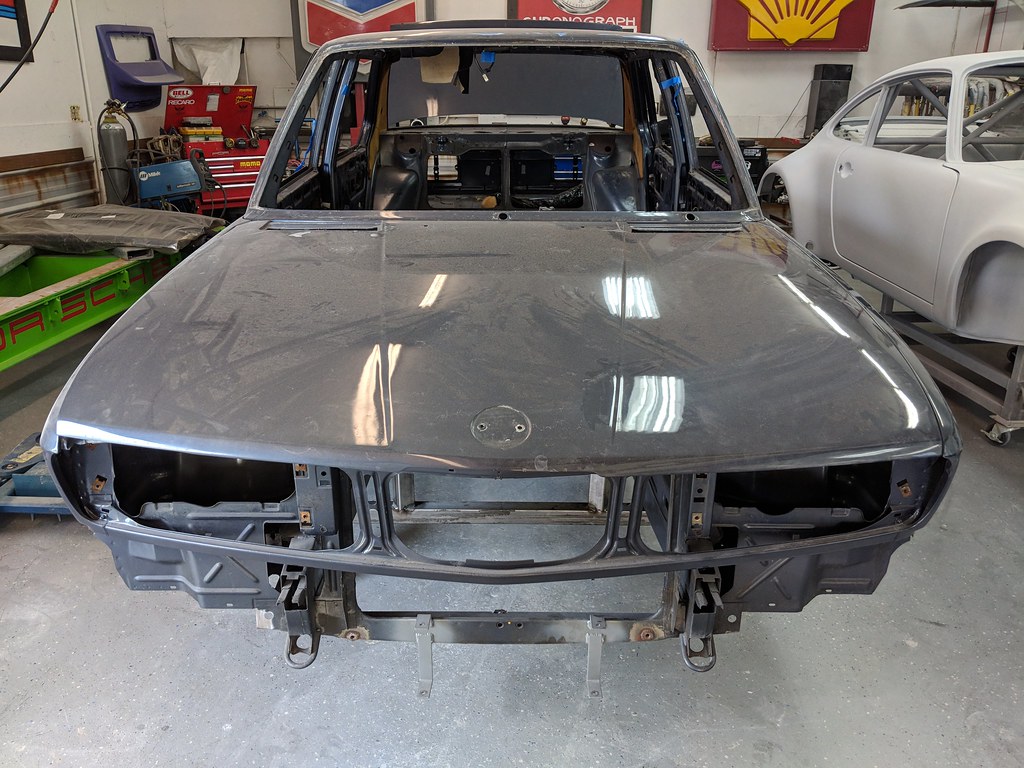
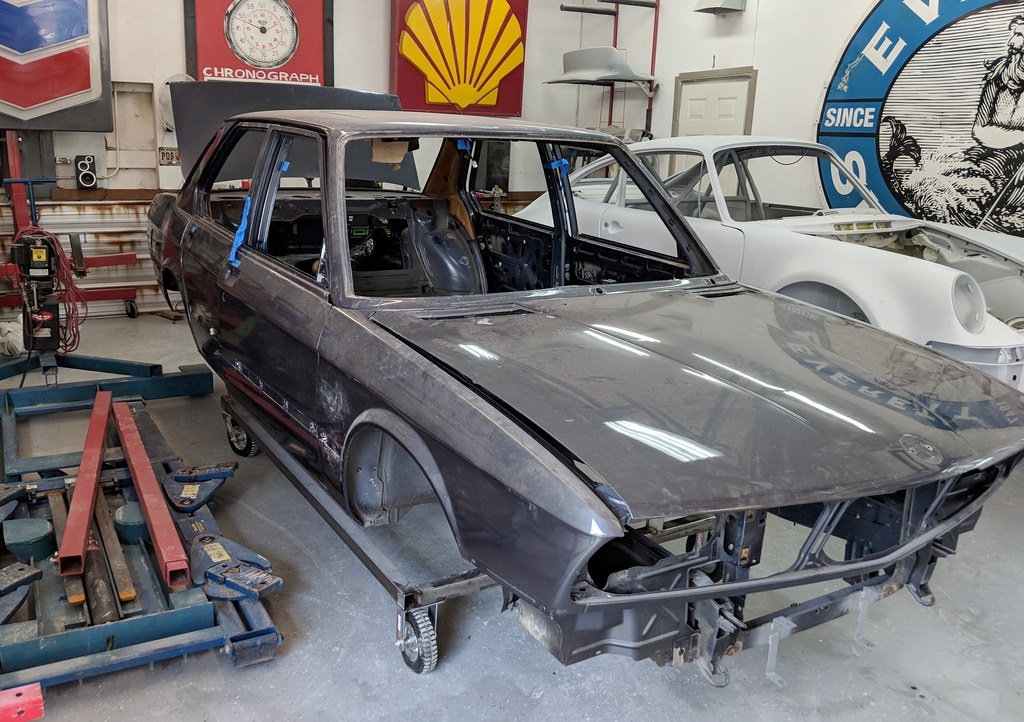
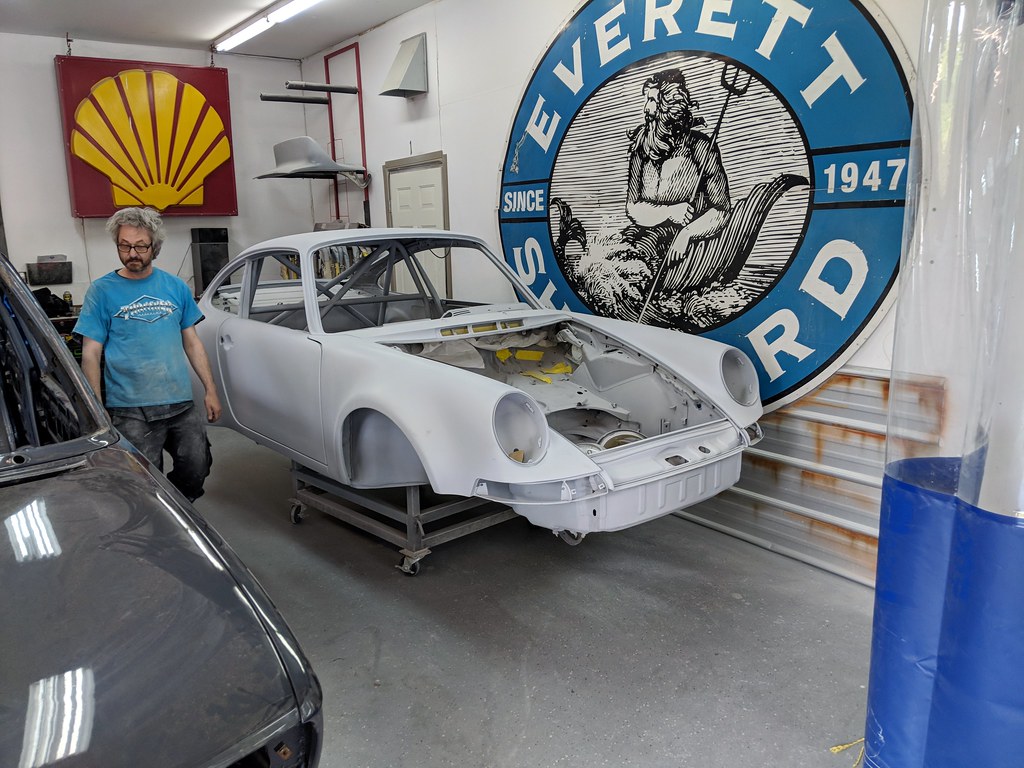
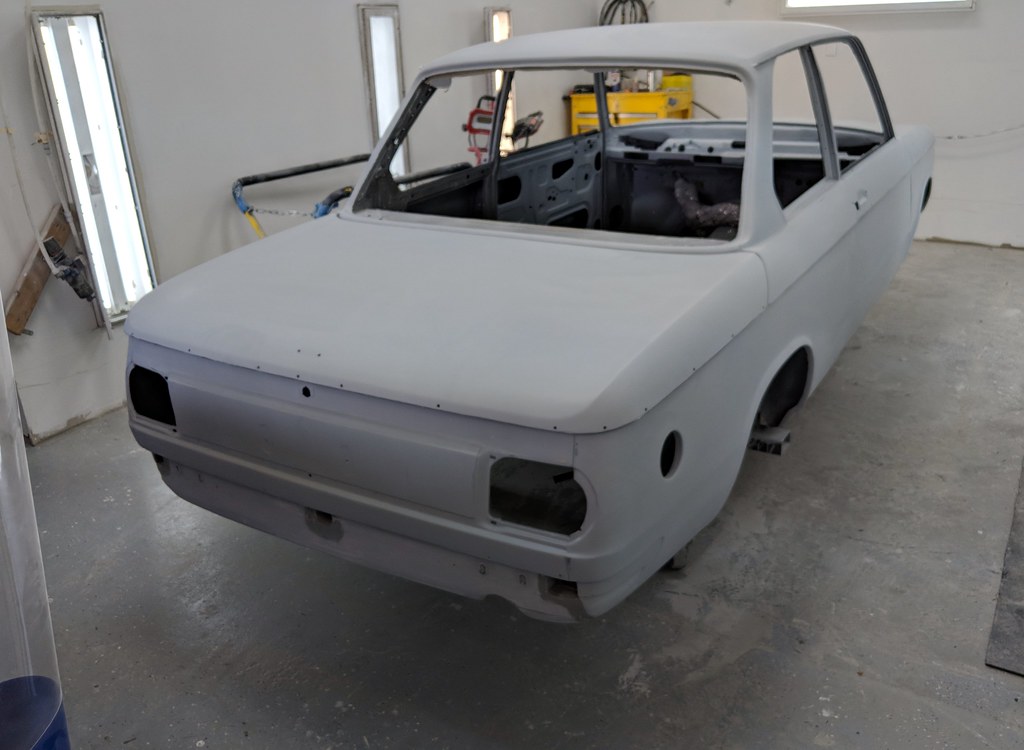
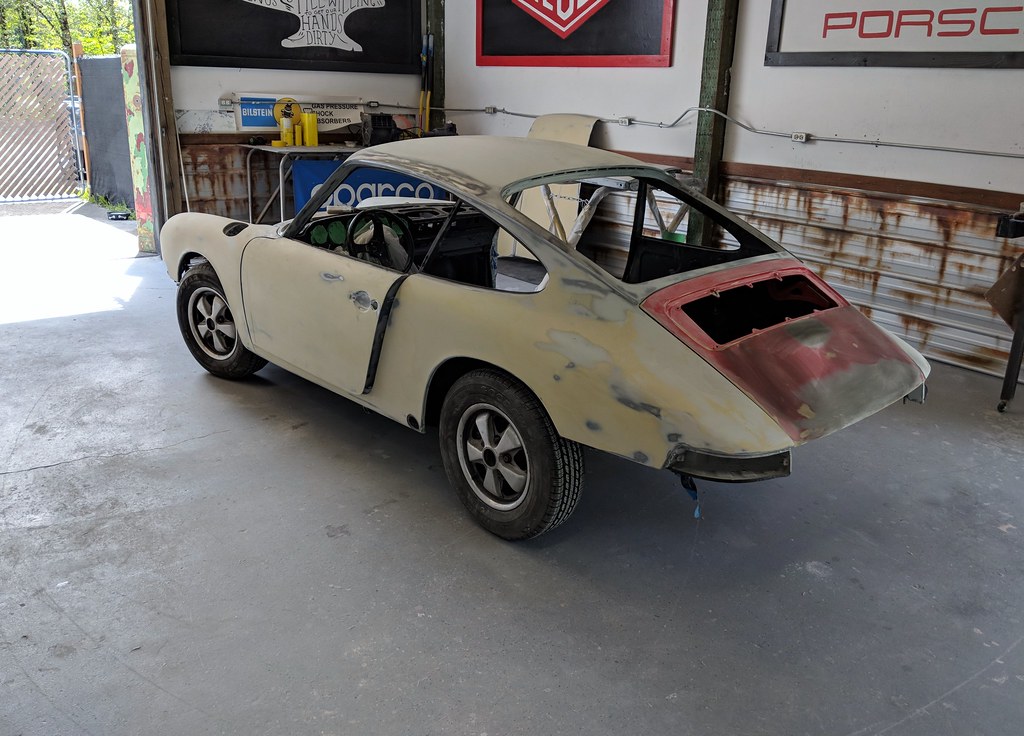
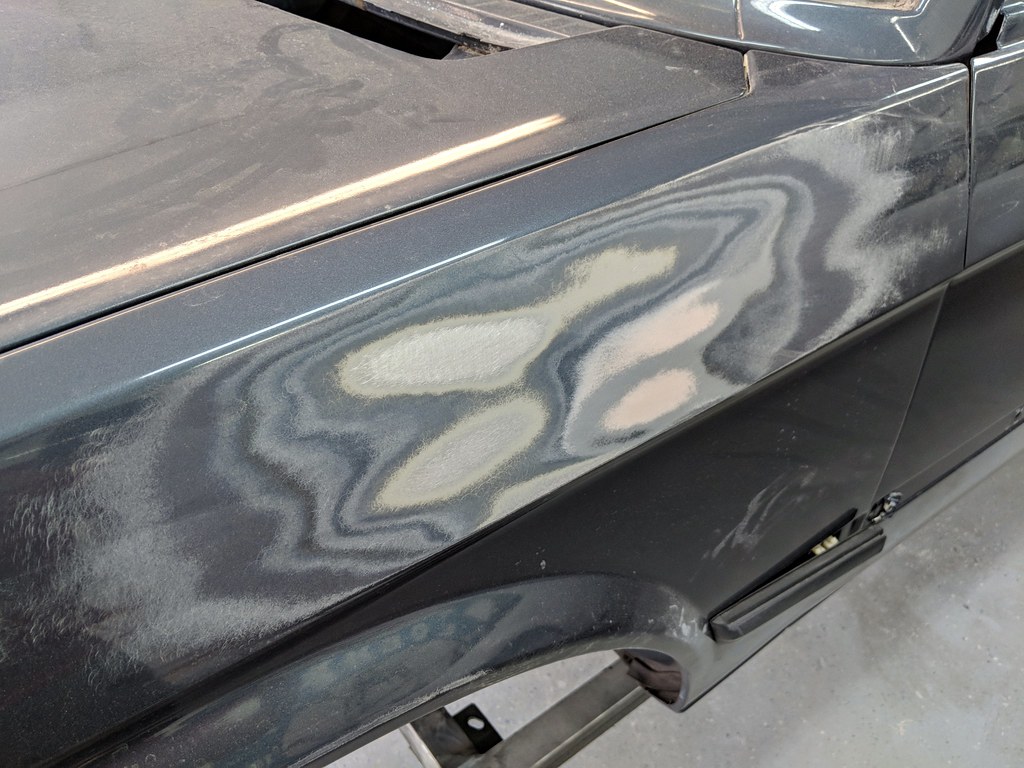
This car has been resprayed a few times...
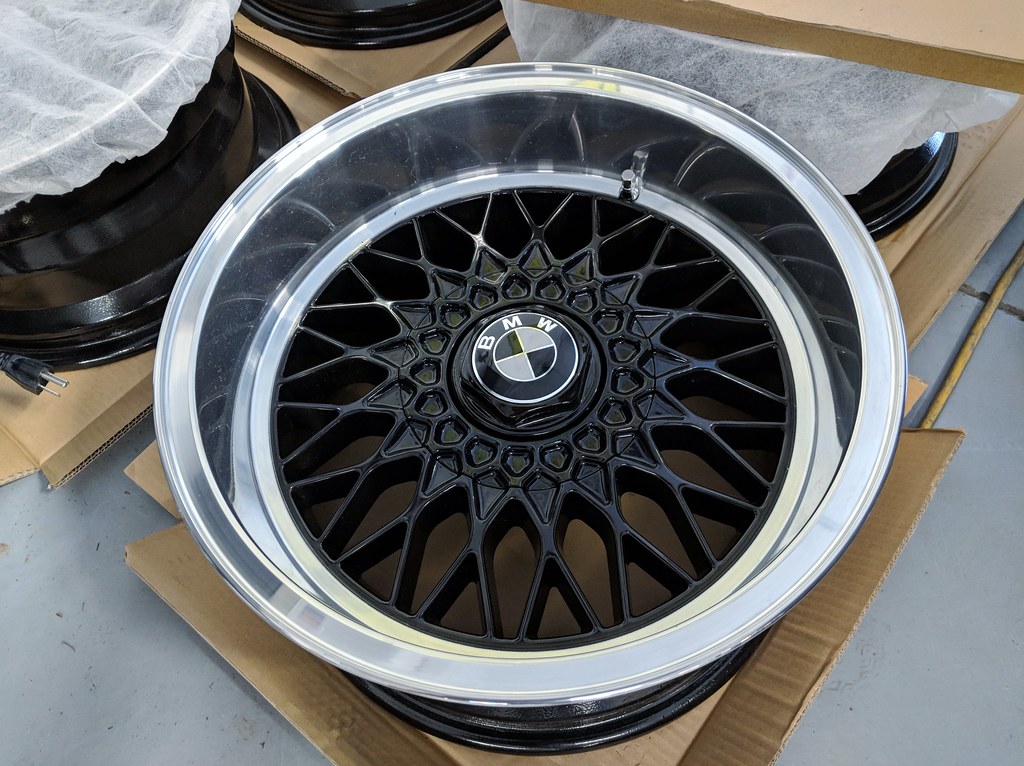
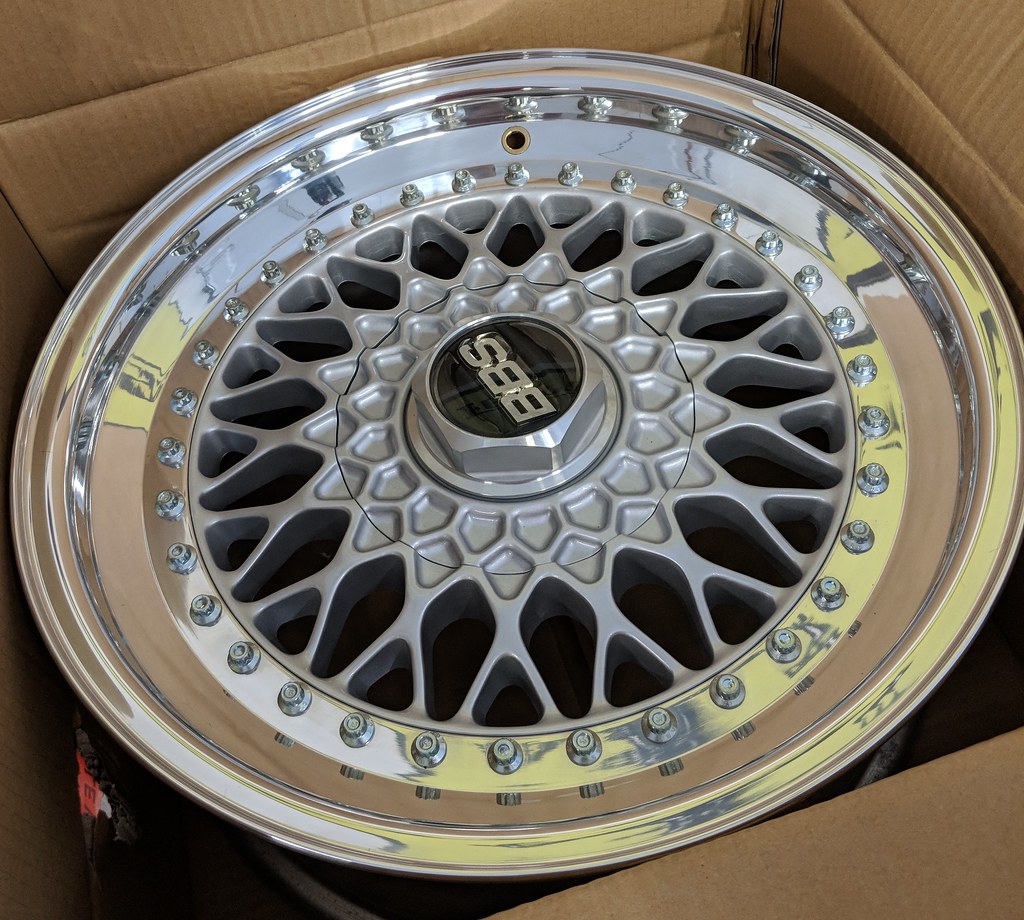
I had several sets of wheels, including the RZs that will go on Minerva, ceramic coated. Picked them up this morning. The RS are summer wheels for Maytag.


This car has been resprayed a few times...

I had several sets of wheels, including the RZs that will go on Minerva, ceramic coated. Picked them up this morning. The RS are summer wheels for Maytag.


Re: Project Minerva: S54 powered E28 daily driver
Those RS are magnifico!
Re: Project Minerva: S54 powered E28 daily driver
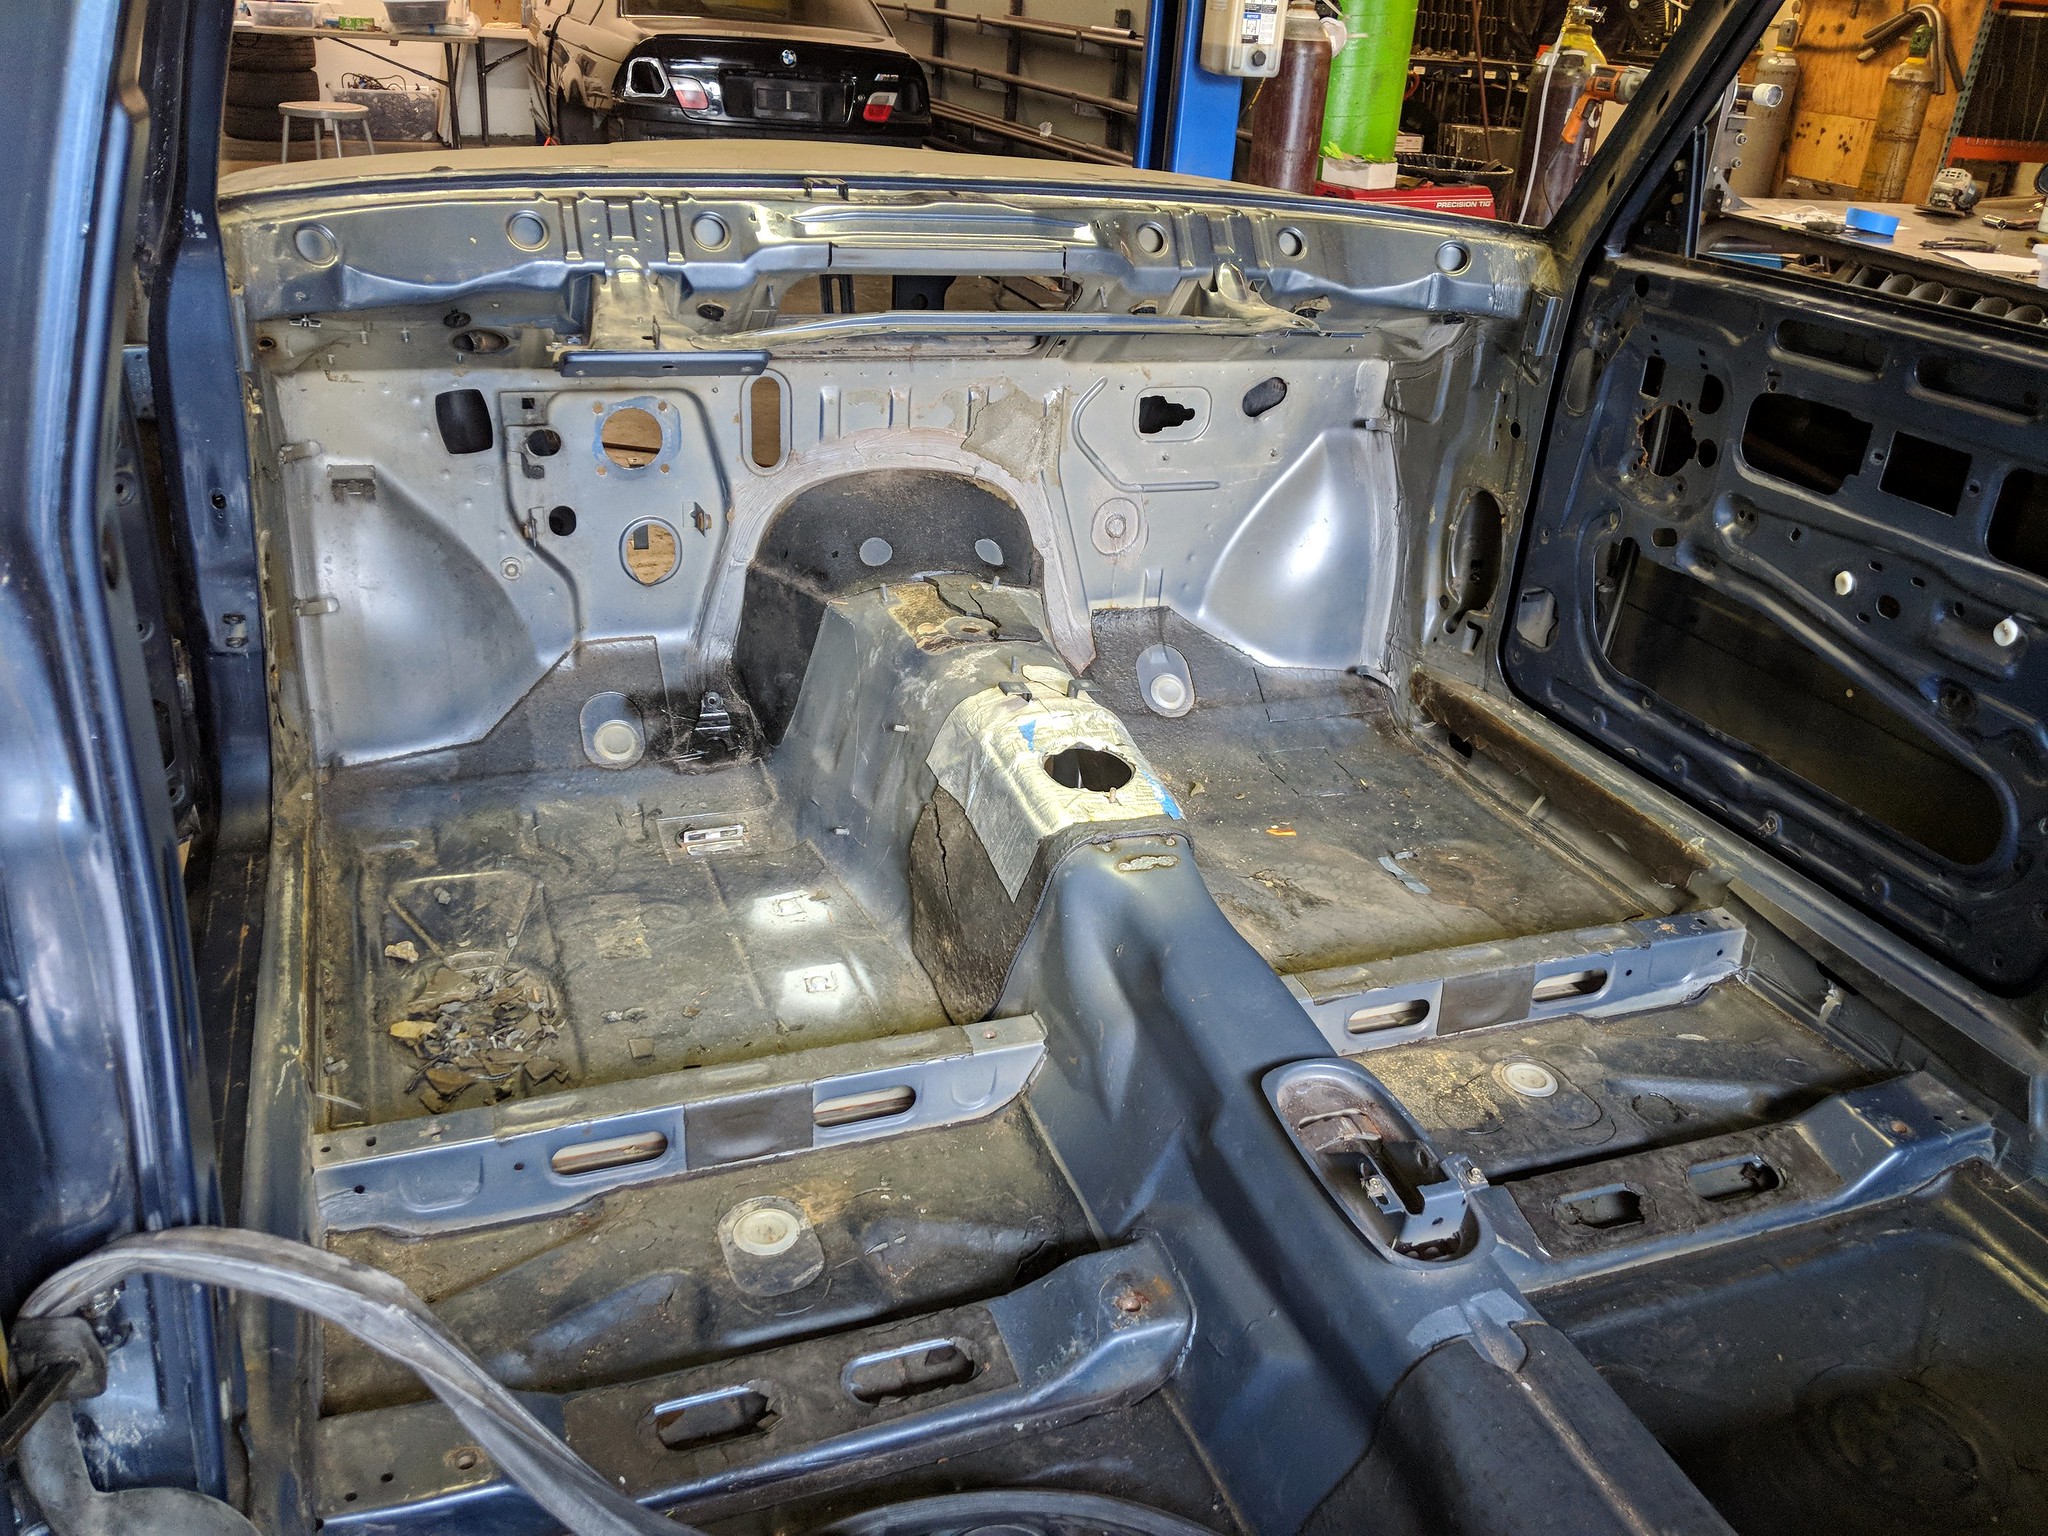
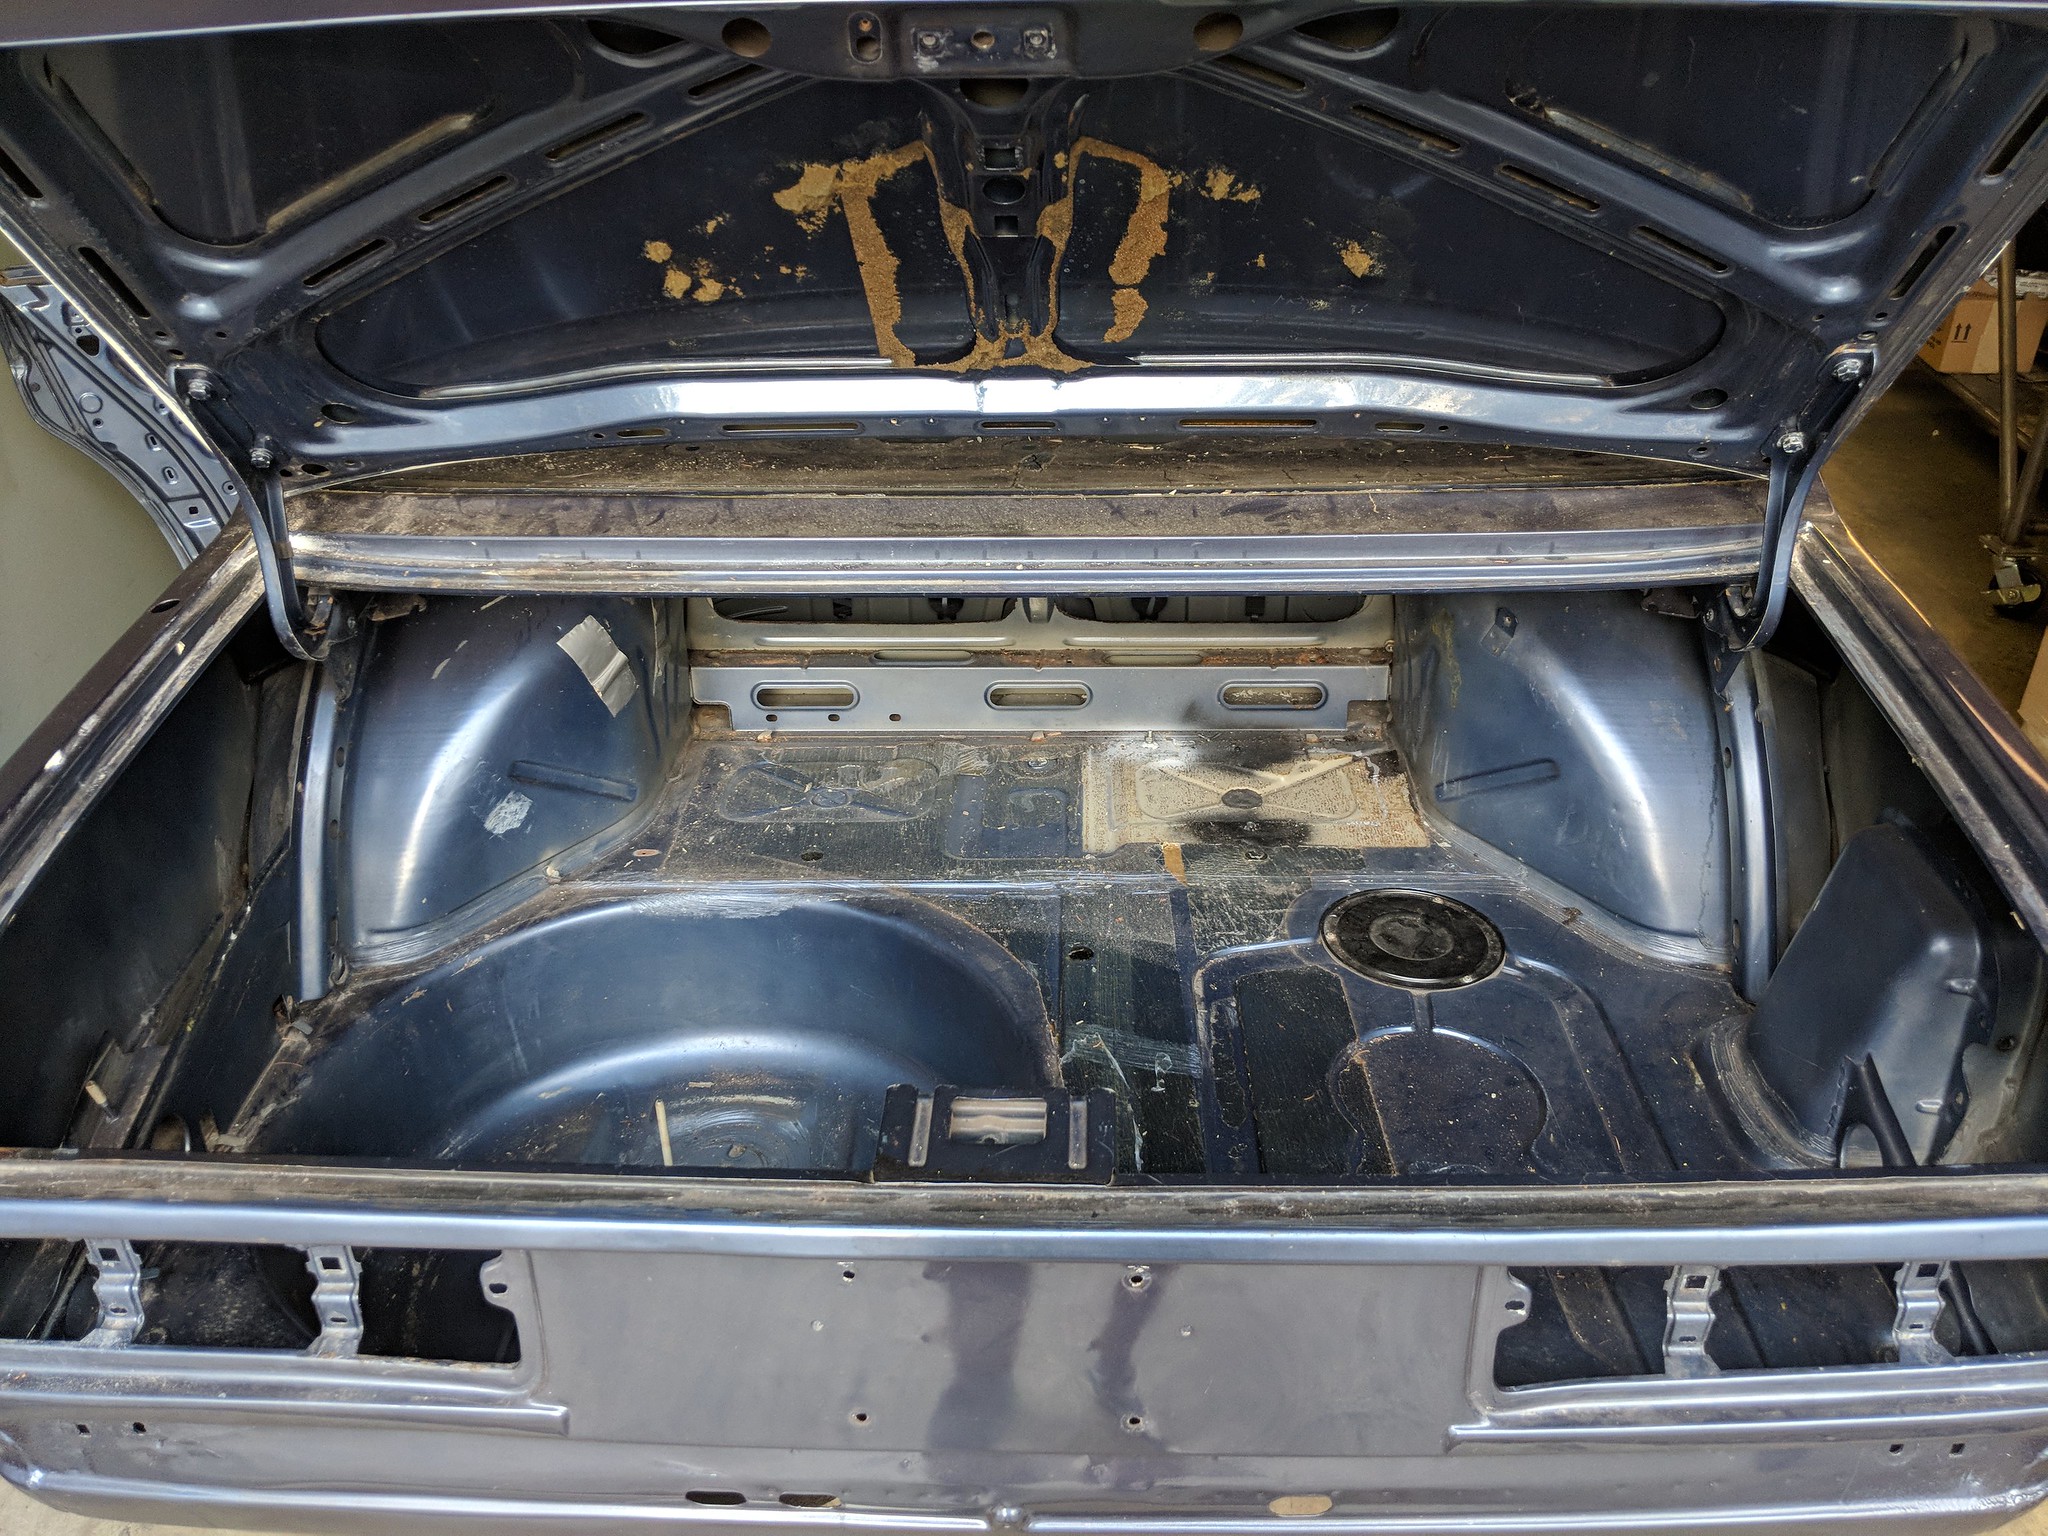
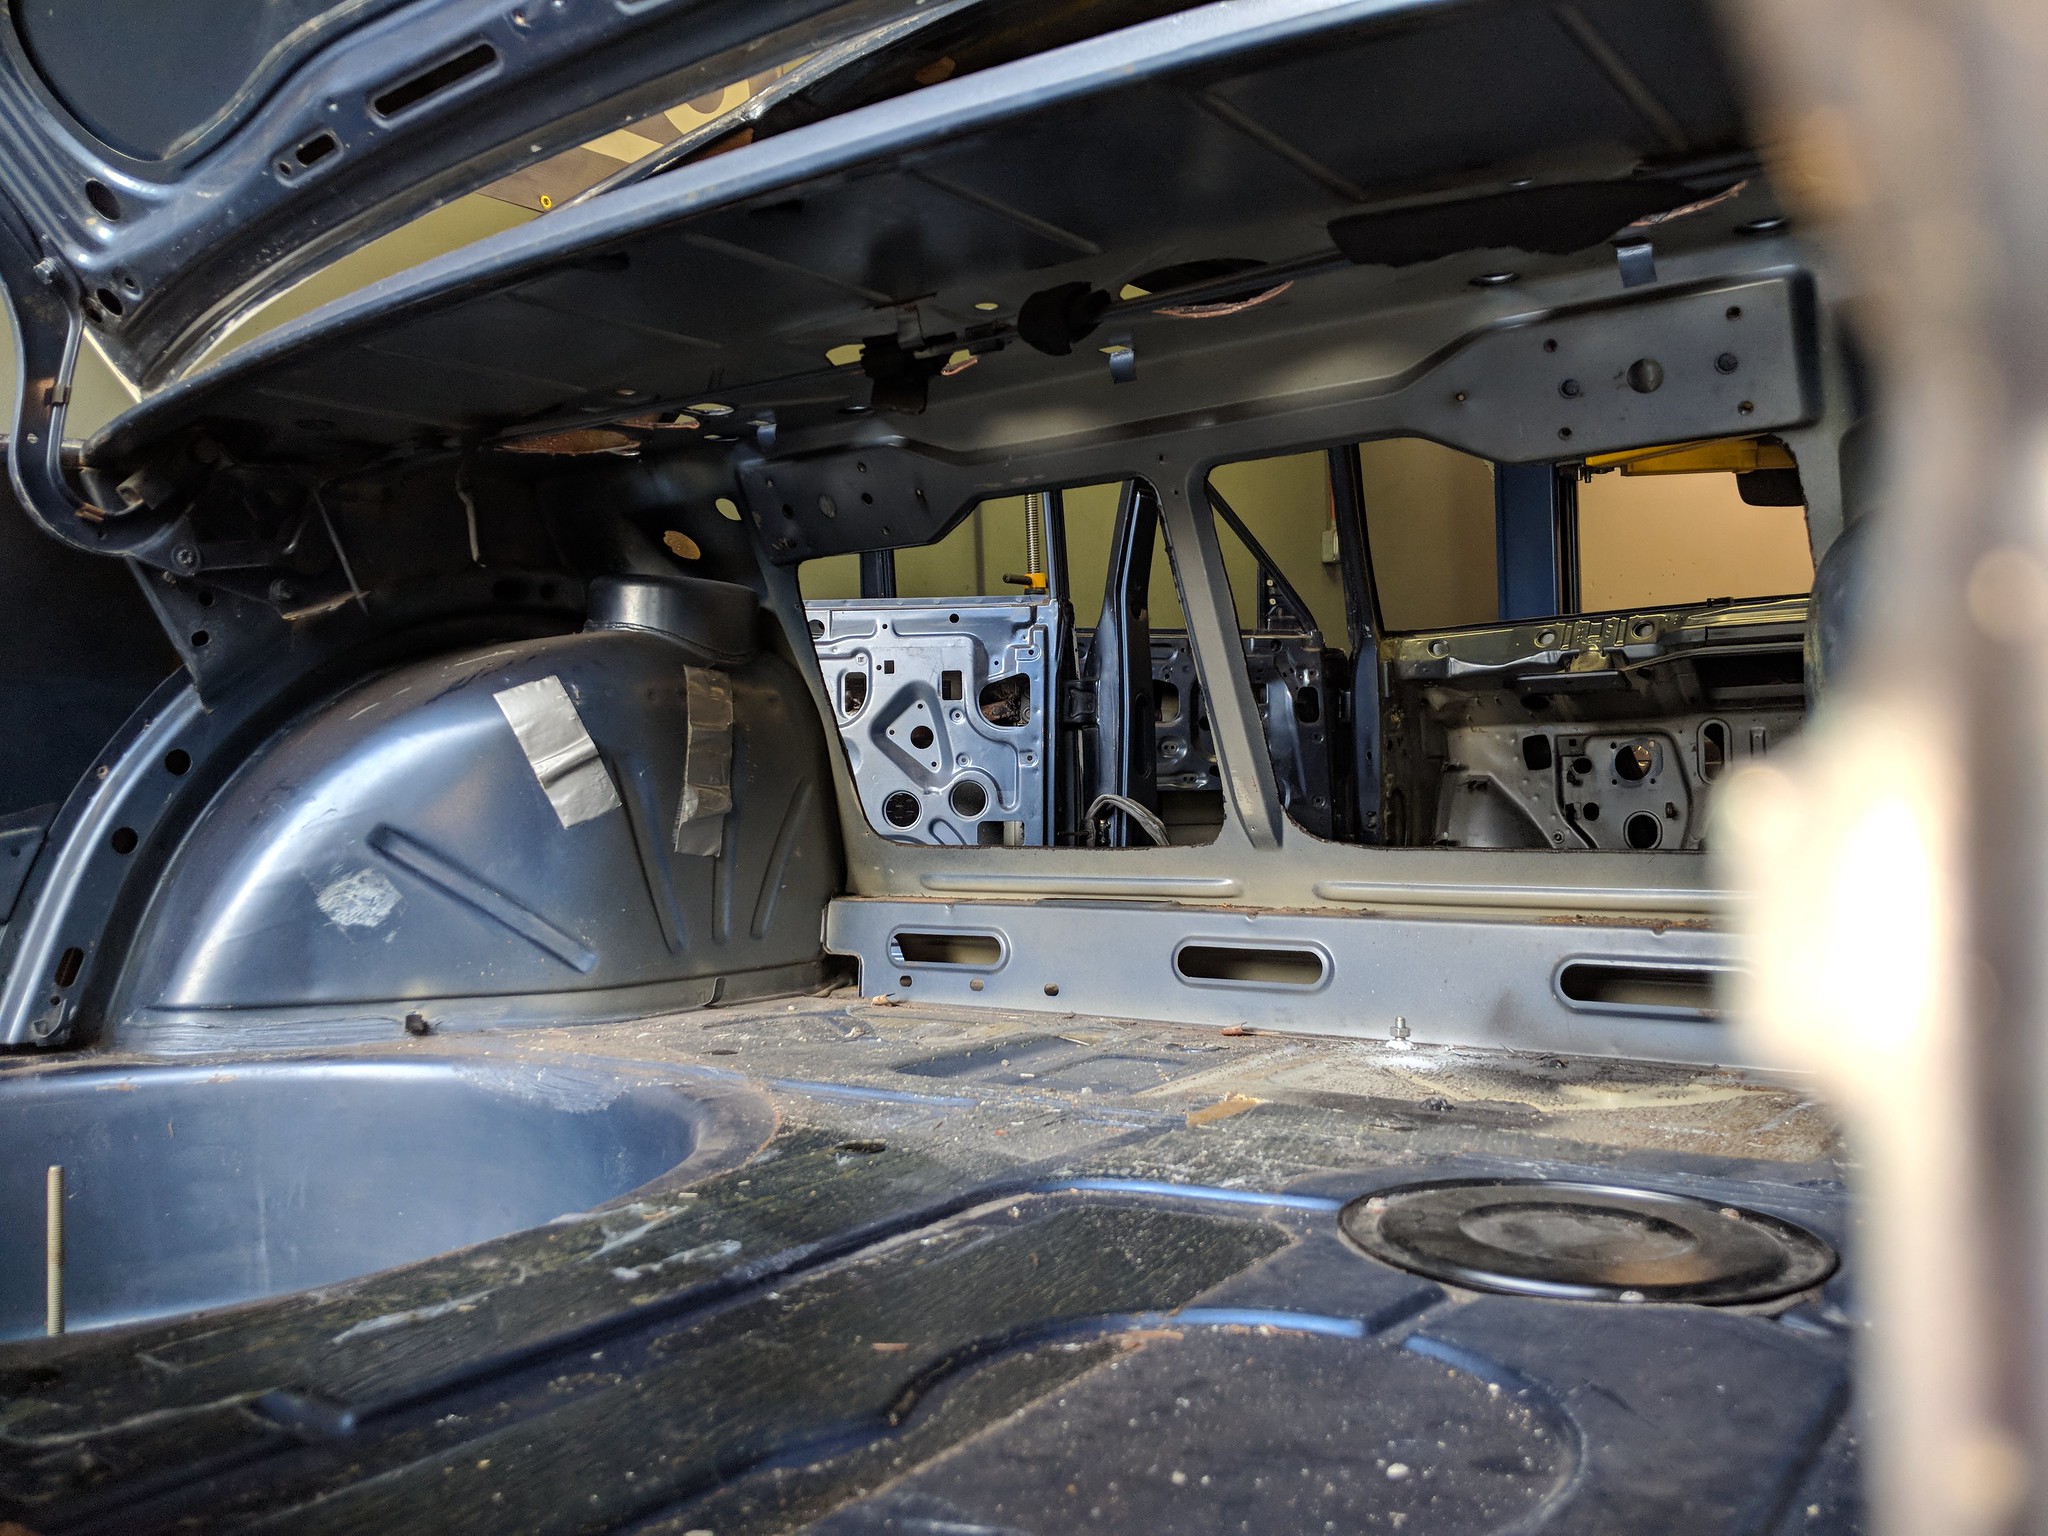
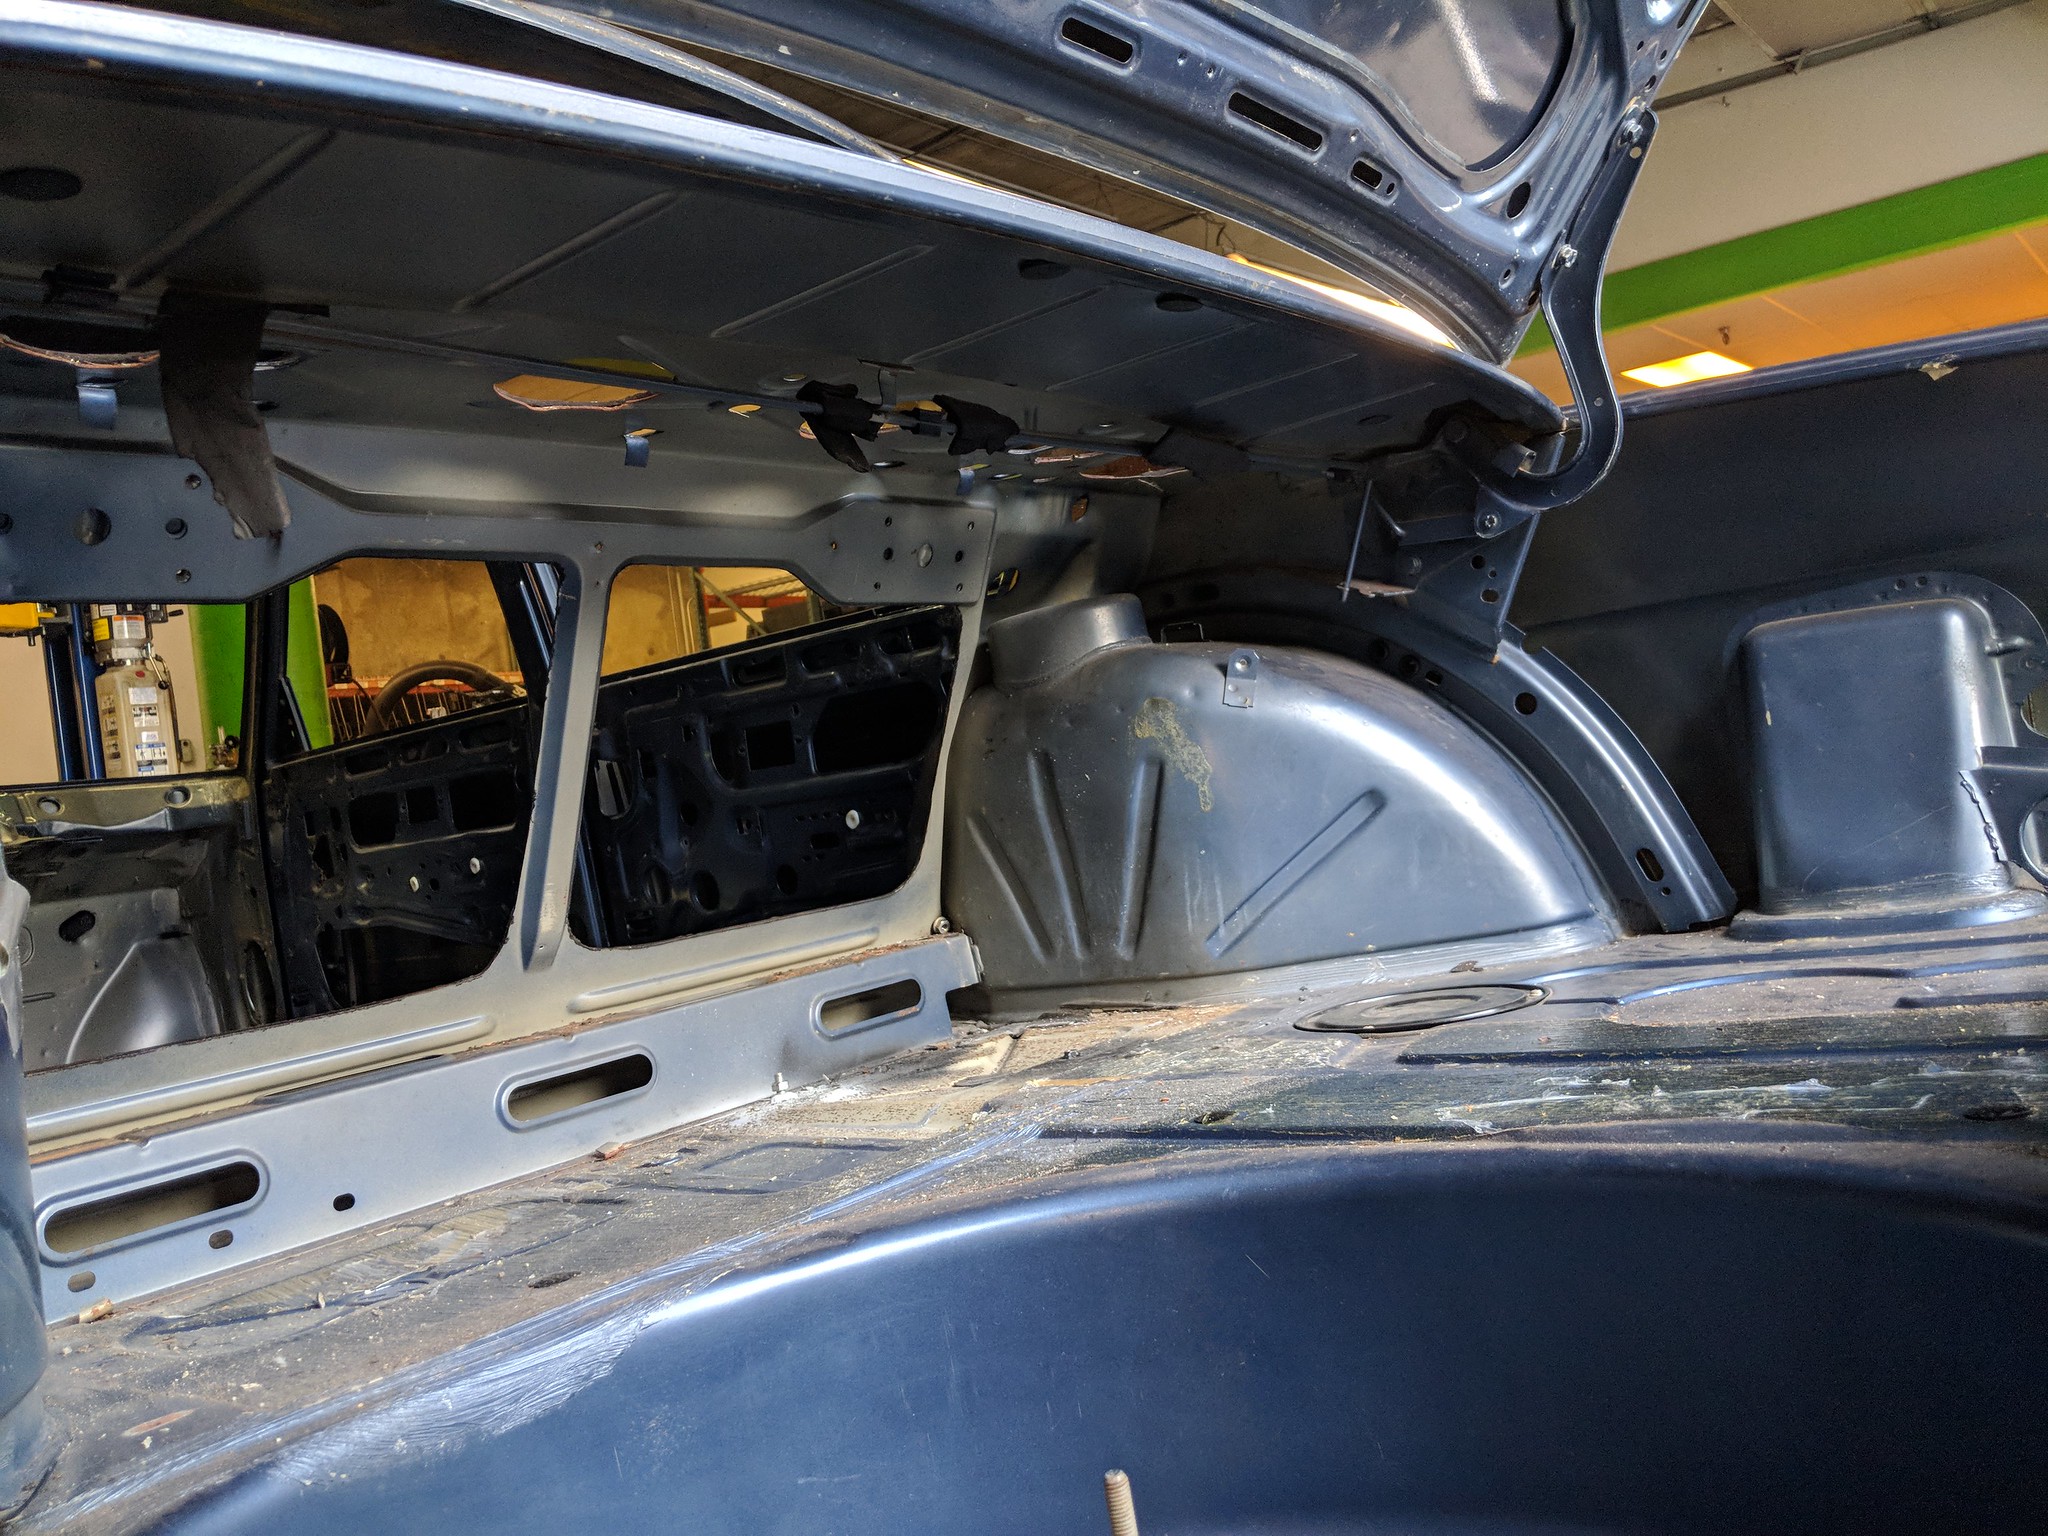
Let's track some progress.
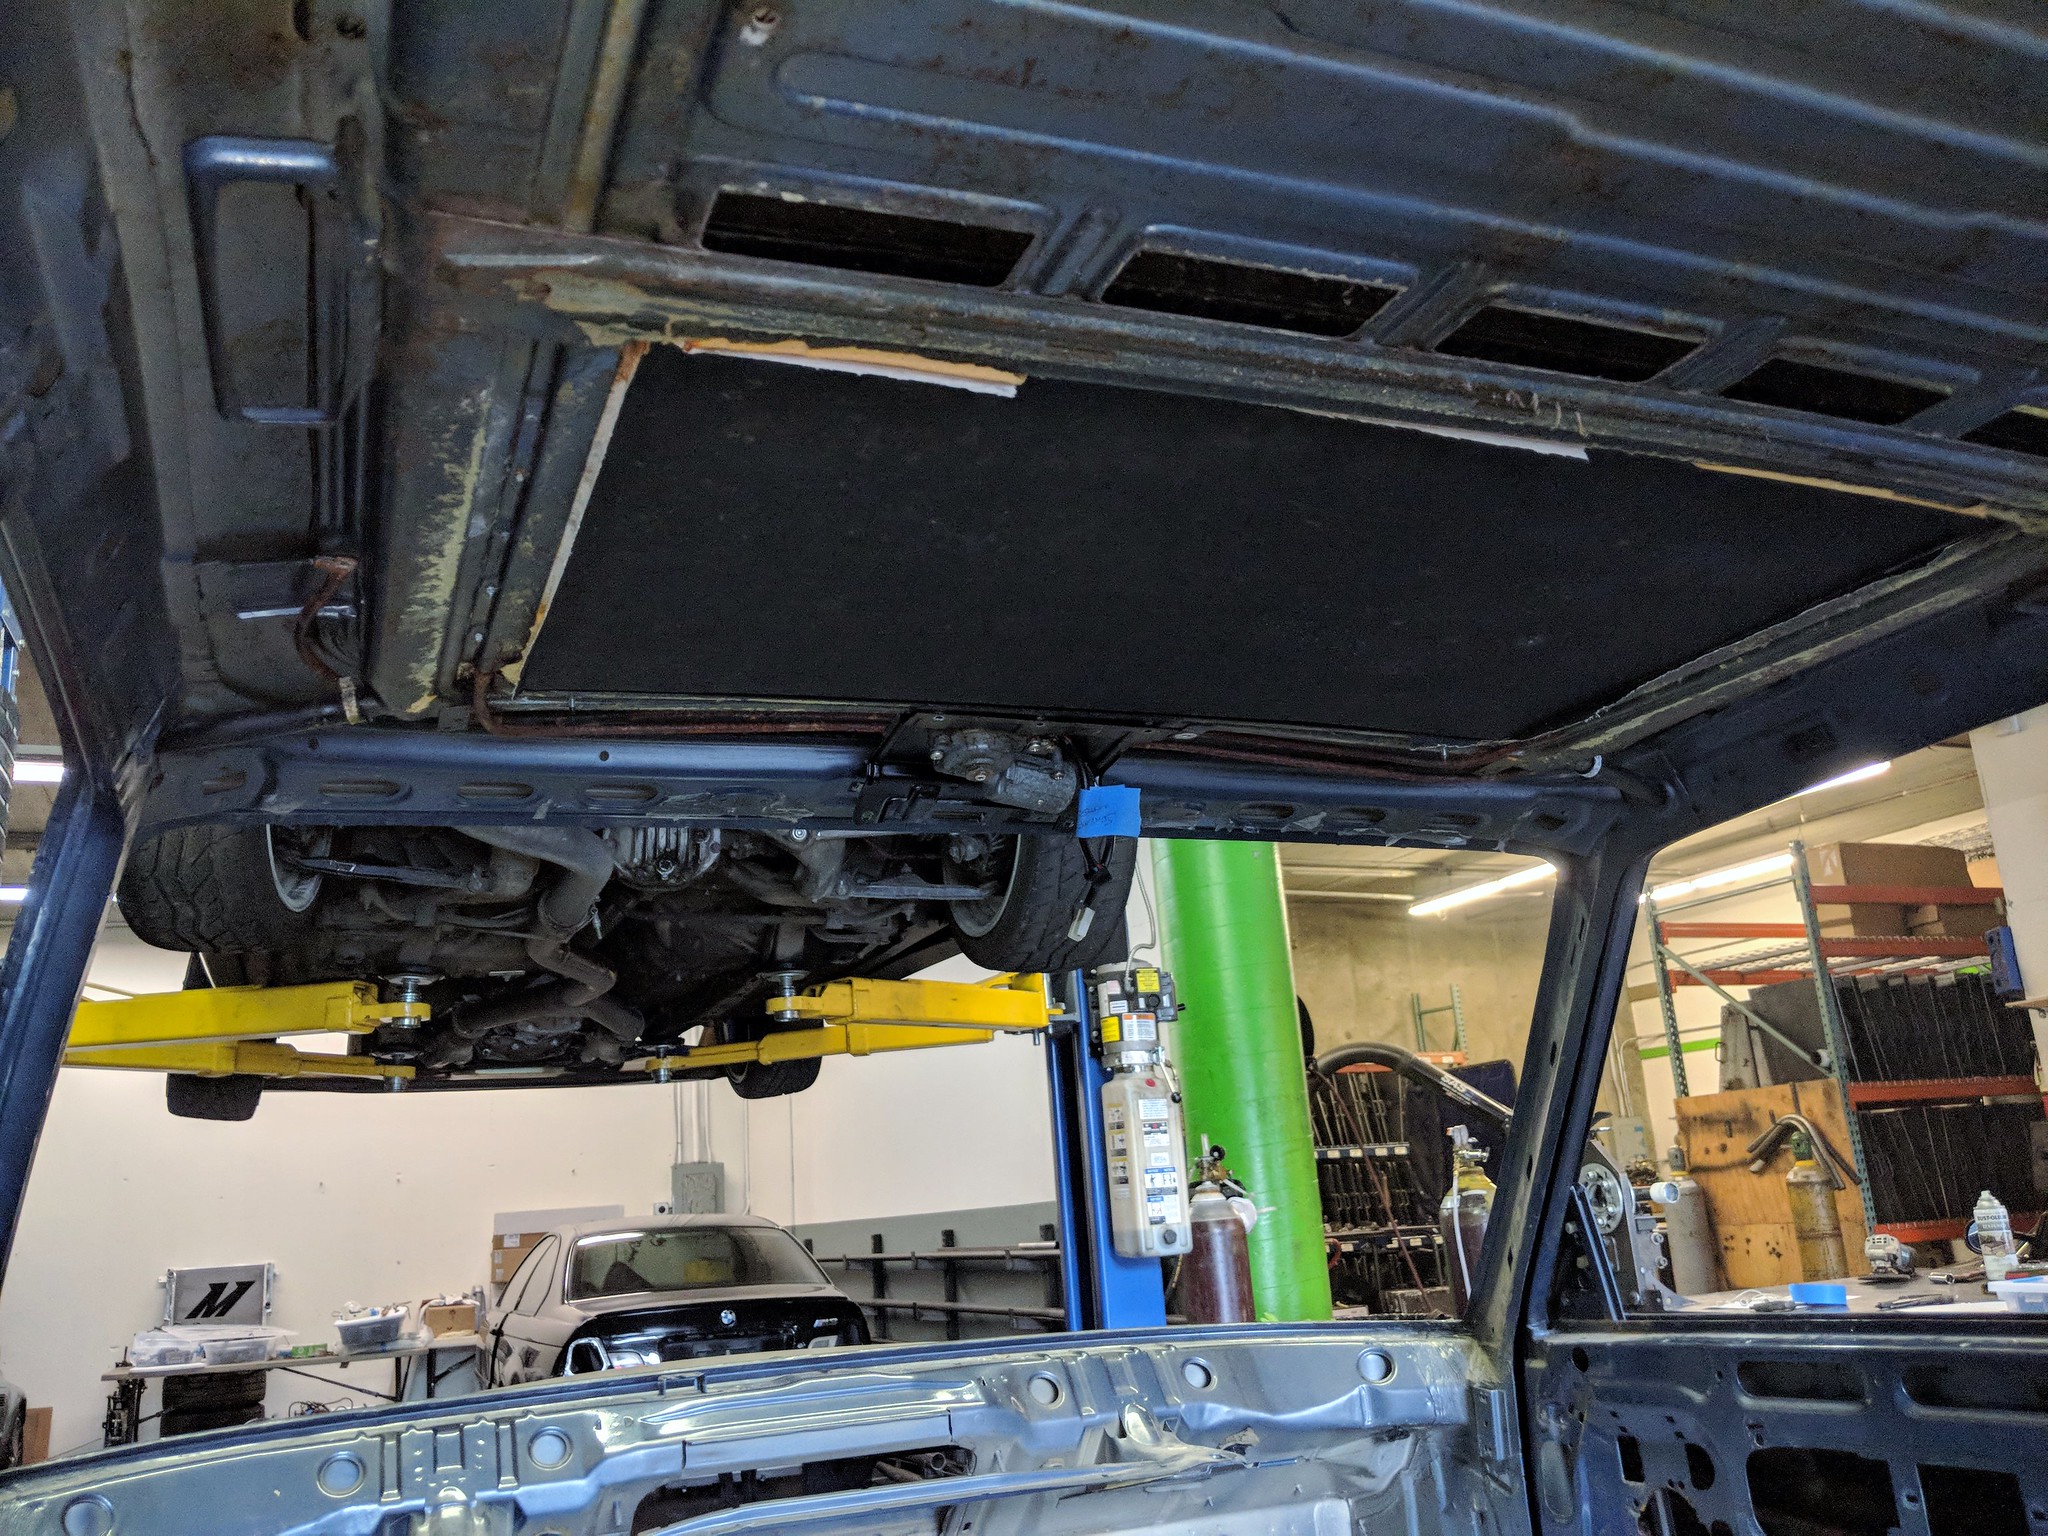
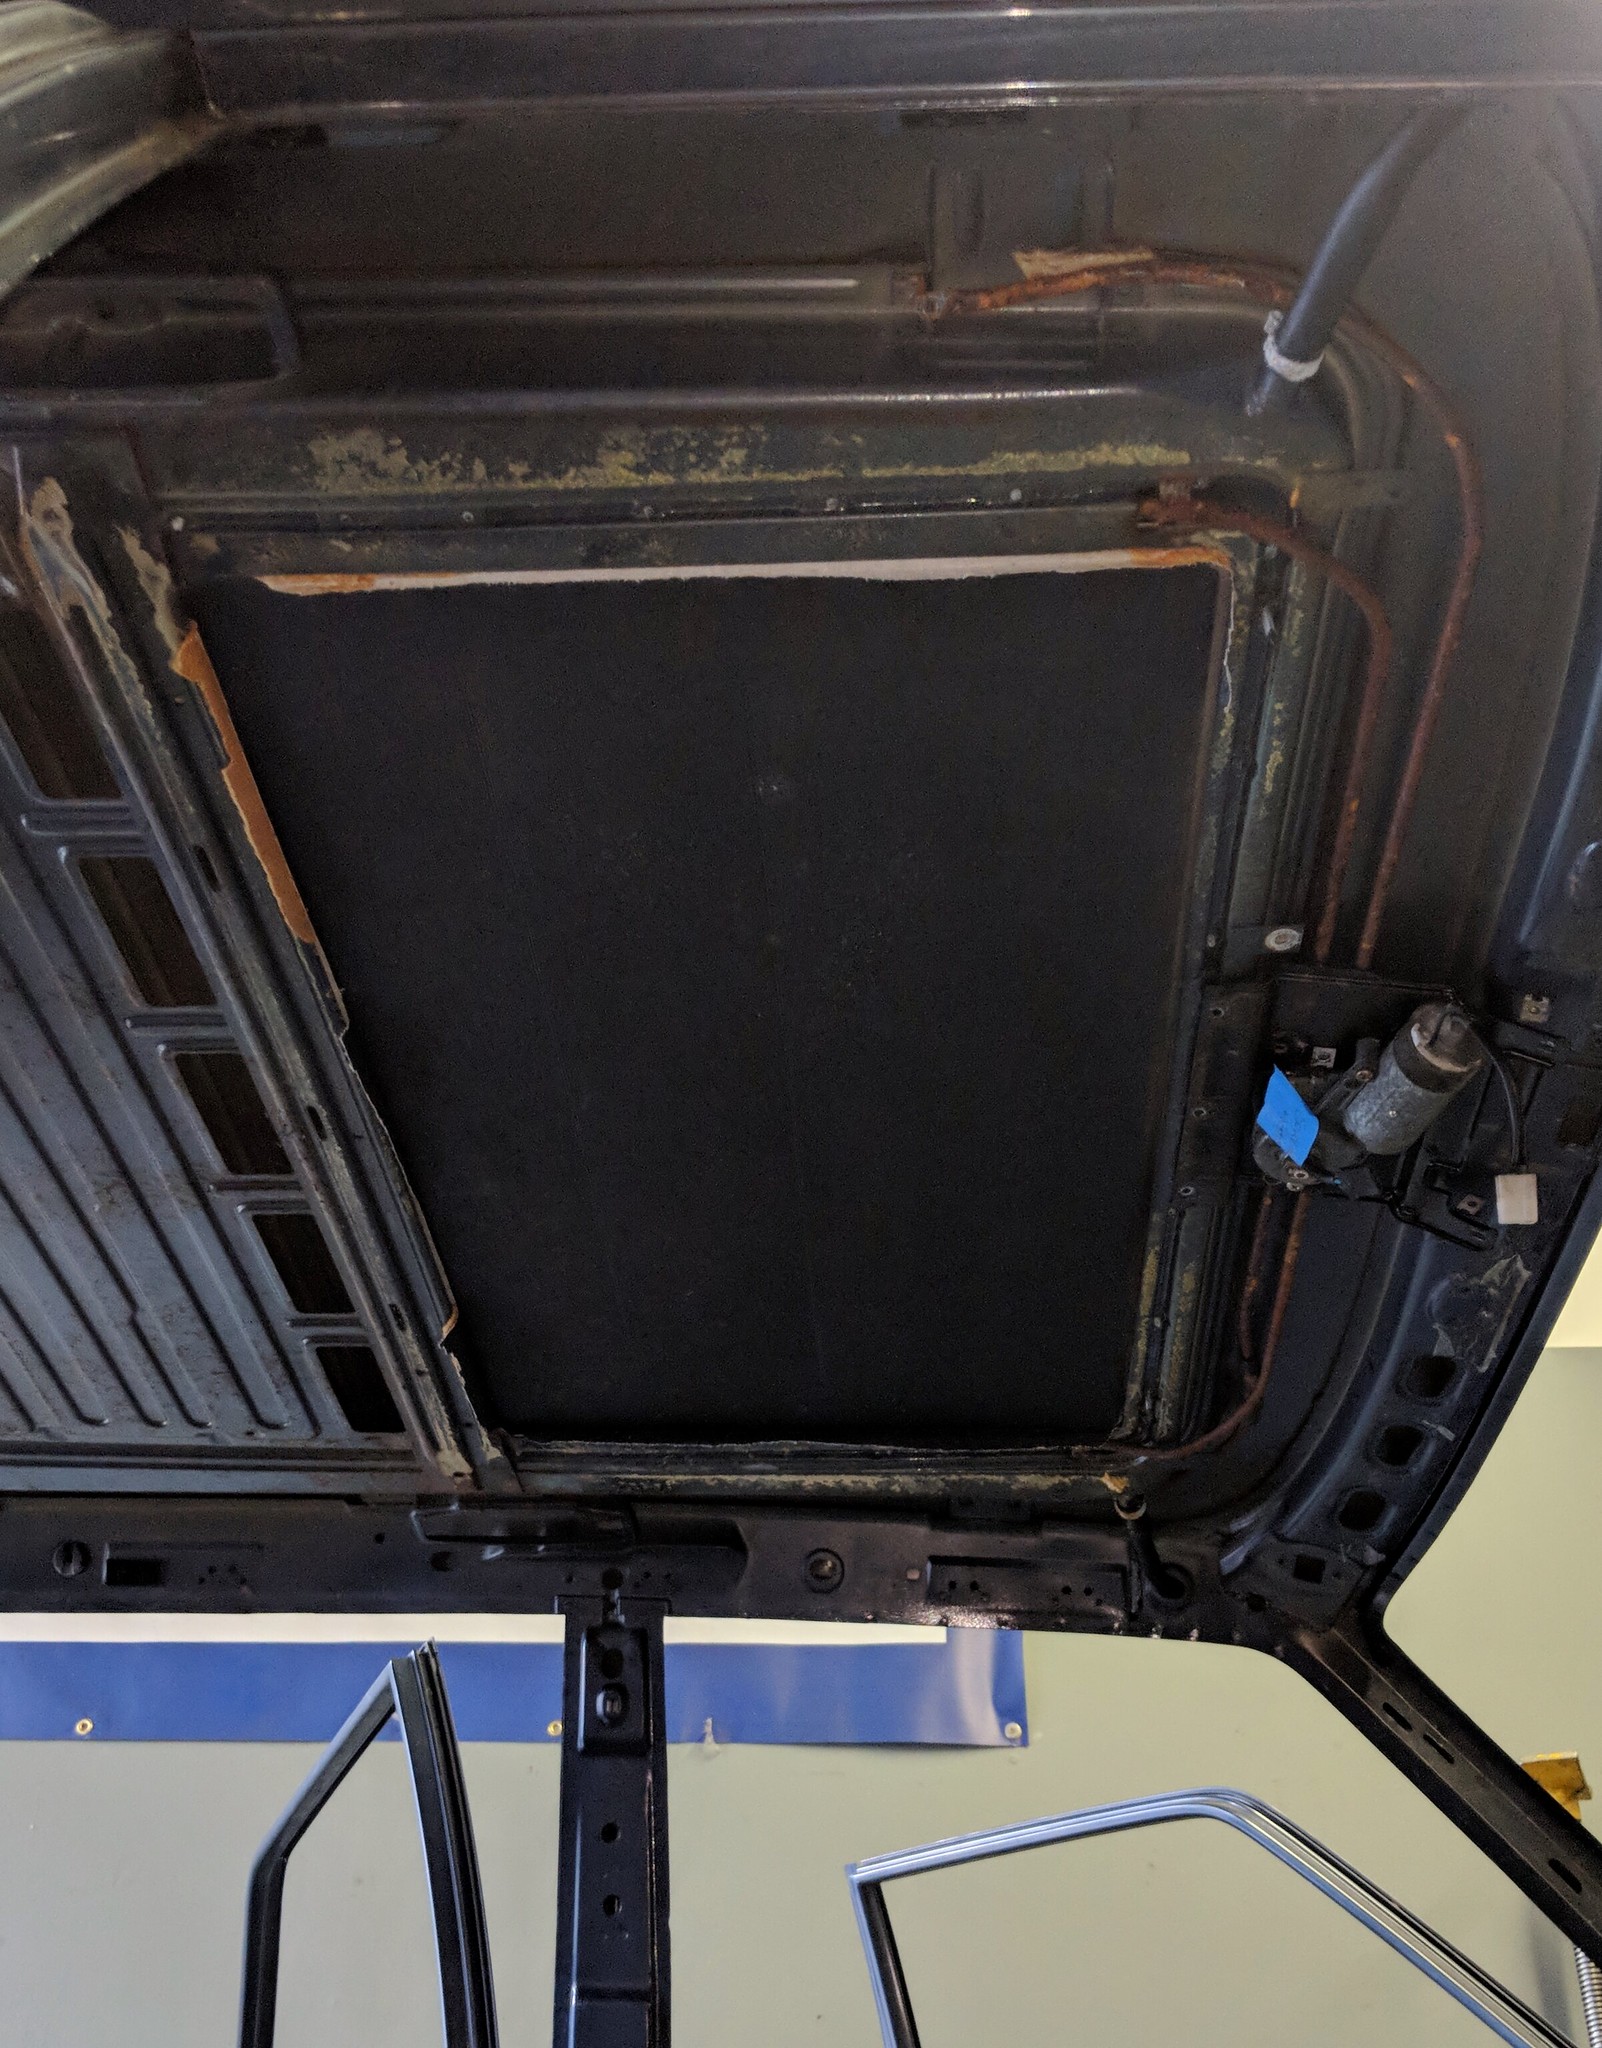
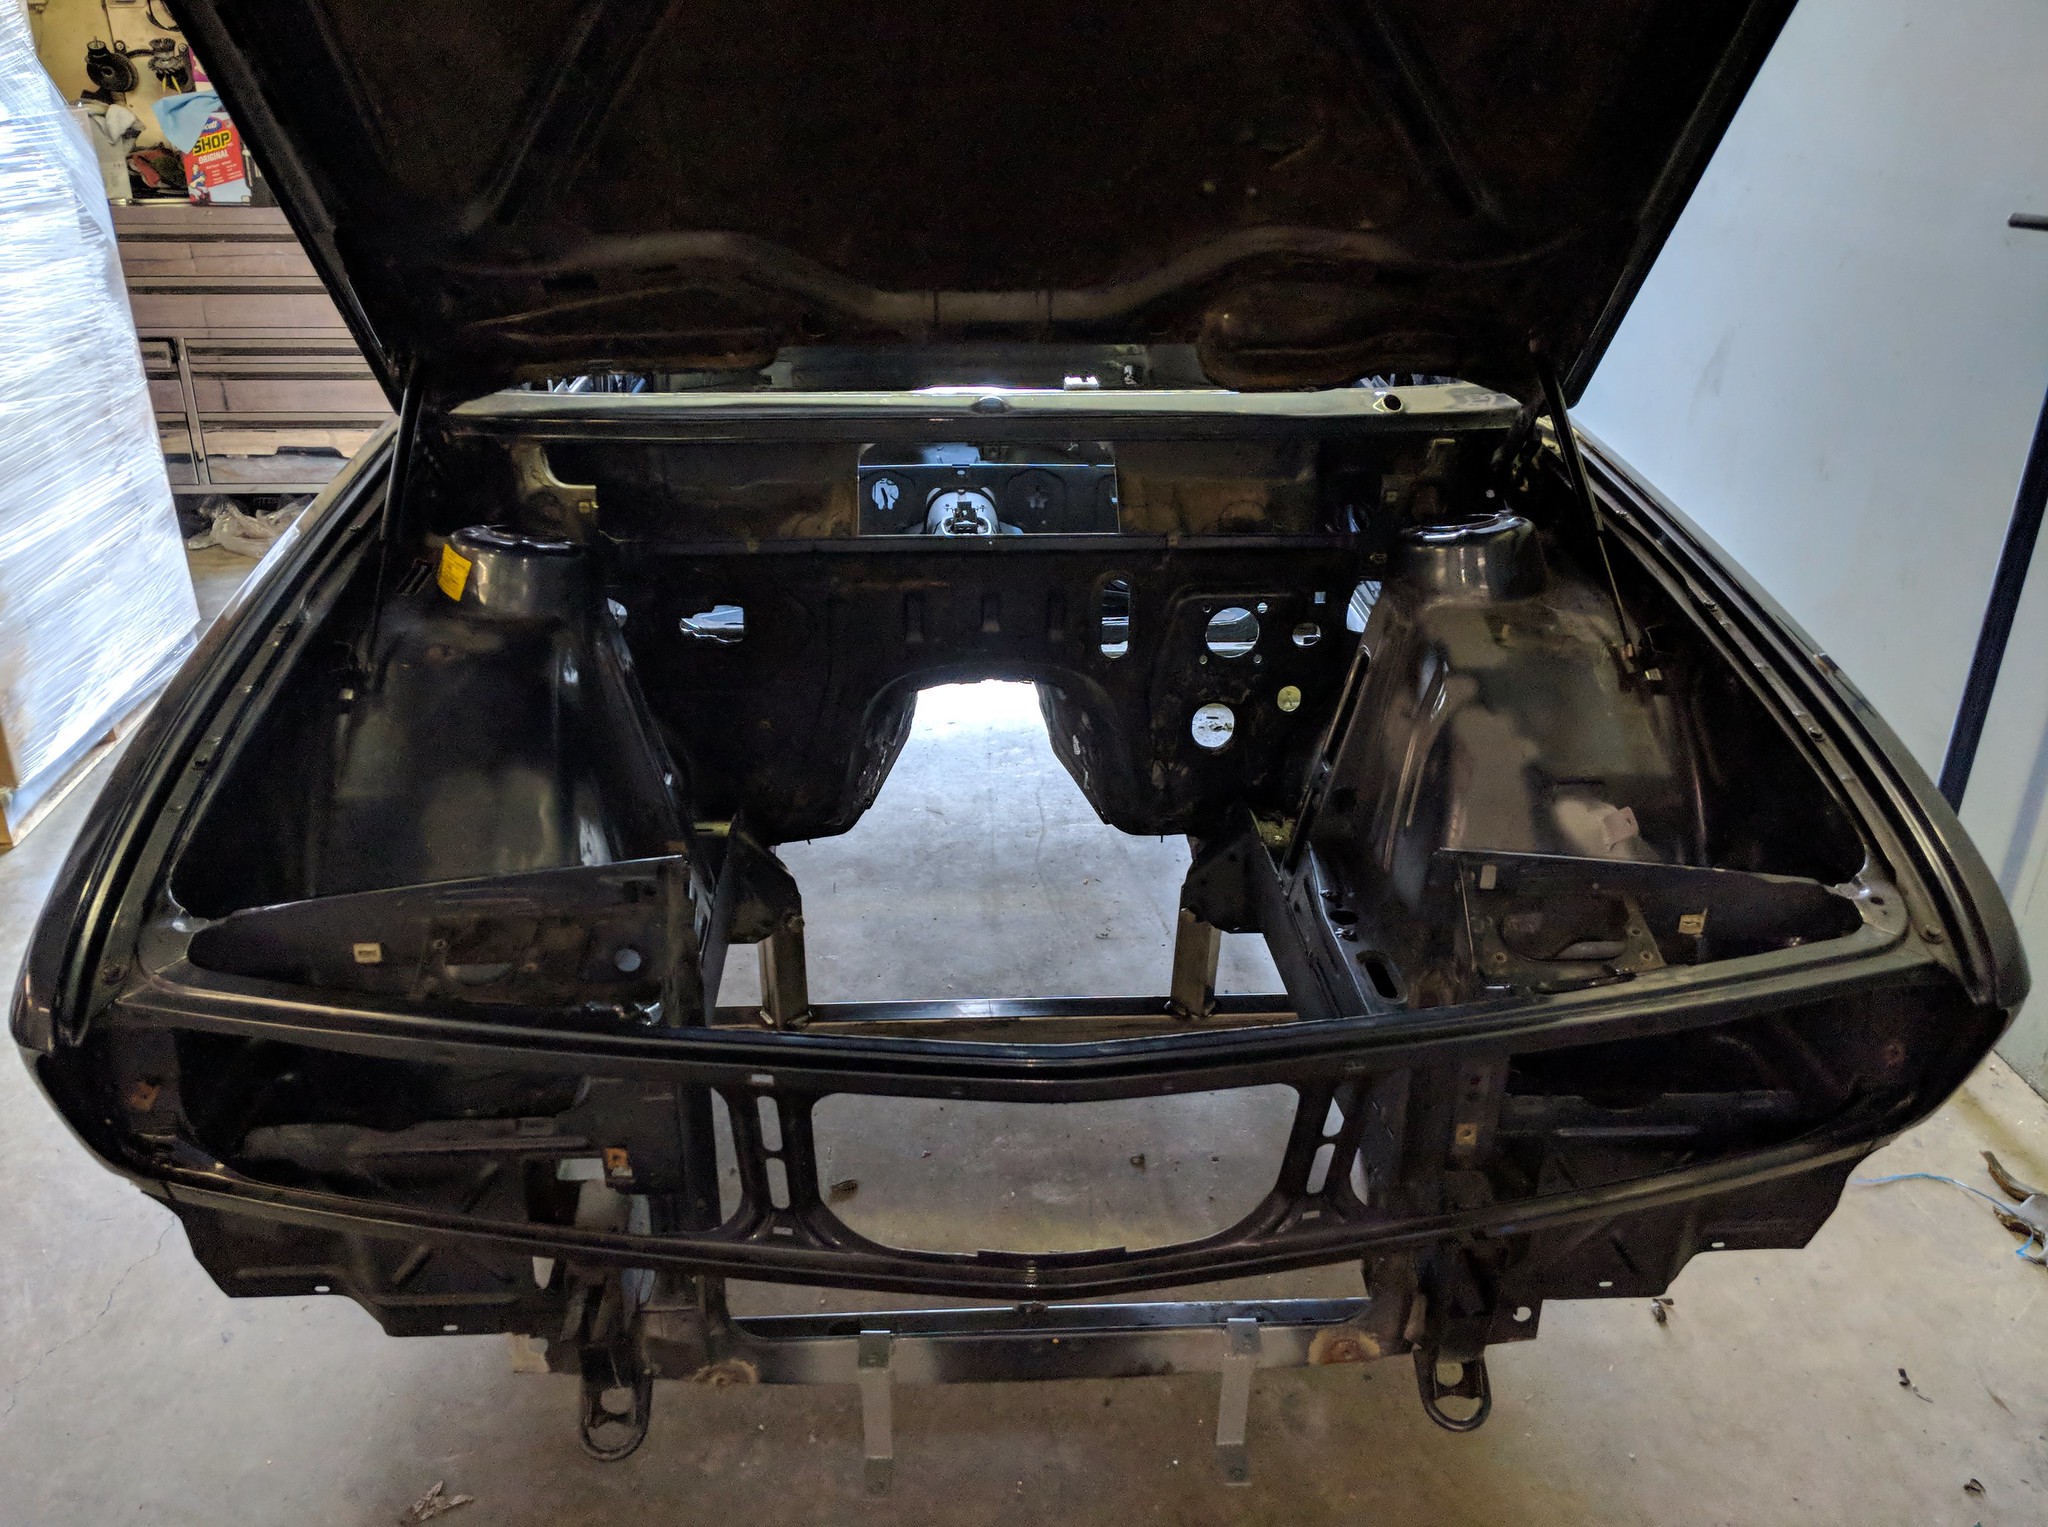
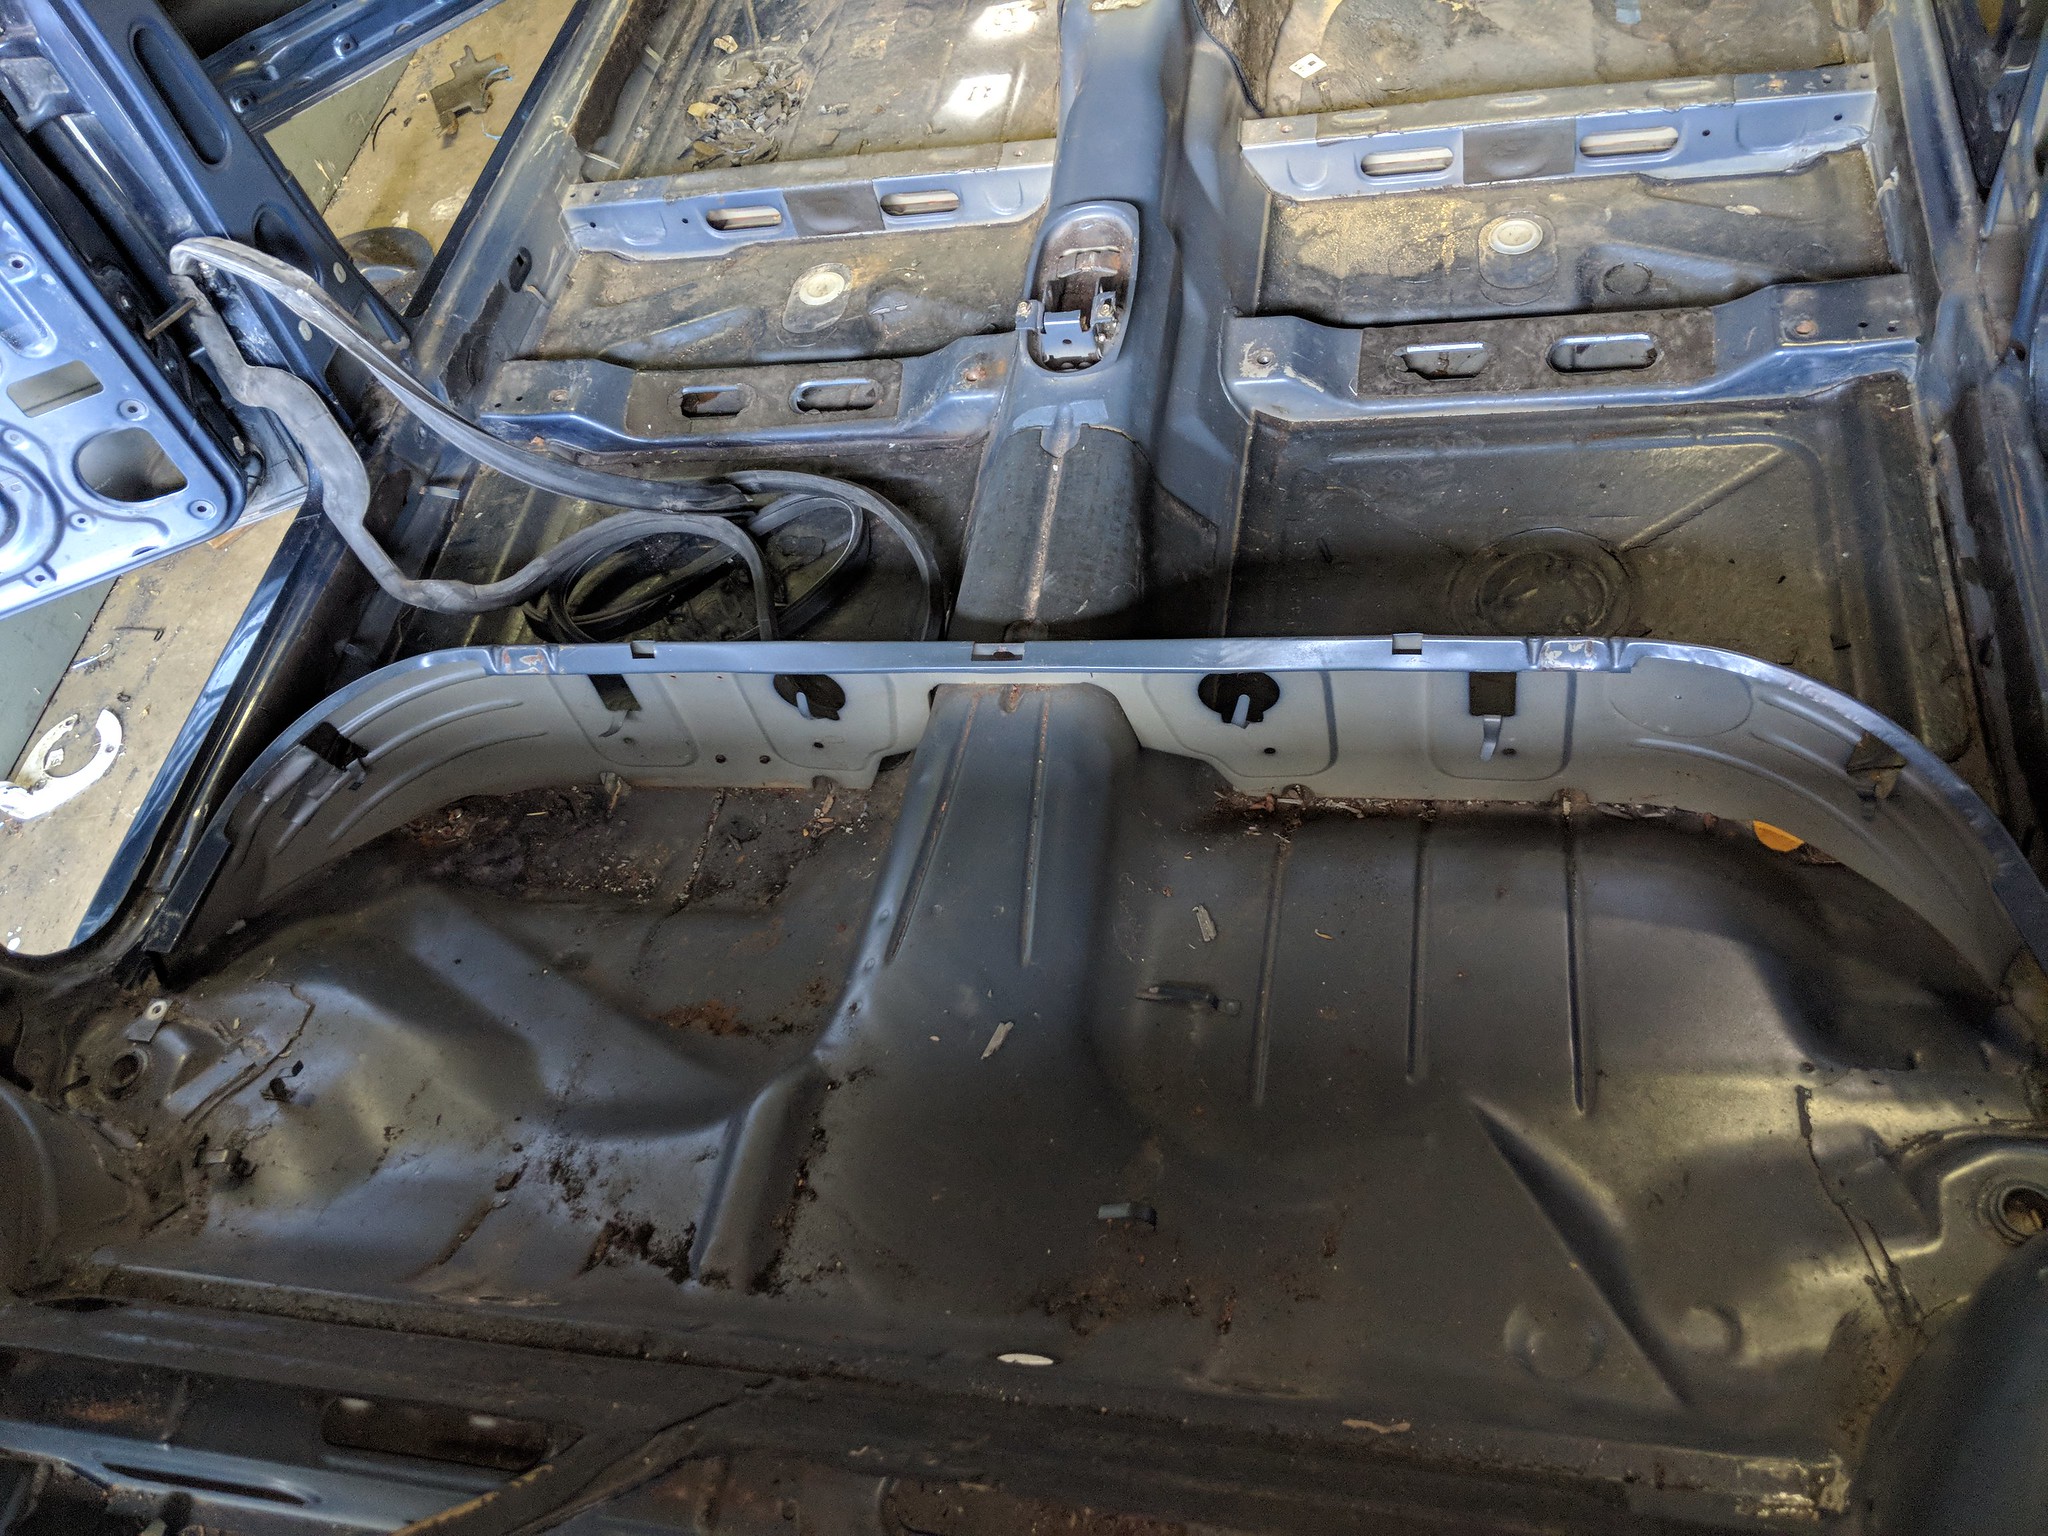
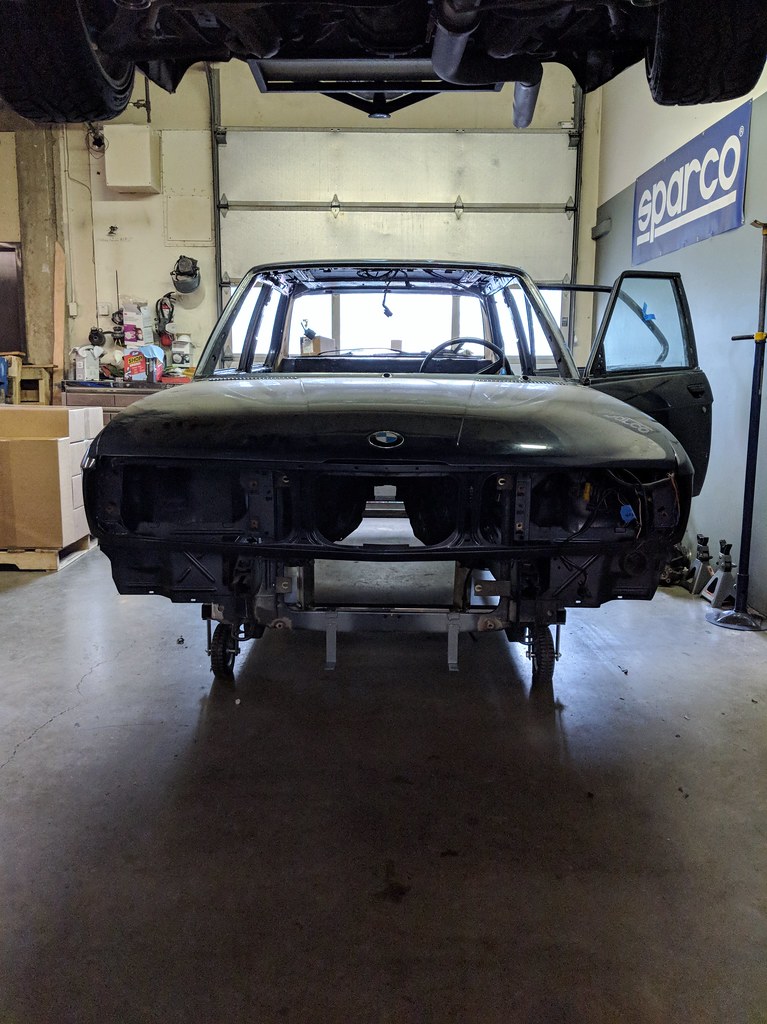
First, got this photo Monday from Danny (body guy).
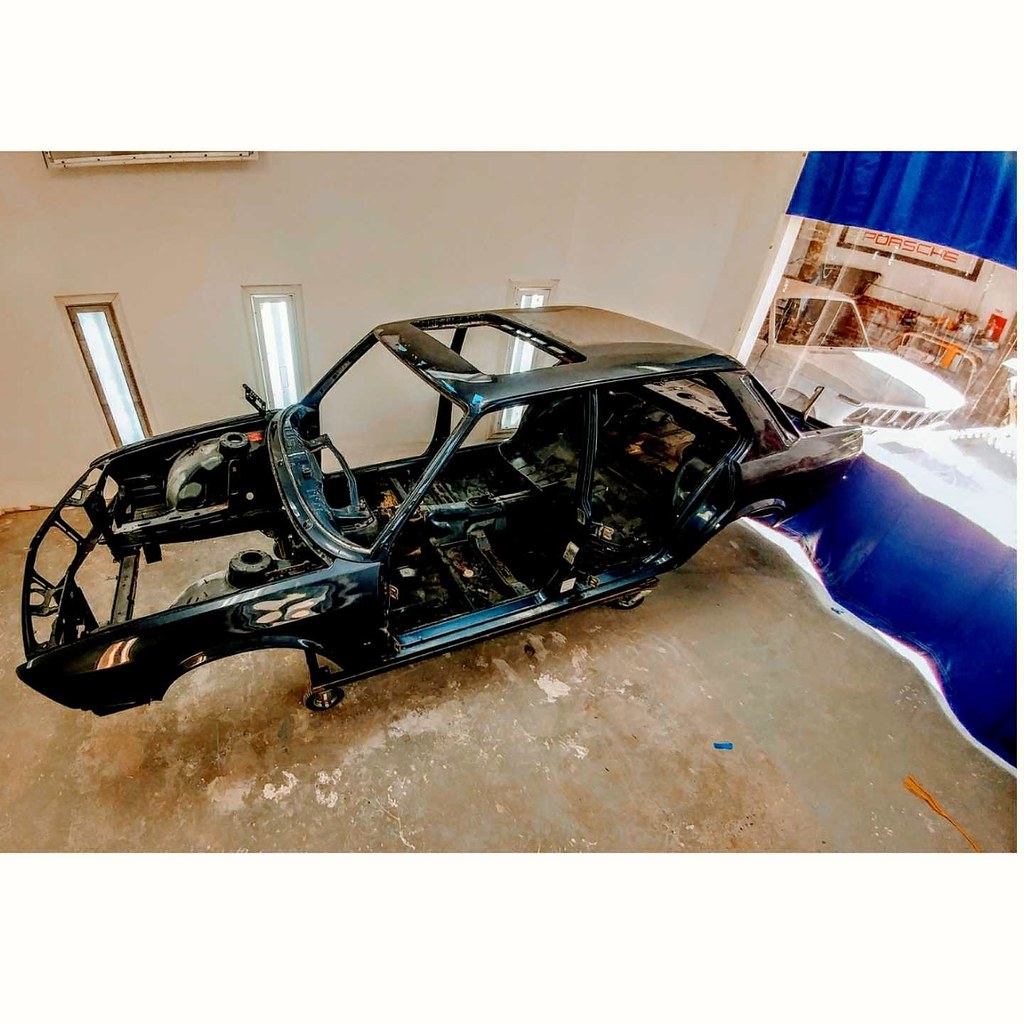
Ready for blasting, which is supposedly happening right now. As you can see the sunroof is out.
We went into this not knowing which doors we would use: The doors on the car ('85 chassis) which have poorly done federalization beams in them and hack-job speaker cut outs, or the doors from the '88 Turbo car I parted. Danny advised me that the '88 doors are just in better shape all around and that we should use them. So that decision is made.
My current mode is to just sit in my garage and look at the boxes of parts. I find if I do this long enough, I'll eventually settle on something, grab it and dig in. Yesterday I grabbed the steering column and pedal box. I have two columns; one from this car and another I bought from Kohler that is from an '87. As part of upgrading this build, I had already decided to use the the newer column (which has cruise, etc...). I dug into the old column to get the pedal box off and extract shiny bits that can be plated/restored as needed.
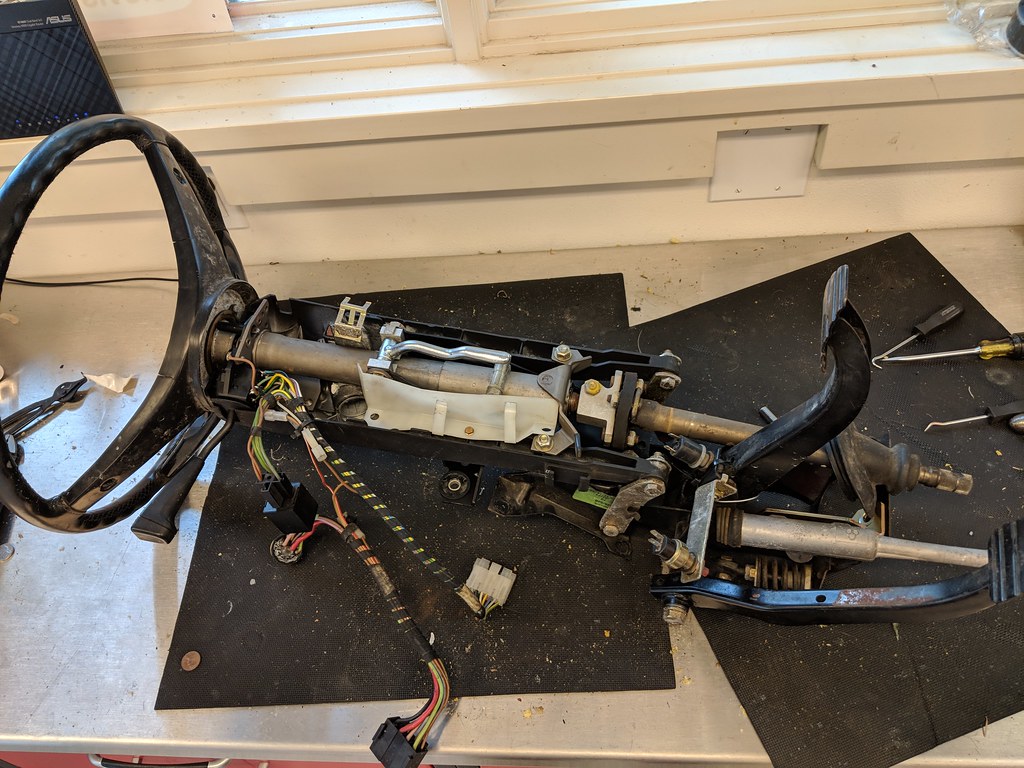
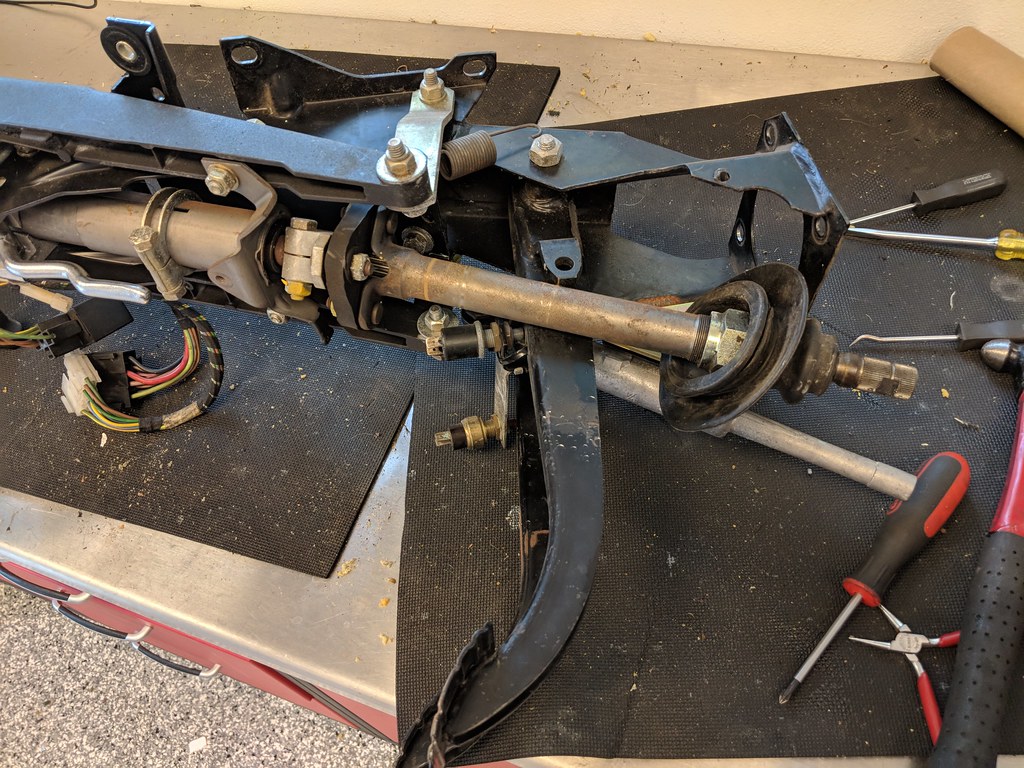
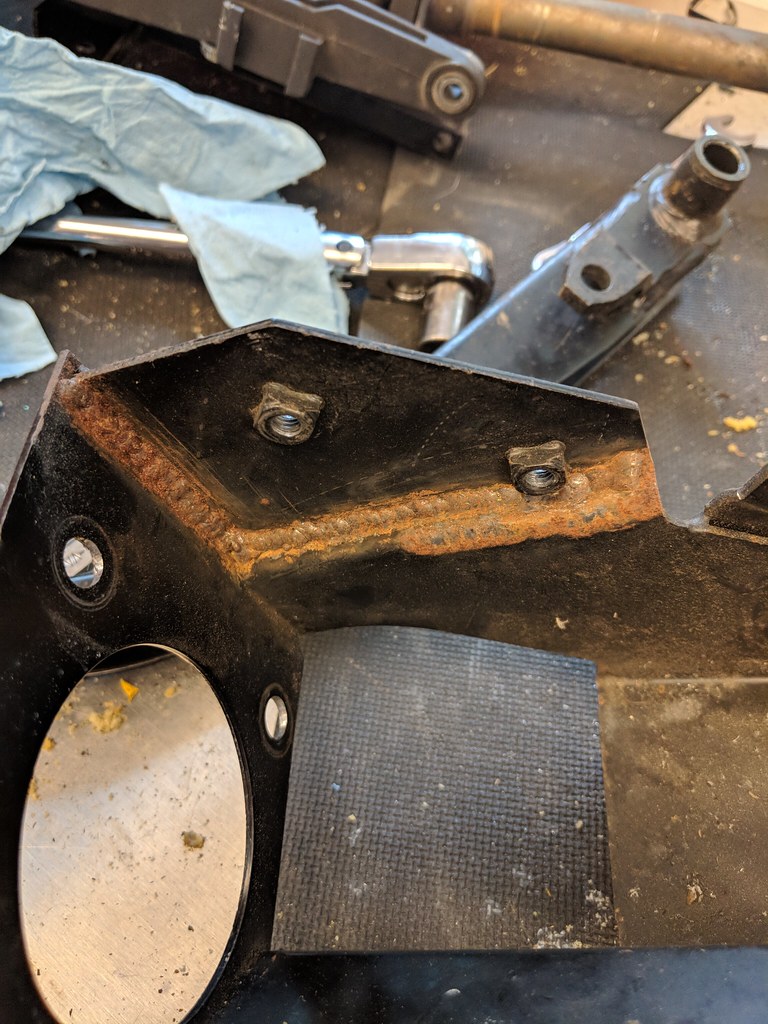
The pedal box had been repaired *and* had a 1st gen Mr Fixit kit on it. I will add this to the powder coat pile and when I re-assemble it I will put the re-enforcement kit back on too because it can't hurt. I found that pedals are still avalalble new, but these will clean up fine with powder coat...
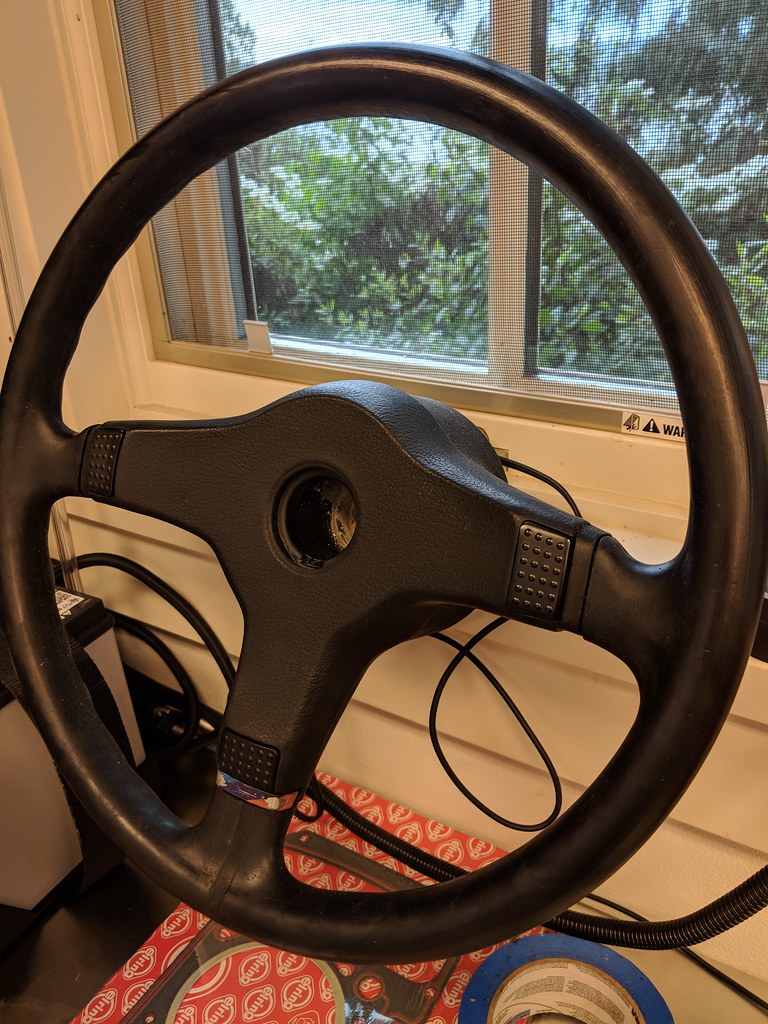
The 'new' unit, which included an M-Tech wheel in Ok shape. I plan on refurbishing the wheel and maybe using it on another project... This car's getting an M-Tech II just like Vlad's.
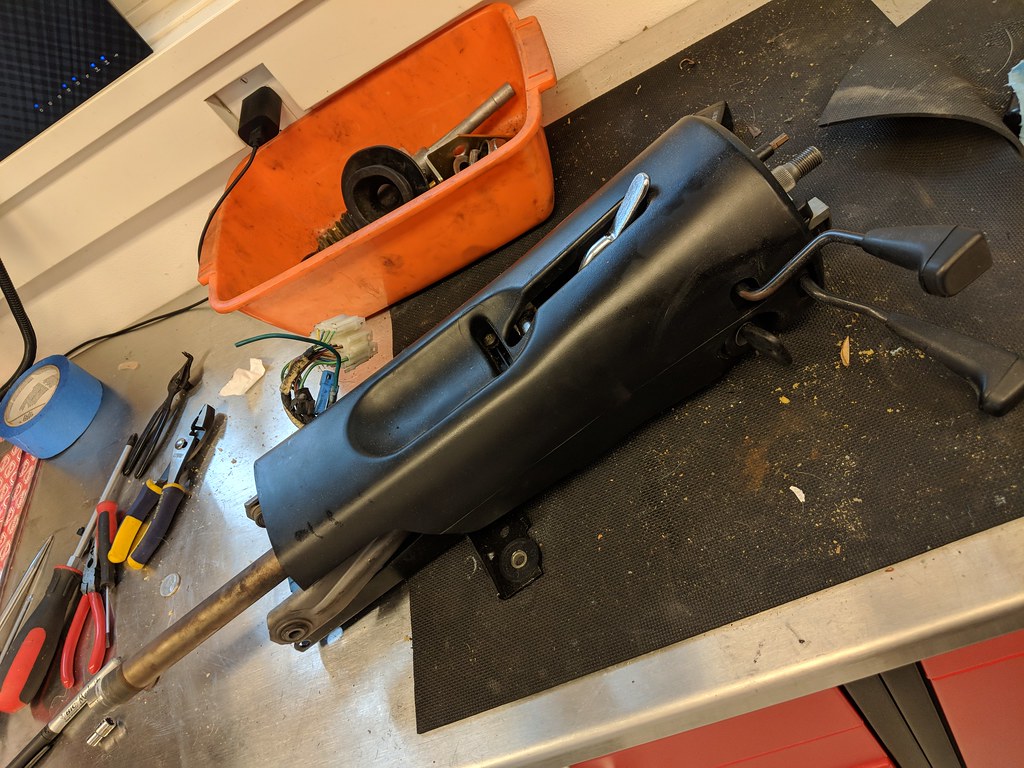
PO of the '87 this column came off of had cut the power wire to the ignition and spliced it in to something else, I'm assuming an alarm system. I R&R'd this piece which is actually the "ignition switch" assembly. I'm wondering if I should bite the bullet and buy a new one of these (they are available for ~$60). Do ignition switches wear out?
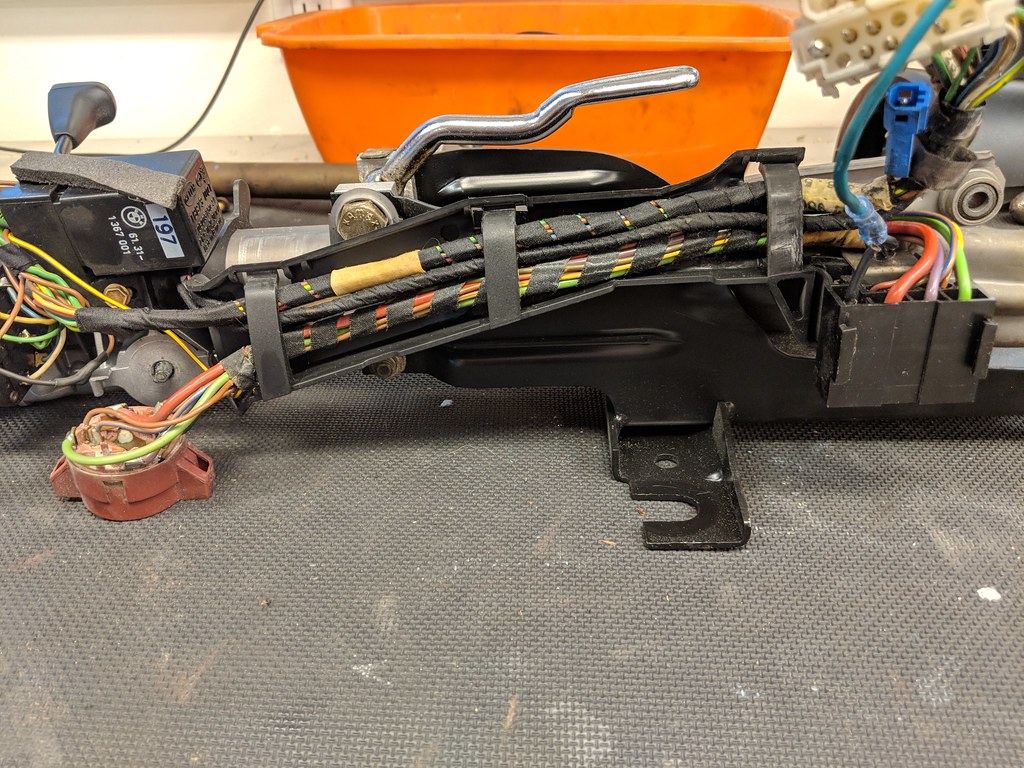
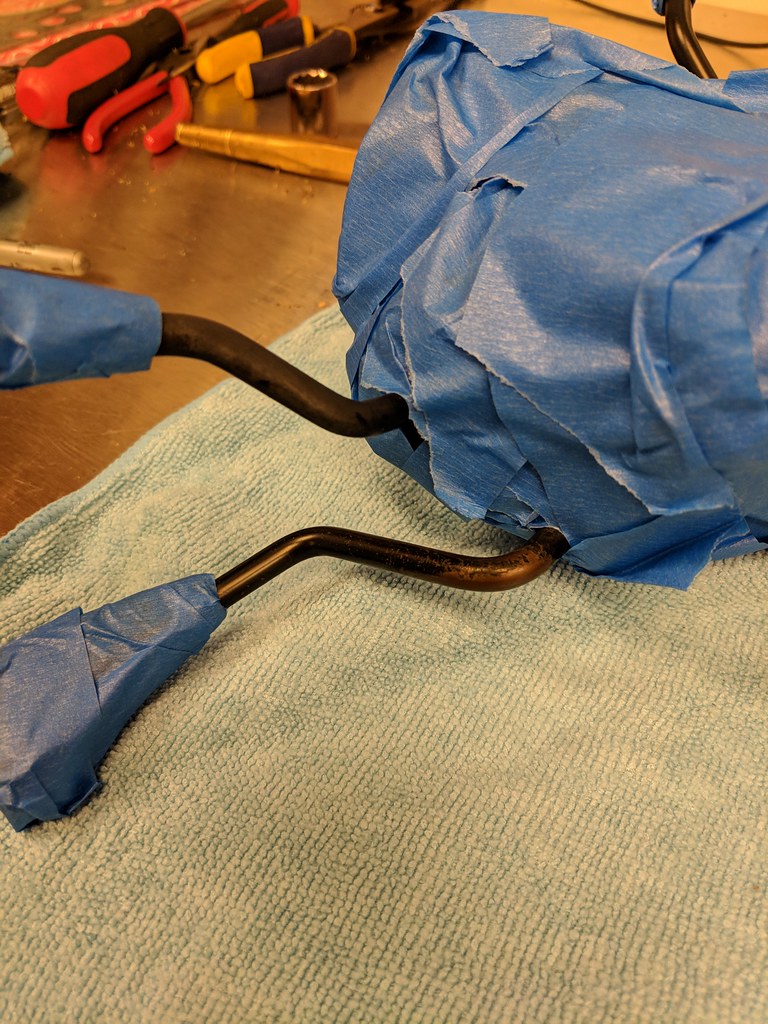
Like every E28 I've driven, the backside of the blinker/cruise/wiper stalks are worn and rusty. And the steering/ignition lock surround is beat to shit. Can't have that...
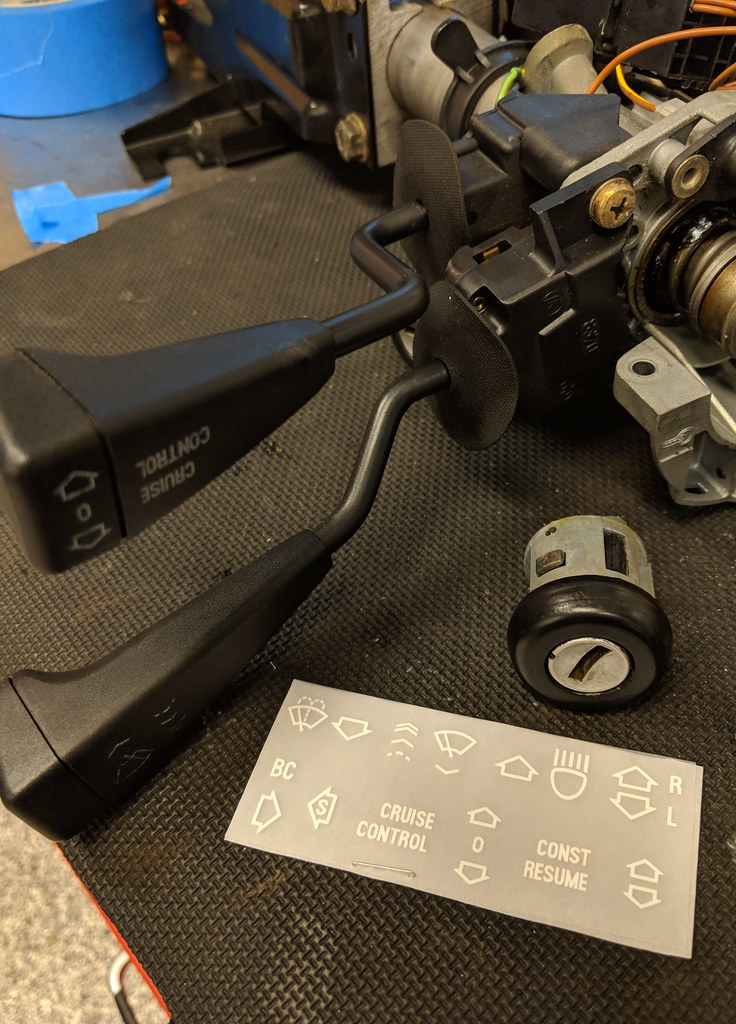
This lock came from a matched set I bought from Kohler.
Still working on getting those new labels on....
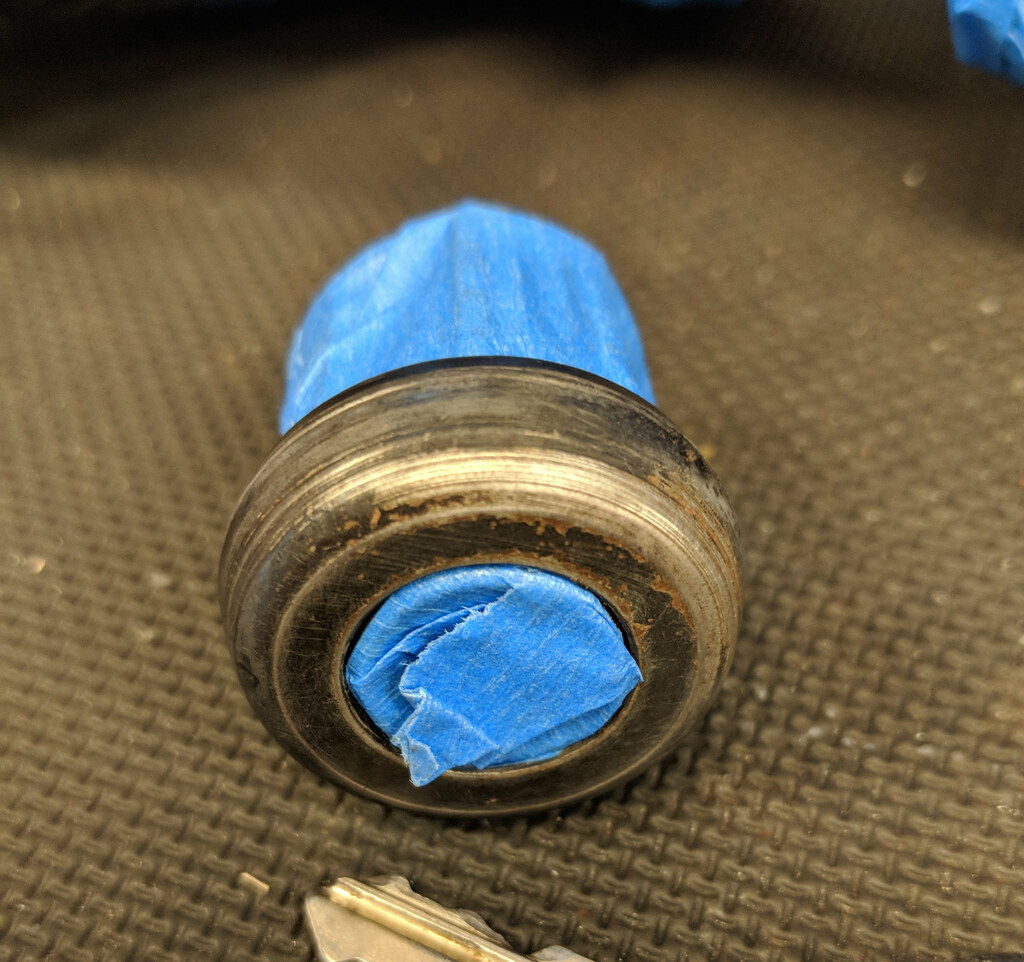
I read up on the innertubes how to remove a lock from a later-gen column. The instructions were vague, but ultimately helpful. Get a stiff wire that fits in the little hole by the key hole. Rotate the key such that when you look in the little hole you don't see metal. Insert stiff wire (must be bent so I can press against outside circumference of lock housing, without interfering with key, which will otherwise be in the way). Press and prod until you feel the little tab retract. It helps to practice on a lock that's not in a car. When you get it right, the cylinder just slides out easy peasy.
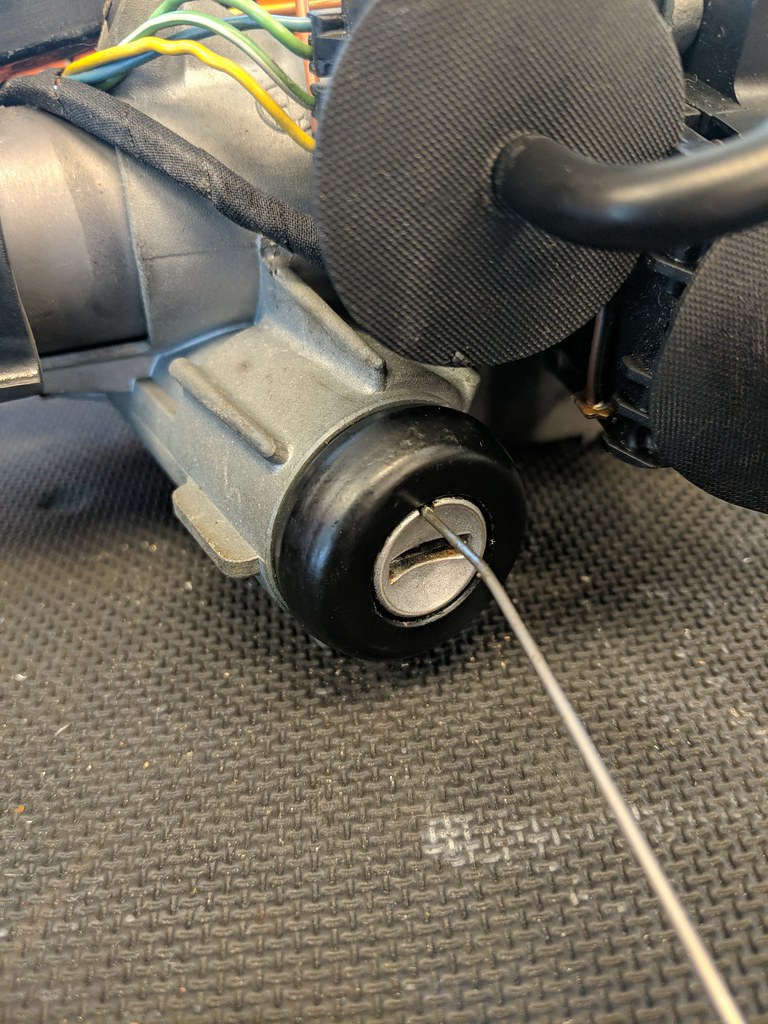
(This pic is actually of the 'new' lock, just to illustrate technique).
I'm considering diving into the ABS pump today...
First, got this photo Monday from Danny (body guy).

Ready for blasting, which is supposedly happening right now. As you can see the sunroof is out.
We went into this not knowing which doors we would use: The doors on the car ('85 chassis) which have poorly done federalization beams in them and hack-job speaker cut outs, or the doors from the '88 Turbo car I parted. Danny advised me that the '88 doors are just in better shape all around and that we should use them. So that decision is made.
My current mode is to just sit in my garage and look at the boxes of parts. I find if I do this long enough, I'll eventually settle on something, grab it and dig in. Yesterday I grabbed the steering column and pedal box. I have two columns; one from this car and another I bought from Kohler that is from an '87. As part of upgrading this build, I had already decided to use the the newer column (which has cruise, etc...). I dug into the old column to get the pedal box off and extract shiny bits that can be plated/restored as needed.


The pedal box had been repaired *and* had a 1st gen Mr Fixit kit on it. I will add this to the powder coat pile and when I re-assemble it I will put the re-enforcement kit back on too because it can't hurt. I found that pedals are still avalalble new, but these will clean up fine with powder coat...

The 'new' unit, which included an M-Tech wheel in Ok shape. I plan on refurbishing the wheel and maybe using it on another project... This car's getting an M-Tech II just like Vlad's.


PO of the '87 this column came off of had cut the power wire to the ignition and spliced it in to something else, I'm assuming an alarm system. I R&R'd this piece which is actually the "ignition switch" assembly. I'm wondering if I should bite the bullet and buy a new one of these (they are available for ~$60). Do ignition switches wear out?

Like every E28 I've driven, the backside of the blinker/cruise/wiper stalks are worn and rusty. And the steering/ignition lock surround is beat to shit. Can't have that...


This lock came from a matched set I bought from Kohler.

Still working on getting those new labels on....
I read up on the innertubes how to remove a lock from a later-gen column. The instructions were vague, but ultimately helpful. Get a stiff wire that fits in the little hole by the key hole. Rotate the key such that when you look in the little hole you don't see metal. Insert stiff wire (must be bent so I can press against outside circumference of lock housing, without interfering with key, which will otherwise be in the way). Press and prod until you feel the little tab retract. It helps to practice on a lock that's not in a car. When you get it right, the cylinder just slides out easy peasy.

(This pic is actually of the 'new' lock, just to illustrate technique).
I'm considering diving into the ABS pump today...
Last edited by tig on May 11, 2018 12:08 PM, edited 2 times in total.
Re: Project Minerva: S54 powered E28 daily driver
Outstanding work! Love it. As I look through the disassembled pictures (like the harnesses rats nest), it makes my current list of car needs look like child's play (and yet I procrastinate). 
Re: Project Minerva: S54 powered E28 daily driver
This is just incredible. I get frustrated trying to clean brake dust off my wheels. The skill level and attention to detail by Charles and others like him on this board just astound me.
Re: Project Minerva: S54 powered E28 daily driver
Thanks, but to be clear, this is not about skill. Skill implies mastery that comes from thousands of repetitions. I have no idea what I'm doing.gray635 wrote:This is just incredible. I get frustrated trying to clean brake dust off my wheels. The skill level and attention to detail by Charles and others like him on this board just astound me.
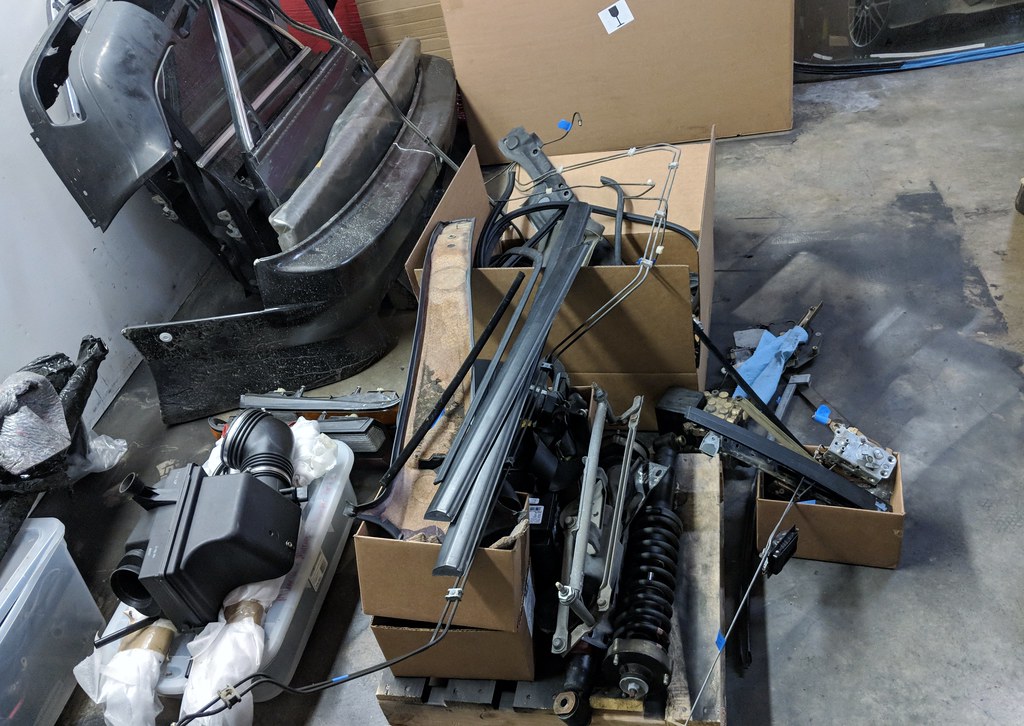
Stopped by the shop to pick up the suspension bits, the parts from the '88 doors, and doors we won't be using. I gotta get those front strut assemblies disassembled, clean up the mounting tabs, and then get them off for powder coat. I think once they are ready, I'll have one massive powder coat job ready...which is the way to go because my guy generally just charges me about $300-400 for every job, no matter how many parts there are.
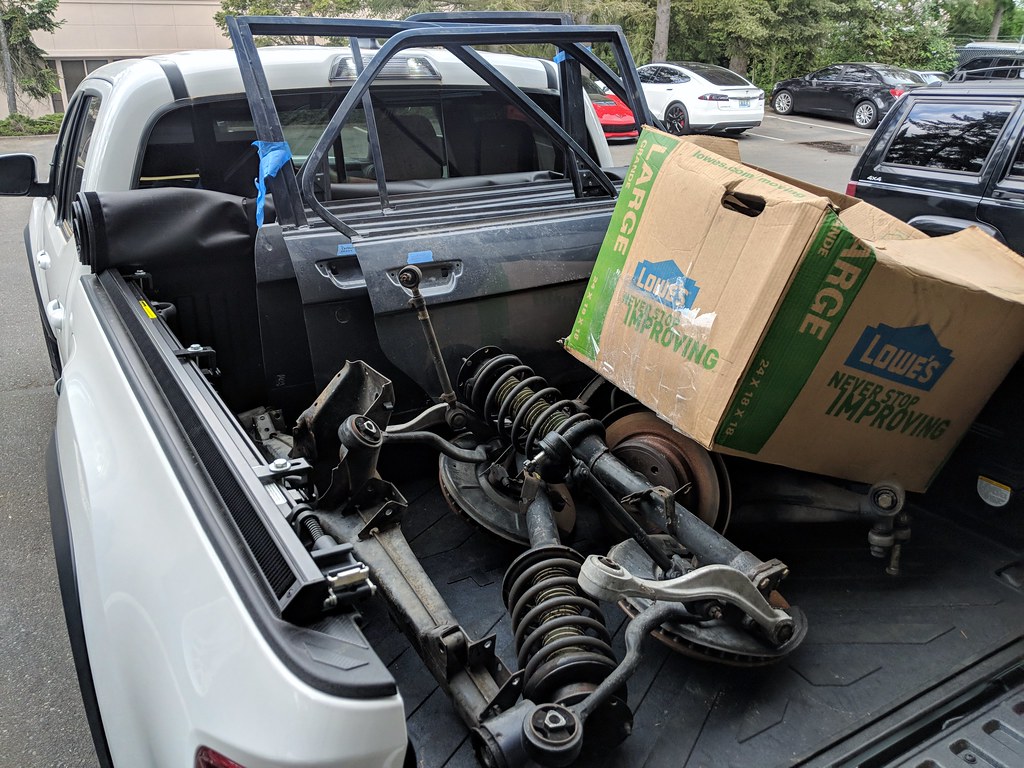
I now know for certain that this car WAS an ABS car, and a PO removed the ABS. The VIN indicated ABS, but there were NO ABS parts anywhere, and the tabs for the ABS pump were missing. I never looked closely at the struts to see if they were ABS struts until I picked these up. They are. In fact, the ABS sensors are there, with the wires cut off of them.
Anyone want these? I'm not shipping them, but will happily give them to someone local who can come get 'em. I may put them on CL and then off to recycle they'll go if no one gets em. The skins are in great shape, but there's a little butchering where a PO installed speakers. Also they have the federalization bars welded in.
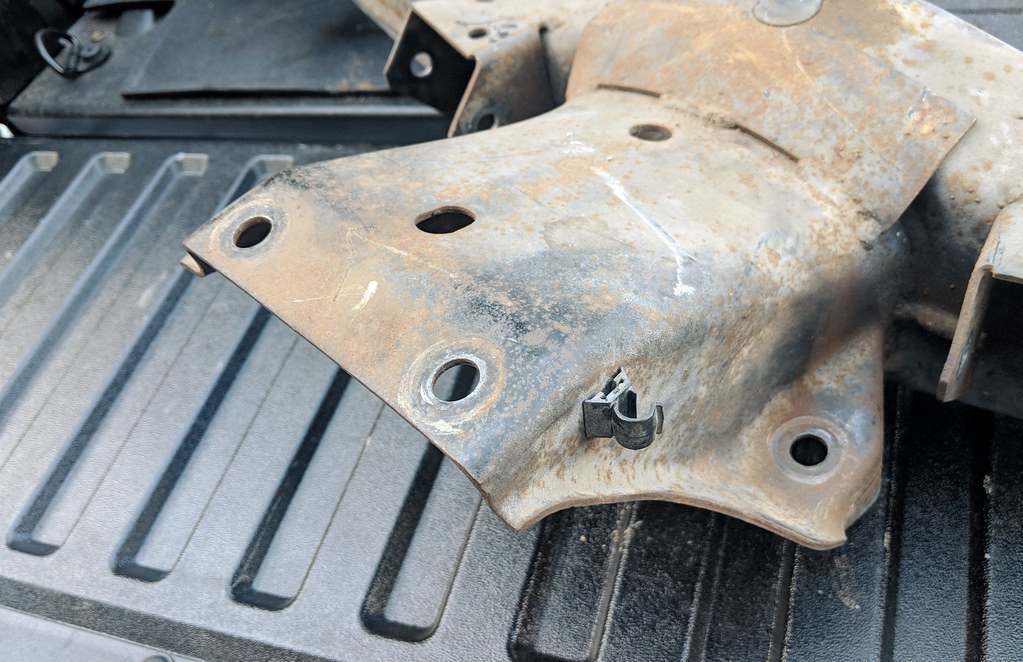
Anyone know where I should lay down some re-enforcement plate/welds on the subframe (it won't actually be THIS subframe as I've got another I've already put adjustable camber/toe plates on)?
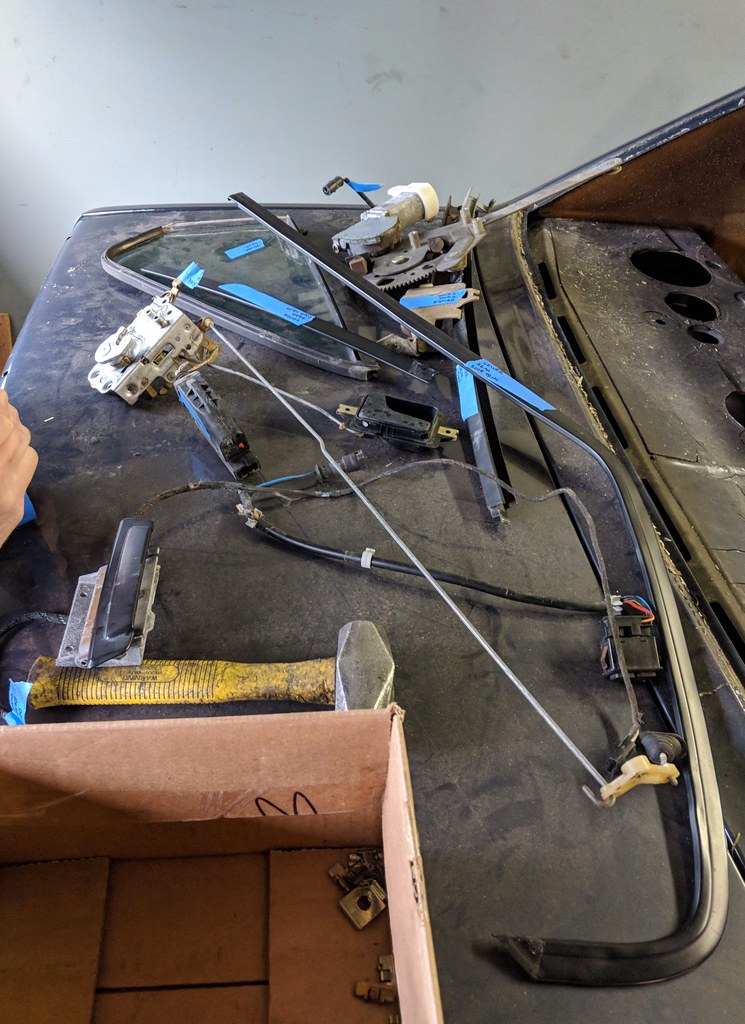
I've been going through doors. All my life. I also started going through all the door hardware. There's a lot of it. I think, actually, the doors are the most complex part of these cars other than the drive train.
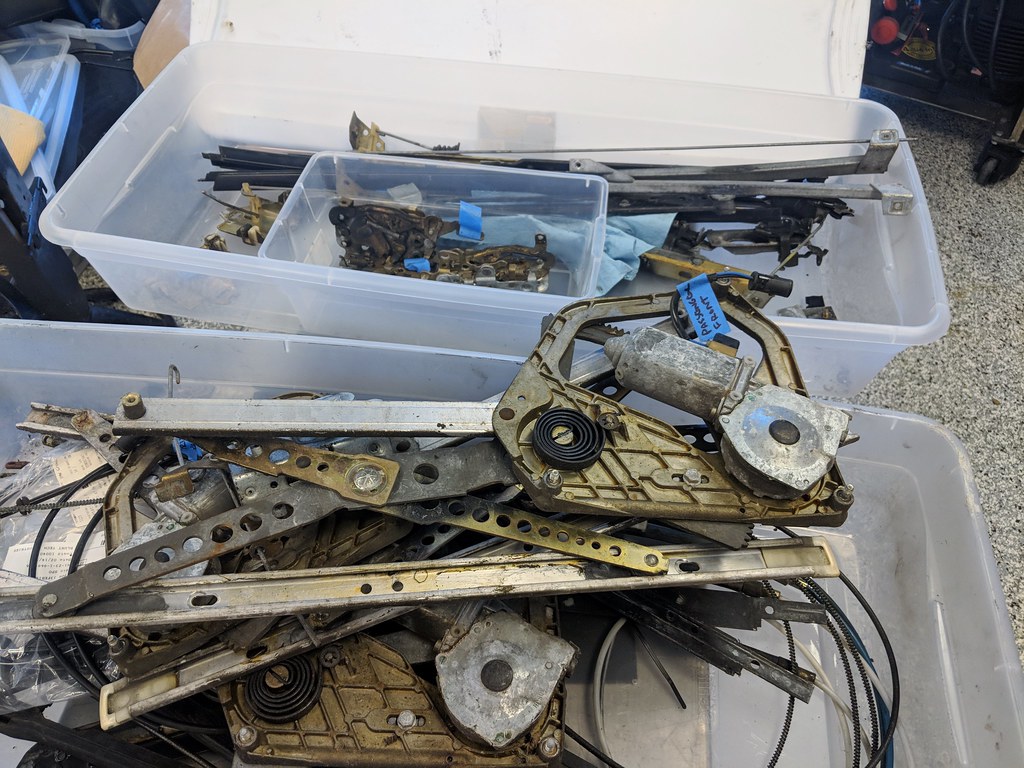
Note the window regulator design is the same between '85 and '88 but a different finish was used in the older cars (dark, not galvenized). Also note the buffers that stop the regulator when the window is all the way up are mushed/missing. These are NLA, so I will do some transplanting. I will test all motors and assemblies and use the best of everything. It's nice having two or three sets of everything. I'm realizing that the '88 car had a lot of miles (365k) and the '85 had more age. So bits from both are 'challenged' and it's not always obvious which will work best in this build.
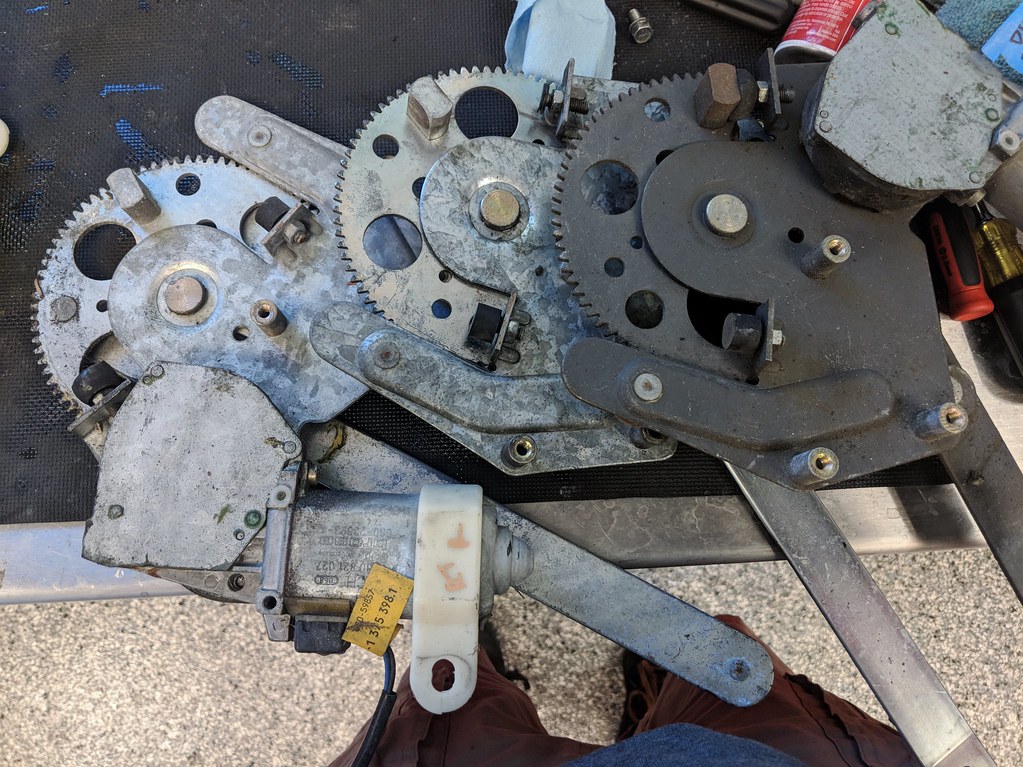
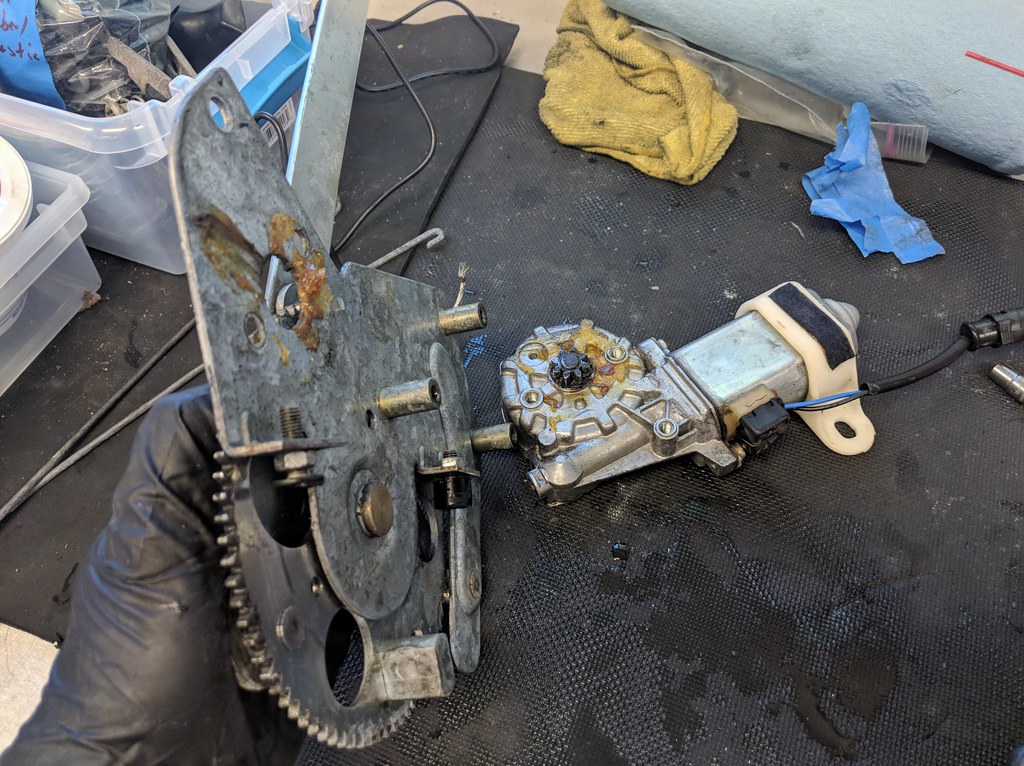
Does anyone know what kind of grease should be used here? I'm thinking a modern silicon grease like Molylube?
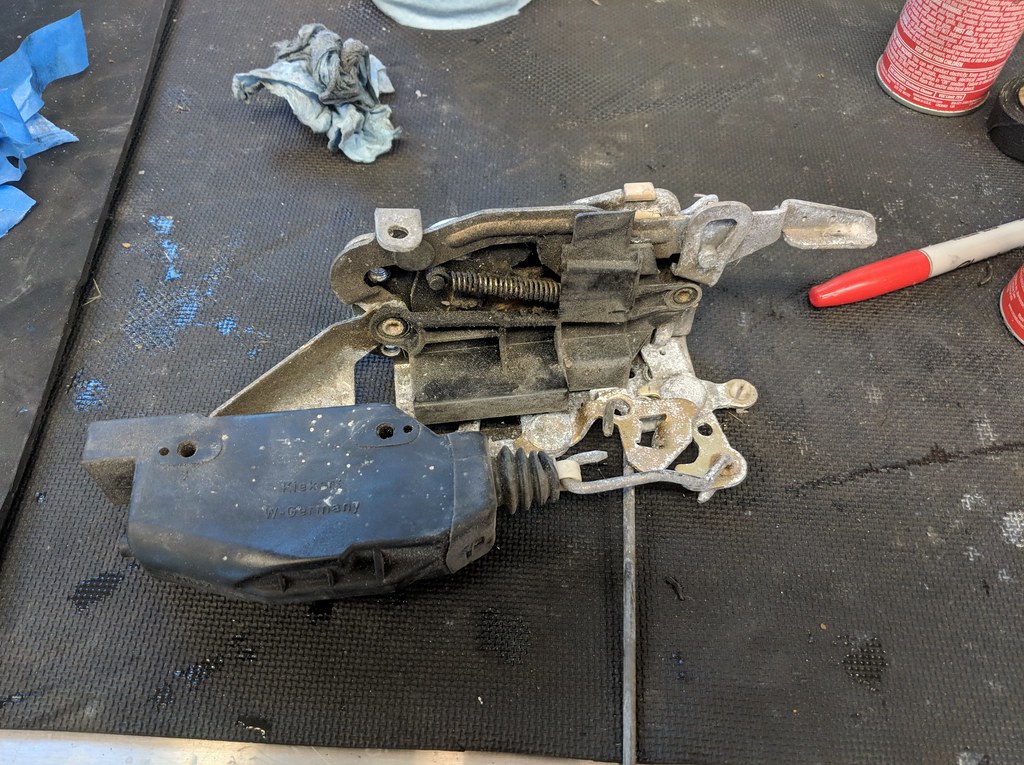
The door lock mechanisms are messy. The only part that will ever be visible is the actual striker/receiver (not visible here). I will clean these up, but won't be getting them plated, because there's a mix of metal types that are riveted together. The striker/receiver bits show wear, which bugs me. We shall see whether I can clean them up such that they look new...
I have a matching set of locks with keys I bought from Kohler. I also have locks from several other cars. Getting all the visible bits to be perfect is going to be hard. But I dove in and am getting the hang of how all these parts go together.
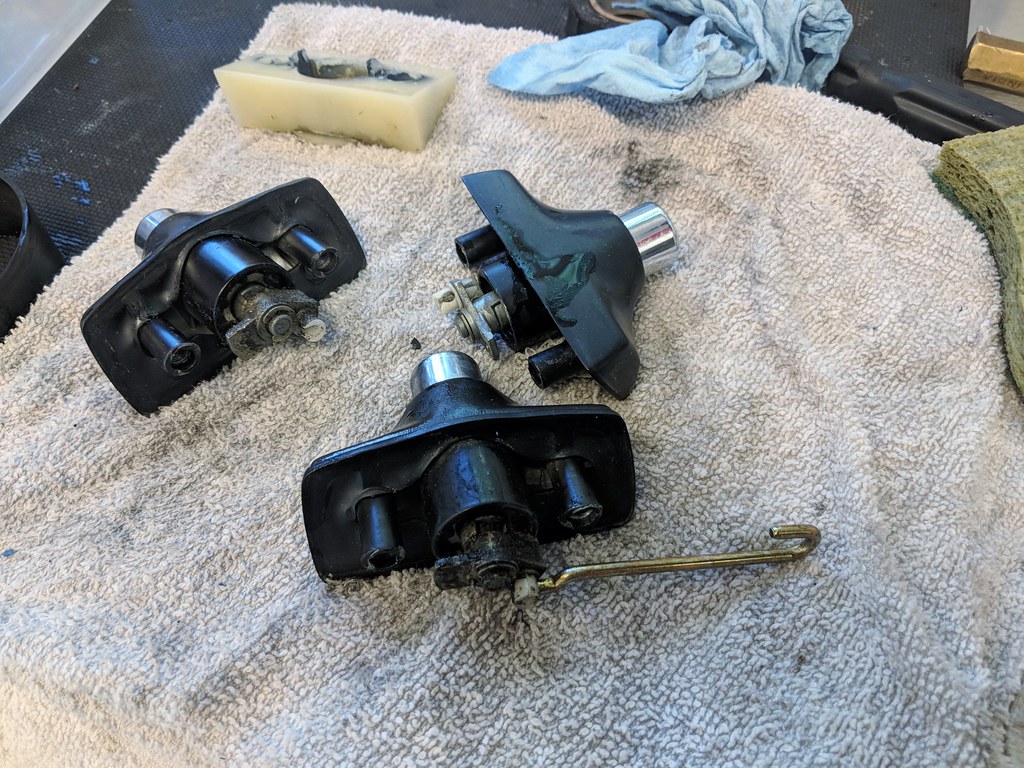
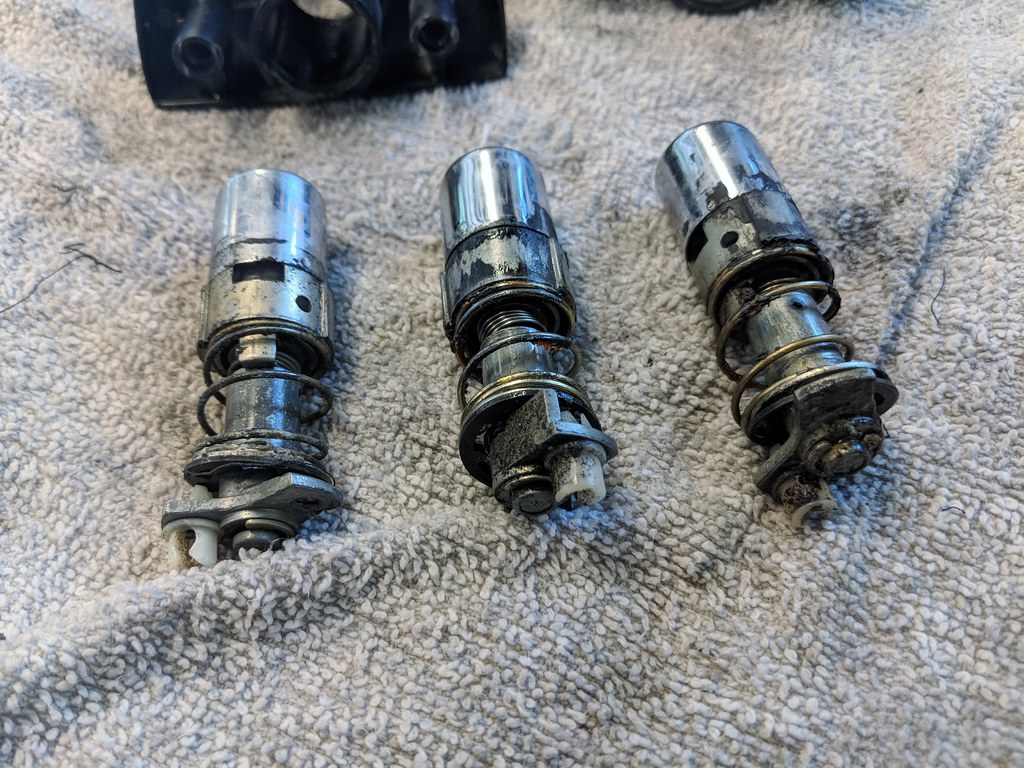
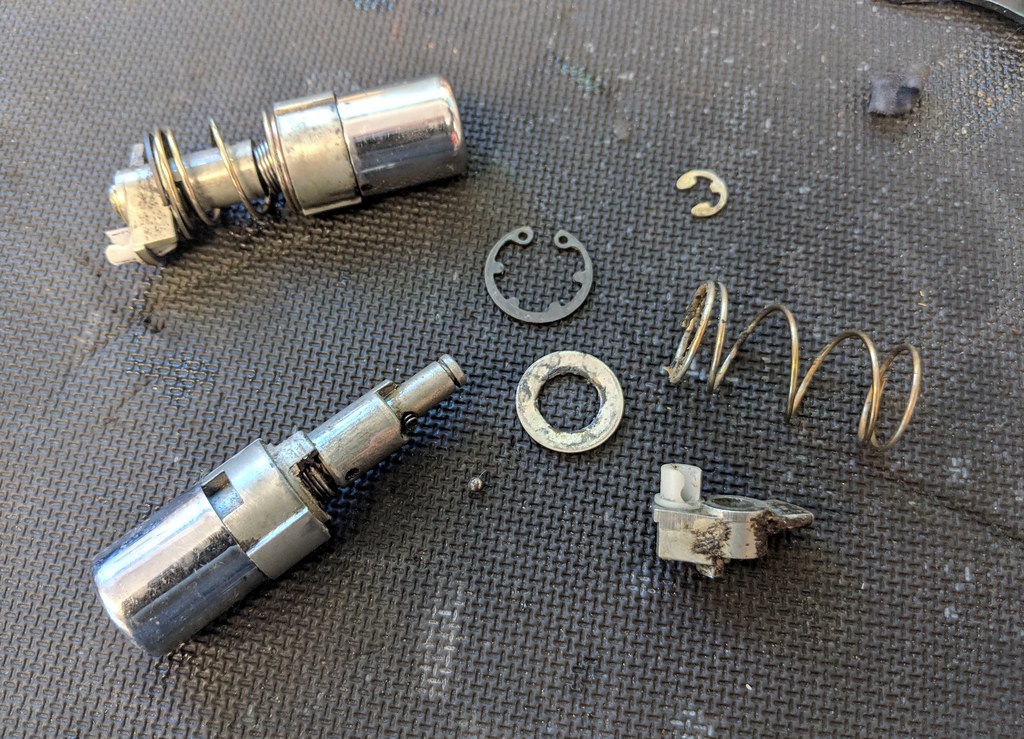
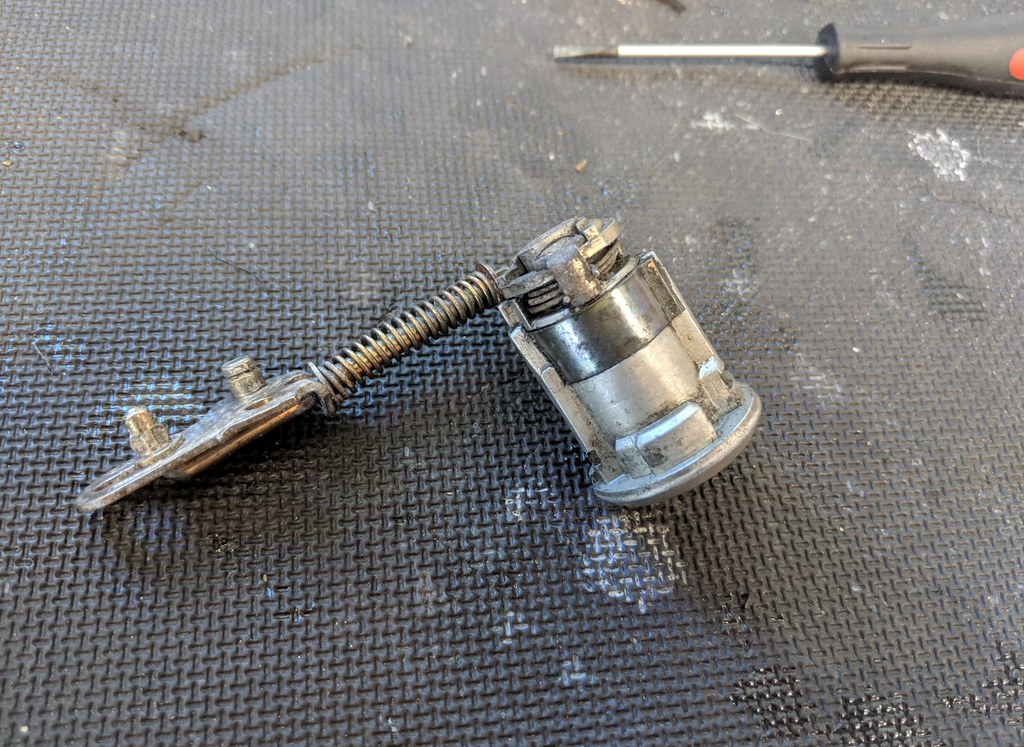
Using the cylinder from the matched-key set, I scavenged the best other bits from the others. This one is ready to go. The chrome looks marred in the photo, but that's just some grease. It's tits.
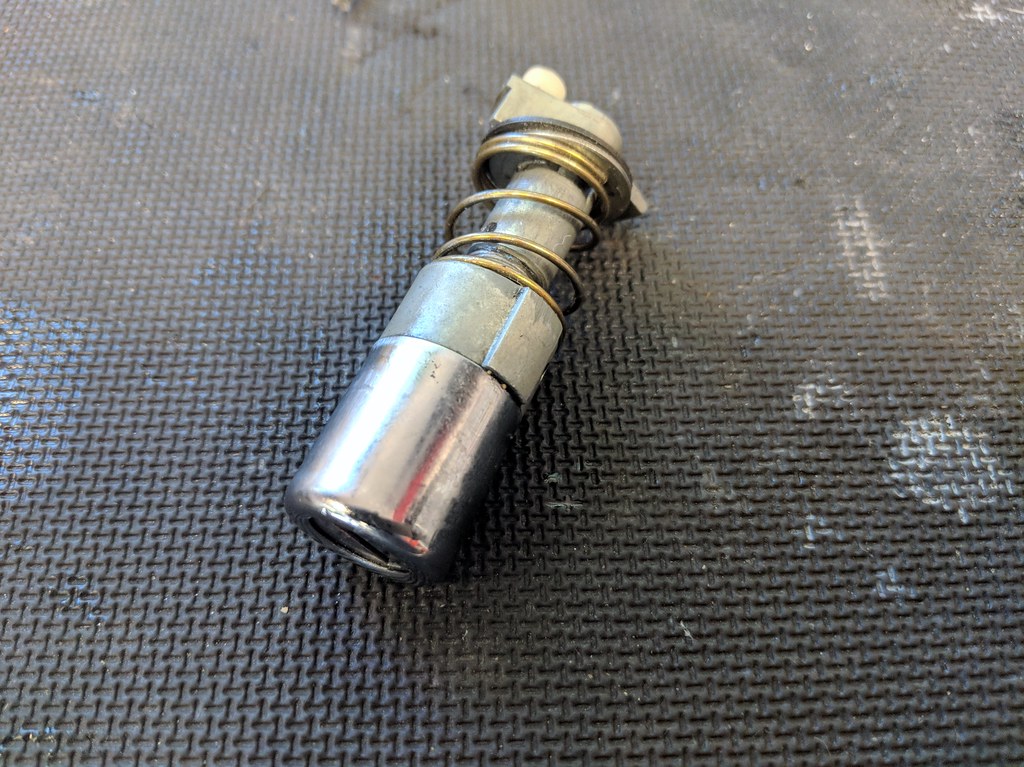
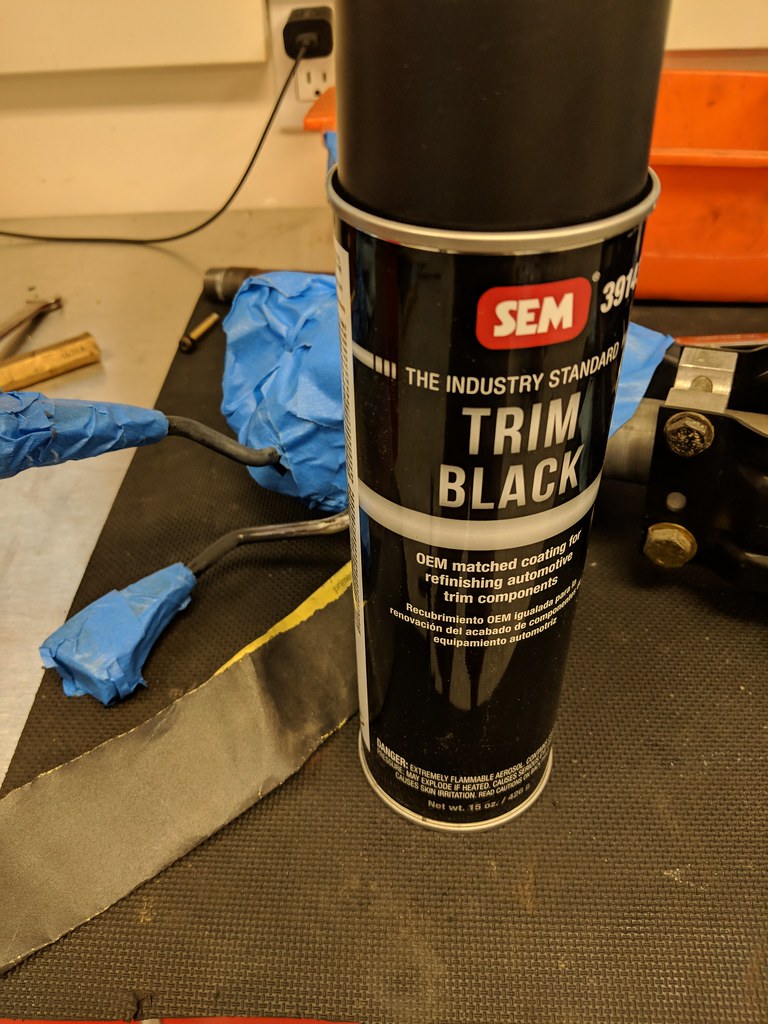
The surrounds are aluminium and I've picked the best two for refinishing. One I will add to the powder coat pile, the other I will refinish with SEM Trim Black paint an determine which I like best. The problem is that little gasket that's deteriorating is toast on all of them and is not listed as a separate part. I need to find some sort of equivalent gasket/grommet that will work instead. Ideas?
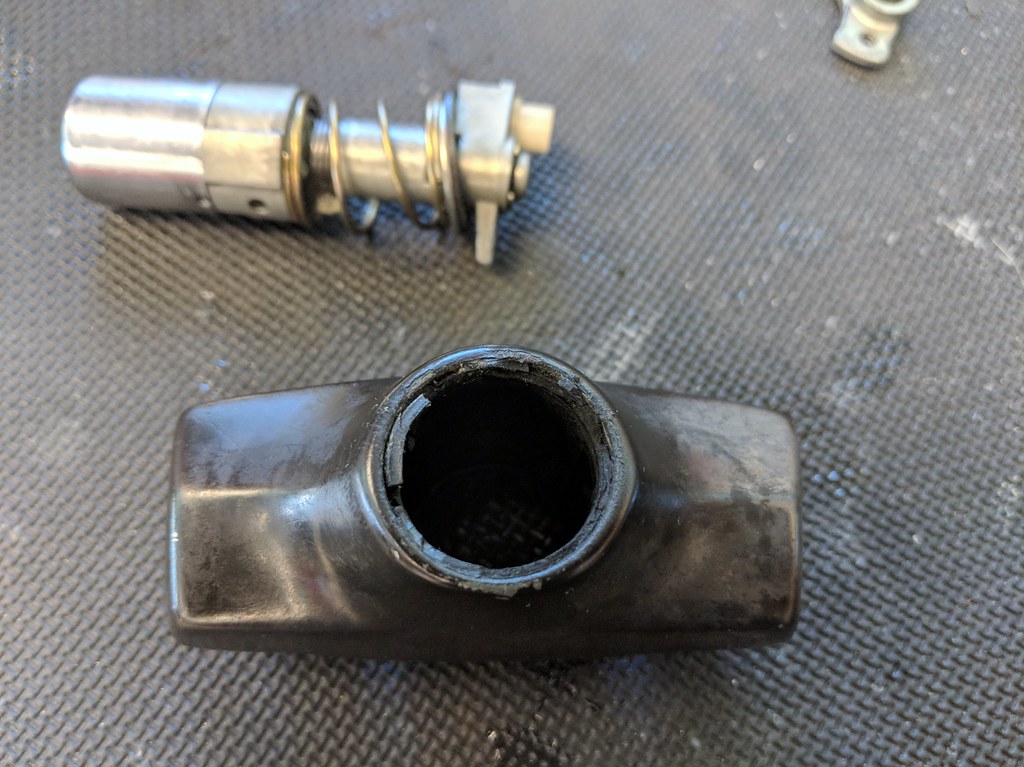
By the way, that's another quandary I have: For exterior trim pieces, should I powder coat or paint? I know there were concerns with powder coat not holding up to UV as well. Is this still true?
It's hard to stay focused. I'll pull a part out and immediately want to dive into restoring it, getting distracted from whatever other part I was just working on. Here's an example:
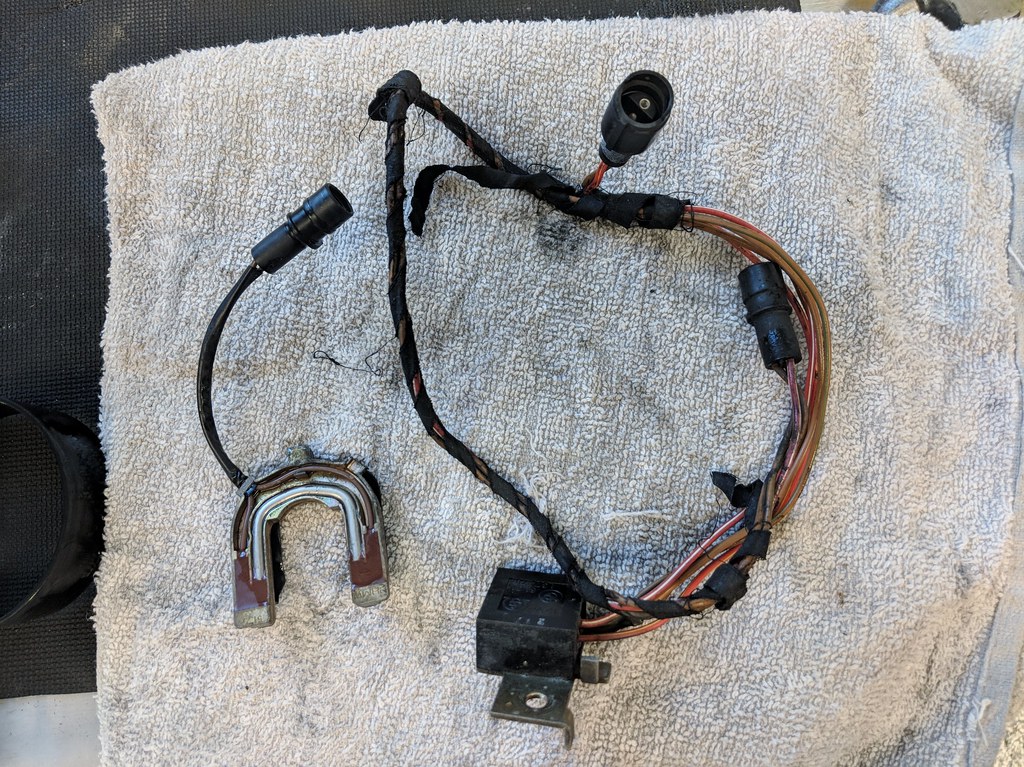
With this, I'm trying different tape techniques. Here I'm using OE-like fabric tape (I failed to take an 'after photo'). I also love F4 tape, but it is over-kill for hidden harnesses like this, and tends to make the OD of the harness bigger that a light application of fabric tape.
For harnesses like this, I need to test every single one for continuity. Writing this made me realize I didn't do this. I'm going to start tagging each one with a note saying "tested" when done. Then, when I get to assembly, I'll have confidence in the parts. The last thing I want to have happen is to find out after the fact that I missed some bad connector (I do carefully inspect each wire for nicks and cuts when cleaning).
Door straps/stops highlight another quandary. There's no way of telling how worn these are. They could be fine, or they could be loosey-goosey. They are available new for ~$65 each. This is the quandry: When a new part is $1.25 it's a no brainier to just order new...although that adds up. But when the parts are $50-200 each new, it REALLY starts to add up.
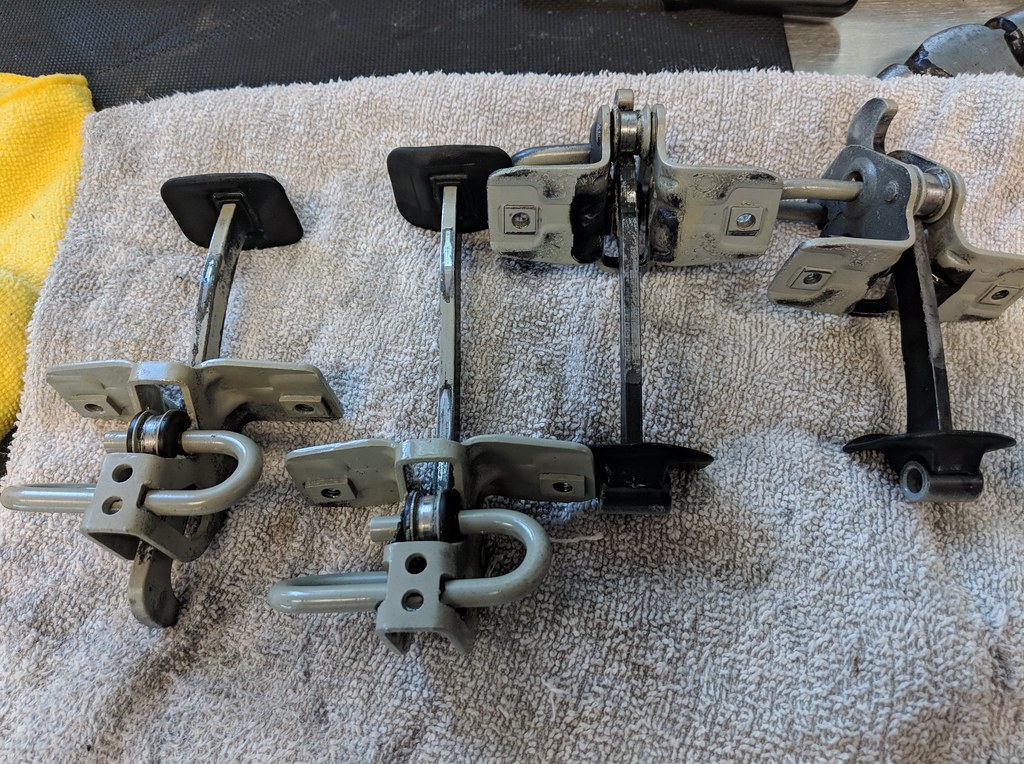
I will need to decide and have the parts in hand before paint because they need to be installed before paint. I know this because I have proof sitting in the garage with me:
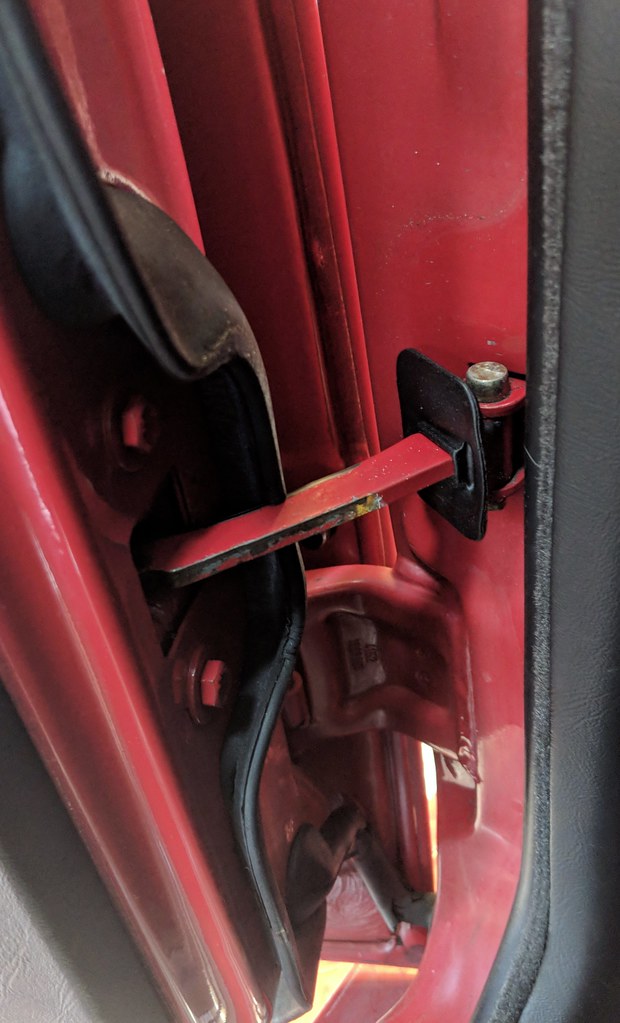
I'm hoping all these images will come in handy later. For, now they help me get organized with parts orders from Blunt. Those striker plates are NLA but all 8 of the ones i have look like shit. Maybe I can get them re-plated silver?
