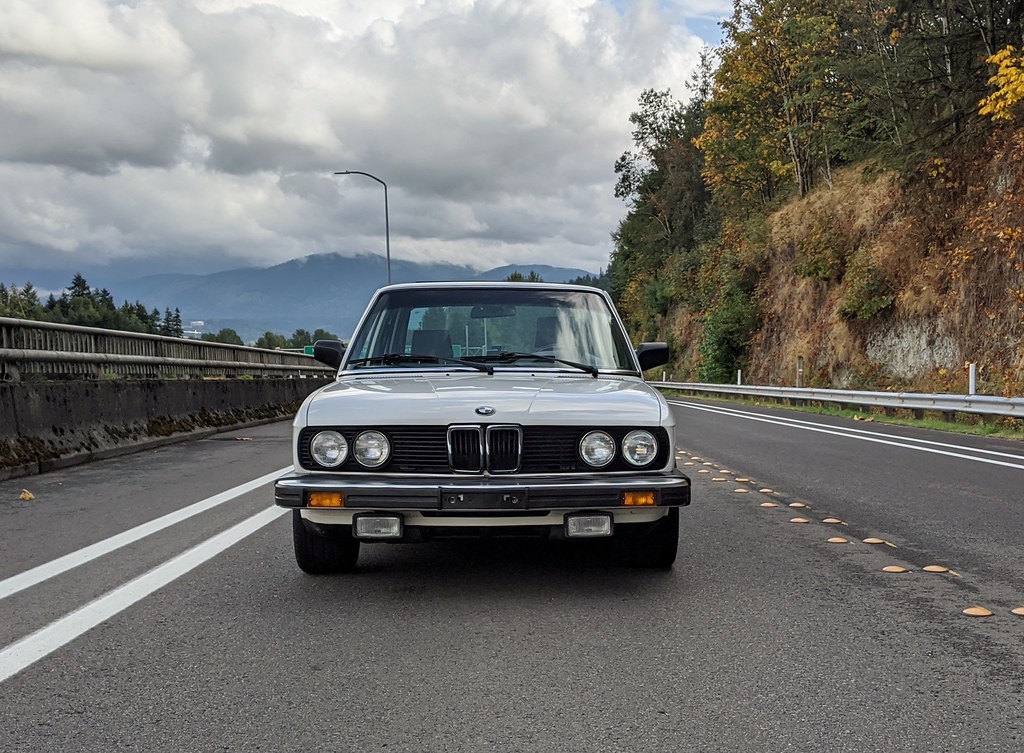
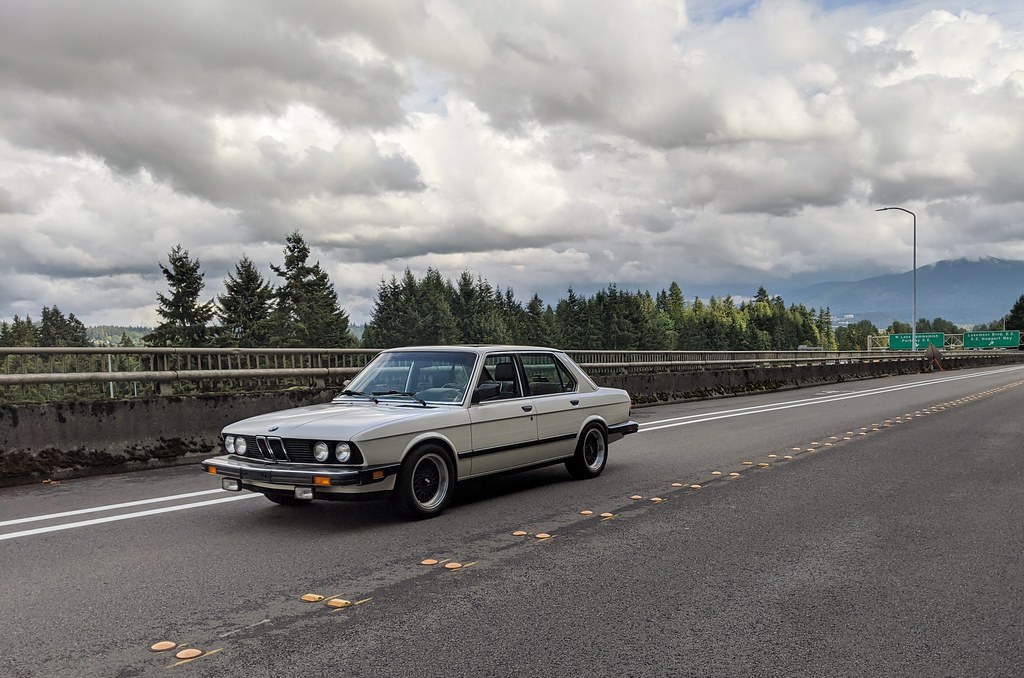
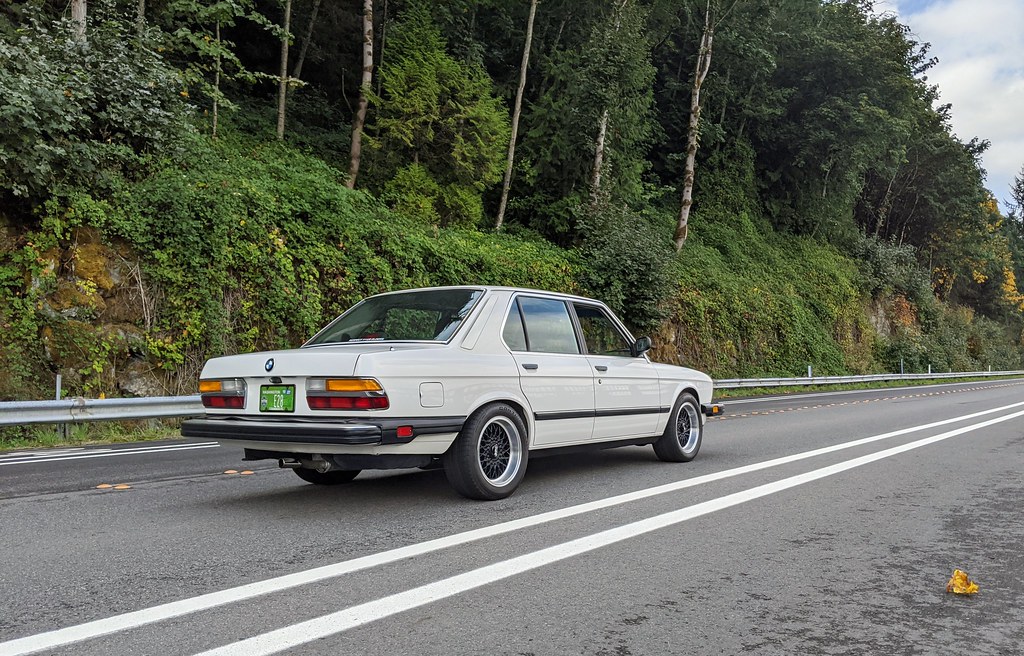
Maytag: The Alpine '87 529i

Post your photos and videos here!
tig
Posts: 9311
Joined: Mar 18, 2013 6:25 PM
Location: Durango
Contact:

Re: Maytag: The Alpine '87 529i

Post by tig »

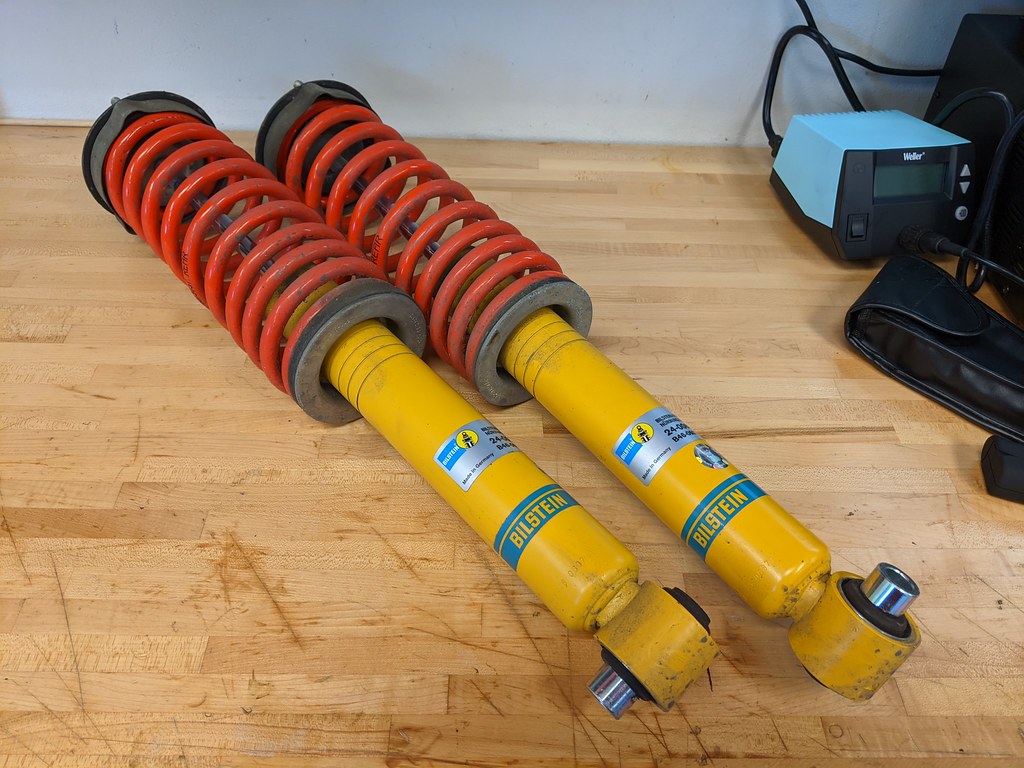
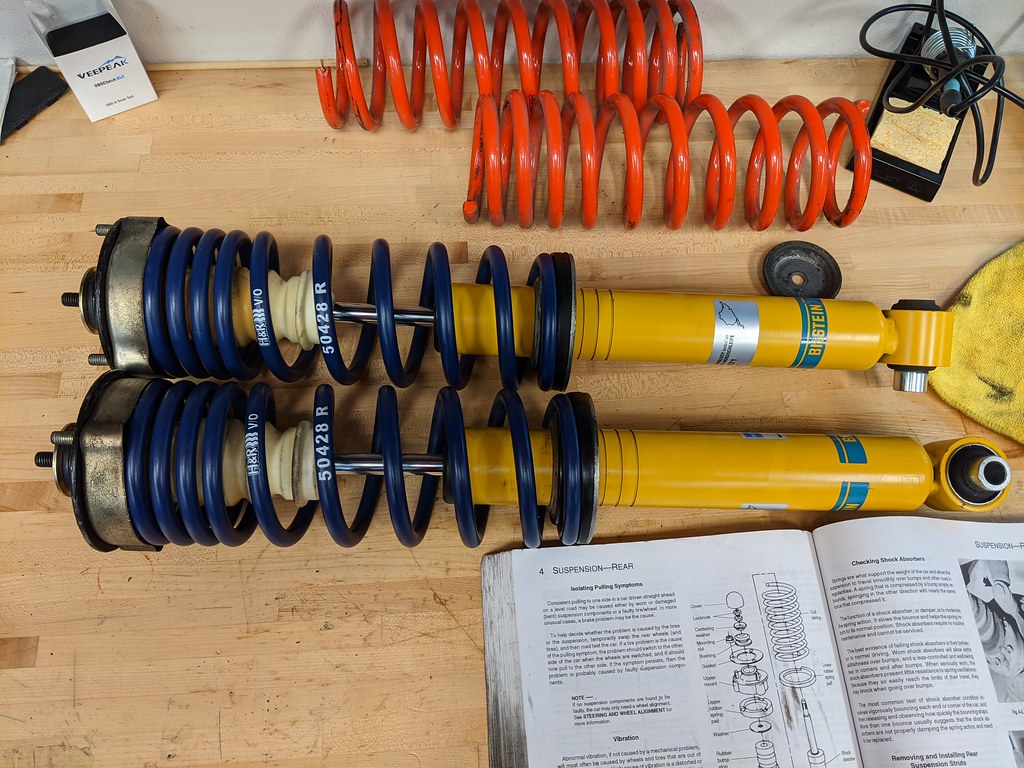
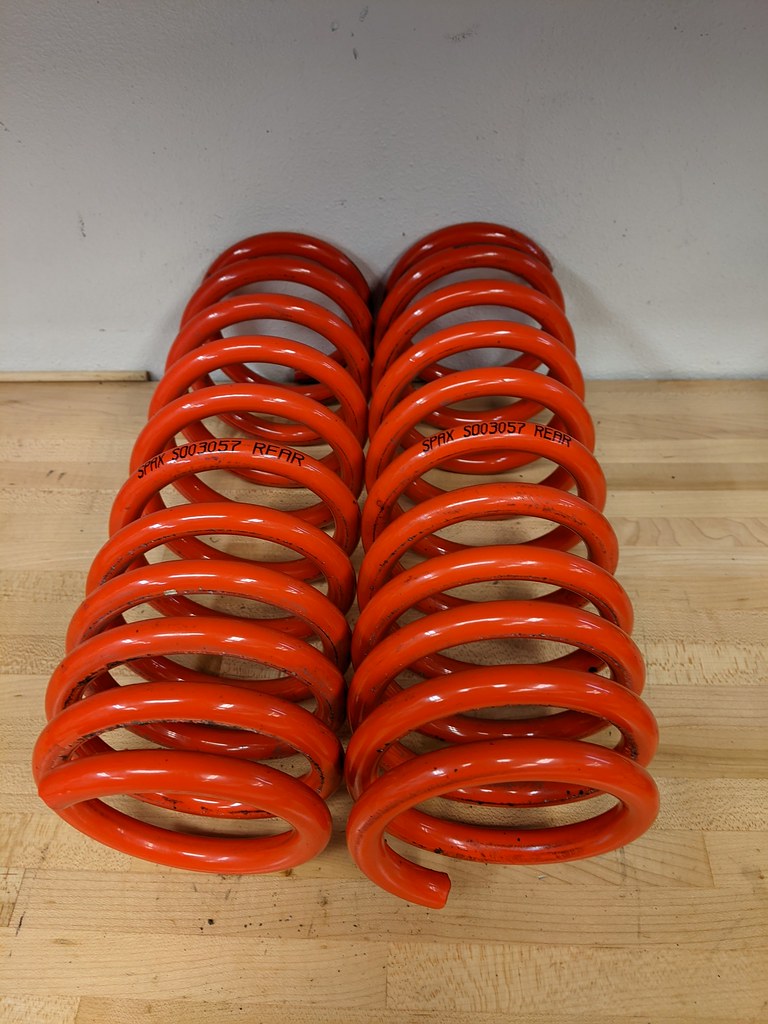
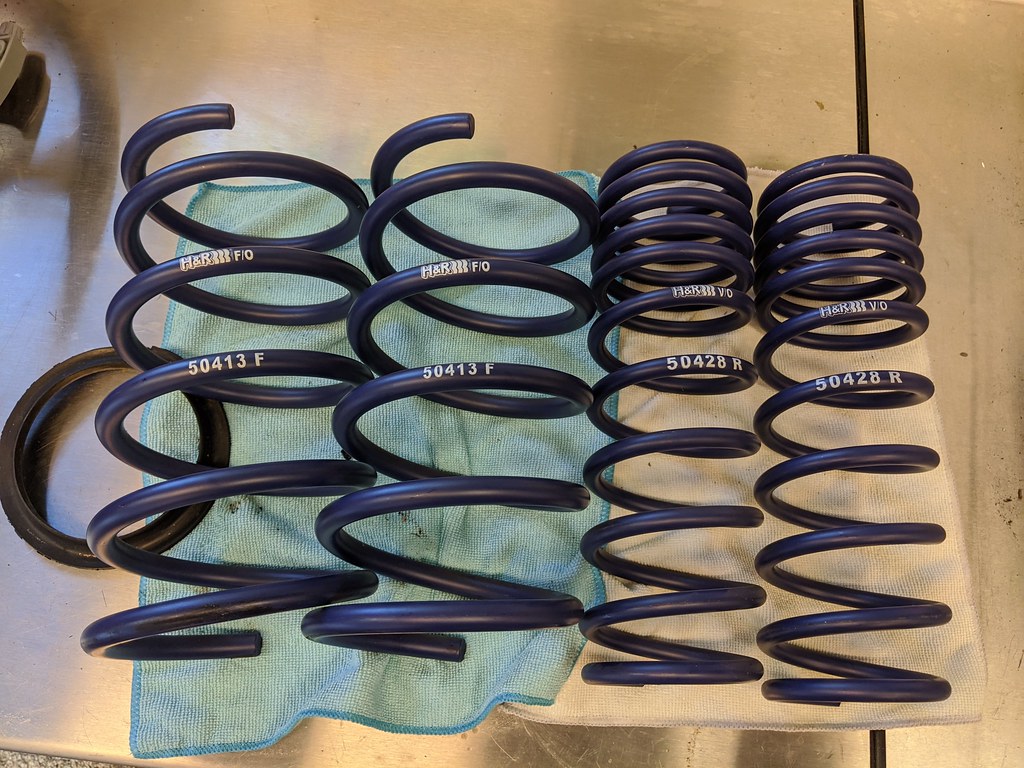
Ramping up to rip out the Spax springs and put these puppies in.
Image

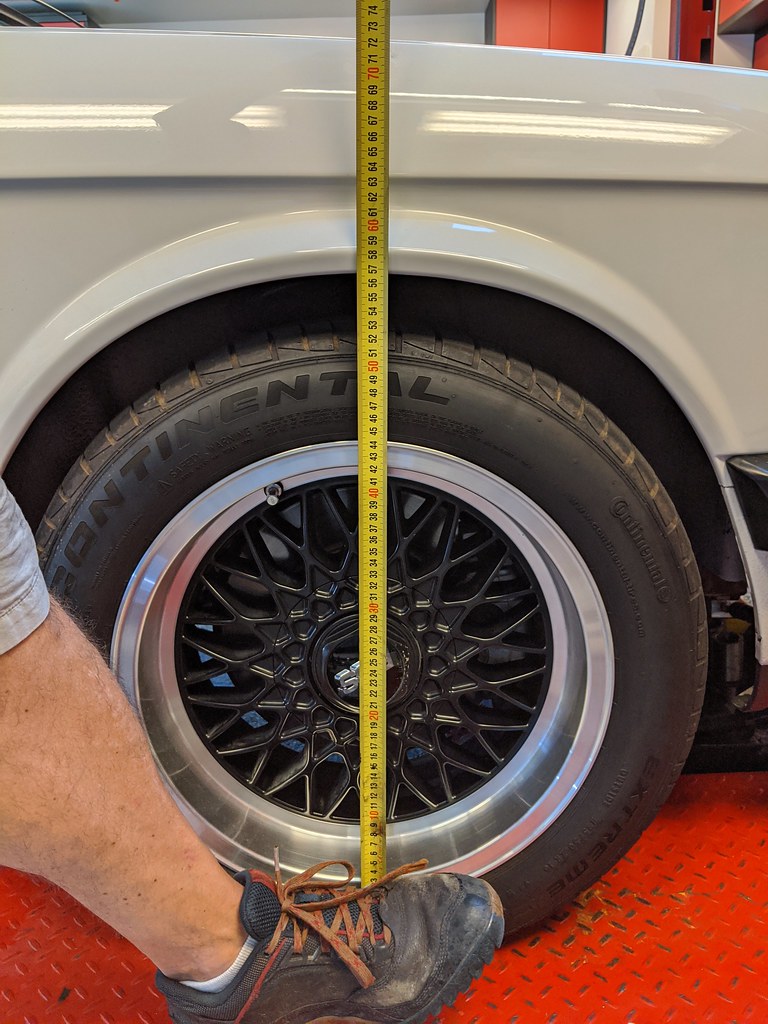
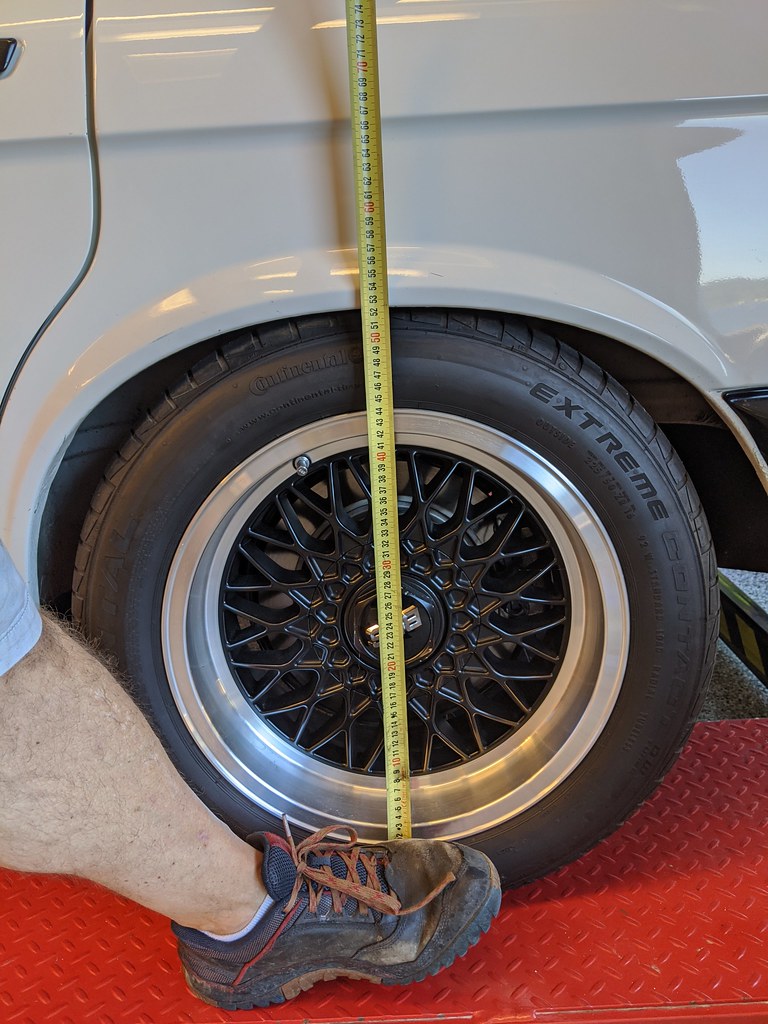
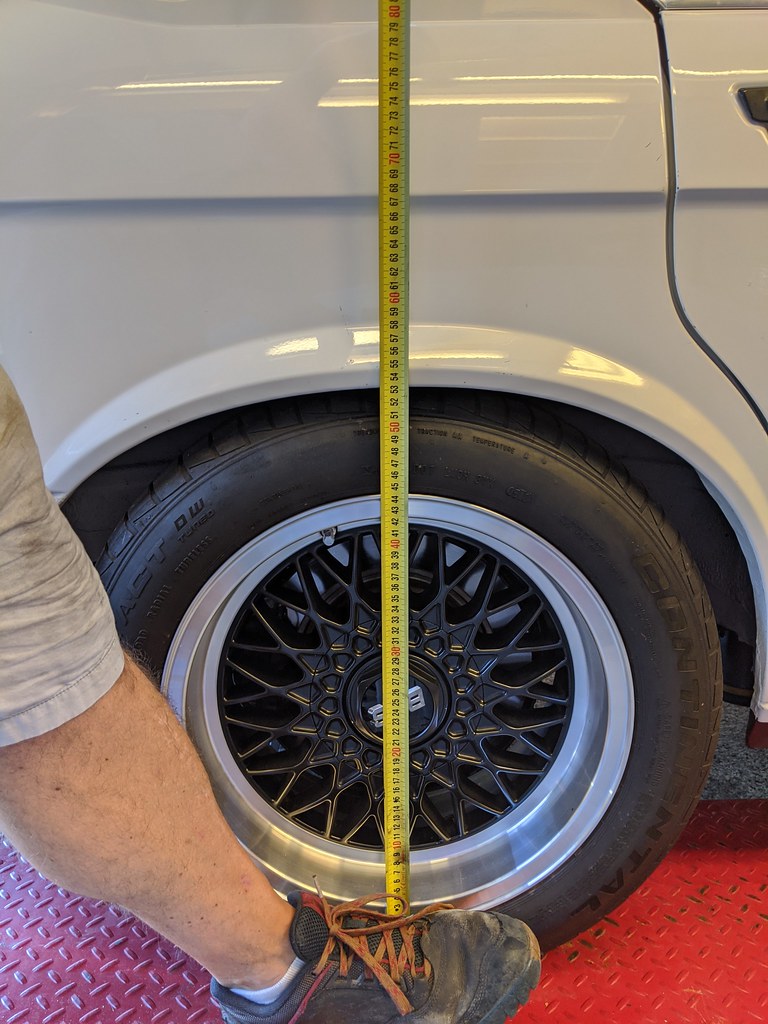
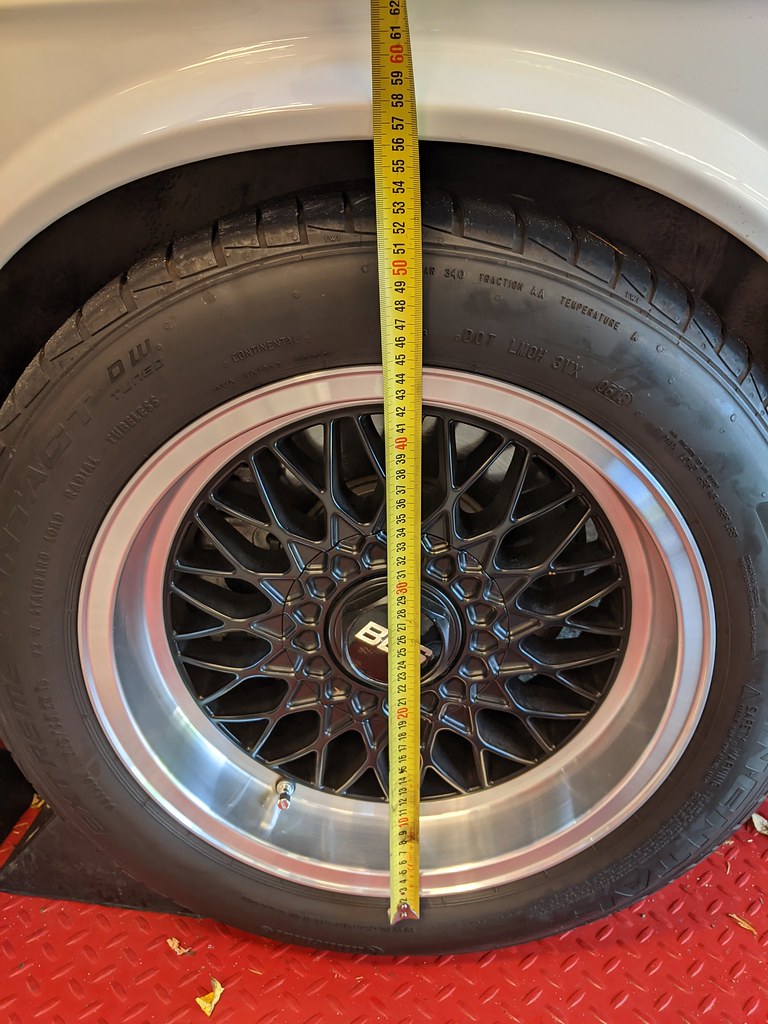
Here's where she sits now with the Spax and Billy sports (). I'm going to add another perch on the rears to raise the rear up even more than the H&Rs will because rake.

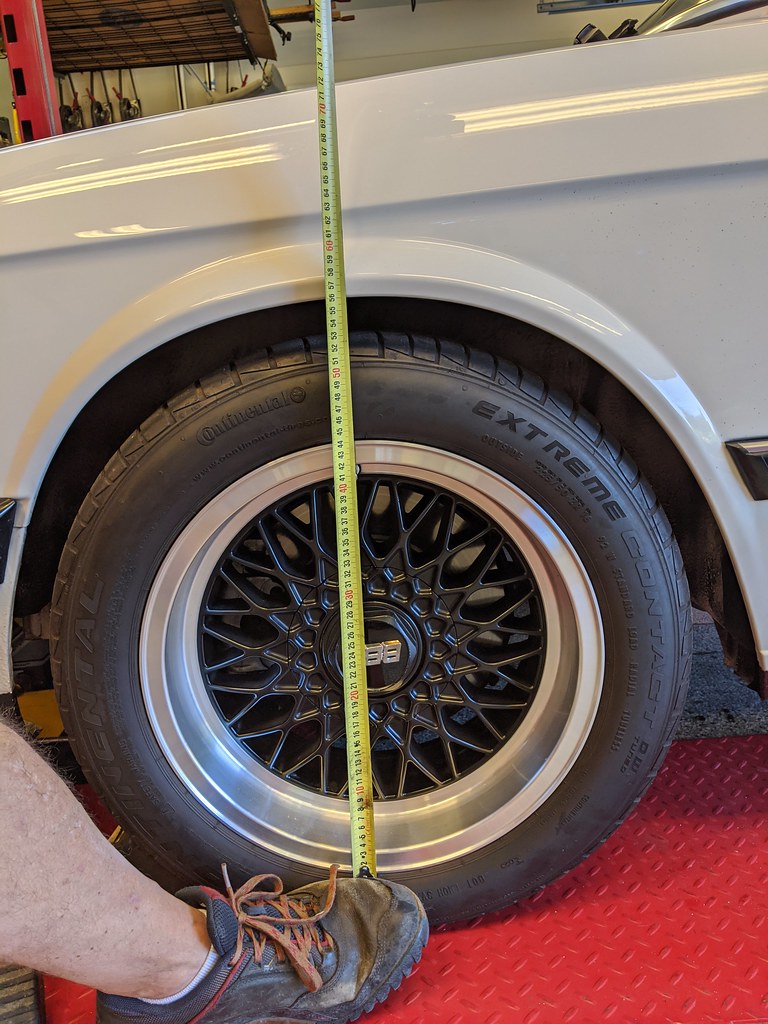
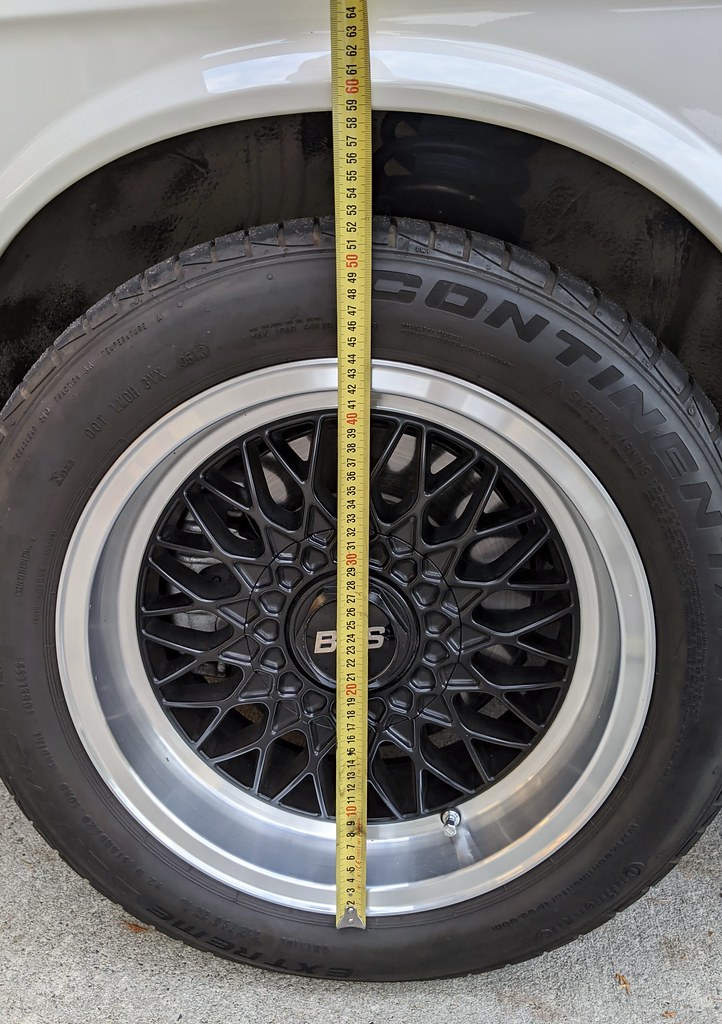
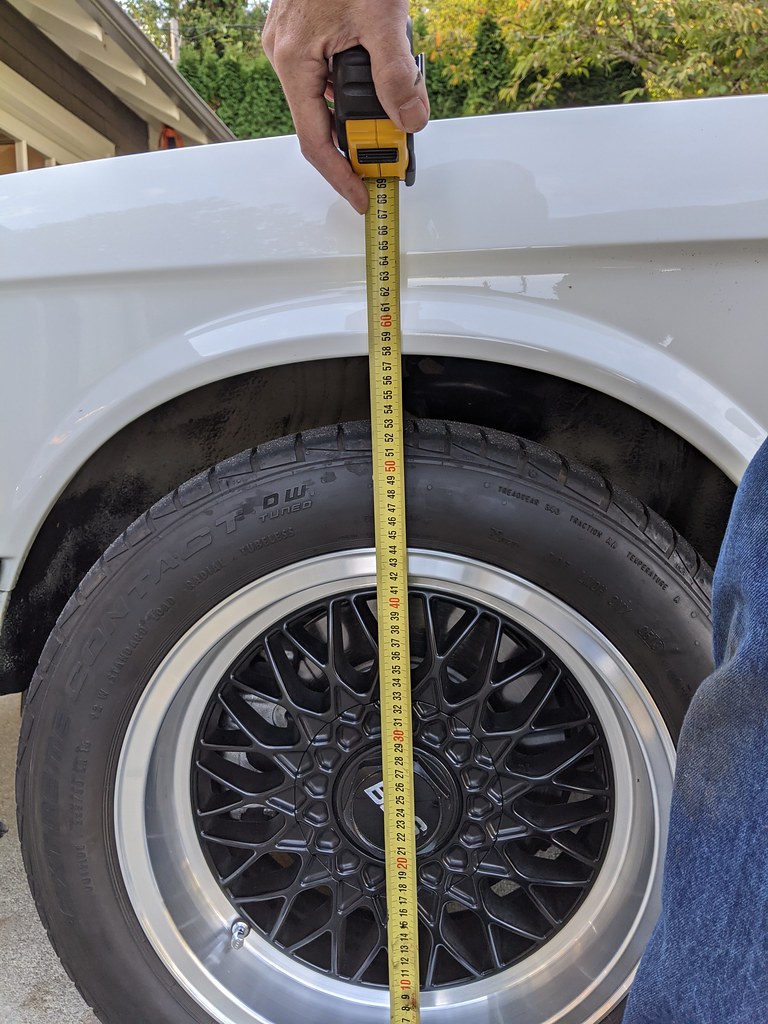
Front Left: 560mm
Image
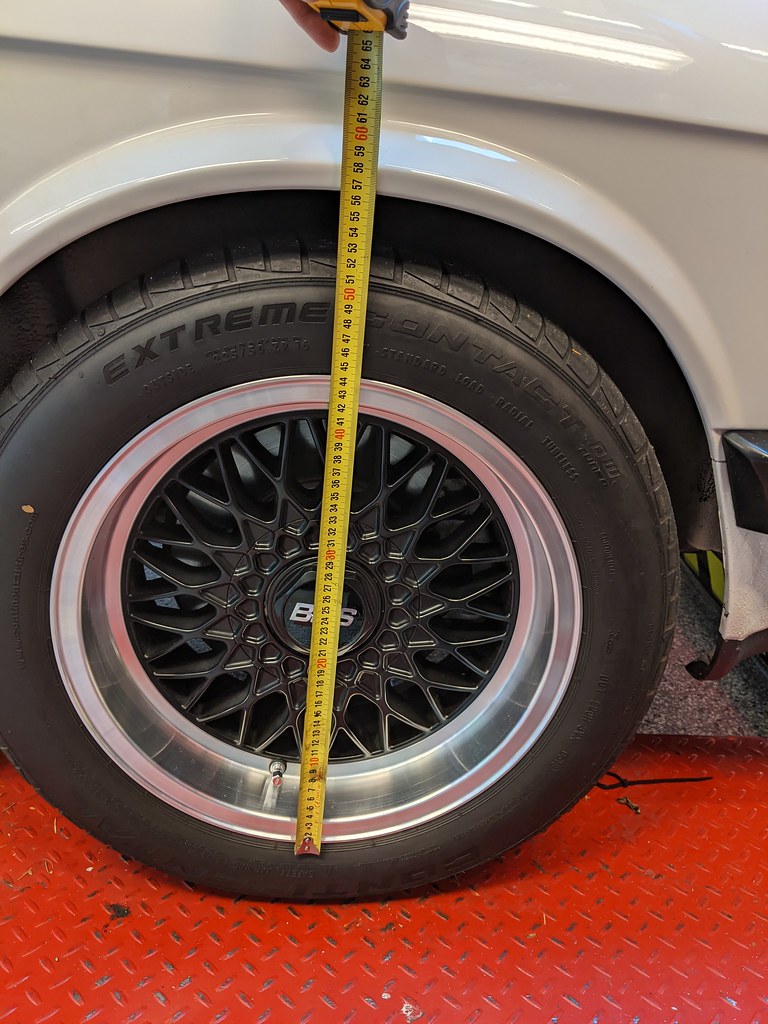
Front Right: 567mm
Image
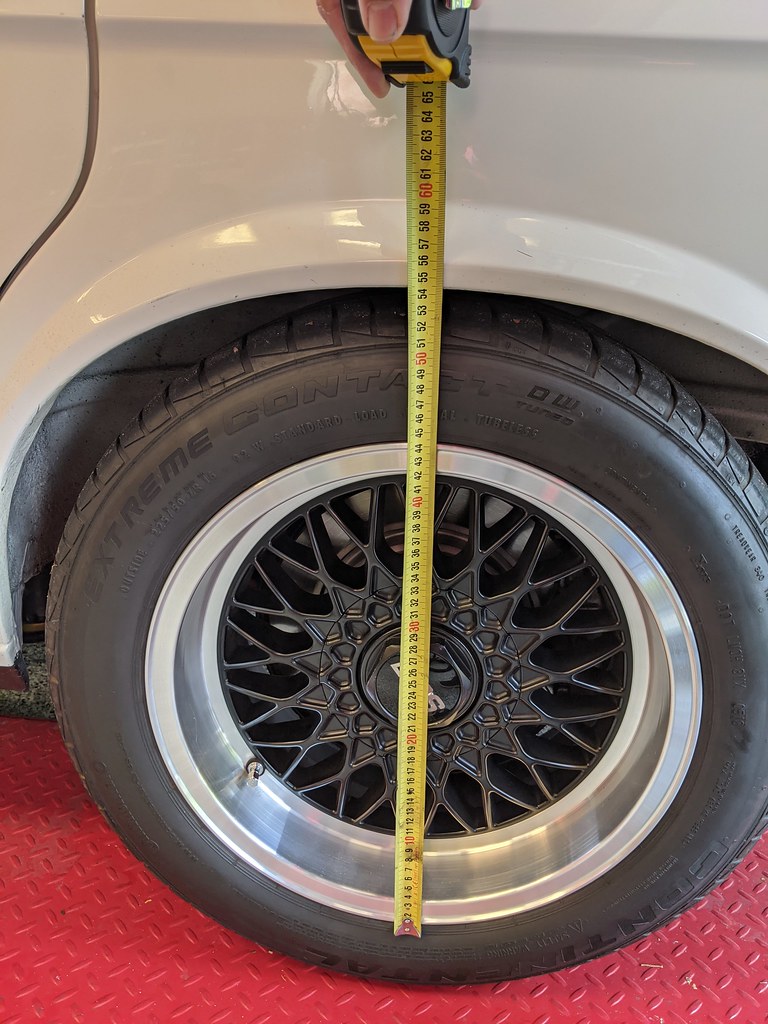
Rear Left: 523mm
Image
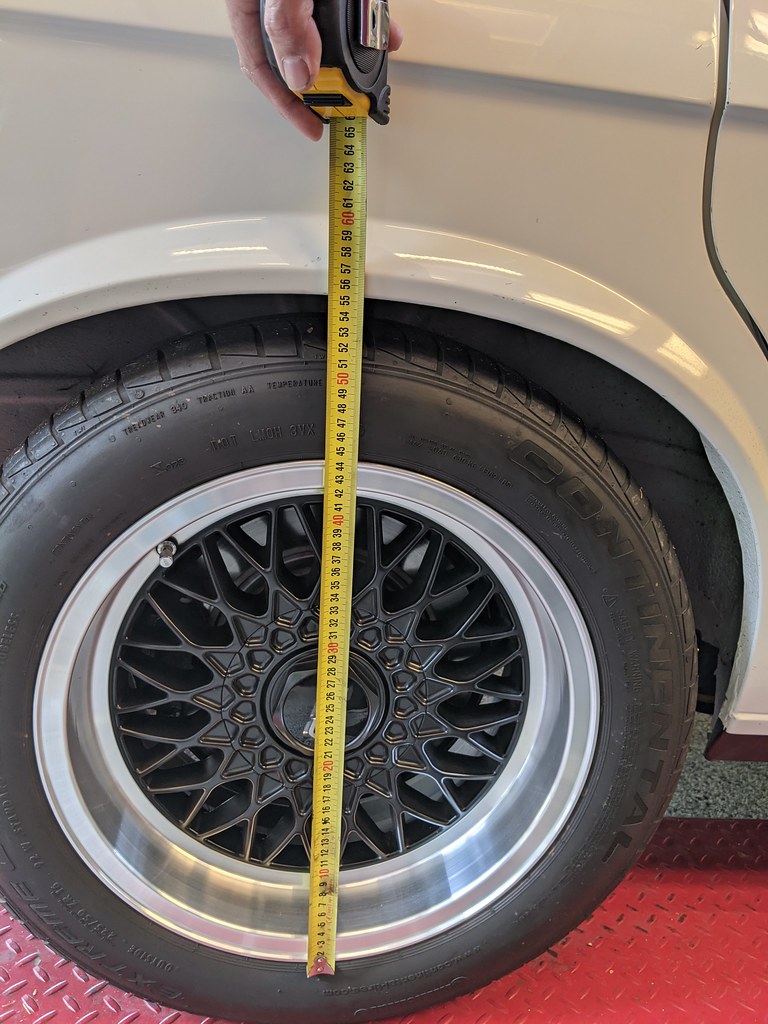
Rear Right: 533mm
Image

Last time I measured (Jan 2015 with the BC Racing Coil Overs) she was:
Front Left: 568mm
Front Right: 565mm
Rear Left : 545mm
Rear Right: 538mm

I hate how low the rear looks now. I'm shooting for

Front: 570mm
Rear: 550mm
Zengineer
Posts: 59
Joined: May 01, 2006 7:22 PM
Location: Vancouver Island, Canada
Contact:

Re: Maytag: The Alpine '87 529i

Post by Zengineer »

Was following along with your trials and tribulations of the suspension on Maytag. I never did come across why the coilovers were yanked out in this case, seems that they would be the best overall option for you to control your ride height and spring rate and really dial it in?
tig
Posts: 9311
Joined: Mar 18, 2013 6:25 PM
Location: Durango
Contact:

Re: Maytag: The Alpine '87 529i

Post by tig »

Zengineer wrote: Sep 08, 2020 2:59 PM Was following along with your trials and tribulations of the suspension on Maytag. I never did come across why the coilovers were yanked out in this case, seems that they would be the best overall option for you to control your ride height and spring rate and really dial it in?
Because the BC Racing coilovers sucked and I hated the way the car drove with them.
tig
Posts: 9311
Joined: Mar 18, 2013 6:25 PM
Location: Durango
Contact:

Re: Maytag: The Alpine '87 529i

Post by tig »

Lots going on with Maytag. Many things fixed...

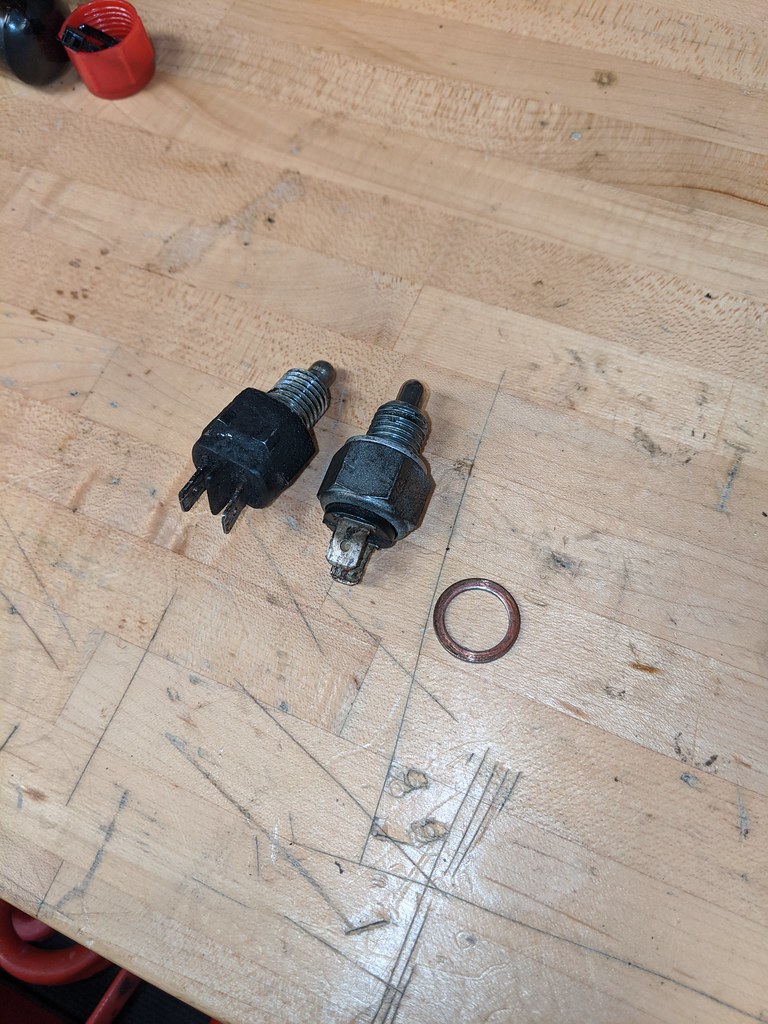
The reverse light has been flakey since I did the 5-speed swap. In fact, right after the swap I bought a brand new switch. Then it stopped working again and I've ignored it. I dug in again last weekend and after much sleuthing, including determining the ONLY thing that could be wrong is the transmission, I figured out the culprit: When I put the backup switch in I used a copper washer (thinking you always put washers on plugs in transmissions, duh).

It turns out no washer is required (RealOEM proves this out) and, in fact, a washer moves the engagement point of the switch just enough that the switch won't engage.
Image

But the real job of the past weeks has been fixing the AC and the weird noises that I had in the center console. To wit:

- AC failed on way back from 5erWest last year. Assumed it was the compressor. Verified R12 was still in system.
- Heater fan was noisy. I obviously picked a poor specimen when I put the interior together last year.
- You'll recall all the hoopla here about the heater fan resistor pack. The symptom way back then was the fan would race to a high speed even if off or on #1. The brand new resistor pack I put in last year did not fix this.
- Some weird buzzing from center console after car was shut off.
- A horrible whistle from the heater box area at speed.
- I didn't actually get the bulbs behind the HVAC controls in right, so only half the controls lit up and I had a nice backlit effect behind the grills.

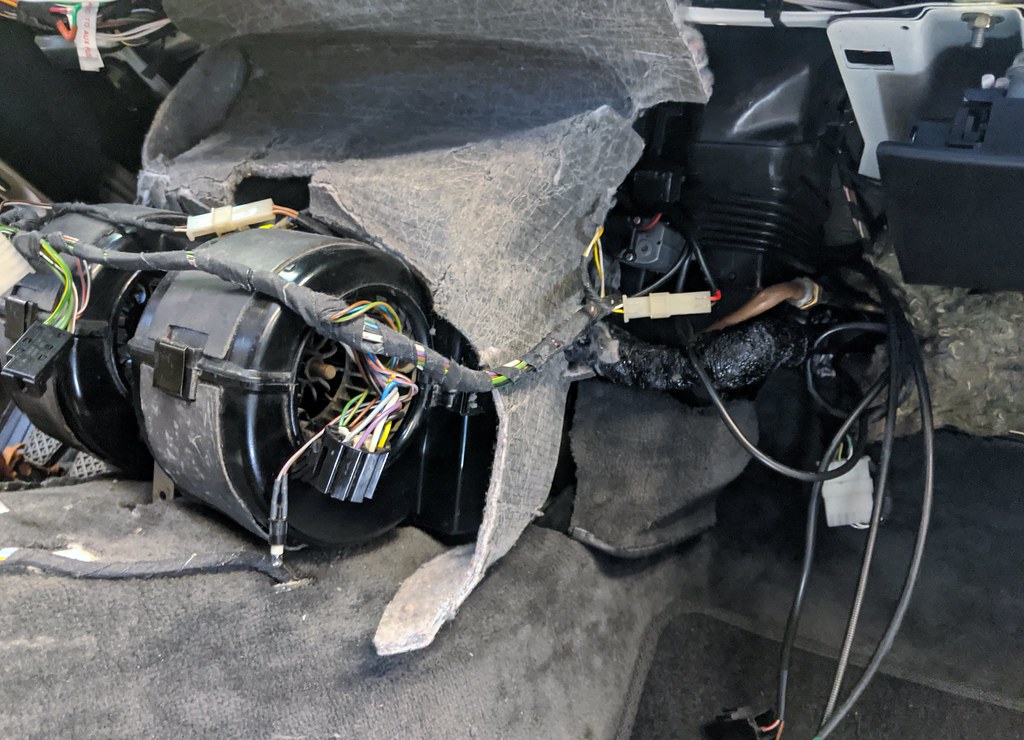
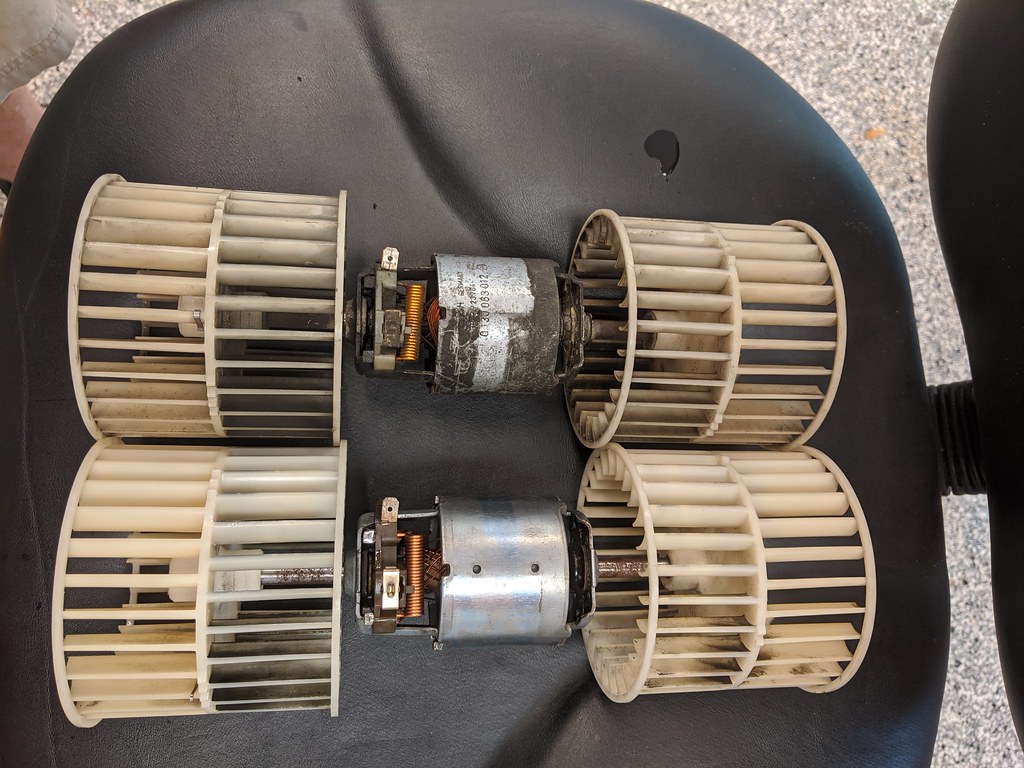
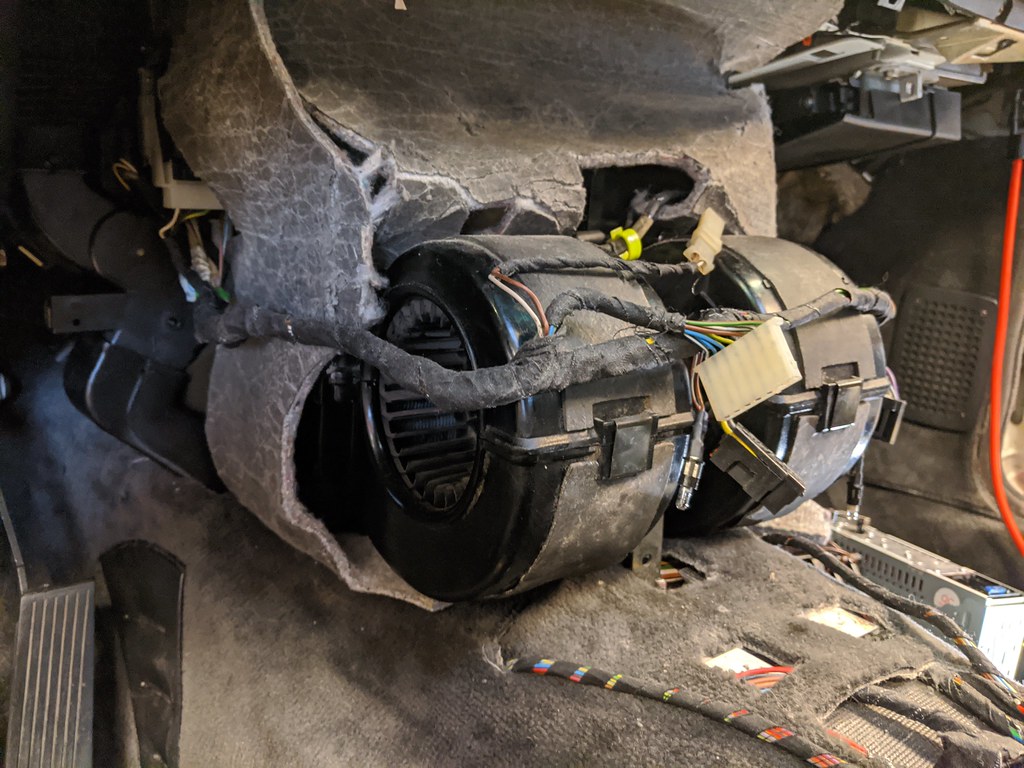
I pulled the heater fan (PITA on cars with the fuel coolers!) and while it was quiet on the bench, I found another in my collection (maybe from the car I just parted?) that not only looks better but was silky smooth. I cleaned the cages nicely before putting back in.
Image

I swapped in a different HVAC control unit and this has fixed the racing fan issue. So it wasn't the resistor pack afterall.

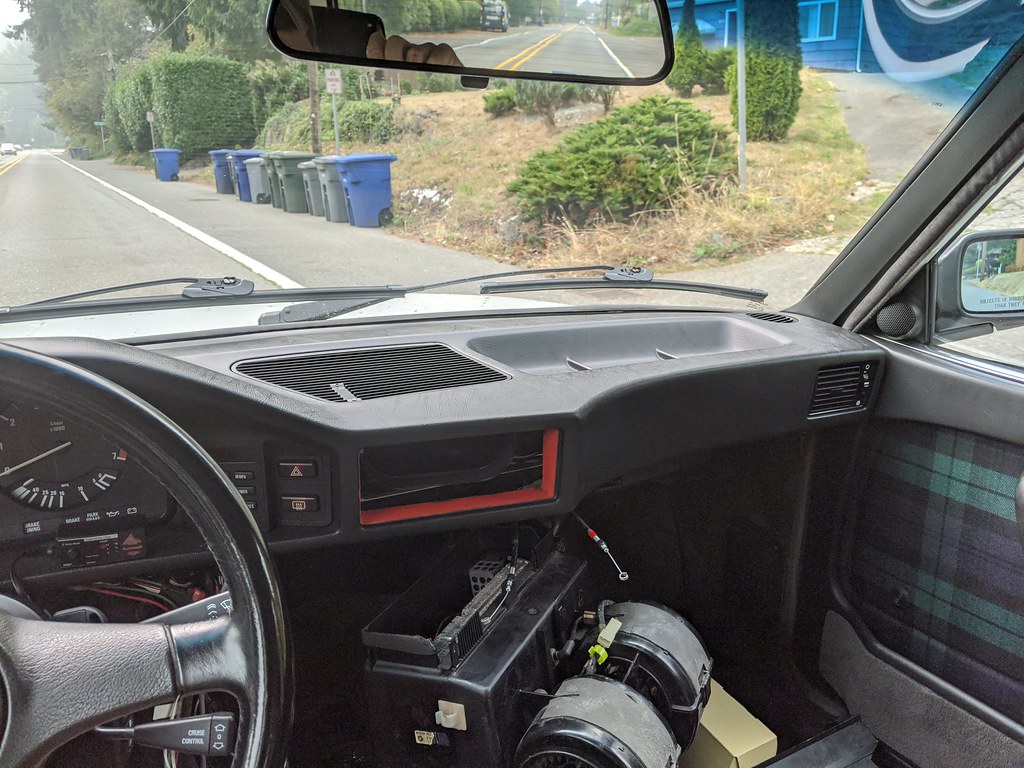
While the fan was out and the center console completely disassembled I began hunting down the whistle. While driving around at speed (I needed to be 60+ mph) I could reach in the heater vent and push on things (like the vent that opens with the middle slider) and get the pitch of the whistle to change.
Image

Originally I thought it was those vanes, so I pulled out the heater box and redid them again. Of course I spilled coolant everywhere doing this.
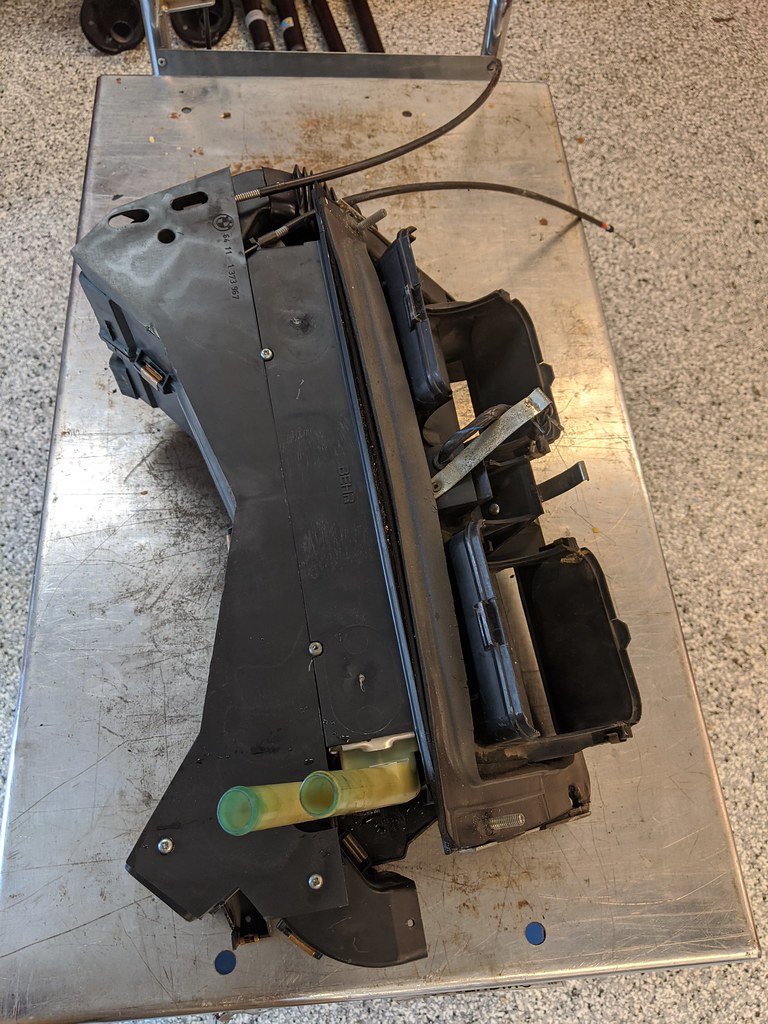
Image

Before:
Image

After:
Image

I was convinced this was it. Convinced. So I put everything back together enough to test drive again. Nope. NO change.

I was still pretty convinced it was the heater box but decided I needed to rule anything else out (like something in the cowl). So I did this:
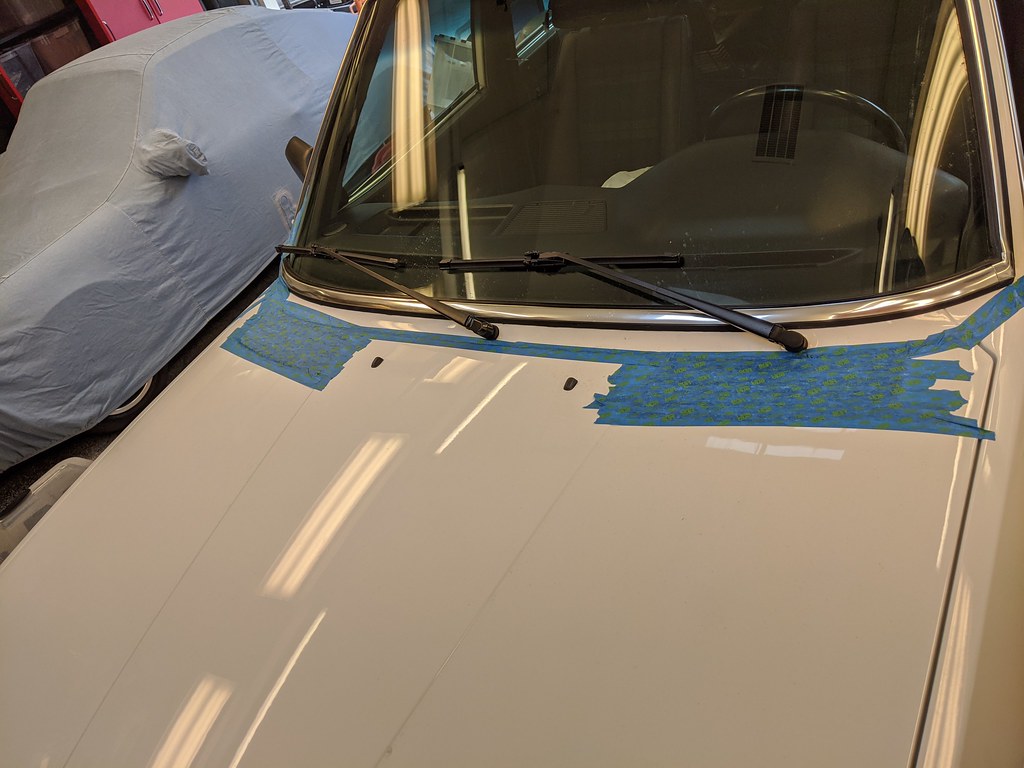
Image

I also taped around where the coolant hoses enter the car. No change with either of these attempts.

It must be the heater box! So, I get to spill coolant everywhere again. But this time I was smart and put rags down under the car. Except I didn't put them in the right place and coolant still went everywhere. Sigh.

This time I went after the vanes controlled by the top and bottom sliders. I redid them and again was confident I'd solved the problem.
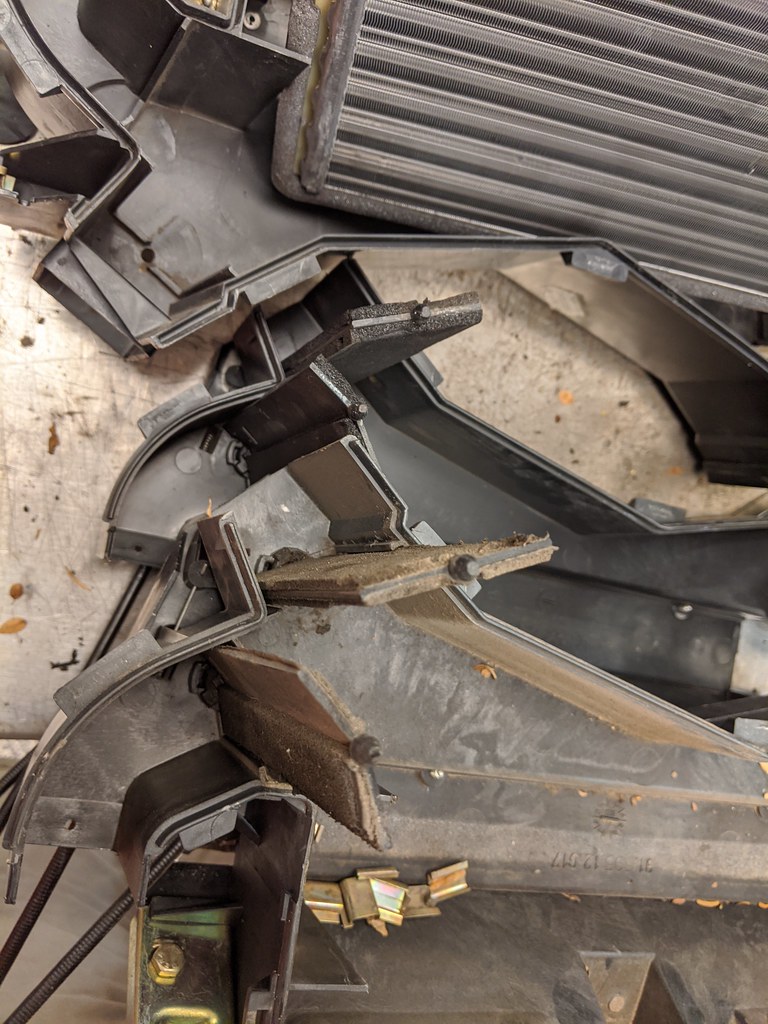
Image

But this time I was REALLY smart and used this old fren that I had lying around from the last time I was fighting with heater control valves.
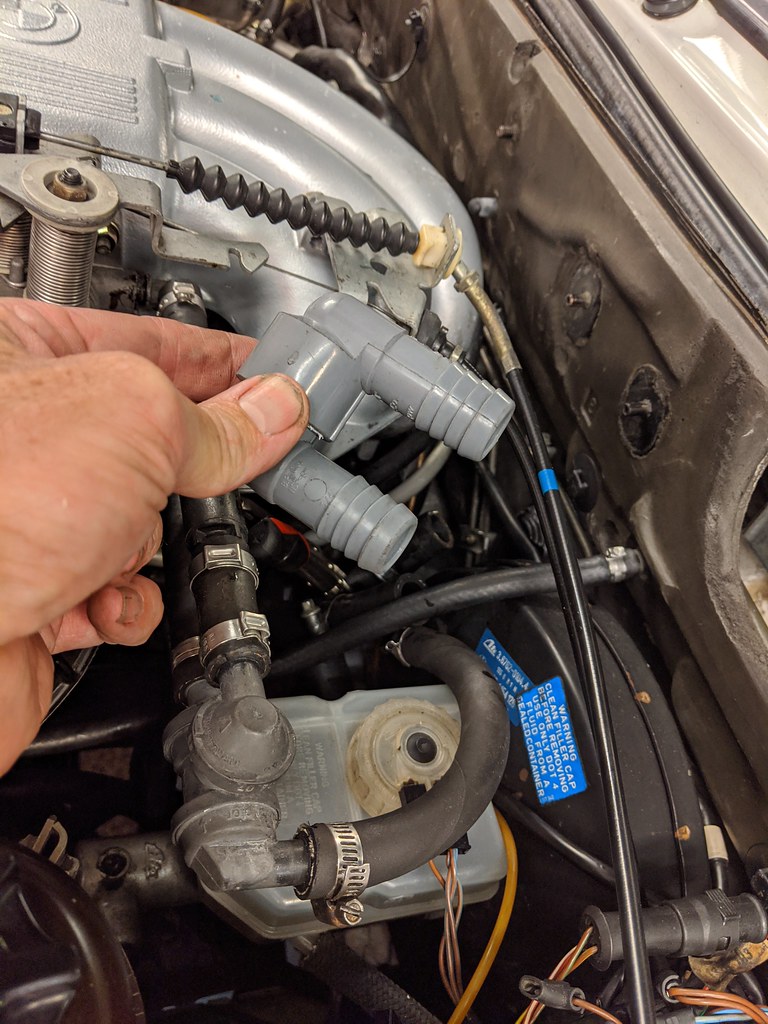
Image

I'm glad I did that because test drives proved I hadn't fixed shit.

Stymied I gave up. And had a beer. Or something. Anyhow, some time later I got the idea to open up another heater box I had to see if I could see anything different. This is the one I pulled from Minerva's parts car. Isn't THAT special?
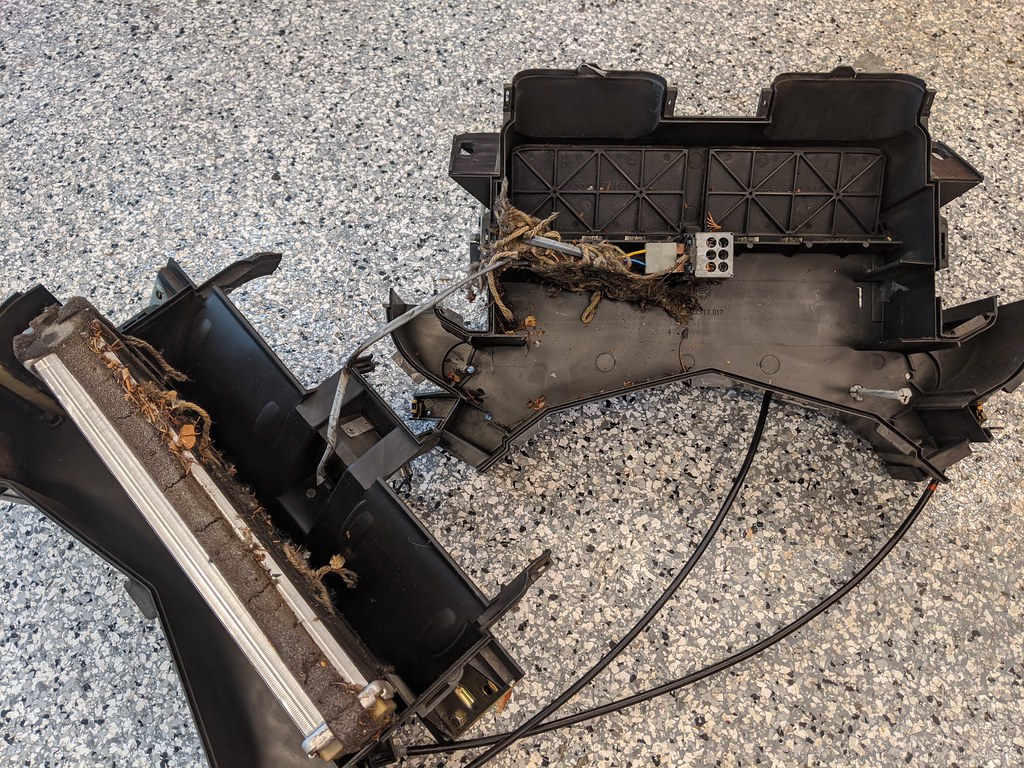
Image

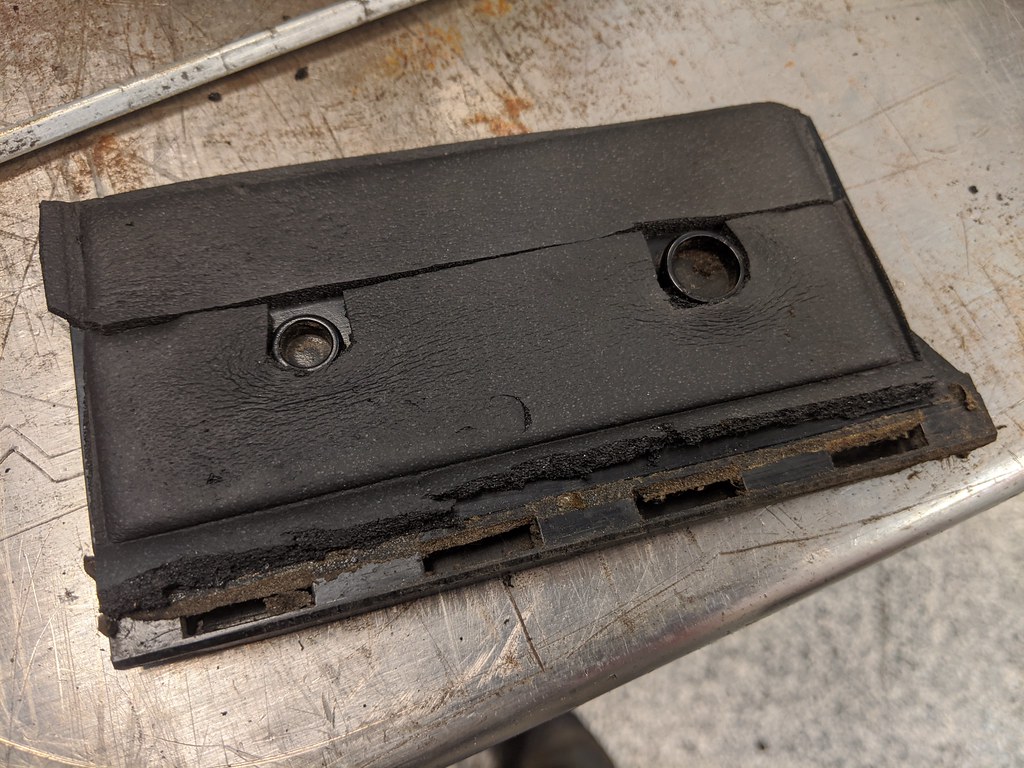
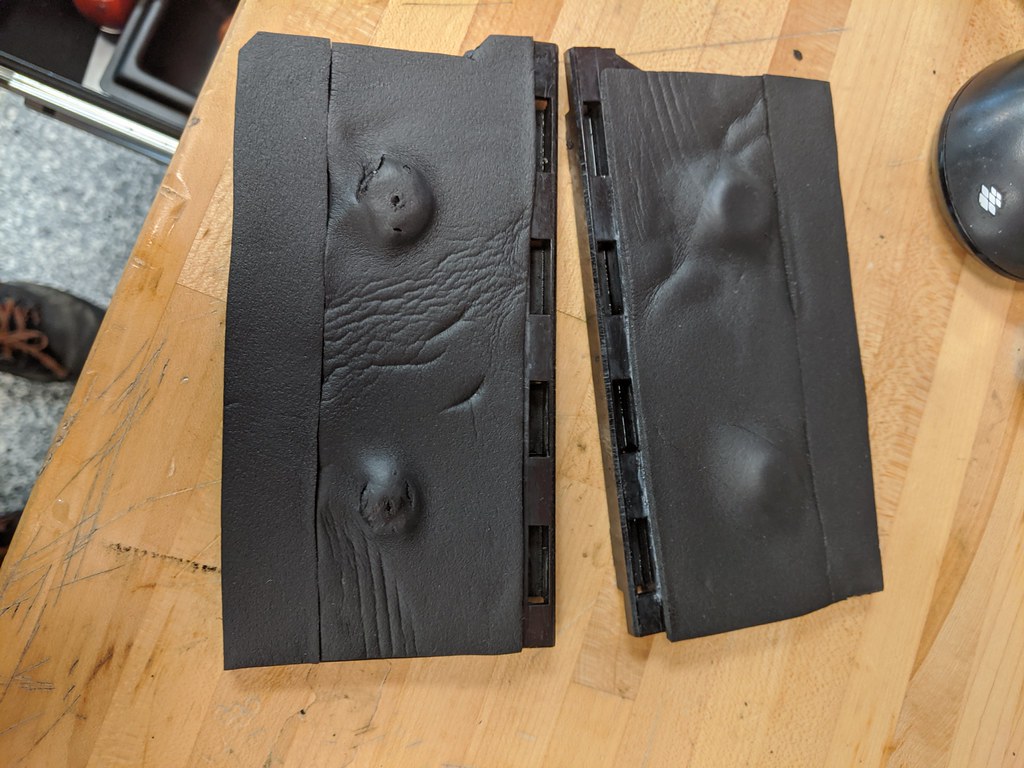
Poking around, comparing things I did notice something: All the old heater cores in my collection have some amount of insulation completely around the end with the pipes. The new one I put in last year only got insulation on half (no pic):
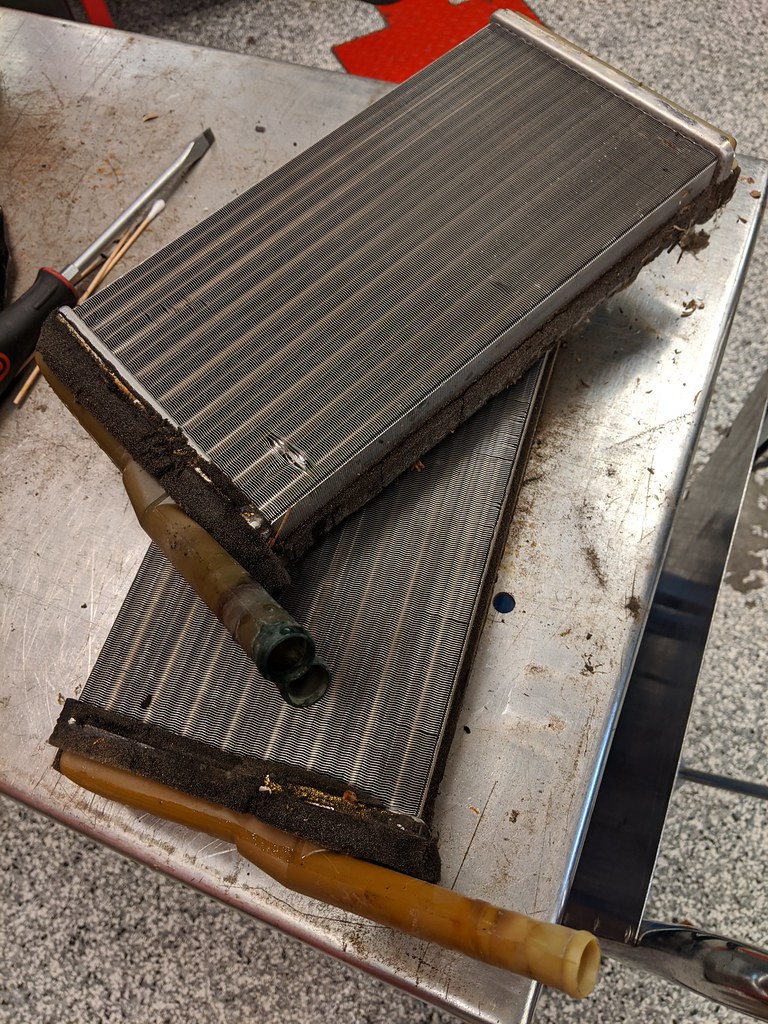
Image

The source of the whistle then became obvious. That insulation is needed! If you replace your heater core with a new one, PUT new insulation around that end!

After putting things back together (again), test drives proved I had finally fixed the whistle (well, THAT whistle; my sunroof seals need replacing too).

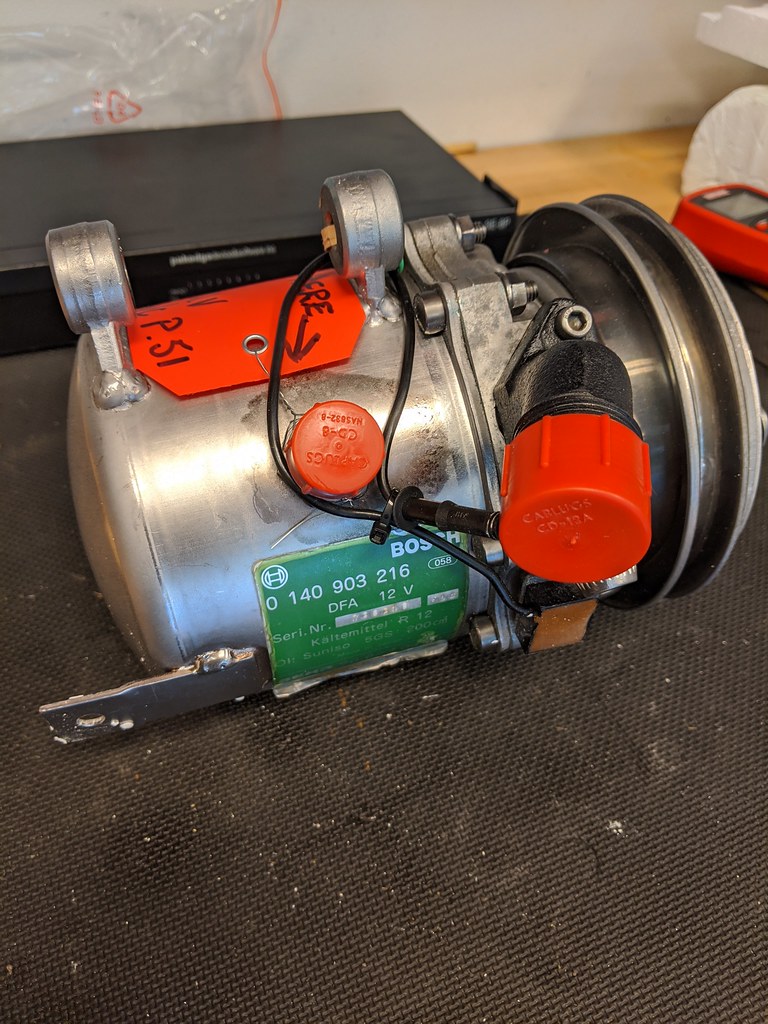
Got the compressor back from Jay Stratton. He sure makes them look nice.
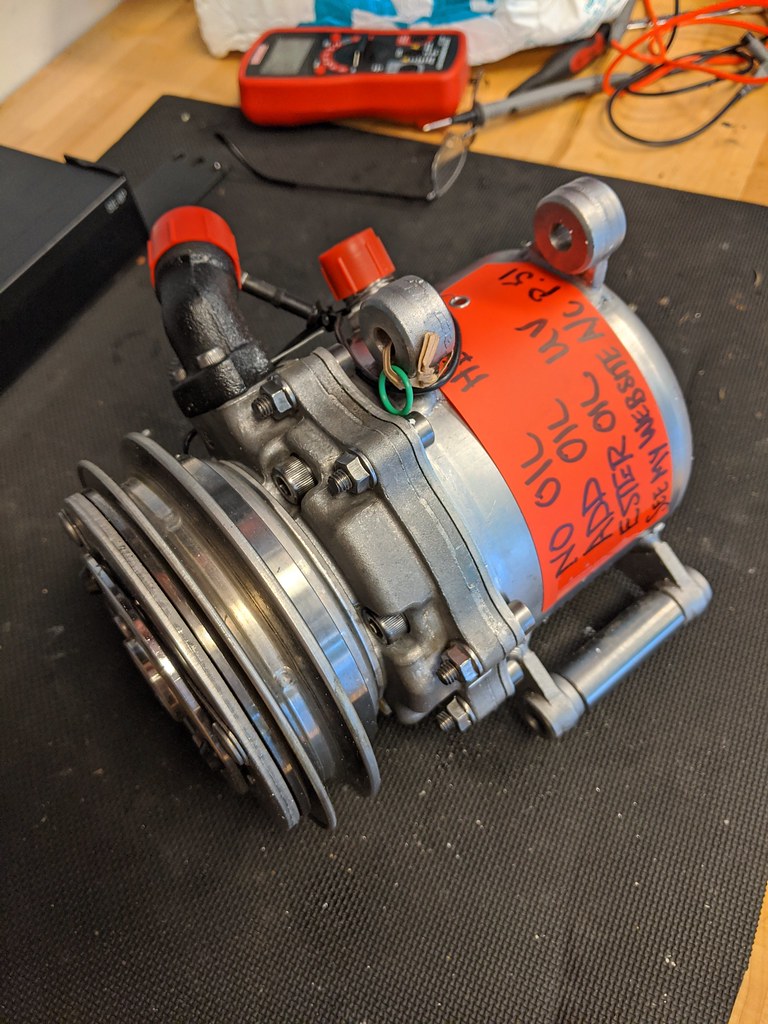
Image

Image

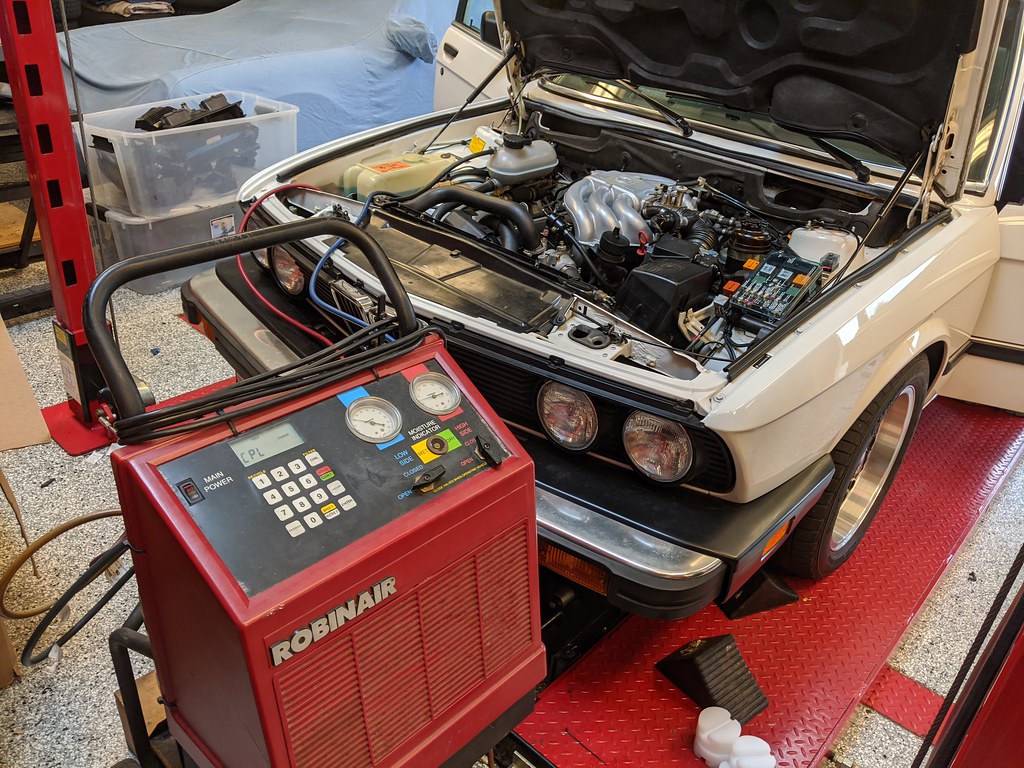
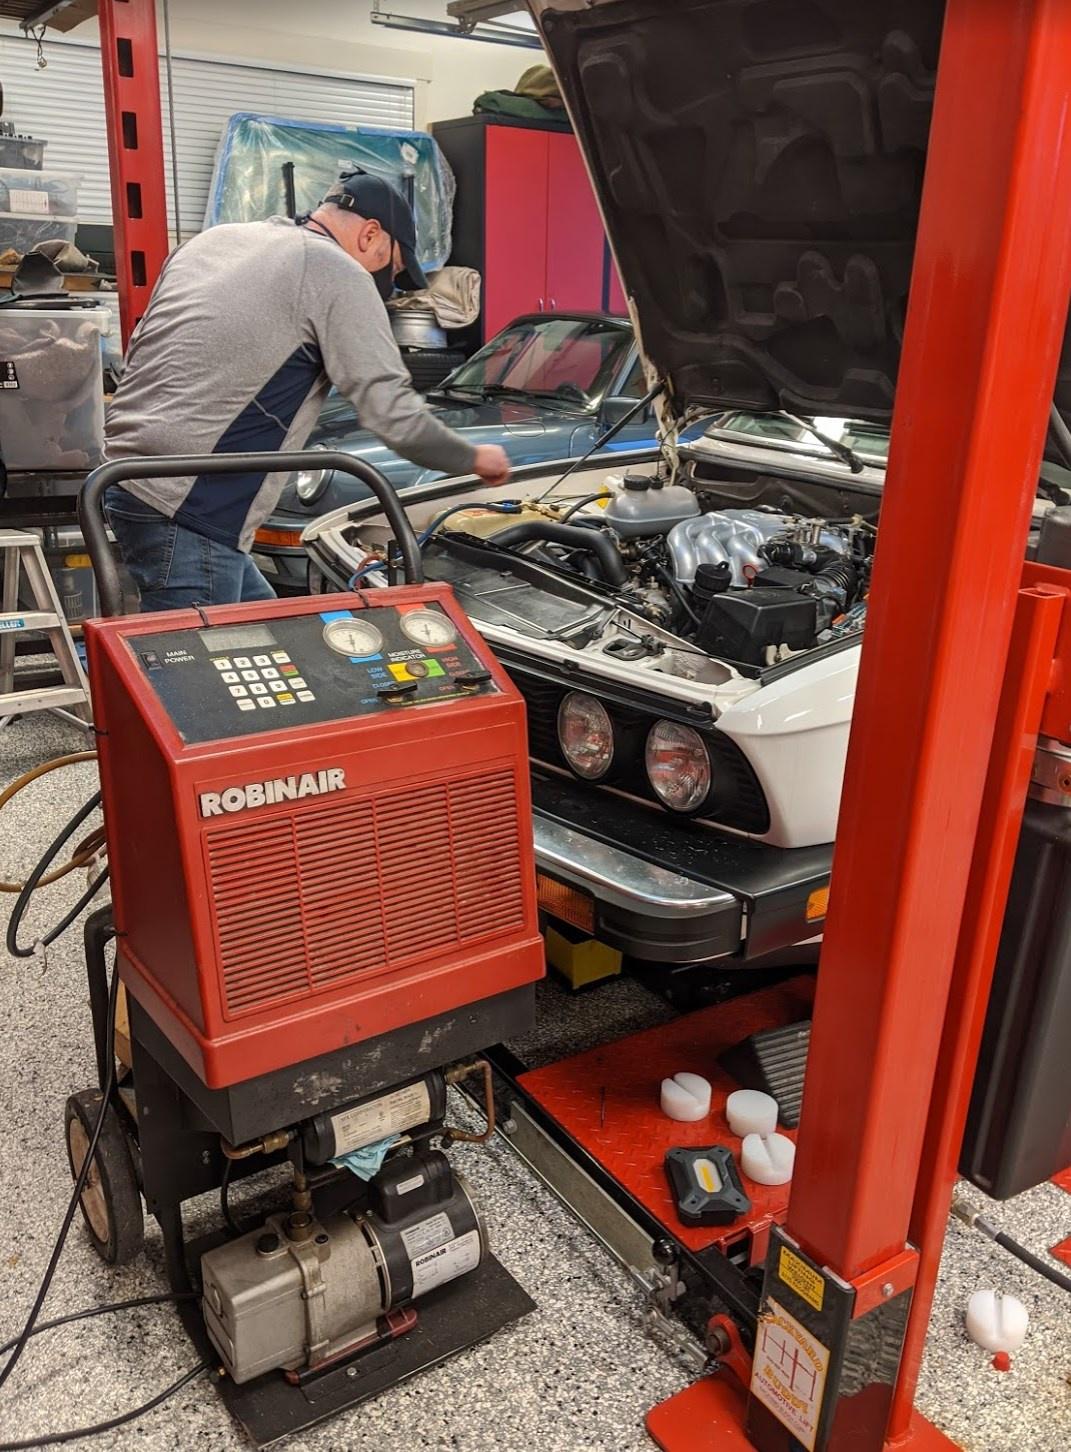
I got the blower fan/evaporator setup well enough, and hooked up the 'like new' compressor (after filling it with oil per spec). My R12 guy came out and tested to ensure no leaks and then gave me a dose of R12. We started it up and it blew cold and seemed to be working great.
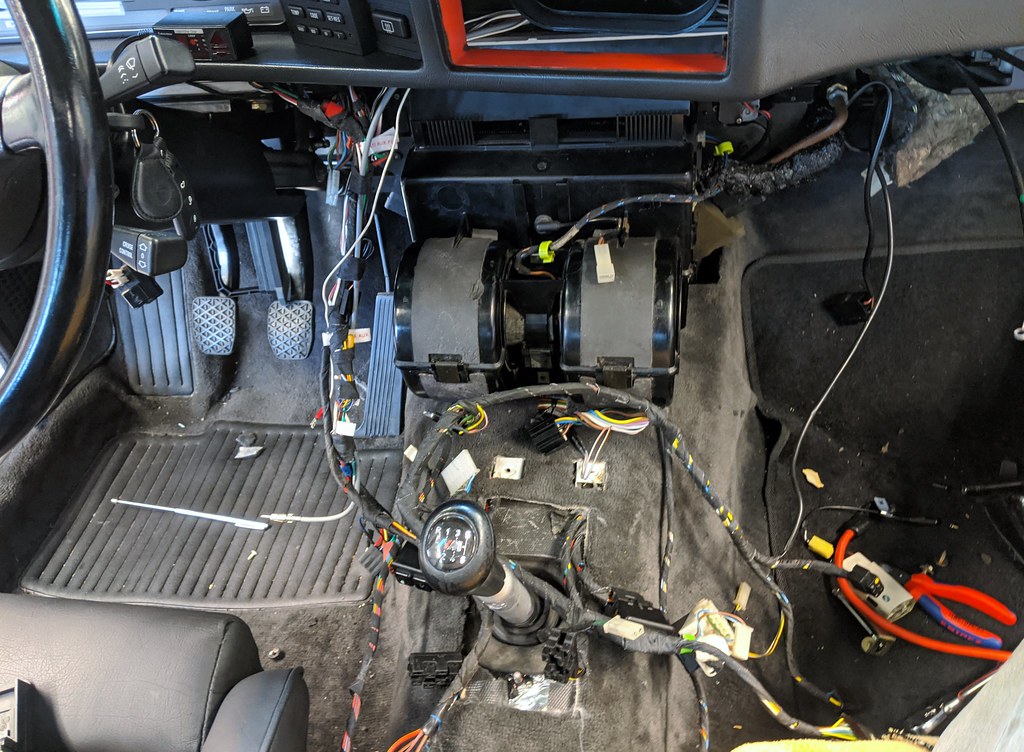
Image

Image

Then a test drive... Nice and cool. Quiet fan! However, I noticed every time the compressor would engage it sounded like a 1940s ford tractor up there. I stopped and took a little video. After about 10 seconds you'll see the clutch engage and you'll hear what I mean:

https://www.youtube.com/watch?v=7yCwpIFElKA

Jay now has the compressor back at his shop (he's covering shipping) and seeing what went wrong. I had to have my R12 guy come out and evacuate the system again which is a bummer.

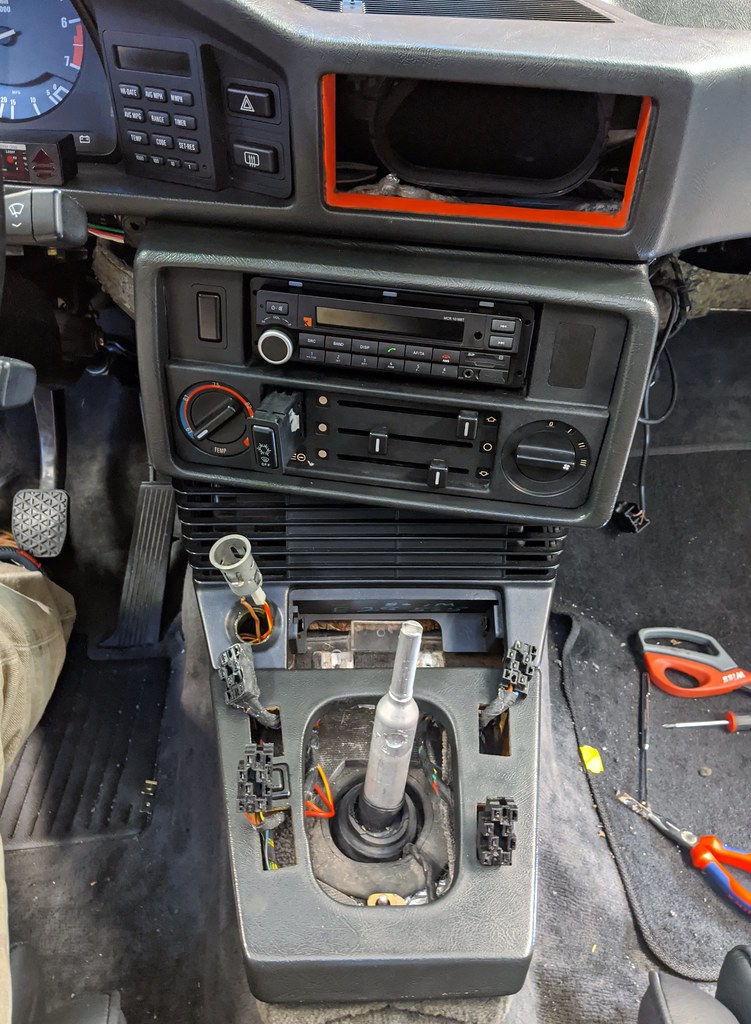
I set about putting the console back together. I won't recount all the details, but trust me when I tell you that it all does get easier after you've done it about 15 times (5 or 6 of those times was this time because of all the 'oh shit, I forgot THAT' or 'frak, that damn bulb fell out again').

This is a re-enactment. I'm sharing it so you can learn. When you do this, stuff something in that vent that goes down to the floor boards. Or have a long magnet thingy available and pray you have good dexterity.
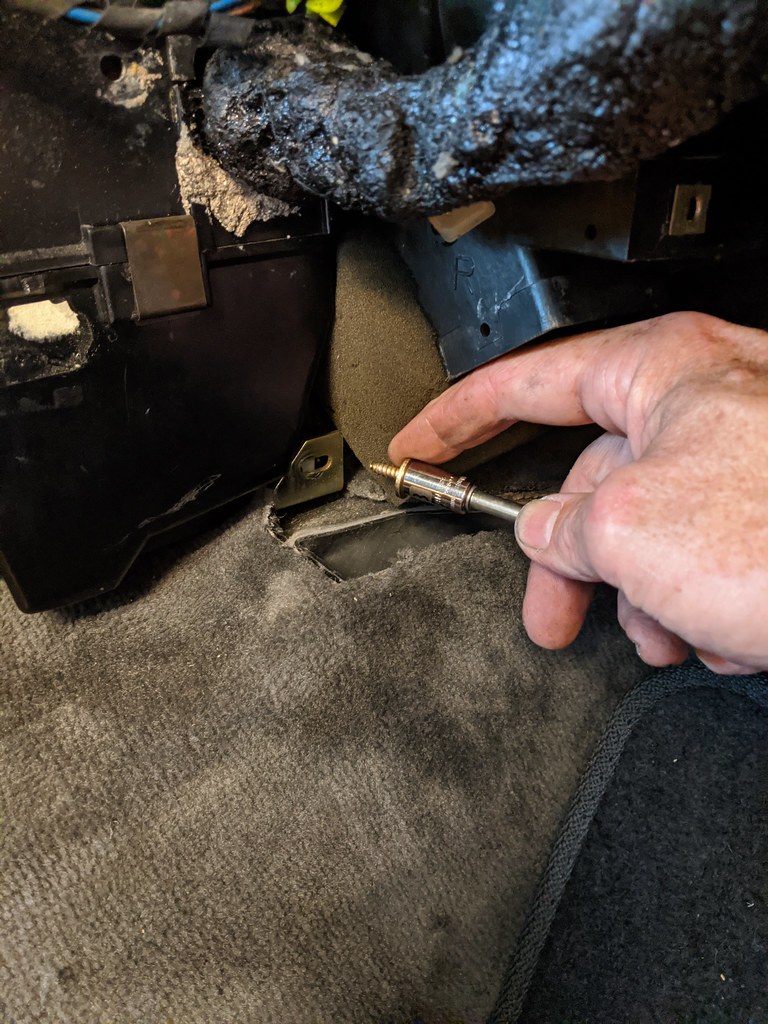
Image

I took this before testing everything. Then I discovered neither the top or bottom sliders would work properly.
Image

Turns out I had messed up the little turny things on the cable ends that adjust travel when I was futzing with the box. So apart it came again.

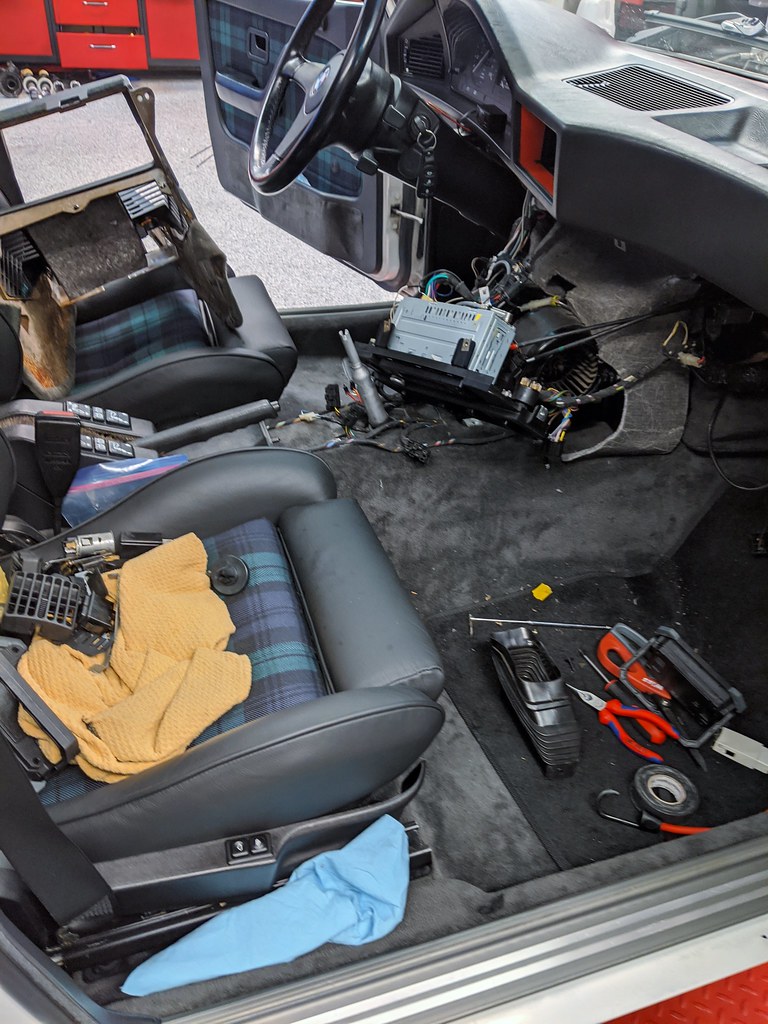
Then I got it all back together only to notice the insulation sitting on the garage floor by the rear wheel. Apart it came agian.
Image

Image

This is where I gave up on Friday night and said fuck it I'm taking the Porsche for a nice Italian dinner by my lonesome (Julie was out of town).
Image

Image

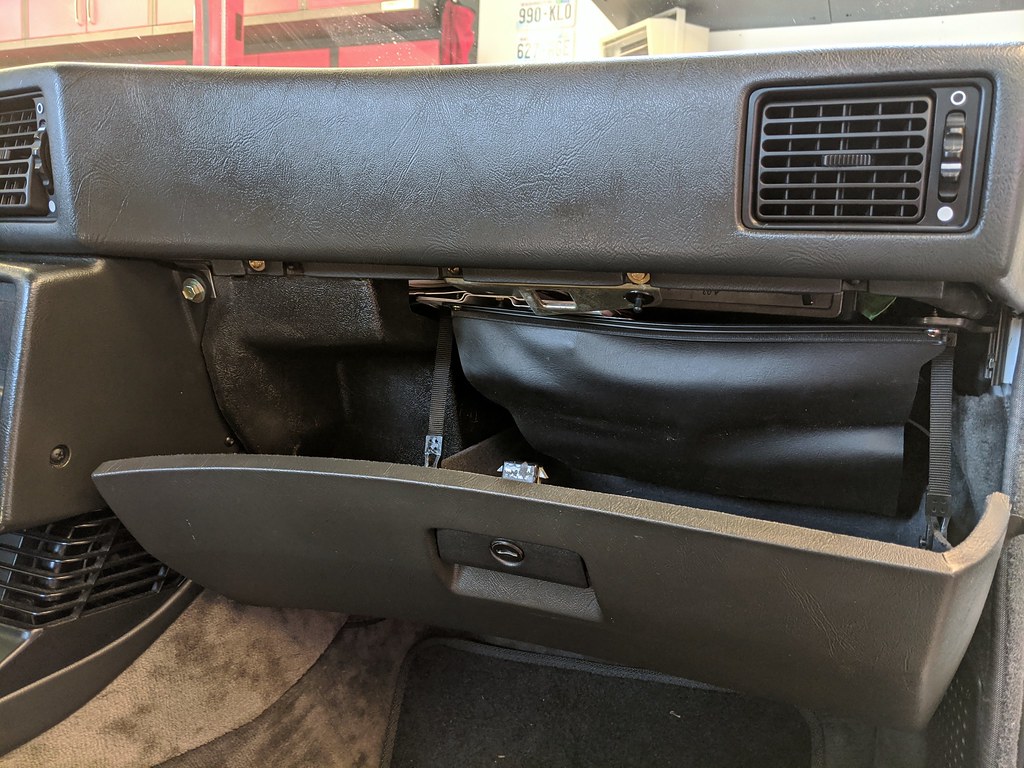
On Saturday I got it all back together. No leftover screws either. Getting the glove box back on was much harder than I remember, but shockingly the driver's kick panel went on with no fuss. Yay.
Image

(Yes, I took the care to put it ALL back as it should be. Shame on YOU for leaving that flappy thing off, or not installing the plastic piece that goes over the AC lines).
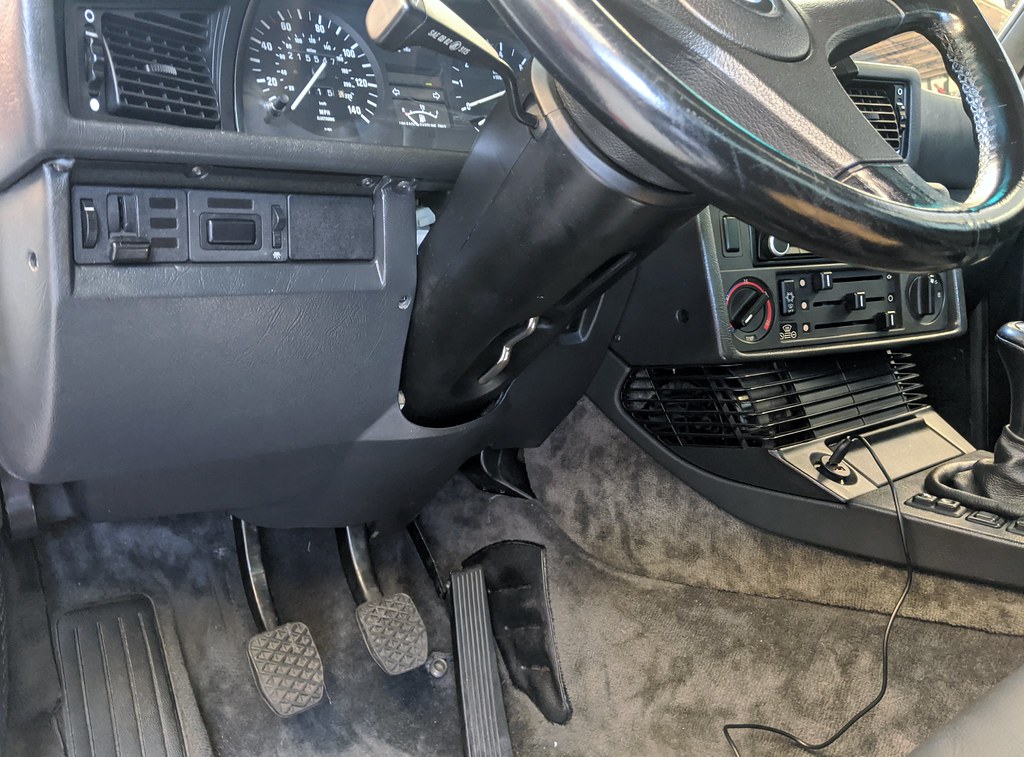
Image
(Yes, I know the carpet piece for the heater duct is missing. Heck if I know where it went; it was there when I pulled it all apart).

(Yes, I know the piece of anthracite trim that goes between the instrument cluster and steering column is missing. I've been ISO *two* of them forever since this one is missing and Minerva's is beige. If you have, I want!).

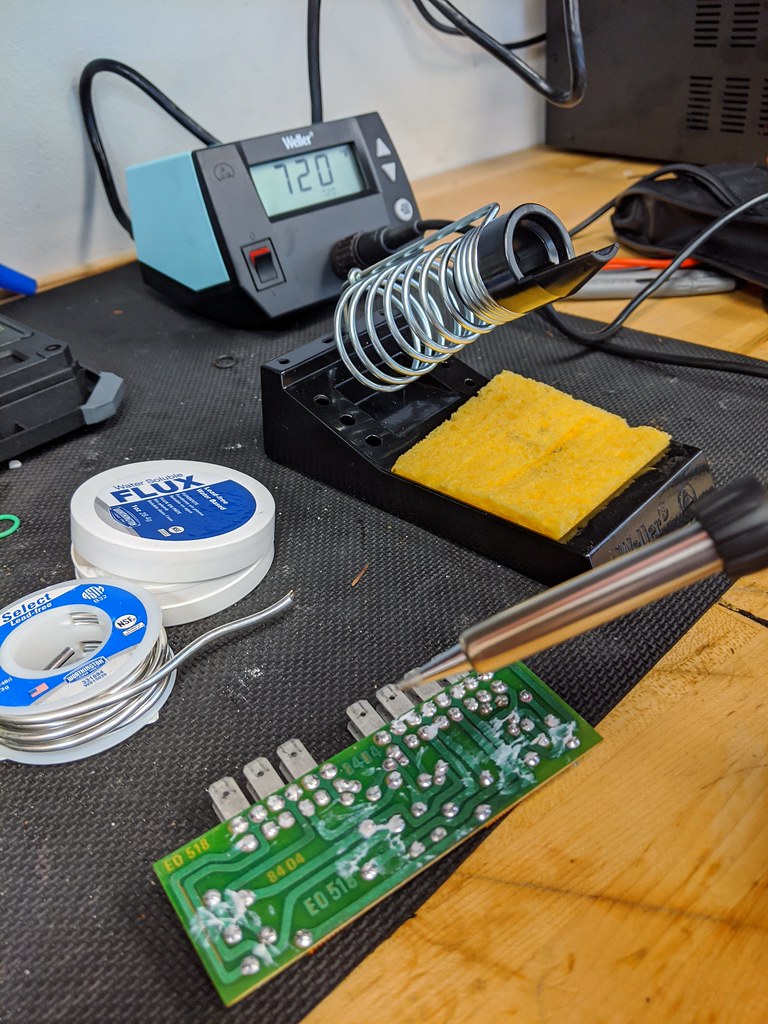
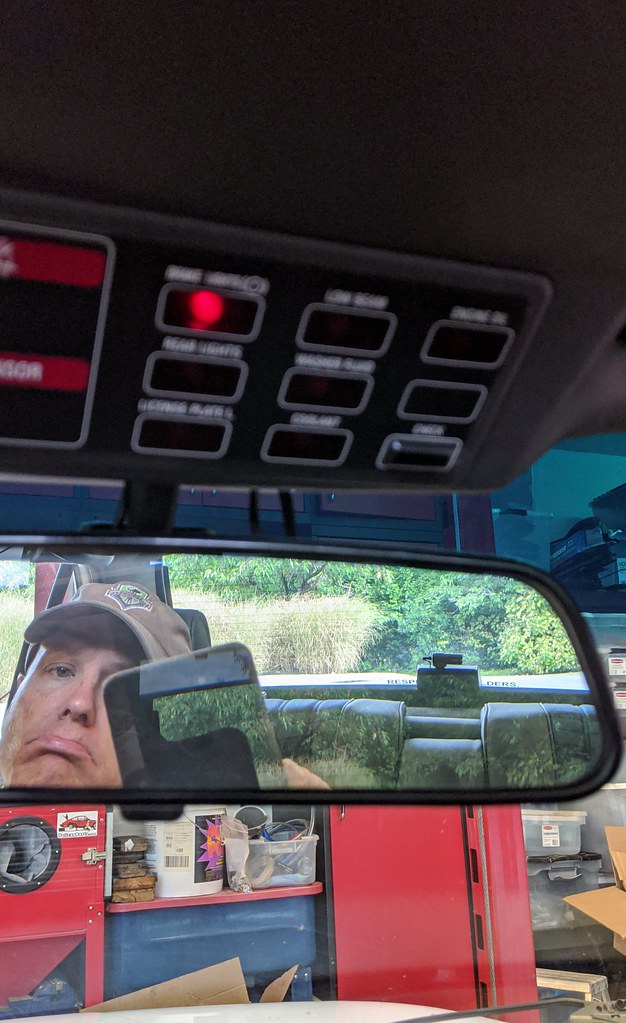
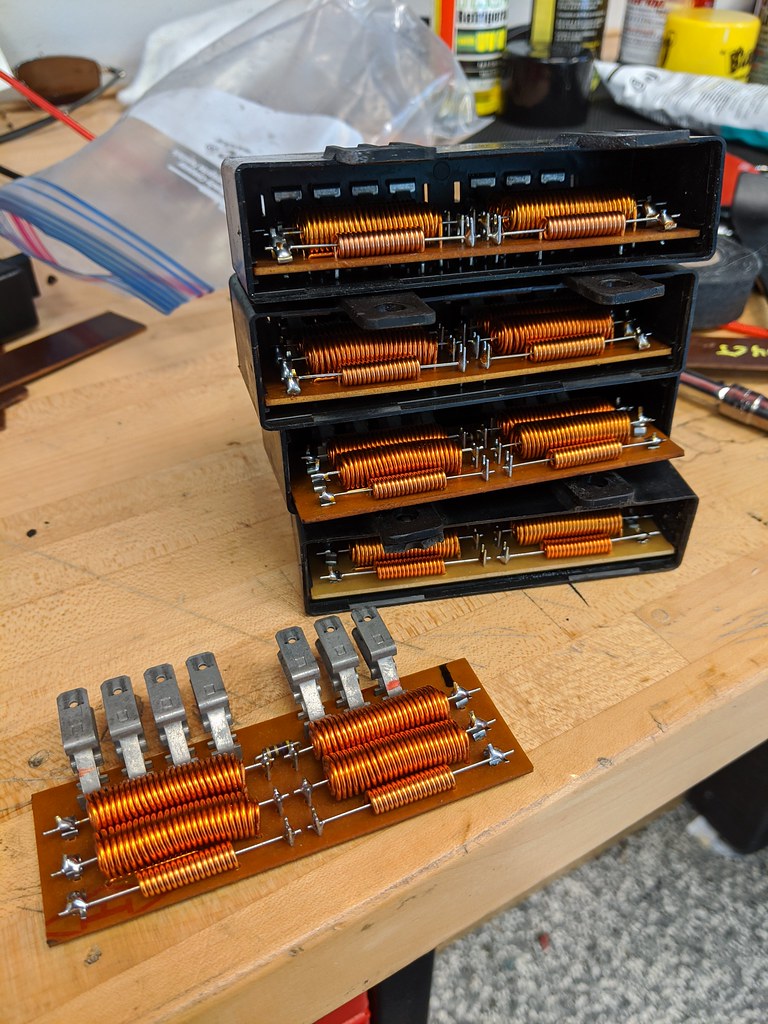
I also tried fixing the fact that my active check system regularly insists I have brake light issue. After reflowing the soldier on the best looking module I have, i thought I had victory.
Image

Image

Alas, after a test drive...
Image

I dunno what to do next on this other than bridge the reeds as the PO of Vlad had done. Any other suggestions?

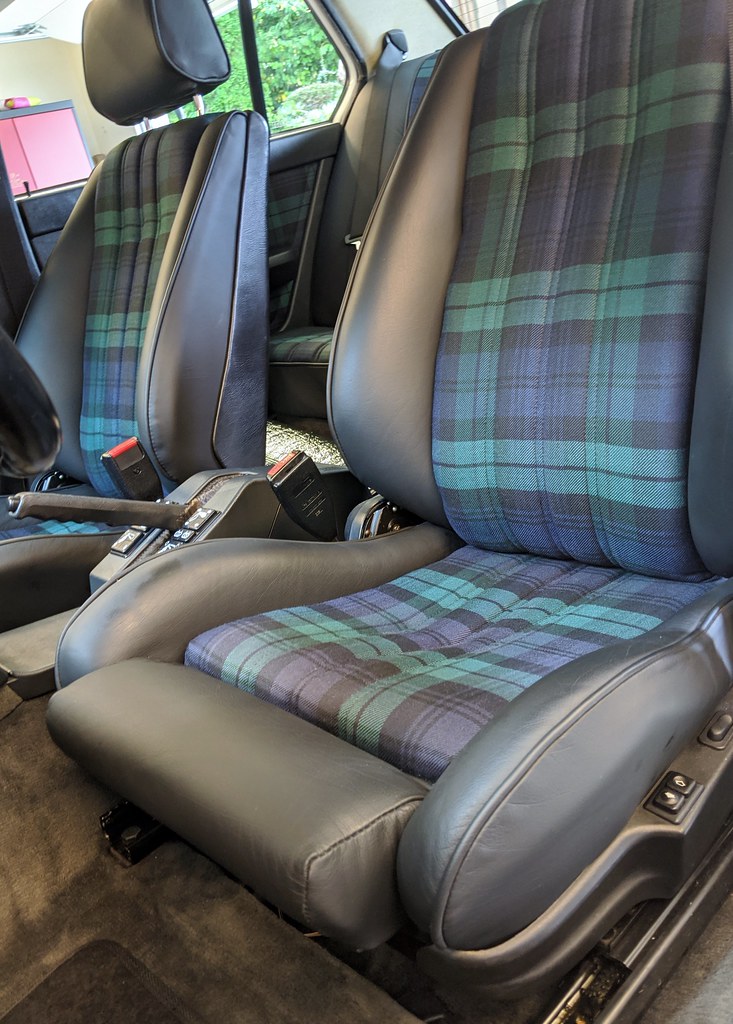
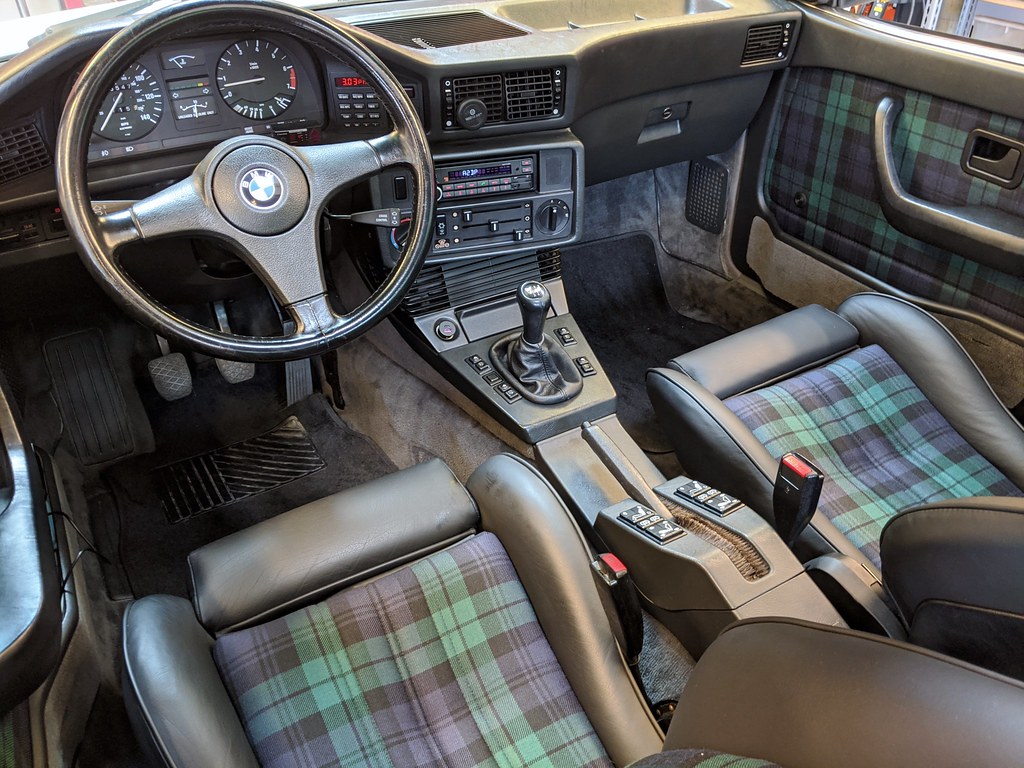
Some pr0n:
Image

Image

Image

Image

Image

Image

Image

Image

Next up is getting those Spax off and H&Rs on. I'll keep you posted on the AC compressor drama too...
Last edited by tig on Sep 21, 2020 11:38 AM, edited 1 time in total.
muleskinner
Posts: 1340
Joined: Sep 08, 2007 11:17 AM
Location: John Graham ATL

Re: Maytag: The Alpine '87 529i

Post by muleskinner »

:beer: Amazeballs.
RC000E
Posts: 25
Joined: Apr 10, 2015 9:13 PM
Location: United States
Contact:

Re: Maytag: The Alpine '87 529i

Post by RC000E »

Man....great car....what a keeper.
Tiit
Posts: 290
Joined: Oct 06, 2017 6:27 AM
Location: Canberra

Re: Maytag: The Alpine '87 529i

Post by Tiit »

Thank you so much for continuing with detailed updates. Your posts are great source of inspiration for many of us.
dsmith
Posts: 2362
Joined: Jan 20, 2012 12:52 AM
Location: Charleston, SC

Re: Maytag: The Alpine '87 529i

Post by dsmith »

Finishing up my eta 5 sp swap this week, along with rear subframe bushings, fuel and p/s hoses, M5 box and probably some other stuff. I referenced your thread some more and even saved a pic from a Vlad to see where the clutch hose bracket goes. I welded on the shifter and hose brackets tonight and should have it on the road this weekend.
tig
Posts: 9311
Joined: Mar 18, 2013 6:25 PM
Location: Durango
Contact:

Re: Maytag: The Alpine '87 529i

Post by tig »

dsmith wrote: Sep 24, 2020 11:21 PM Finishing up my eta 5 sp swap this week, along with rear subframe bushings, fuel and p/s hoses, M5 box and probably some other stuff. I referenced your thread some more and even saved a pic from a Vlad to see where the clutch hose bracket goes. I welded on the shifter and hose brackets tonight and should have it on the road this weekend.
Wow, knowing that I helped *you* somehow makes me feel good.
dsmith
Posts: 2362
Joined: Jan 20, 2012 12:52 AM
Location: Charleston, SC

Re: Maytag: The Alpine '87 529i

Post by dsmith »

It would have taken me a while to find the clutch switch connector. And the thought to put a weld blanket under the carpet was a great tip too.

One thing that I haven’t seen anywhere is that the two side brackets from the early pedal cluster that attach to the steering column are shorter than the later ones. I had to pull everything back out and swap those from the auto pedal bracket.
tig
Posts: 9311
Joined: Mar 18, 2013 6:25 PM
Location: Durango
Contact:

Re: Maytag: The Alpine '87 529i

Post by tig »

cek wrote: Sep 21, 2020 12:25 AM Then a test drive... Nice and cool. Quiet fan! However, I noticed every time the compressor would engage it sounded like a 1940s ford tractor up there. I stopped and took a little video. After about 10 seconds you'll see the clutch engage and you'll hear what I mean:

https://www.youtube.com/watch?v=7yCwpIFElKA

Jay now has the compressor back at his shop (he's covering shipping) and seeing what went wrong. I had to have my R12 guy come out and evacuate the system again which is a bummer.
Image

I got the AC compressor back from Jay Stratton (again) and got it connected last weekend. It wasn't until this morning that my R12 guy could come by and fill 'er back up. He did so and I'm please to report Jay finally got it right. Kudos to him for taking care of shipping etc... I am out an extra couple hundred bucks due to having to pay my R12 guy twice vs. once, which is a bummer. But I like Jay and am glad he offers his services to the community so am going to just eat it myself and smile.

Jay says he's now built a 1000rpm test fixture so he can test compressors before he starts rebuilding them. Our working theory is the one I sent had wear and the cleaning caused the tolerances to be further off causing the noise. I had another compressor here that I sent him (he bought it from me) and he used the nicer parts from it to finish this one, which he then tested on his bench.

Image

Video of it running: https://www.youtube.com/watch?v=UYq493tCX0Q
1st 5er
Posts: 21863
Joined: Jun 13, 2008 12:15 AM
Location: Cypress
Contact:

Re: Maytag: The Alpine '87 529i

Post by 1st 5er »

cek wrote: Oct 12, 2020 4:17 PM
Image

Video of it running: https://www.youtube.com/watch?v=UYq493tCX0Q


Brrrrr...
tig
Posts: 9311
Joined: Mar 18, 2013 6:25 PM
Location: Durango
Contact:

Re: Maytag: The Alpine '87 529i

Post by tig »

This is very strange. For the first time since I bought this car, there is (almost) nothing that "needs" to be done to it.

Here's the list:
  • New sunroof gasket (wind whine) and fix sunroof so it stops at right points.
  • Install H&R springs.
  • Rebuild exhaust with moar flow (exhaust is stock 87 Eta with cat).
  • Give it a tune (currently running stock Super-Eta tune)
  • Euro bumper conversion.
  • Fix paint. Thin in a few spots; poor respray in others.
  • Fix a few rotting window seals.
  • Replace windshield with OE glass that fits.
I mean, that's *IT*. And other than the sunroof, none of it is really needed because the car looks and drives great.

One nit, which is a very odd thing to say about an Eta: This car loves to spin the rear tires under throttle. Much more than Vlad, which has more power.
tig
Posts: 9311
Joined: Mar 18, 2013 6:25 PM
Location: Durango
Contact:

Re: Maytag: The Alpine '87 529i

Post by tig »

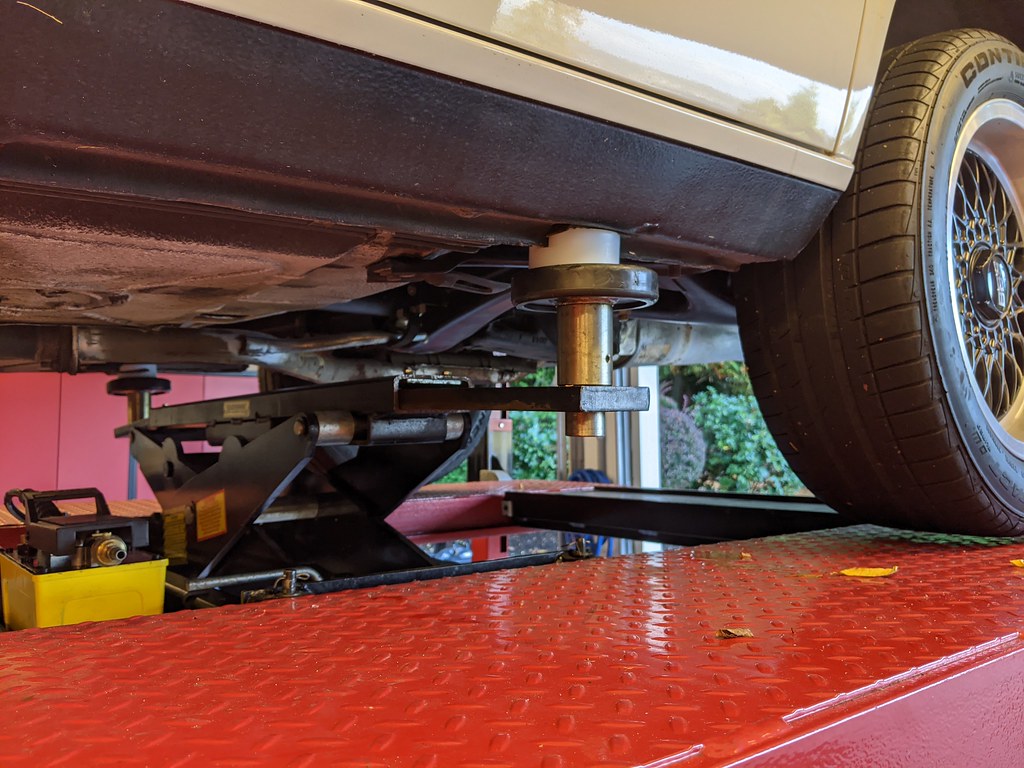
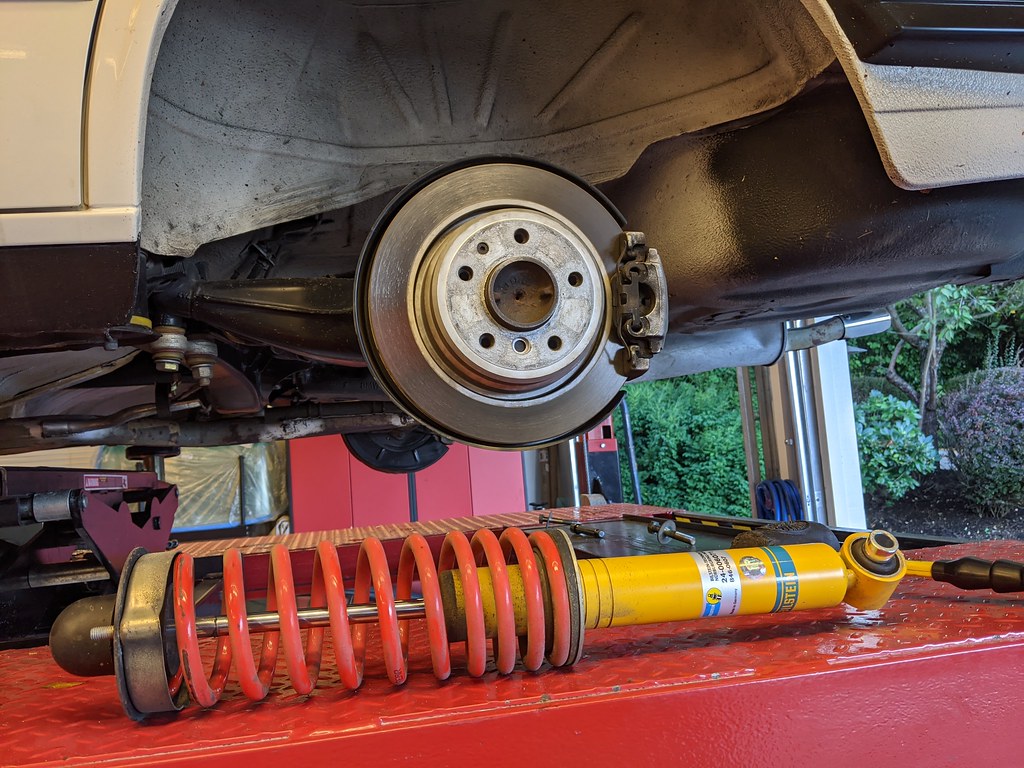
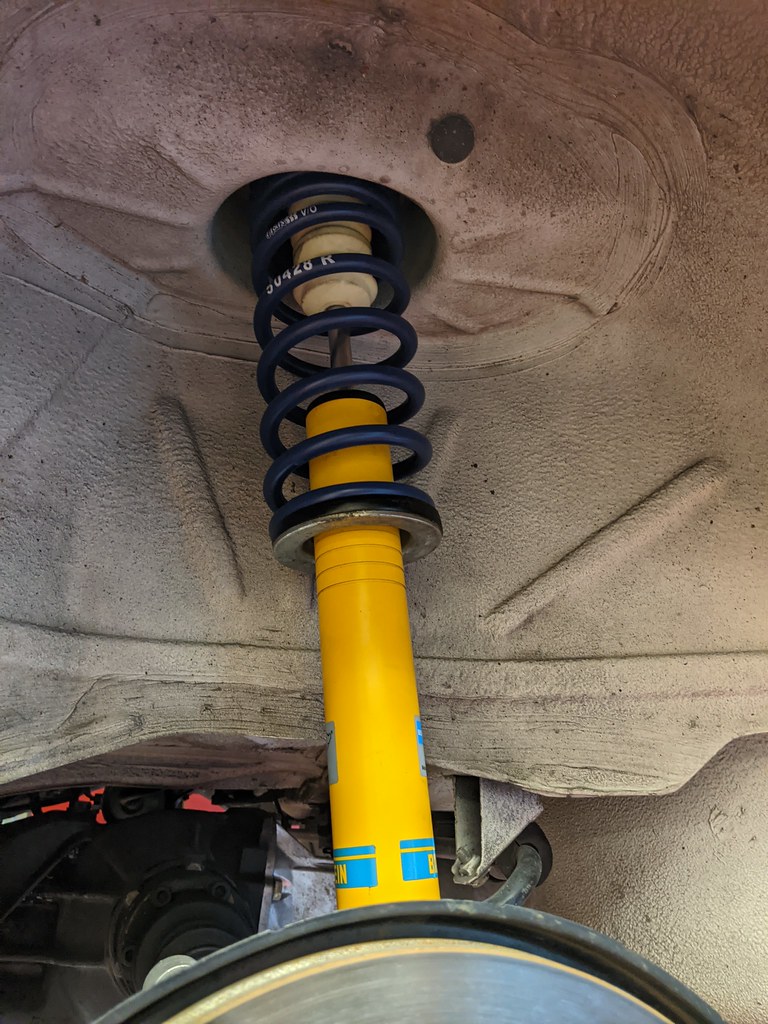
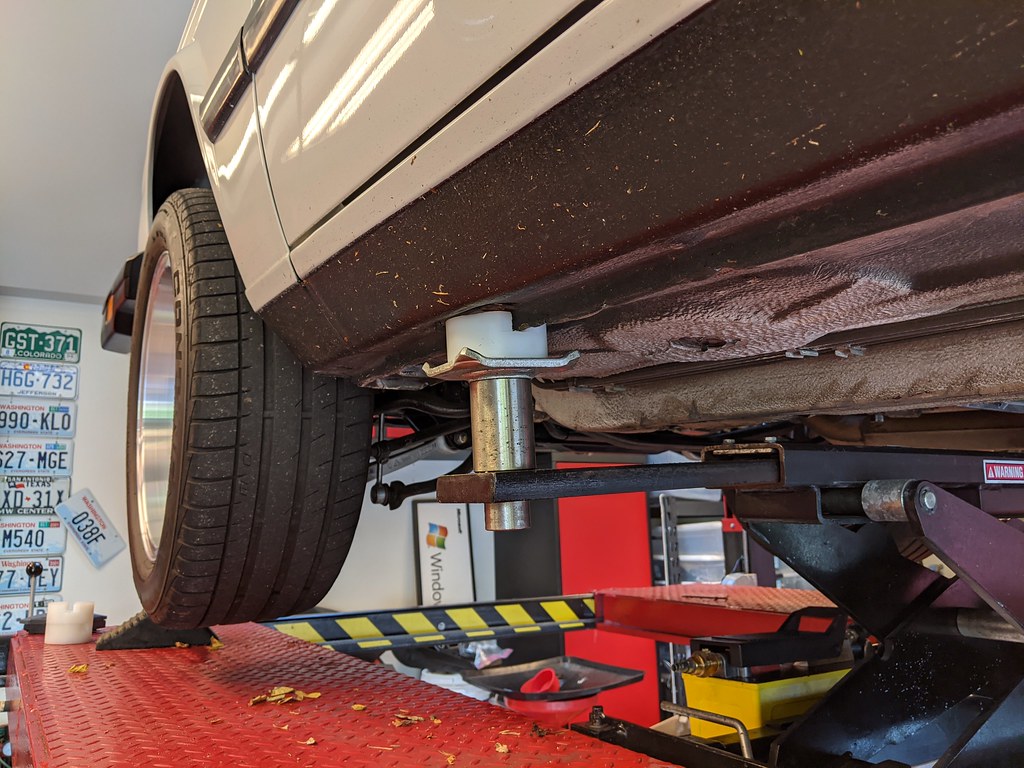
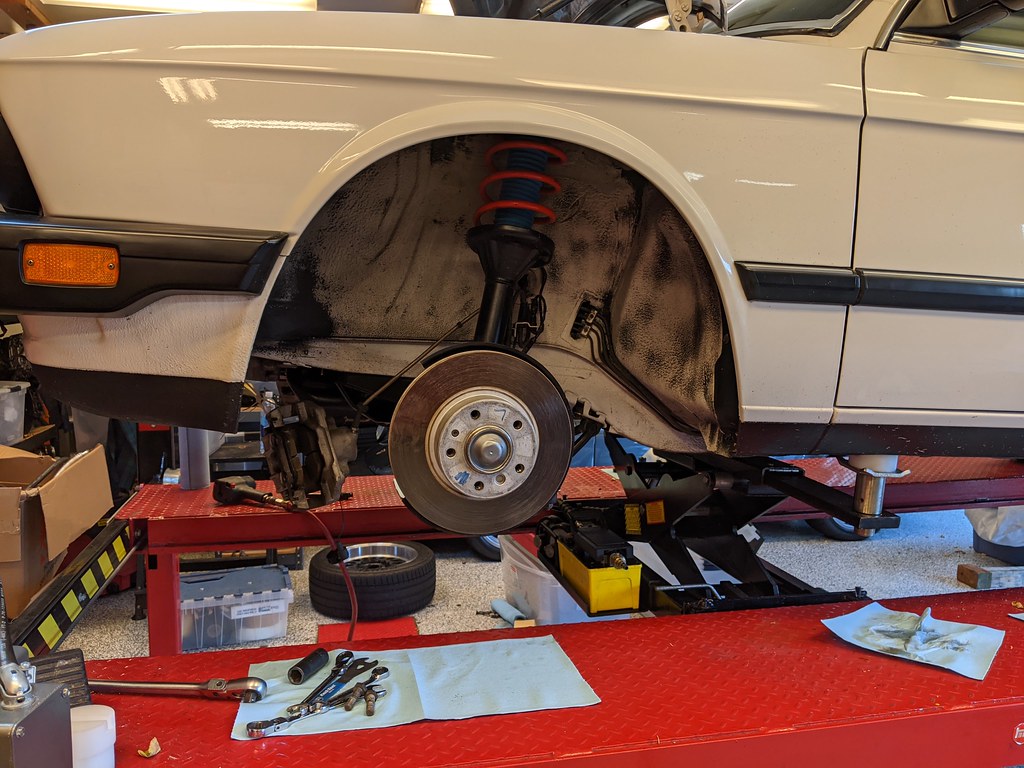
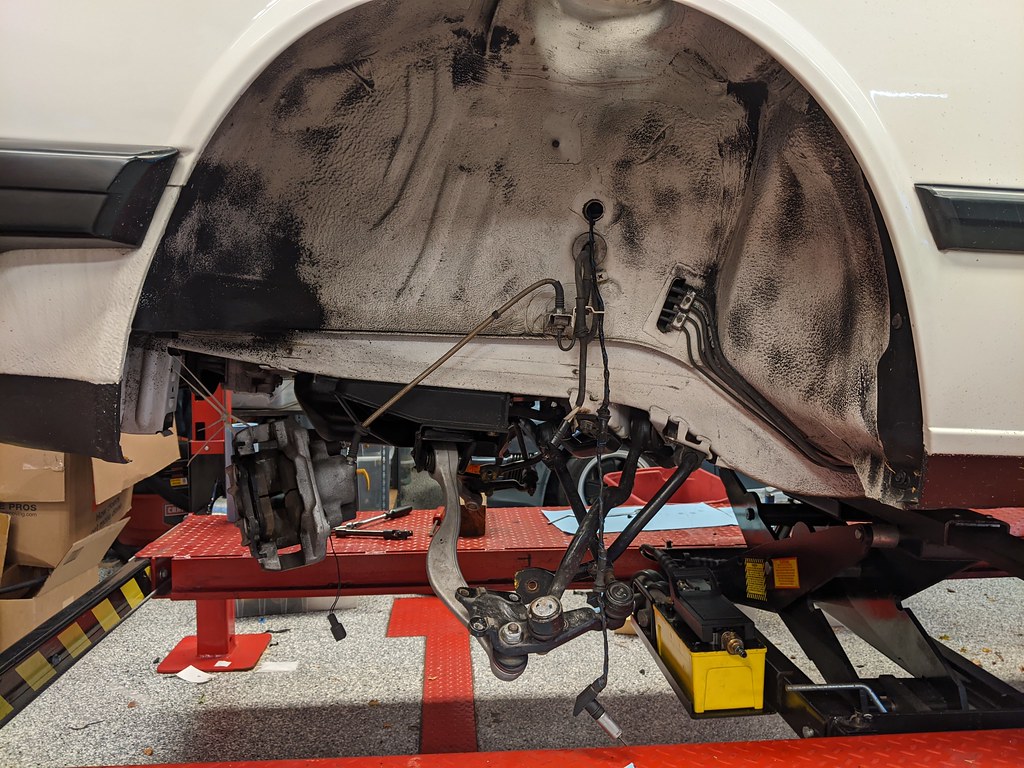
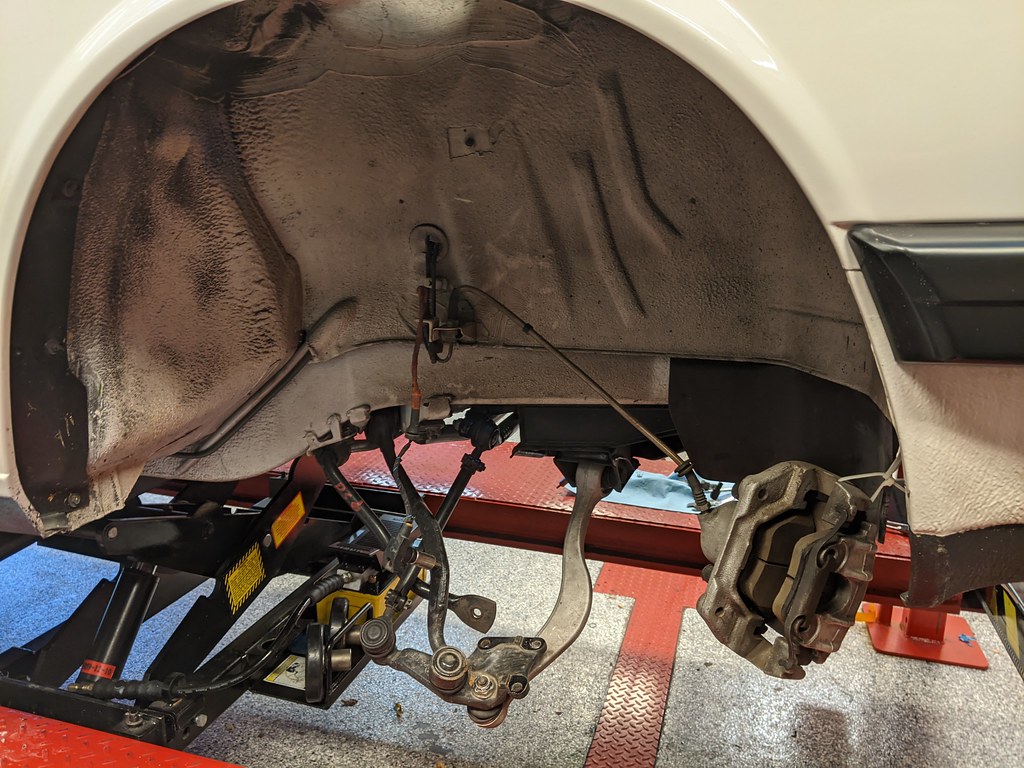
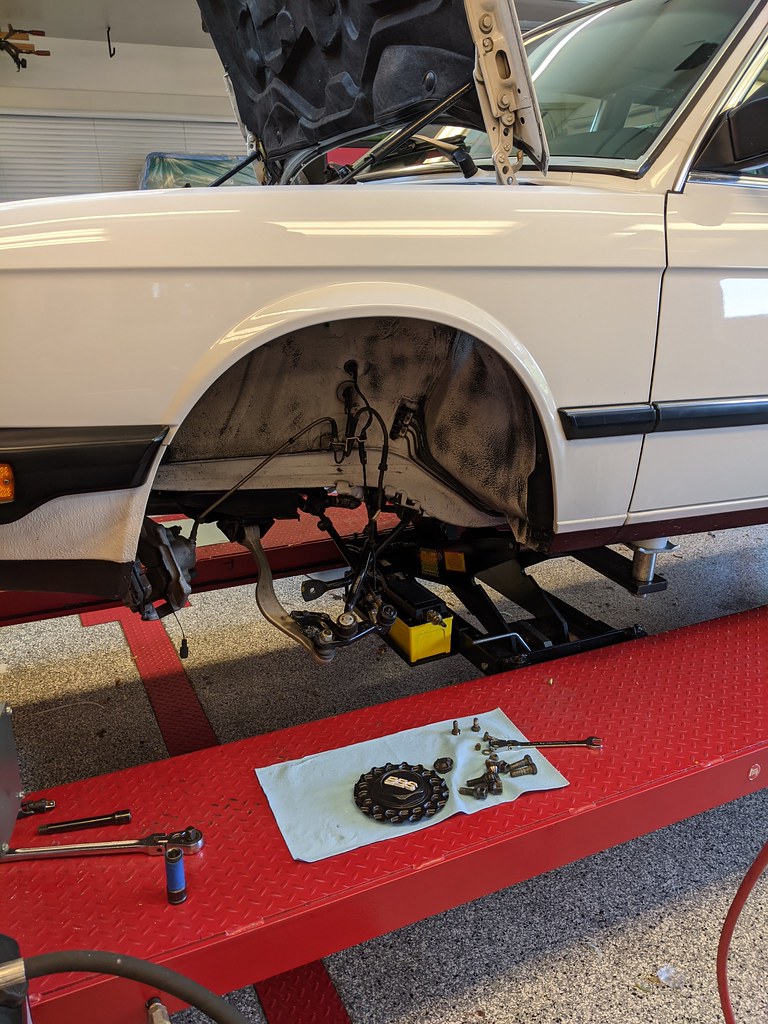
I started swapping out the Spax for H&Rs last night. I got the rears done; took me almost three hours when it should have taken me about 1. But that's how I roll.

Thanks for these, Sam!
Image

The Oracle of the Desert noted I never put bump stops in. Oops.
Image

Image

After consulting with said Oracle on proper orientation of the conical washers I got everything back together. I had freshly plated washers, so of course I used them.

Image

Note to future self: Disconnect the sway bar when doing this job. Doing so will allow you to get the lower strut pin into the trailing arm without having to ask a neighbor to come over and help extending the time required by an hour or so. Or, don't, because it's always nice to catch up with Scott the neighbor because he's a great guy.

Image

These (plus the fronts that go with will be for sail soon).
Image

I killed two birds with one stone by a) a celebration dinner, and b) a shake down drive to dinner.

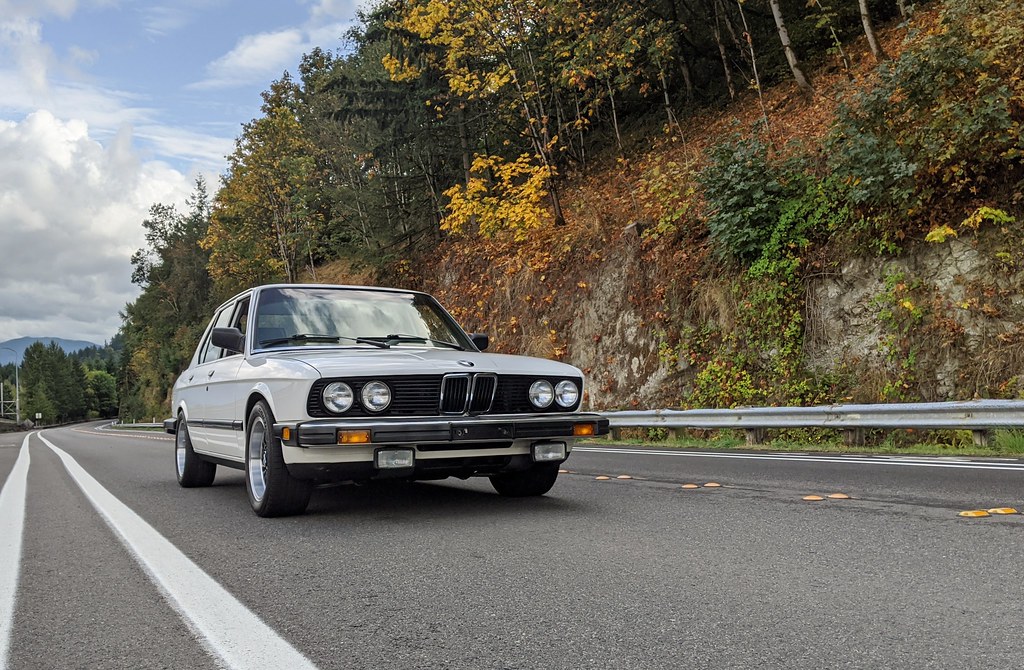
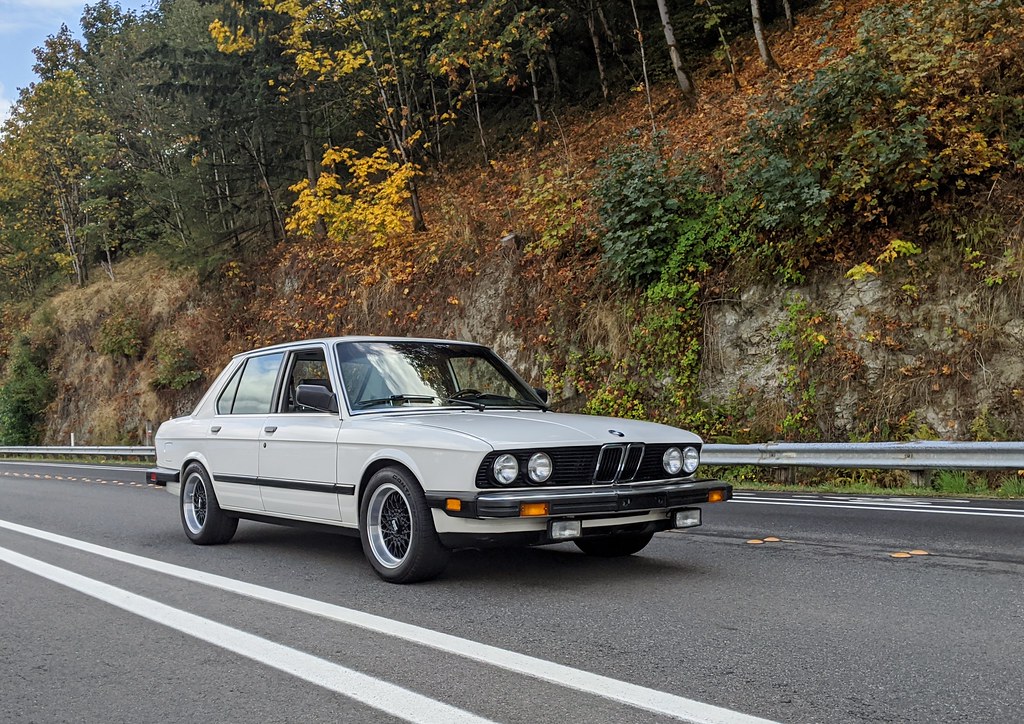
First impressions: I like these springs better, as I expected. This car is the same as Vlad now. And I like Vlad.

The drive home after dinner made it clear that I should never comment on how a car like this is "done".

First, my turn signal relay is, apparently, toast: https://youtu.be/BdUXQ7W-00E

Of course this happens right after I've just finished buttoning up the driver's kick panel and all that. Sigh.

But the real excitement came during a very intentional throttle-induced oversteer event intended to really test those new springs. The throttle stuck wide open after I exited the turn.

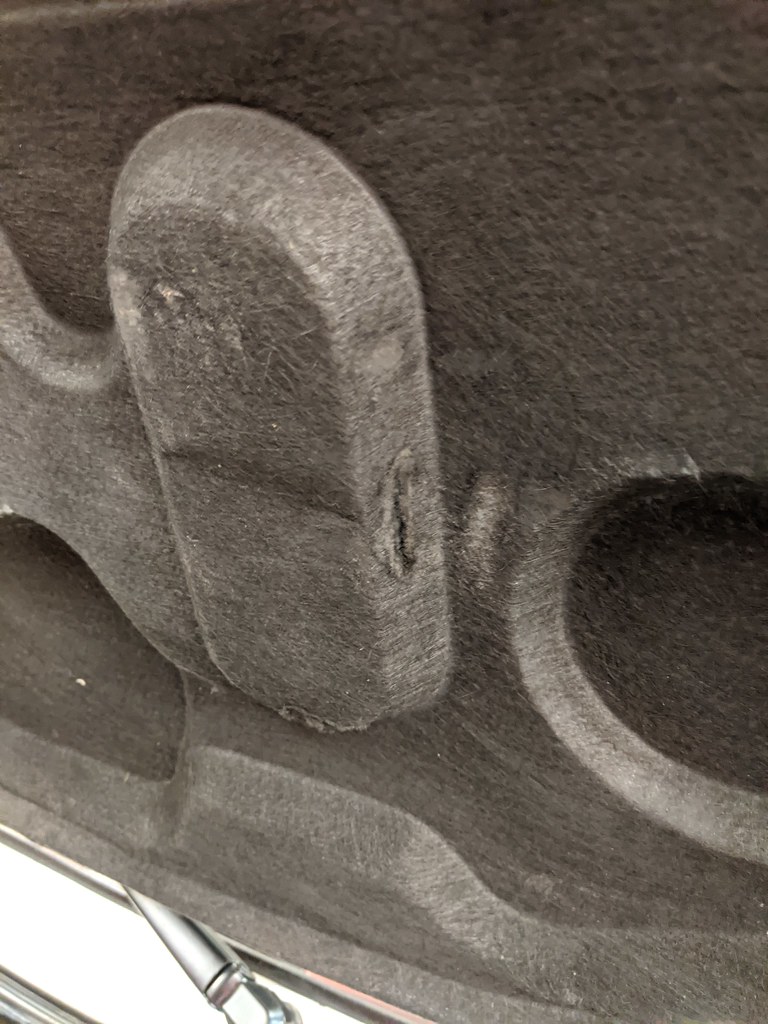
I had this issue before (I don't recall if it's documented here) but the throttle cable catches in the hood insulation. Since it had happened before I instantly knew what the issue was, didn't panic, and simply shut off the ignition and got to the side of the road.

I gotta fix this right, I guess. My previous fix was to clean the insulation of the 35 years of oil accumulation, making the material stiff again. I guess it's still got some ED.

Image
Bonsaibacker
Posts: 967
Joined: Oct 26, 2017 3:36 PM
Location: Fleming Island FL

Re: Maytag: The Alpine '87 529i

Post by Bonsaibacker »

Curious what you prefer about the H&R springs over the Spax. And how about a stance shot of the rear (would like to see the ride height with the perch on that notch).

#neverdone
#needsattention
tig
Posts: 9311
Joined: Mar 18, 2013 6:25 PM
Location: Durango
Contact:

Re: Maytag: The Alpine '87 529i

Post by tig »

Here's the updated measurements after putting the H&Rs on in the rear. Note the fronts are still Spax in these photos, and there's likely some more settling gonna happen.

Front Left 563mm (was 560mm with Spax on Rear):
Image

Front Right - 565mm (was 567mm with Spax on Rear):
Image

Rear Left - 545mm (was 523mm with Spax on Rear):
Image

Rear Right - 553mm (was 533mm with Spax on Rear):
Image

Thus the H&Rs raised the rear ~2 cm. For the record, as you can see in the Official Ride Height Thread, Vlad is at ~550mm in the rear with the exact same setup. Pretty conclusive evidence that H&R Springs + Bilstein 6-Perch Sport struts gets you ~550mm height in the rear when using the top perch.

I still want another ~2cm of height in the rear, FWIW.
Bonsaibacker wrote: Oct 15, 2020 8:03 AM Curious what you prefer about the H&R springs over the Spax.
First: Ride height (see above)
Second: The H&R are progressive and thus do not bottom out as easily.
Forth: Blue is my favorite color.

So, on to the fronts...

First, thanks again Sam and Sam's Dad:
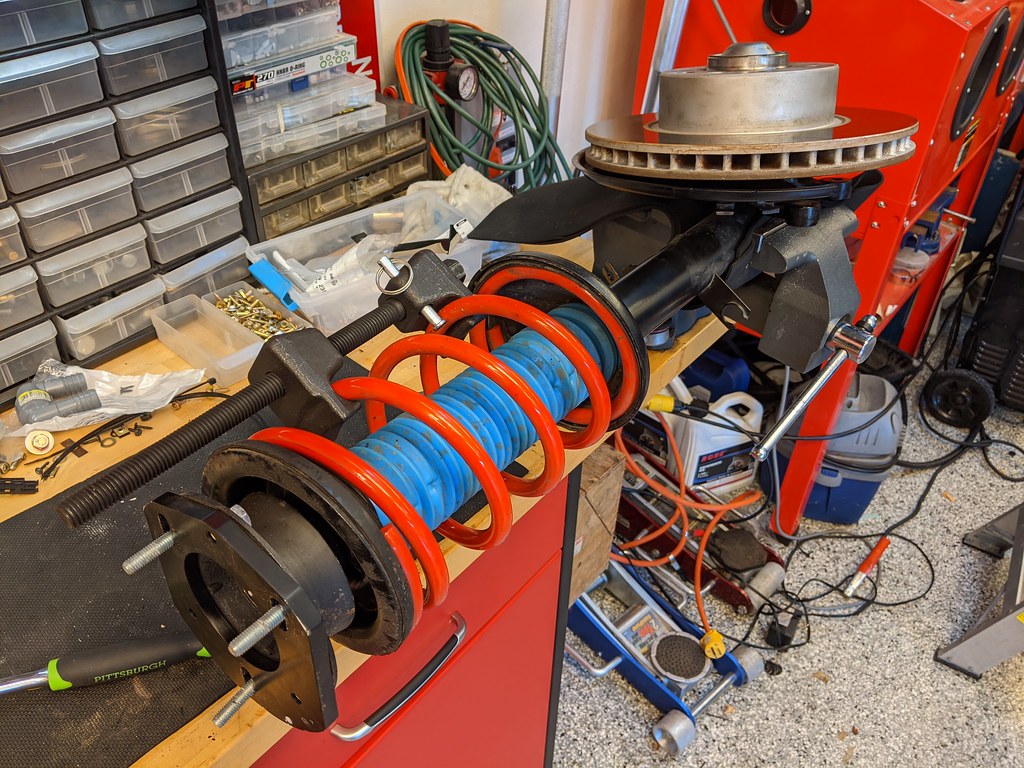
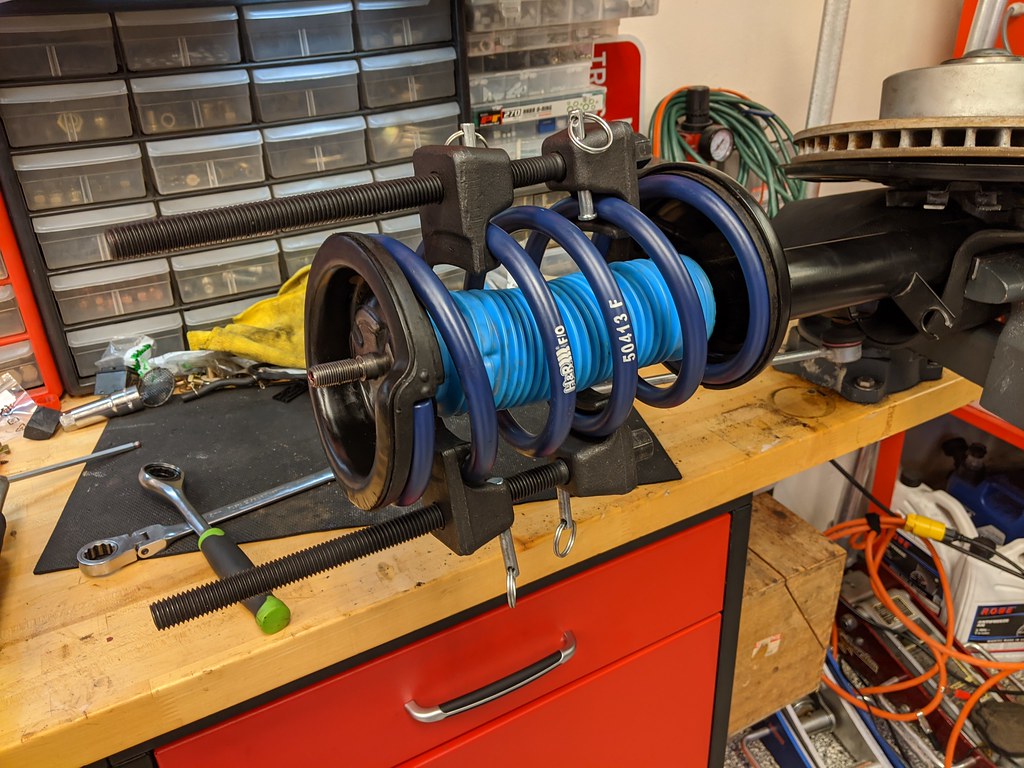
Image

Image

I choose to remove these by undoing the three bolts on the base of the strut. There was some discussion about how it's possible to swap springs by only unbolting the top of the strut, but the consensus was you'd only want to do that if you didn't care about your fenders.
Image

Image

Image

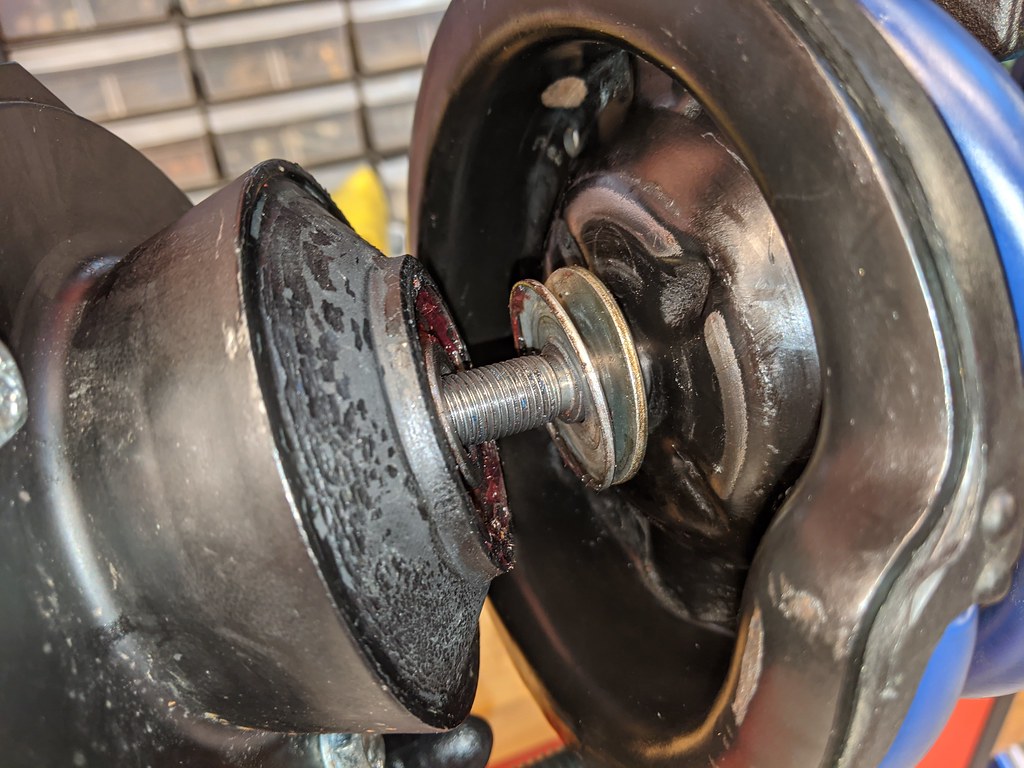
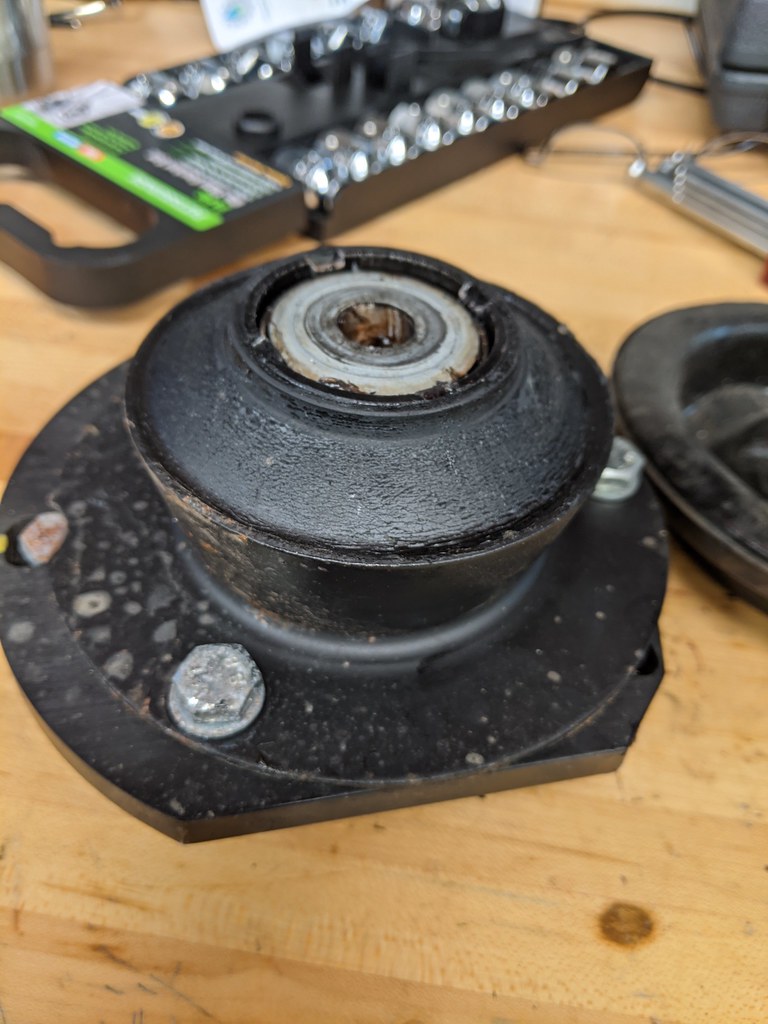
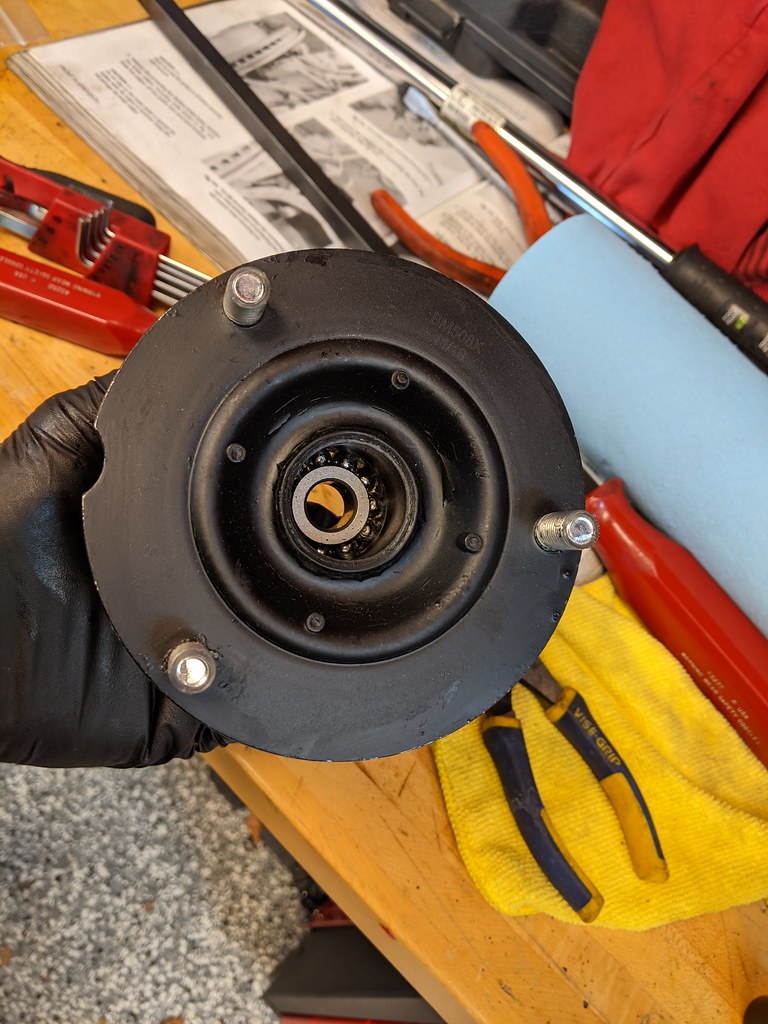
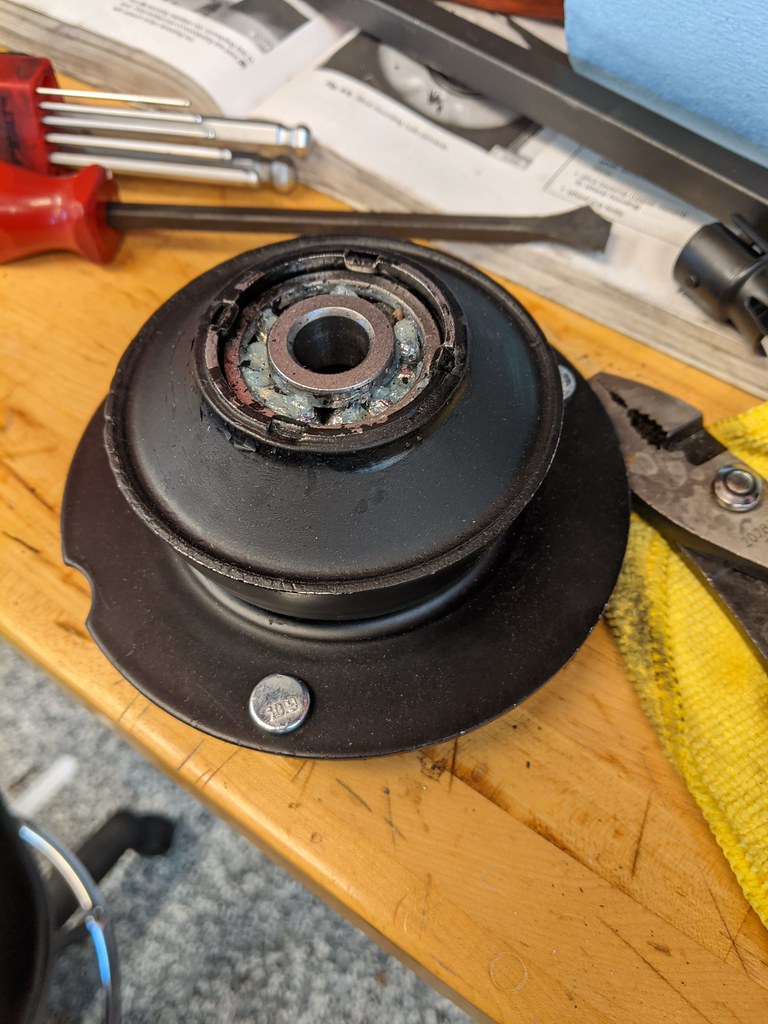
Both struts have very loosey-goosey strut mounts. They spin nice and free, and I don't get any growl/grind when turning, but there's quite a bit of wobble. Multiple good folks, including The Oracle of the Desert say "They all do that". So while it annoys me greatly, and while I'm not sure whether these are the originals or not I'm not going to replace them. This is the correct ordering of the washer and grease shield.

BTW. I did clean and regrease.
Image

These are the Ireland Engineering camber adjustment plates.
Image

I have the KMac "Stage 1" kit on Vlad and Minerva. I don't love how these IE plates adjust (and neither does my alignment guy). He does like the KMac plates.

In a chat last night, I came to know about the Vorshag and Ground Control kit, which both look to be made much nicer than the KMac kit. I briefly considered stalling this project to order a set of the GCs. But in the end, I like the fact that the IE kit adds ~3/8" of ride height in the front and to leave well-enough-alone. Also, in-reality, with stock spring diameter you can't get much camber adjustment anyway.

I hope to finish up this afternoon.

Image
muleskinner
Posts: 1340
Joined: Sep 08, 2007 11:17 AM
Location: John Graham ATL

Re: Maytag: The Alpine '87 529i

Post by muleskinner »

Come on now....this is a family website, damnit.

Image
tig
Posts: 9311
Joined: Mar 18, 2013 6:25 PM
Location: Durango
Contact:

Re: Maytag: The Alpine '87 529i

Post by tig »

Got the front done last night.

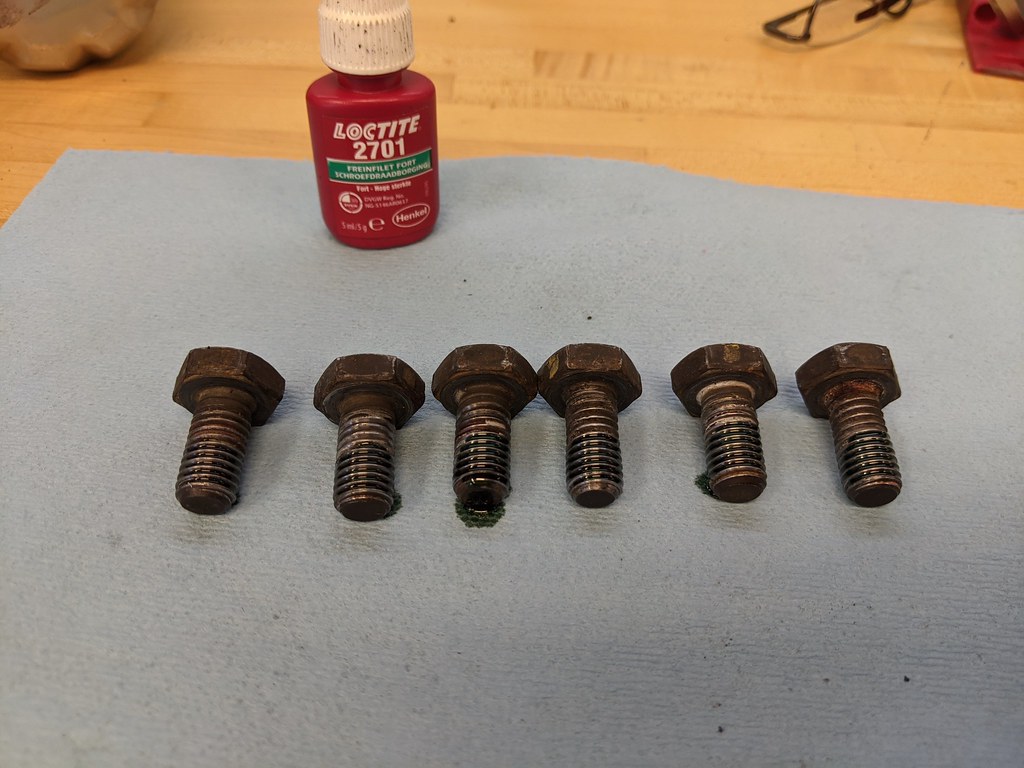
I somehow have three bottles of 2701. This is equivalent to 270 except it fluoresces.
Image

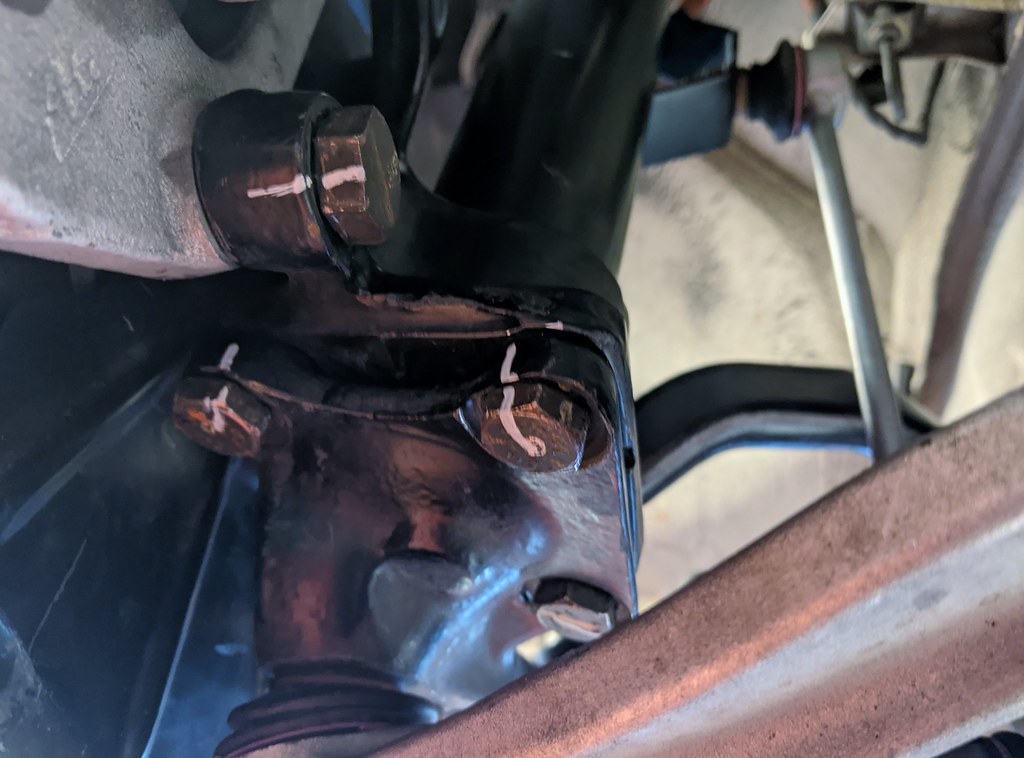
I like to use a paint pen to ensure these puppies don't ever move.
Image

Image

Image

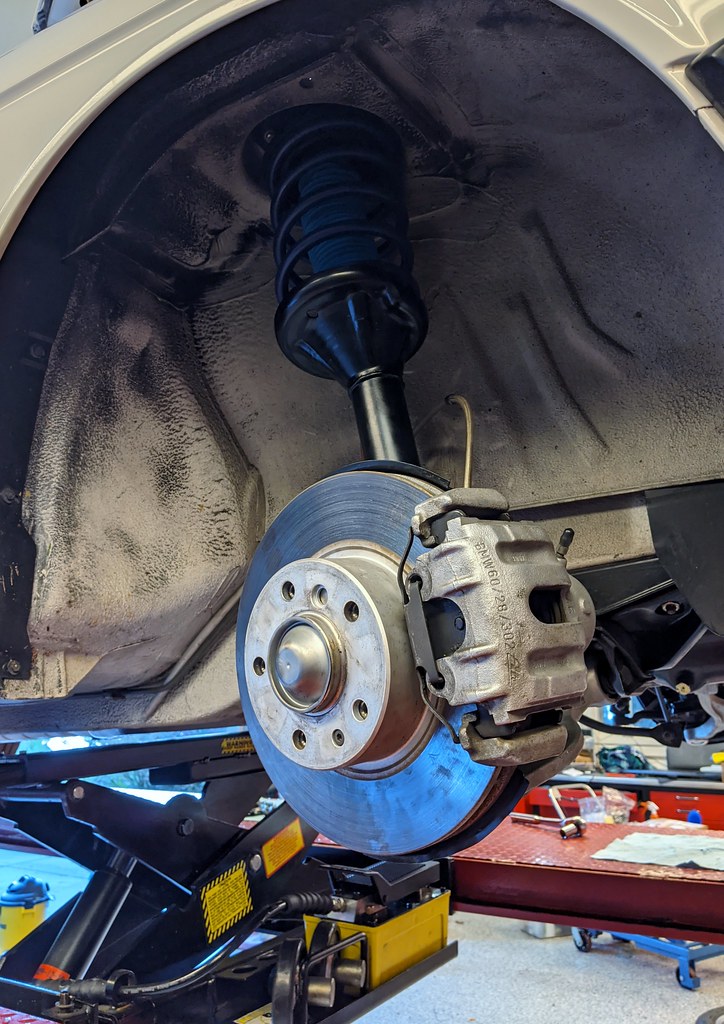
Front now measures 585mm.

Image

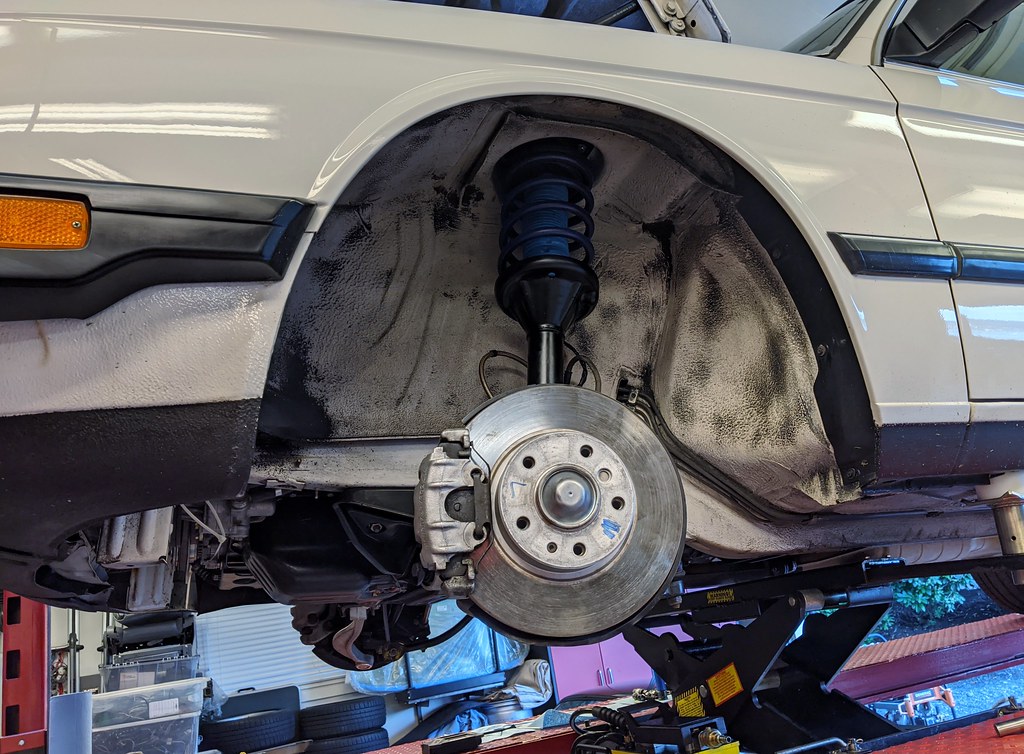
Here's how she sits; I'm hoping it settles a bit because with the IE camber plates, I am afraid the front is TOO high. If it doesn't settle then I'm ditching the camber kit (which, as noted above) is not really doing much anyway.

Image
Seeker
Posts: 67
Joined: Jul 11, 2020 9:52 PM
Location: 90501

Re: Maytag: The Alpine '87 529i

Post by Seeker »

cek wrote: Oct 16, 2020 10:26 AM Got the front done last night.

I somehow have three bottles of 2701. This is equivalent to 270 except it fluoresces.
Image

I like to use a paint pen to ensure these puppies don't ever move.
Image

Image

Image

Front now measures 585mm.

Image

Here's how she sits; I'm hoping it settles a bit because with the IE camber plates, I am afraid the front is TOO high. If it doesn't settle then I'm ditching the camber kit (which, as noted above) is not really doing much anyway.

Image
From a 2014 post of yours... “I have NO plans to change up the suspension”

Funny how time changes things, lol.
tig
Posts: 9311
Joined: Mar 18, 2013 6:25 PM
Location: Durango
Contact:

Re: Maytag: The Alpine '87 529i

Post by tig »

Seeker wrote: Oct 18, 2020 5:46 PM From a 2014 post of yours... “I have NO plans to change up the suspension”

Funny how time changes things, lol.
I also have no plans for dinner tonight.
e28Sean
Posts: 990
Joined: Nov 23, 2007 2:07 PM
Location: Greenville, SC
Contact:

Re: Maytag: The Alpine '87 529i

Post by e28Sean »

cek wrote: Sep 04, 2018 10:51 PM
e28Sean wrote: it seems we have similar tastes...
I'm not so sure. Did you happen to read the part above where mentioned my extremely deep hatred of pearl beige?
And I have a deep hatred of black interiors. That said, this:
cek wrote: Image
... looks amazing!
dsmith
Posts: 2362
Joined: Jan 20, 2012 12:52 AM
Location: Charleston, SC

Re: Maytag: The Alpine '87 529i

Post by dsmith »

cek wrote: Oct 16, 2020 10:26 AM Got the front done last night.

I somehow have three bottles of 2701. This is equivalent to 270 except it fluoresces.
Image
Probably leftover from CV boot kits. Like a lifetime supply.
tig
Posts: 9311
Joined: Mar 18, 2013 6:25 PM
Location: Durango
Contact:

Re: Maytag: The Alpine '87 529i

Post by tig »

I knew, once I saw the profile photo I posted above, that the extra 3/8" up front from the Ireland Engineering camber kit was going to drive me nuts.

So I ordered a set of front strut mounts (Sach). Yesterday I pulled the front suspension apart and replaced them. It's amazing how much faster you can do something the 2nd time..

Not sure if I noted this above, but the strut mounts that were on the car were very loosey-goosey once installed in the struts. I don't know what brand they were. But these Sach's units are MUCH tighther; they actually feel correct where the other ones really felt wrong.
Image

Image

Image

Much better (and it will settle some):
Image

(Before):
Image

As you can see it's now at 577mm (was 585mm) which is as close to 3/8" difference as you can get eyeballing a tape measure in photos.
Image

My shakedown drive was not enough to really determine if the looseness I've always felt up front was gone. I'll report back...

Note Vlad in background. He's back in WA! Since I drove Maytag & Vlad back to back yesterday for the first time in years the differences in how they drive is more pronounced. Vlad just feels more solid and heavier (as he should). I do think I can tell the difference between the 19mm F sway bar in the Eta vs. the 21mm F in the 535is.
Tiit
Posts: 290
Joined: Oct 06, 2017 6:27 AM
Location: Canberra

Re: Maytag: The Alpine '87 529i

Post by Tiit »

Have you considered adding camber from below instead of strut tower? I don’t know if such offset spacers are available, but for bmw 2002 they look like this https://www.iemotorsport.com/product/of ... 13mm-2002/
This spacer is kind of needed Anyway, when suspension has been lowered.
Another possibility could be offset control arm bushings. If I had some spare time, I’d definitely try to fabricate something.

Also have you considered painting wheel wells black?
tig
Posts: 9311
Joined: Mar 18, 2013 6:25 PM
Location: Durango
Contact:

Re: Maytag: The Alpine '87 529i

Post by tig »

Tiit wrote: Oct 27, 2020 3:08 AM Have you considered adding camber from below instead of strut tower? I don’t know if such offset spacers are available, but for bmw 2002 they look like this https://www.iemotorsport.com/product/of ... 13mm-2002/
This spacer is kind of needed Anyway, when suspension has been lowered.
Another possibility could be offset control arm bushings. If I had some spare time, I’d definitely try to fabricate something.
Not really sure this car needs camber adjustment. But if, next time I get it aligned we think it will help, I might give those a try. Thanks.
Tiit wrote: Oct 27, 2020 3:08 AM Also have you considered painting wheel wells black?
No. I just need to clean them better.
tig
Posts: 9311
Joined: Mar 18, 2013 6:25 PM
Location: Durango
Contact:

Re: Maytag: The Alpine '87 529i

Post by tig »

Image
Adam W in MN
Posts: 5053
Joined: Feb 12, 2006 12:00 PM
Location: Don't waste my motherf***in' time!
Contact:

Re: Maytag: The Alpine '87 529i

Post by Adam W in MN »

e28Sean wrote: Oct 19, 2020 7:44 AM
And I have a deep hatred of black interiors.
I have a love of black interiors and a loathing of tan interiors. Case in point is the worst combo ever is the e34 in green over tan.
Bonsaibacker
Posts: 967
Joined: Oct 26, 2017 3:36 PM
Location: Fleming Island FL

Re: Maytag: The Alpine '87 529i

Post by Bonsaibacker »

cek wrote: Oct 27, 2020 3:19 PM Image
Damn Charlie. That is a mic drop picture.
I have a love of black interiors and a loathing of tan interiors. Case in point is the worst combo ever is the e34 in green over tan.
Plus one Adam. I don't know why, but every car I loved had a black interior.
tig
Posts: 9311
Joined: Mar 18, 2013 6:25 PM
Location: Durango
Contact:

Re: Maytag: The Alpine '87 529i

Post by tig »

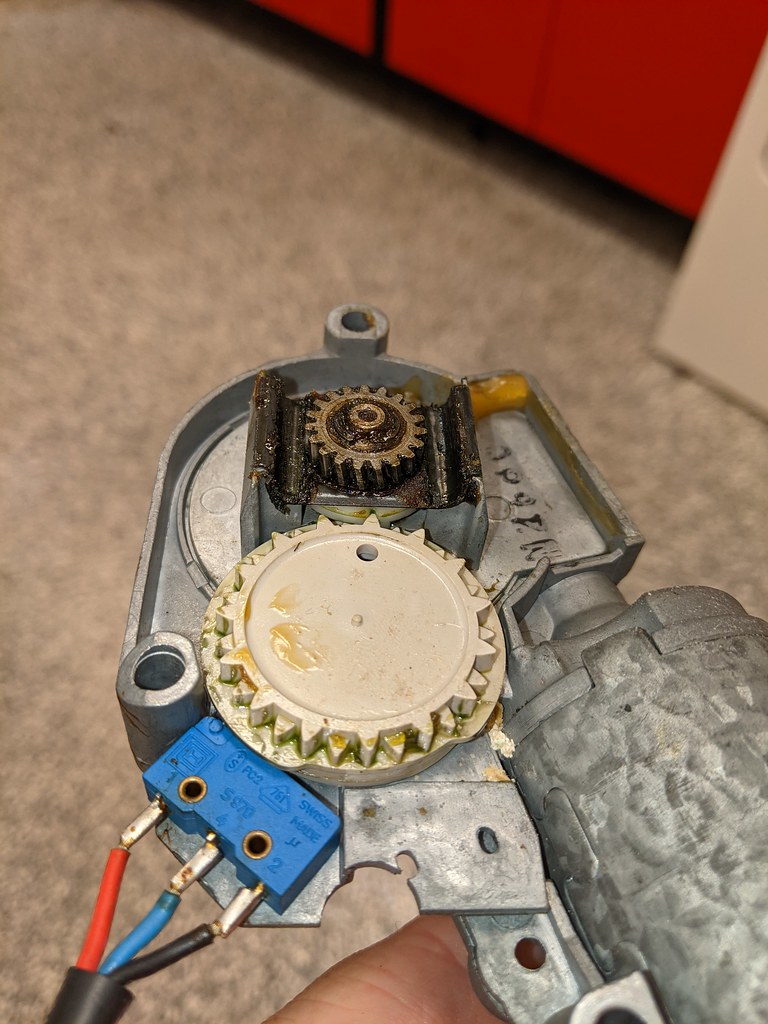
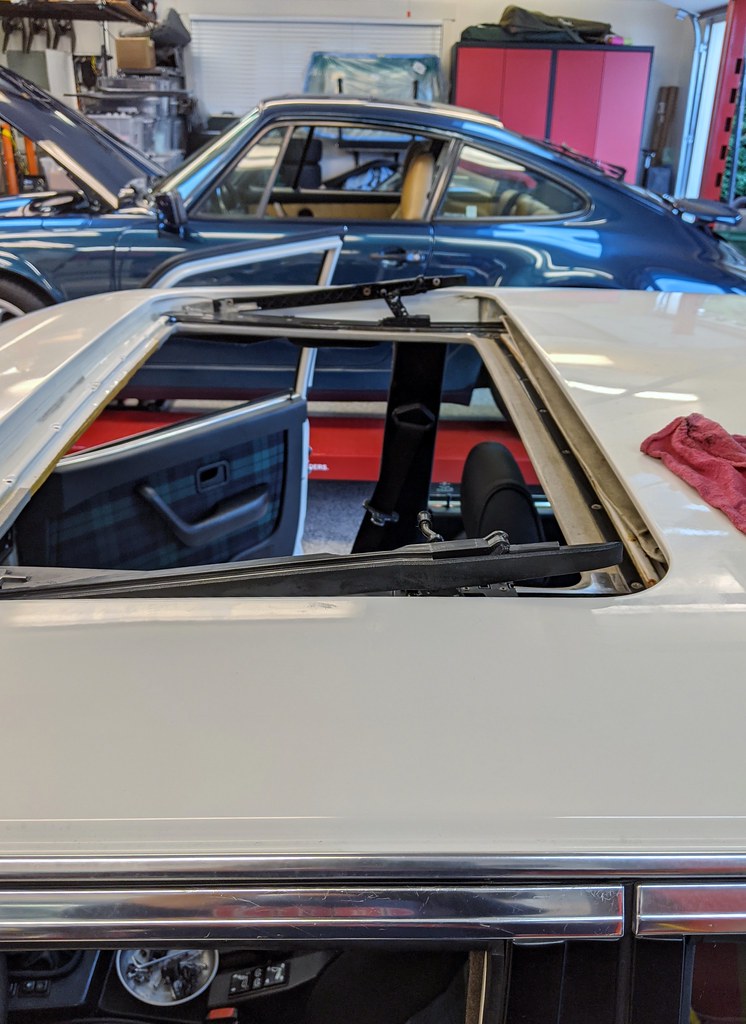
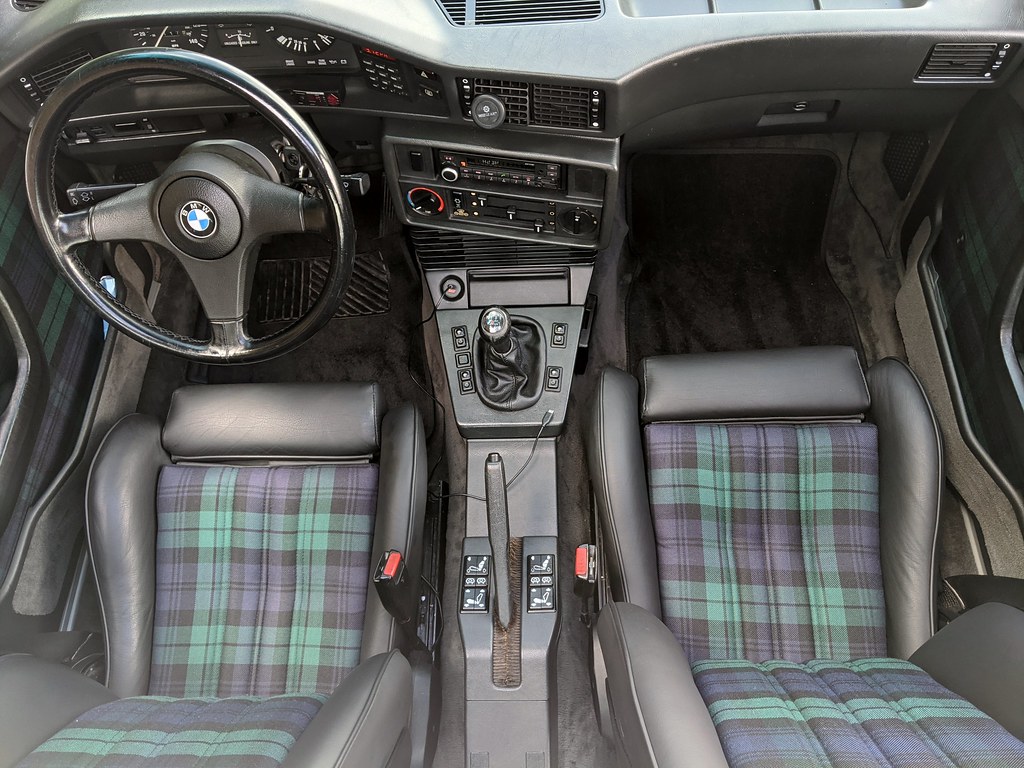
Maytag's sunroof has been whistling and the sunrroof gasket is old dry and looks original. In addition the sunroof has never operated quite right. When closing it, it stops just before 'going up', another press closes it correctly. Then it takes two more presses for it to raise into popup position. When going the other way, two presses are required to get it closed flush, then two more to get it to go all the way back.

I ordered new gaskets and spent some time trying to adjust the motor to see if I could get it to close properly before disassembling. After struggling with a similar issue on Minerva (where I had refurbished the motor/gearbox before ensuring it worked properly, leading me to believe *I* effed it up) I wanted to make sure the motor, as installed could be adjusted properly.

I am now 100% convinced this motor is f**ked similar to the one that I pulled out of Minerva. No matter what I do, following the instructions on how to adjust that Kohler provided, it behaves in this odd way. Looking at the mechanism I just can't comprehend what is wrong...it is possible the microswitch is somehow bad.
Image

I'm now ISO another motor/gearbox, but I have low confidence anyone knows for sure if the one they have actually works. Sucks these are NLA.

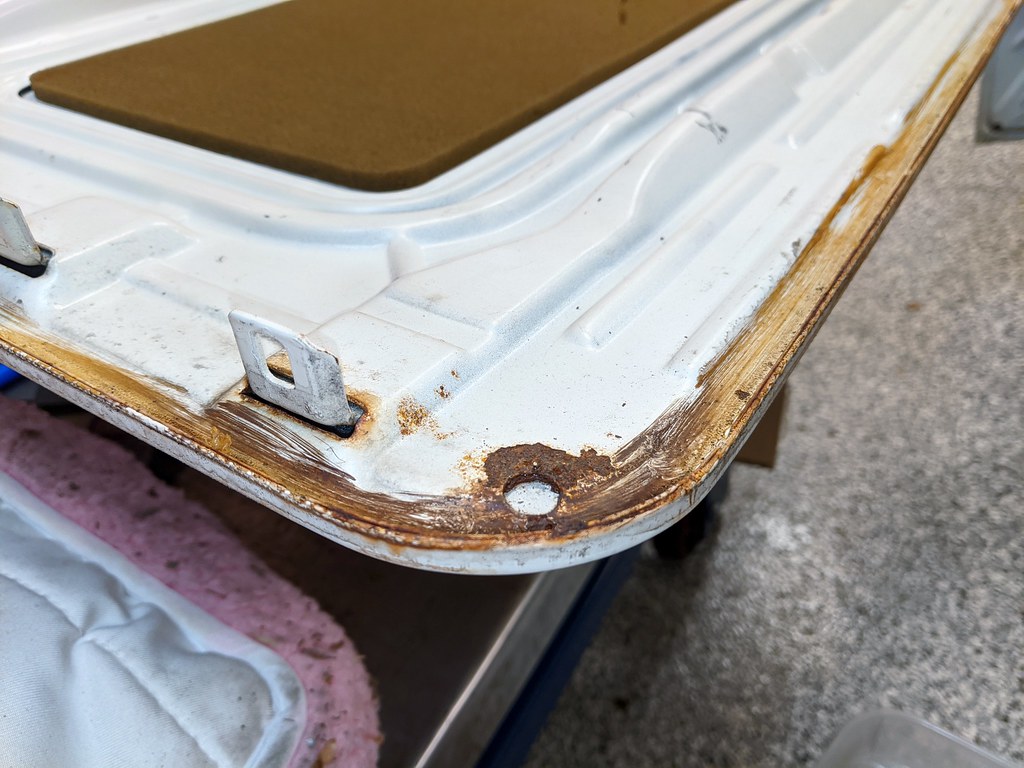
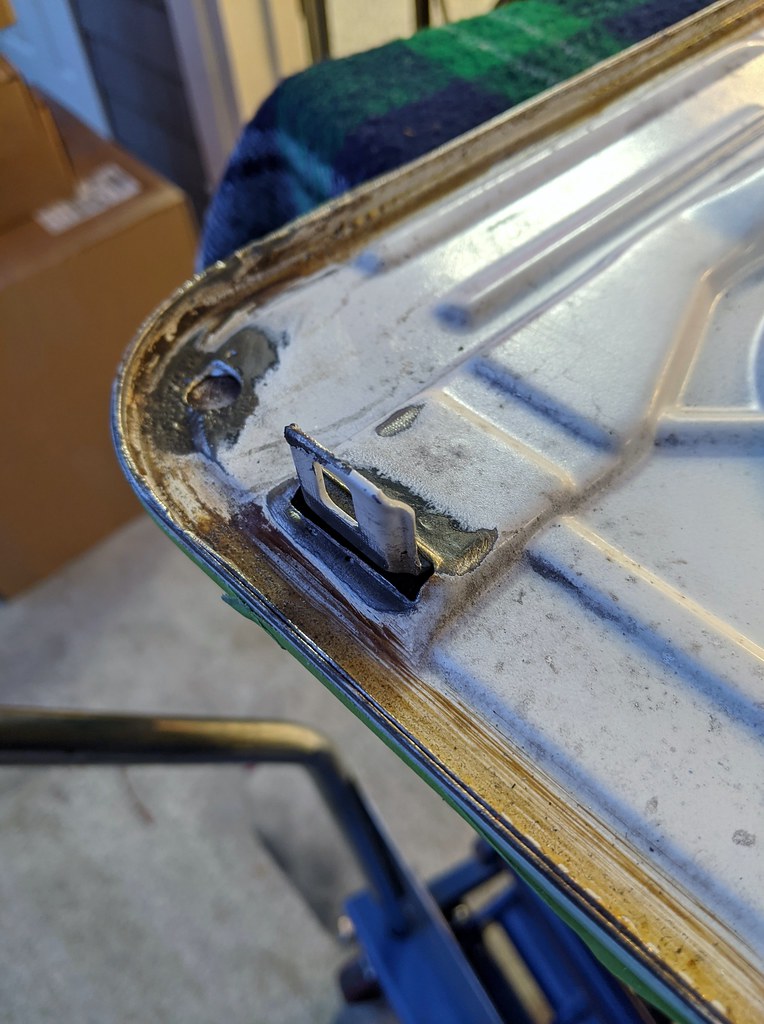
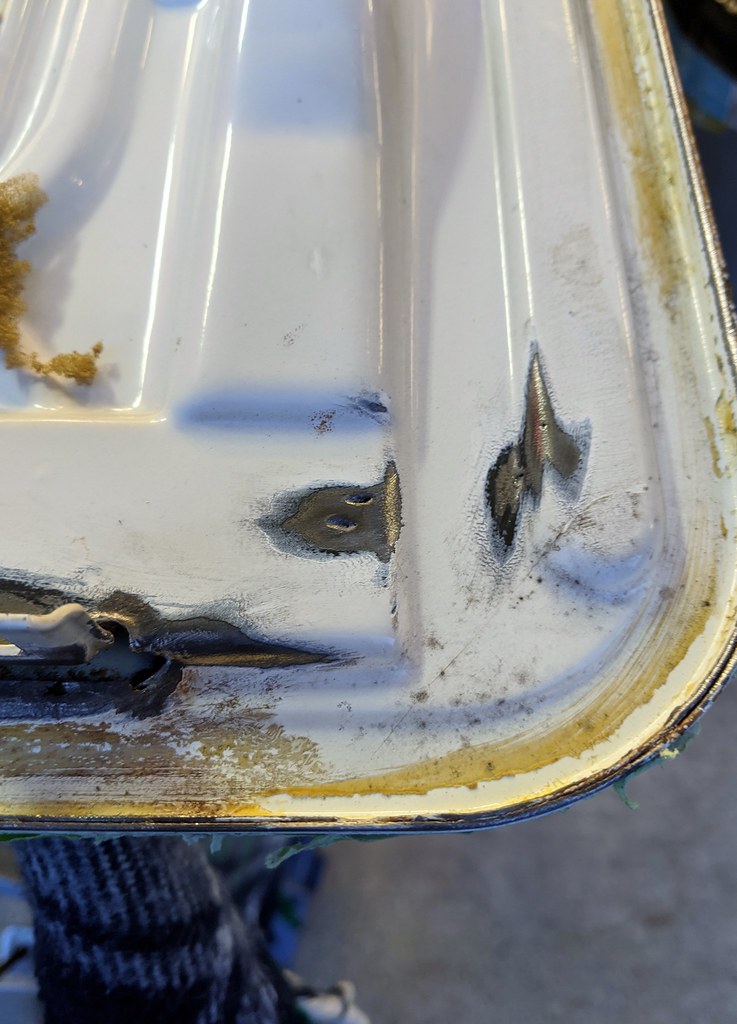
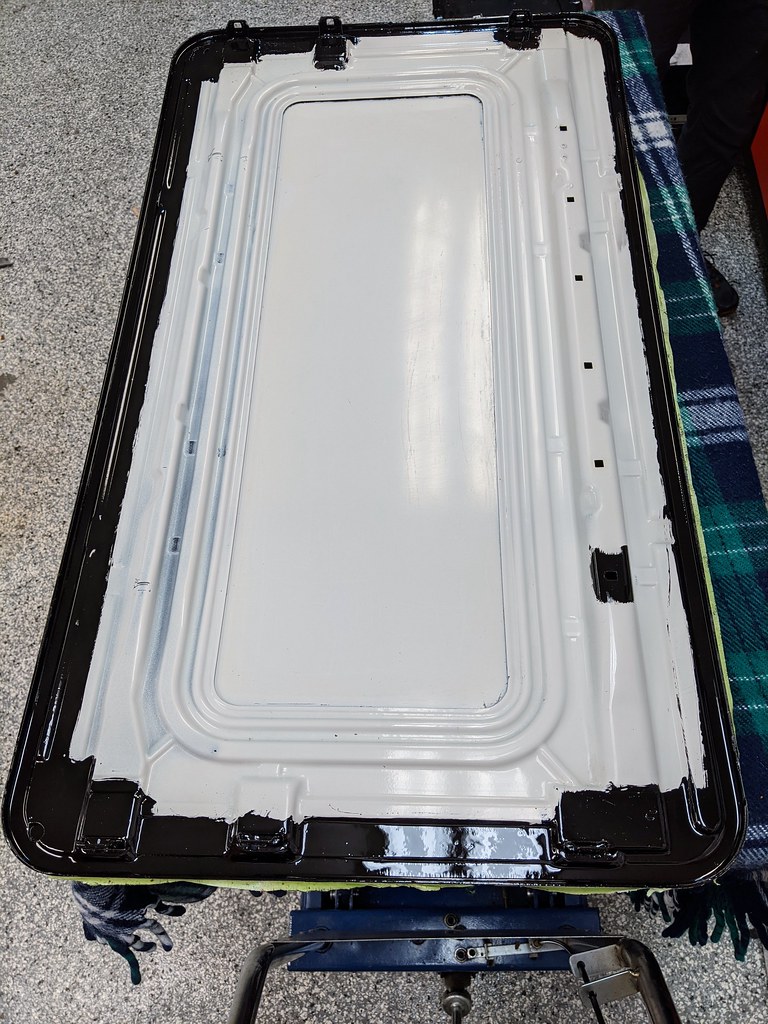
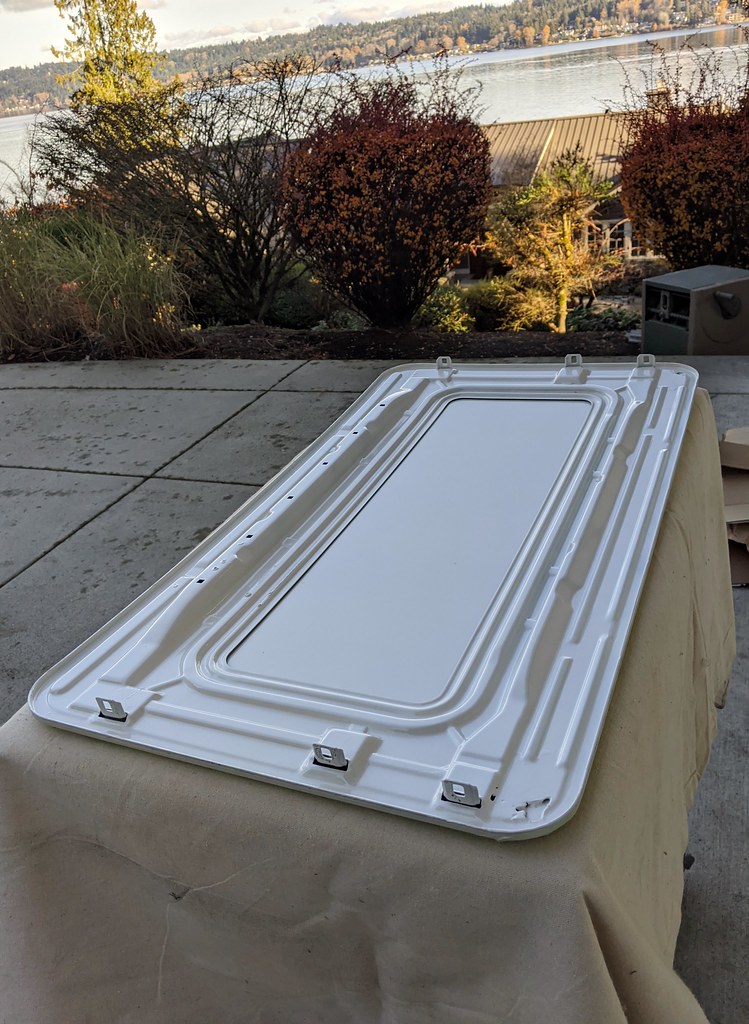
Anyway, I got the gasket and pulled the roof to install it. Of course this would not go easy, as I discovered rusr:
Image

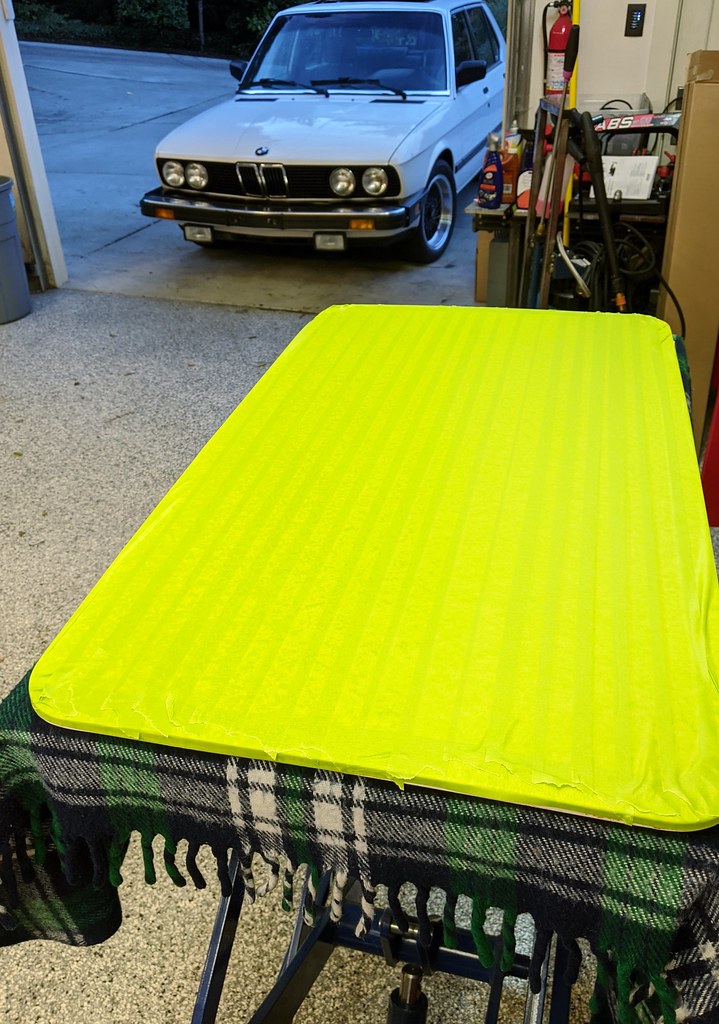
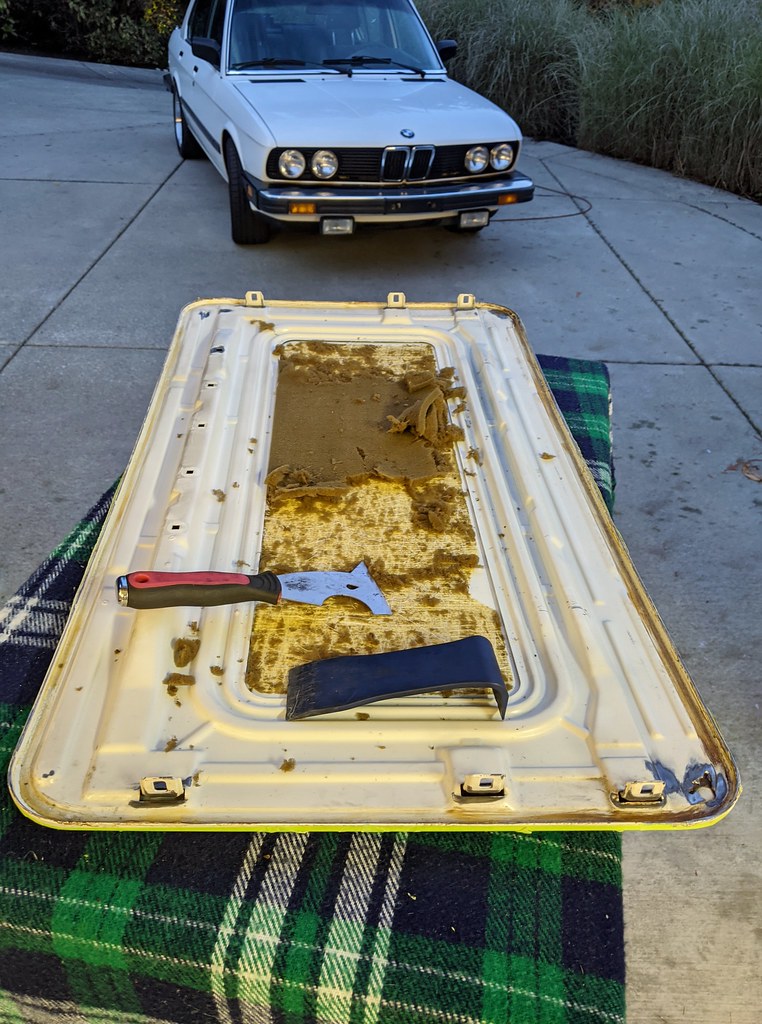
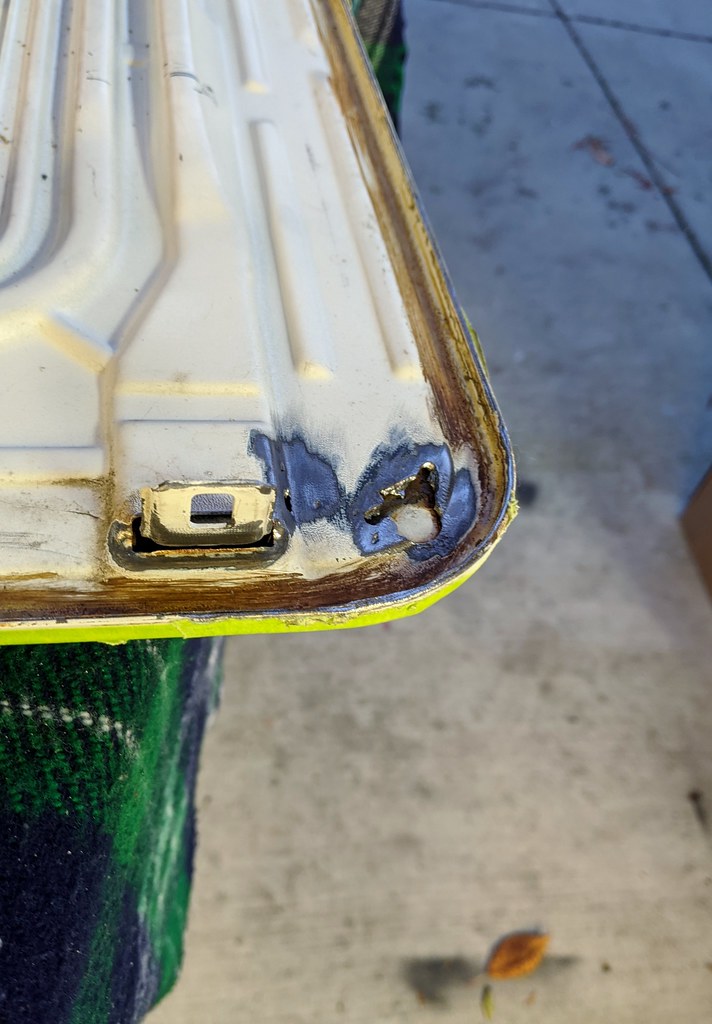
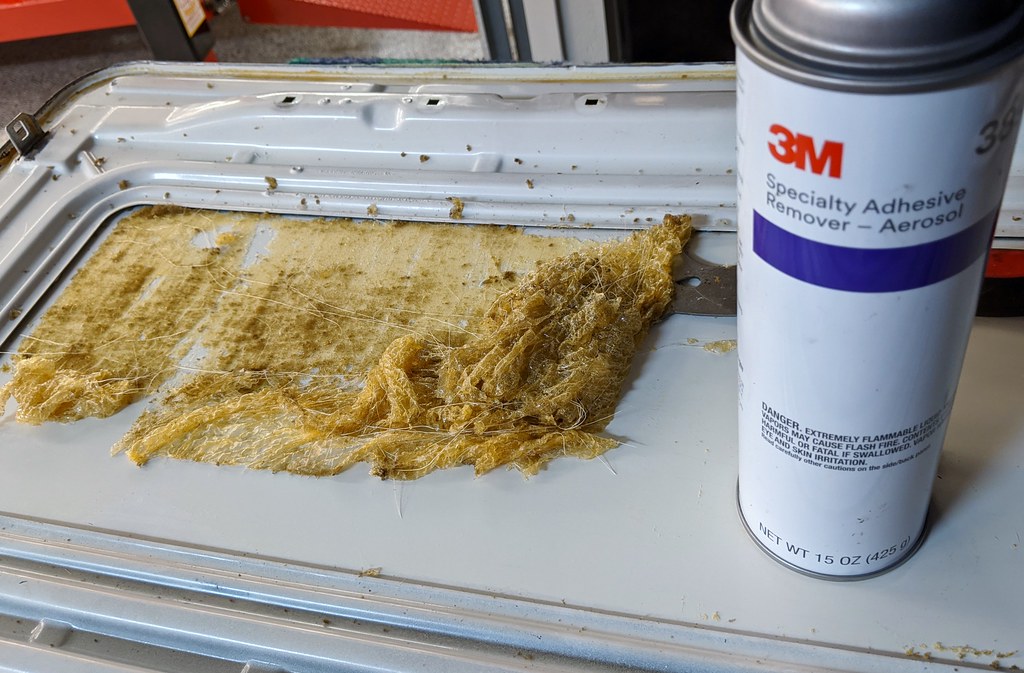
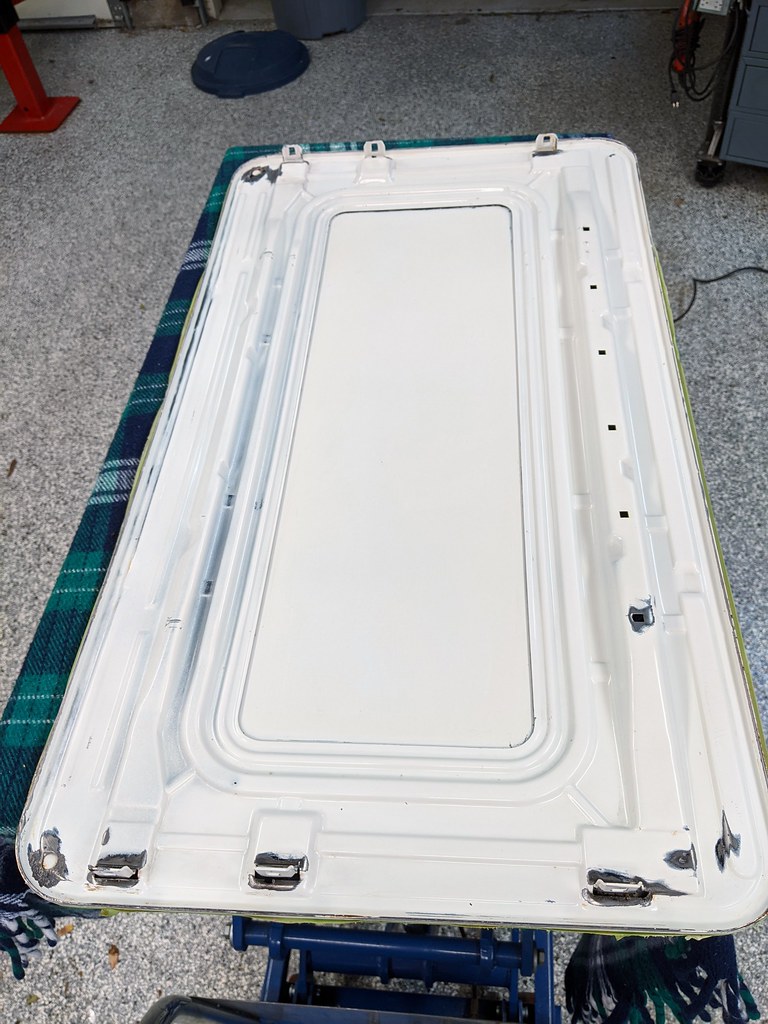
Not horrible, but there's no way I can put this back on the car like this. So...
Image

Image

Image

Image

Image

Image

Image

Image

Image

I pulled the mechanism apart and cleaned/inspected. I was pleased to find that this mechanism is in great shape. No cracks in the plastic or other parts that commonly fail. I greased it all up and re-installed it and it operates very smoothly.
Image

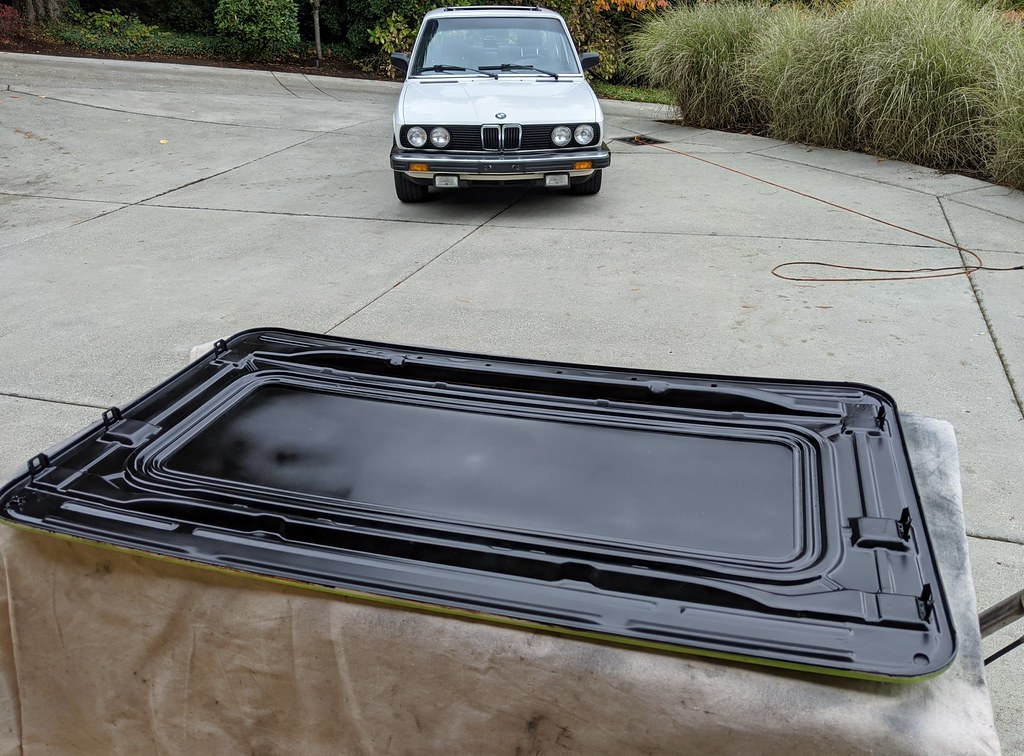
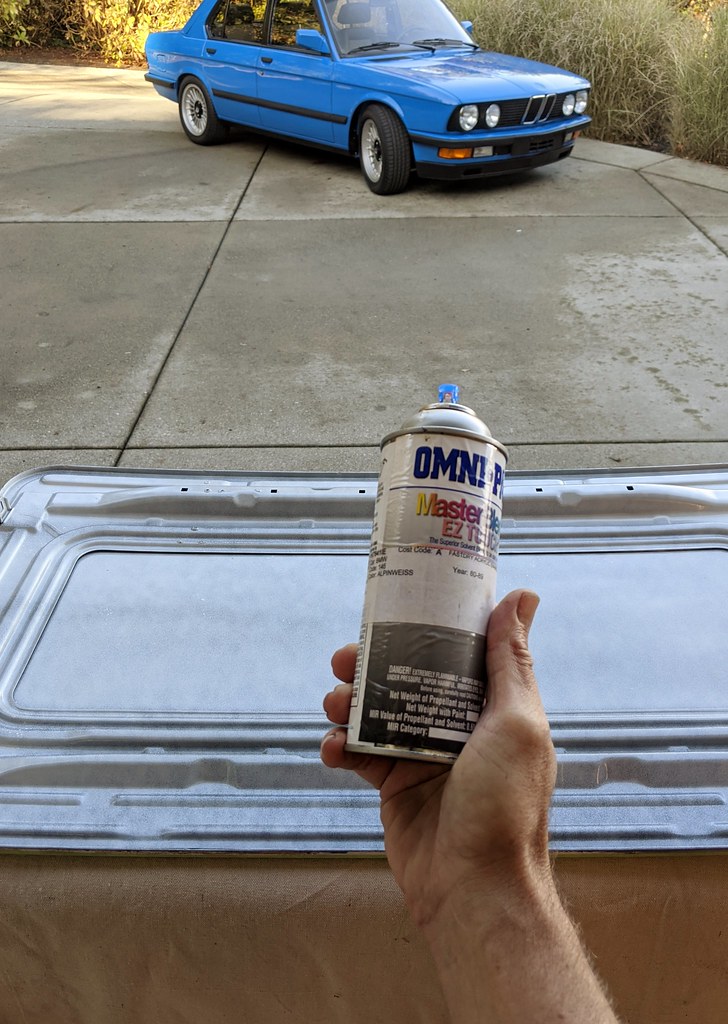
Geordi has graciously offered to send me a rattle can of Alpine White he has, so finishing this will likely happen next weekend...
tig
Posts: 9311
Joined: Mar 18, 2013 6:25 PM
Location: Durango
Contact:

Re: Maytag: The Alpine '87 529i

Post by tig »

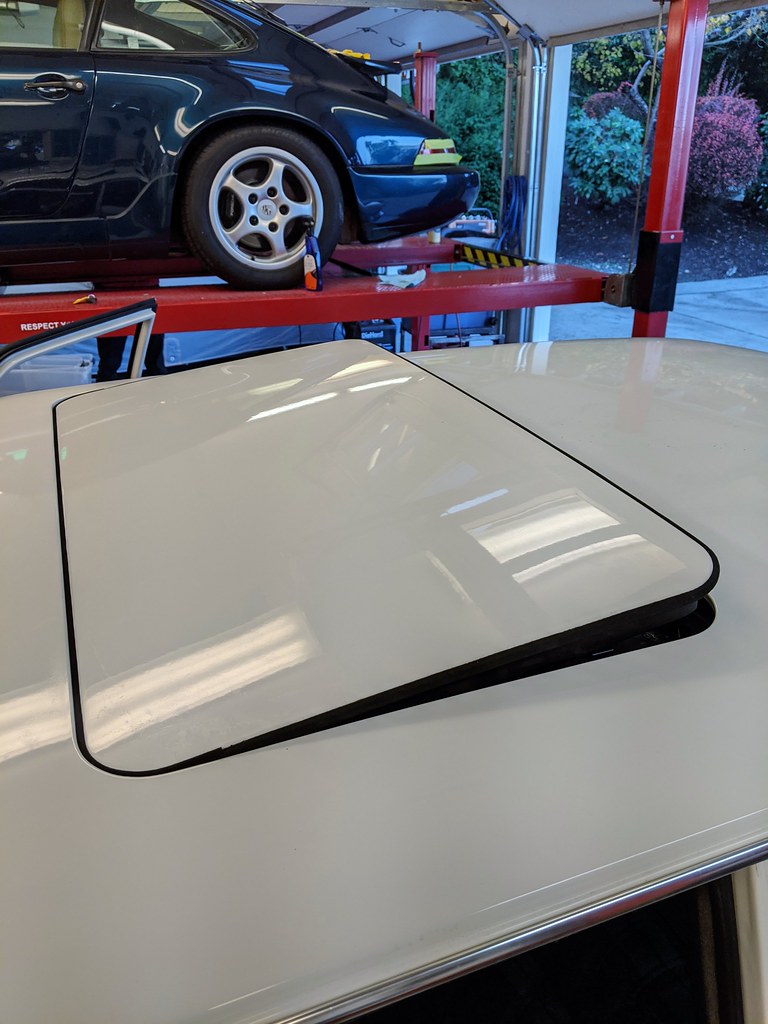
Thanks to @geordi I can haz some Alpenweiss.
Image

Image

Got 'er all back in with the new seal.

Image

The good:

The rusr is fixed.
The paint looks damn good.
No more whistle.
The mechanism works smoothly, quietly, and mostly stops where it's supposed to.

The bad:

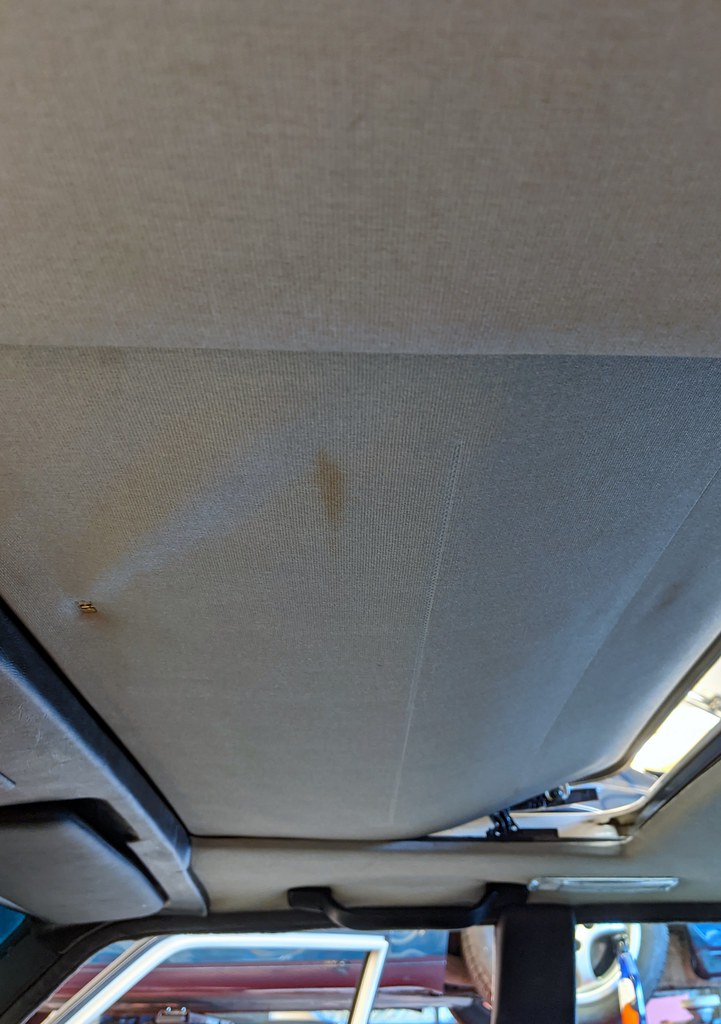
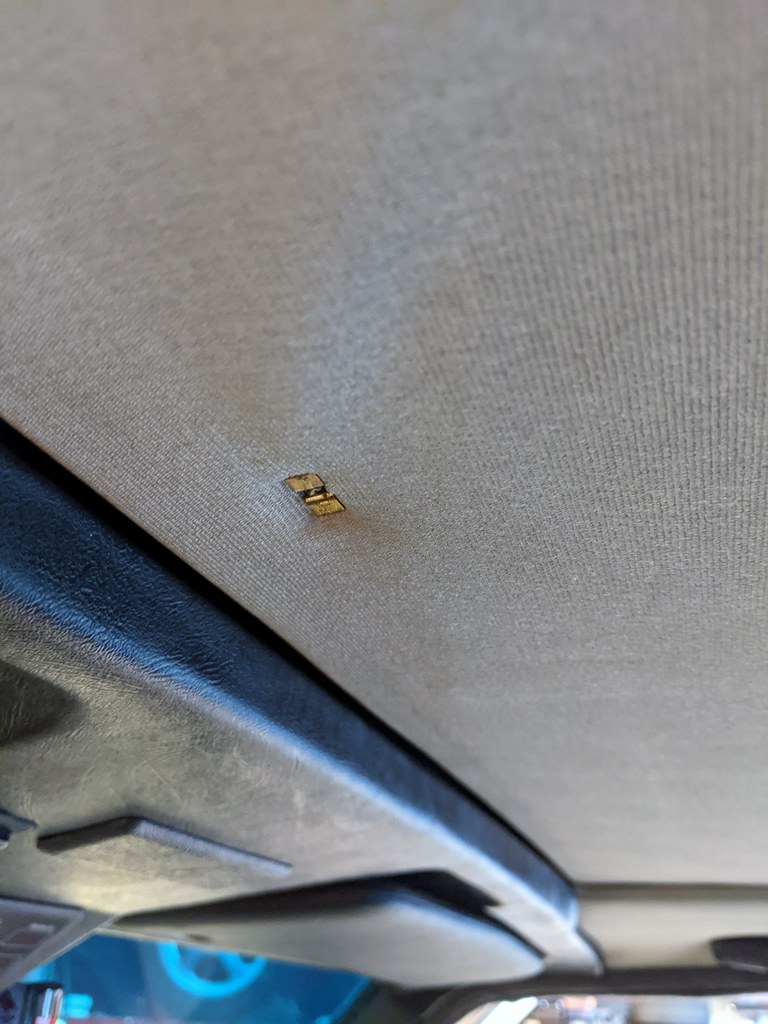
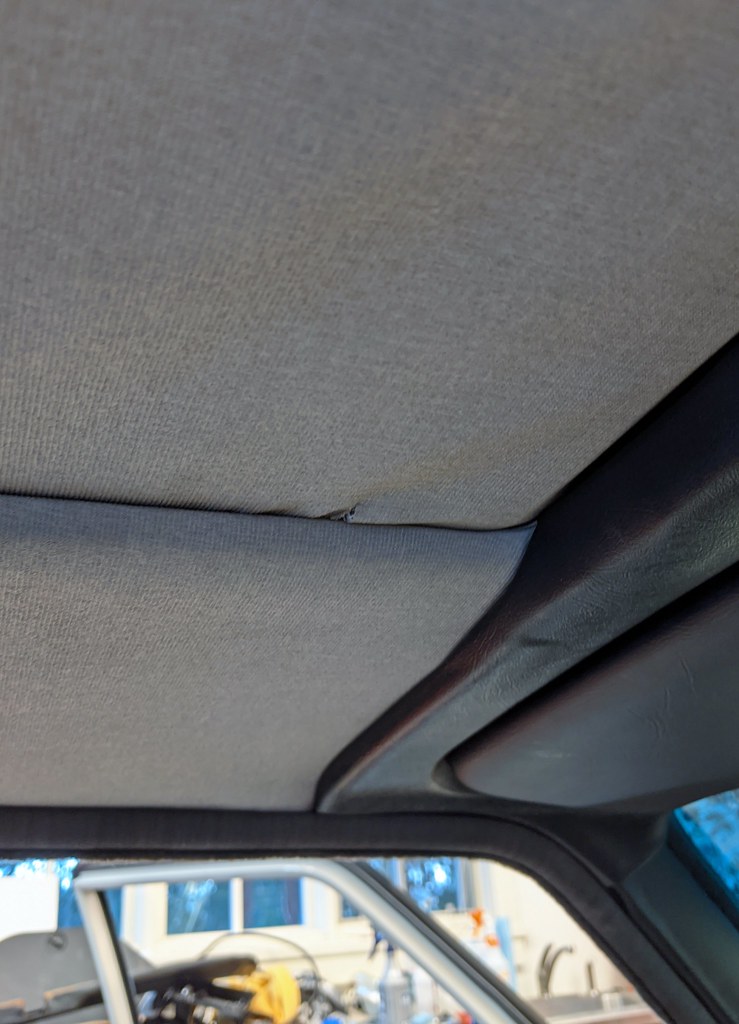
I fu*ked up the headliner material in two places. This is after removing the panel and really cleaning it too (bad stain that turned out to be excess glue from above that has soaked through; I didn't get it out).

First, when testing the panel going all the way back, I didn't have one of the clips snapped in. It got caught and poked its way through the fabric. I decided to install it visible to 'cover the hole' and to remind me every time I drive the car of my idiocy.

Image
Image

Second, during one test of closing the panel, the left edge didn't go *down* into the rail, but above it. I didn't notice because I was watching the other side. It ripped. This happened partially because I had removed the panel to clean the fabric (see above) and bent it a little. Sigh.

Image

Maytag needed a new headliner anyway. :roll:
Post Reply