Never-Ending Project e28 528e

Post your photos and videos here!
mnnguy
Posts: 57
Joined: Sep 07, 2016 1:34 AM
Location: Los Angeles

Never-Ending Project e28 528e

Post by mnnguy »

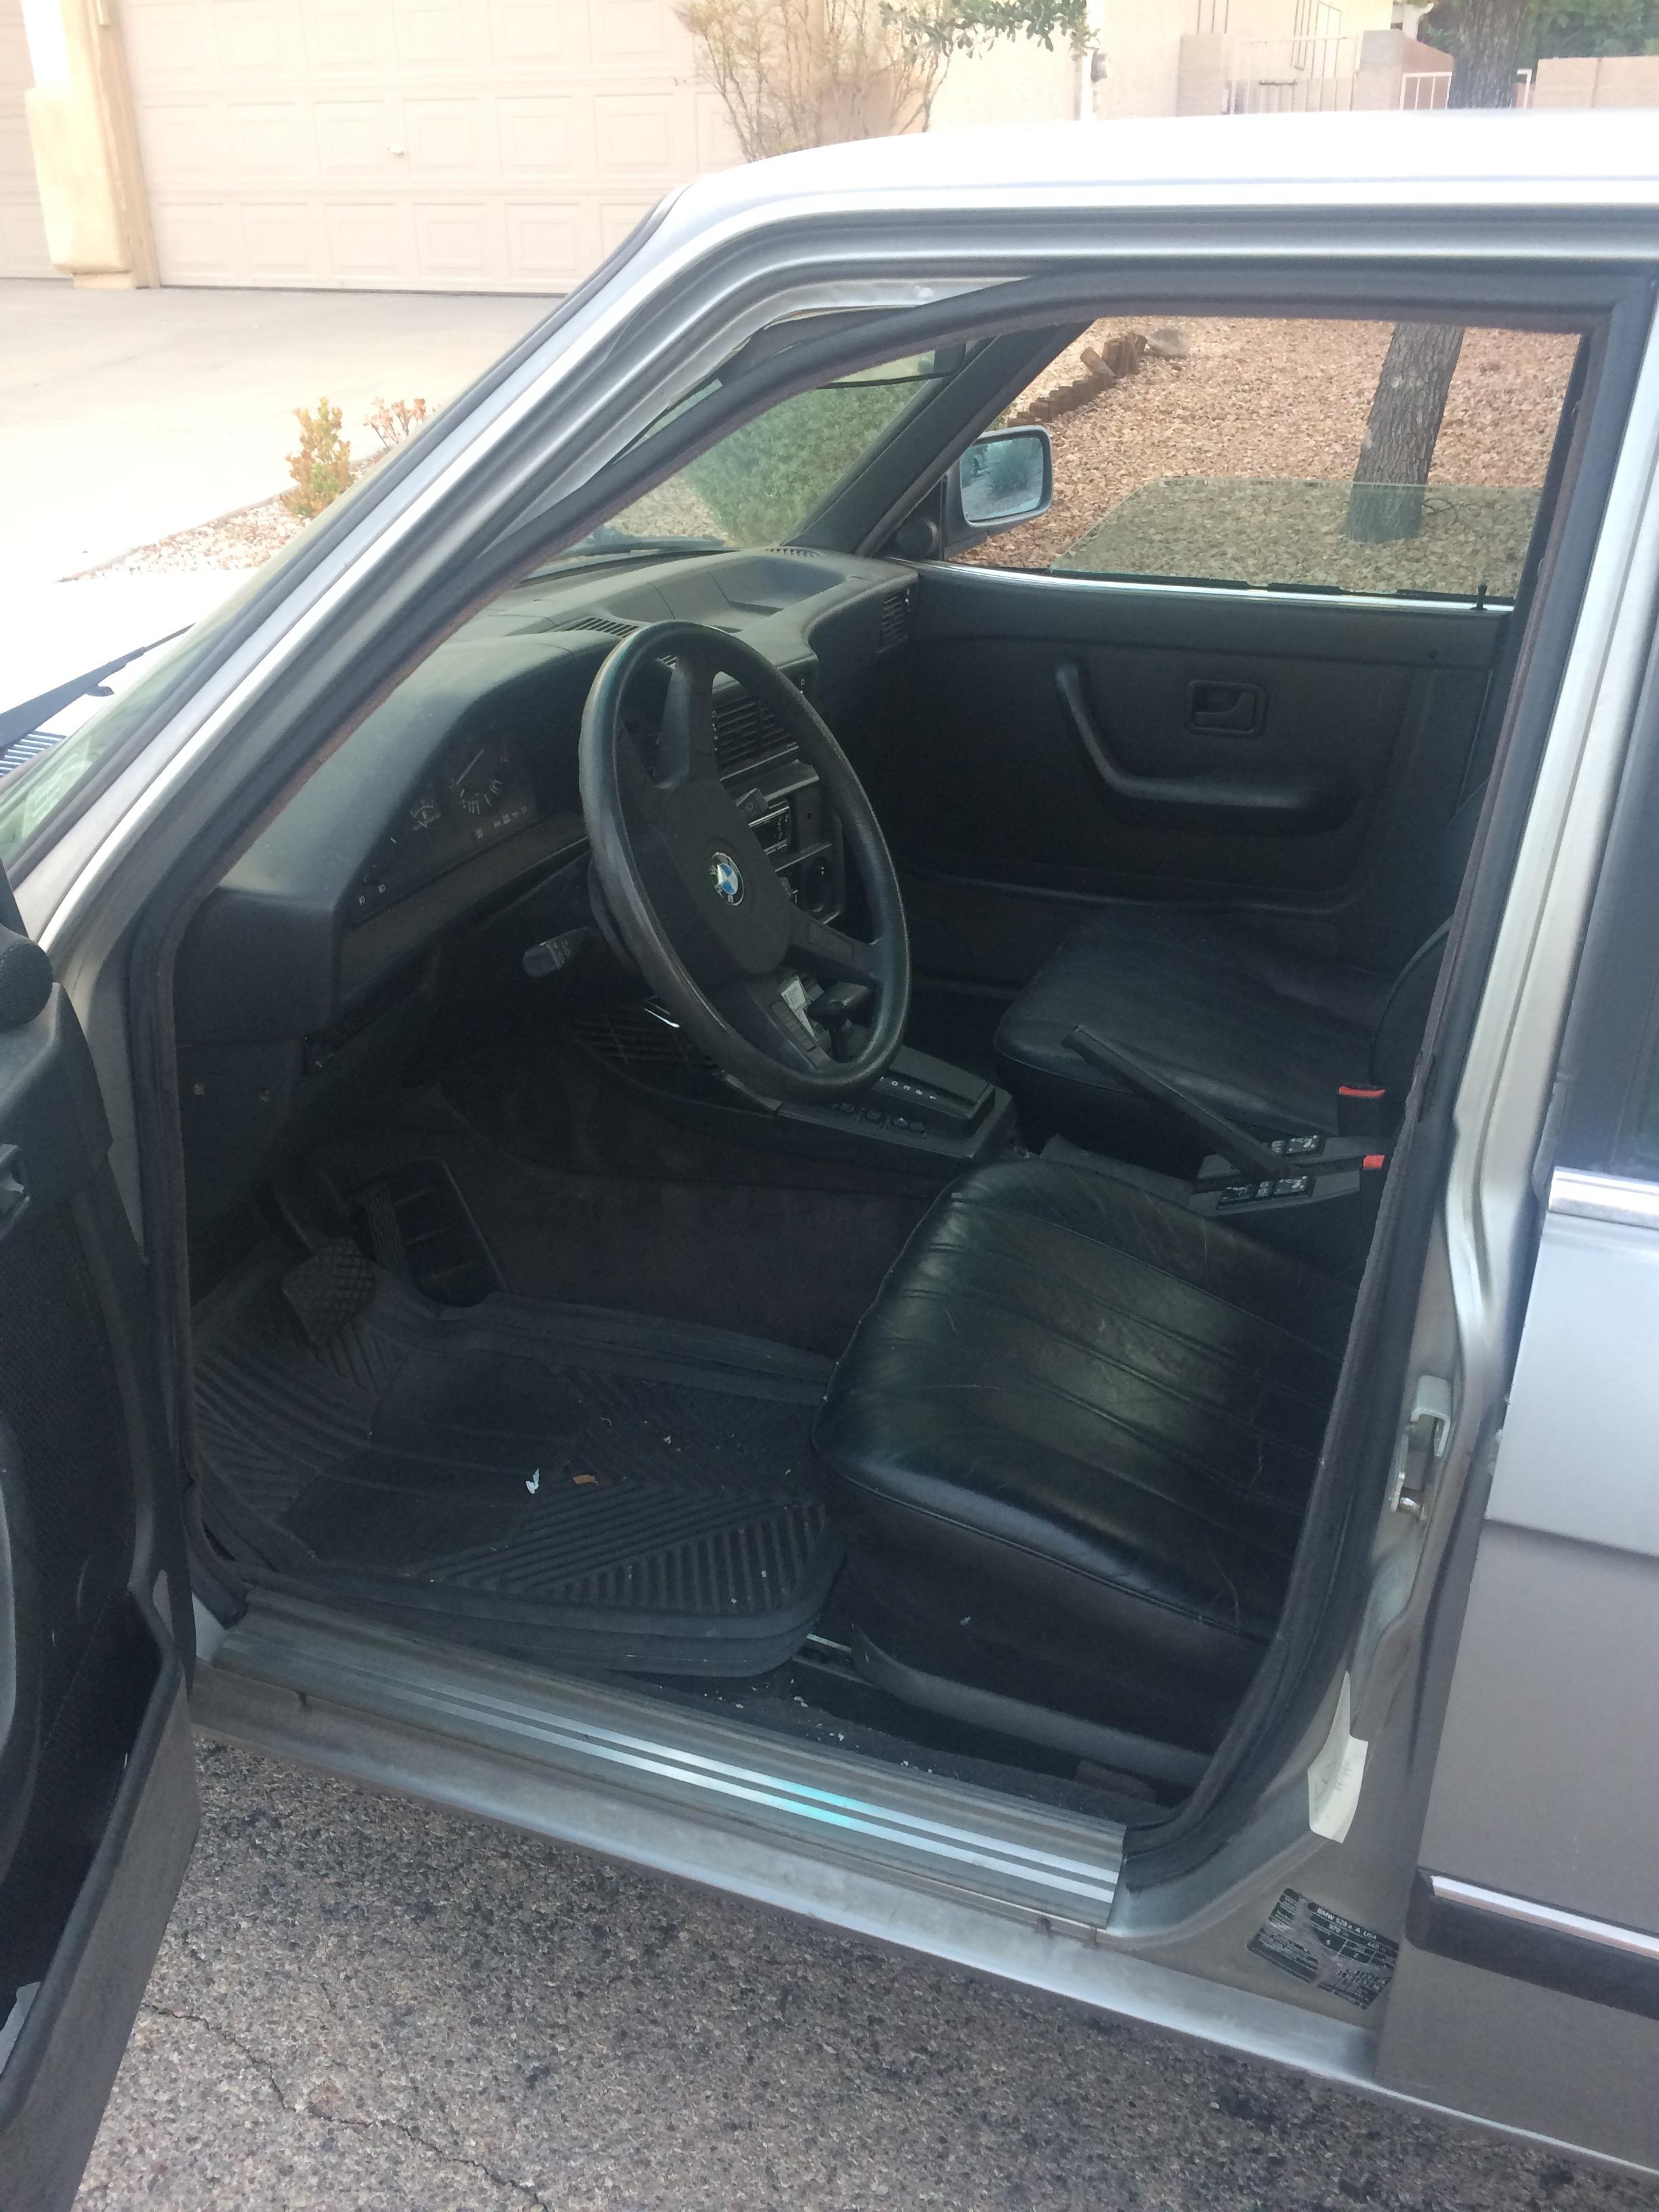
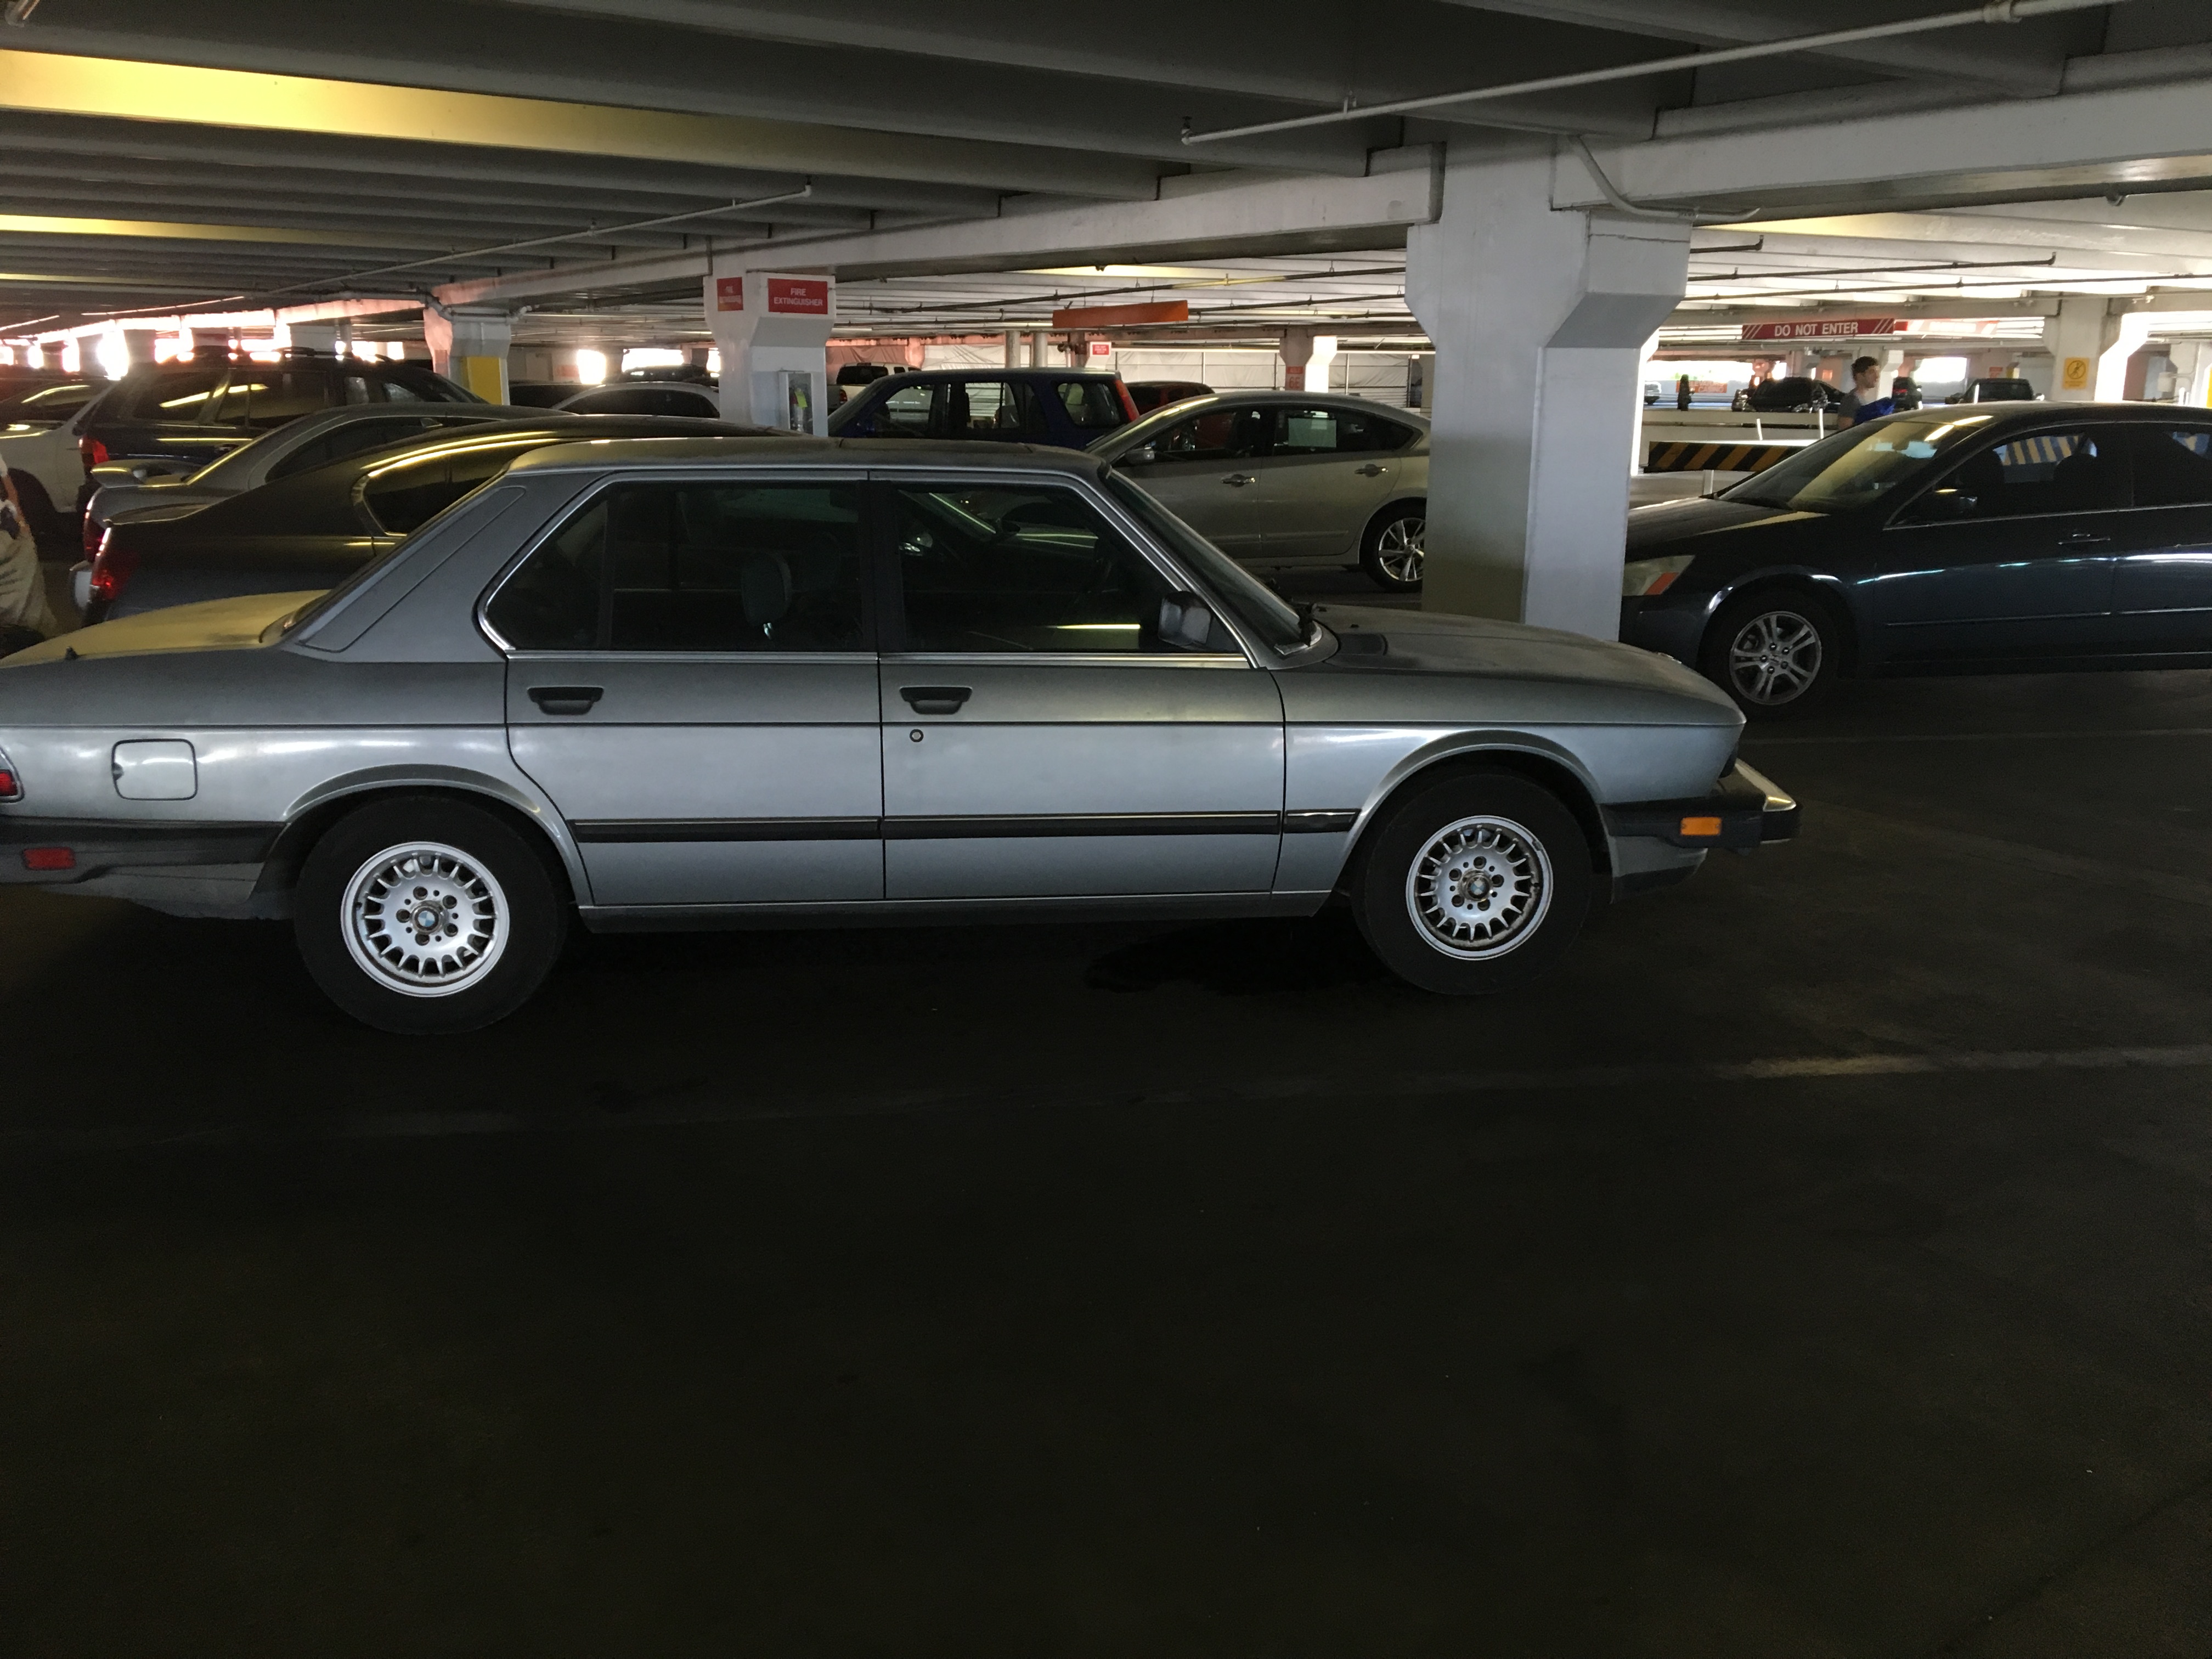
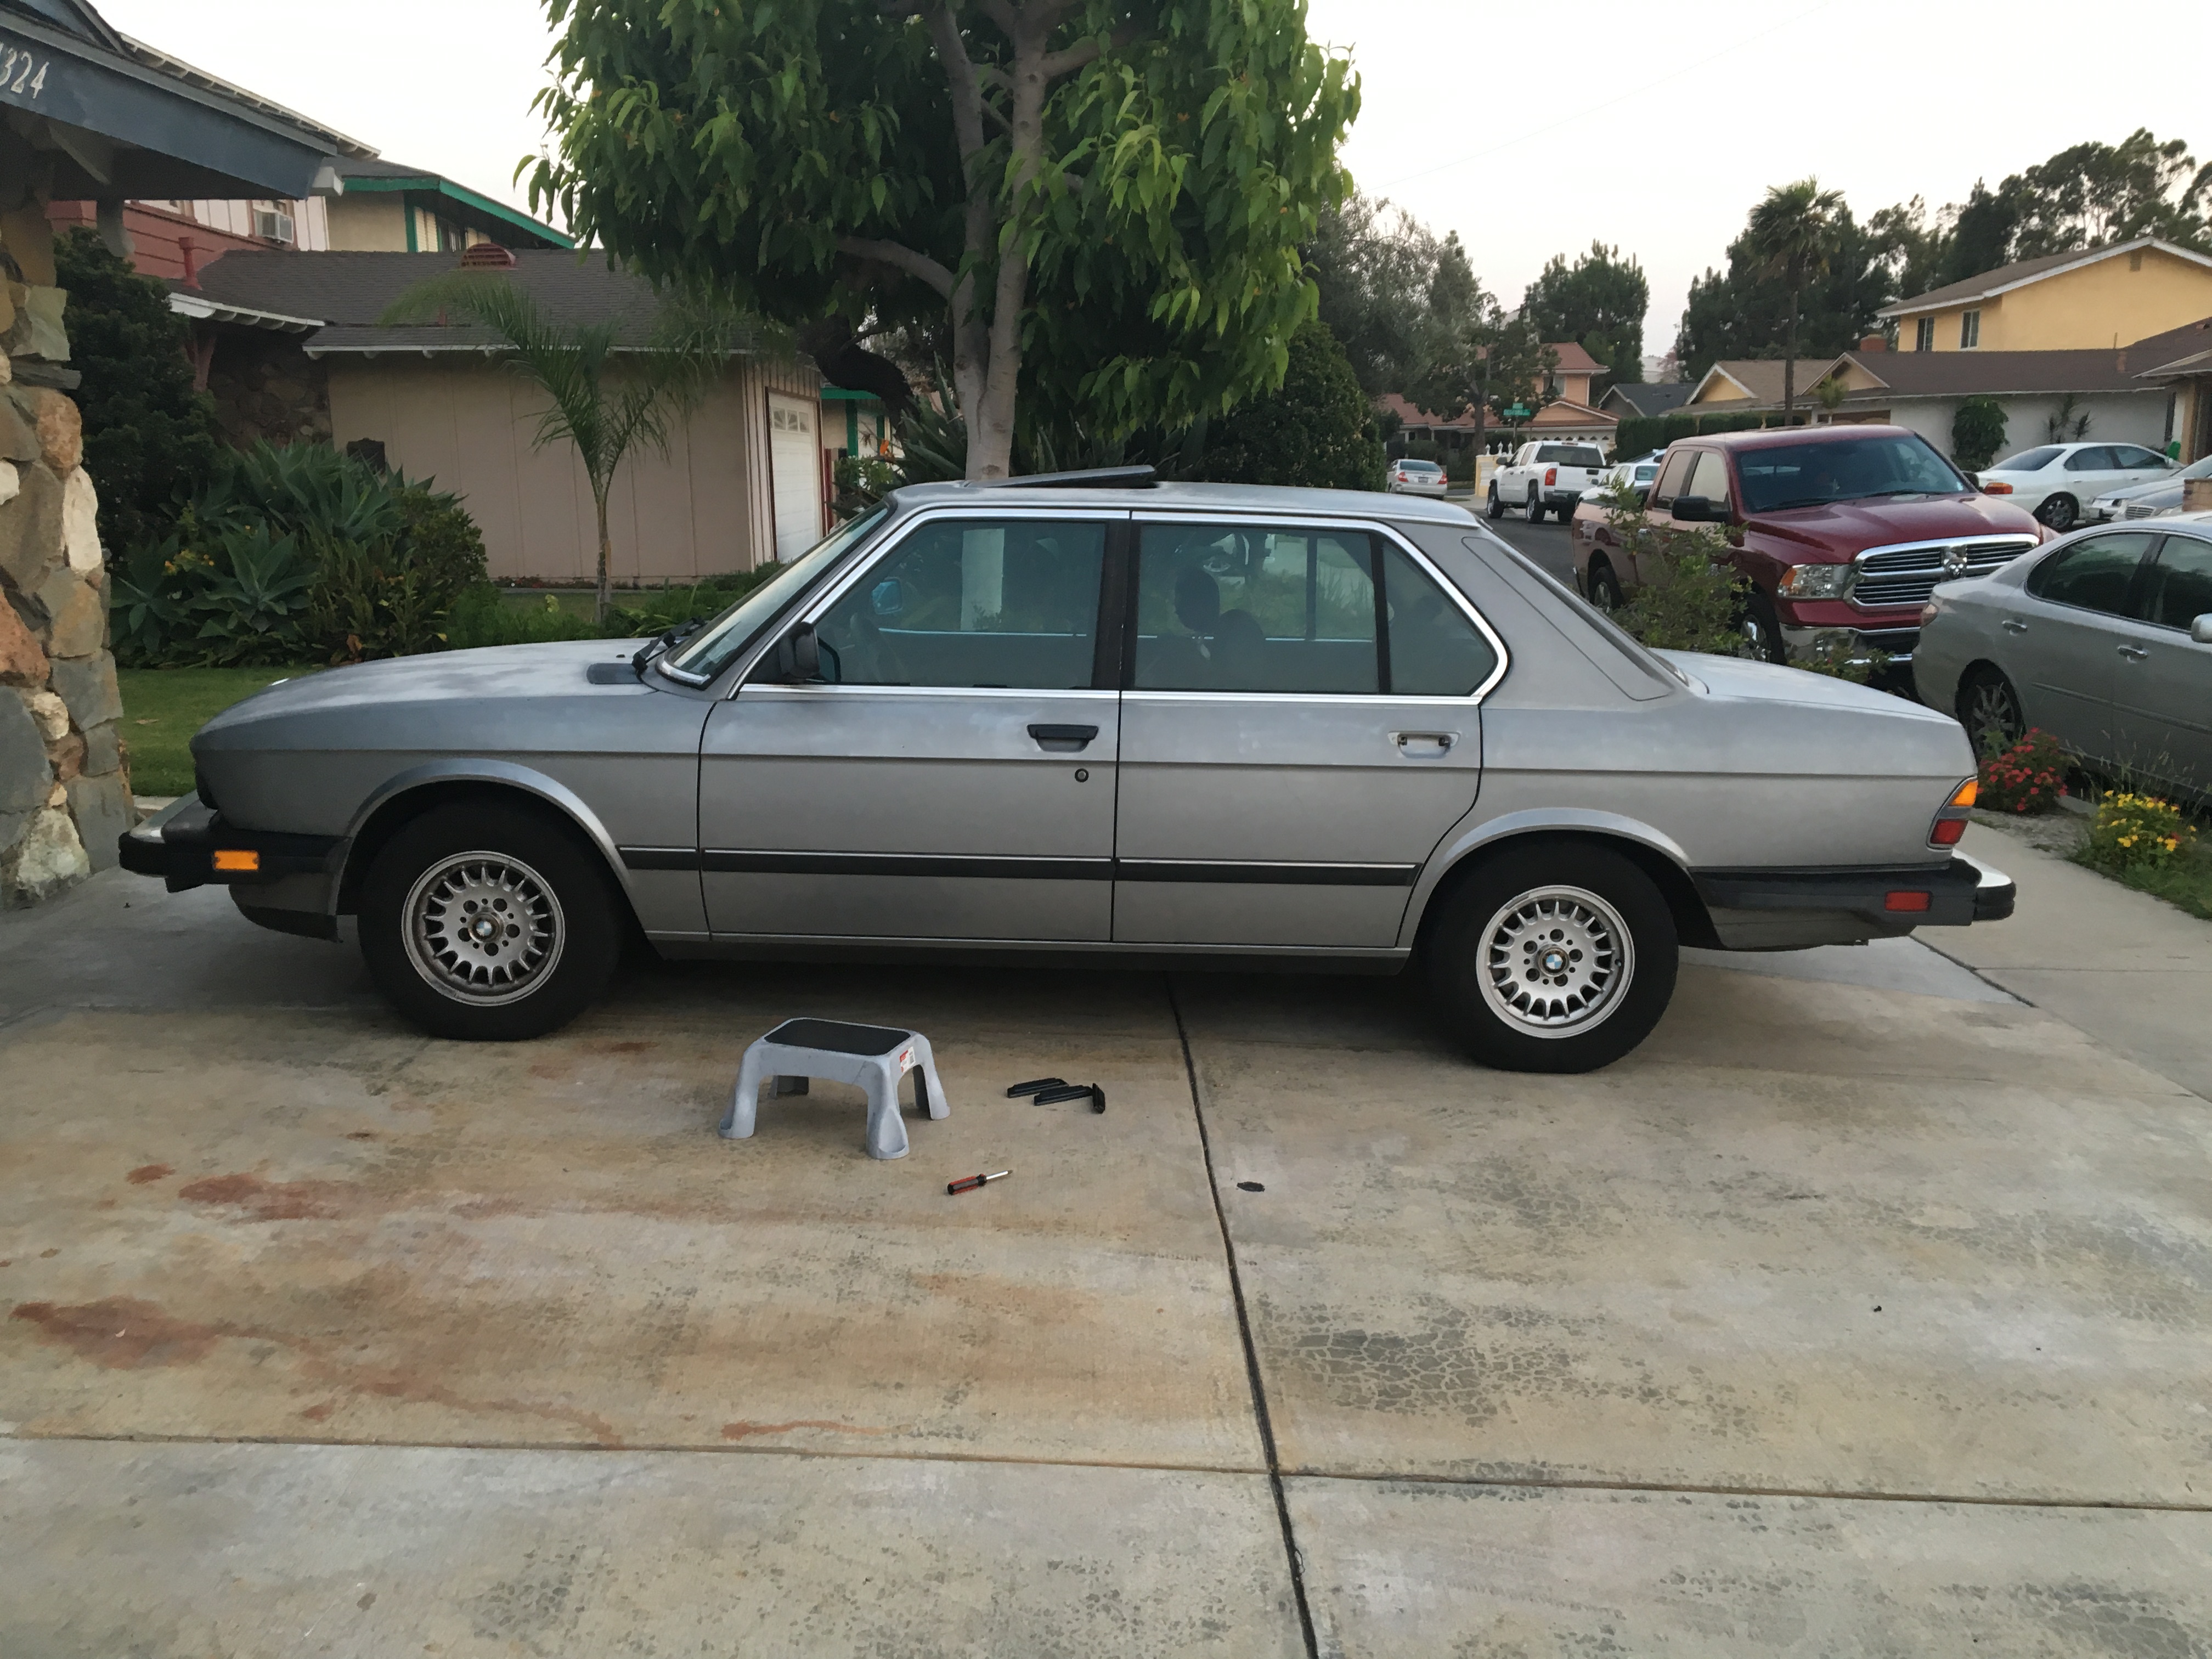
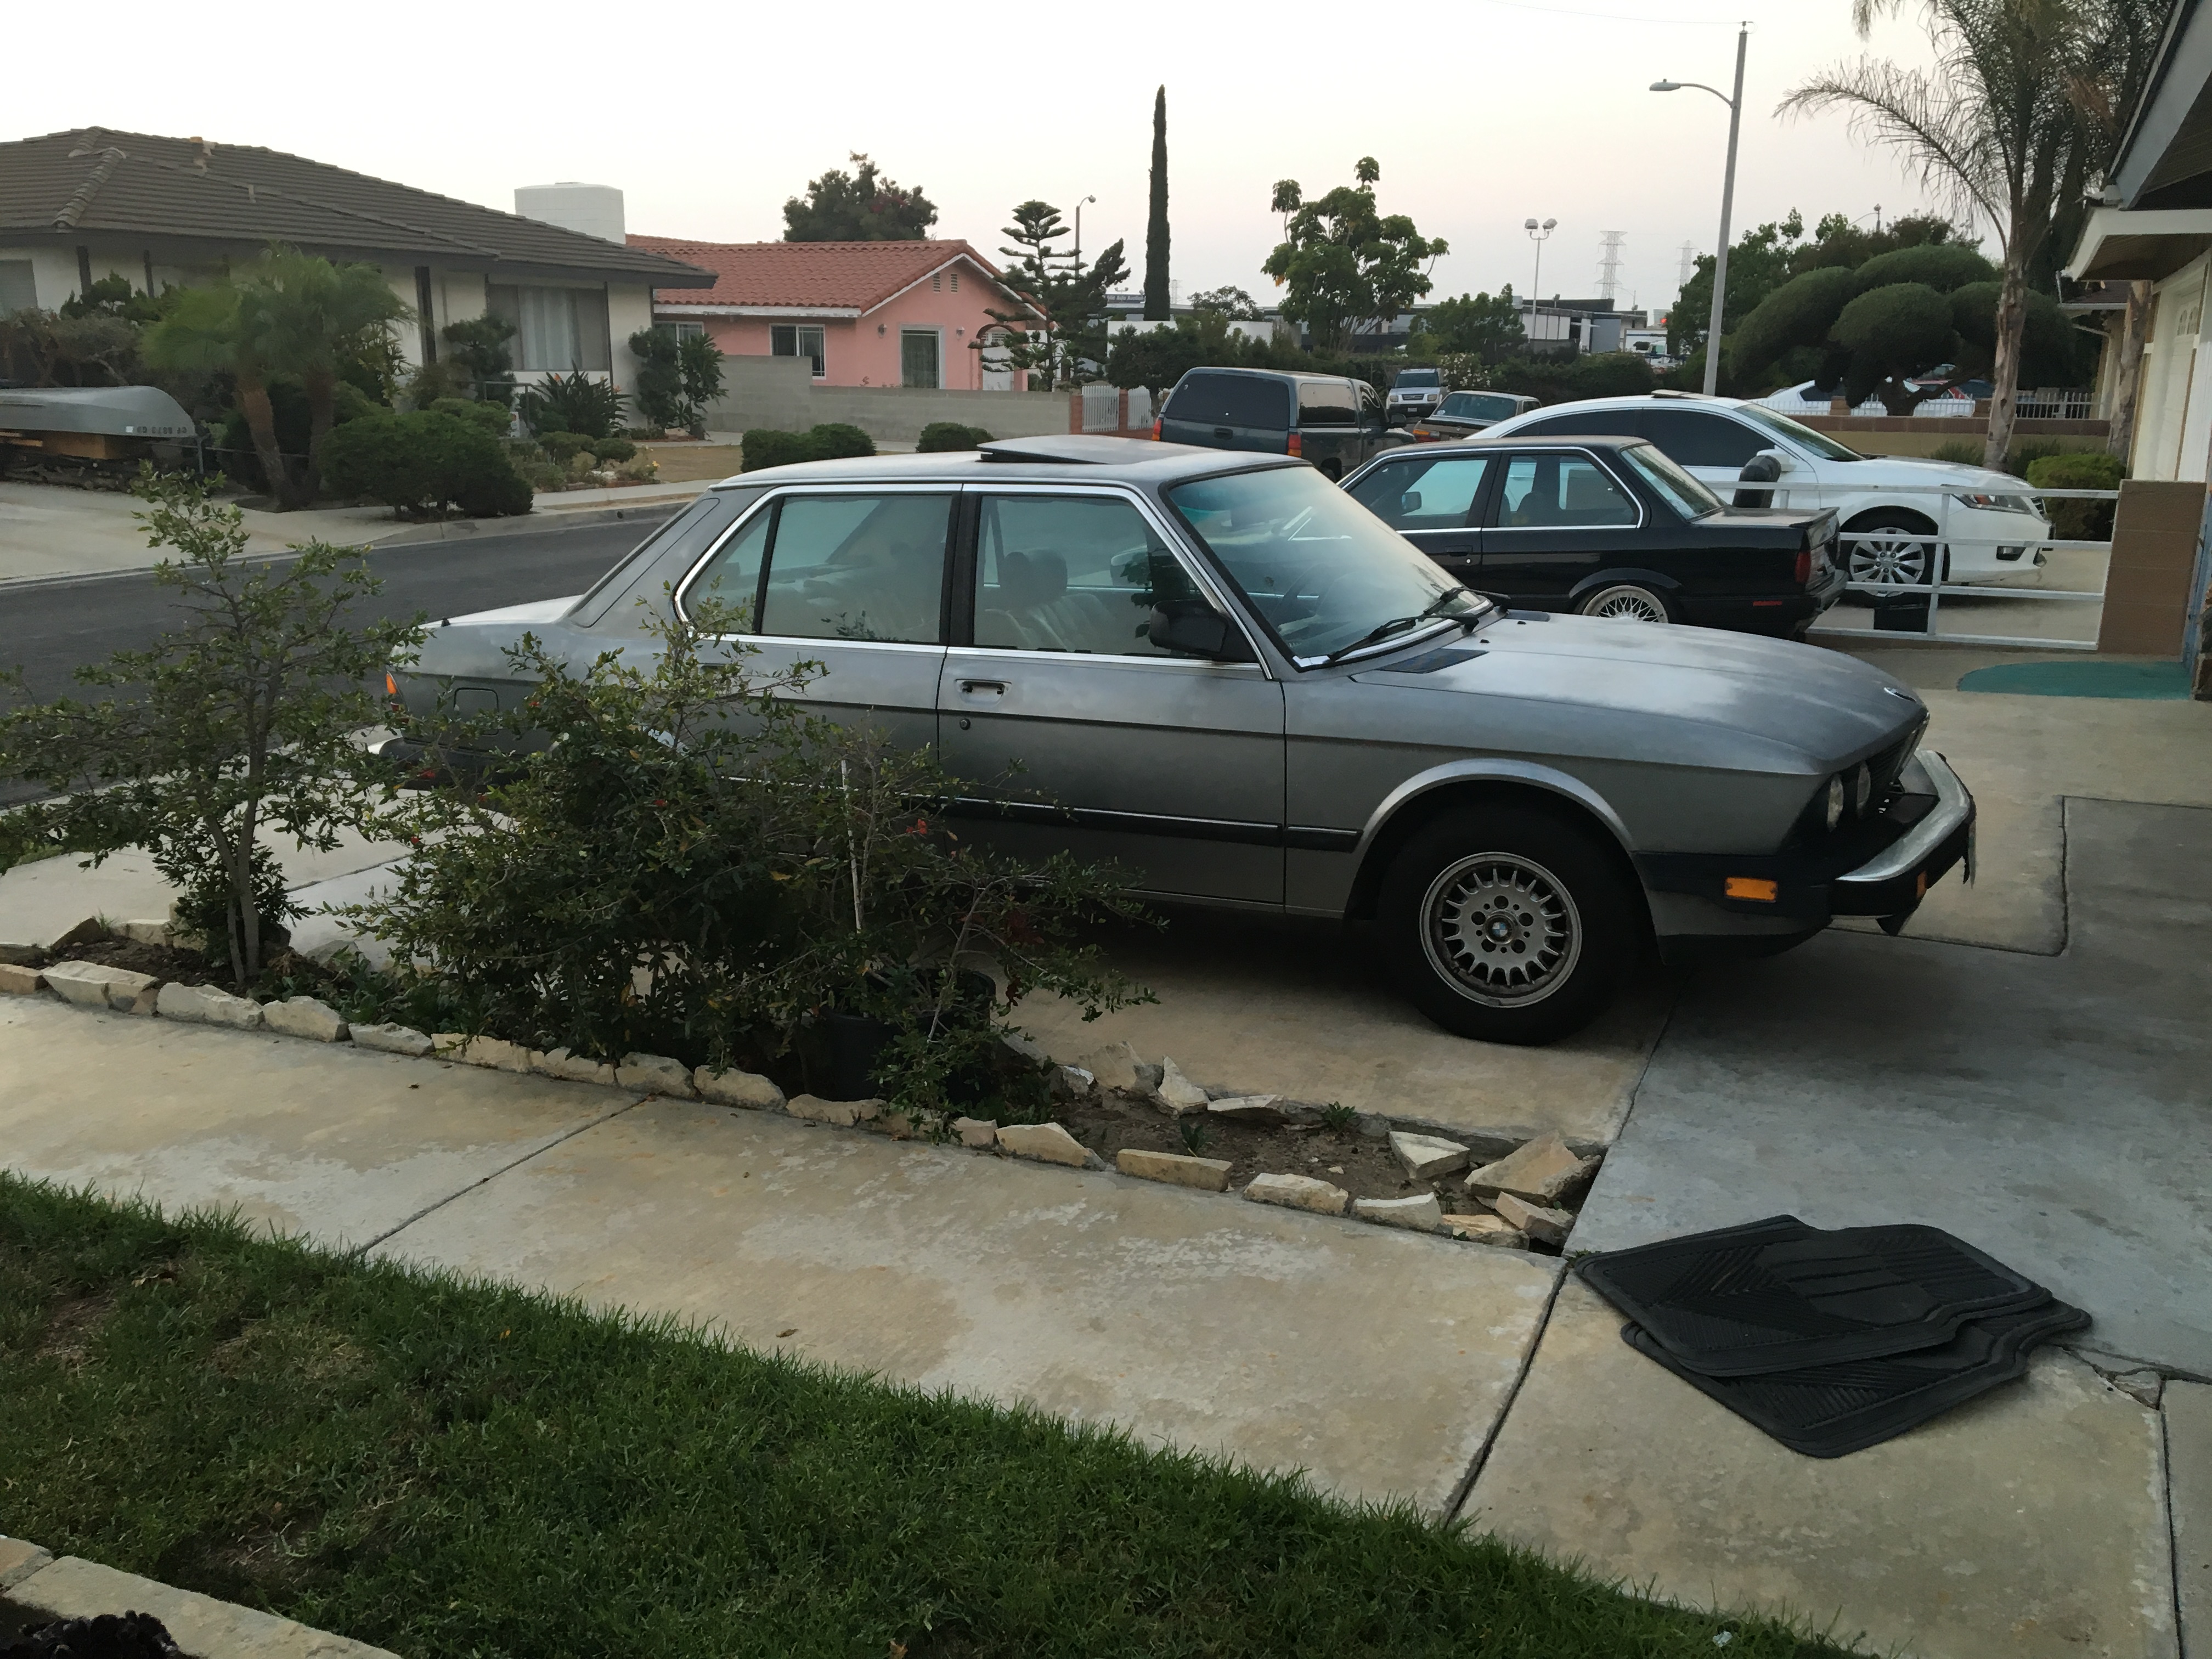
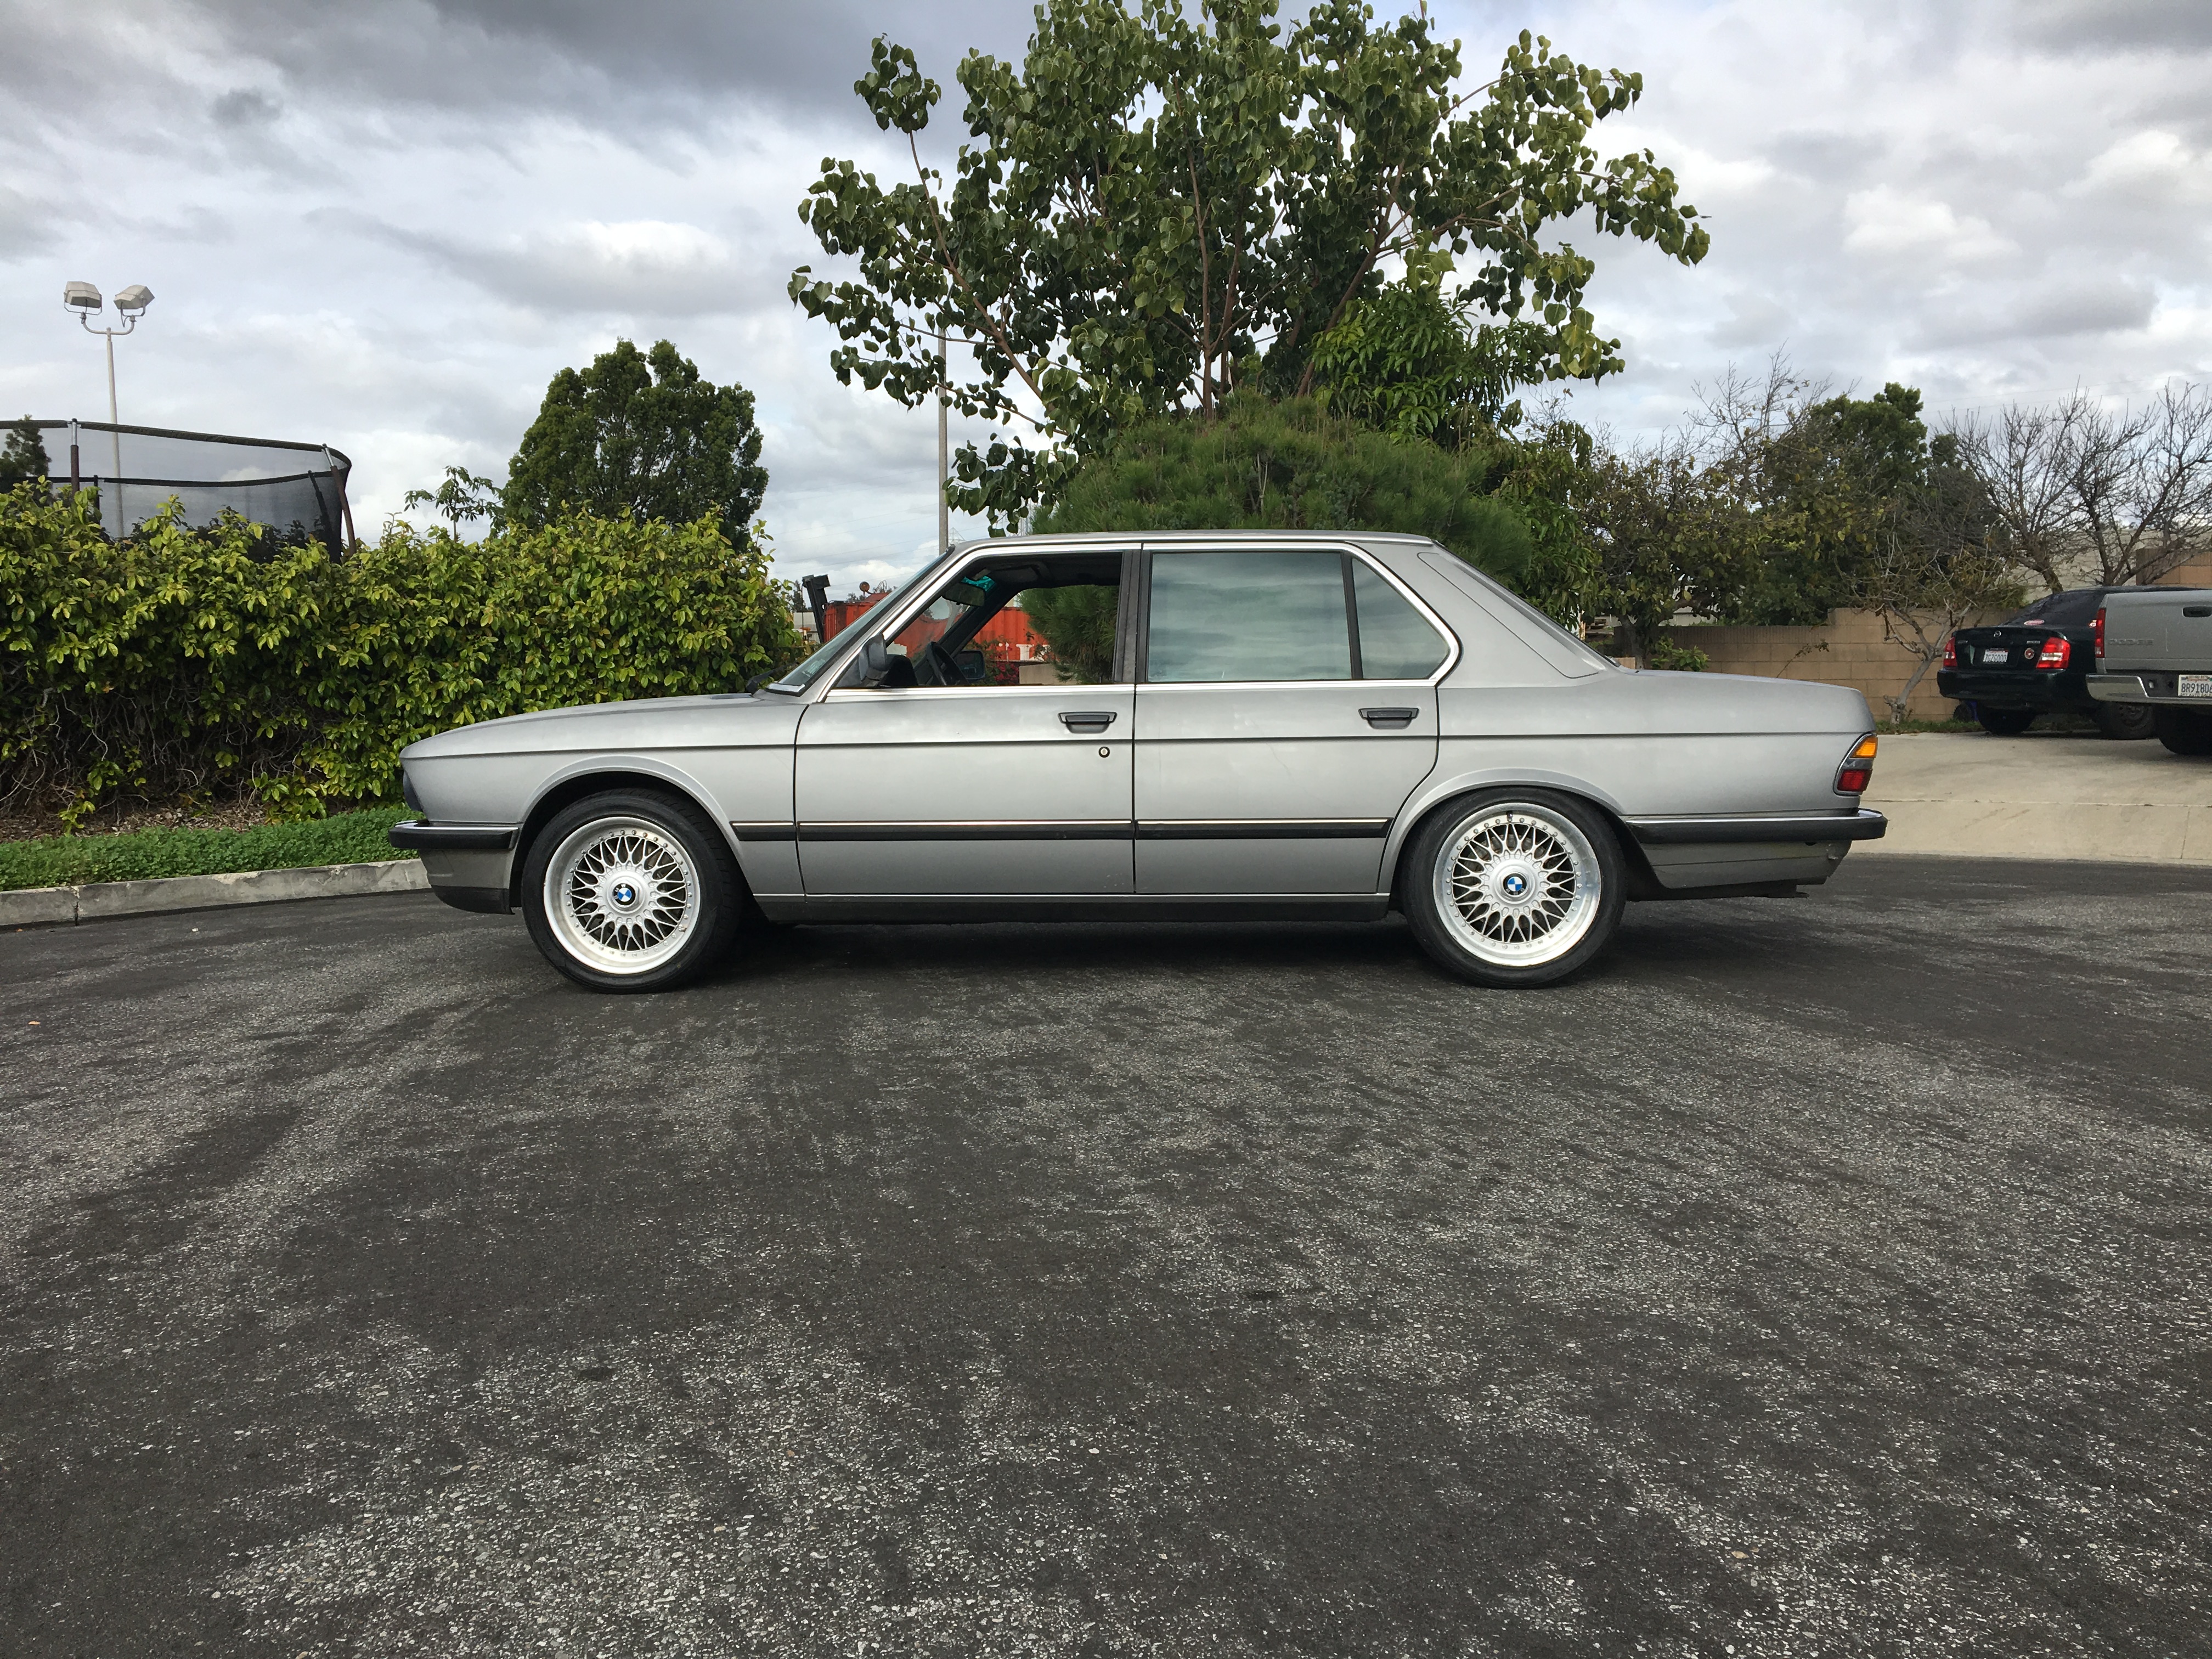
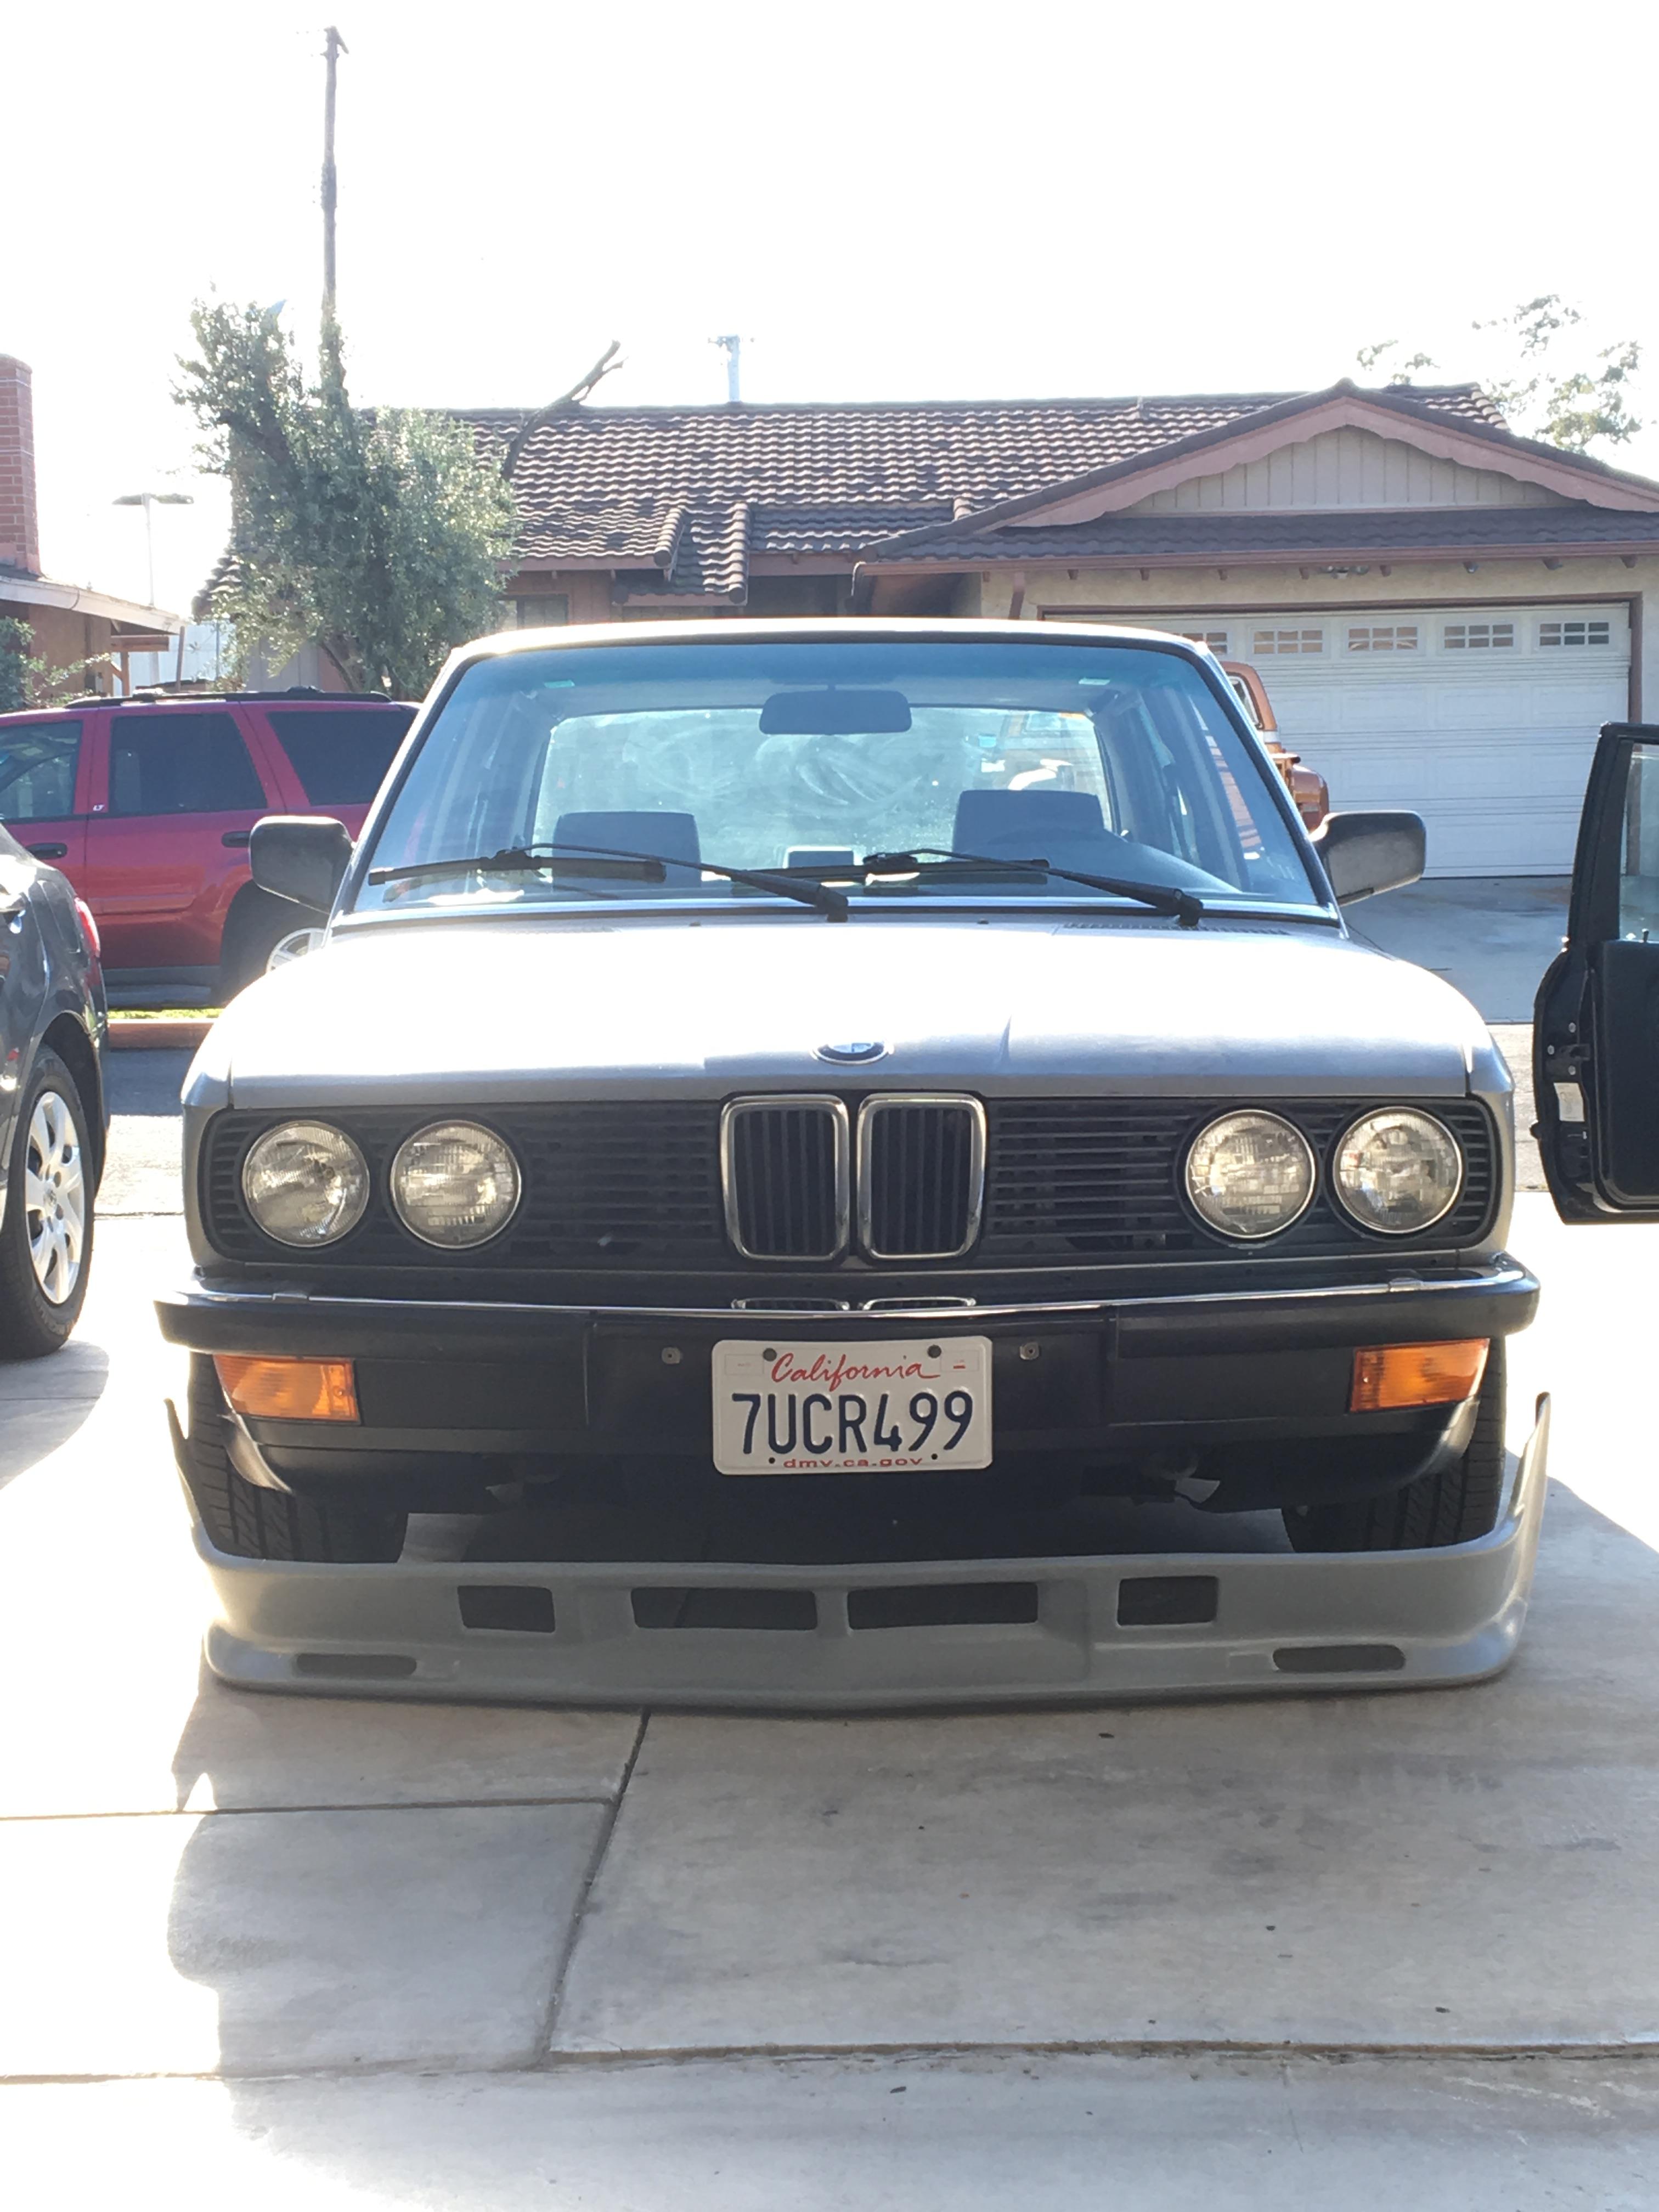
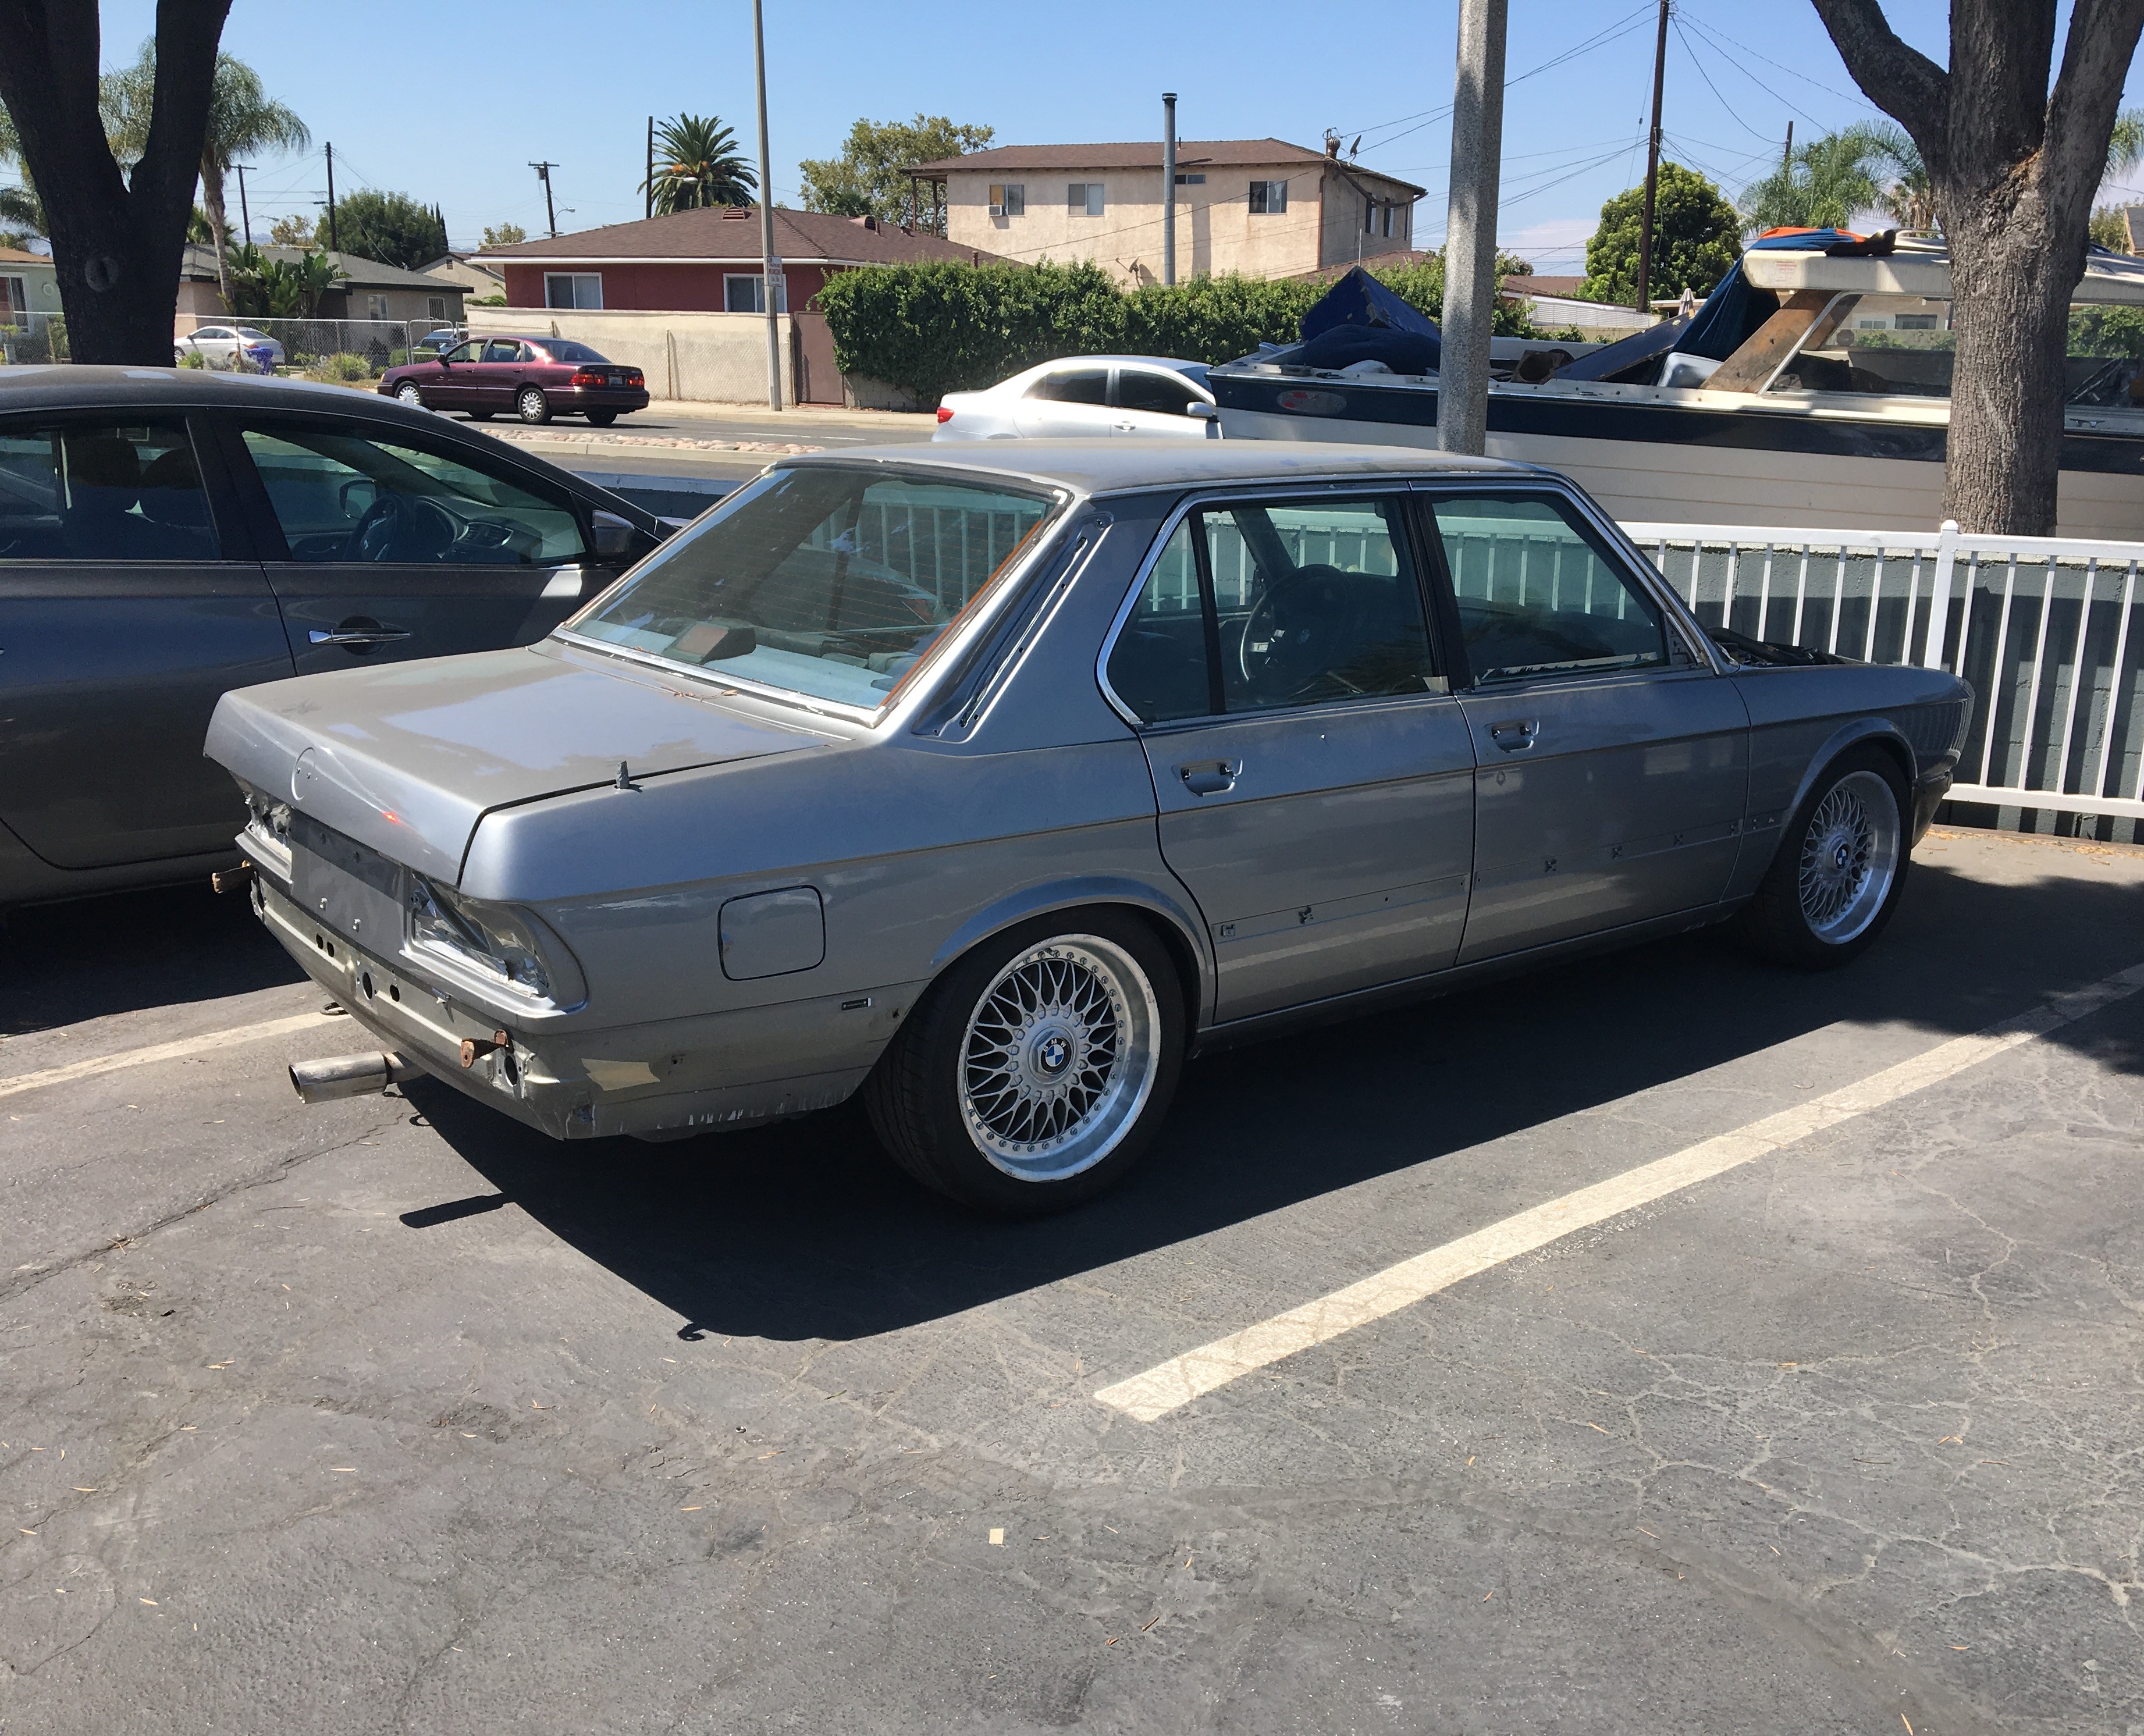
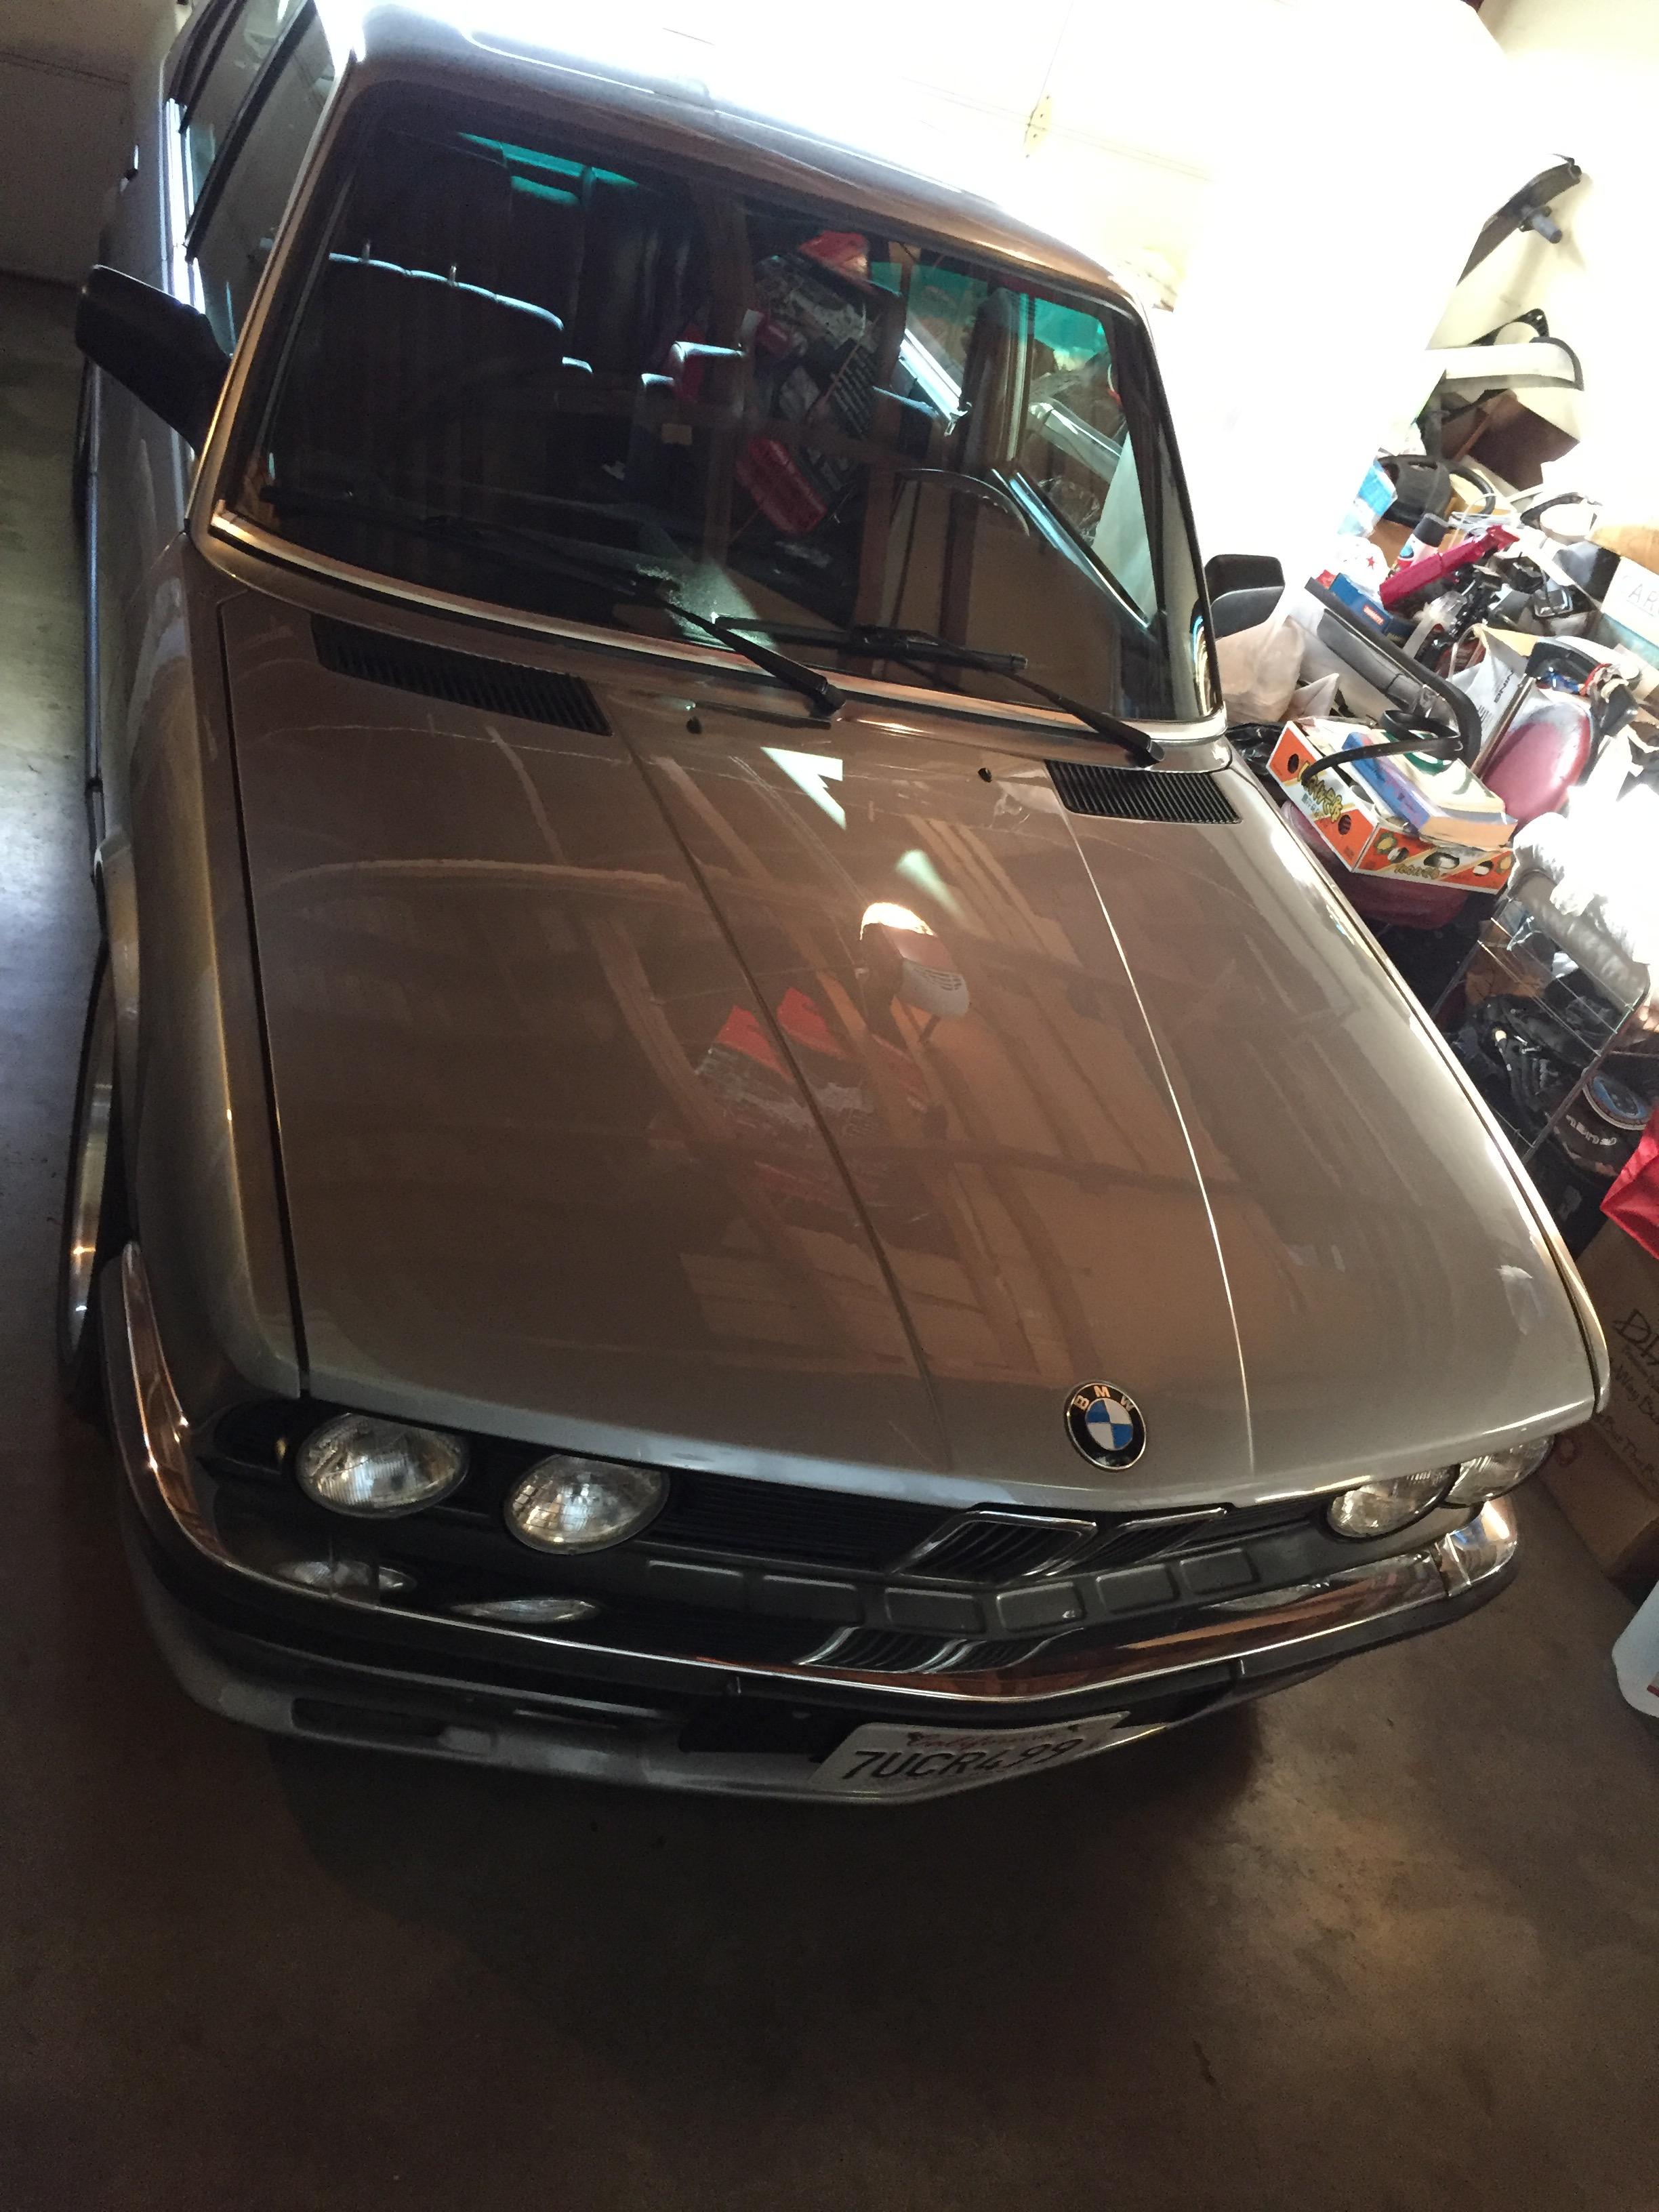
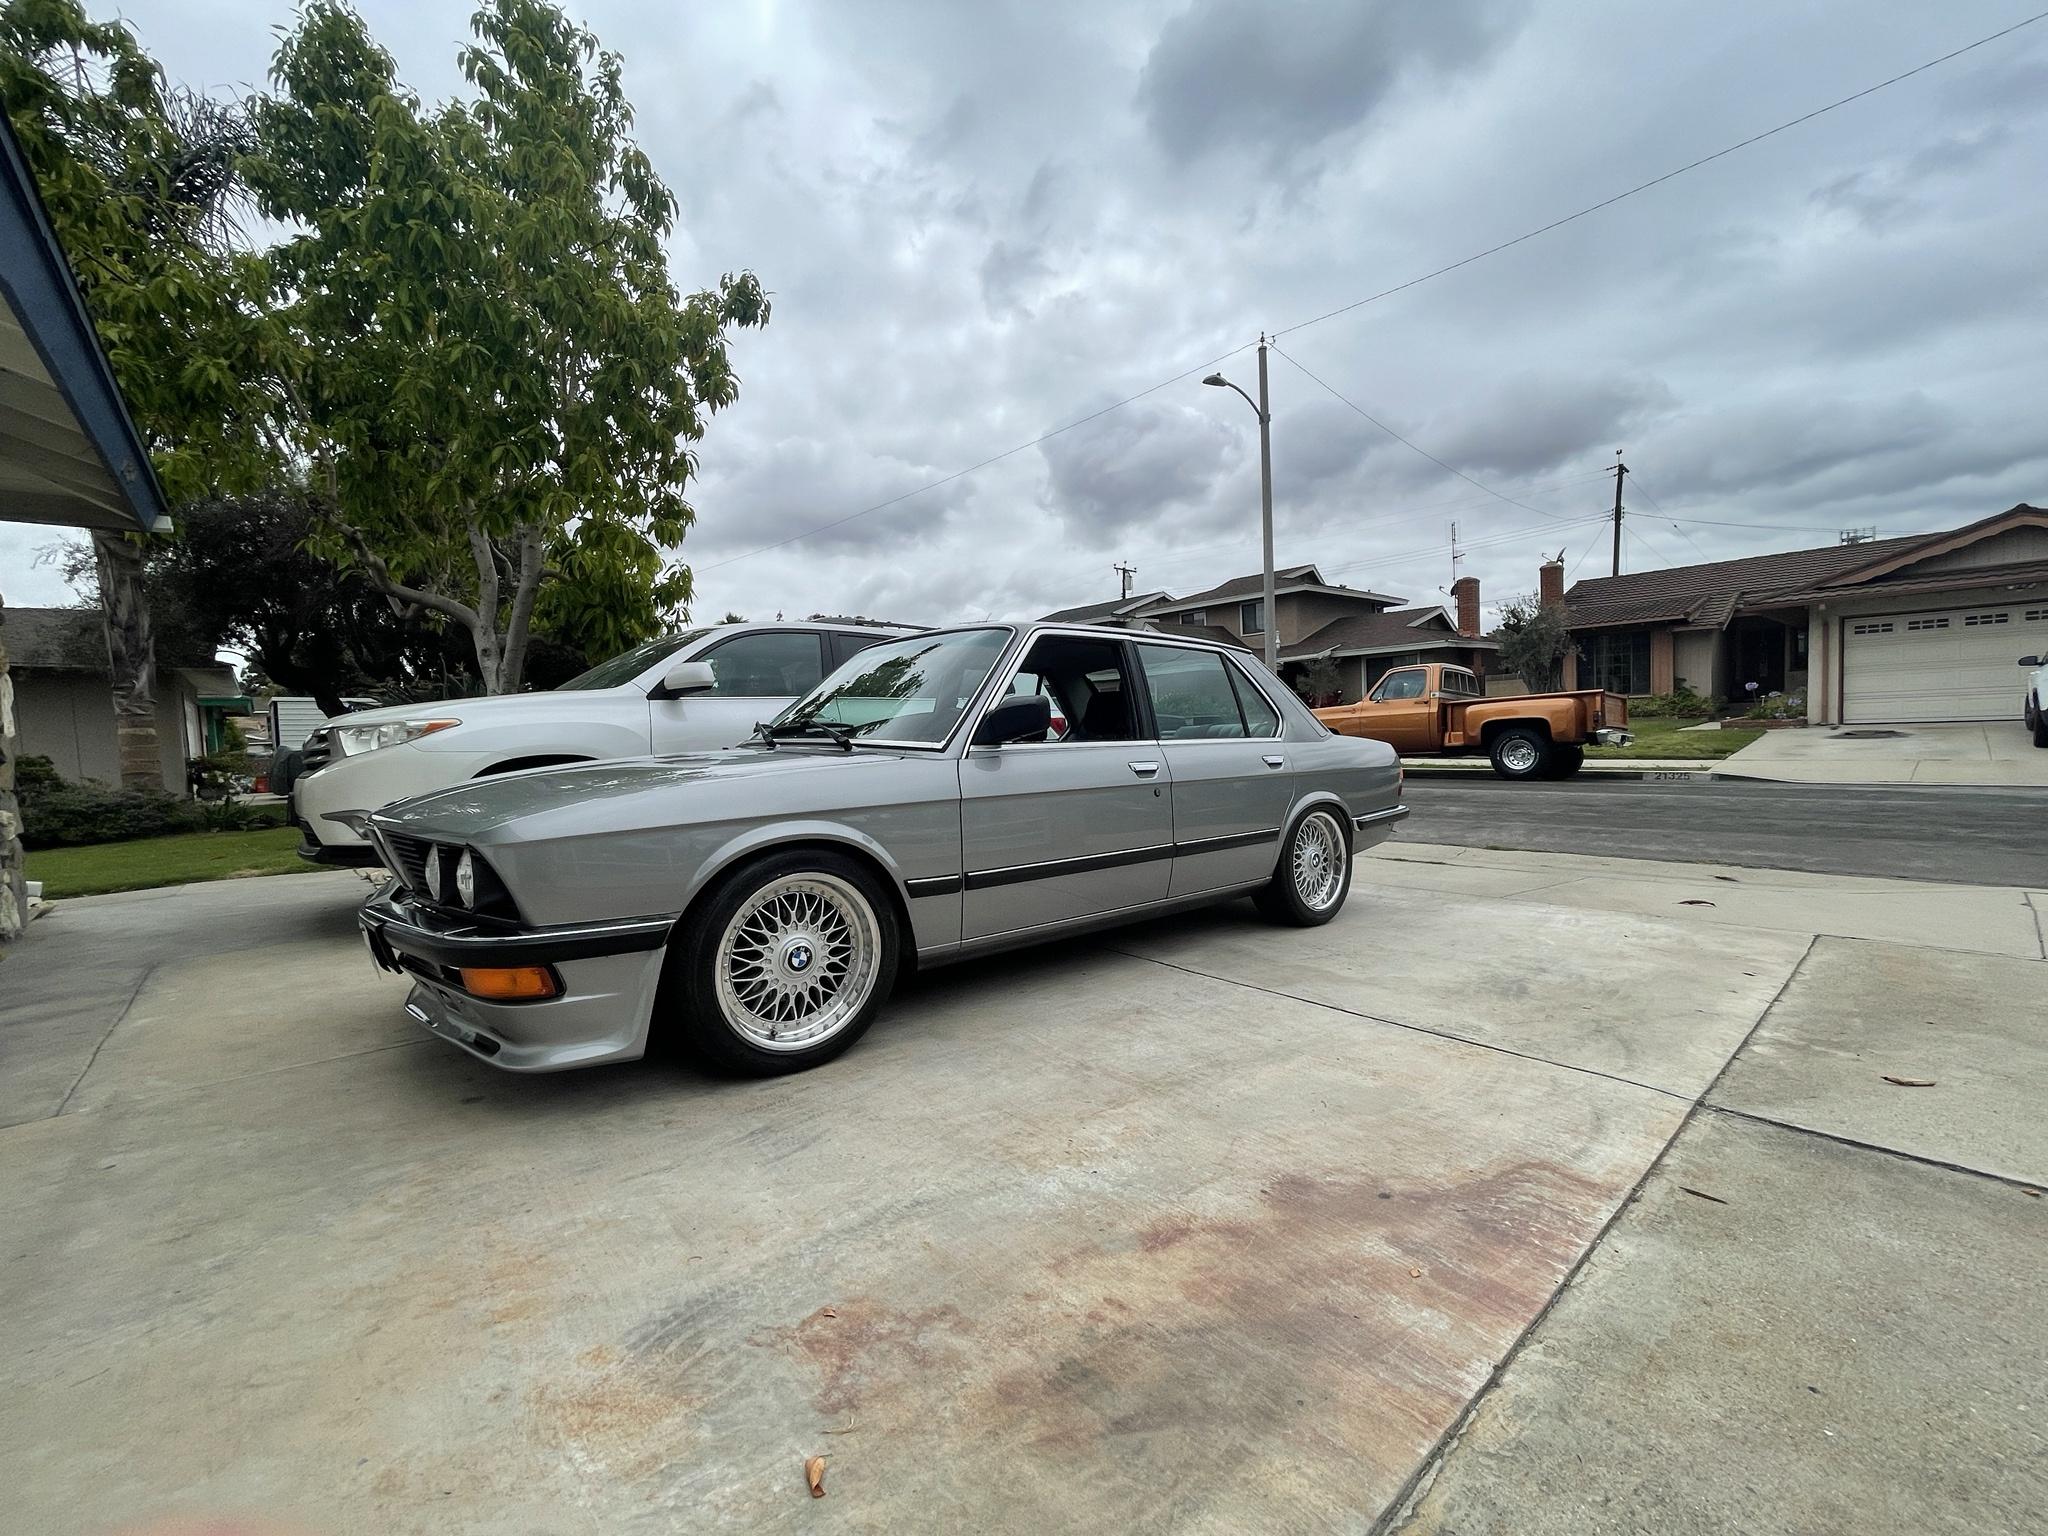
Hi everyone, I wanted to start documenting the entire build of my 1987 528e with 180k I purchased back in 2016 as a father/son project. I picked it up out in Las Vegas with my father and drove it back to LA with no idea of its reliability for $450. Luckily it made it back with little to no real issues besides a loose fuse box to battery connection that longer than I would like to admit finding.

My introduction into BMWs first started with my previous e30 that was the car I learned how to drive in. Though I wanted to move into something with a little bit more space and finding this e28 was the perfect answer. The body of the car has absolutely no rust anywhere I will be updating this thread with more pictures as there are quite a few from over the past 5 years of ownership.

This build is was meant for something somewhat simple and nothing too extreme :laugh: The main purpose of this car is for something that both my father and I can drive whenever we'd like or go out for a quick fun cruise here and there. So, unfortunately in this case it means that the car must stay an automatic for the time being as my father does not know how to drive manual / does not care to learn how to.

I've invested a lot of time learning how to wrench / work on cars through this and my previous e30 so this car is something I'm looking to hold onto for a very long time.

======================================================================================

Car details
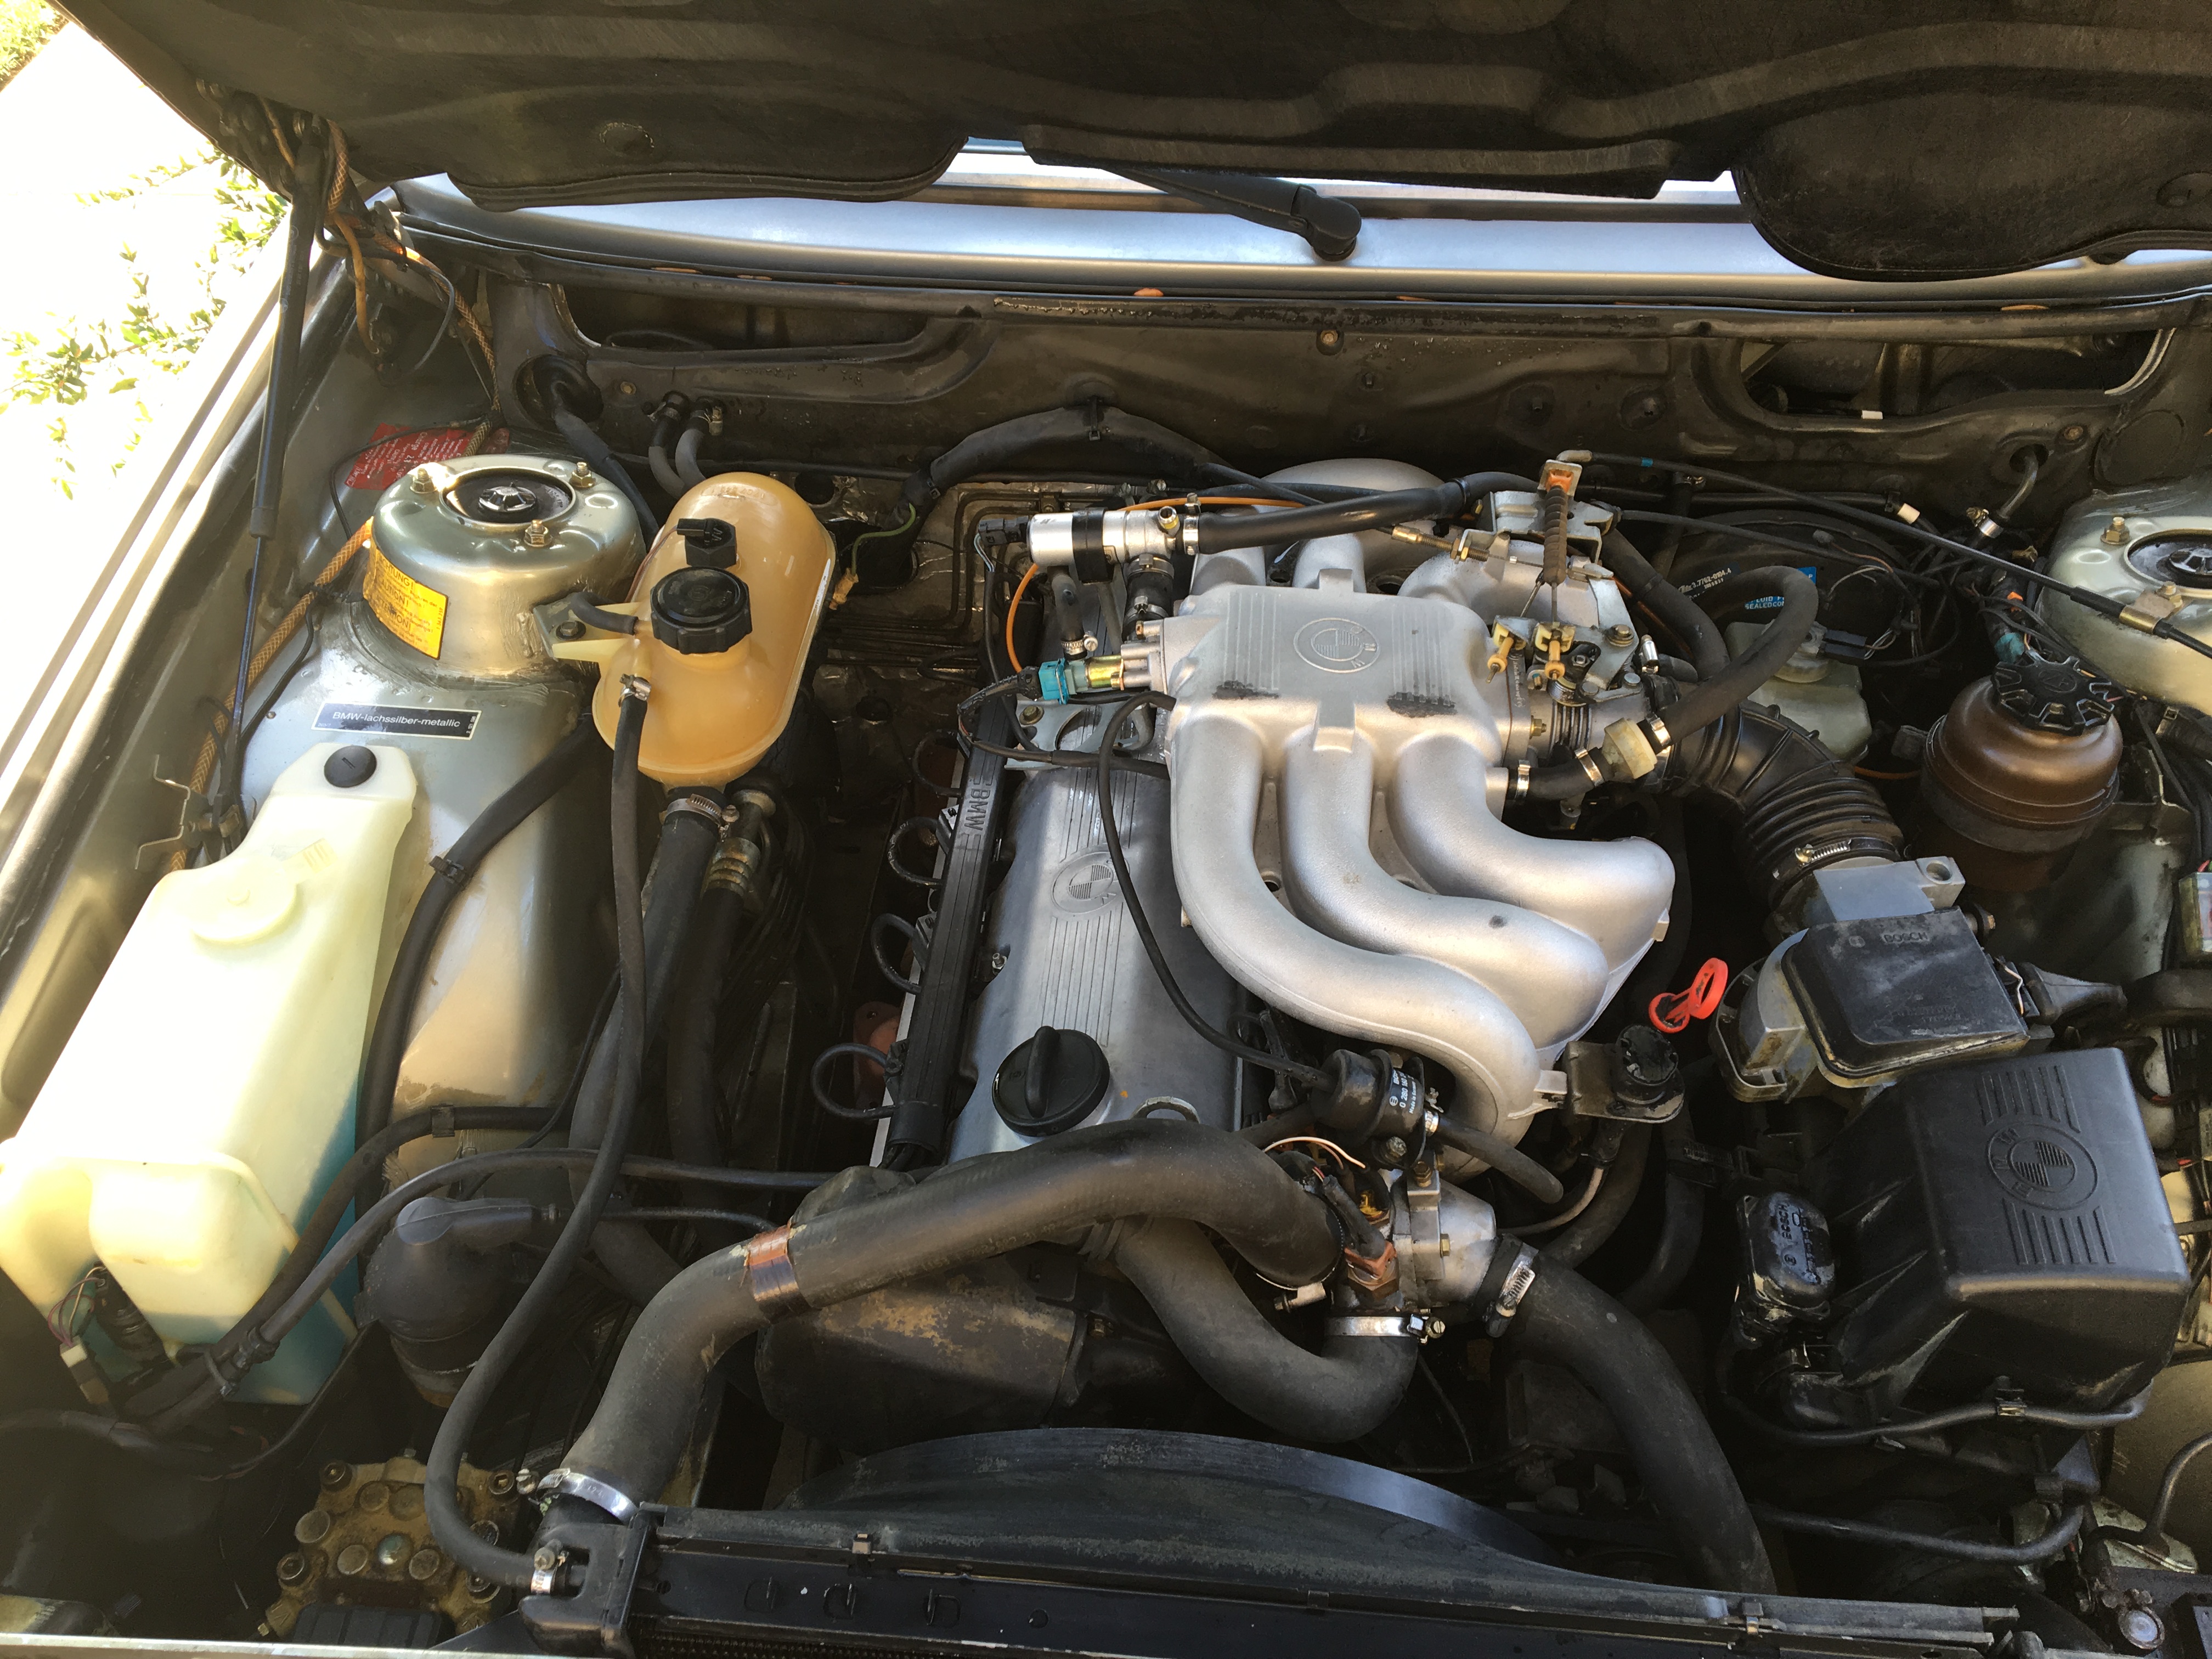
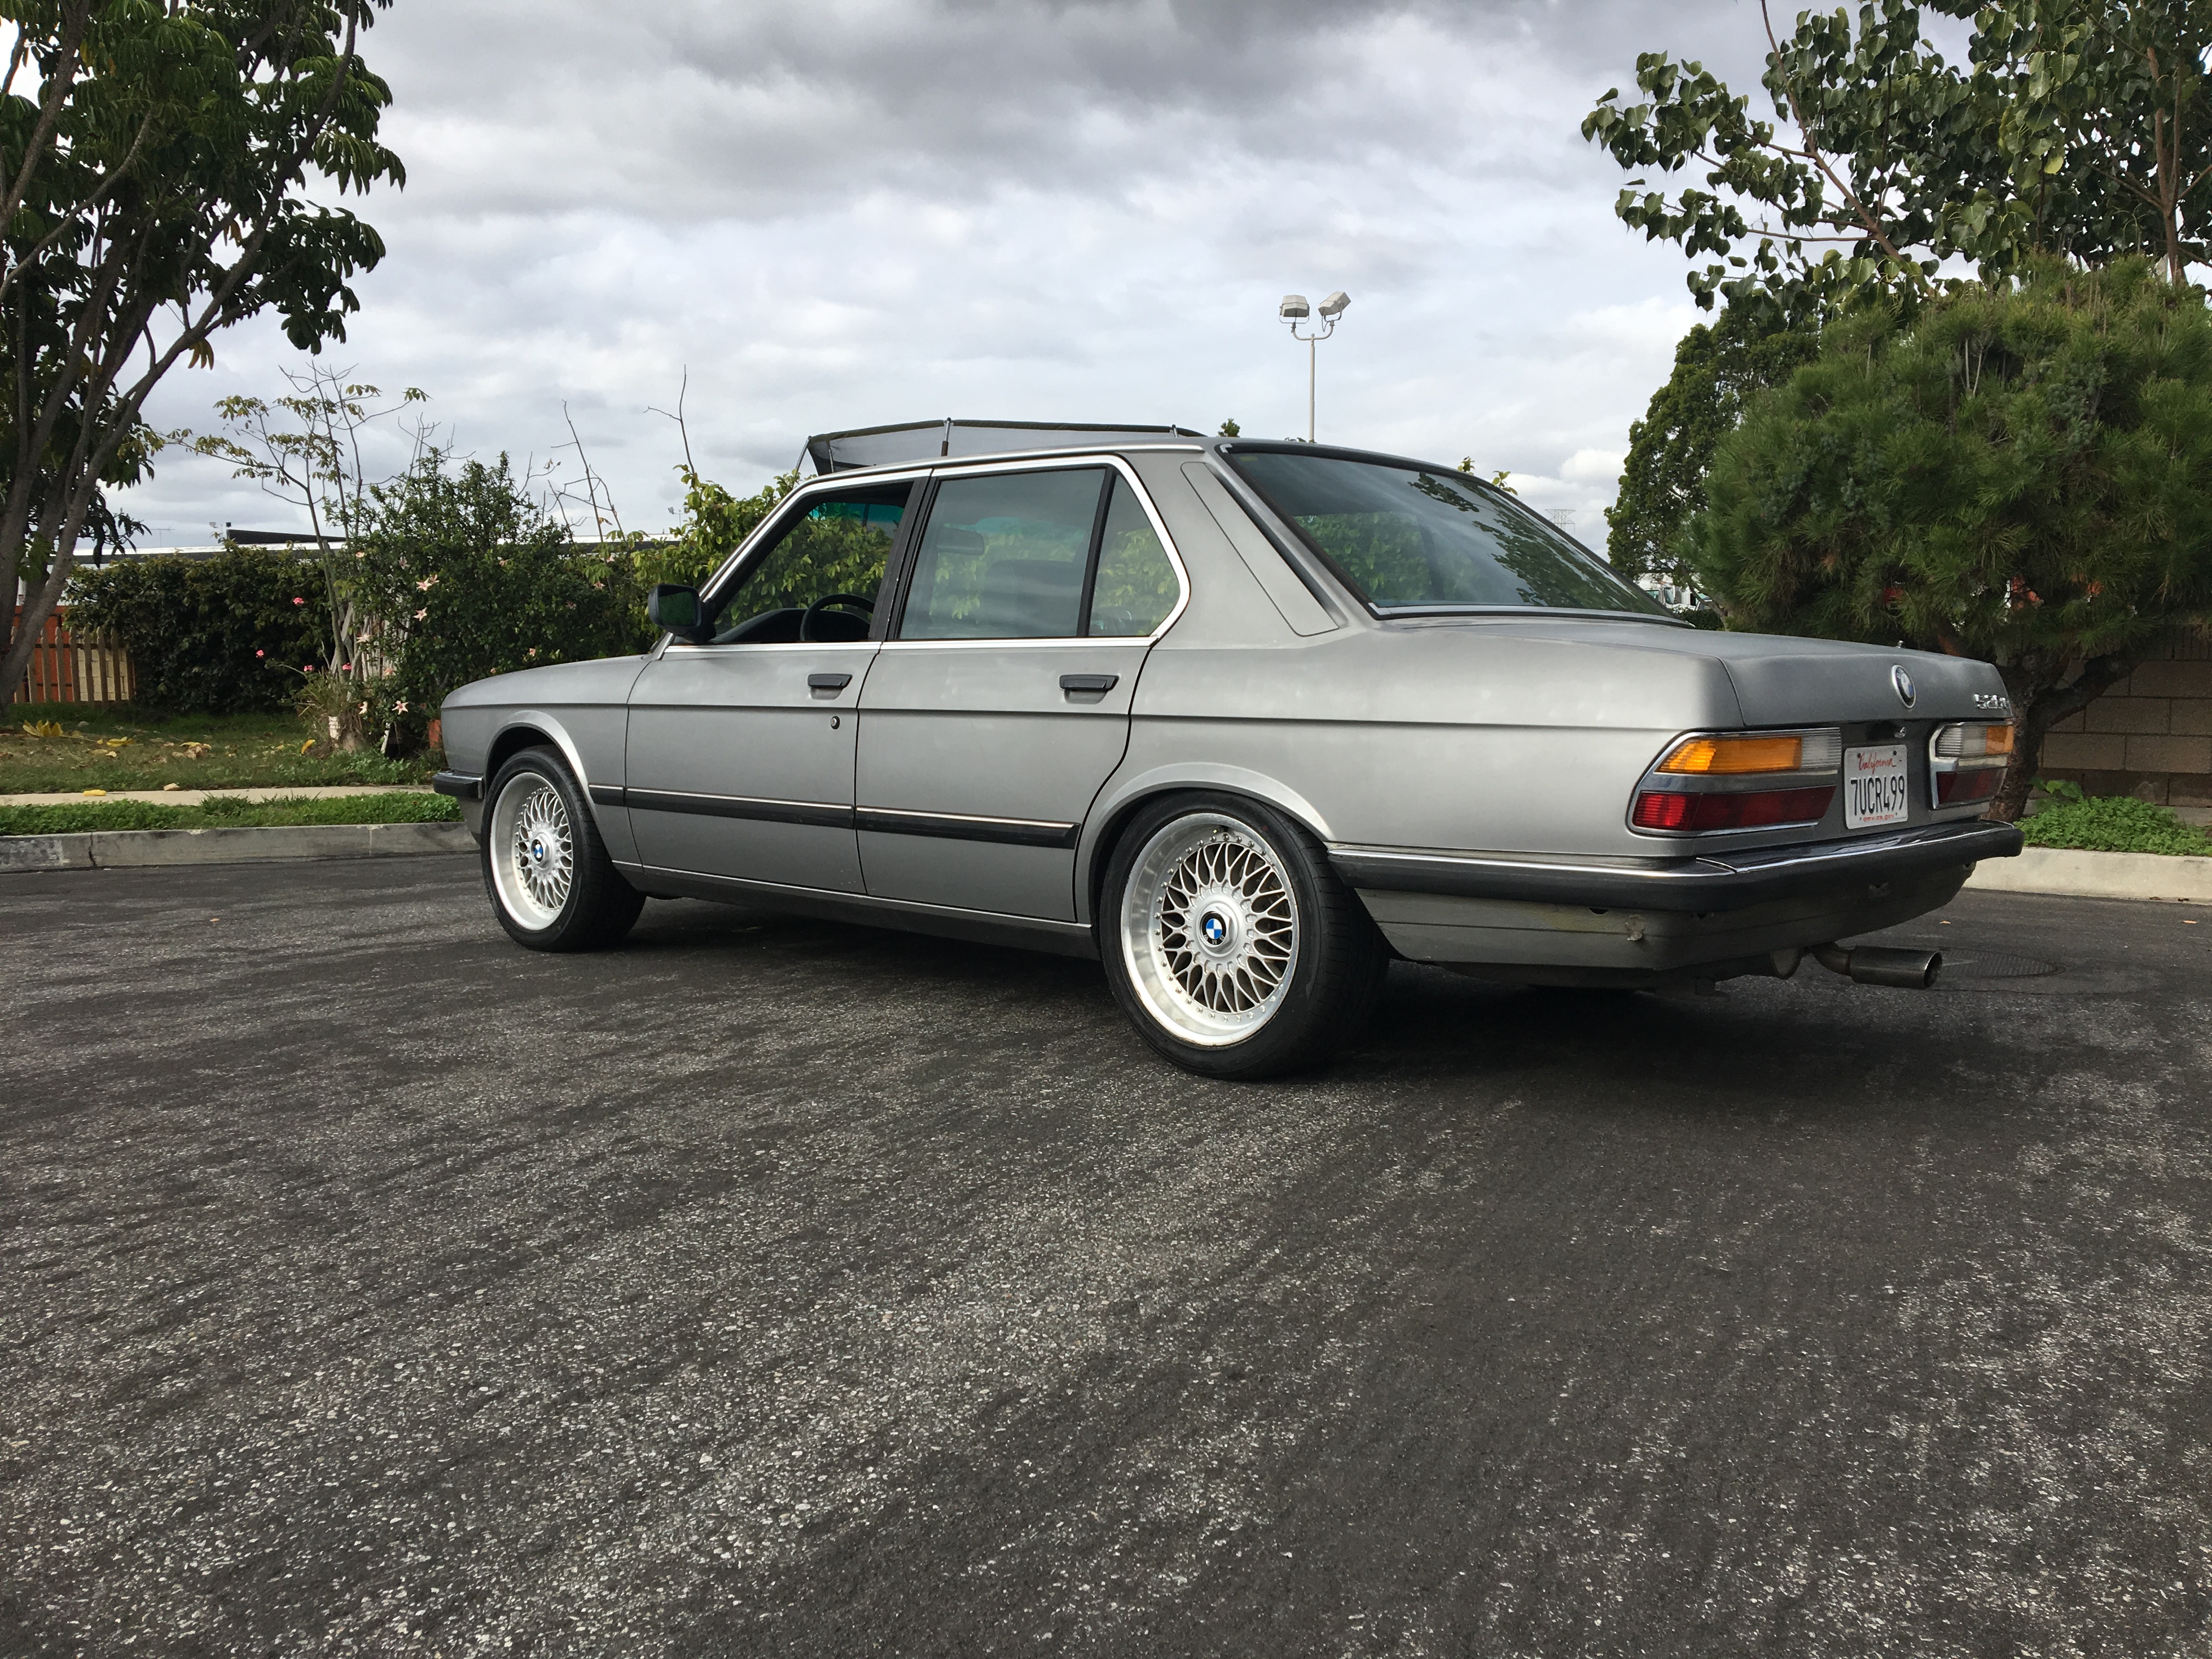
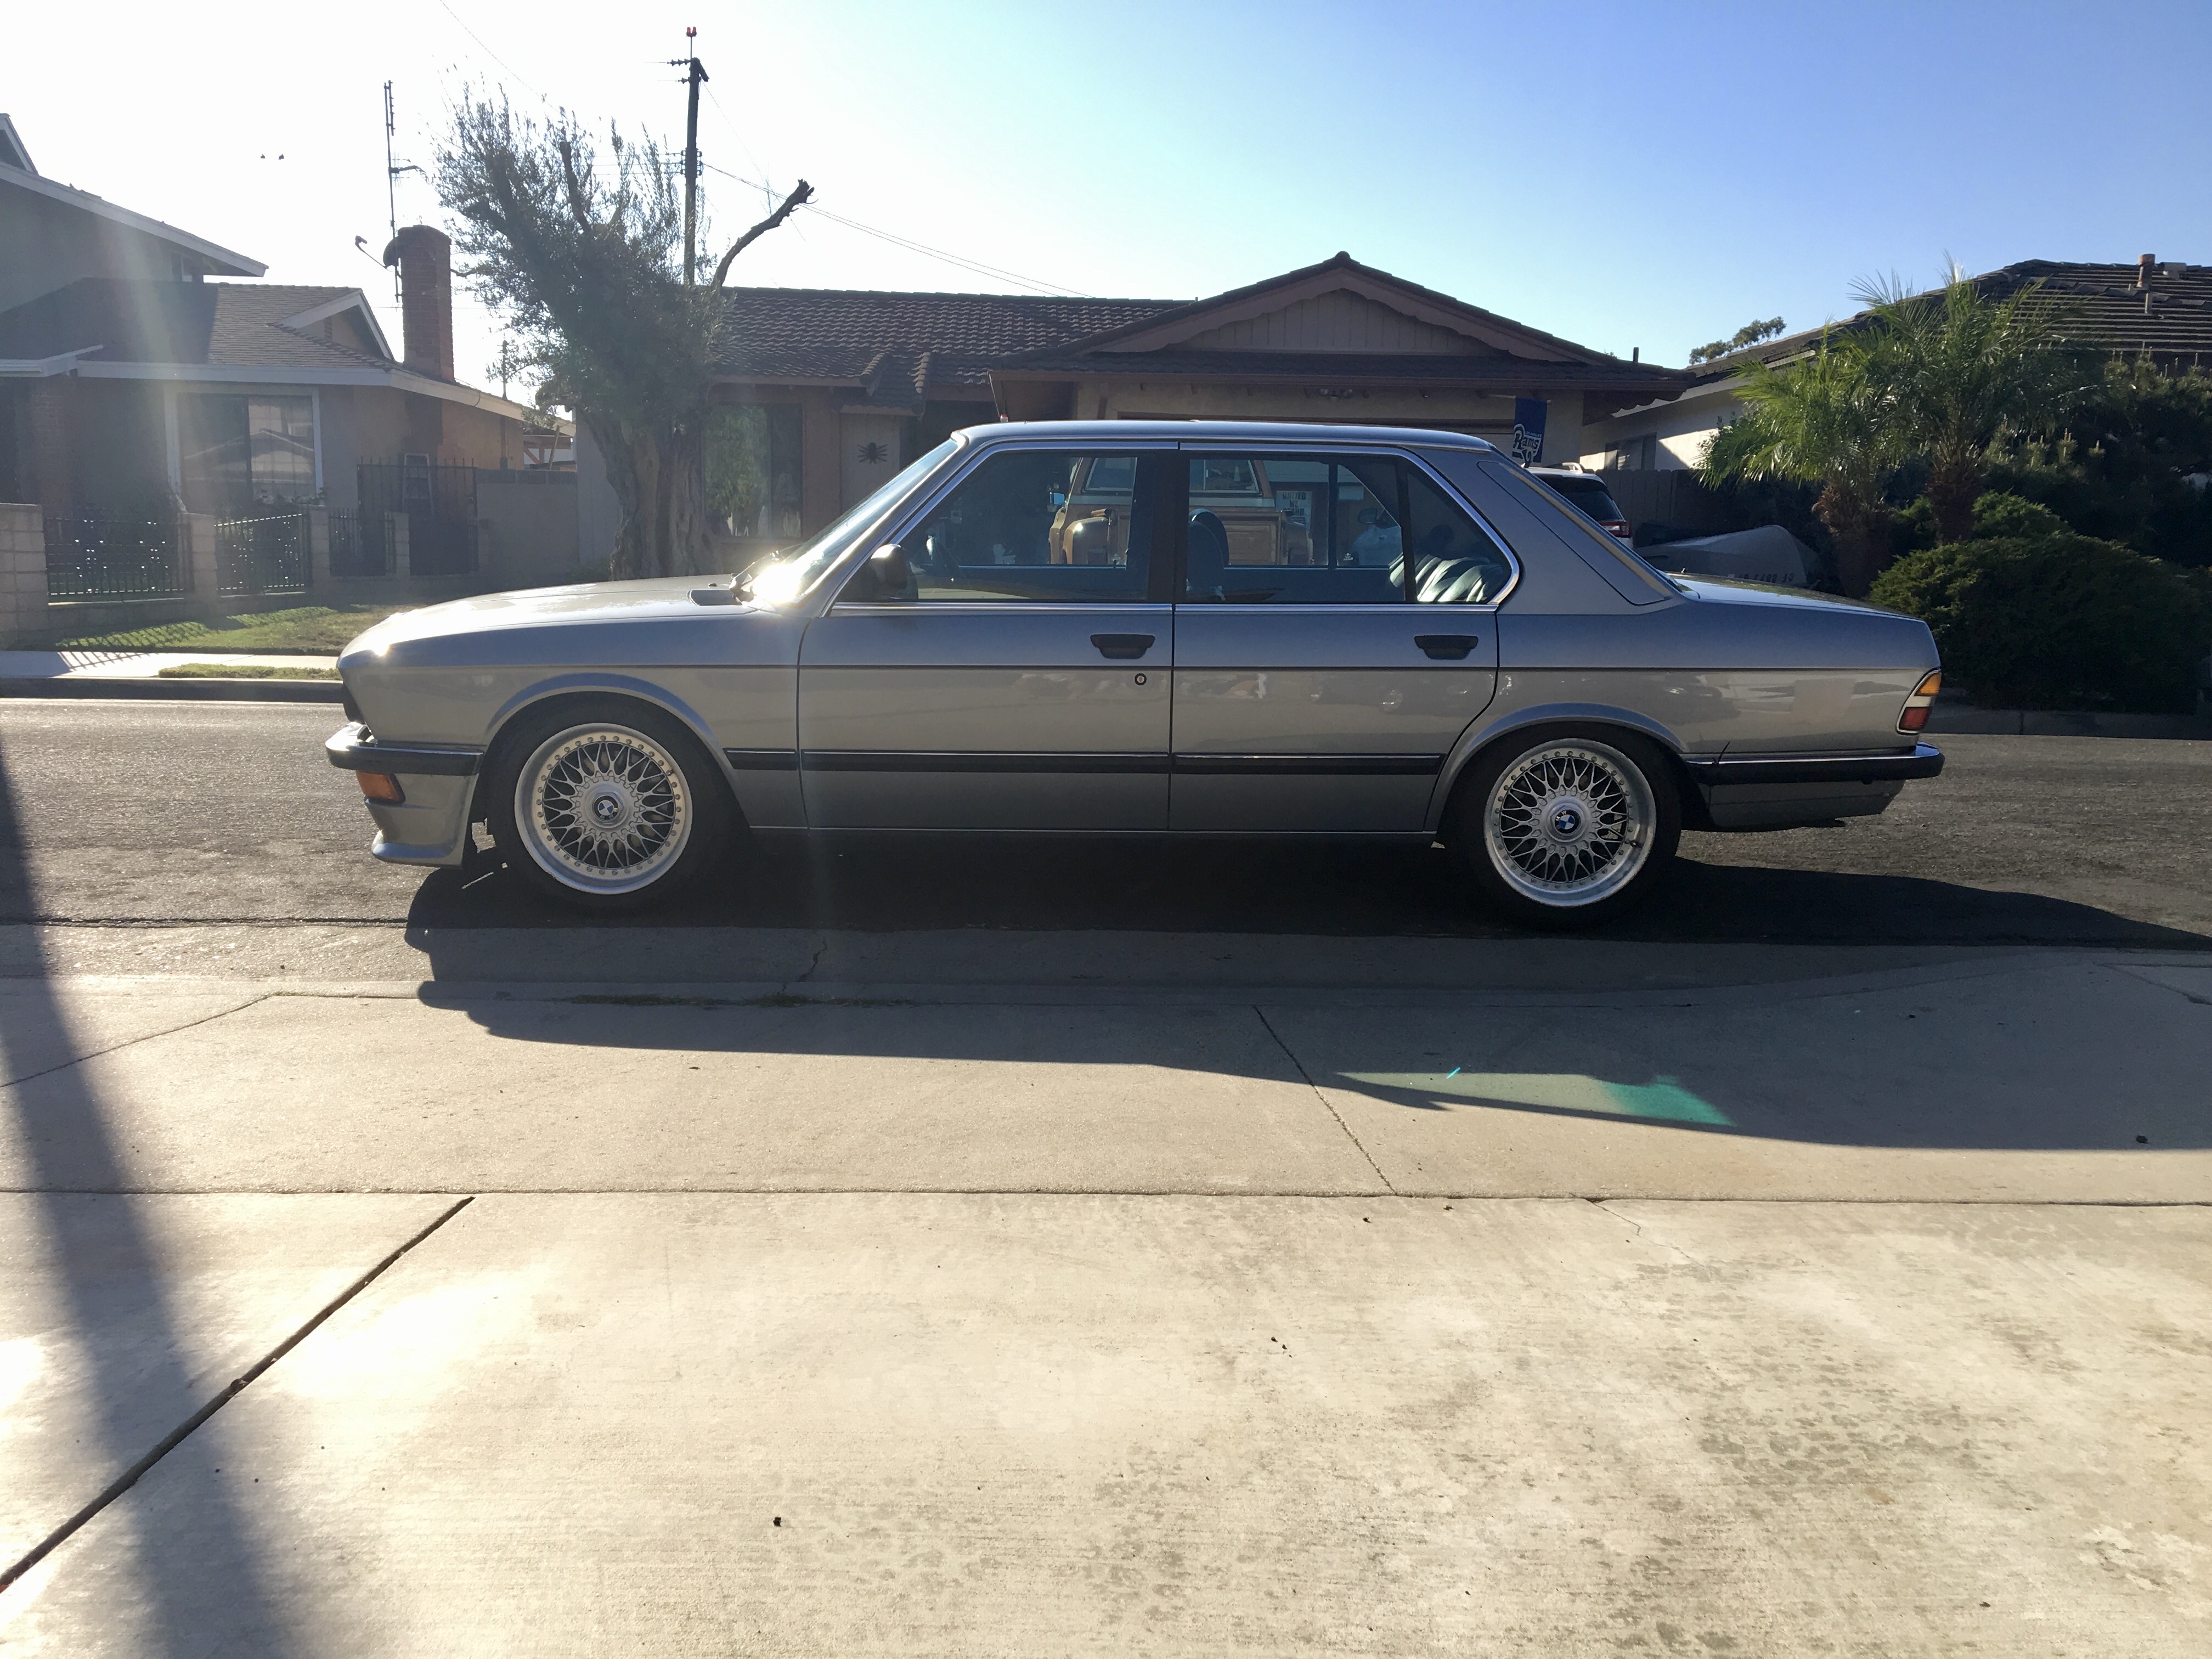
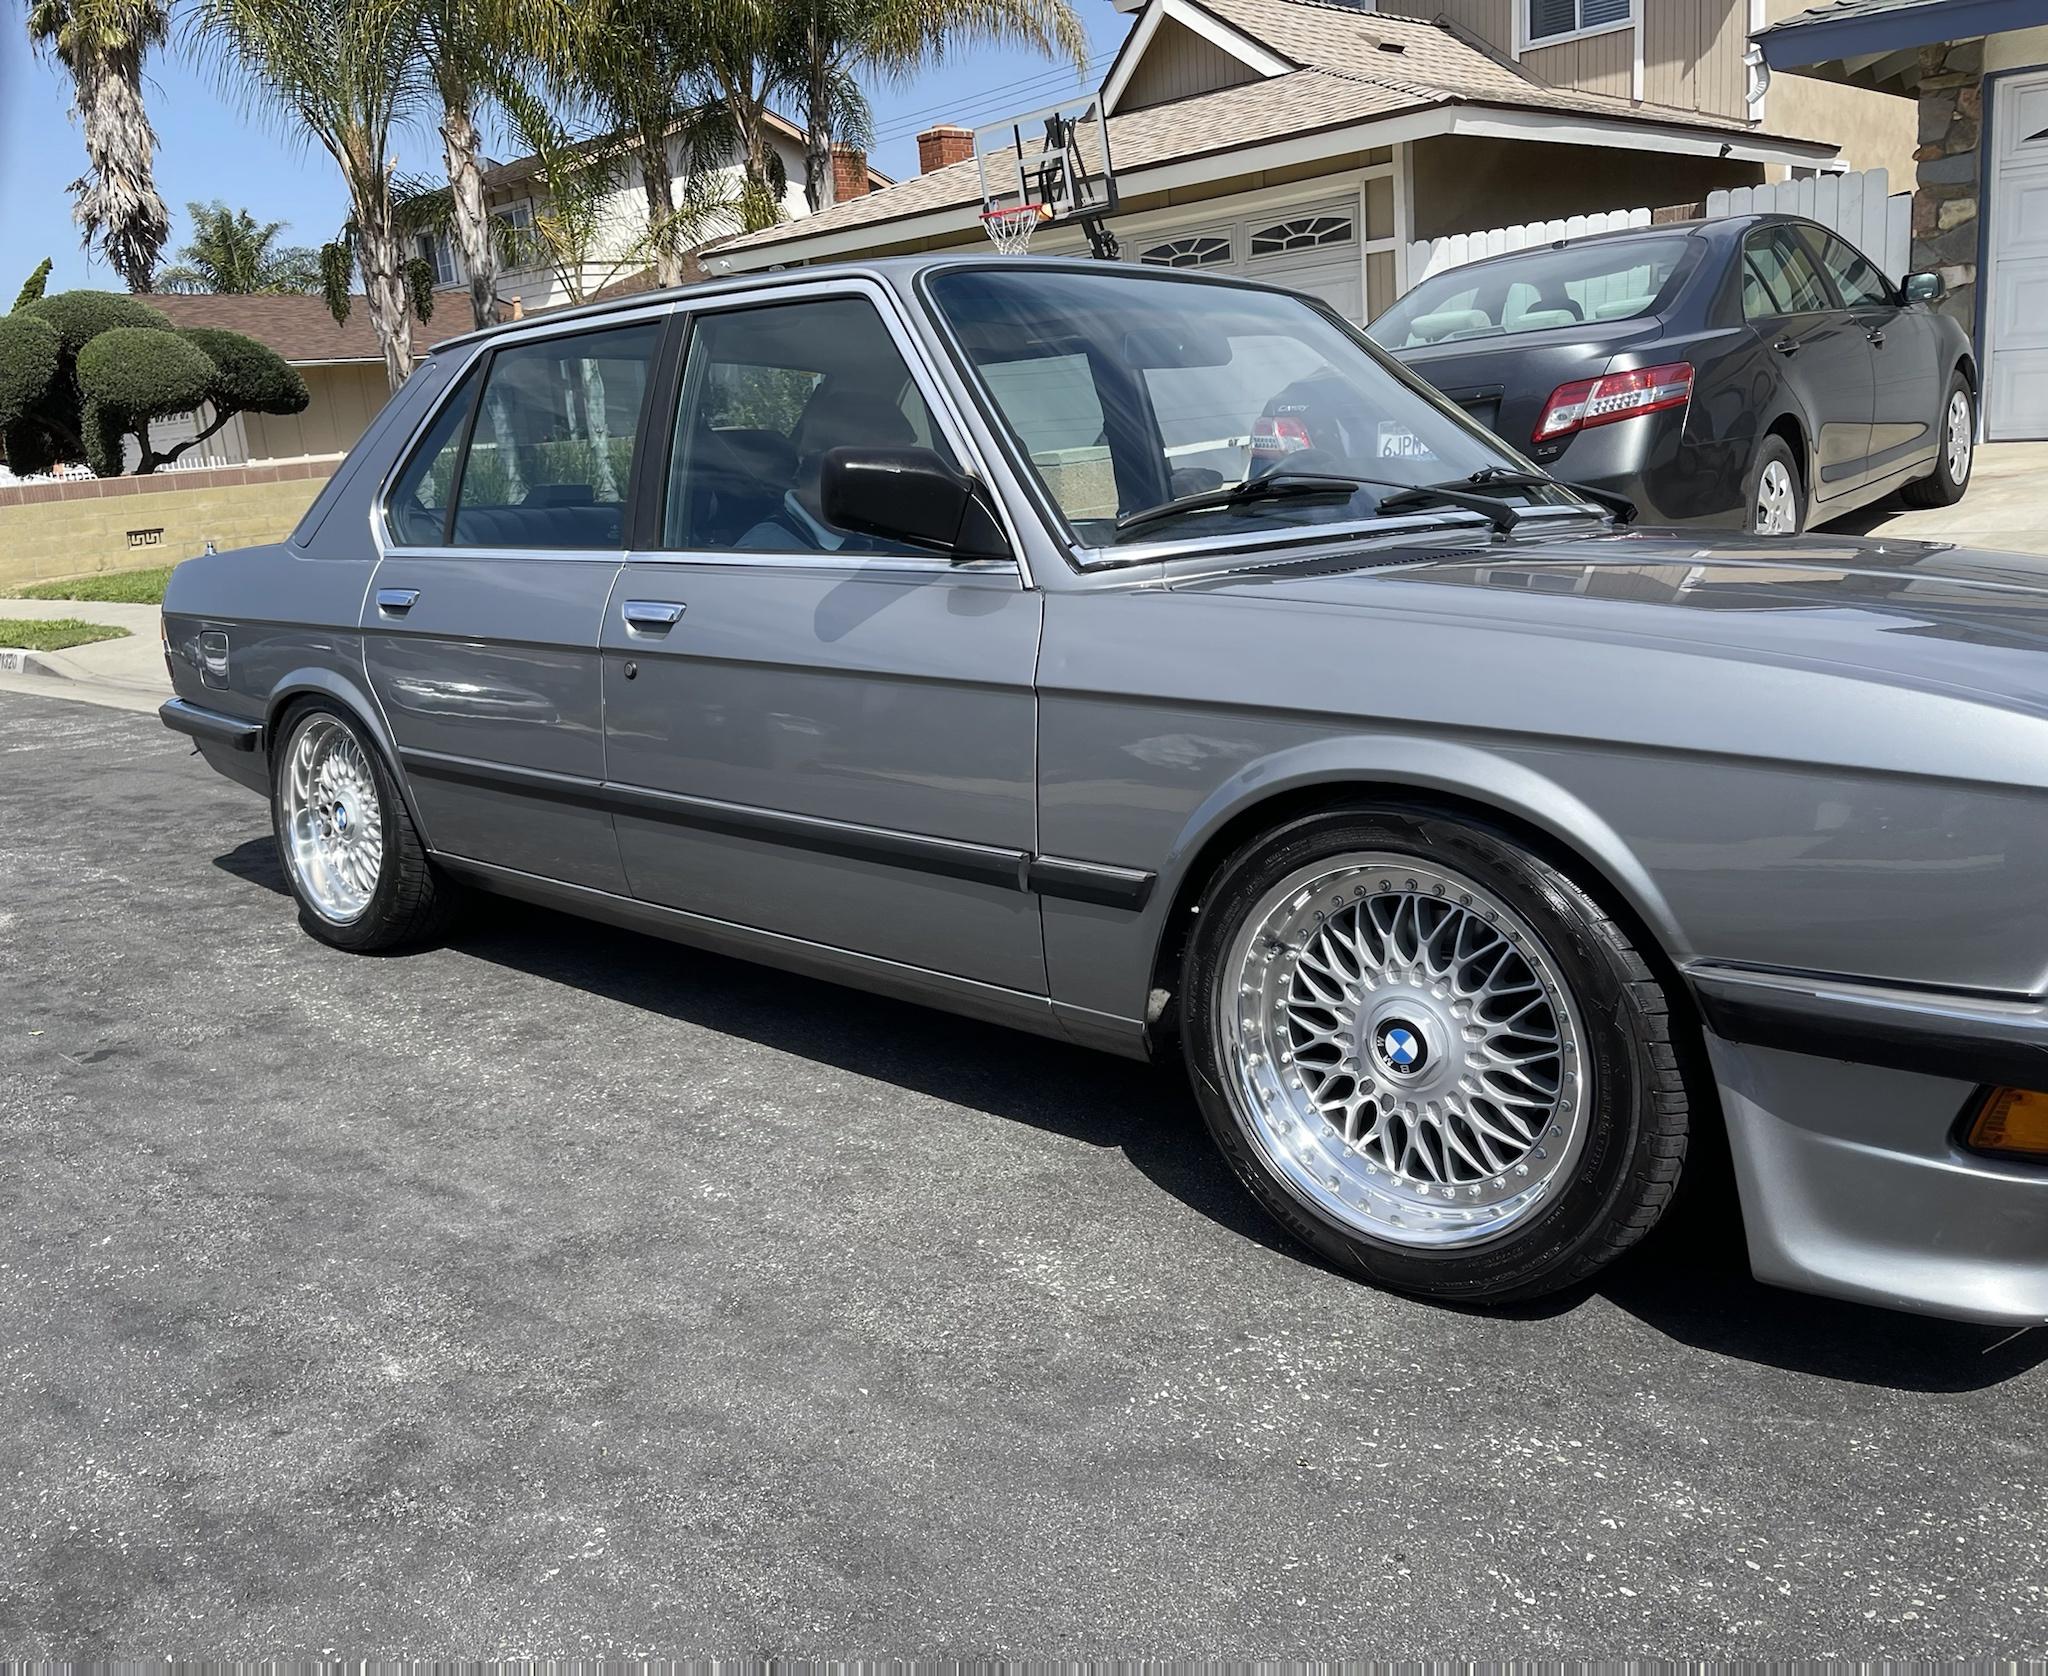
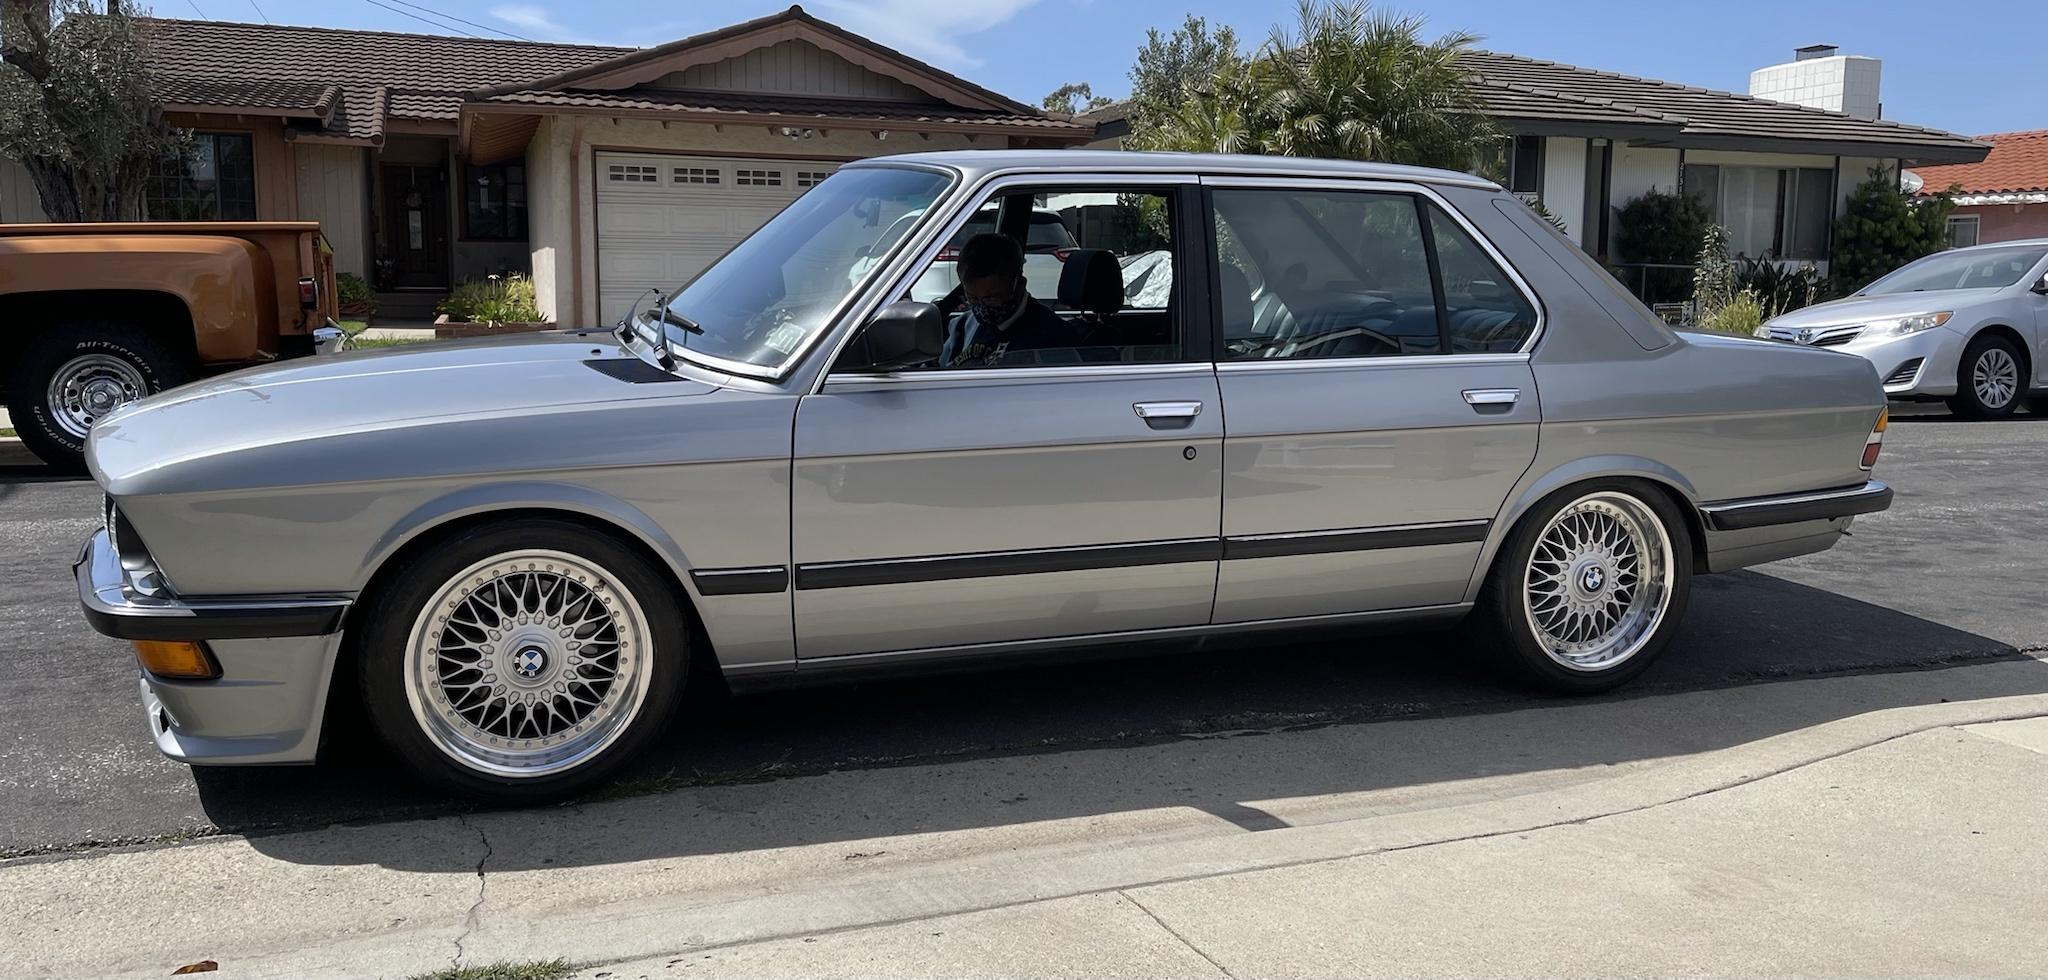
- 1987 BMW 528e
- Lachssilber Metallic
- >180k Miles

Exterior
- Euro Bumper Conversion[/list]
- Late-model Pfeba front spoiler[/list]
- e12 Chrome door handles[/list]
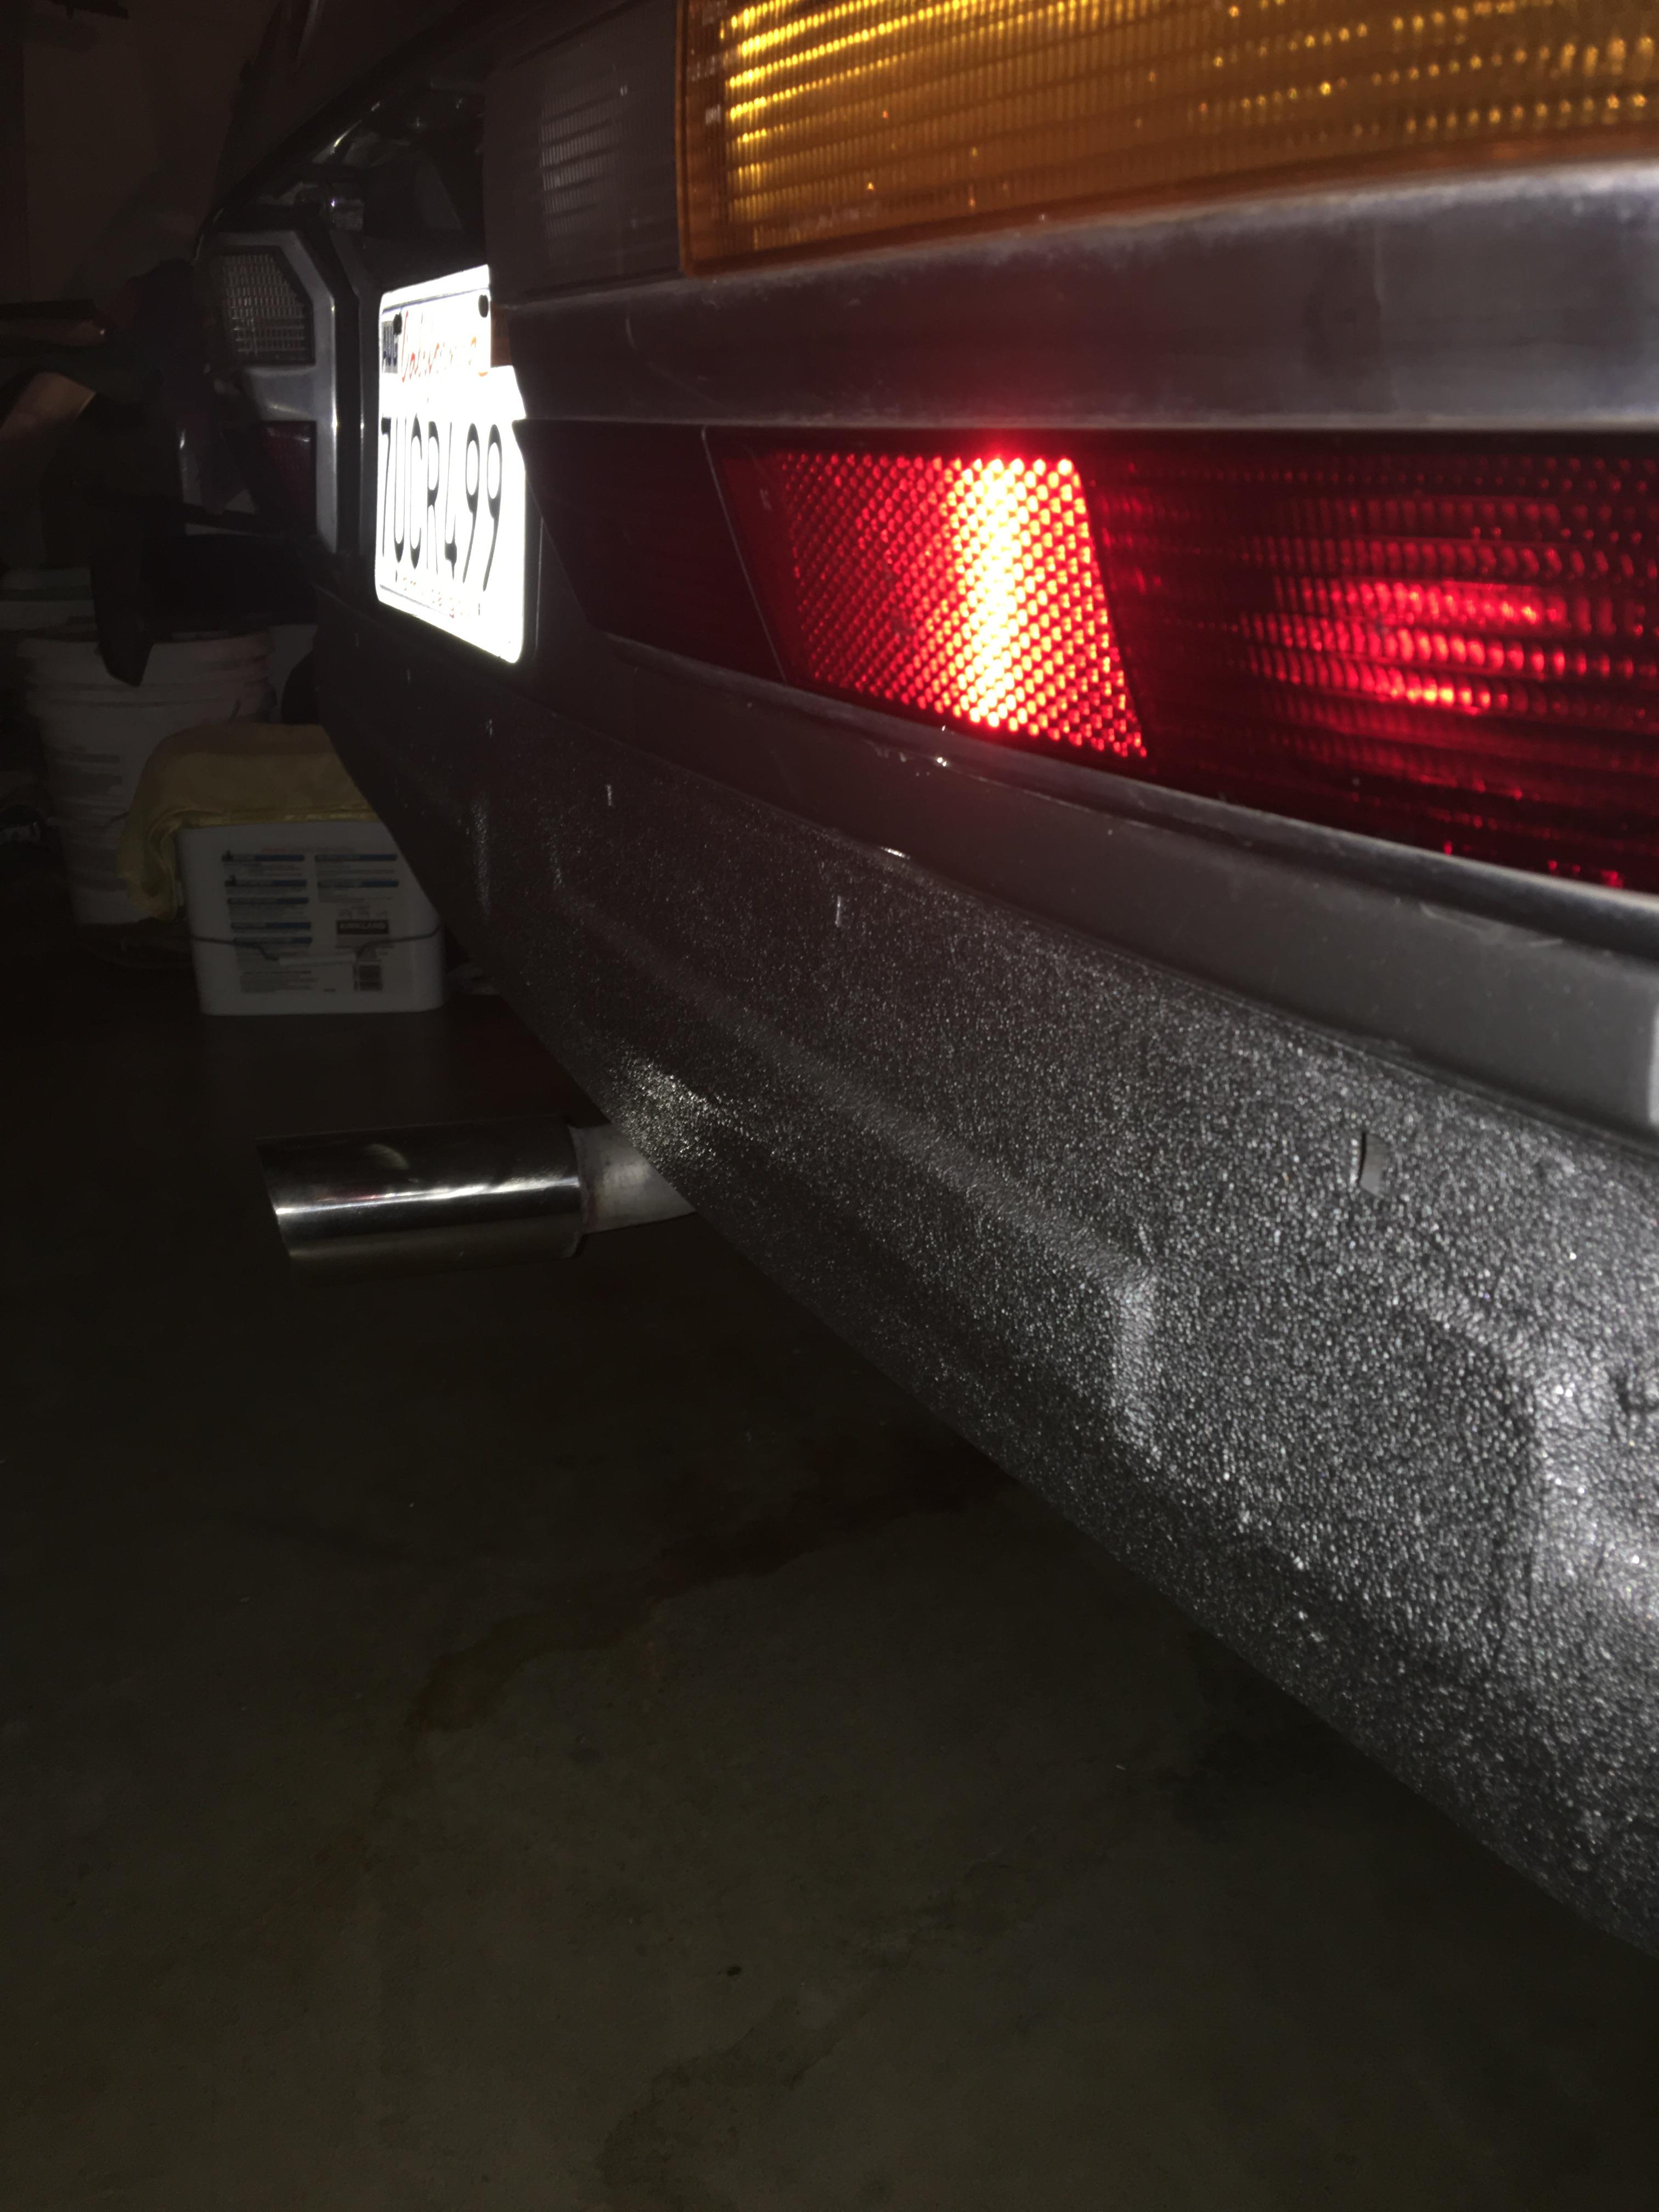
- Rear US bumper holes have been plated off[/list]

Engine
- Automatic Transmission
- M20b27 e2i head swap
- 1988 SETA Wiring Harness
- Ireland Engineering 272 cam
- Ireland Engineering HD Rockers
- 885 head fully rebuilt
- 325i injectors
- 173 ECU with sssquid chip
- Stock '87 ETA exhaust

Wheels and Suspension
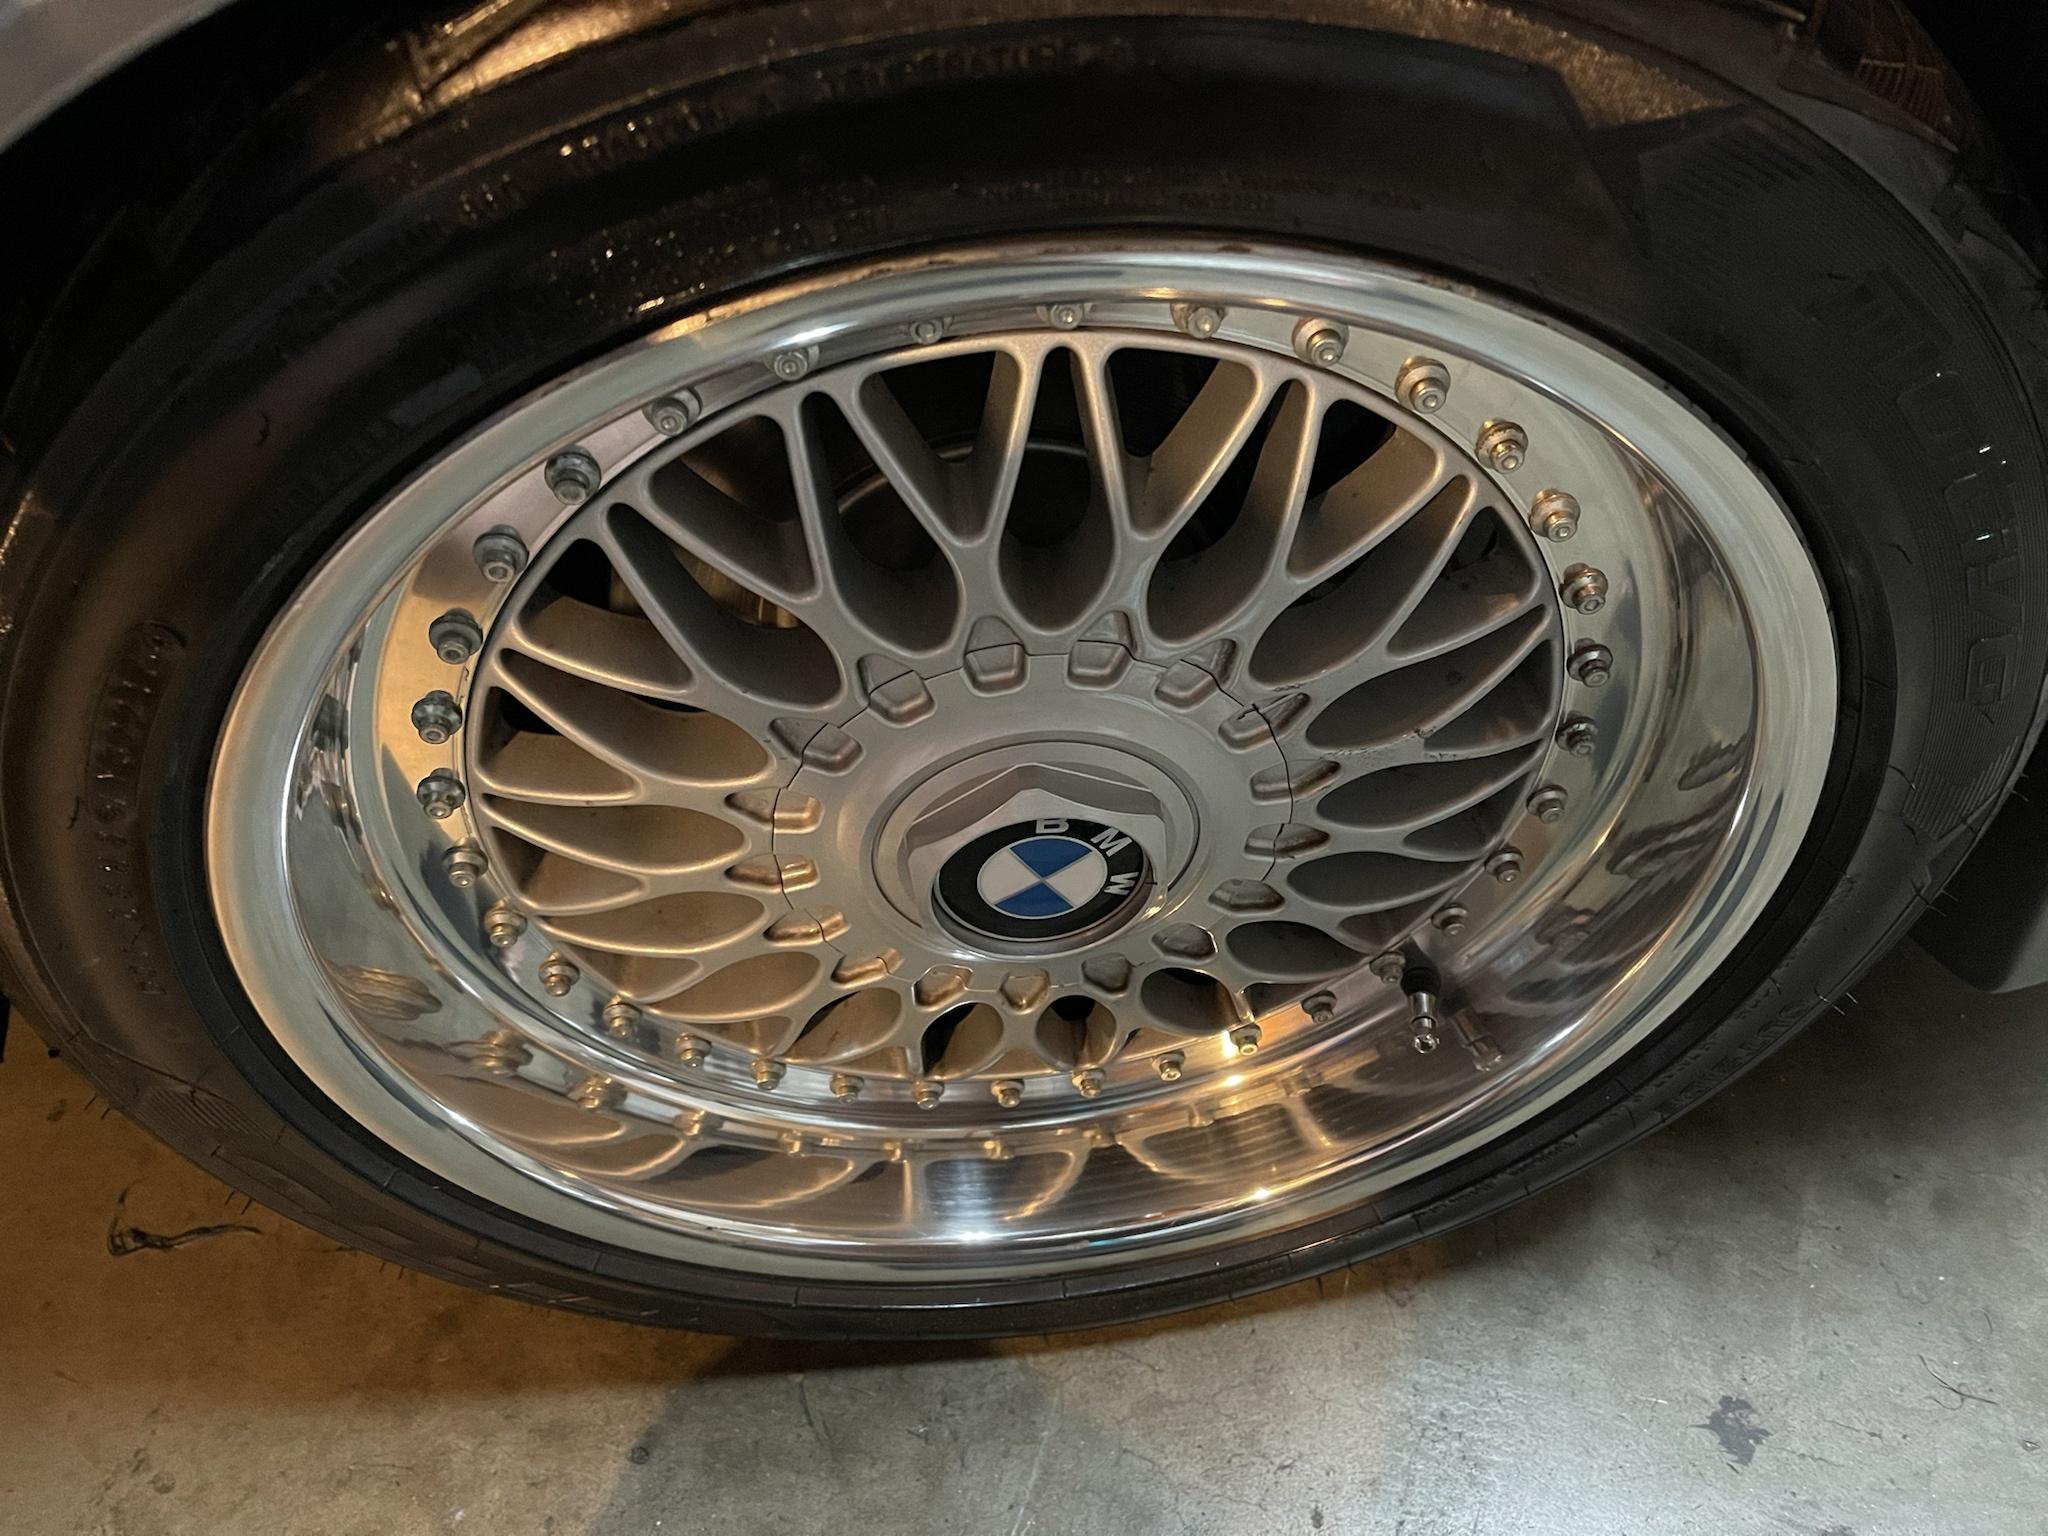
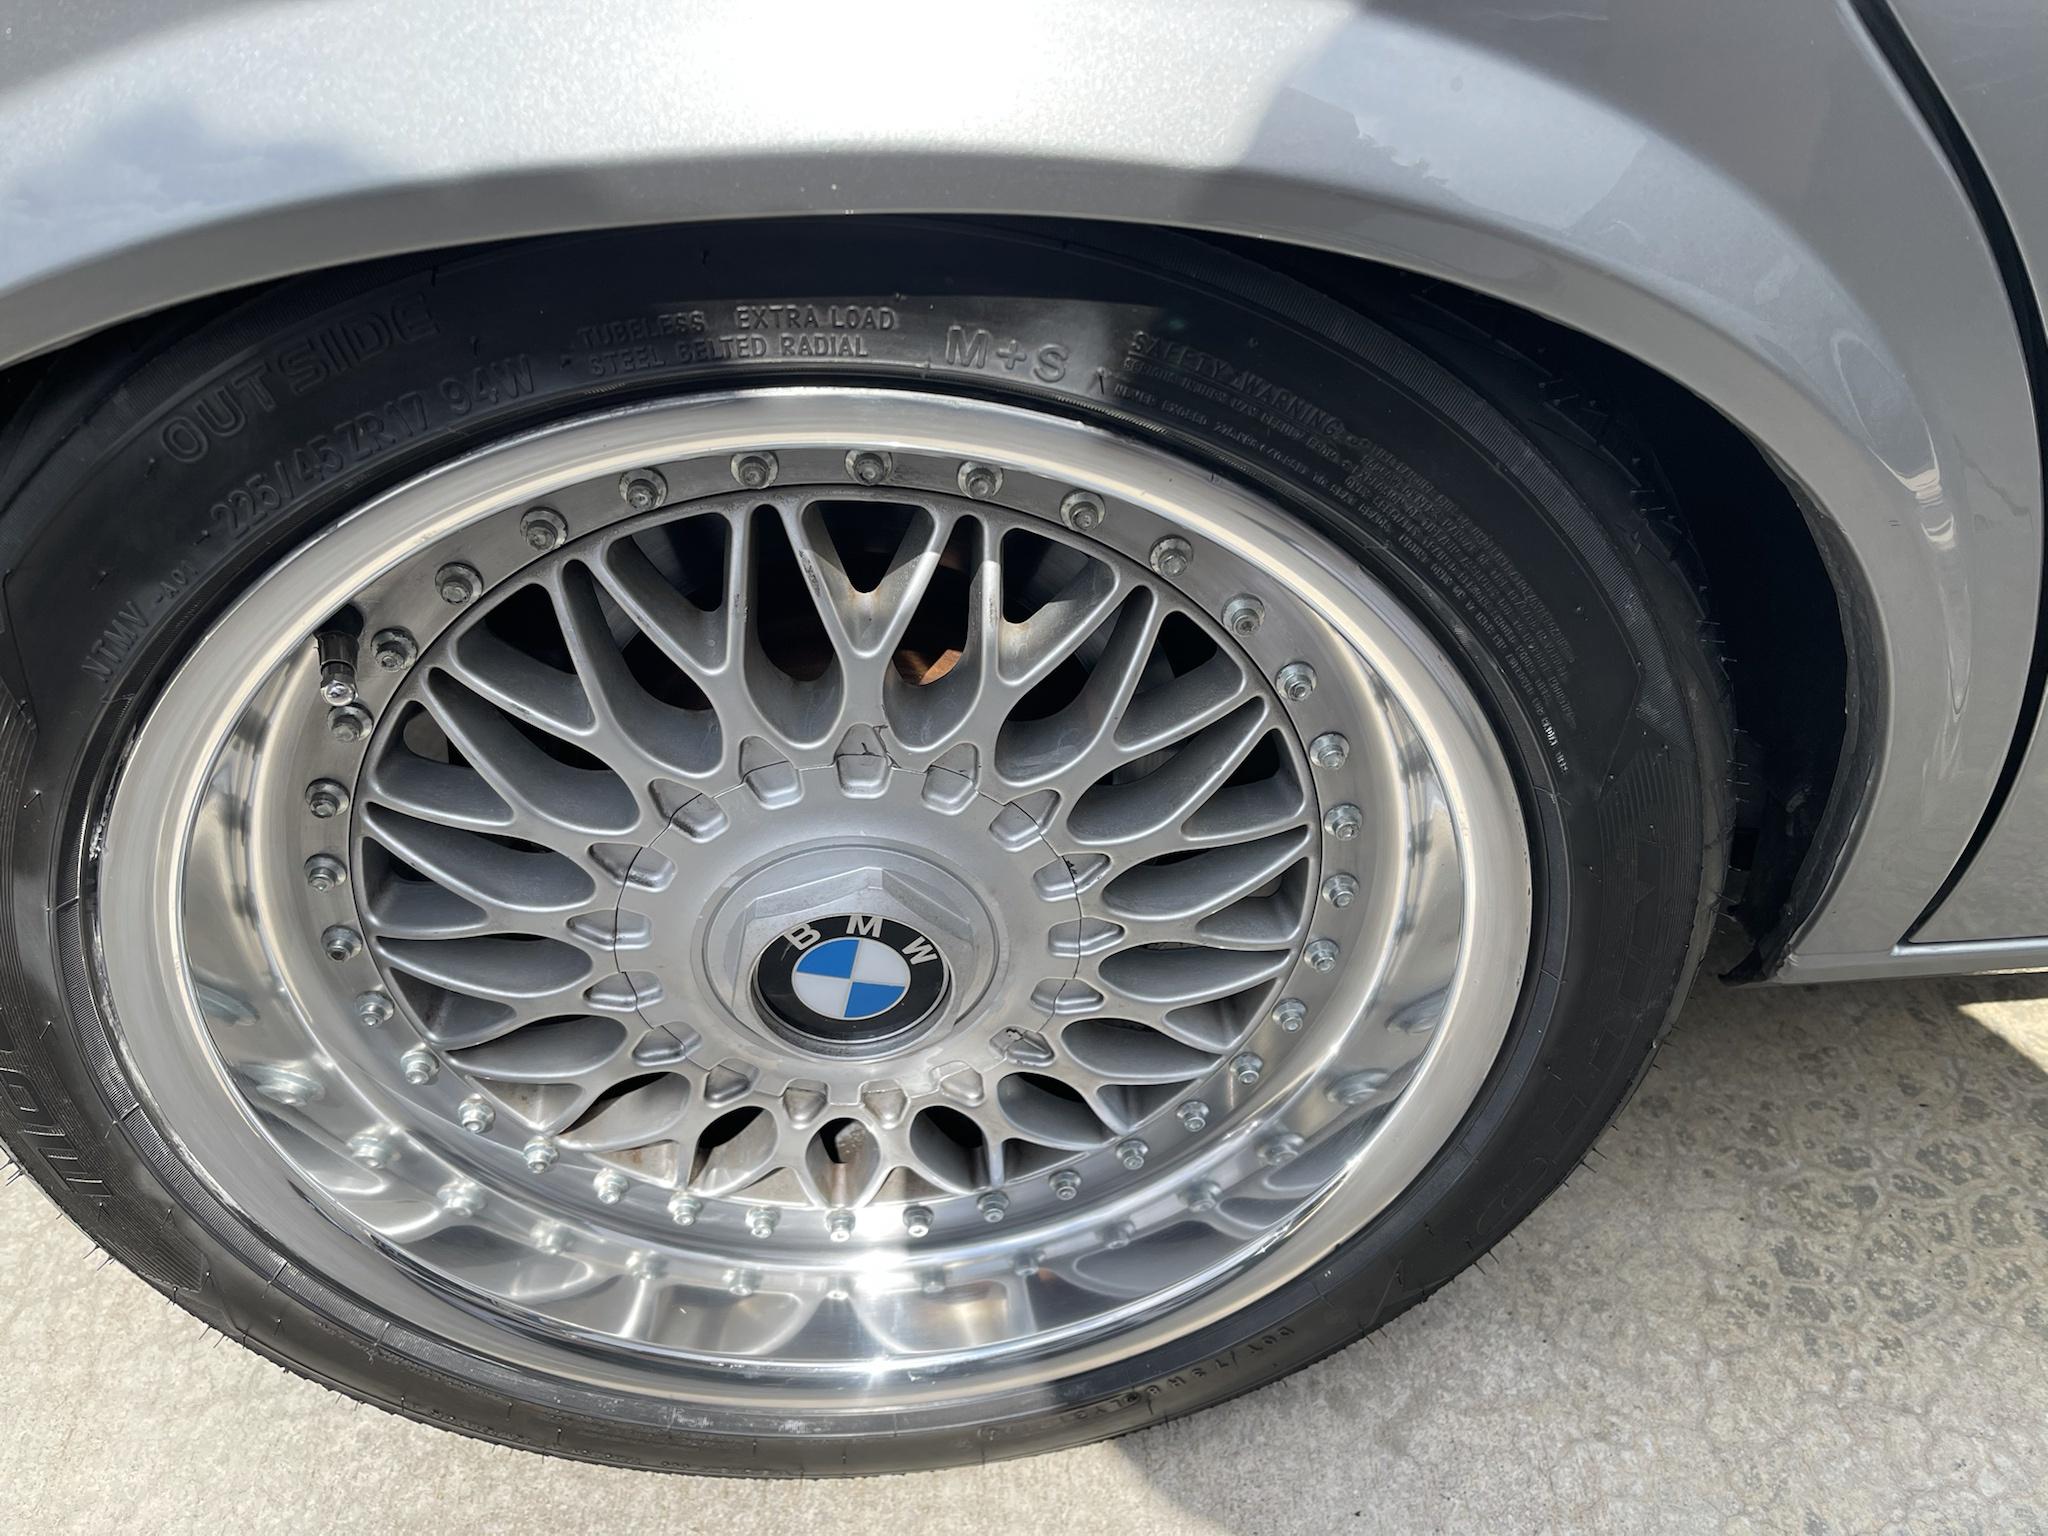
- BBS RC090 with 225/45/17 Tires
- Godspeed Maxx Coilovers
- Full suspension refresh, all bushings have been replaced

Interior
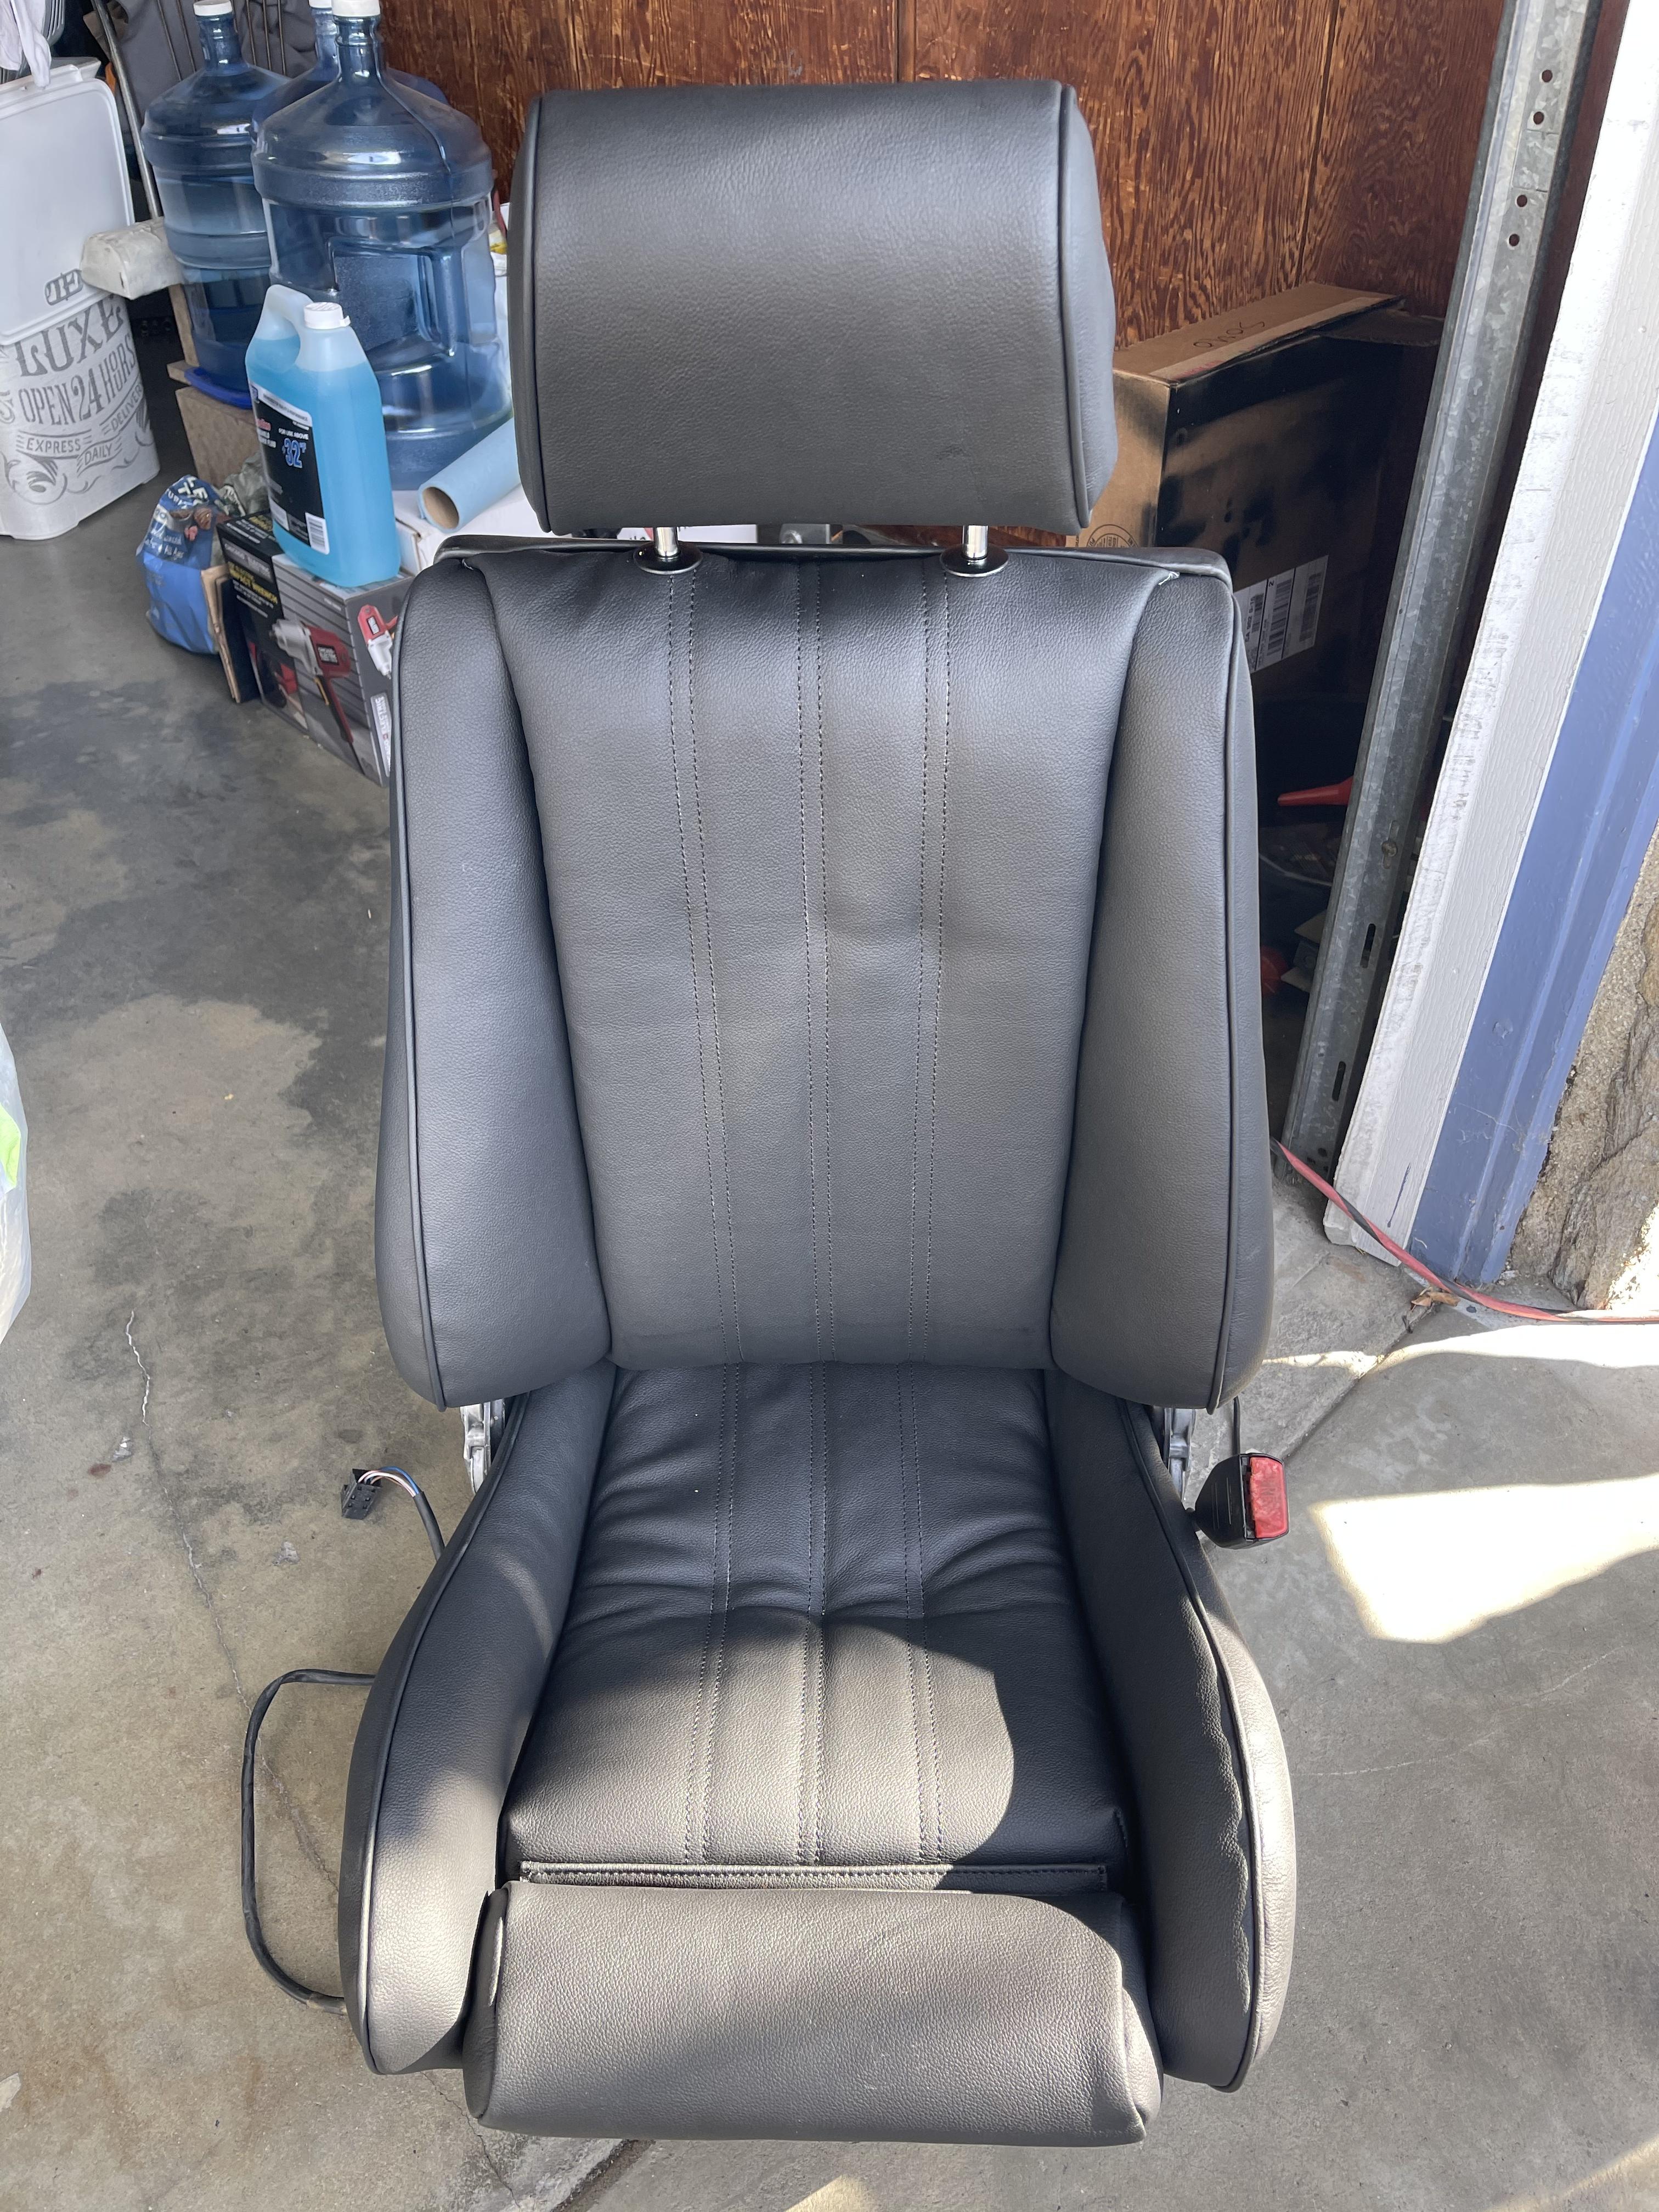
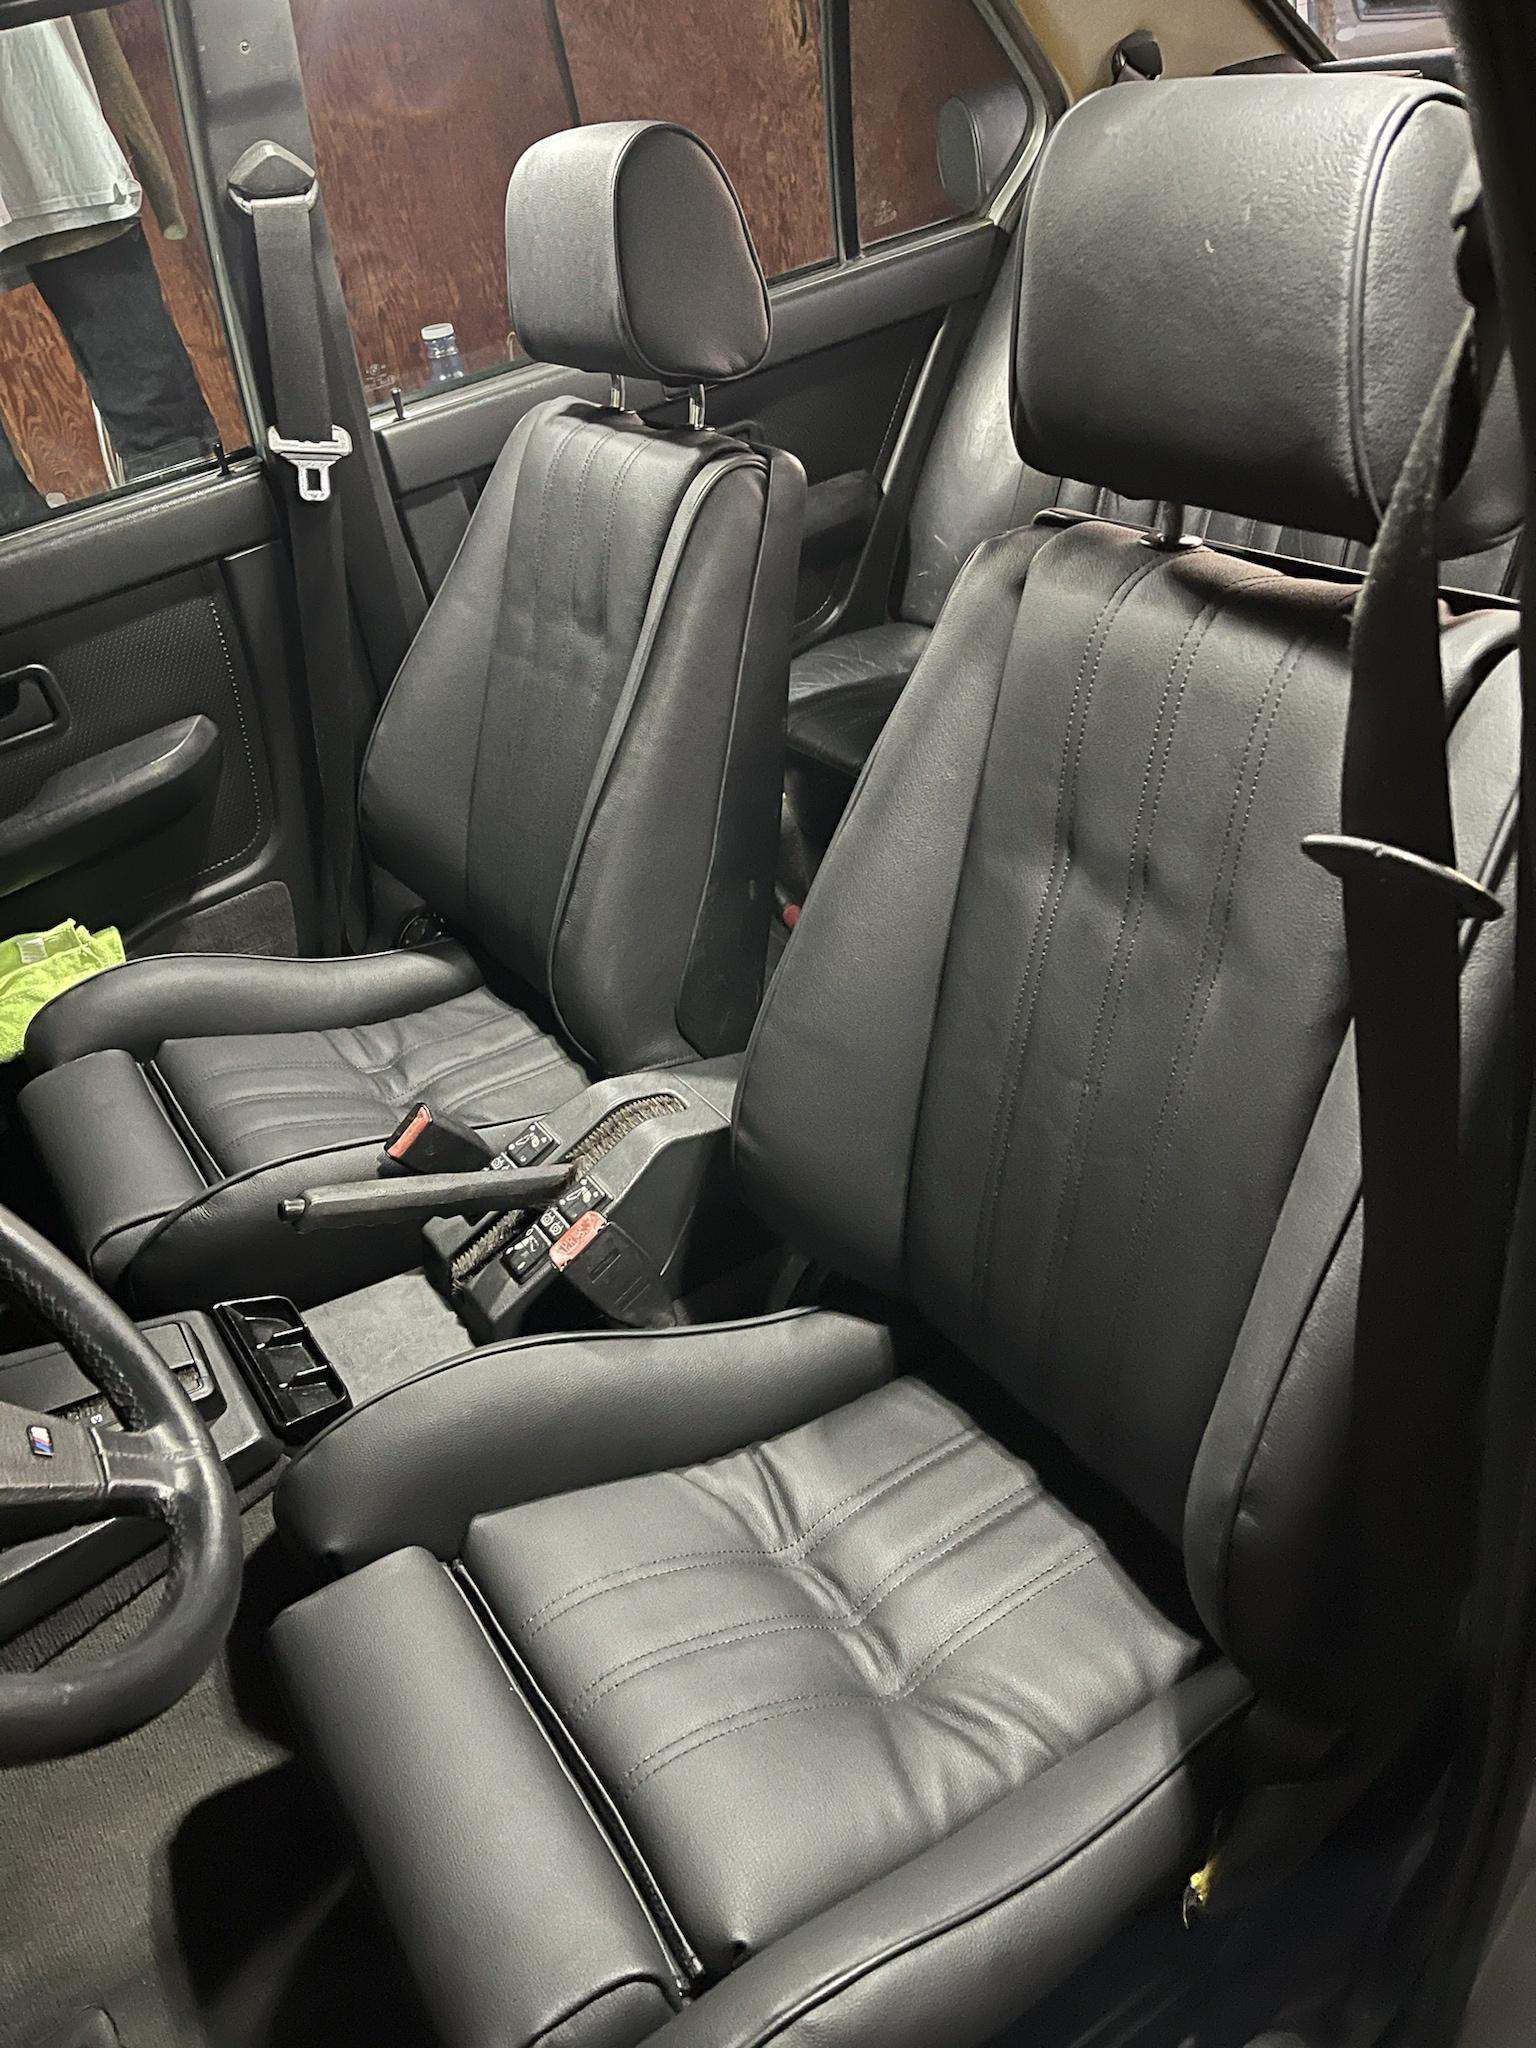
- Black power sport seats reupholstered with kit from Lseat
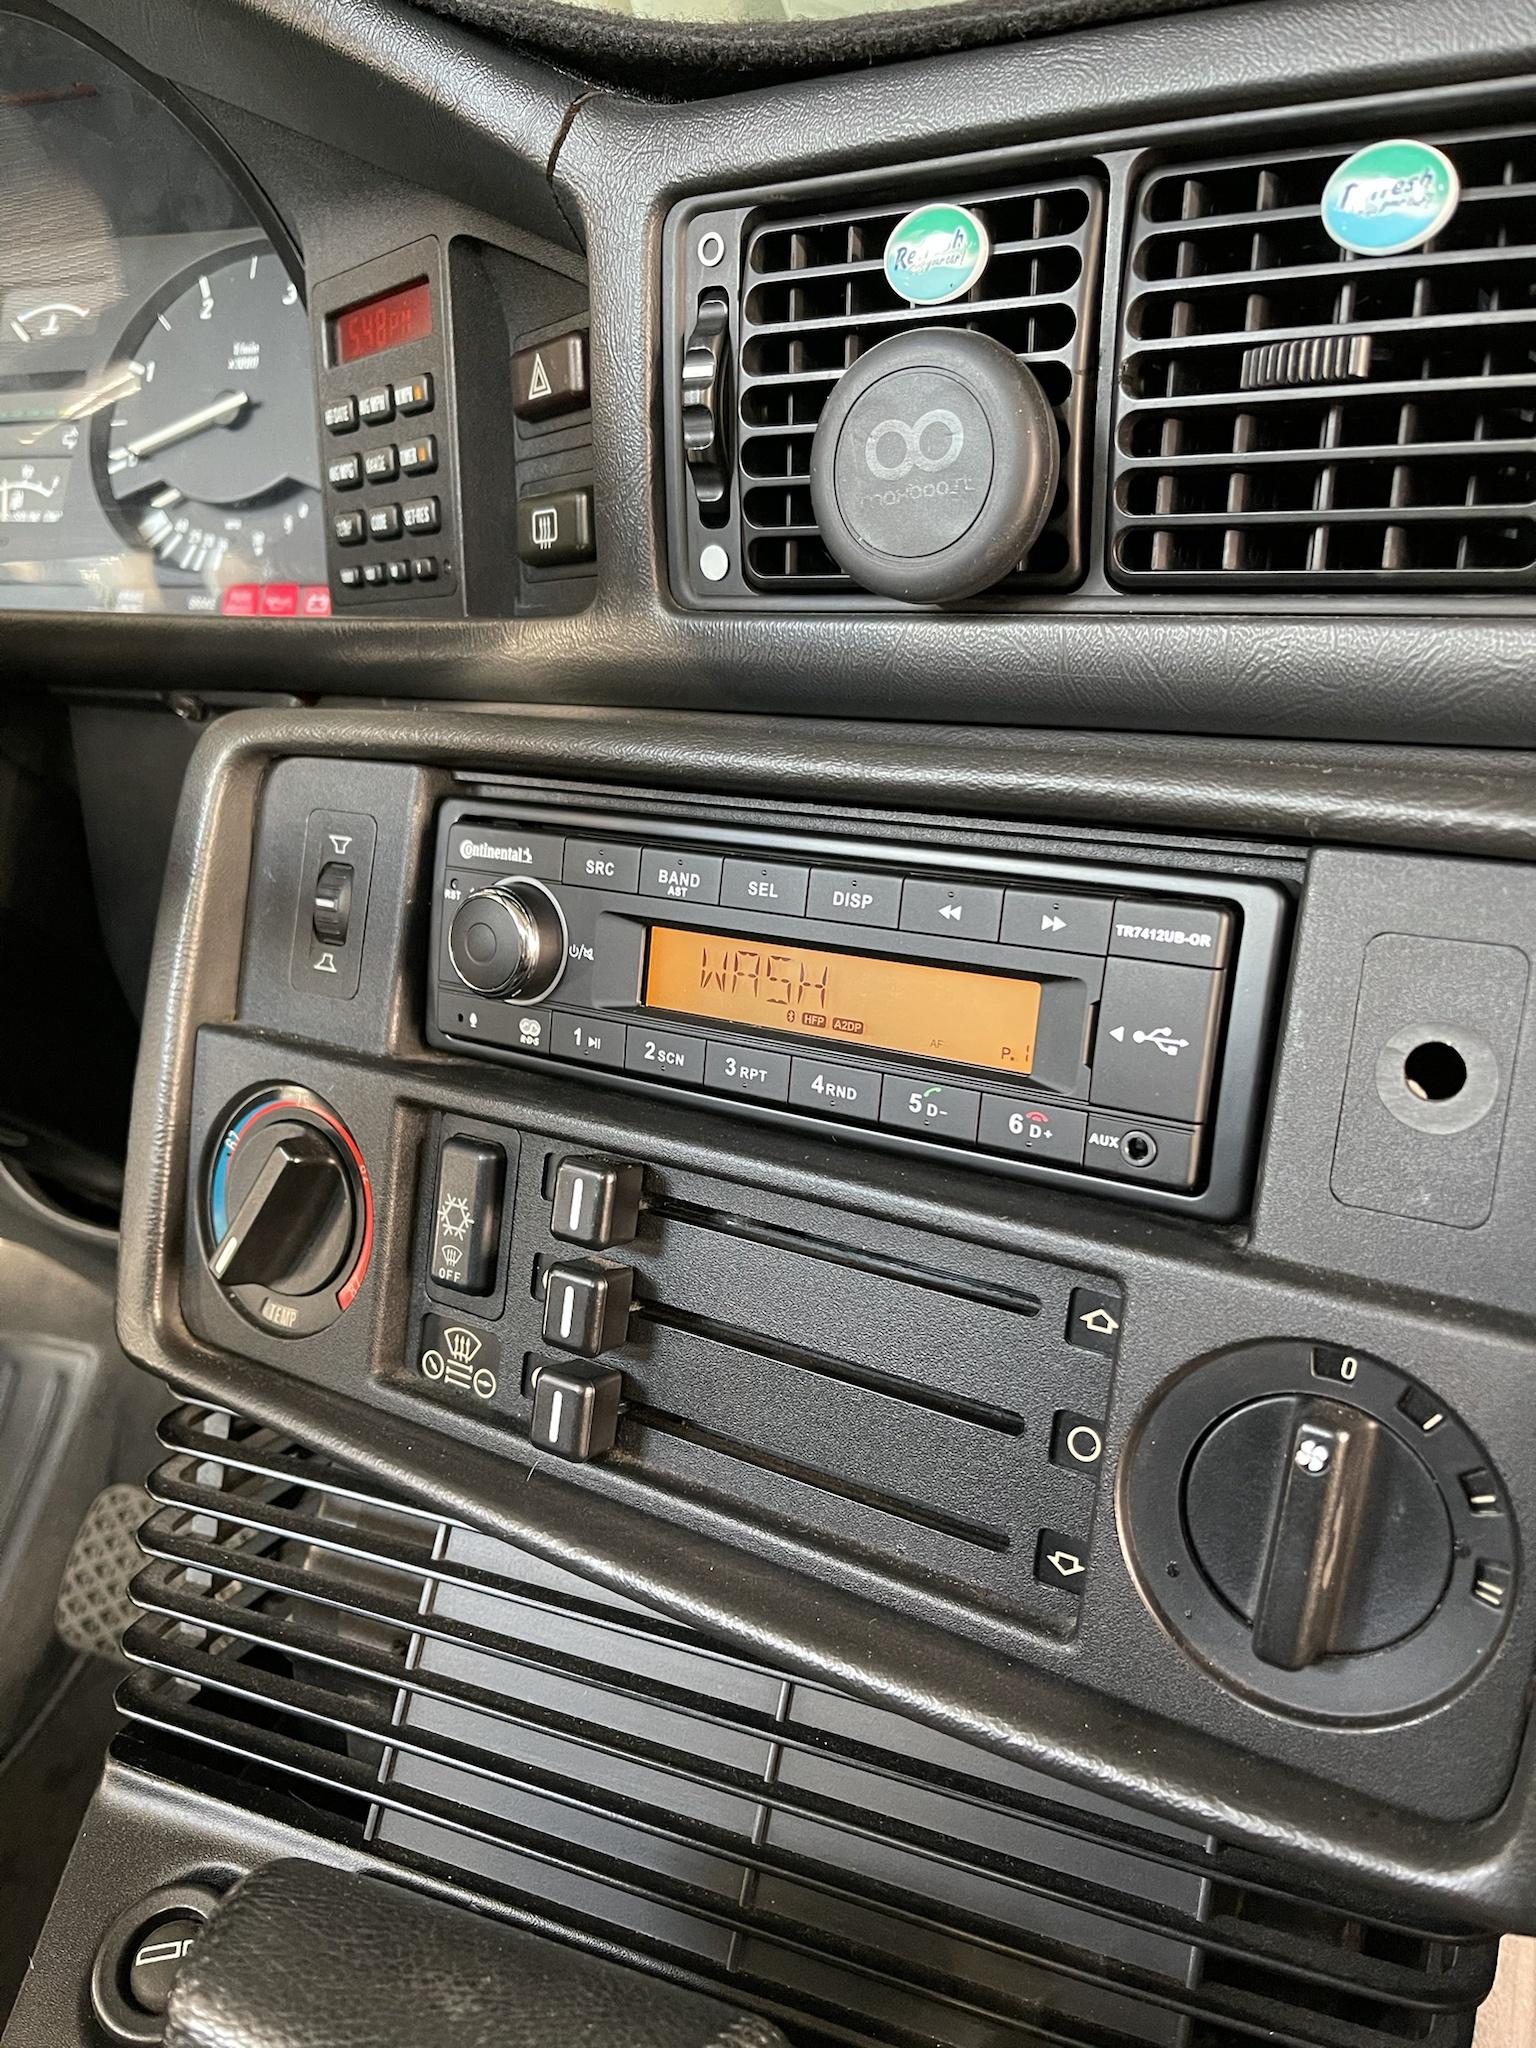
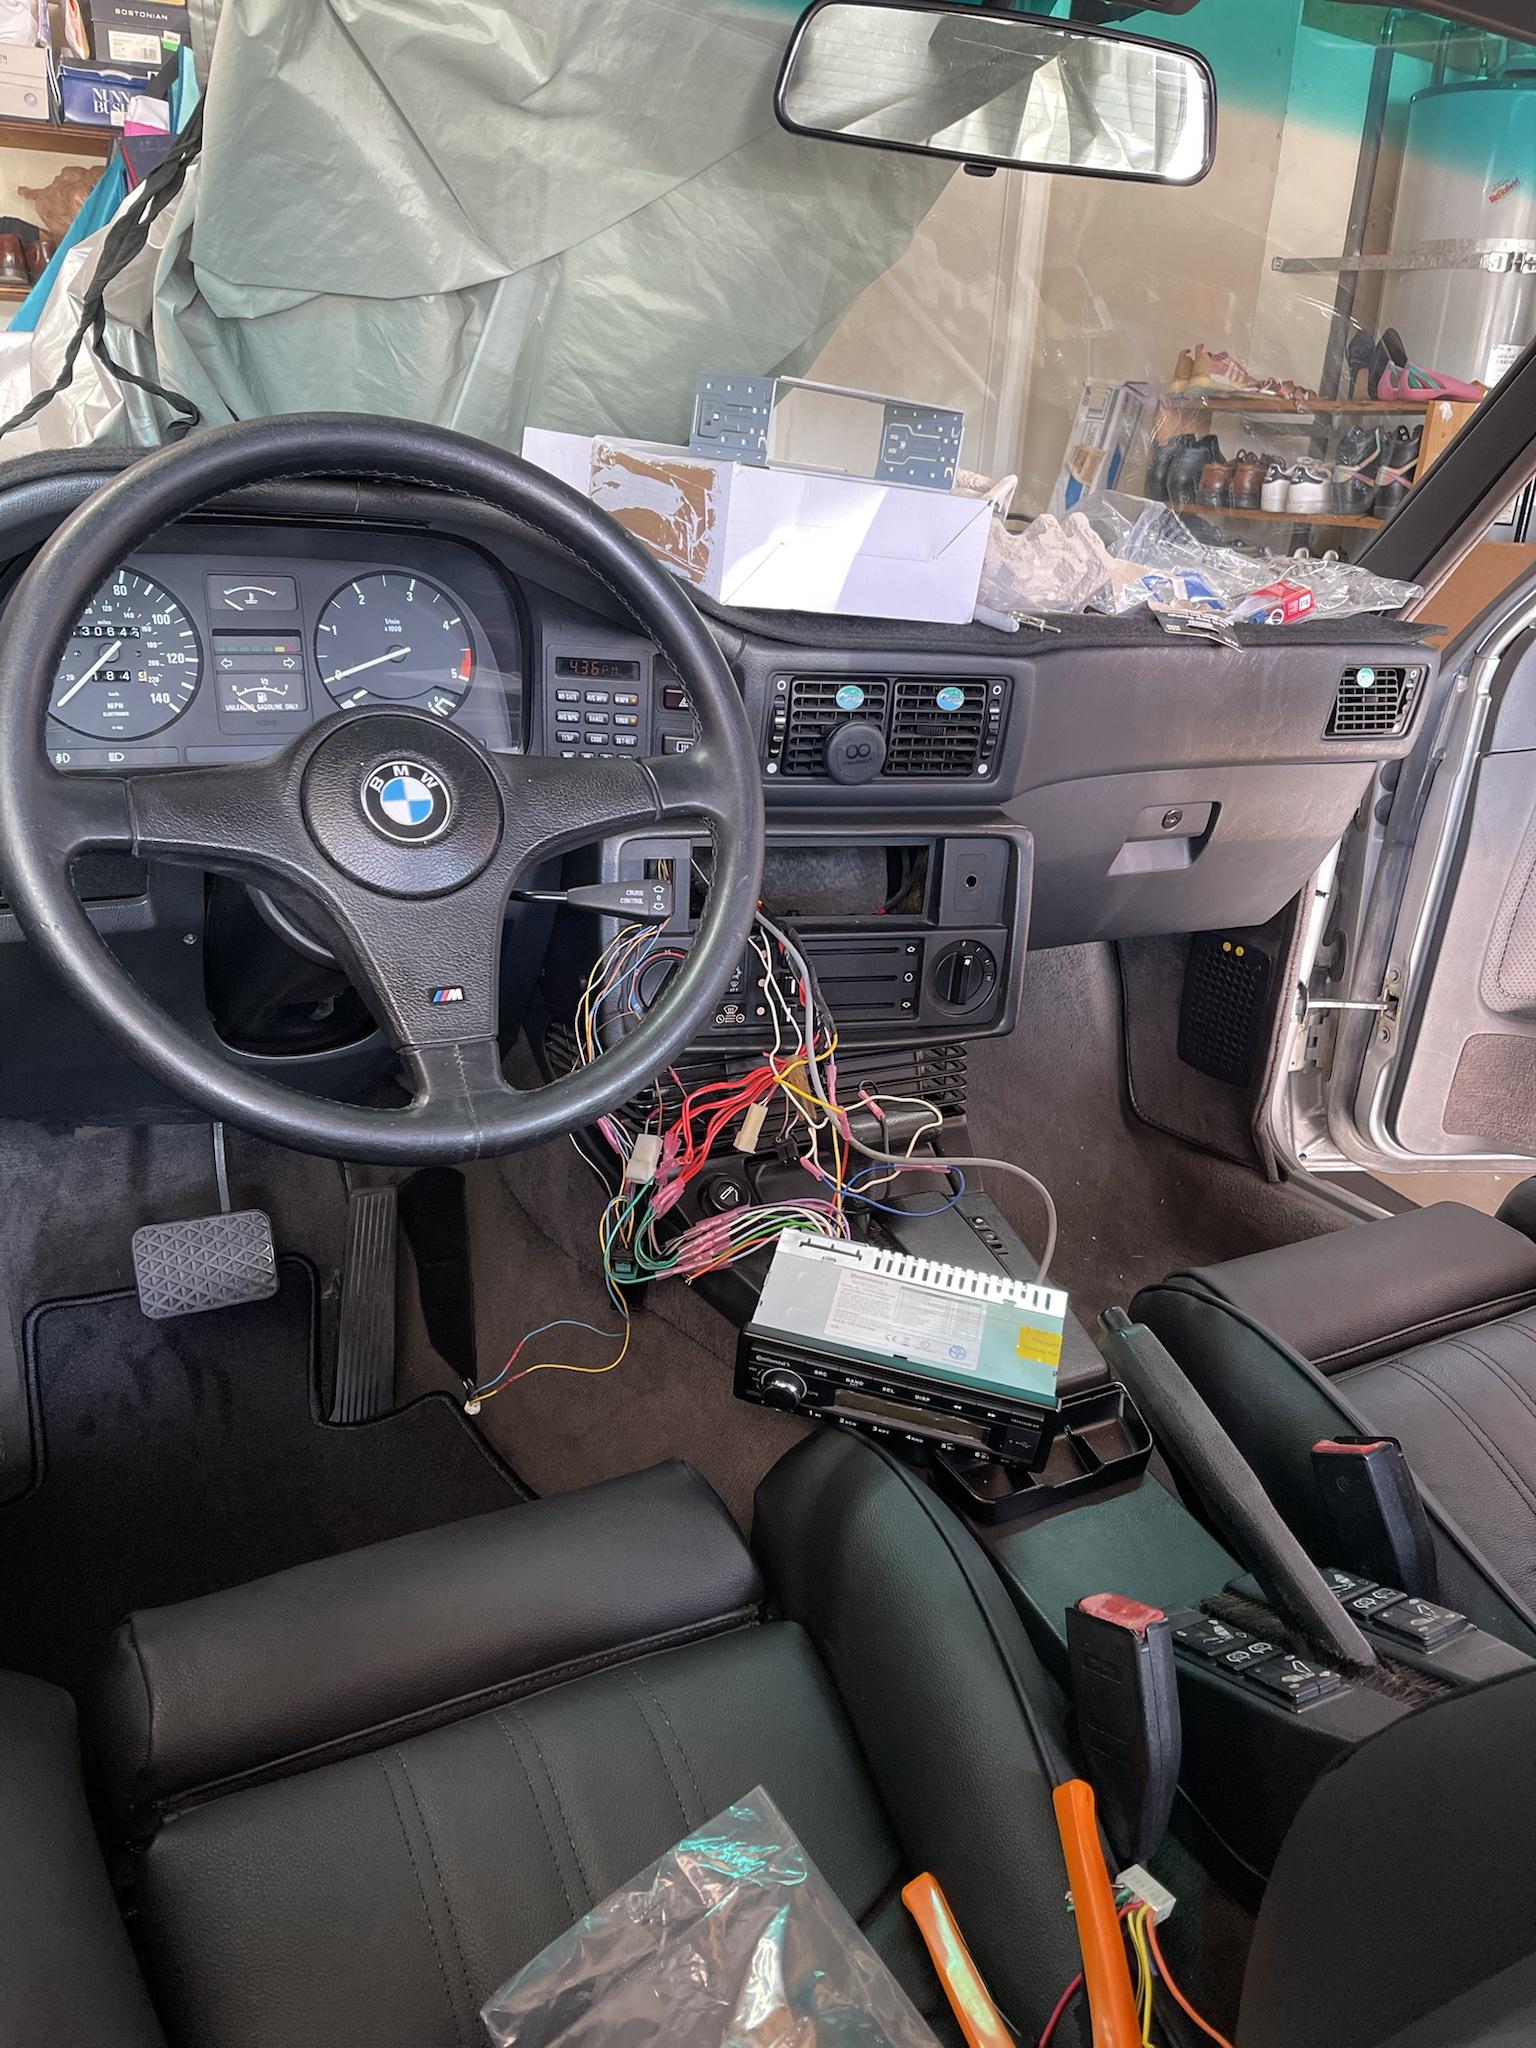
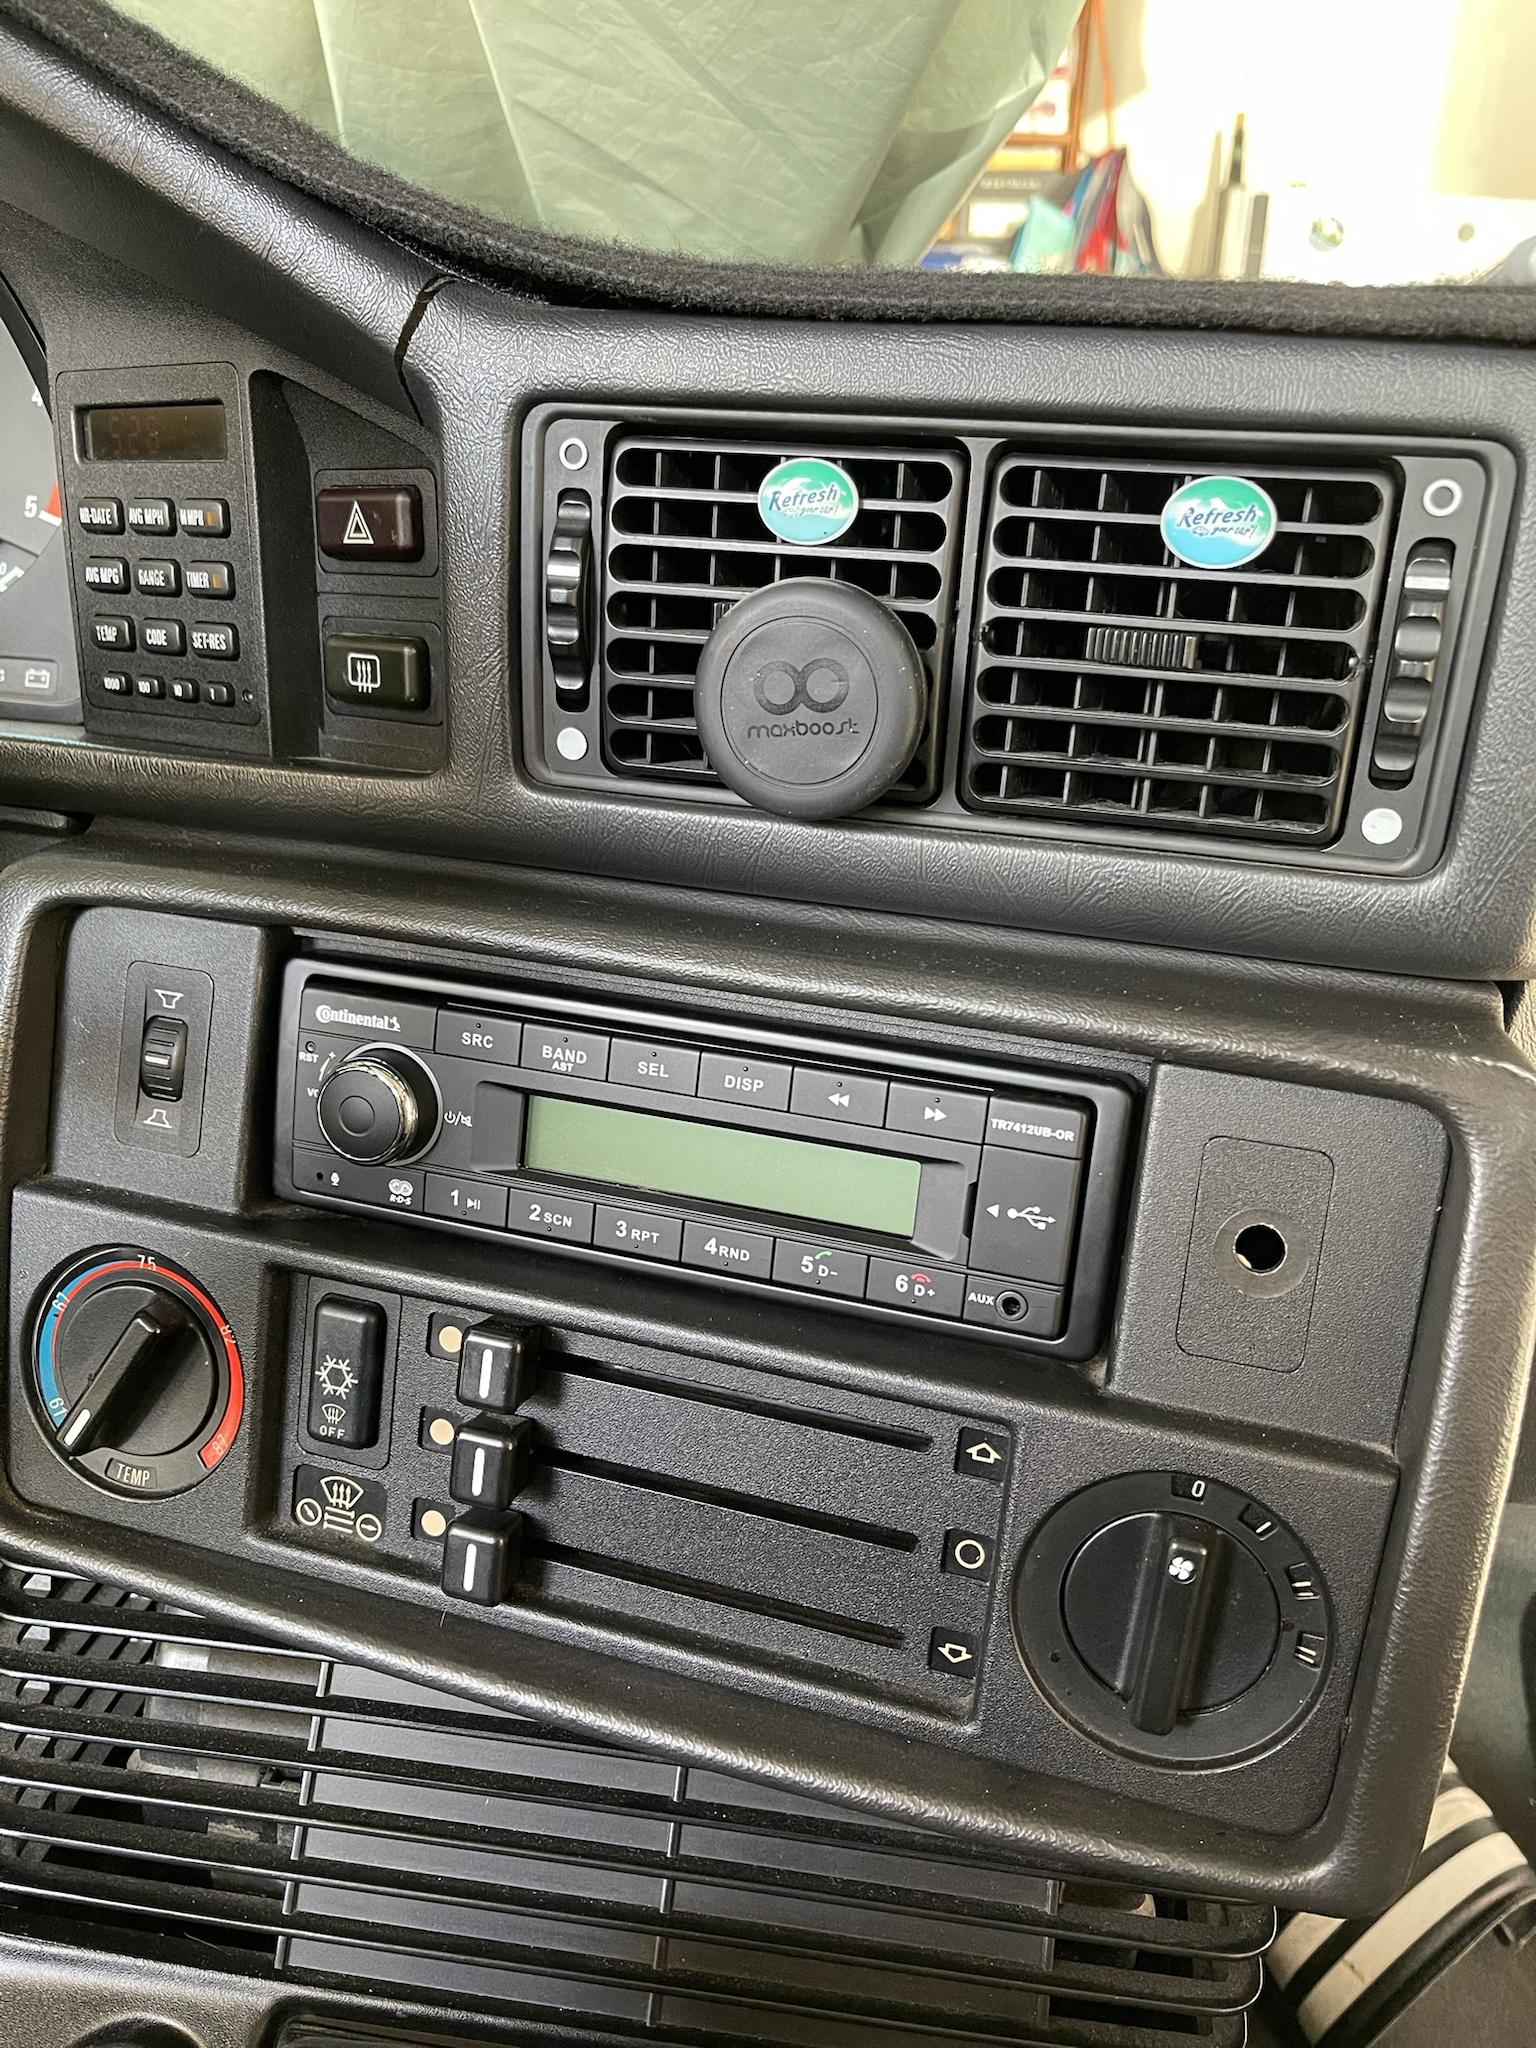
- Continental TR7412UB-OR headunit
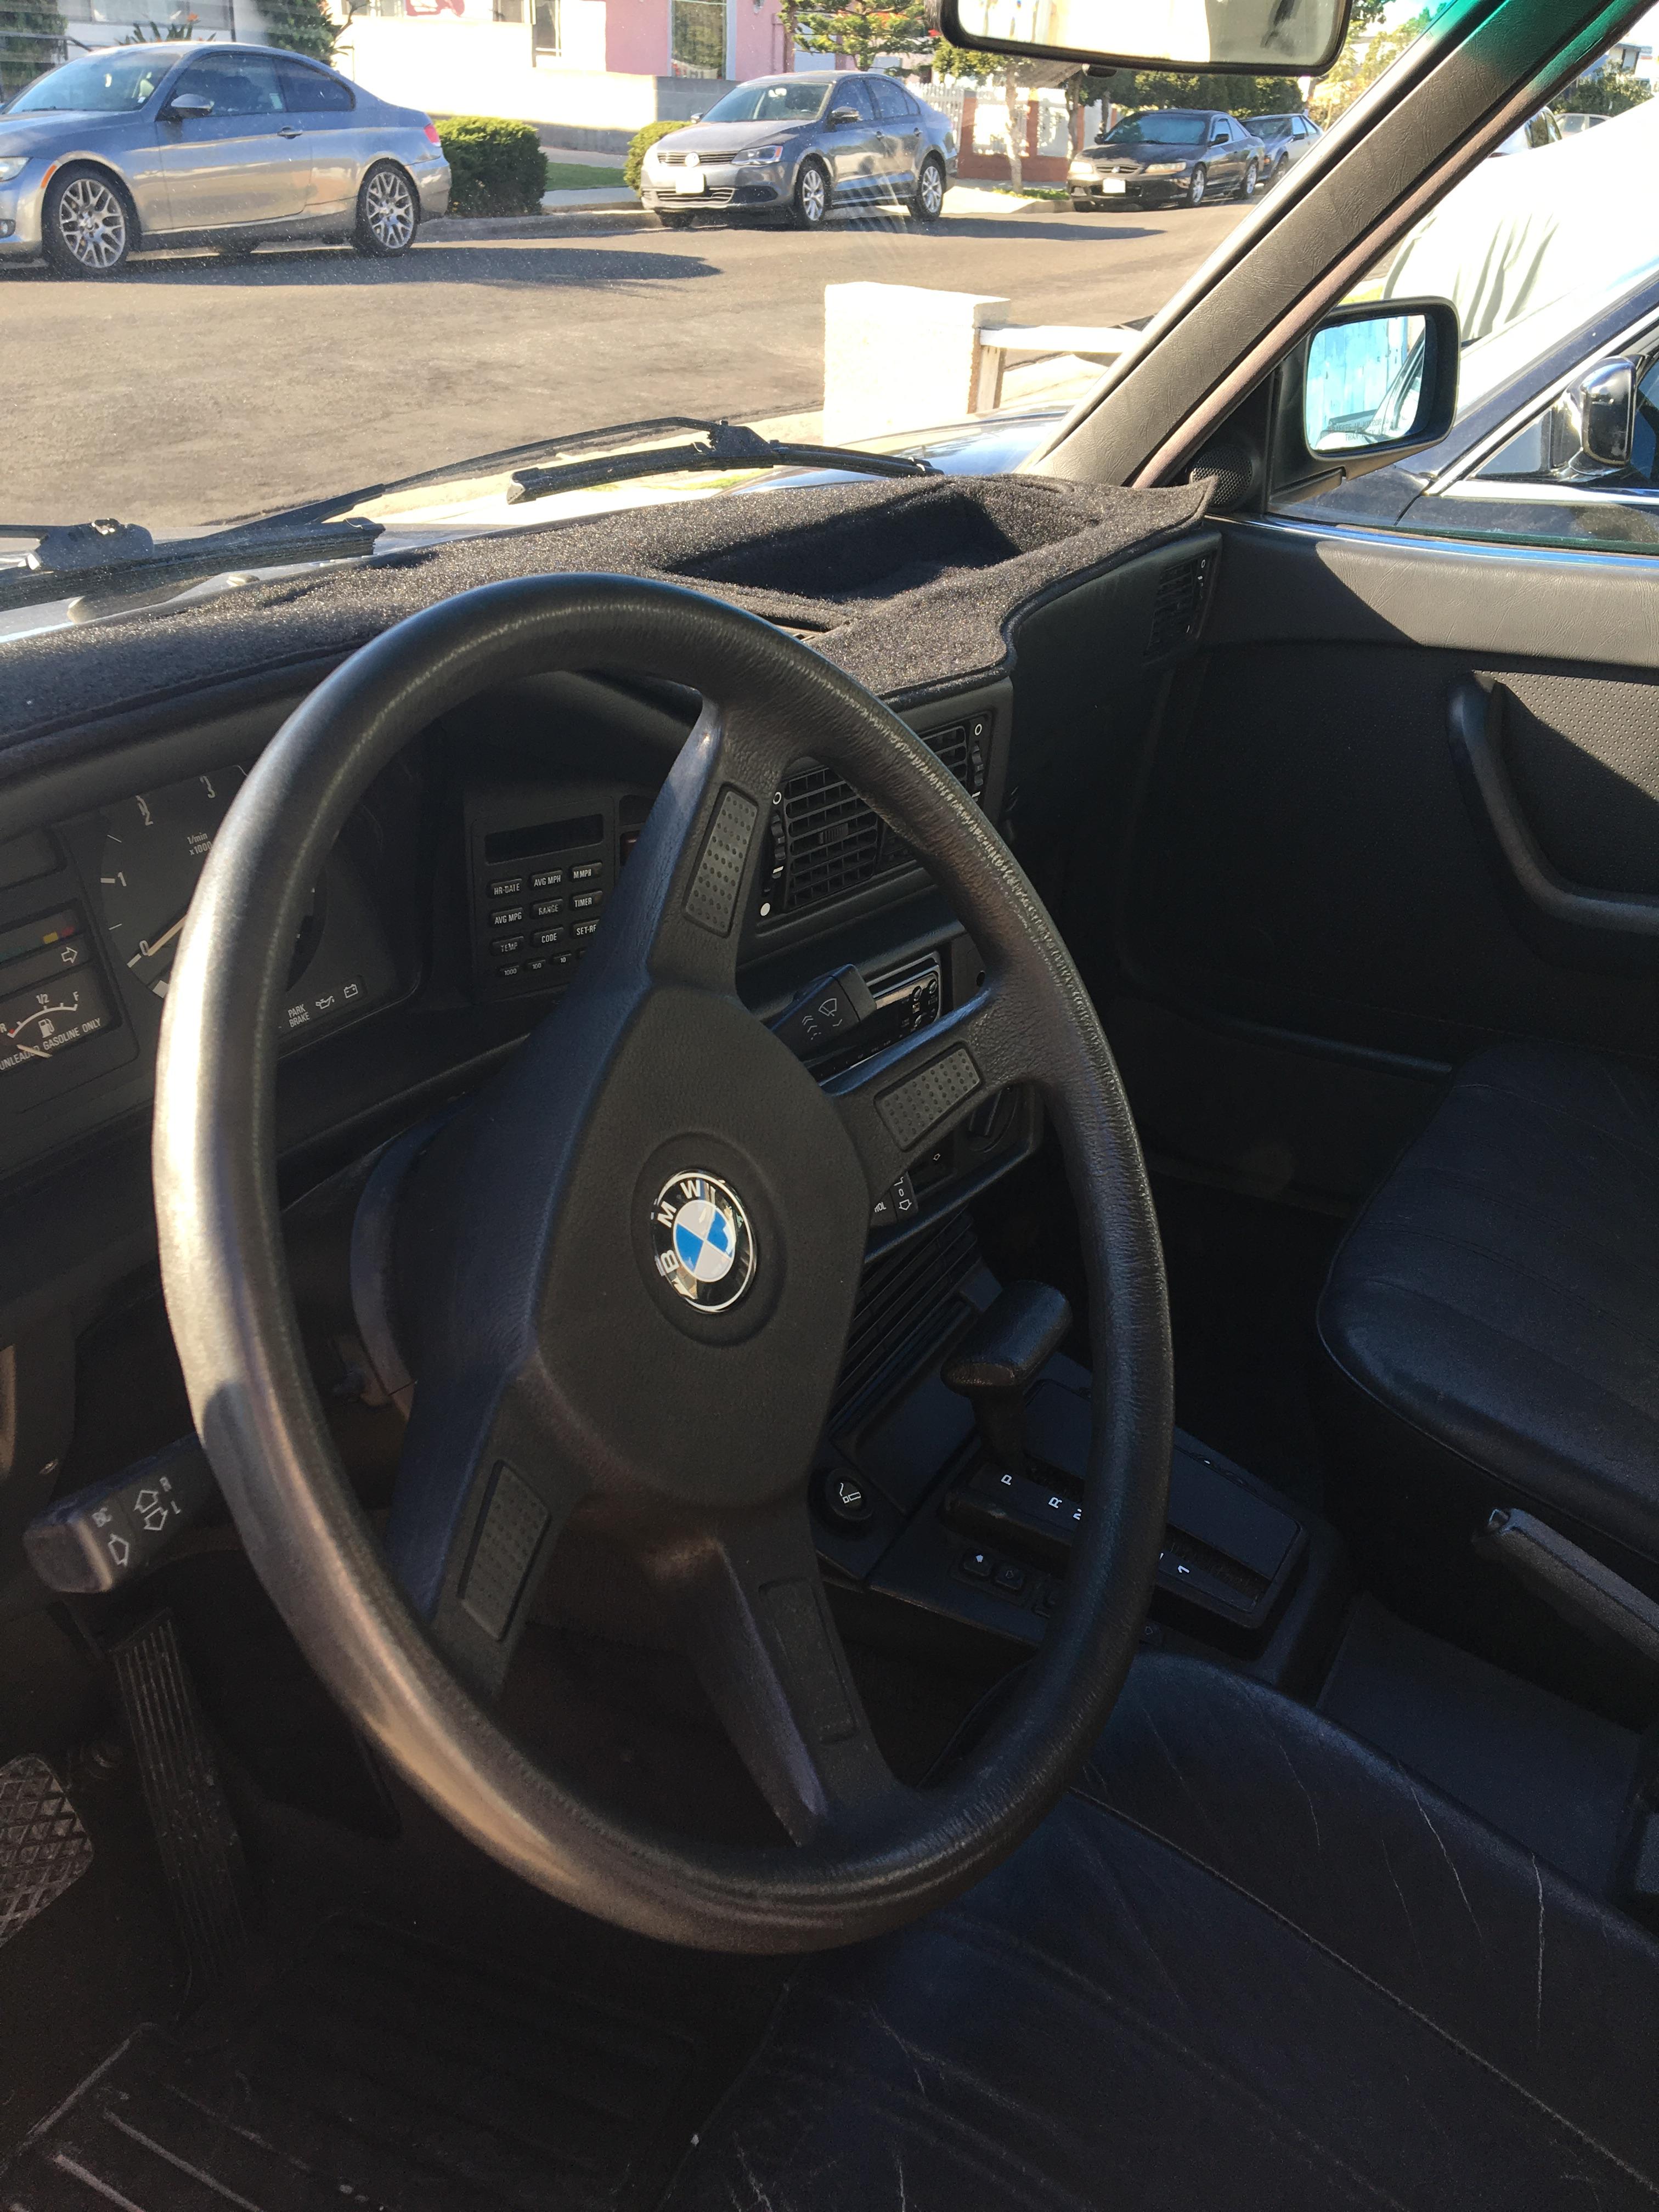
- Sport Steering Wheel
- Schmiedmann motorsport floormats

======================================================================================
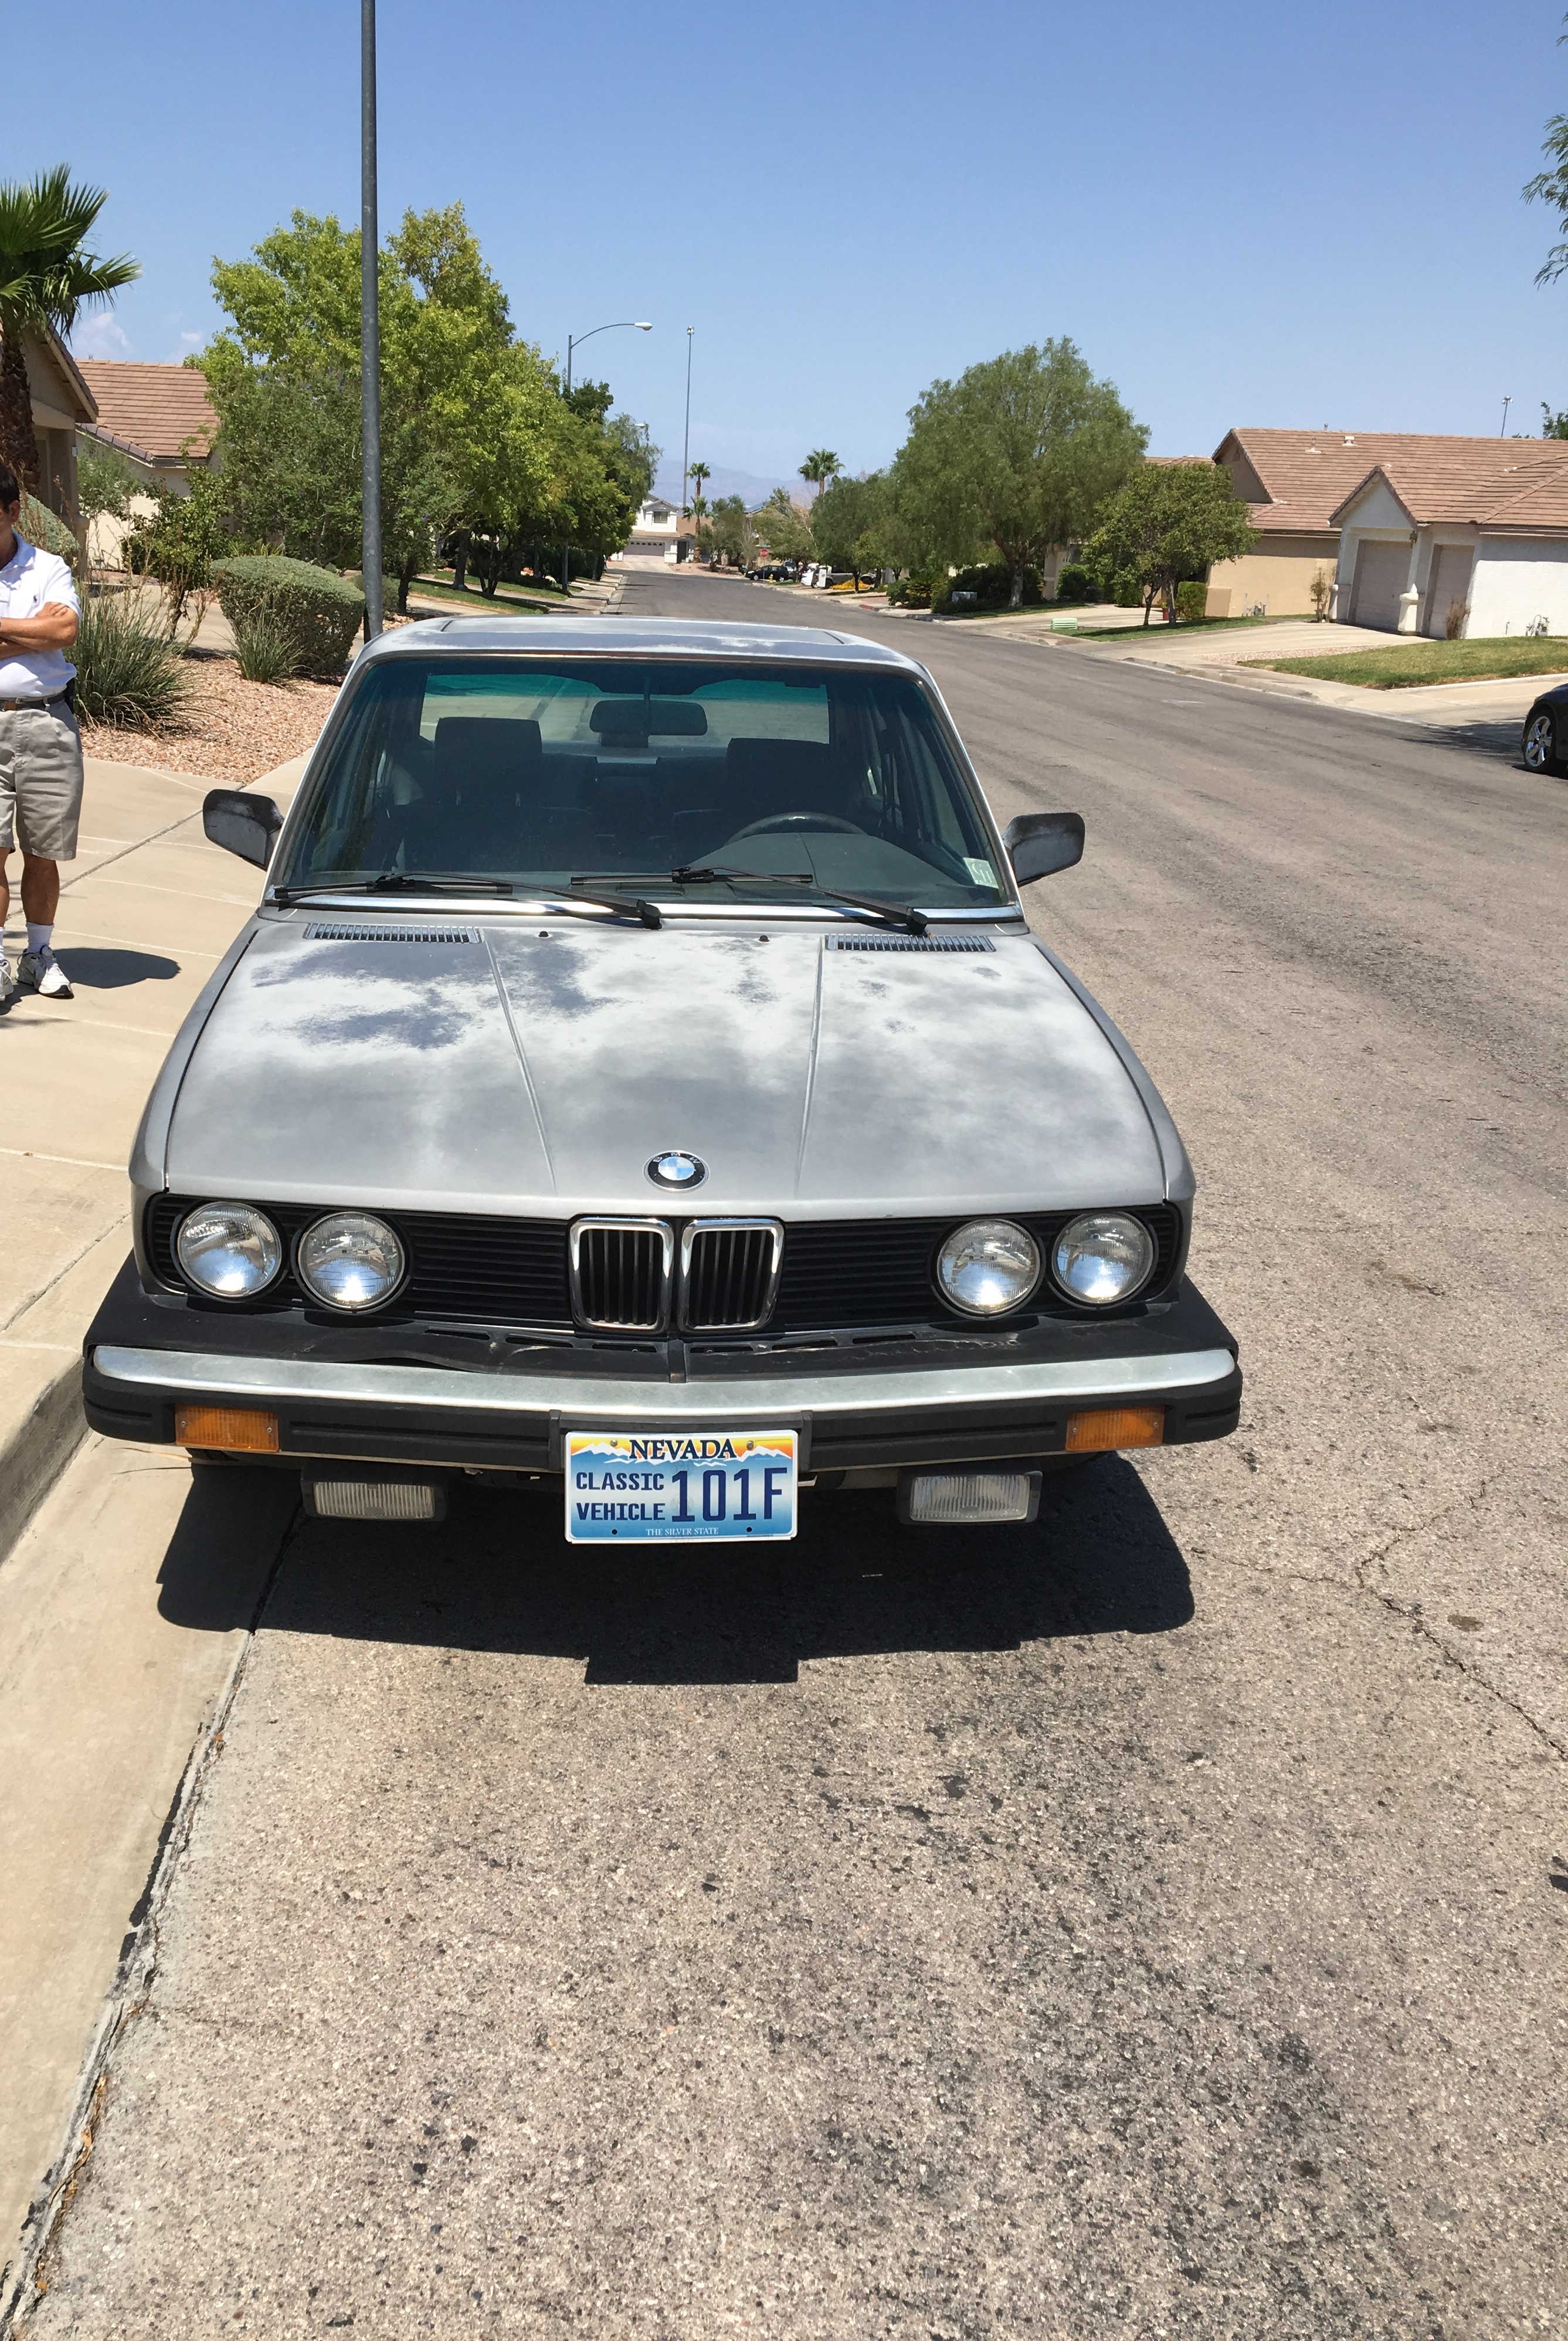
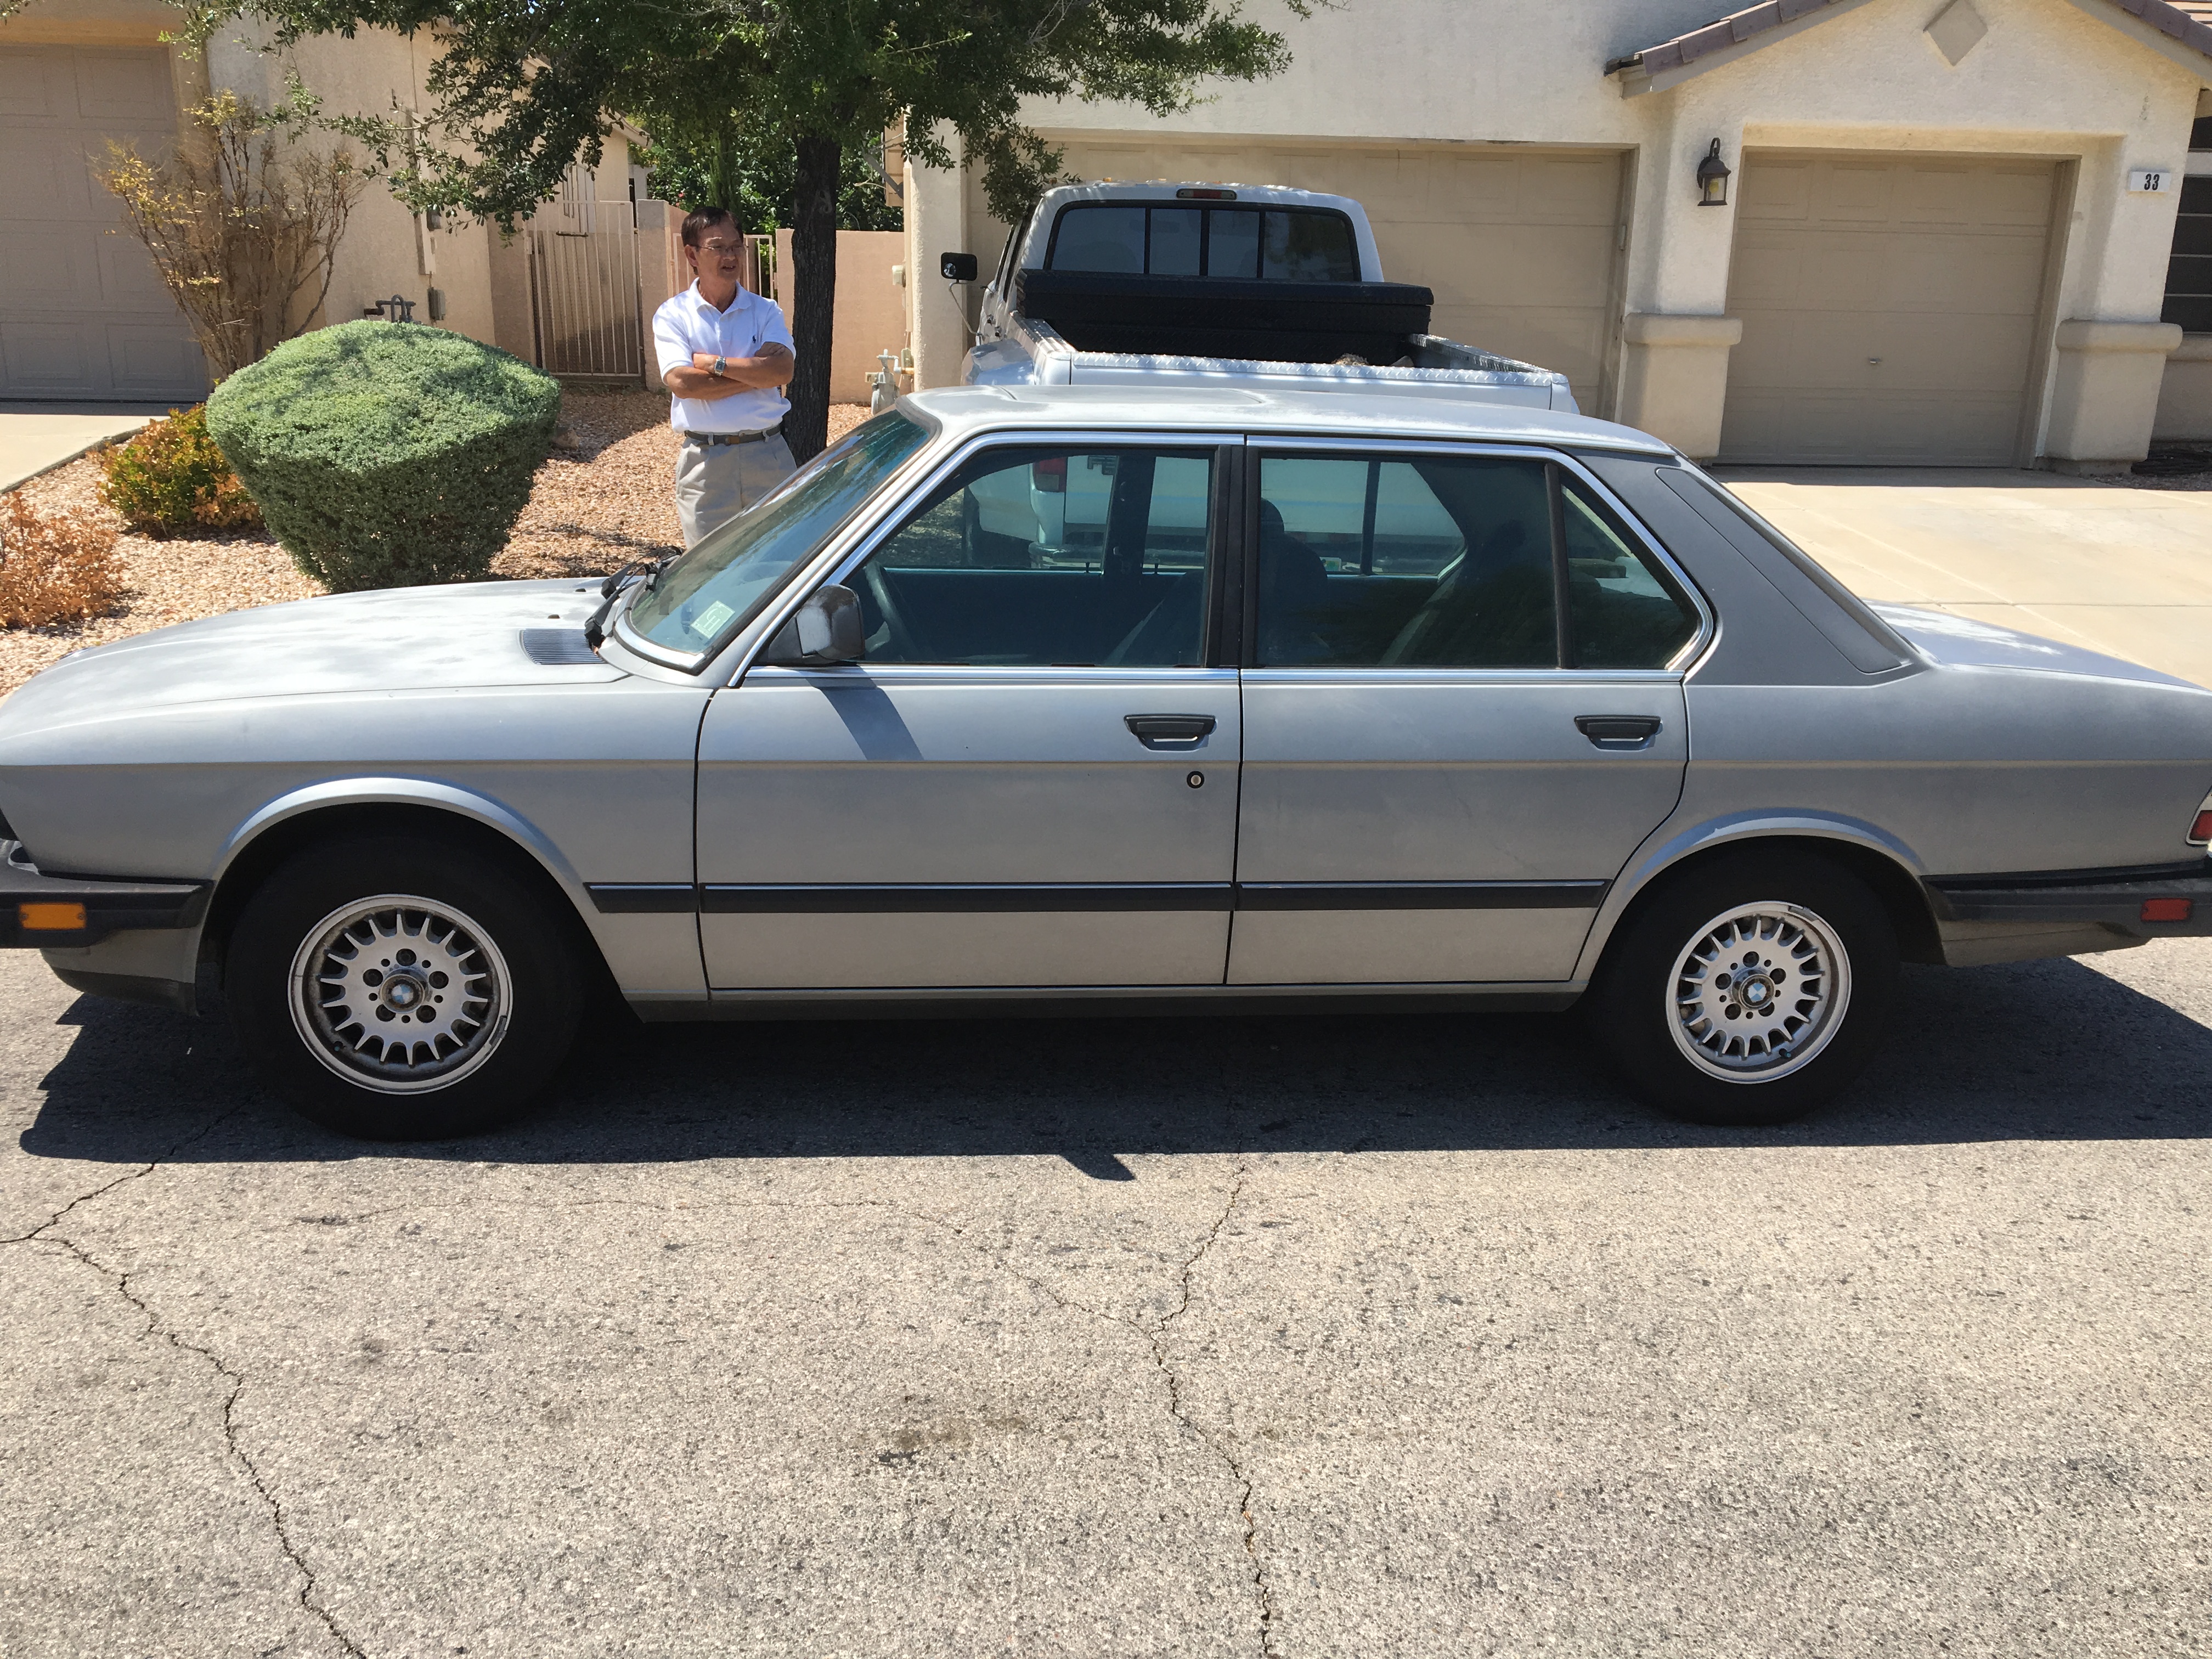
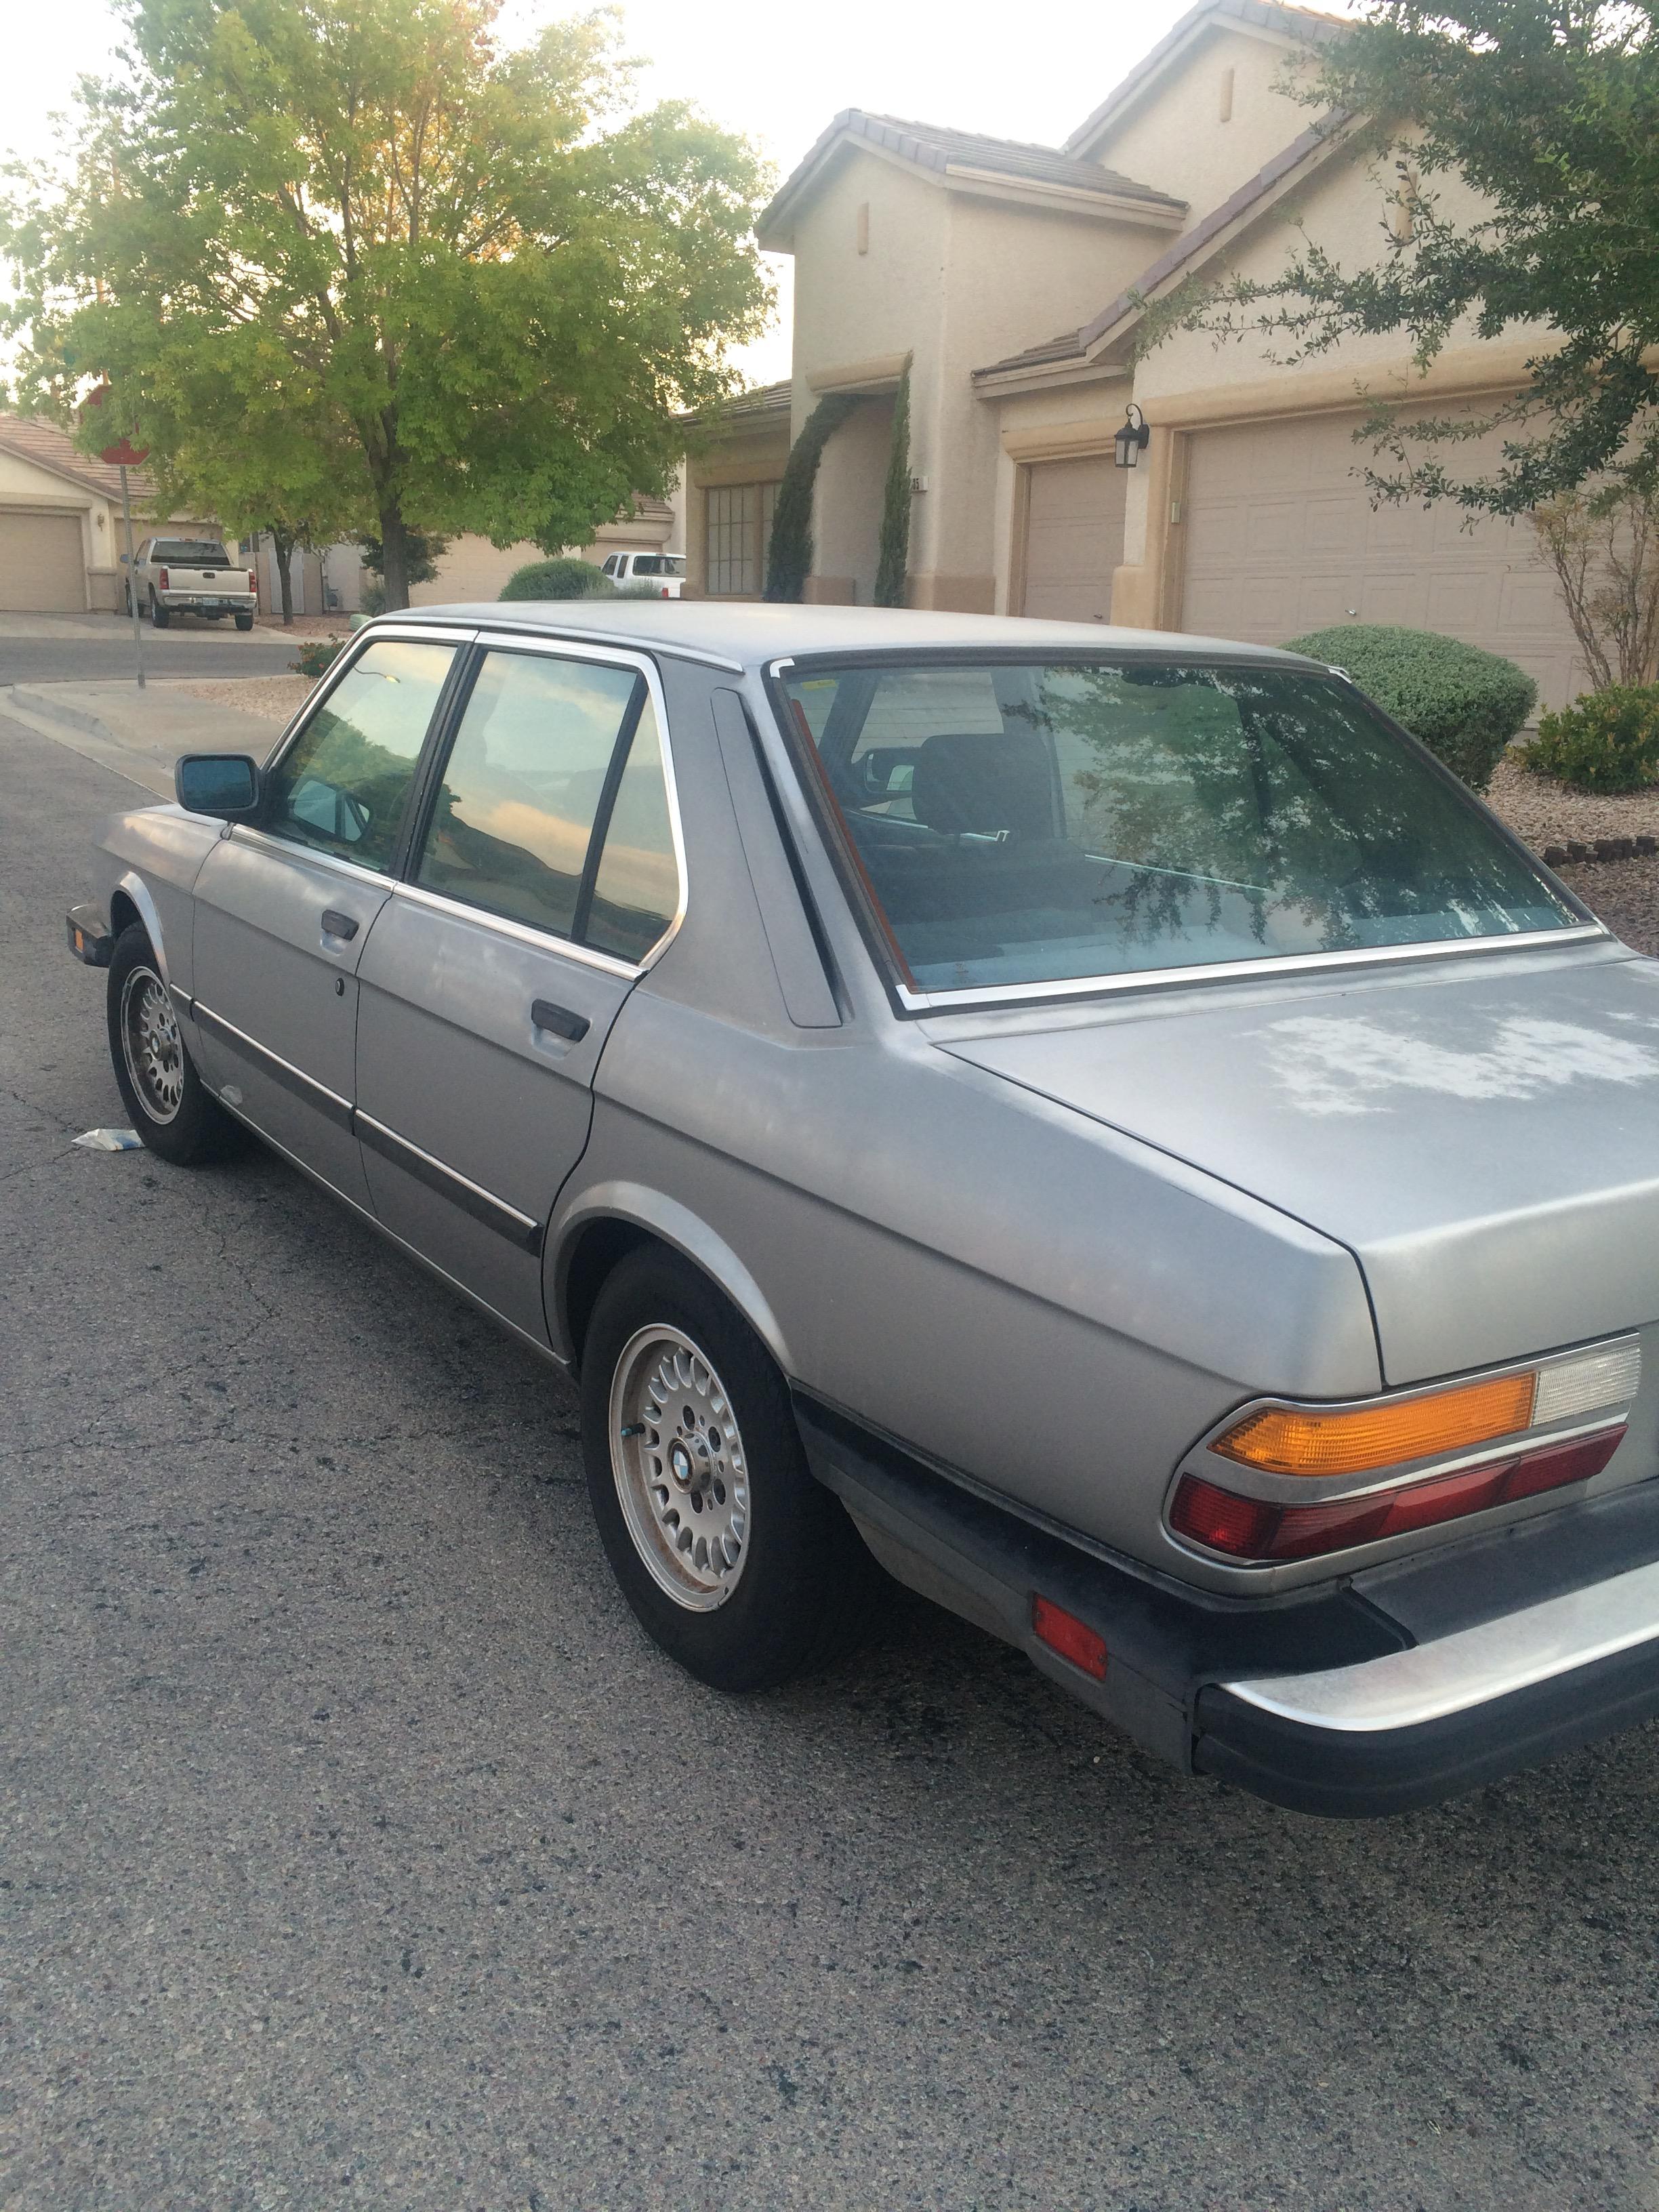
August 2016 (What the car looked like when purchased)

Image

Image

Image

Image

Image

Image

Image
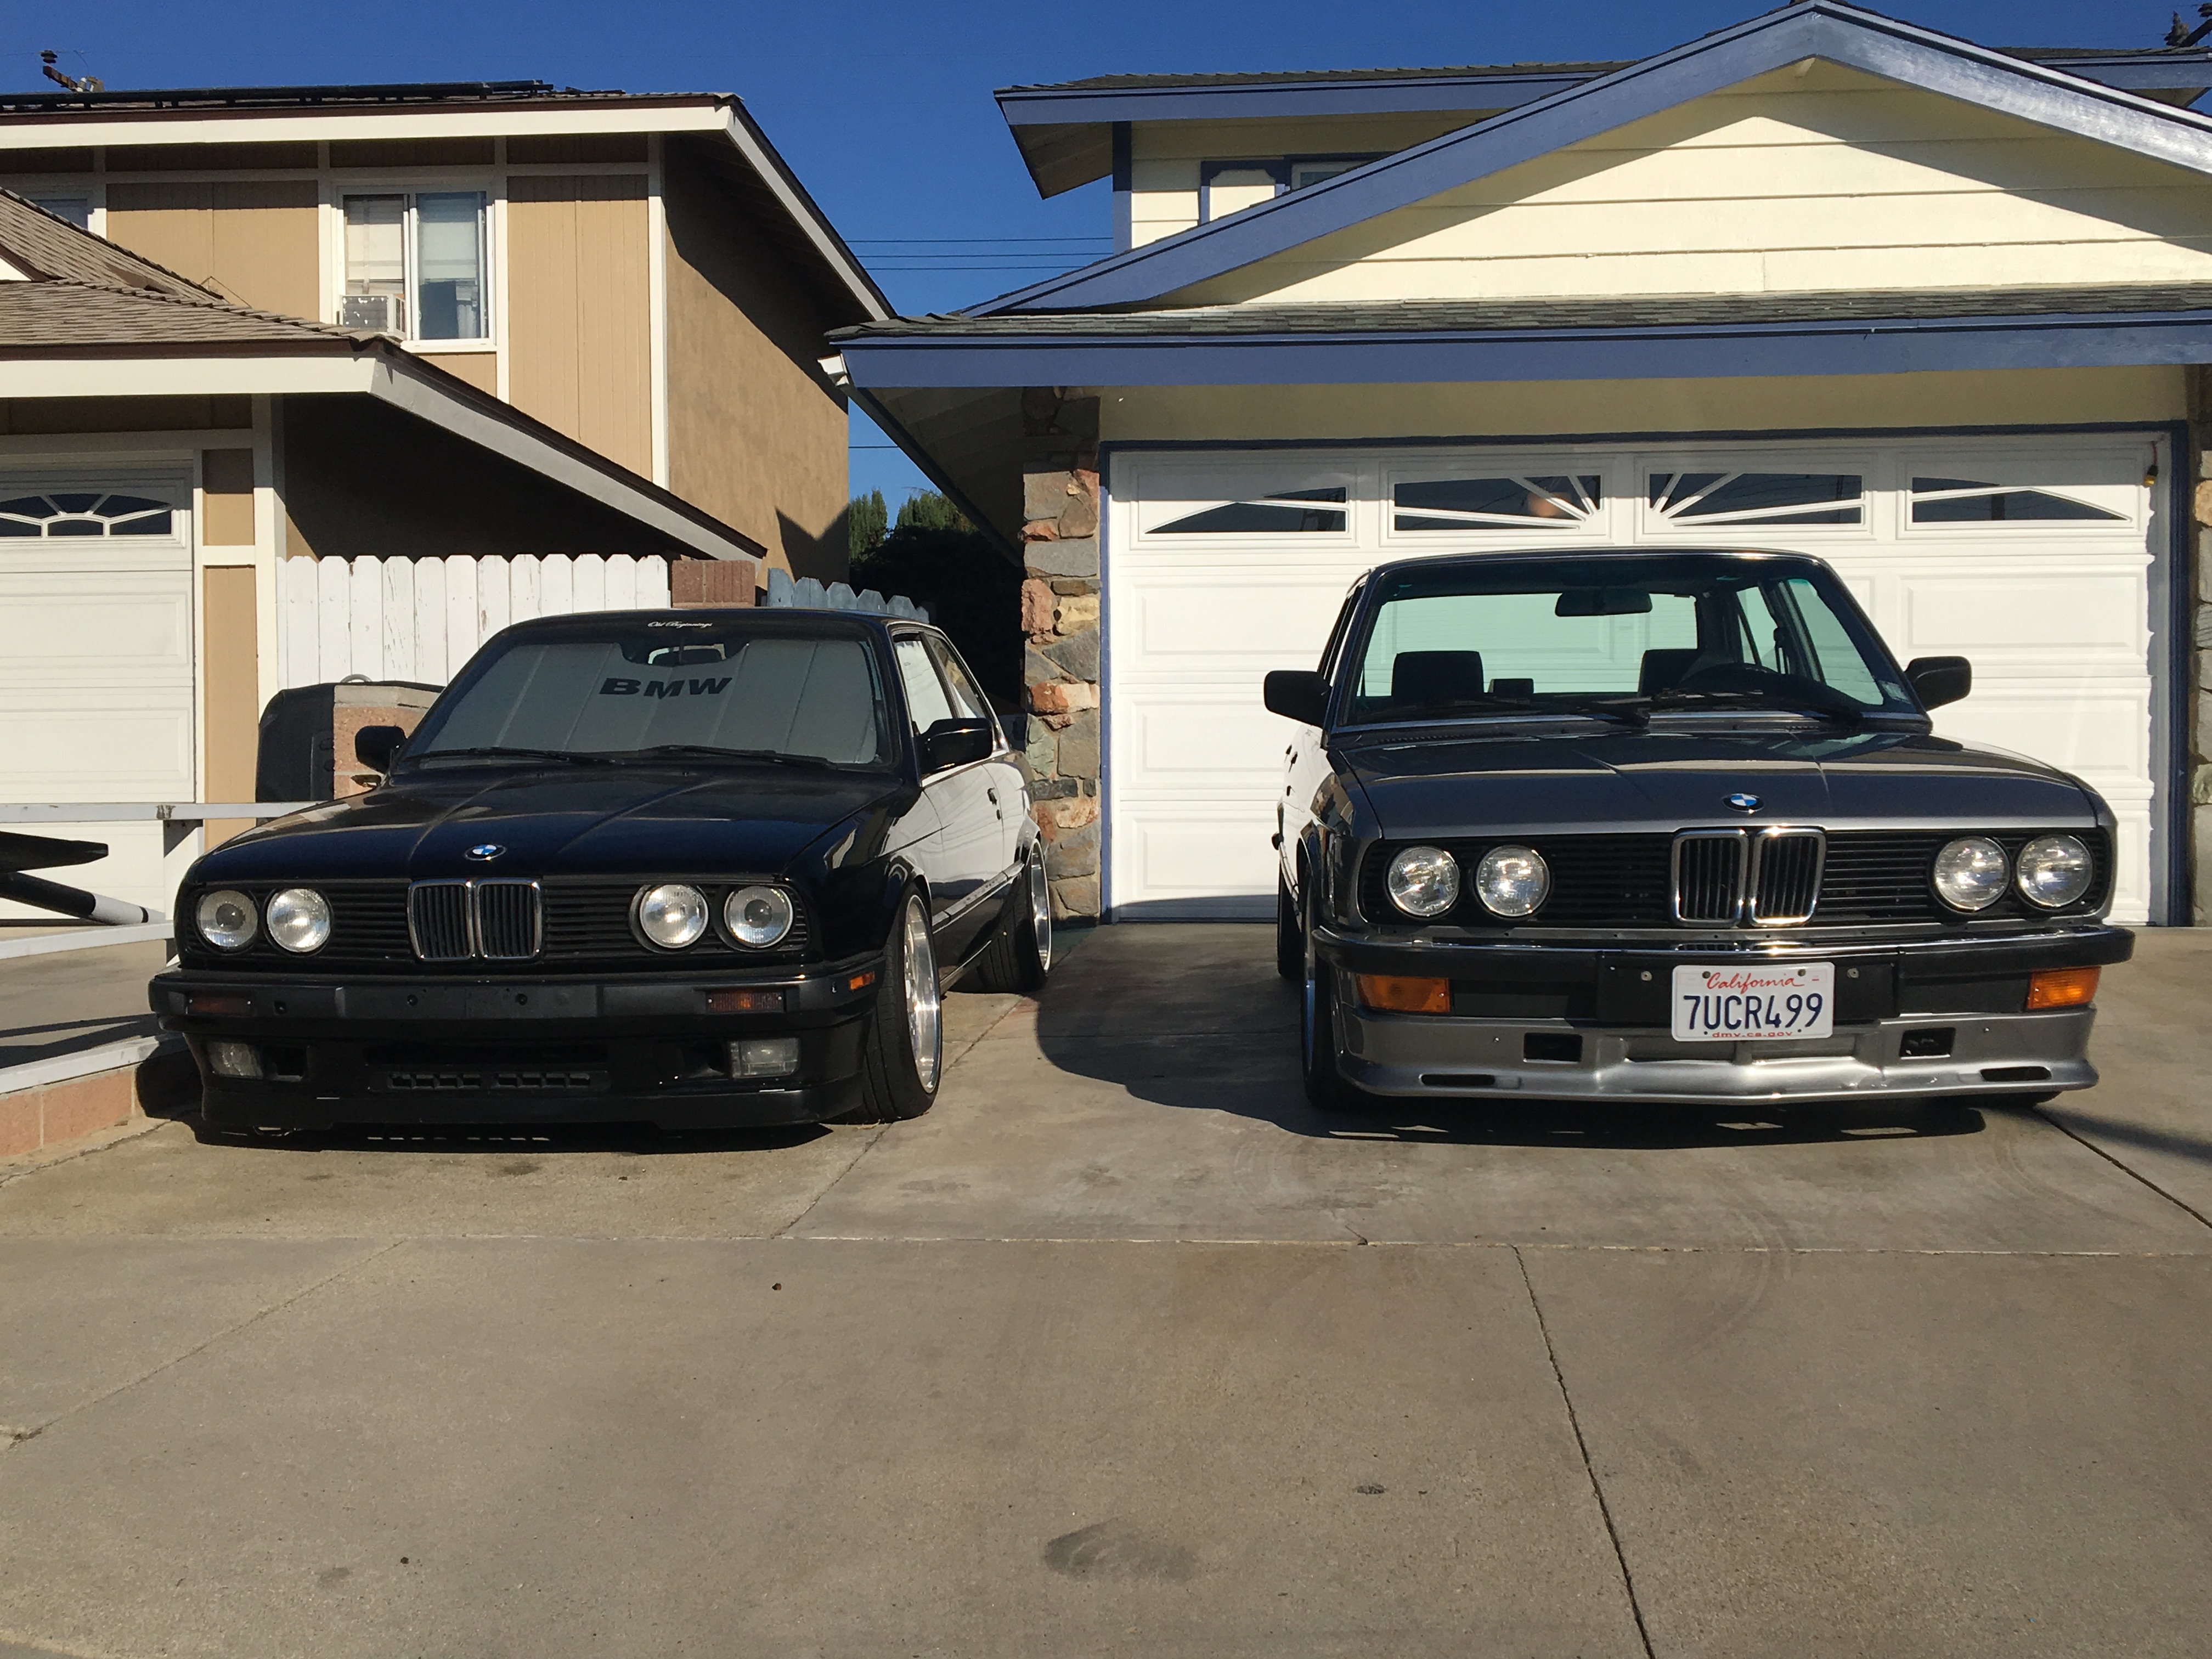
another e28 and e30 in the background

Image

---------------------------------

January 2017 Euro Bumpers were installed pfeba spoiler test fit, as well as Style 5 / BBS RC090

Image

Image

Image

Image

---------------------------------
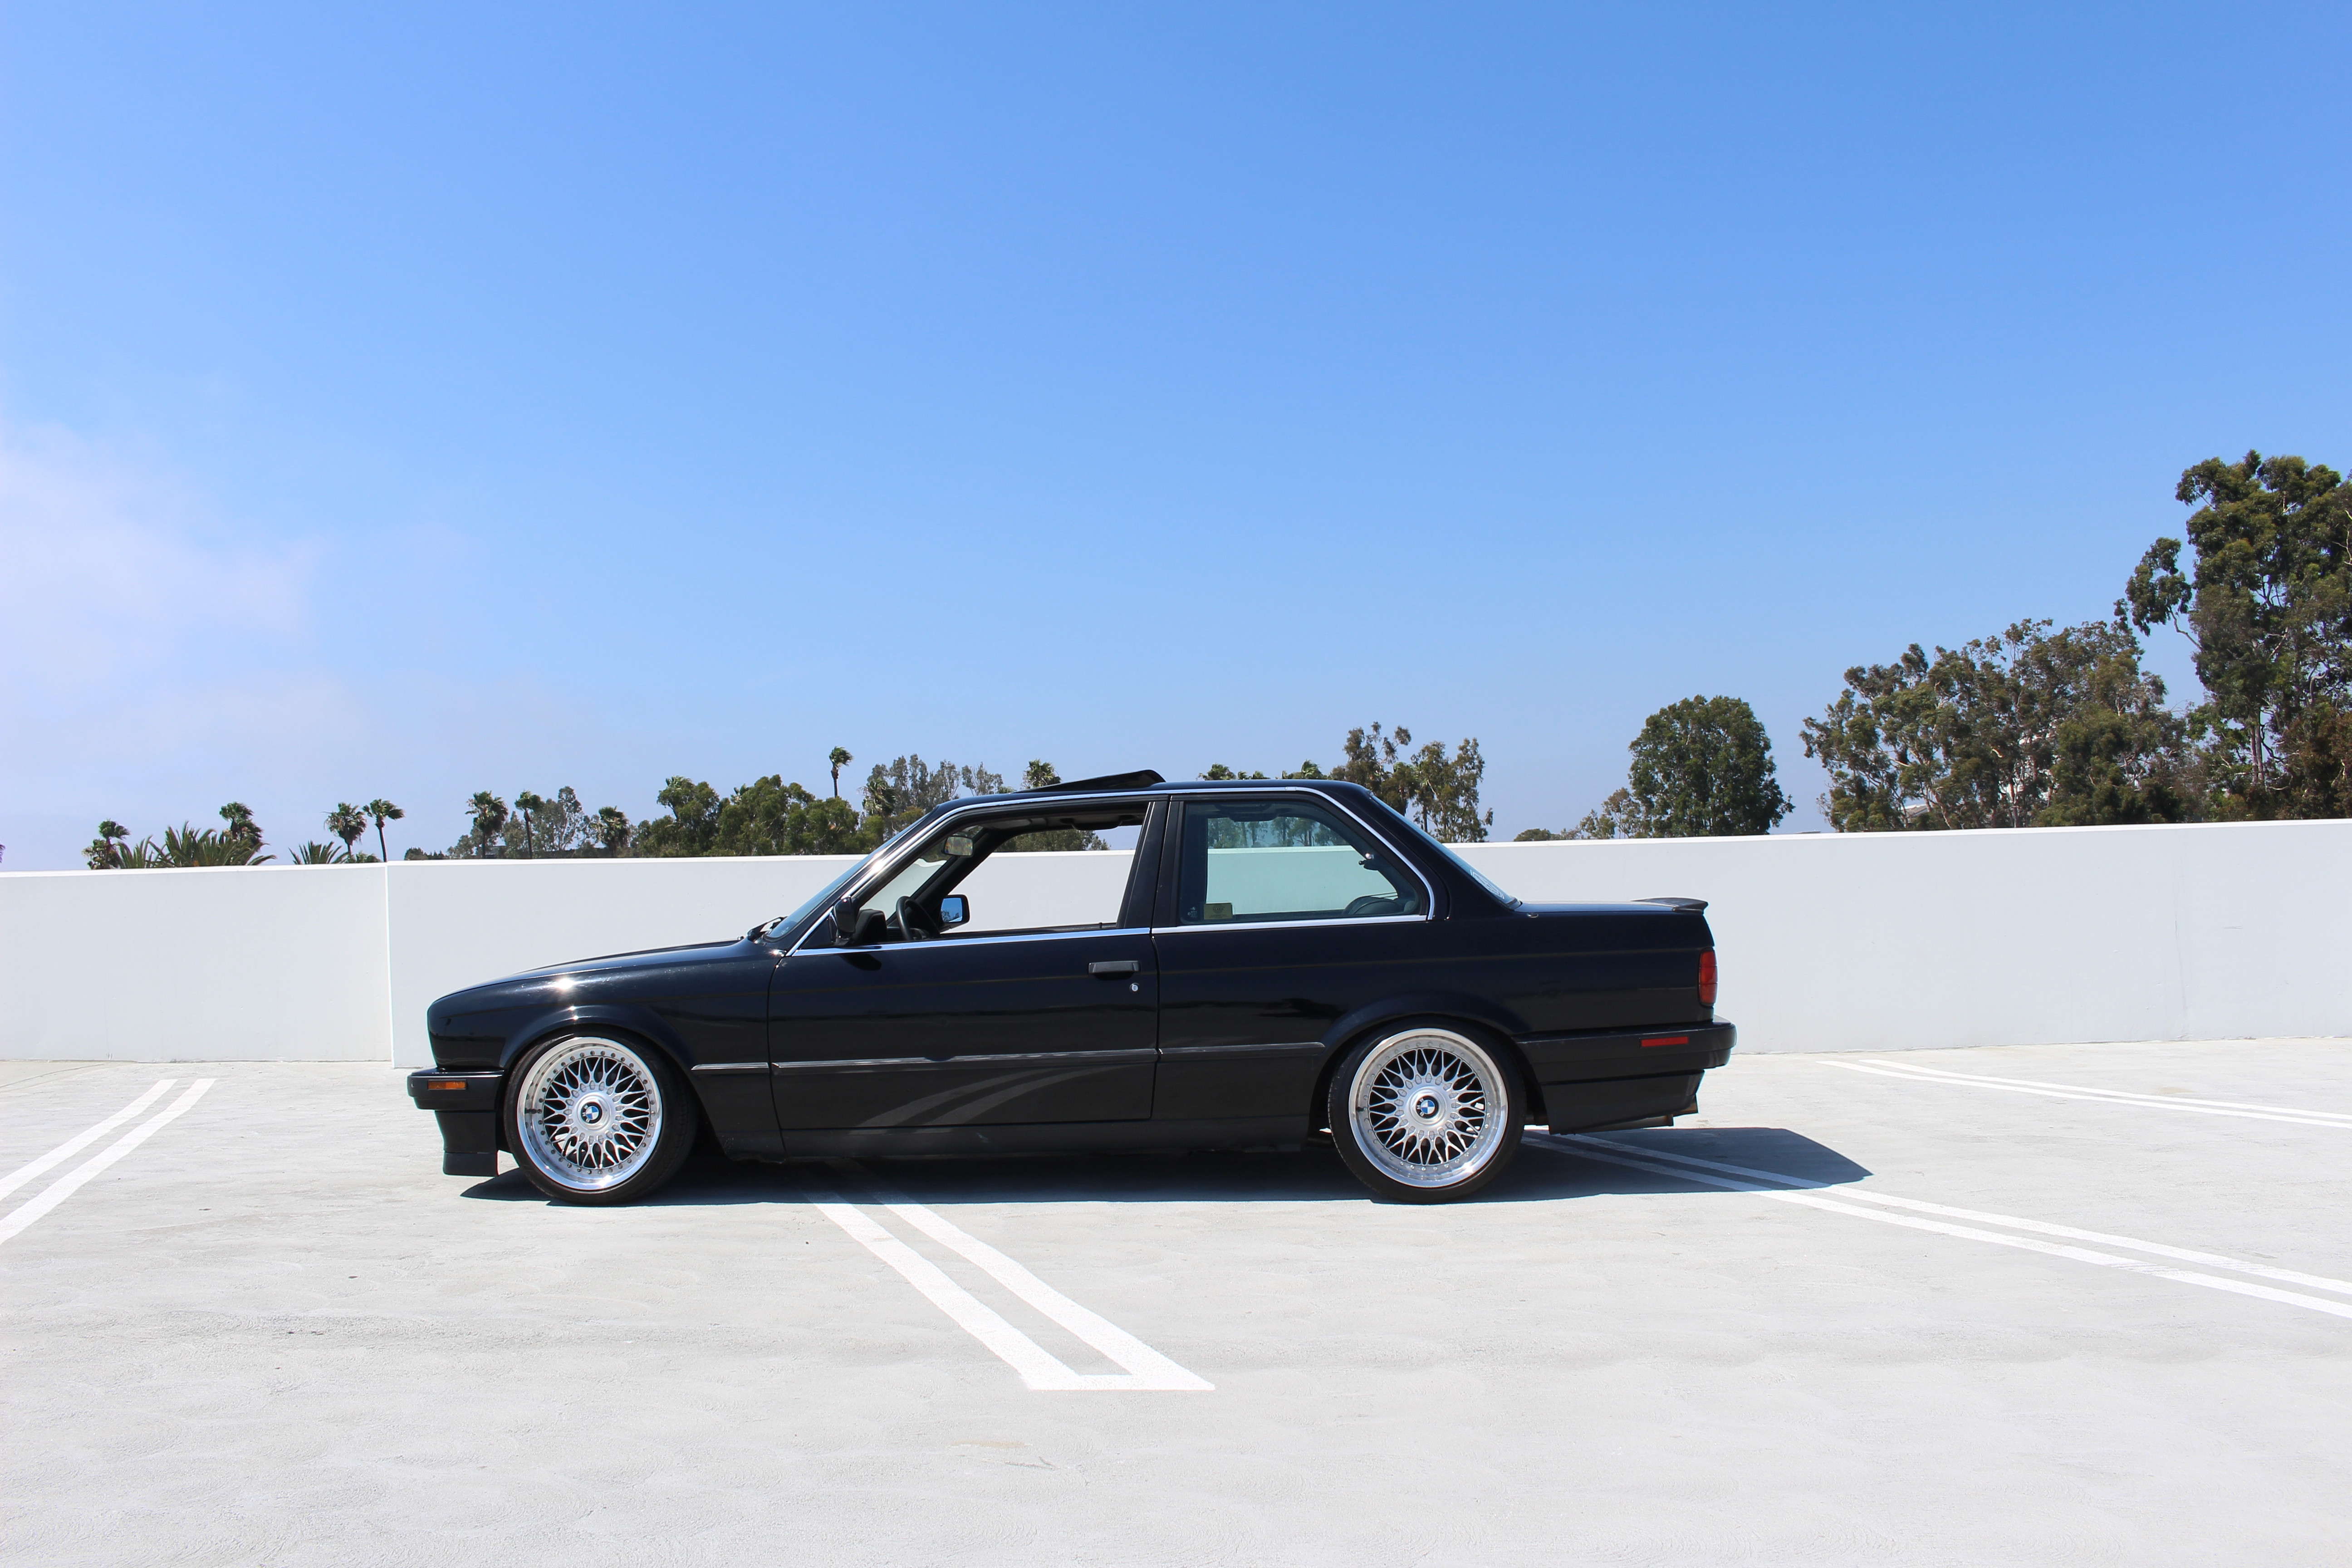
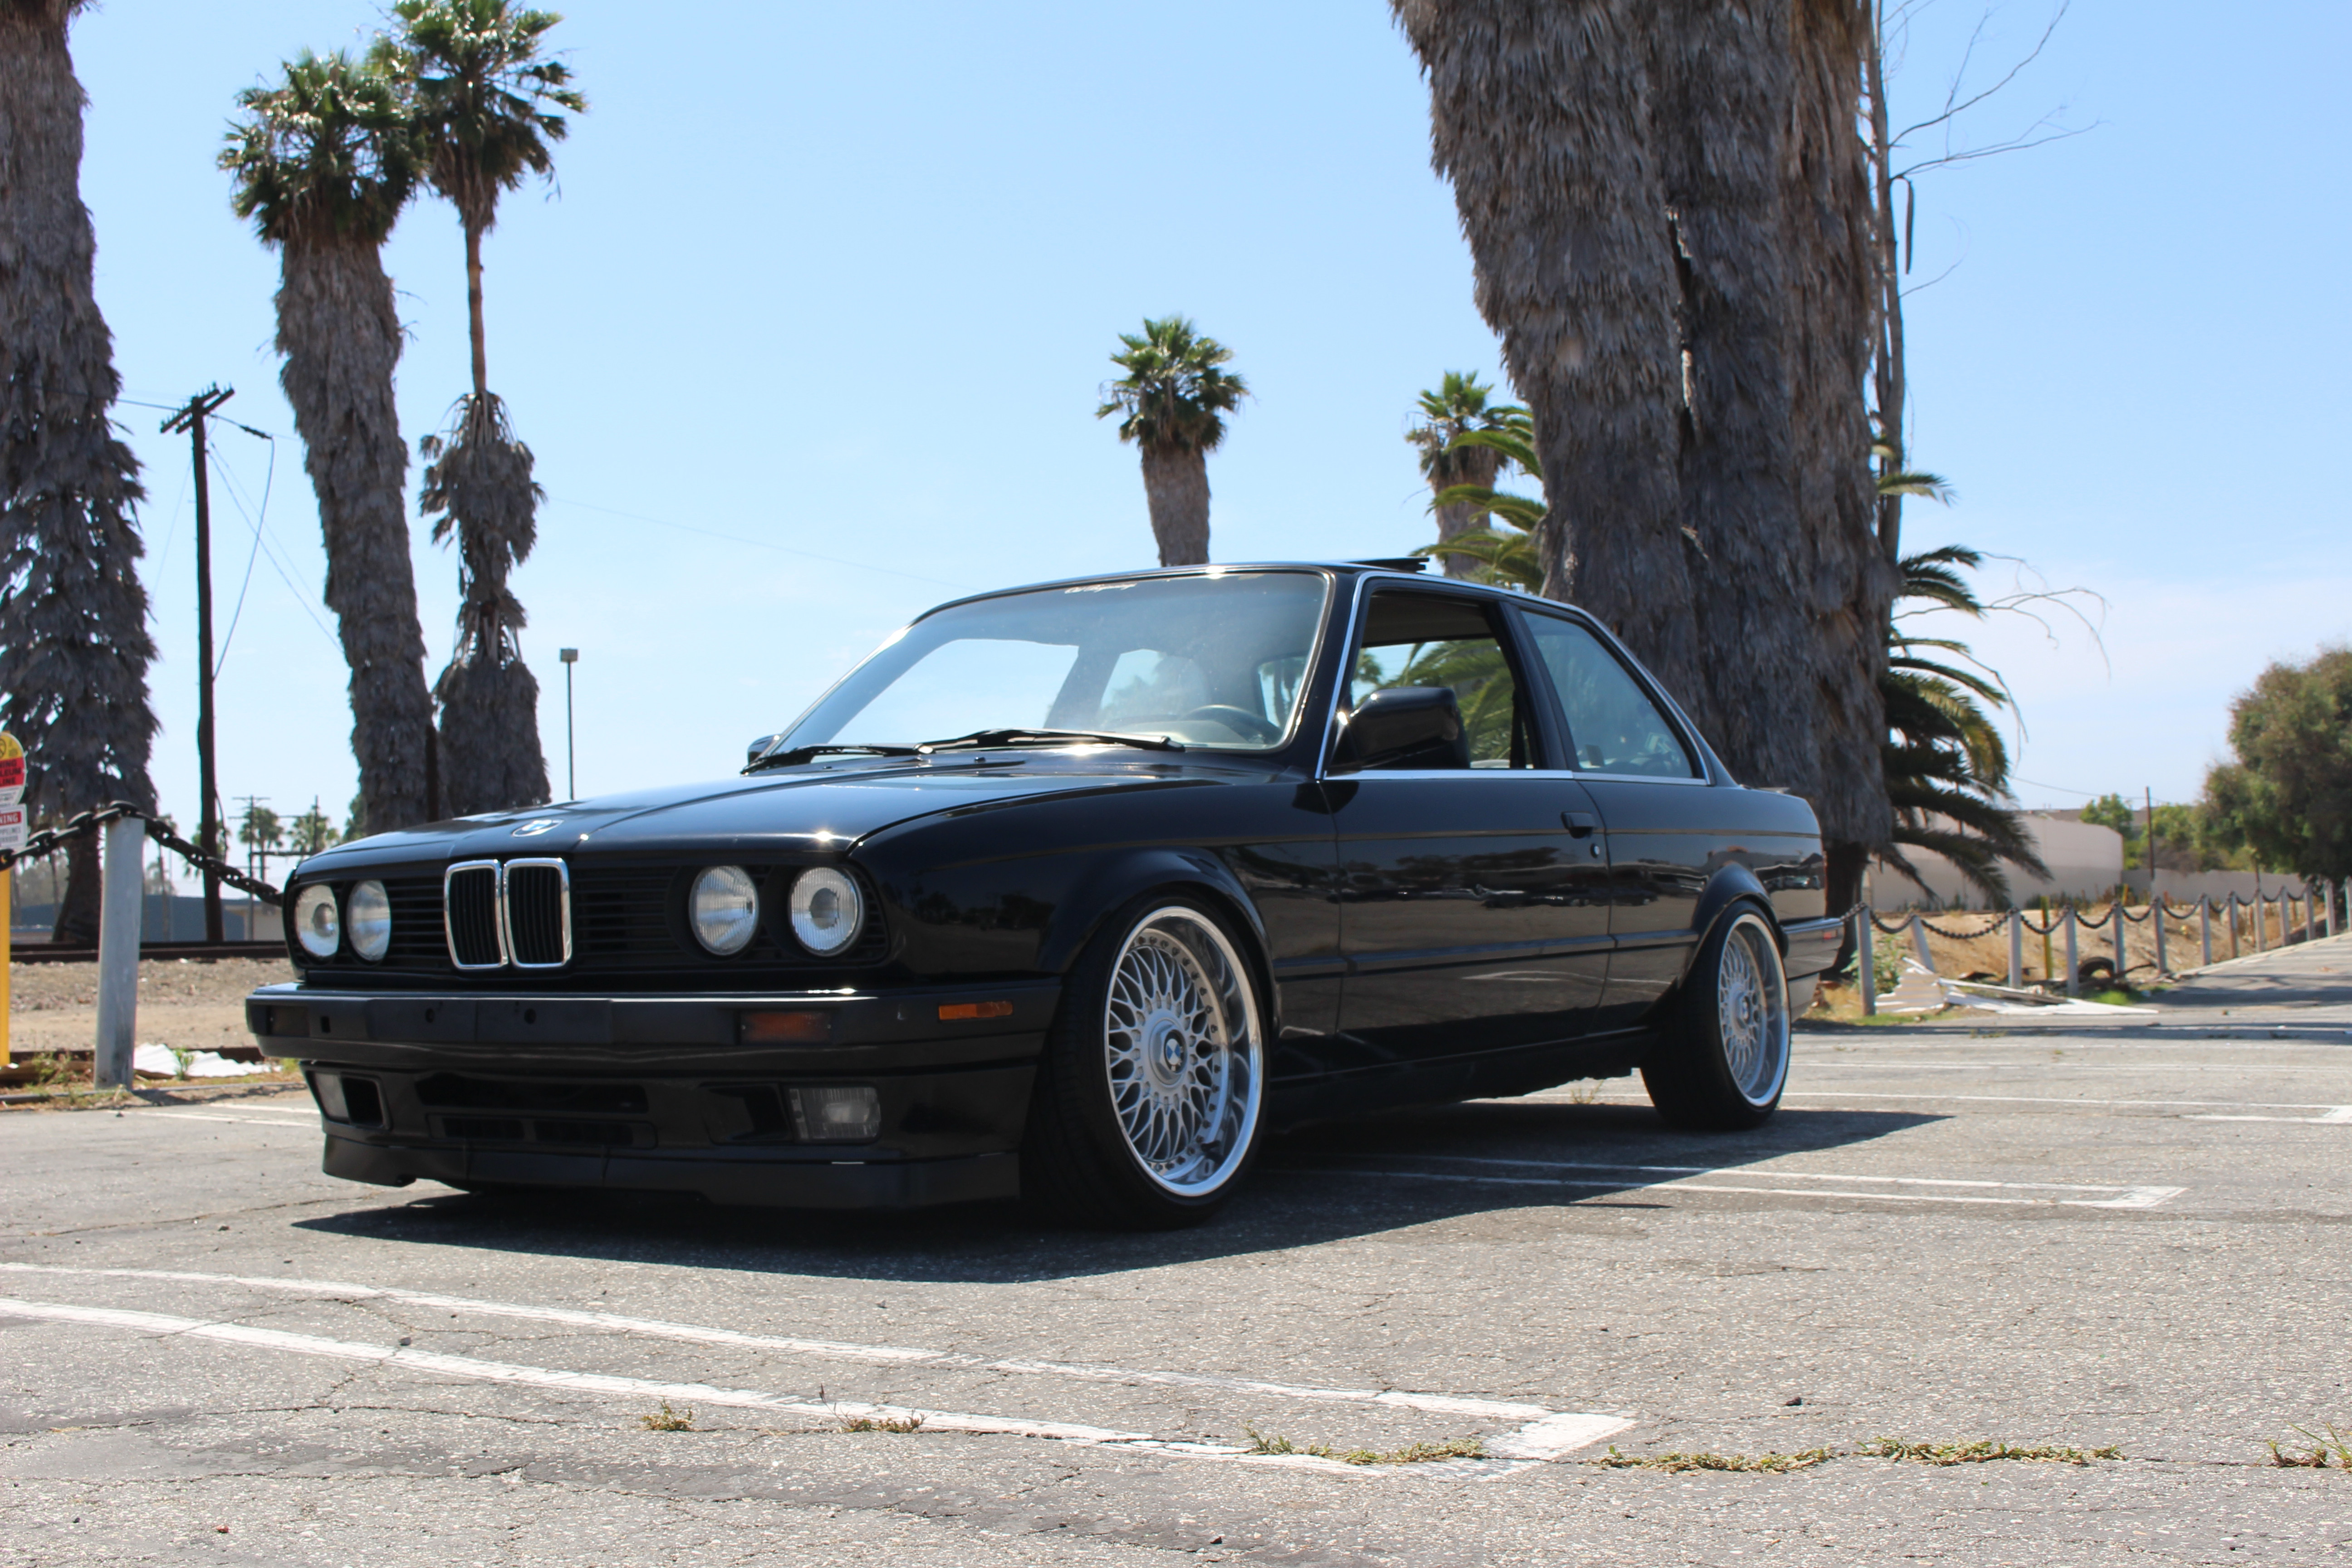
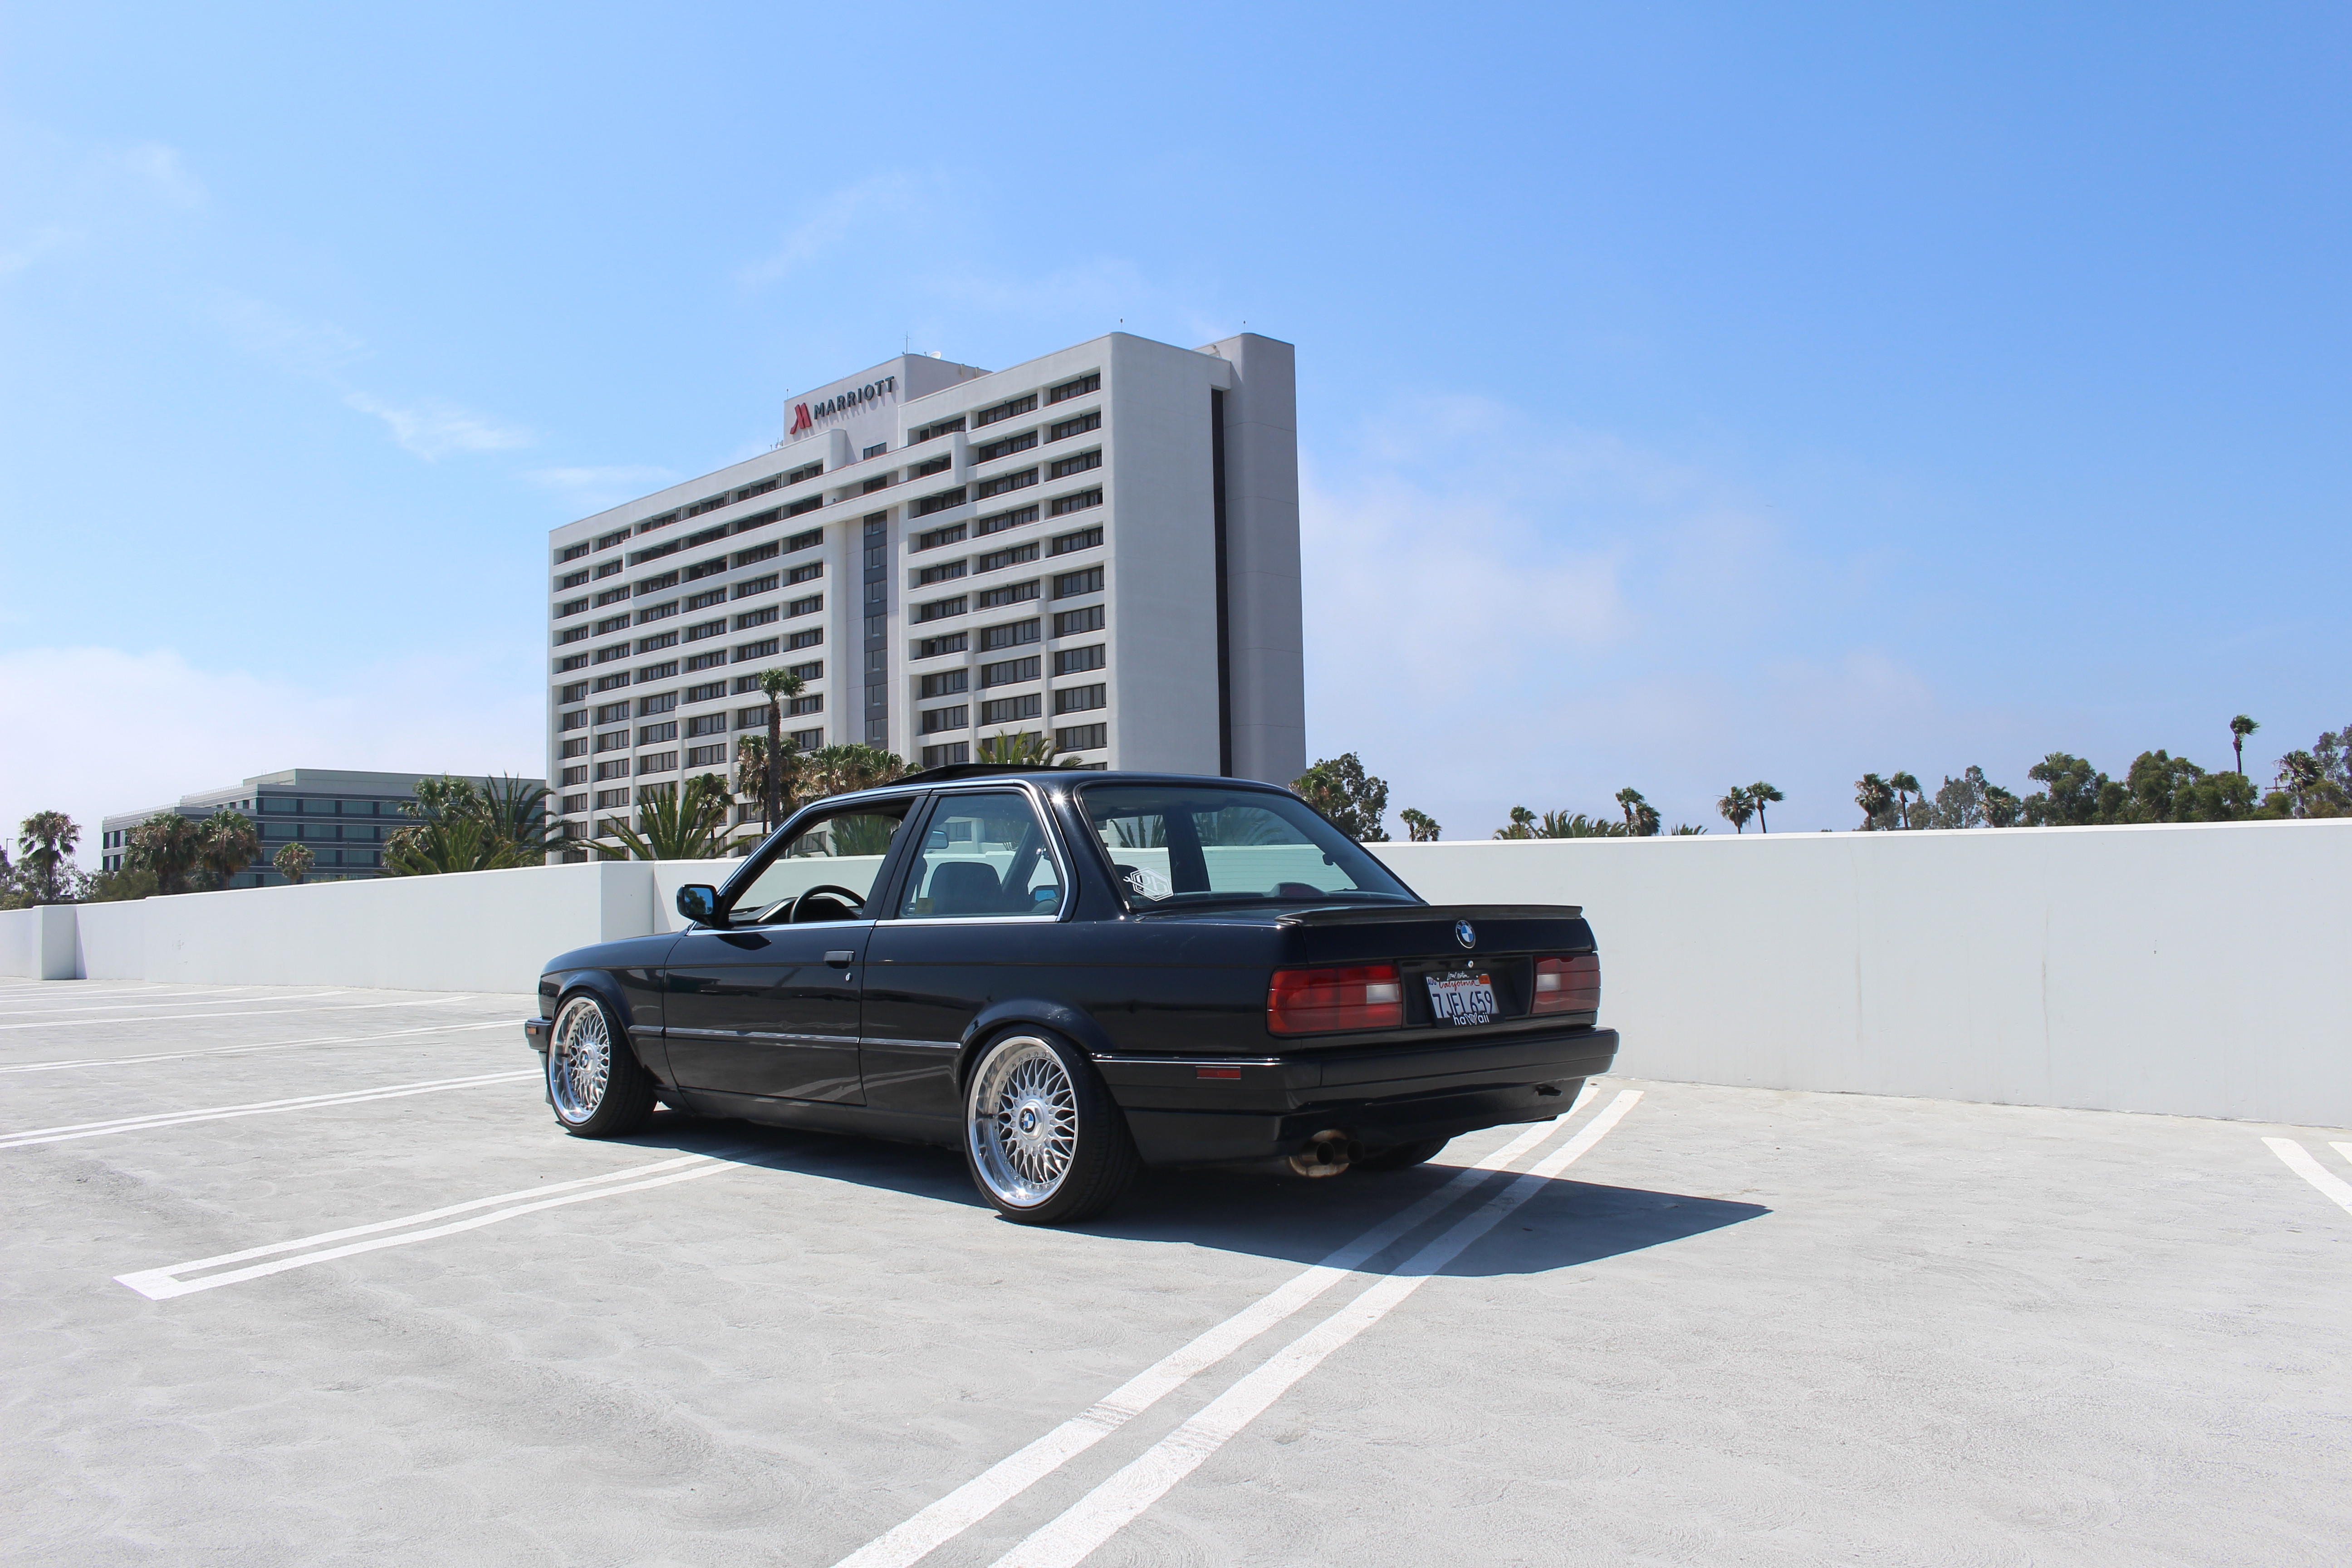
And as stated above, this is my previous e30. These pictures were taken just before I had sold it. I don't think I could ever drive a car this low again especially with how the oil pans are on these cars, and how you aren't able to drive anywhere you want without having to worry about speedbumps, potholes, and dips.

Image

Image

Image

---------------------------------

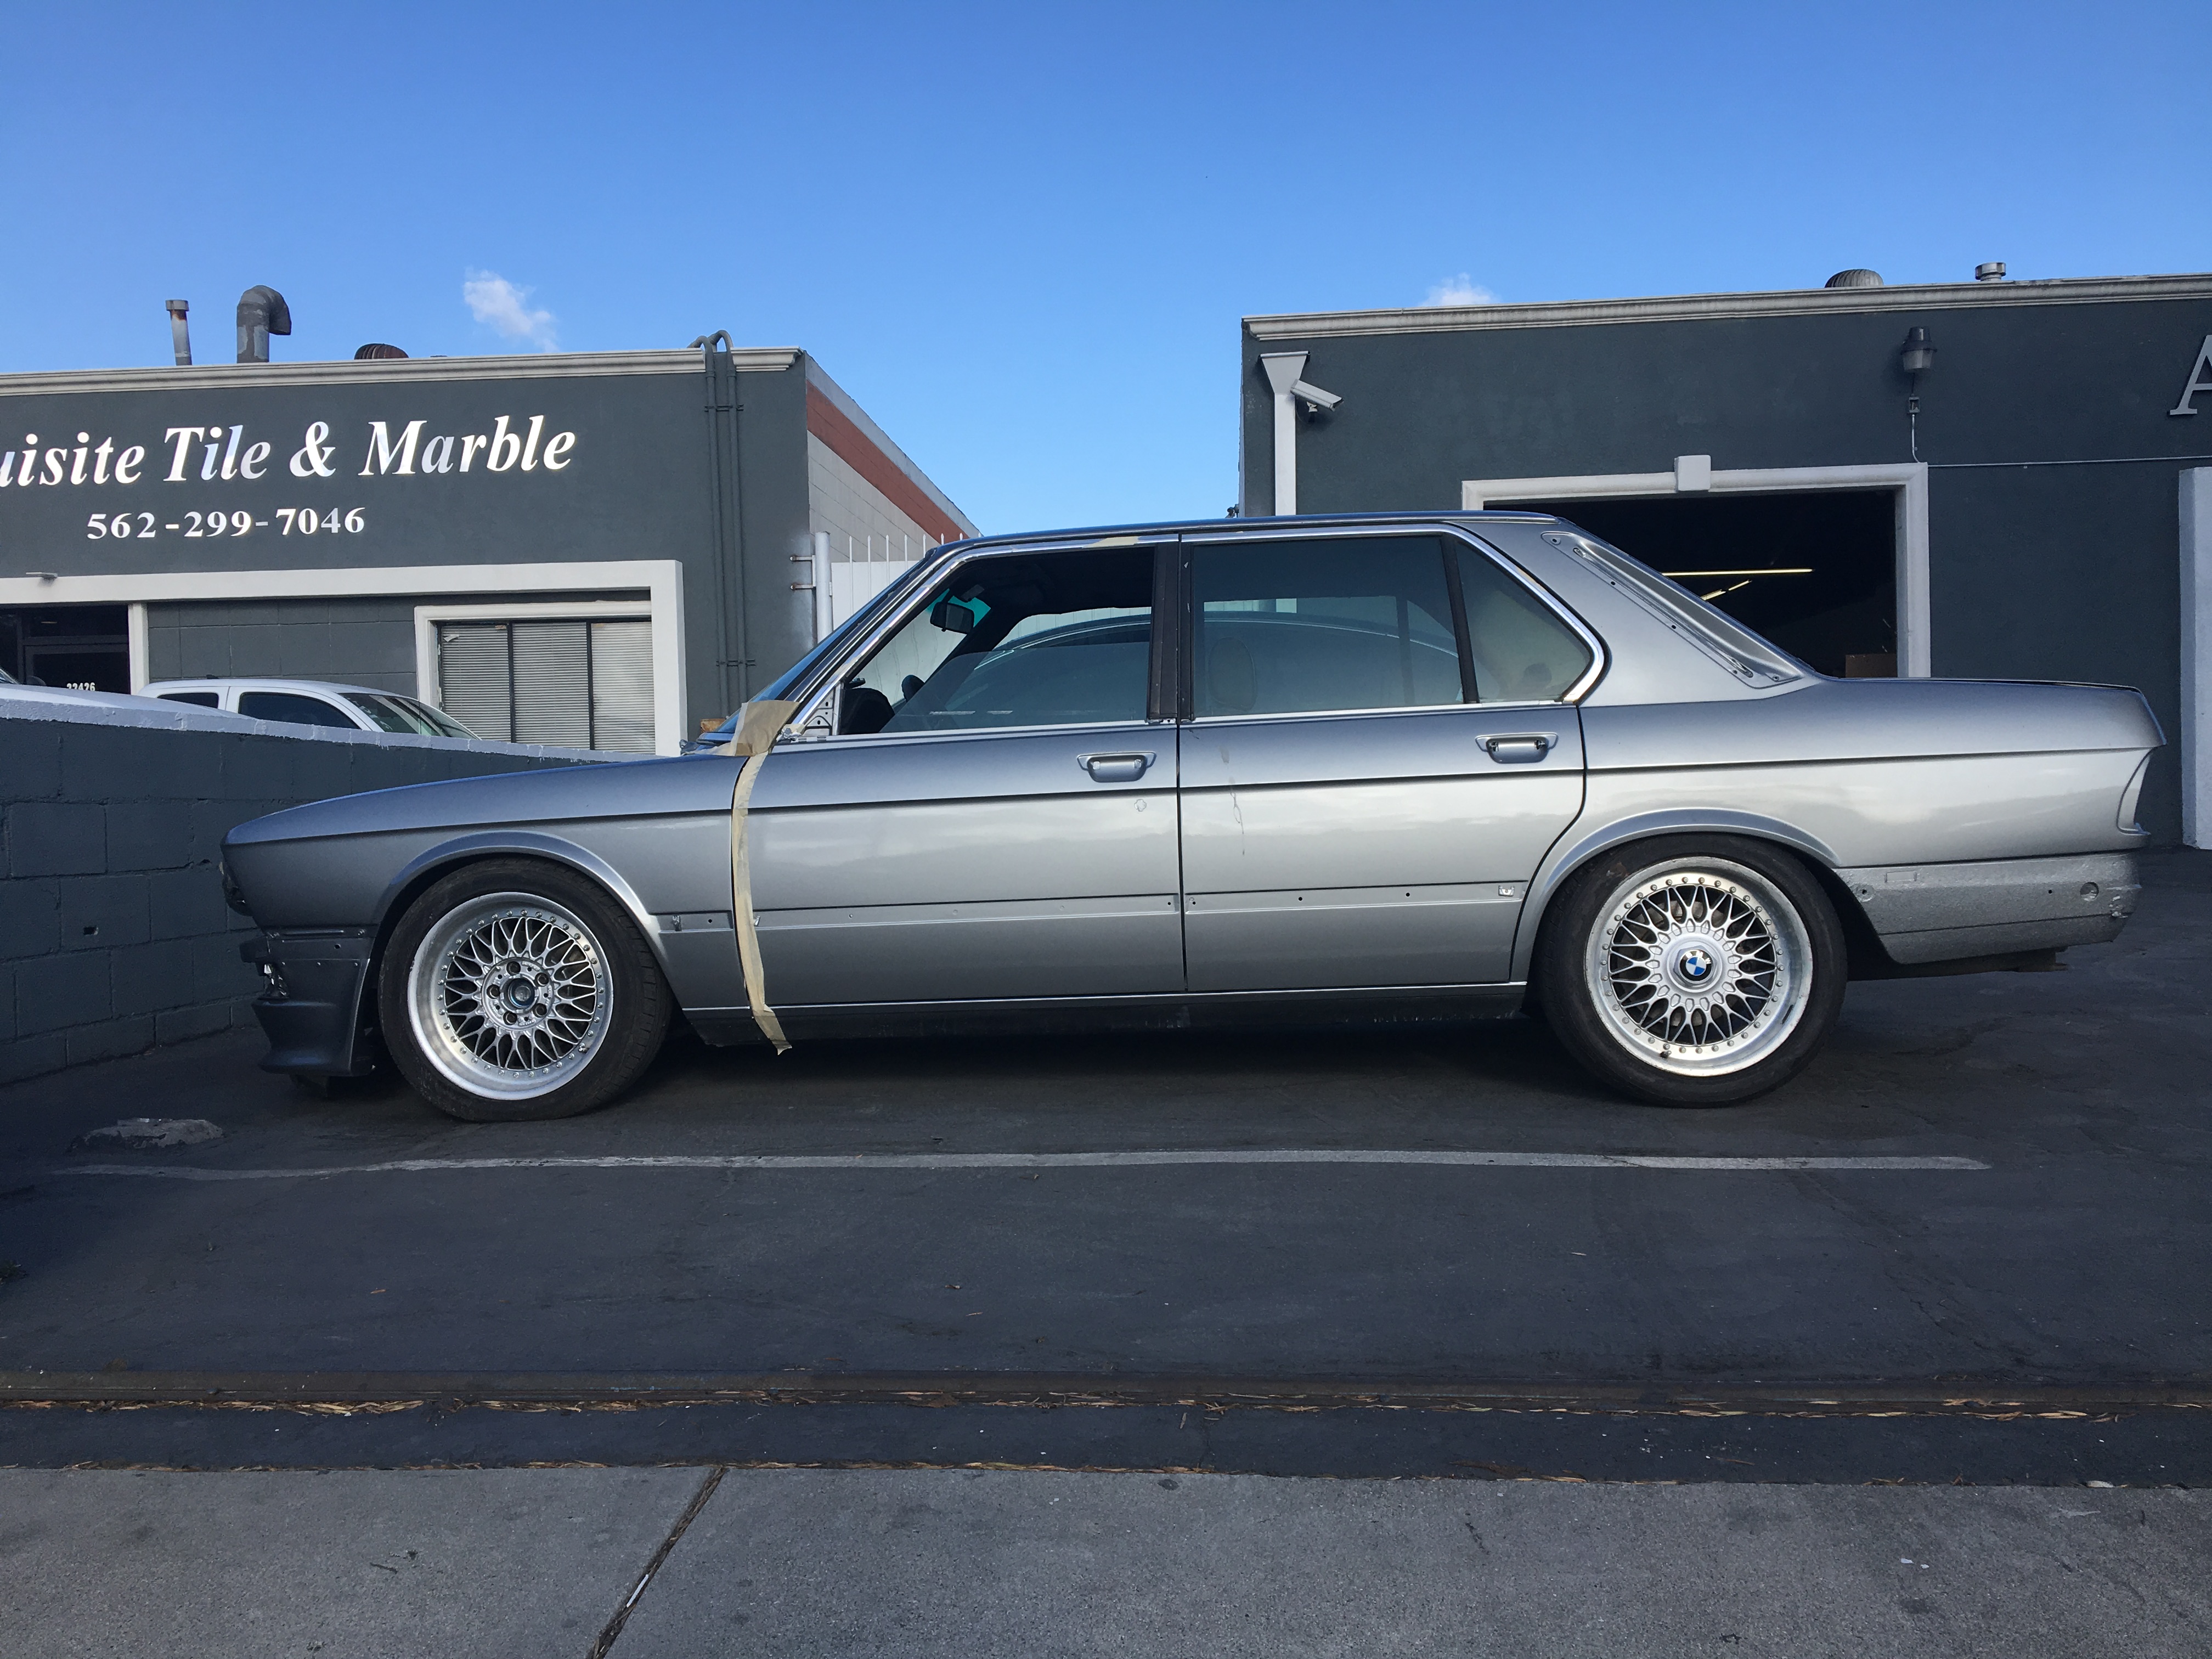
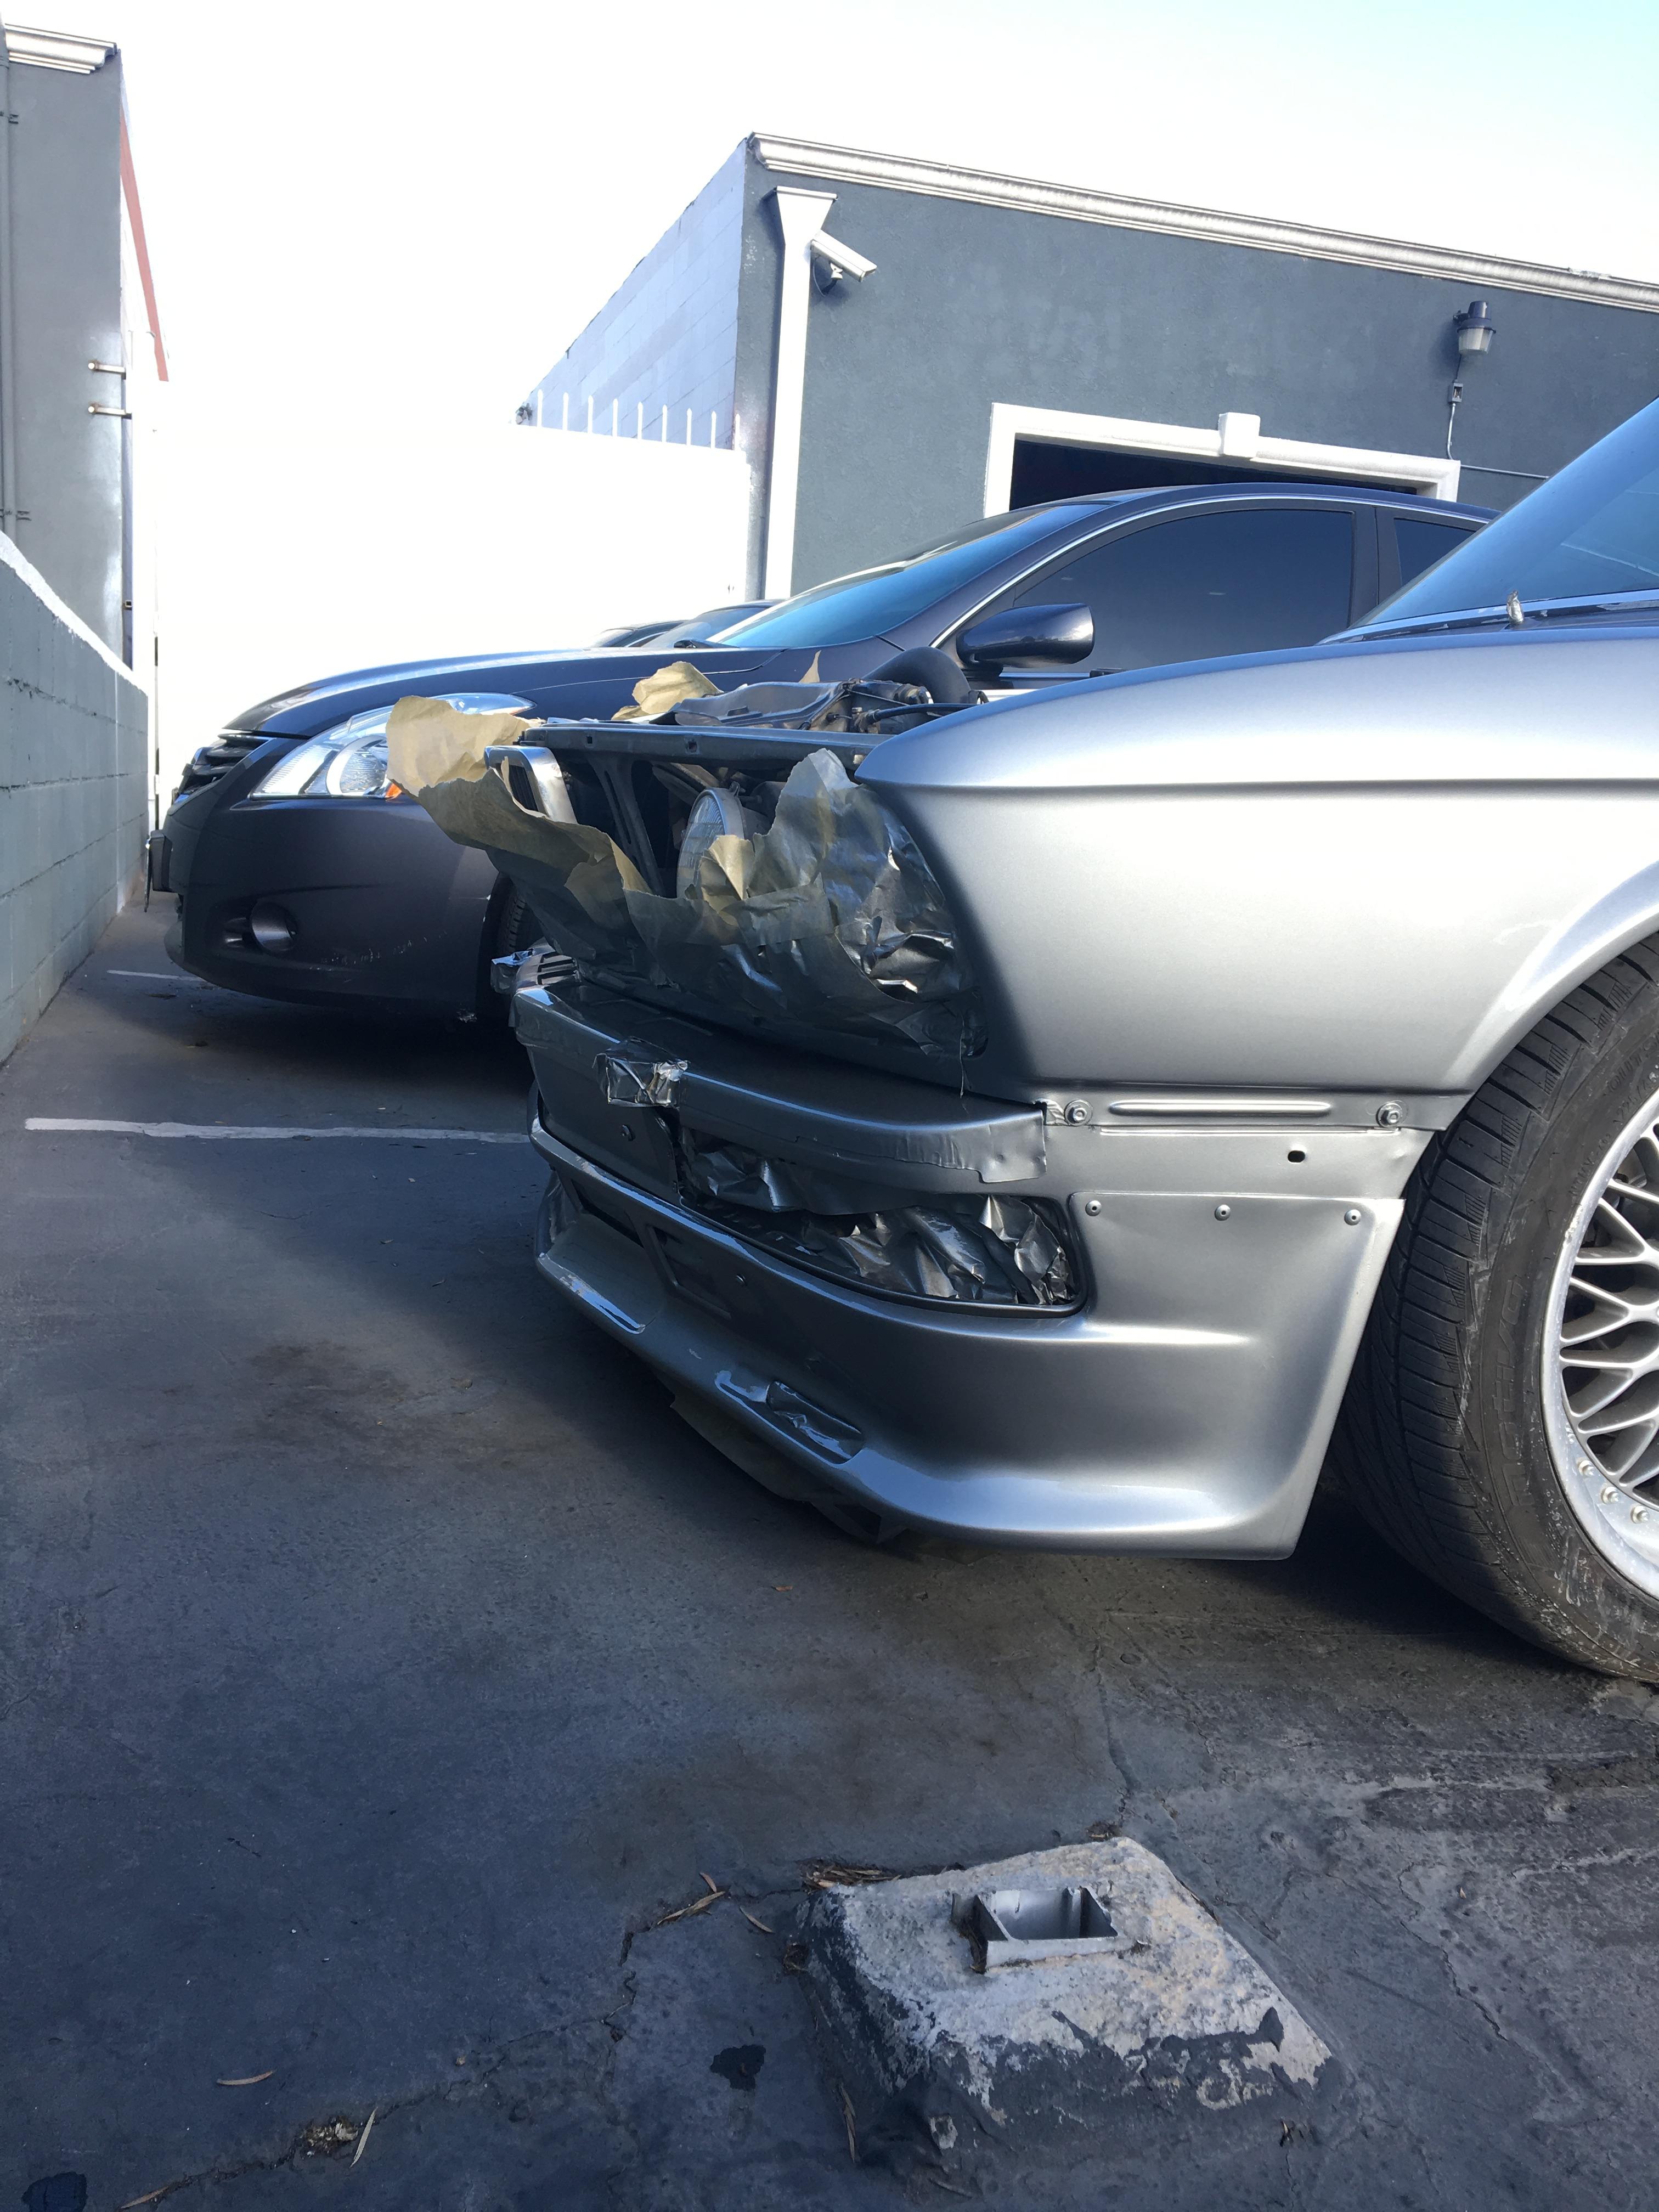
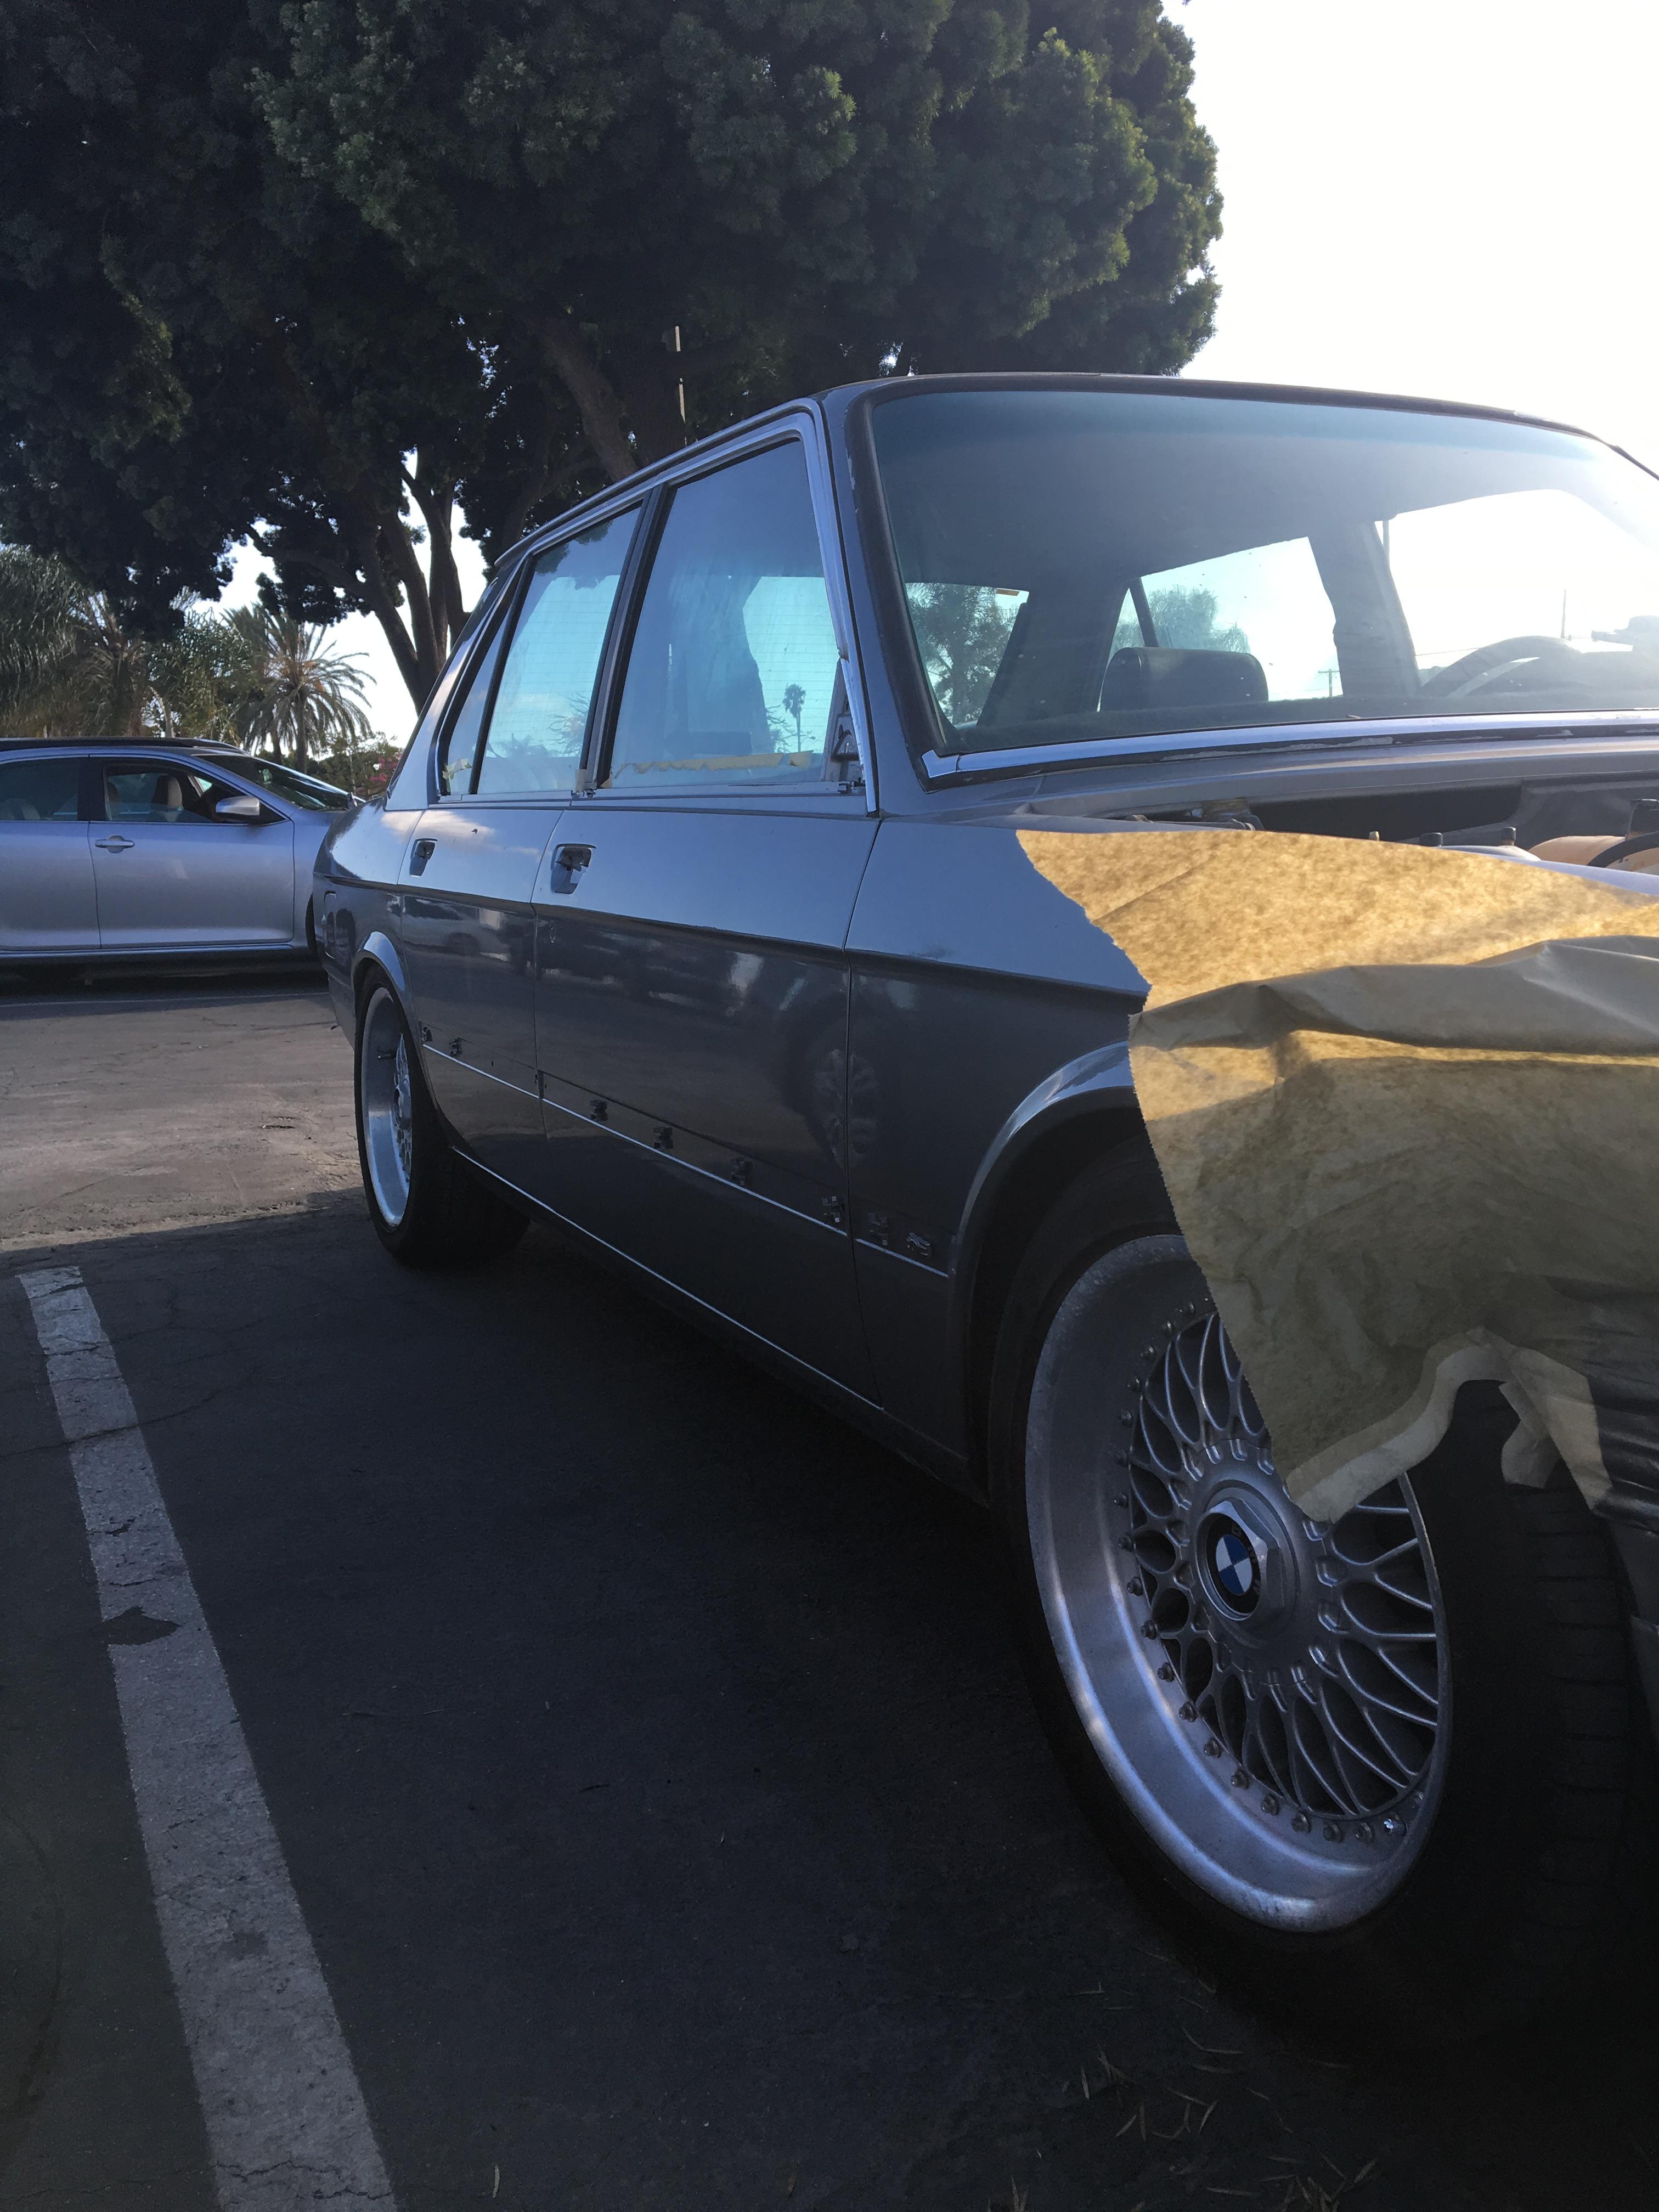
September 2017 Car went in for paint, and has been holding up very well for the past few years.

(excuse the bumper brackets, they were eventually replaced)

Image

Image

Image

Image

Image

Image

Image

Image

Image
Last edited by mnnguy on May 25, 2021 1:15 AM, edited 1 time in total.
muleskinner
Posts: 1340
Joined: Sep 08, 2007 11:17 AM
Location: John Graham ATL

Re: Never-Ending Project e28 528e

Post by muleskinner »

I just love to see people turning coal into a diamond.
mnnguy
Posts: 57
Joined: Sep 07, 2016 1:34 AM
Location: Los Angeles

Re: Never-Ending Project e28 528e

Post by mnnguy »

Car was just being enjoyed and driven around. This is fast forward to this year when I decided I wanted to change some things up.

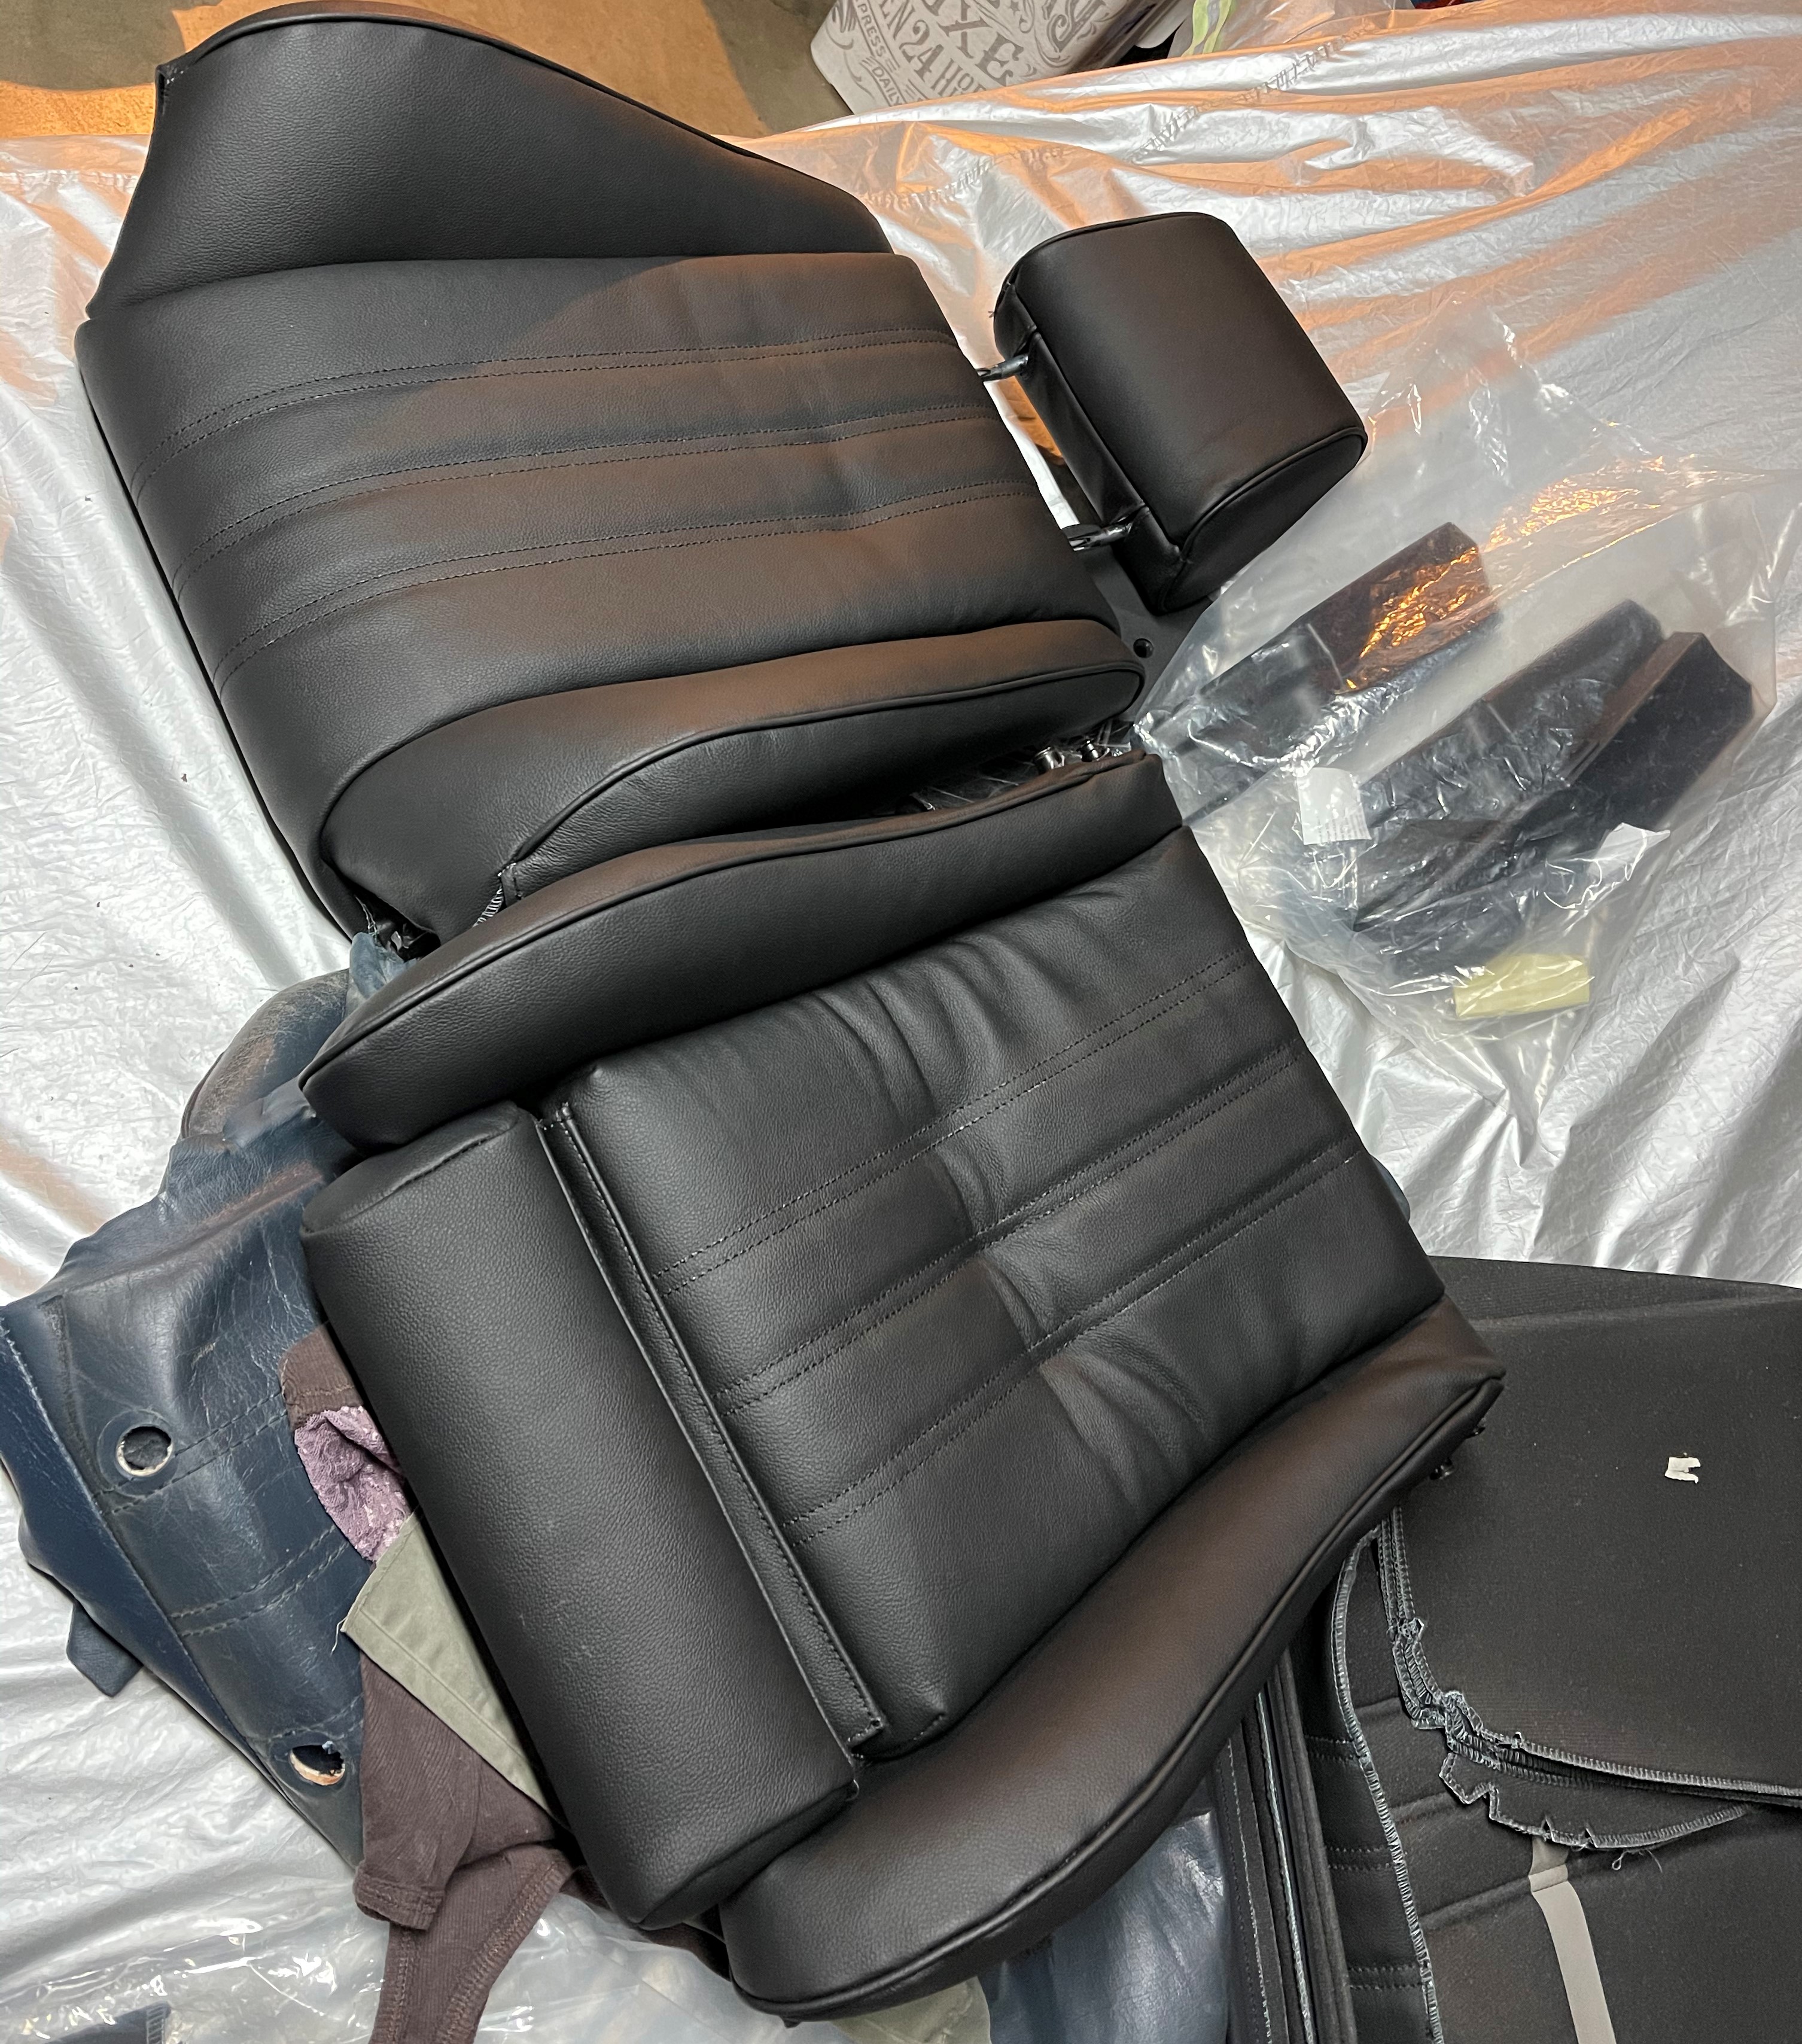
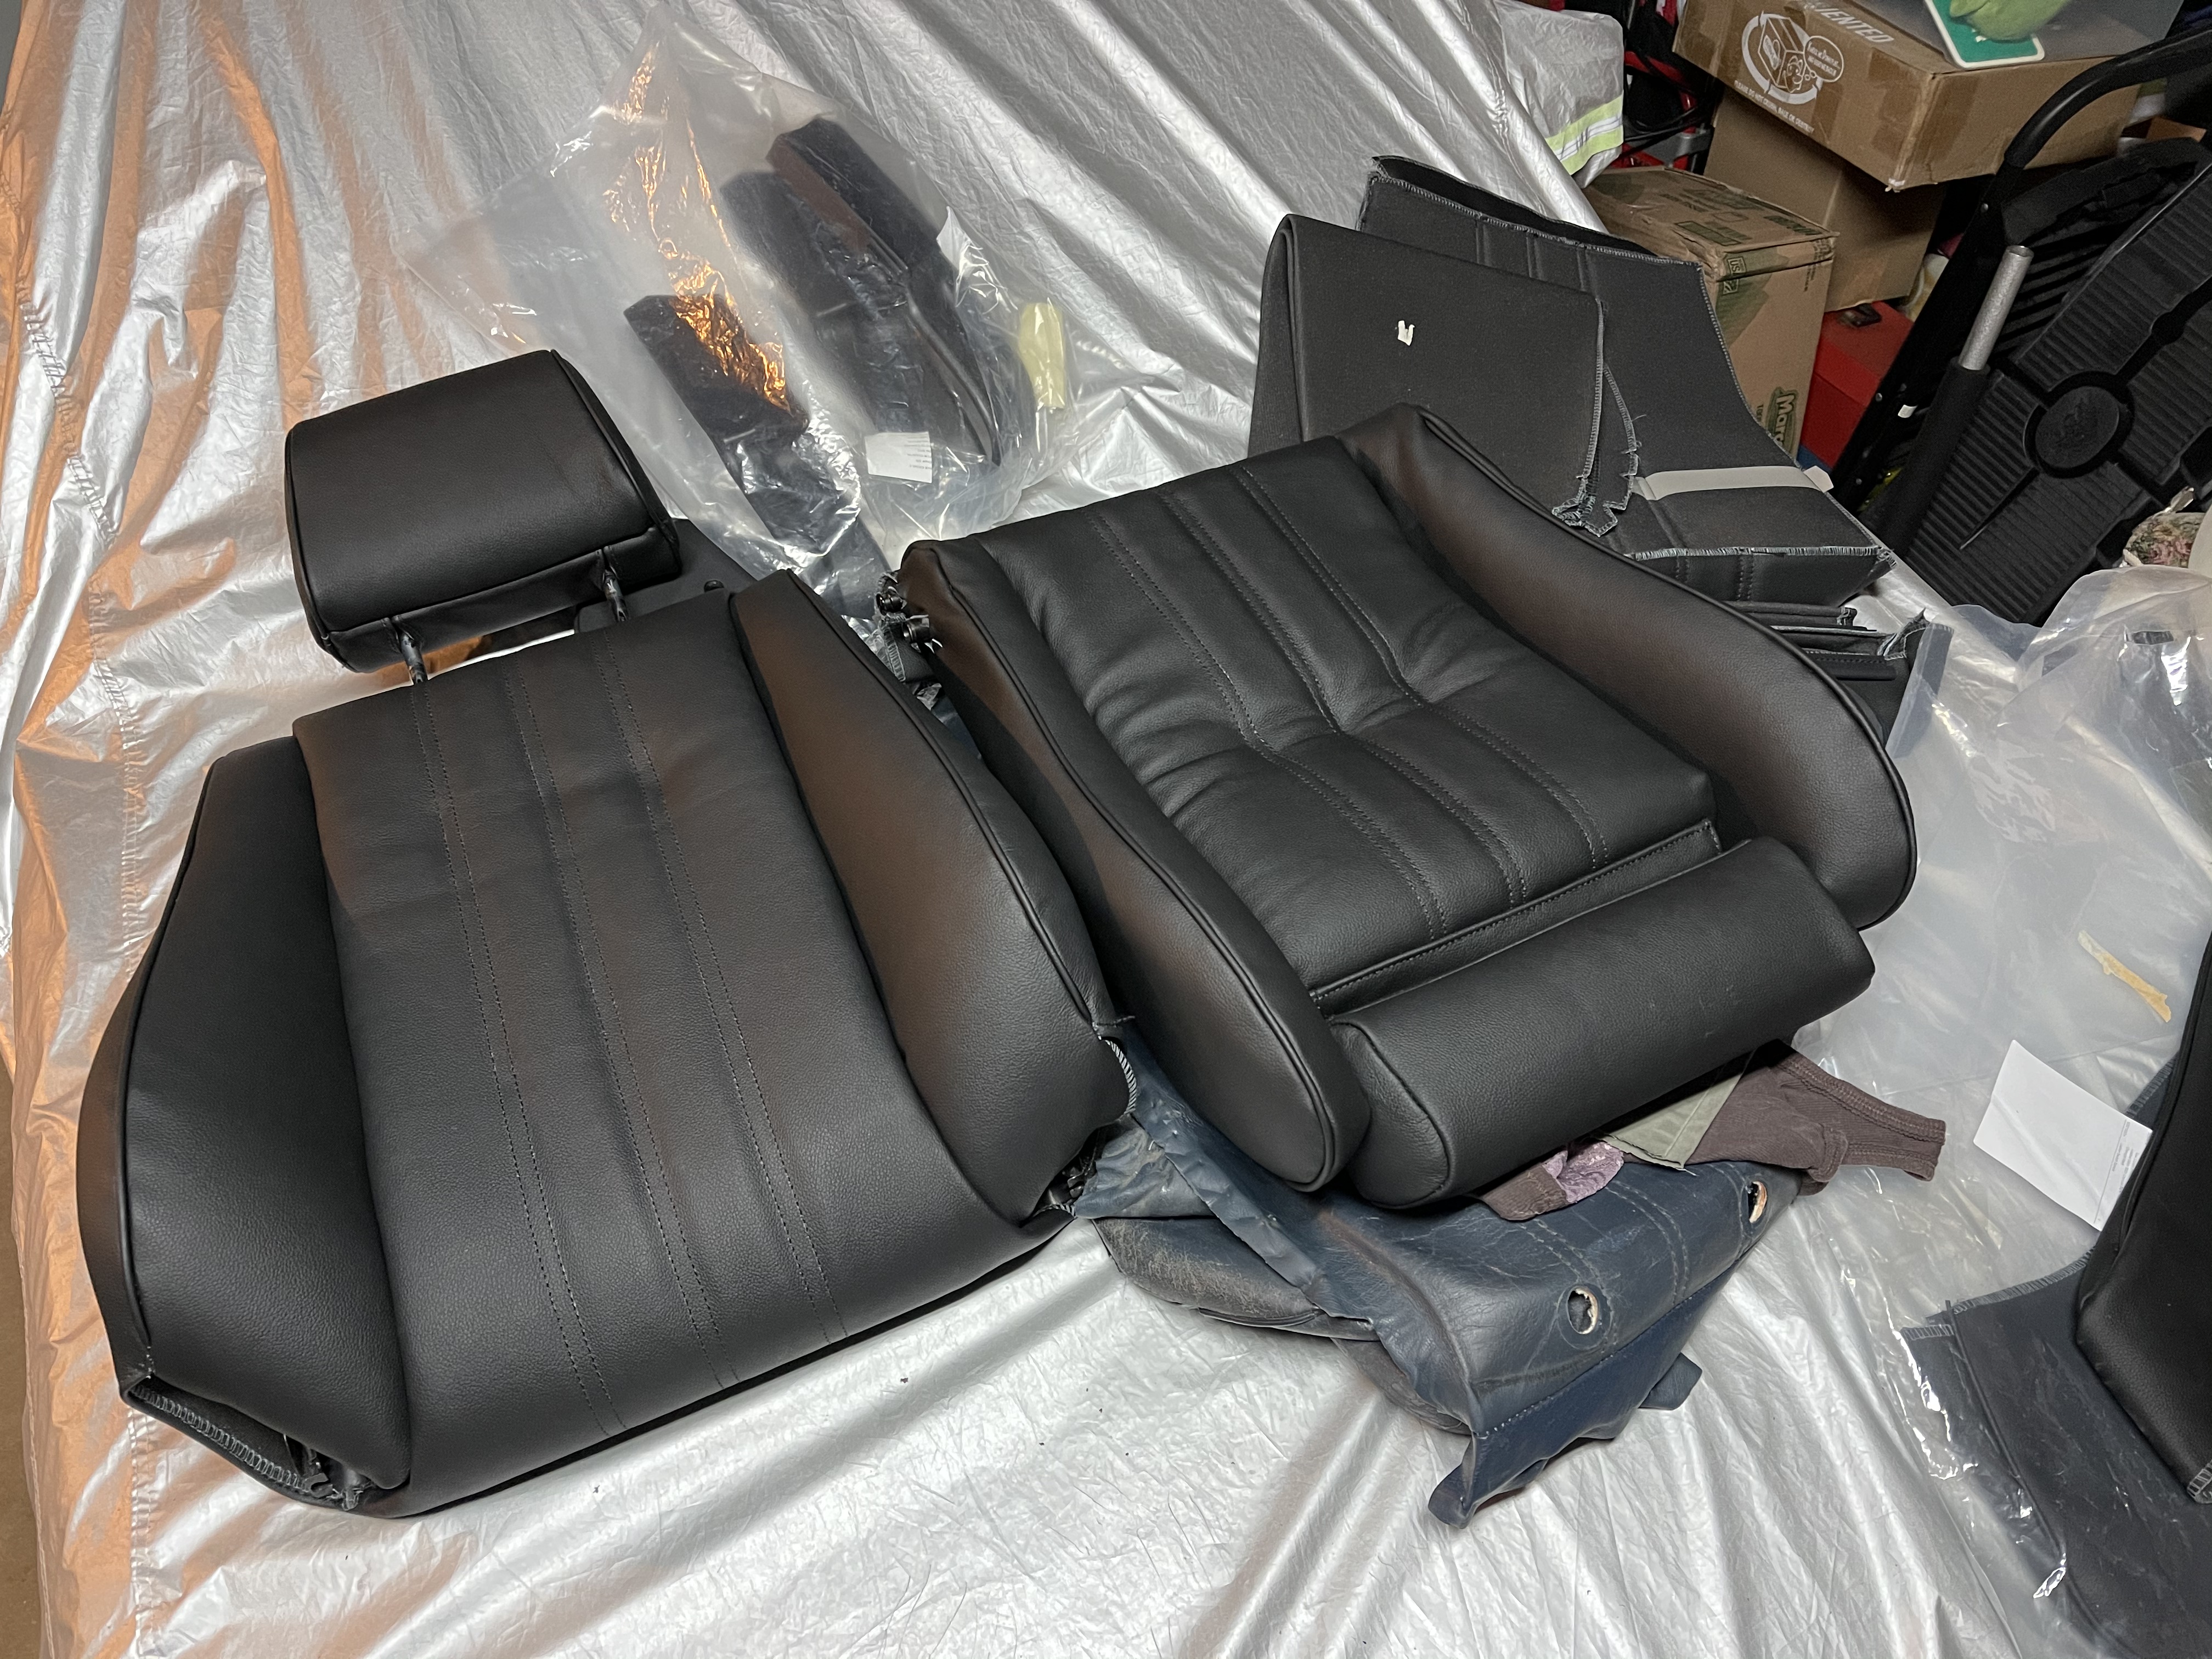
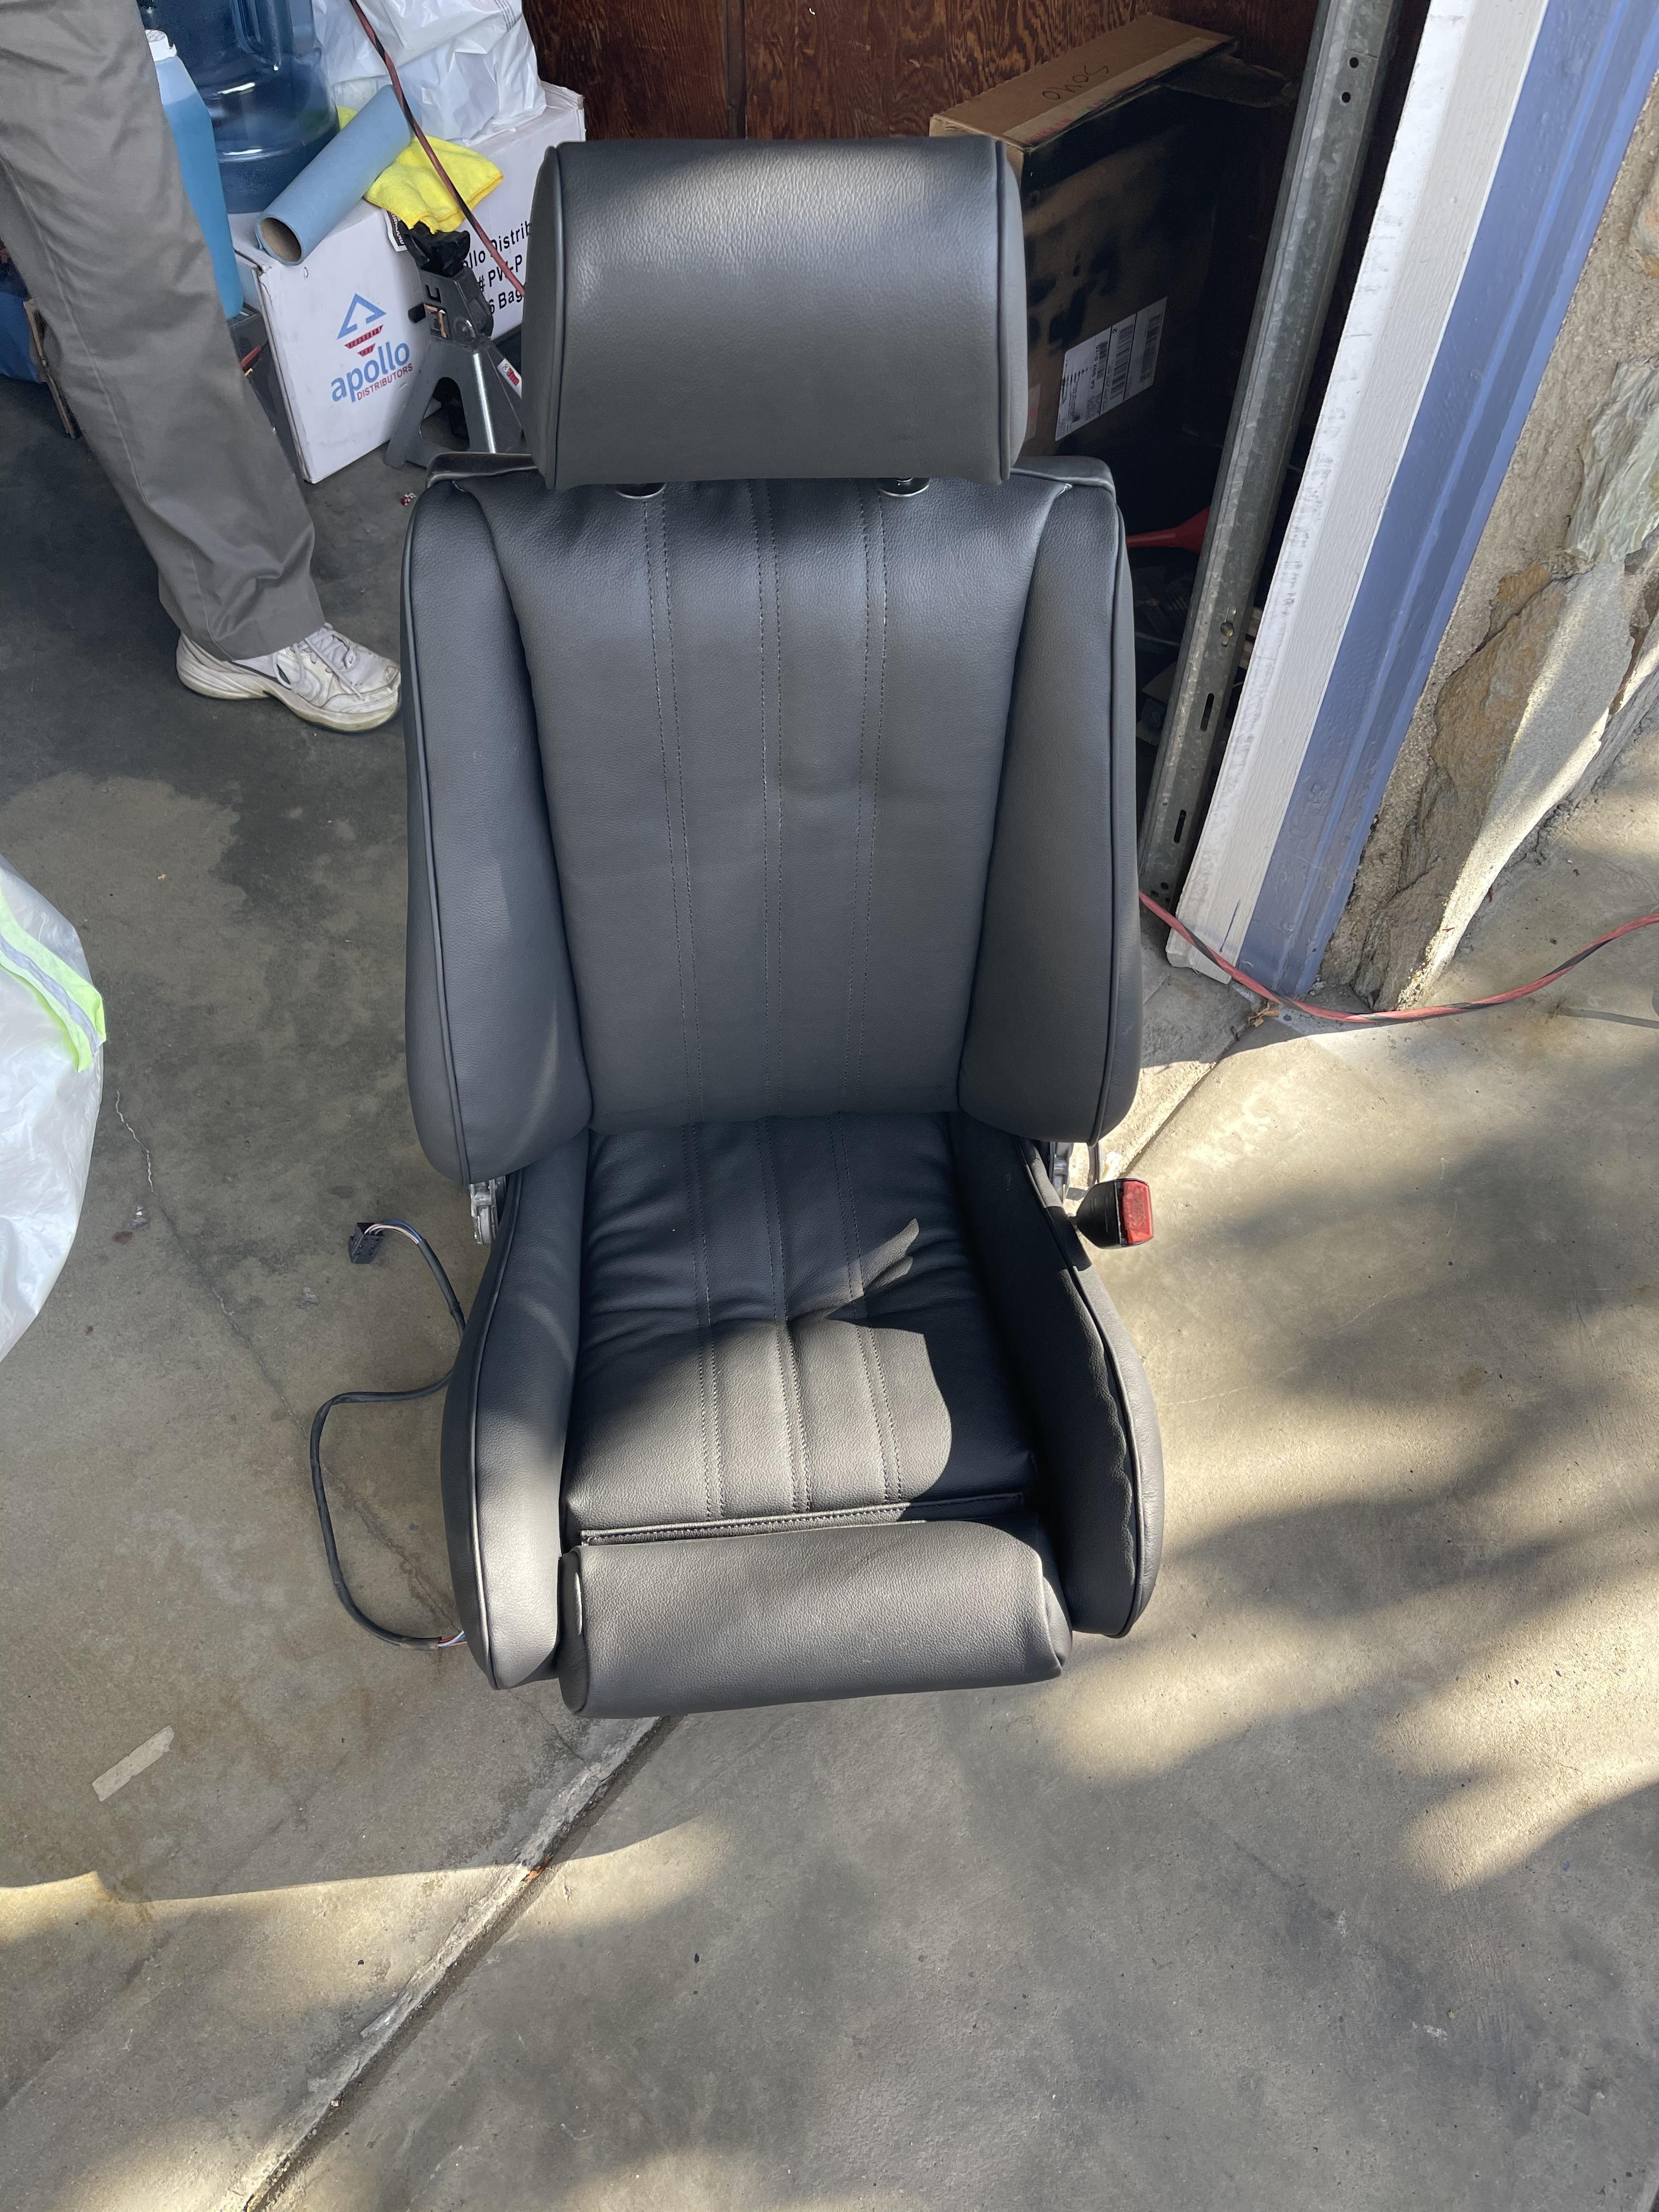
Install of the black power sport seats I reupholstered using the kit from Lseat.
- They were originally pacific blue and in worse shape than advertised.
- The bolster needed rewelding as it was bent. The seat back attachment point was also snapped off, was repaired.
- One of the bolster foam pieces was split down the middle and missing a chunk so I repaired it with foam from Joanns.

Image

Image

Image

Image

Image

Cant complain with the seats kit especially with how much they cost, and also that this was my first attempt ever at doing anything upholstery related. In the pictures there are some wrinkles near the front of the bolster, but these have went away with heat and from receiving direct sunlight.

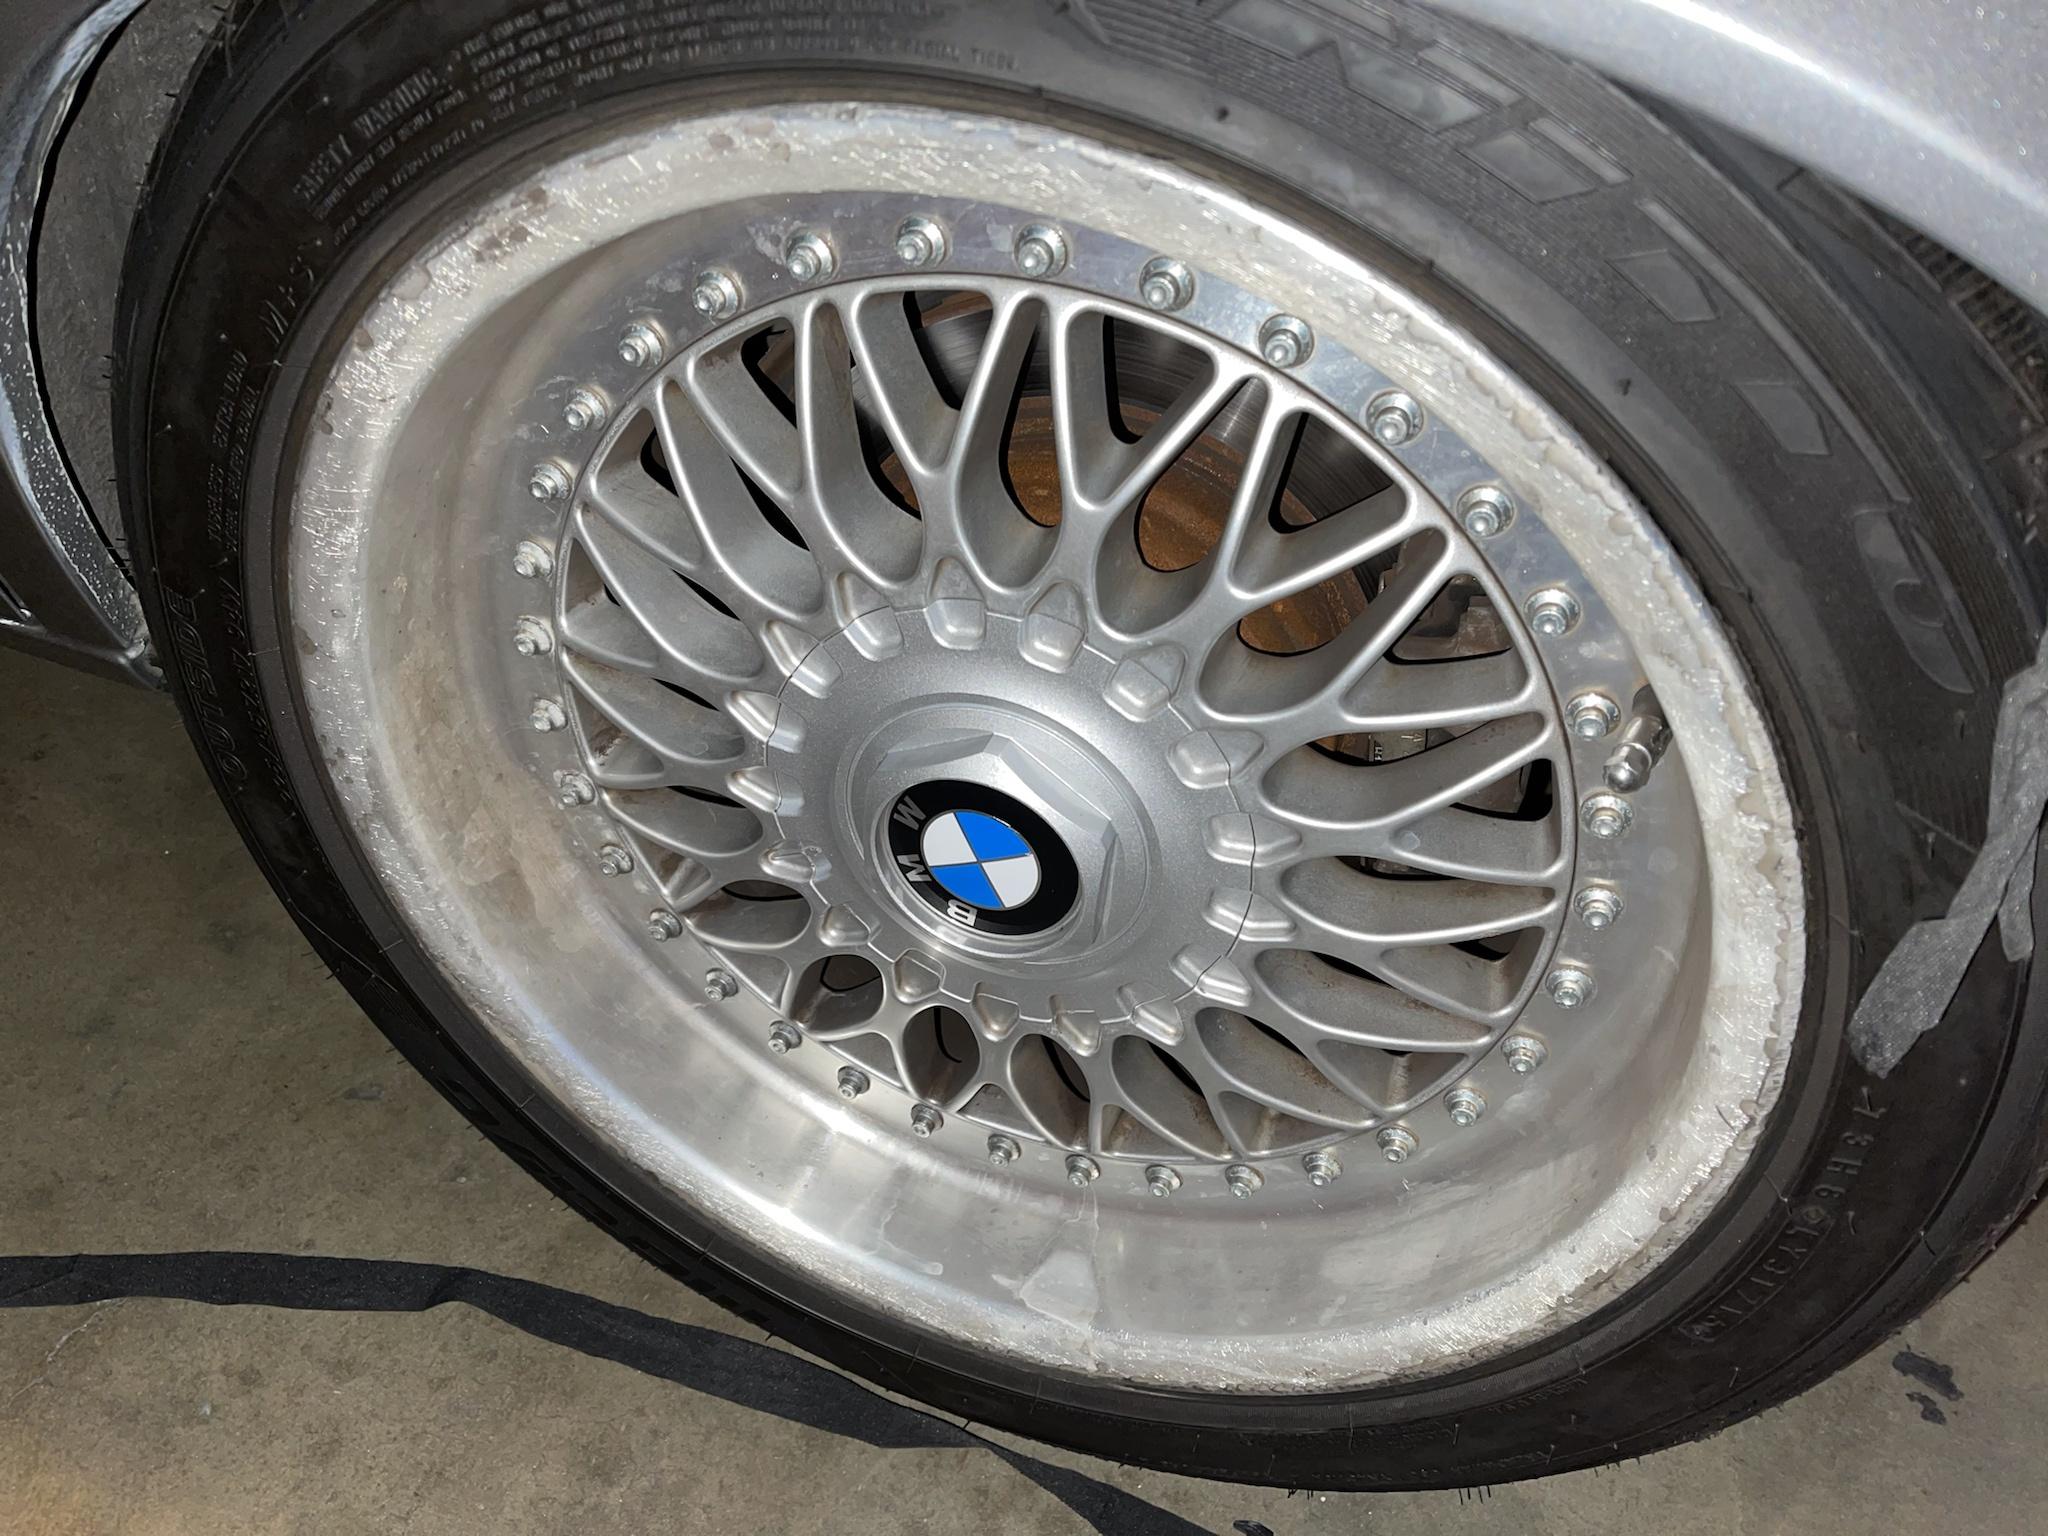
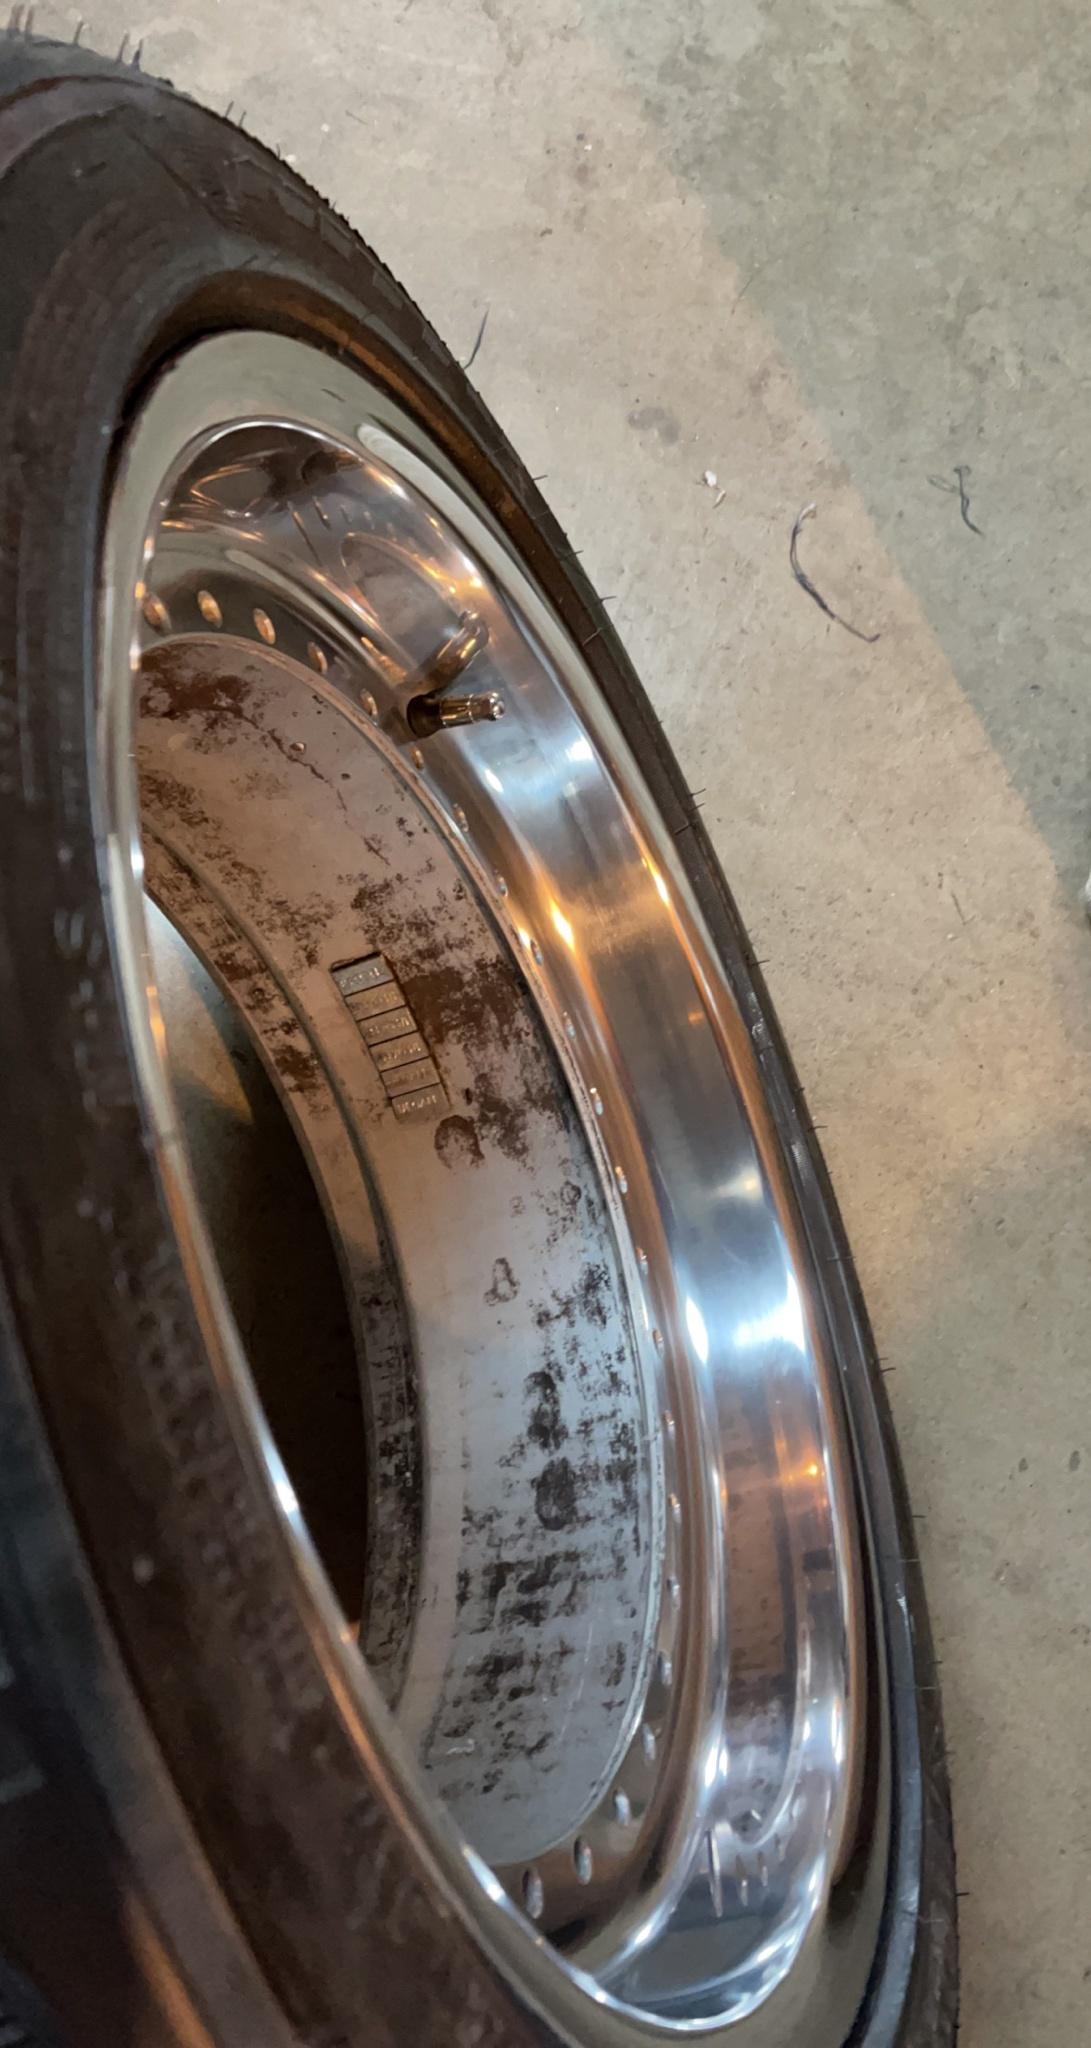
Shortly after this I decided that it would be a good time to finally take apart and refinish the BBS RC090 Style 5 wheels.
- The process is very well documented, basically you just strip the clear coat and sand it.
- Also this process is a lot better if done without the tires on as you don't have to worry about damaging them in the process.

1. Disassemble the wheels, this will take a decent chunk of time especially if the wheels have never been taken apart before. You will have to knock each bolt out of the wheel and then knock the center out.
2. Use aircraft paint remover to remove the clear coat, I made sure not to get any on rubber.
3. Sand using 320, 400, 600, 800, 1000, 1500, 2000 grit sandpaper. If you have curb rash, spend more time sanding at 320 grit and if its not too bad you should be able to remove any signs of it.
4. Buff the raw aluminum lips with brown Tripoli and then white rouge compound to get that extra shine.
5. Finish polish with any aluminum polish you may have.

Before :

Image

After :

Image

Image

Image

Image

Image

Then after that was complete, the Continental TR7412UB-OR headunit I ordered came in, and I went to install it. I have never installed a headunit before, and was able to just go off the old headunit's wiring diagram and matched each connection with the new continental's. I don't know if this was the correct way, but it still works perfectly fine, so I have no complaints.
- The bluetooth connectivity is really fast and connects right when I turn the key to the start position.

Image

Image

Image

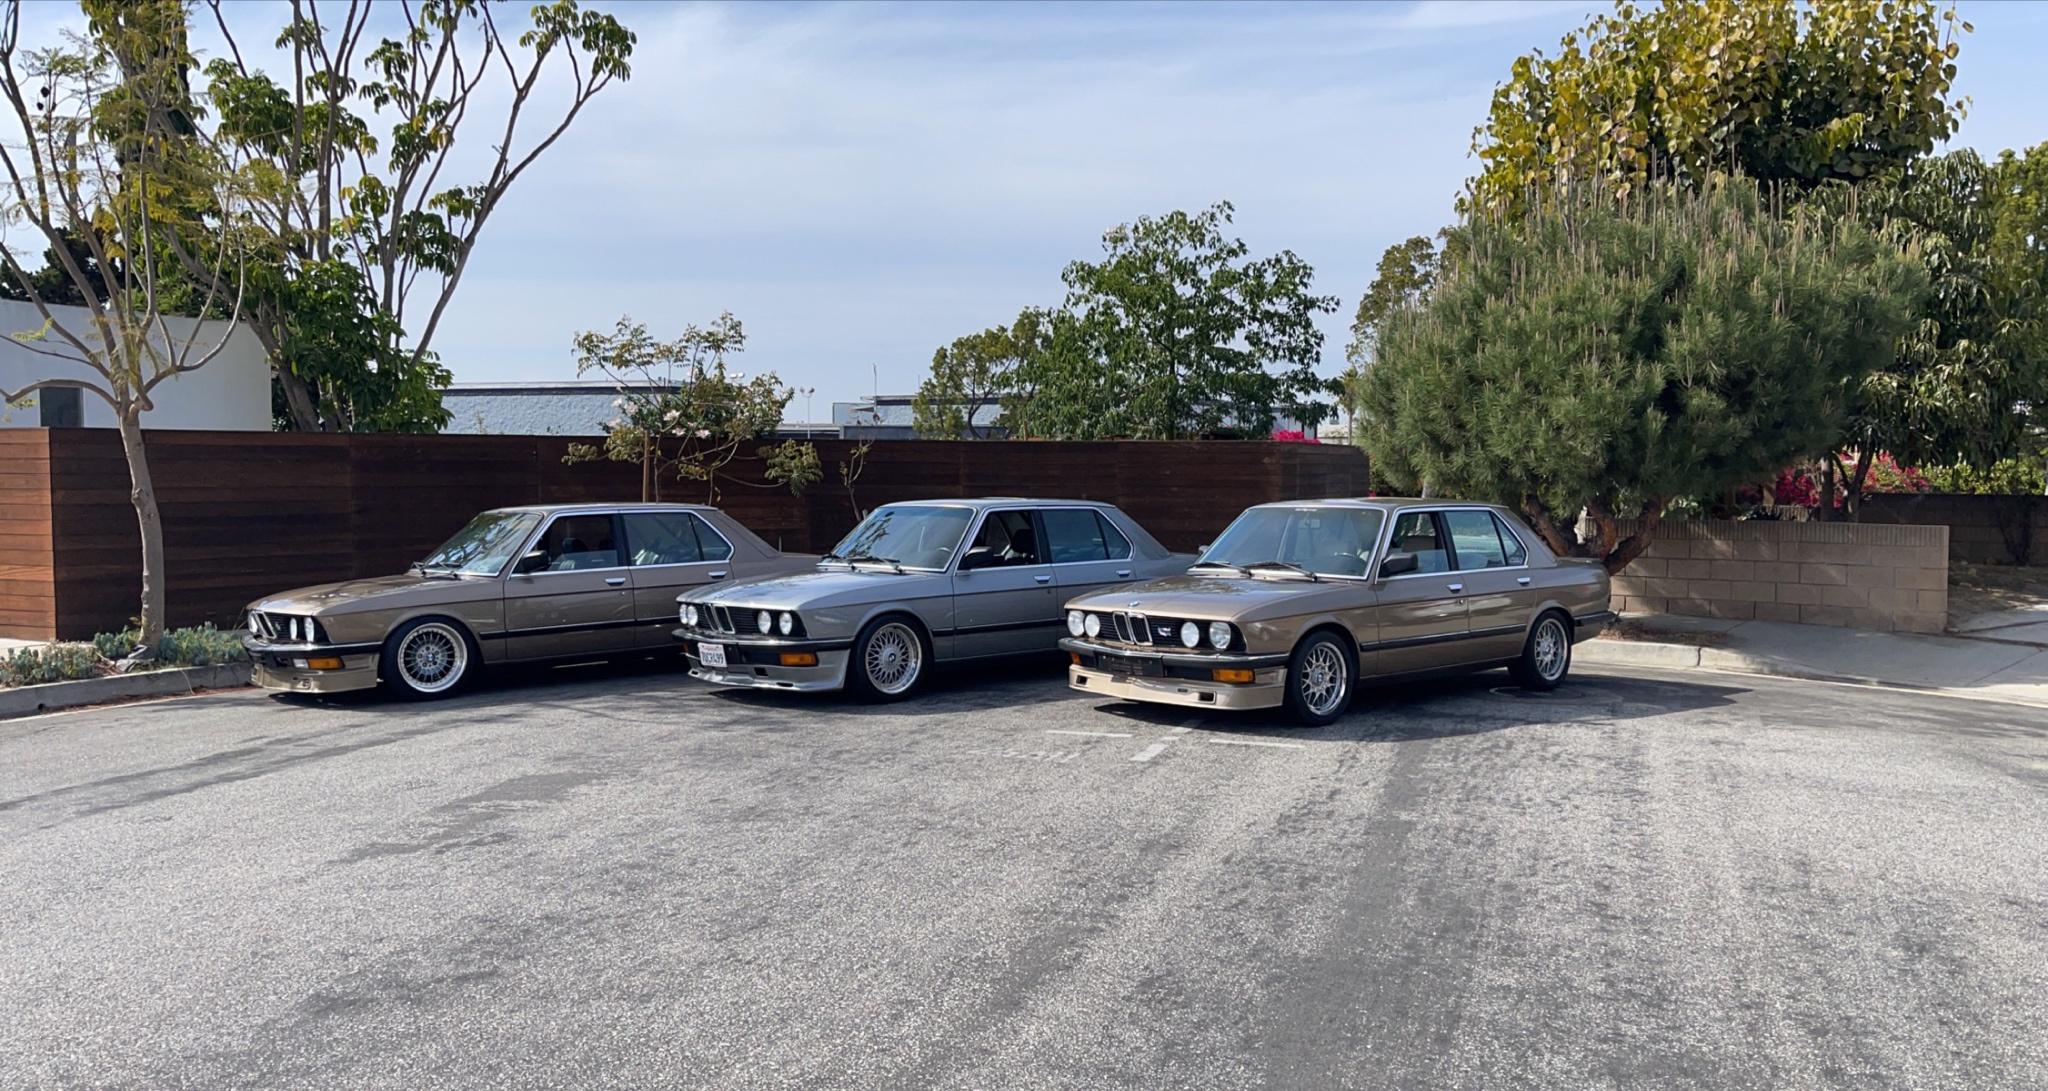
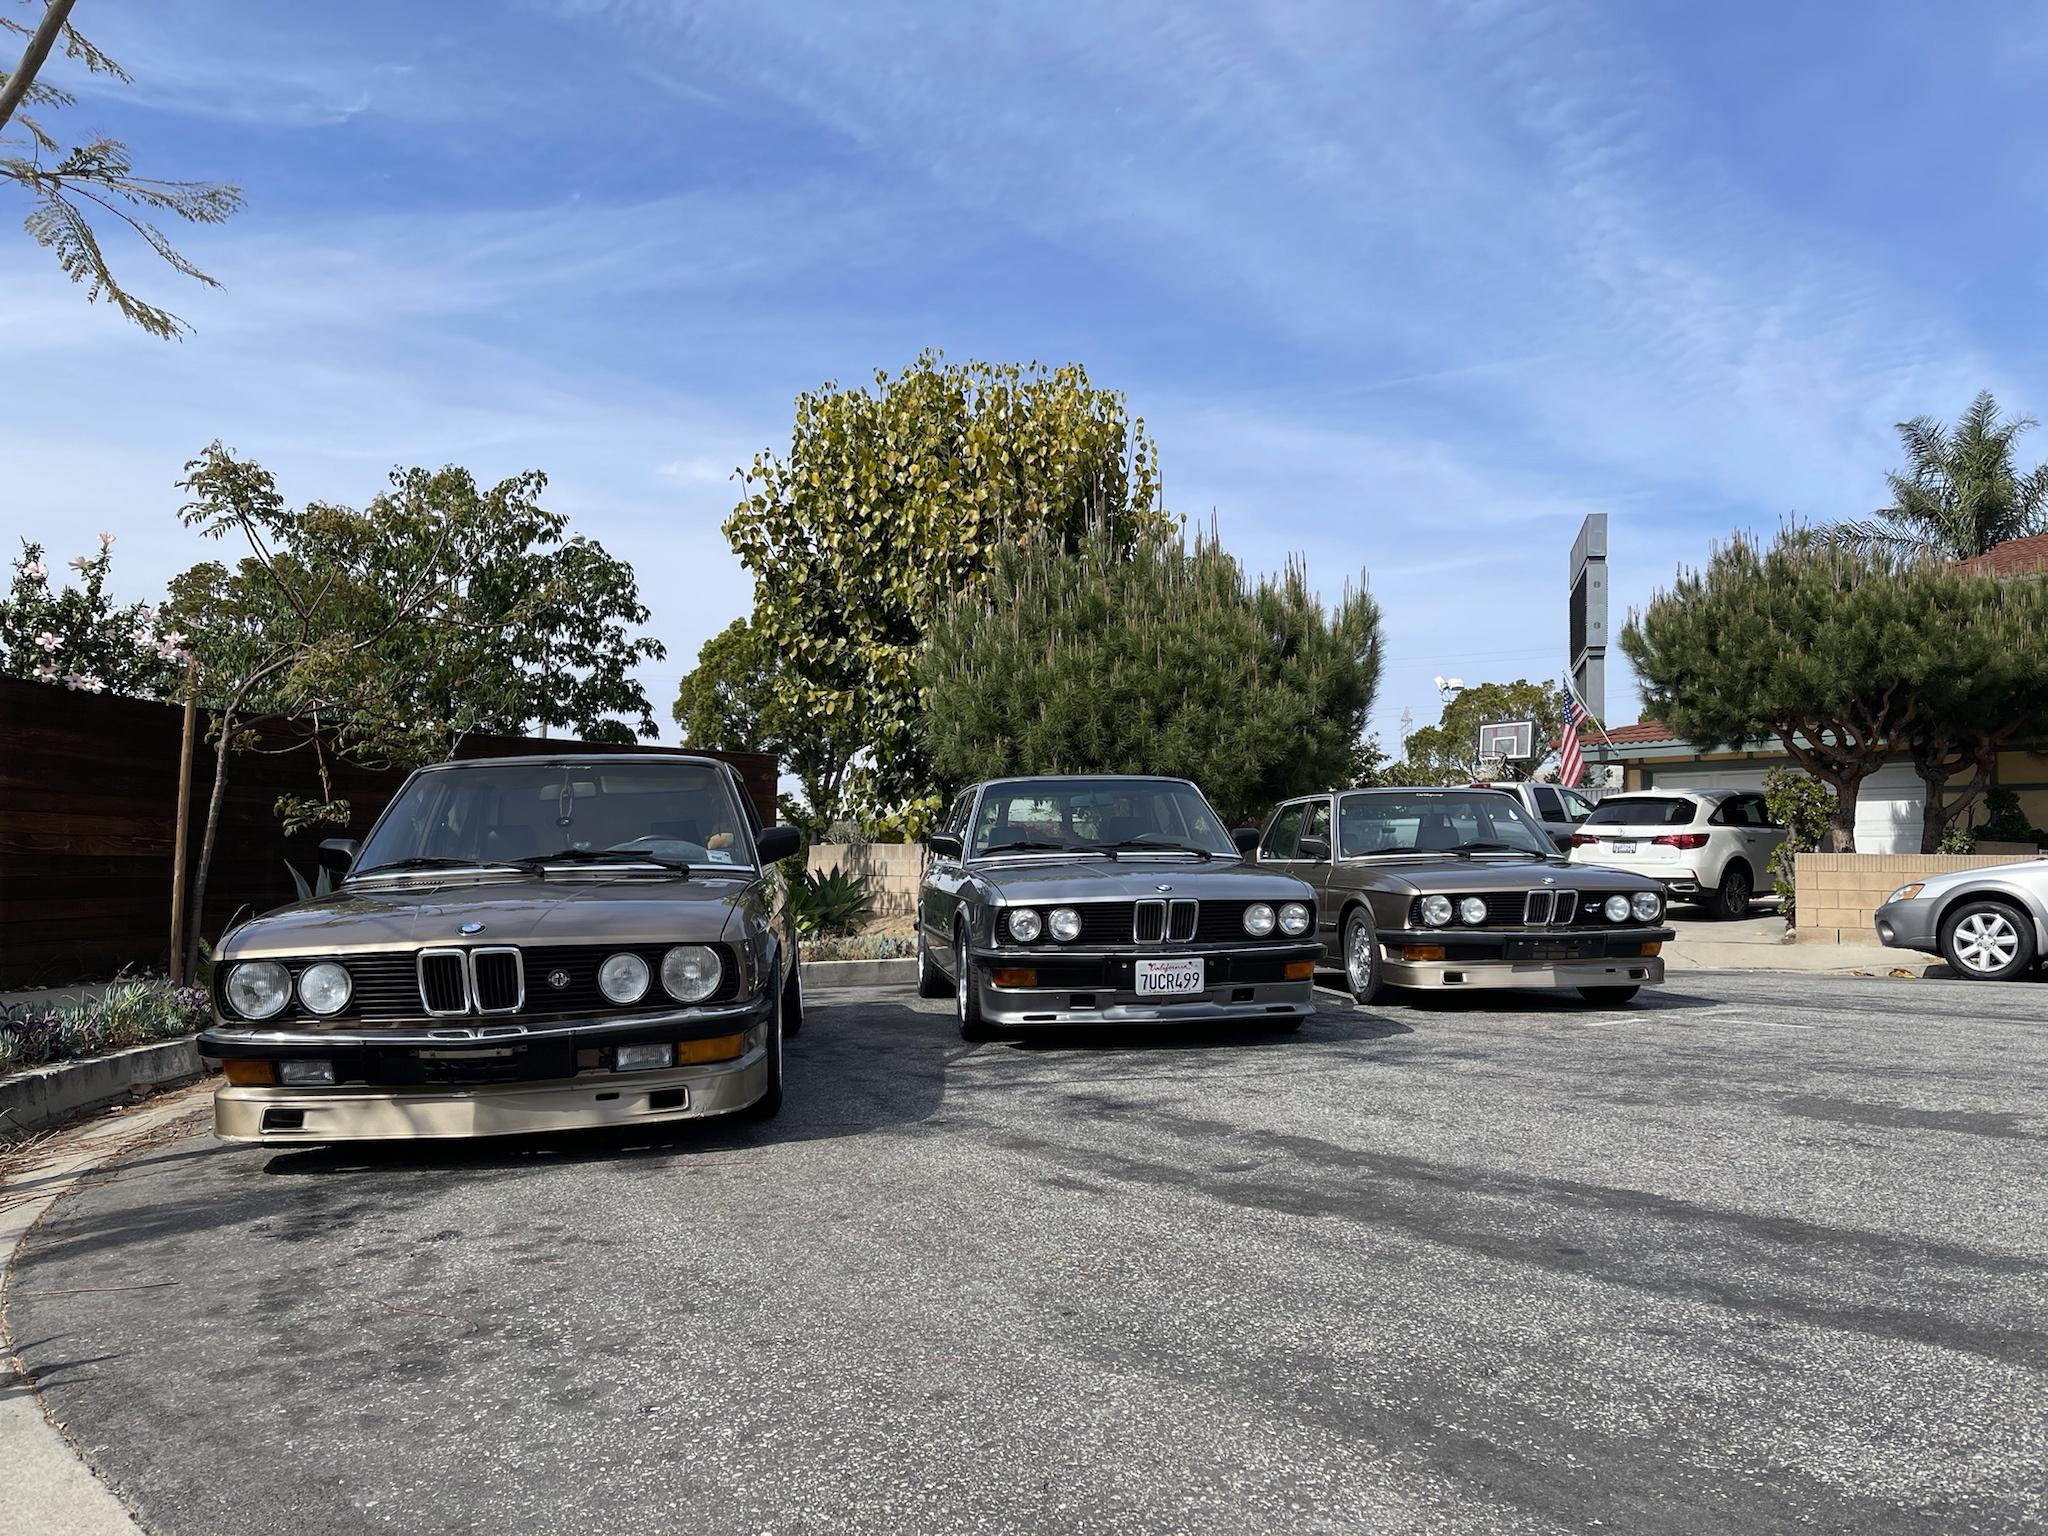
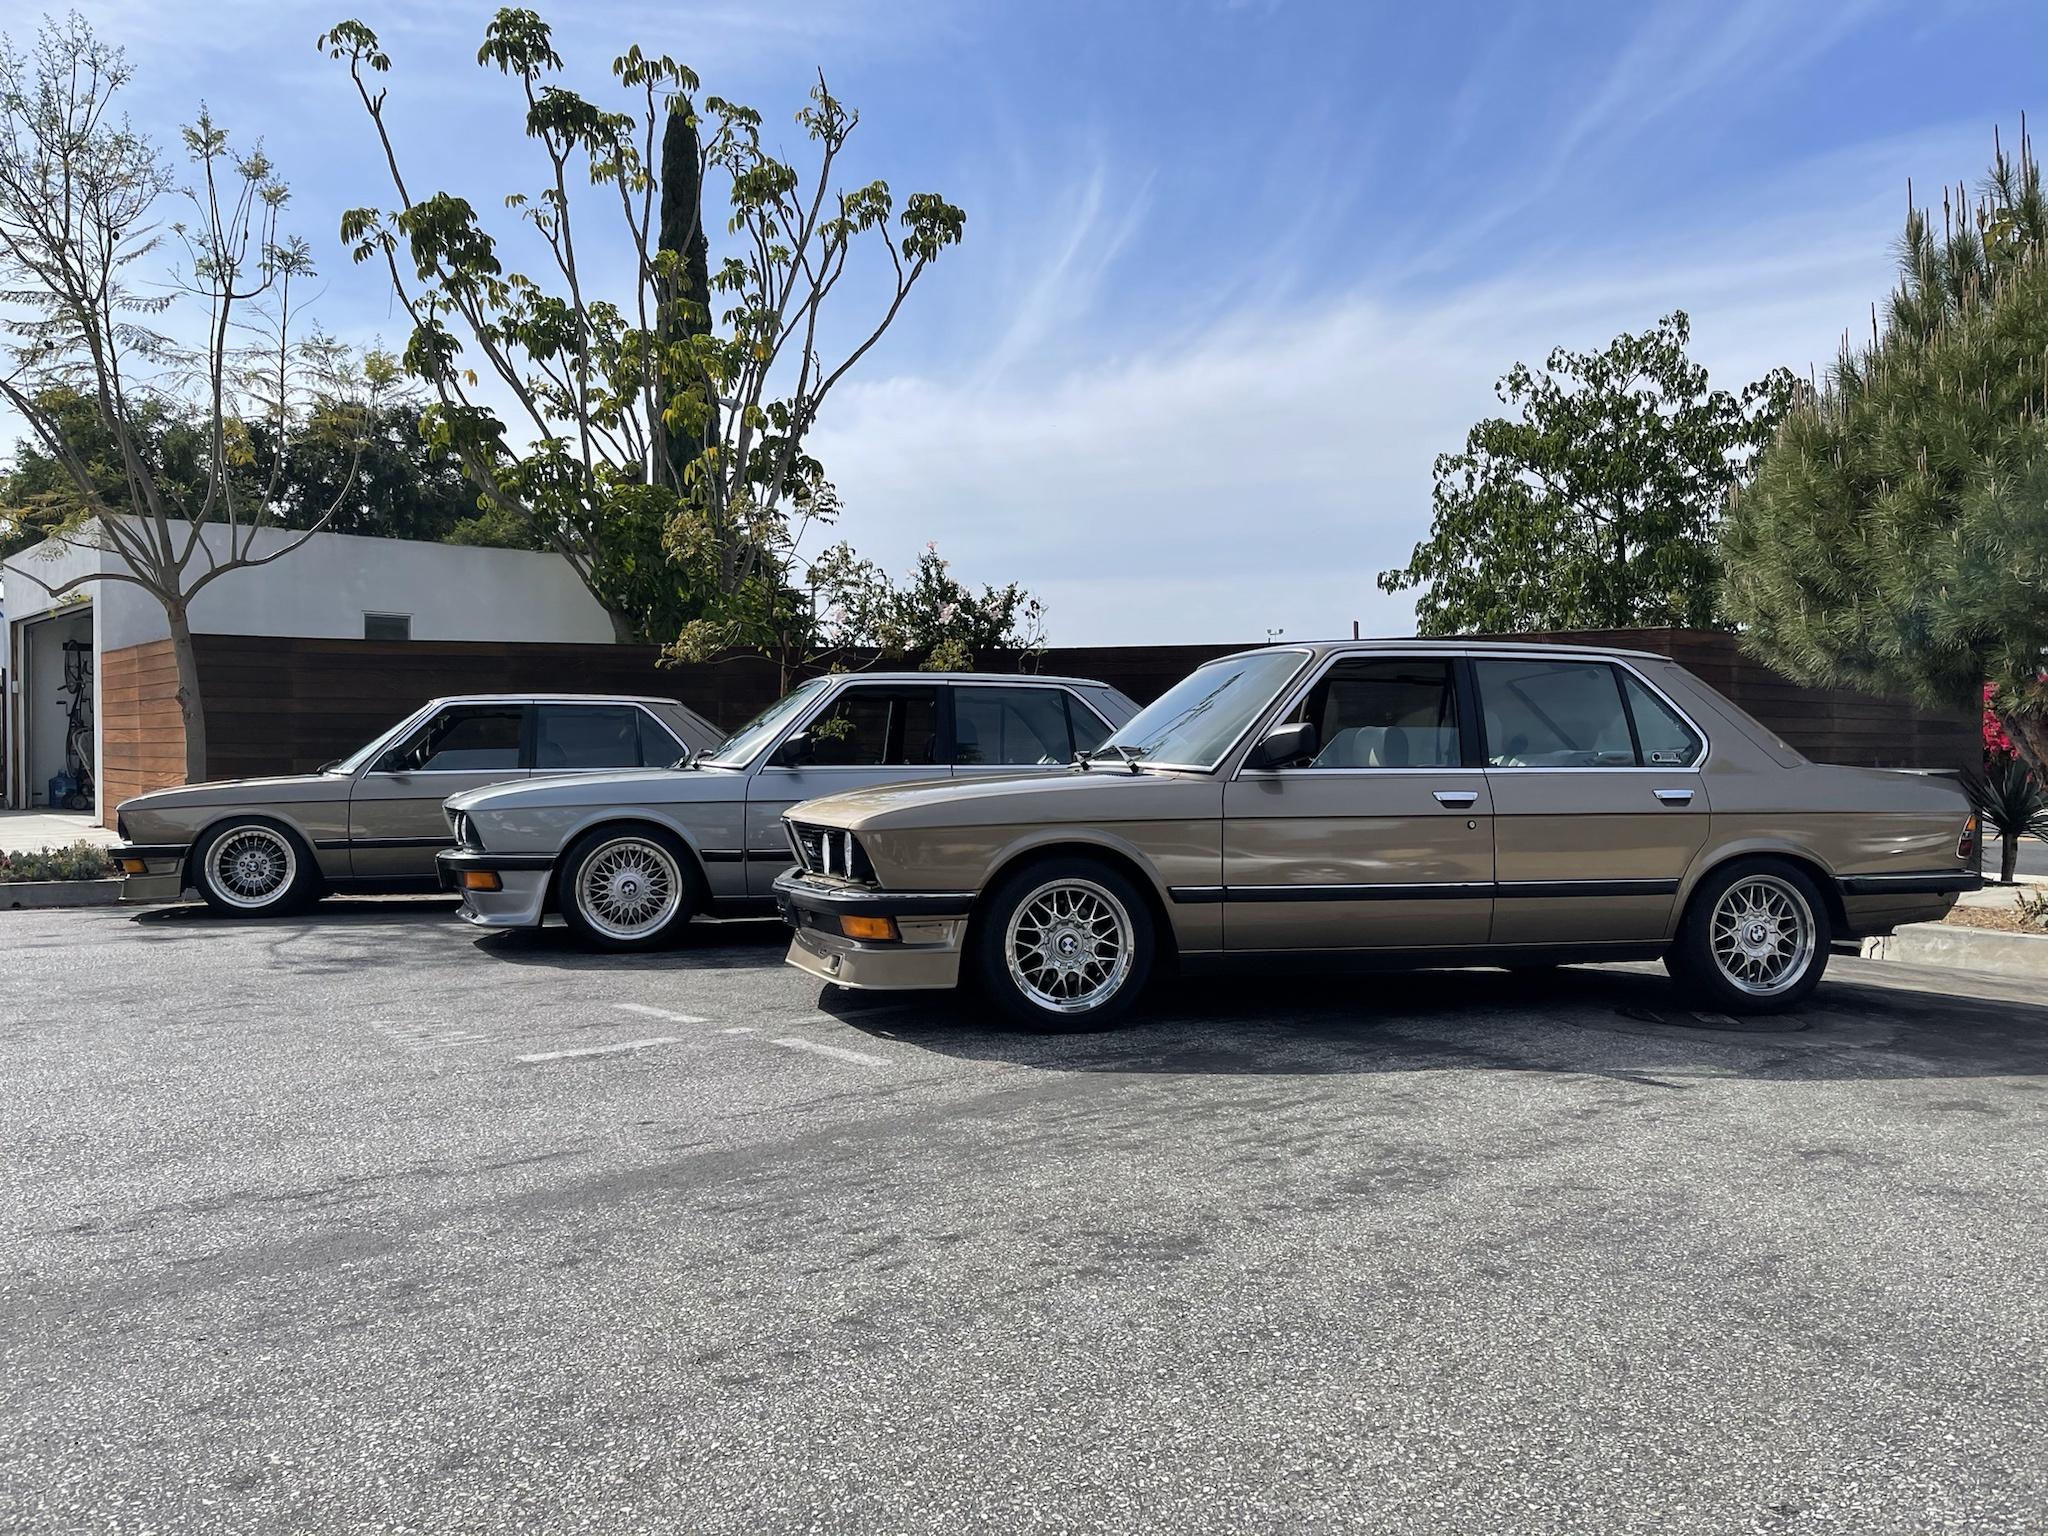
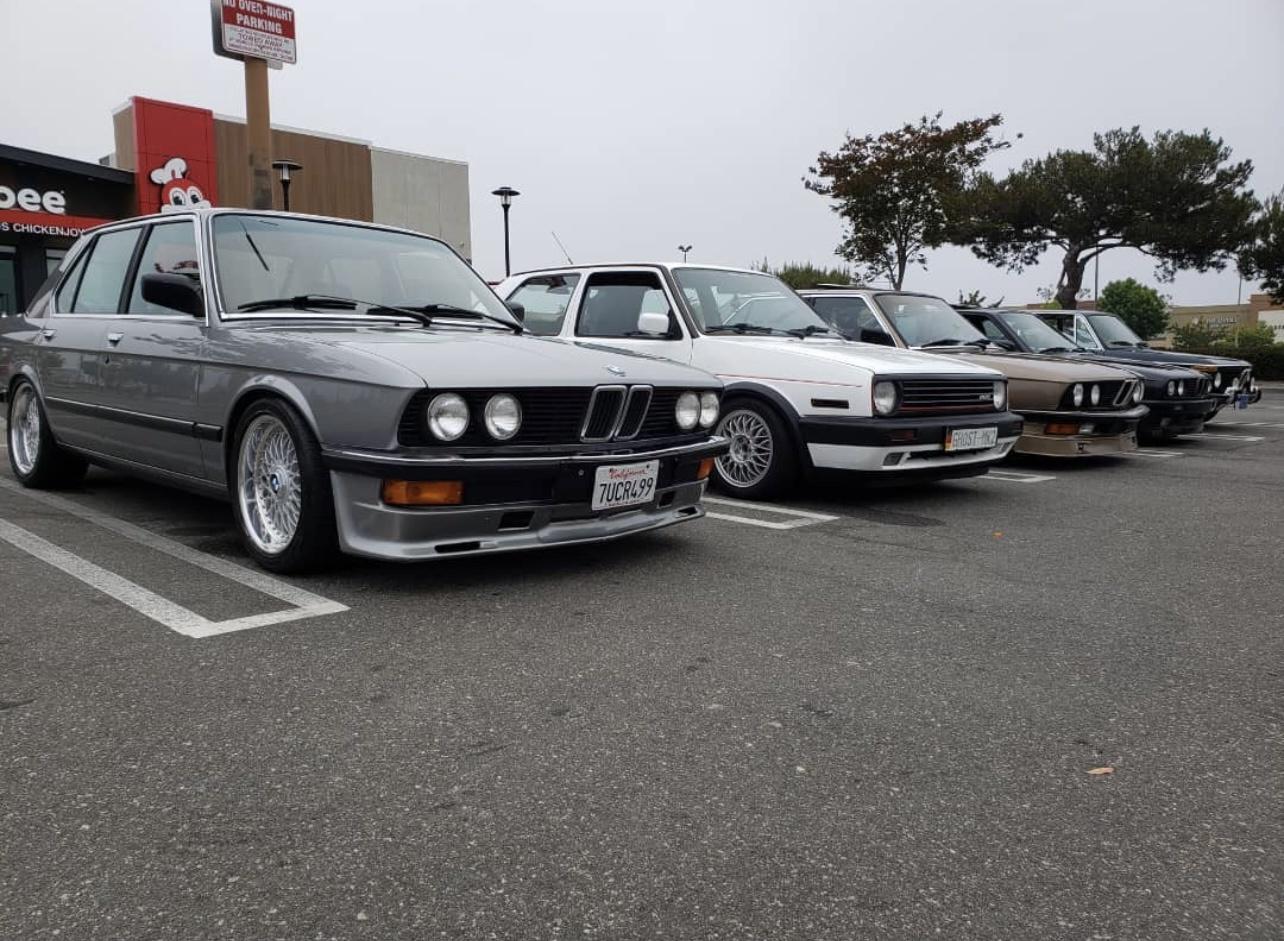
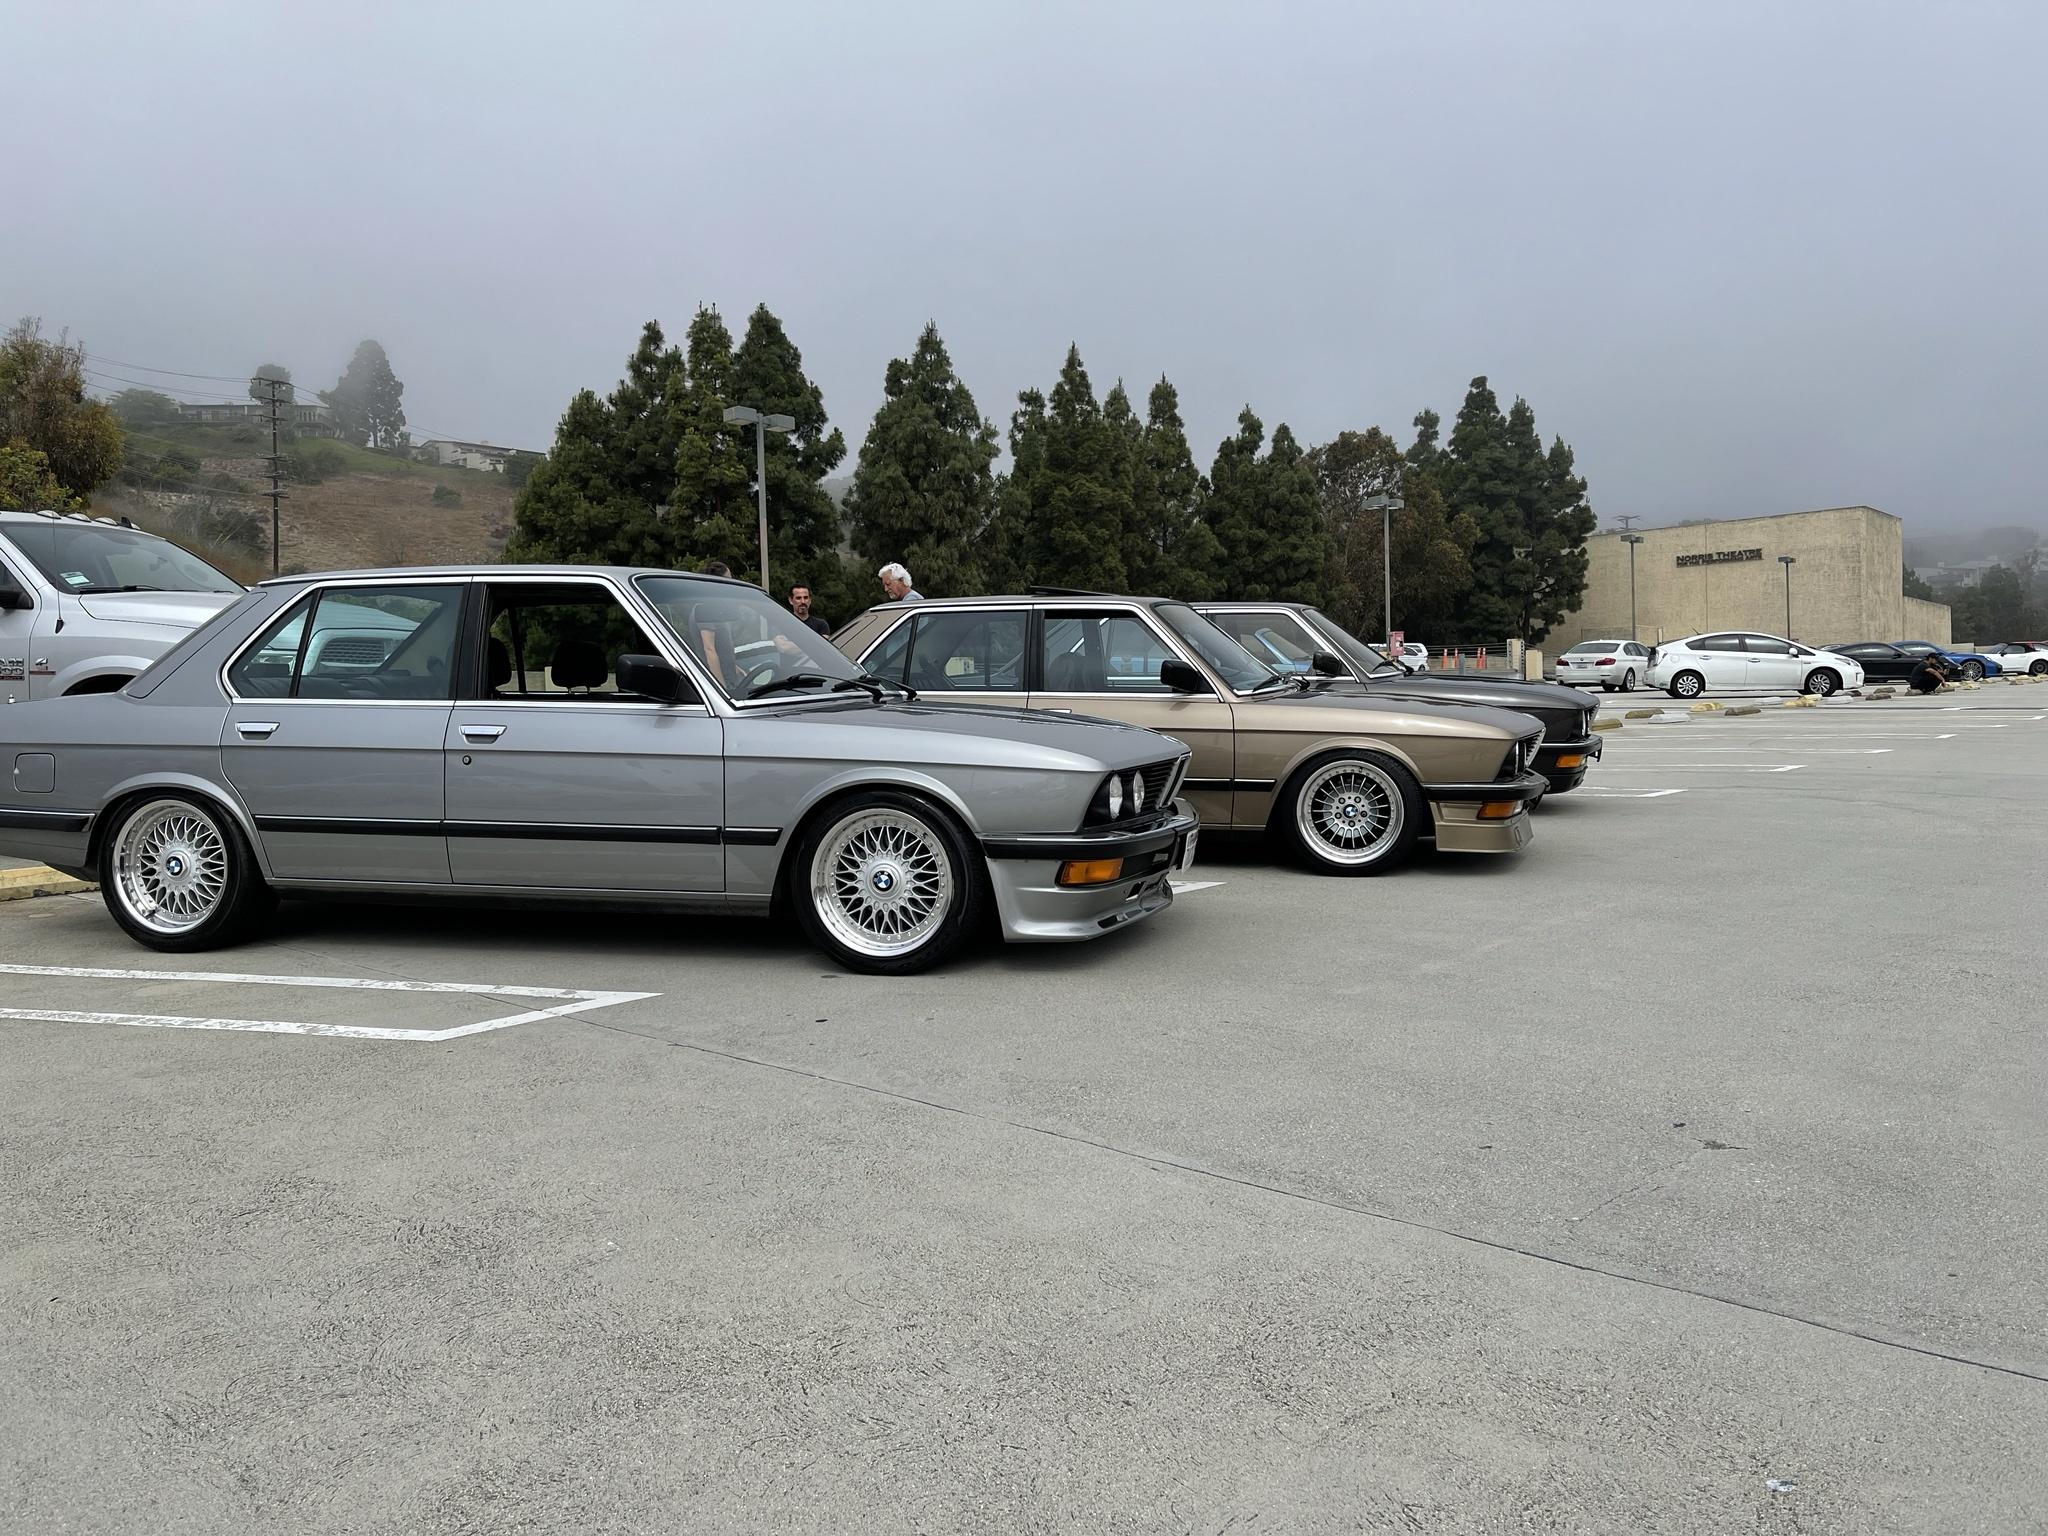
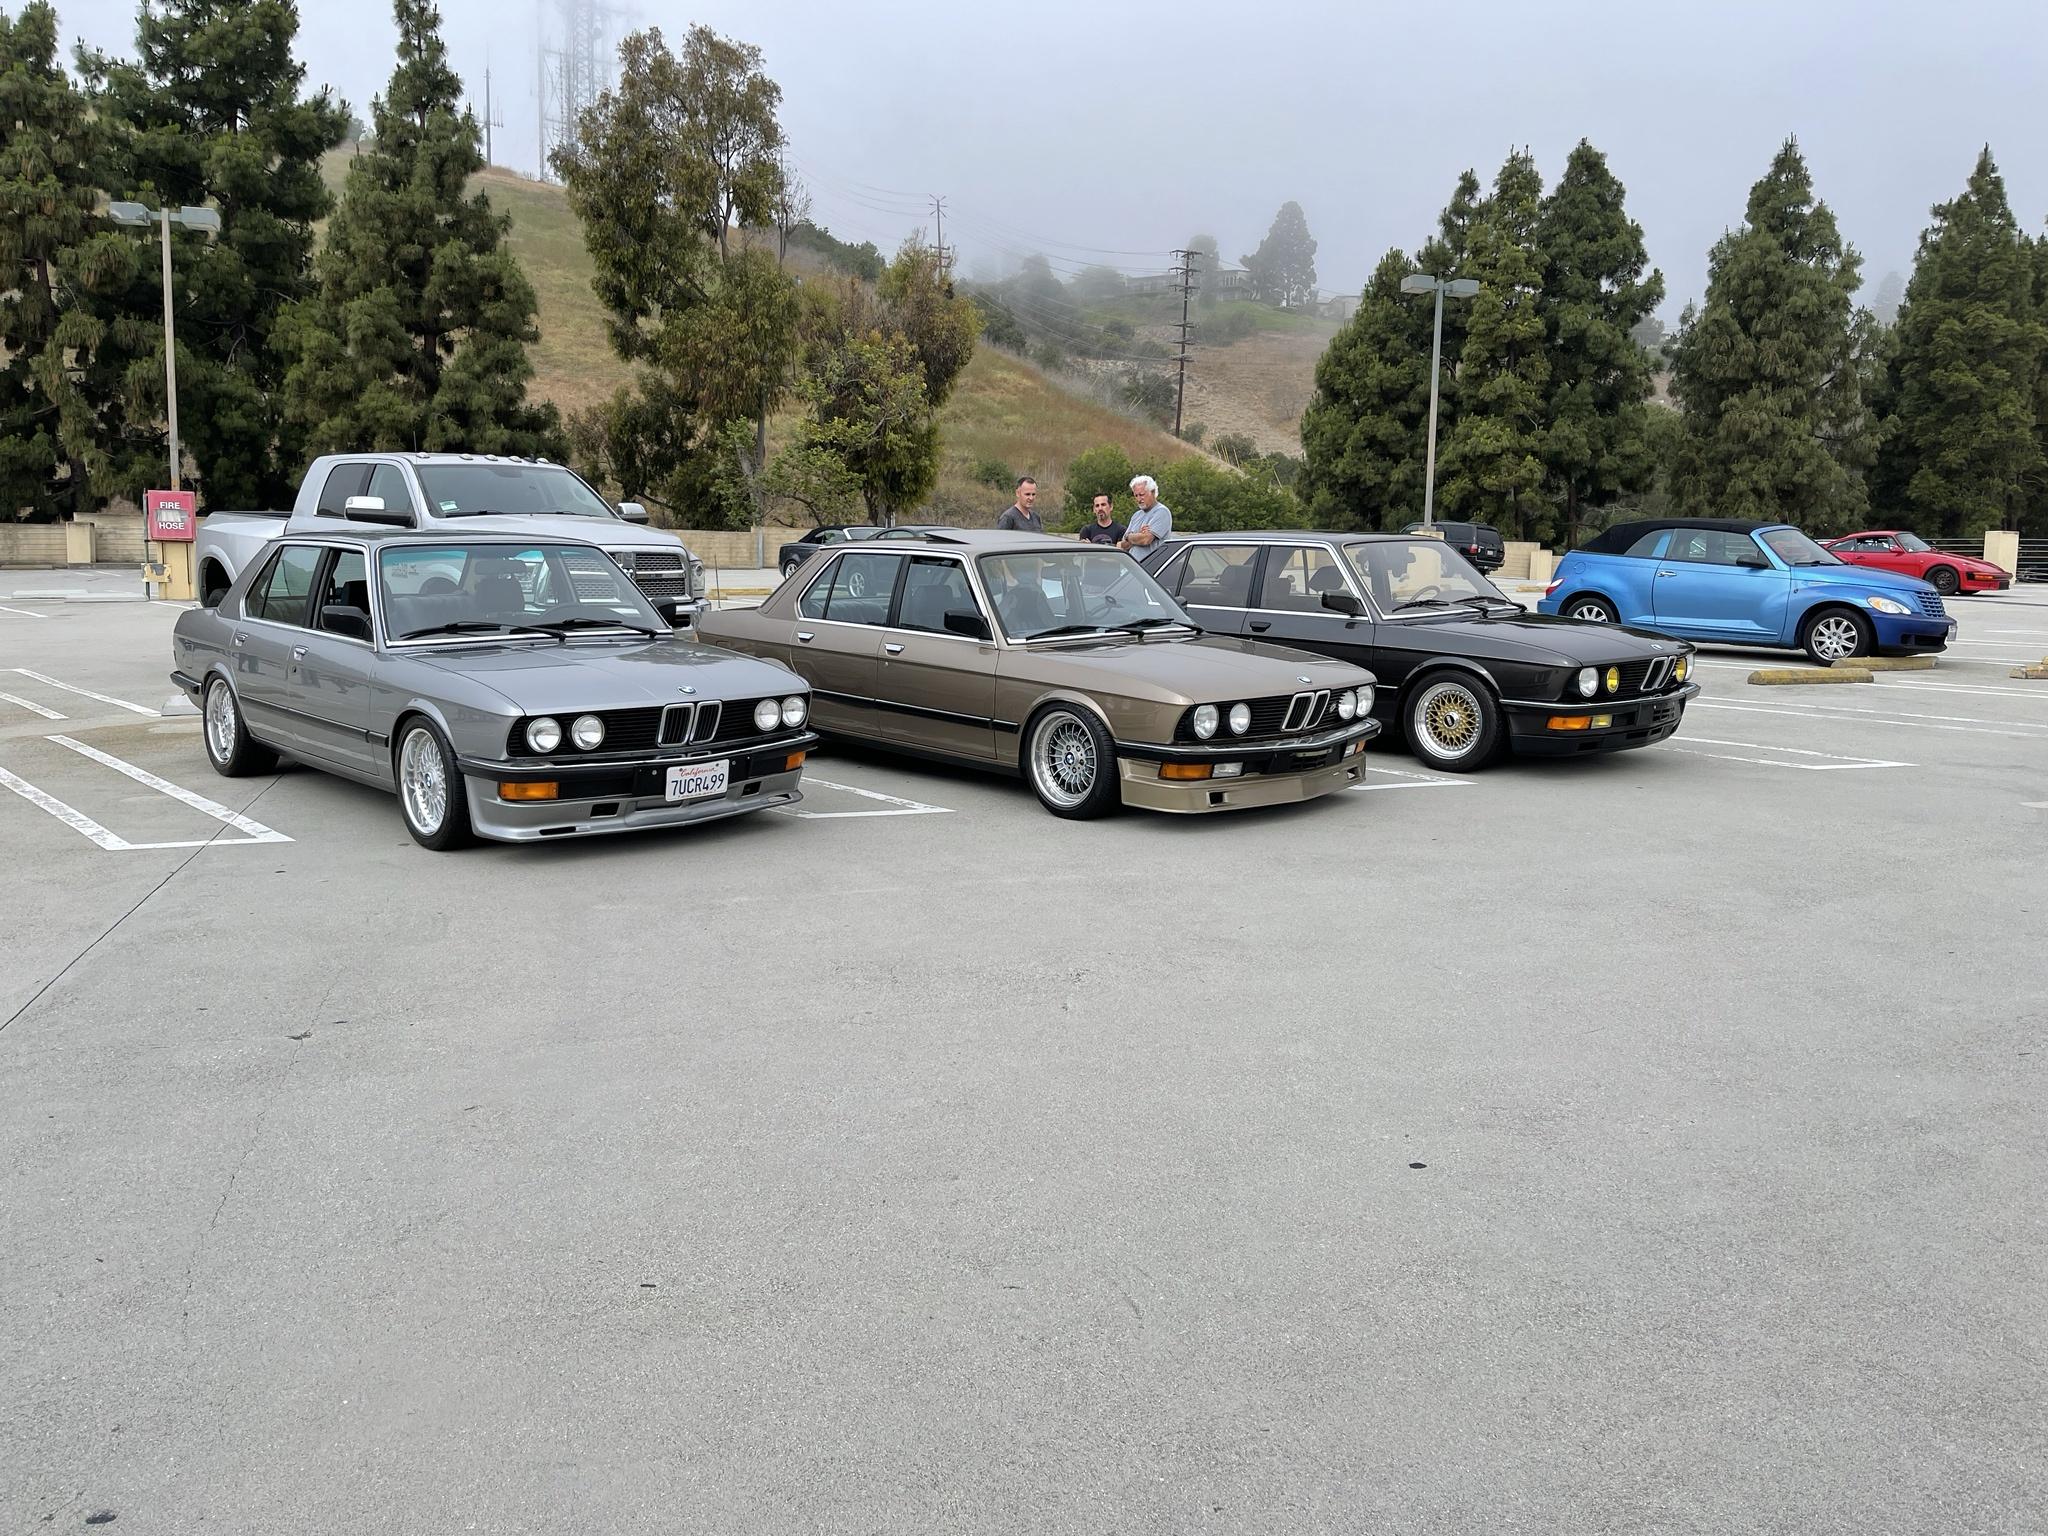
Here are some pictures with the car and some other e28s

Image

Image

Image

This is the last picture before the car went under to have the e2i swap done as the headgasket was leaking, so it was a "might as well if youre in there job".

Image
mnnguy
Posts: 57
Joined: Sep 07, 2016 1:34 AM
Location: Los Angeles

Re: Never-Ending Project e28 528e

Post by mnnguy »

muleskinner wrote: May 21, 2021 3:16 PM I just love to see people turning coal into a diamond.
Thanks man, its the best feeling when you get to see the results of all the work done on a car
lizard
Posts: 122
Joined: Mar 23, 2013 12:39 PM

Re: Never-Ending Project e28 528e

Post by lizard »

Very nice.

Did you remove the glass when you had the car repainted?
tig
Posts: 9311
Joined: Mar 18, 2013 6:25 PM
Location: Durango
Contact:

Re: Never-Ending Project e28 528e

Post by tig »

Very nice! Sun's.
Mike W.
Posts: 27223
Joined: Feb 12, 2006 12:00 PM
Location: California Whine Country

Re: Never-Ending Project e28 528e

Post by Mike W. »

Wow, that's a lot of work, but damn it looks good. Shame you couldn't have kept the Nevada plate, not sure what 101F means, maybe temp but a little low for Vegas, but kind of a cool plate, unlike the junk we get stuck with here in Calif unless you shell out to start with and every year thereafter.

But the car looks great, nice work. :up:
mnnguy
Posts: 57
Joined: Sep 07, 2016 1:34 AM
Location: Los Angeles

Re: Never-Ending Project e28 528e

Post by mnnguy »

lizard wrote: May 30, 2021 3:33 AM Very nice.

Did you remove the glass when you had the car repainted?
Even though I know it is the correct way to get the car repainted, I did not go through and get the windshield / rear windshield replaced prior to getting painted. Honestly I don't see any issues with the paint around the gasket, and for the price I paid for the paint work I cant complain.
cek wrote: May 31, 2021 8:40 PM Very nice! Sun's.
Thanks!
Mike W. wrote: Jun 01, 2021 2:21 AM Wow, that's a lot of work, but damn it looks good. Shame you couldn't have kept the Nevada plate, not sure what 101F means, maybe temp but a little low for Vegas, but kind of a cool plate, unlike the junk we get stuck with here in Calif unless you shell out to start with and every year thereafter.

But the car looks great, nice work. :up:
Thank you! I actually still have the Nevada plate in a box in the garage collecting dust. And honestly I don't think the 101F means anything. The person I bought the car from couldn't ever imagine someone wanting to drive 4 hours back through the desert for the car, and didn't believe me that this car was a project car to be worked on. So I would just assume that was just the automatically given plate number
mnnguy
Posts: 57
Joined: Sep 07, 2016 1:34 AM
Location: Los Angeles

Re: Never-Ending Project e28 528e

Post by mnnguy »

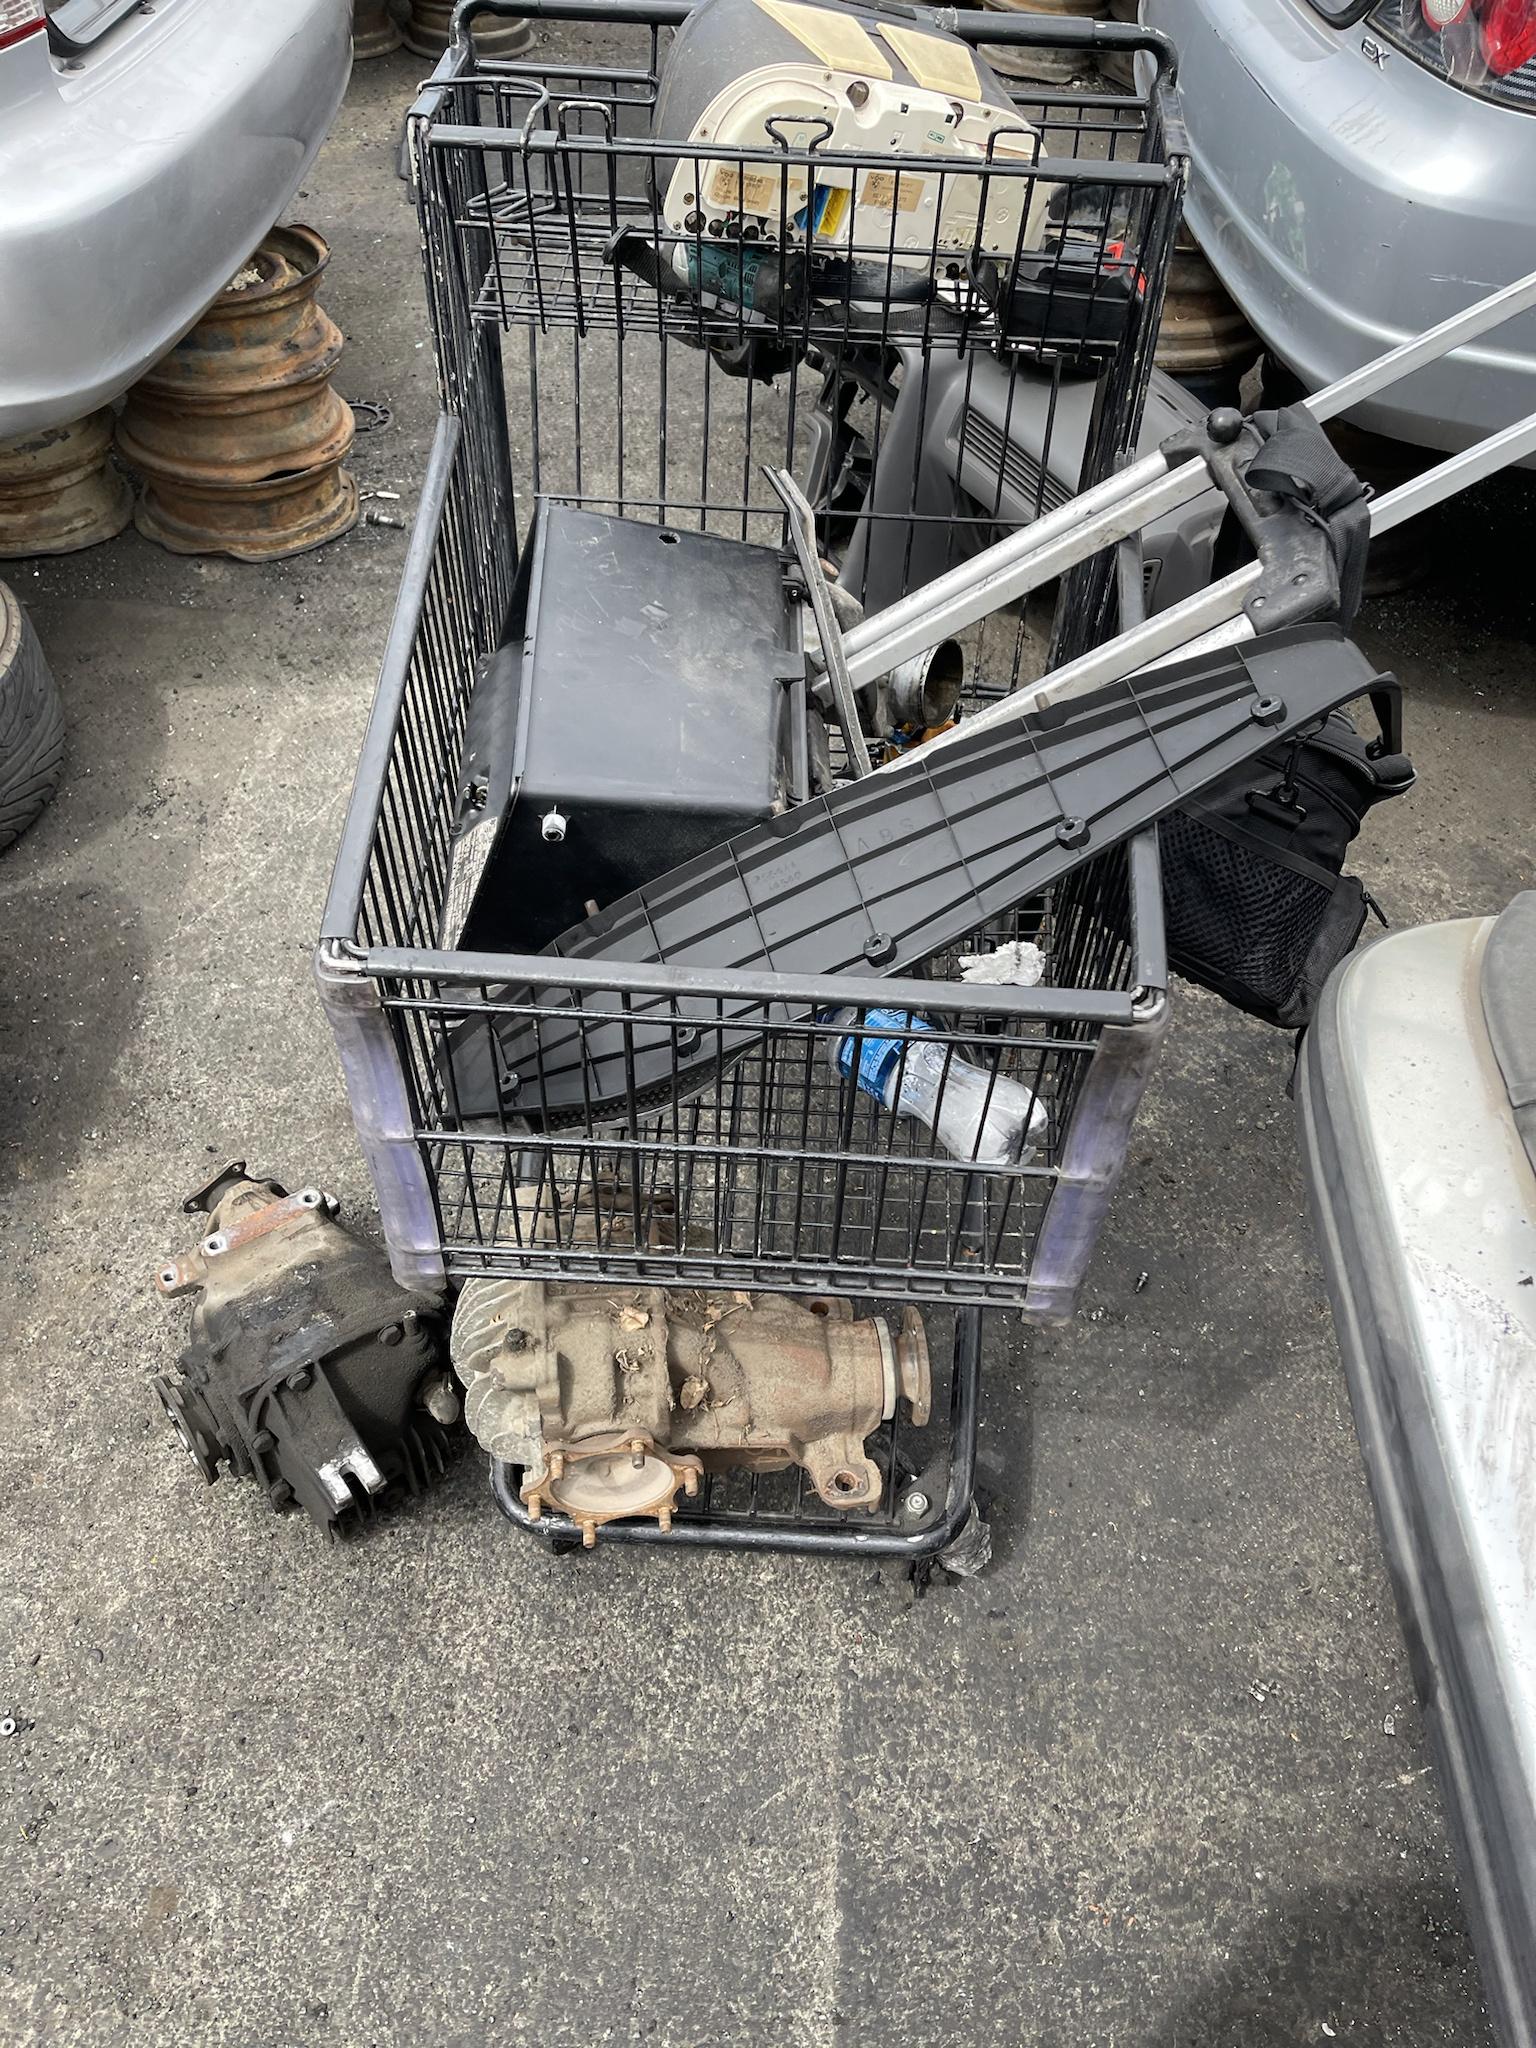
Everyone should make sure to check their junkyards

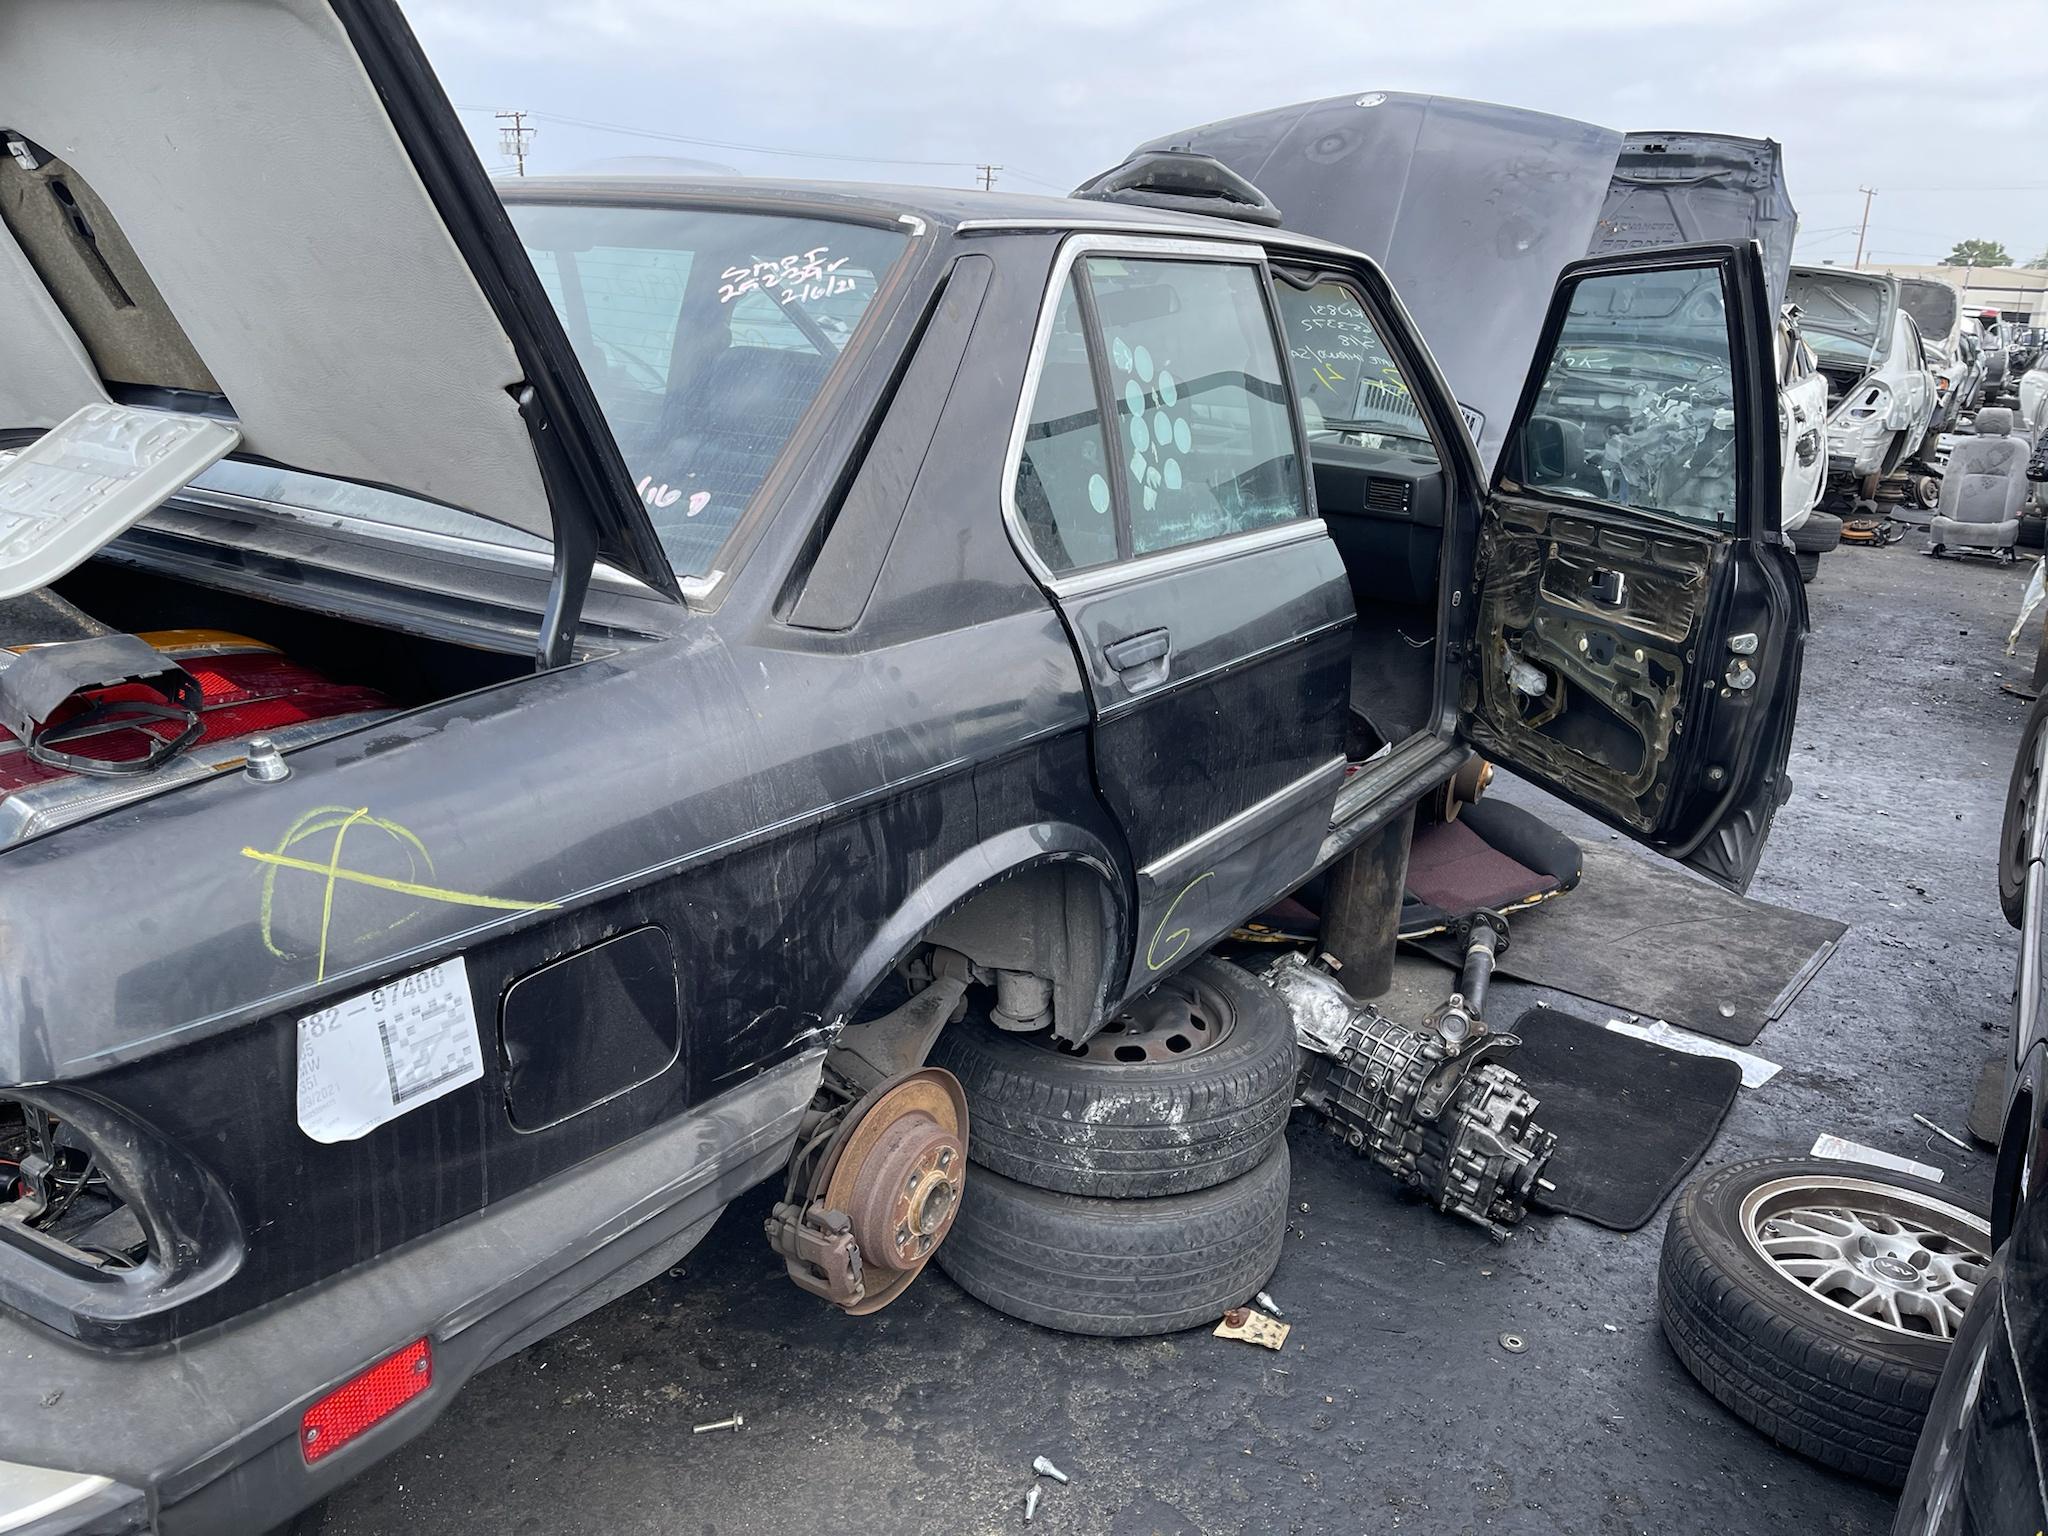
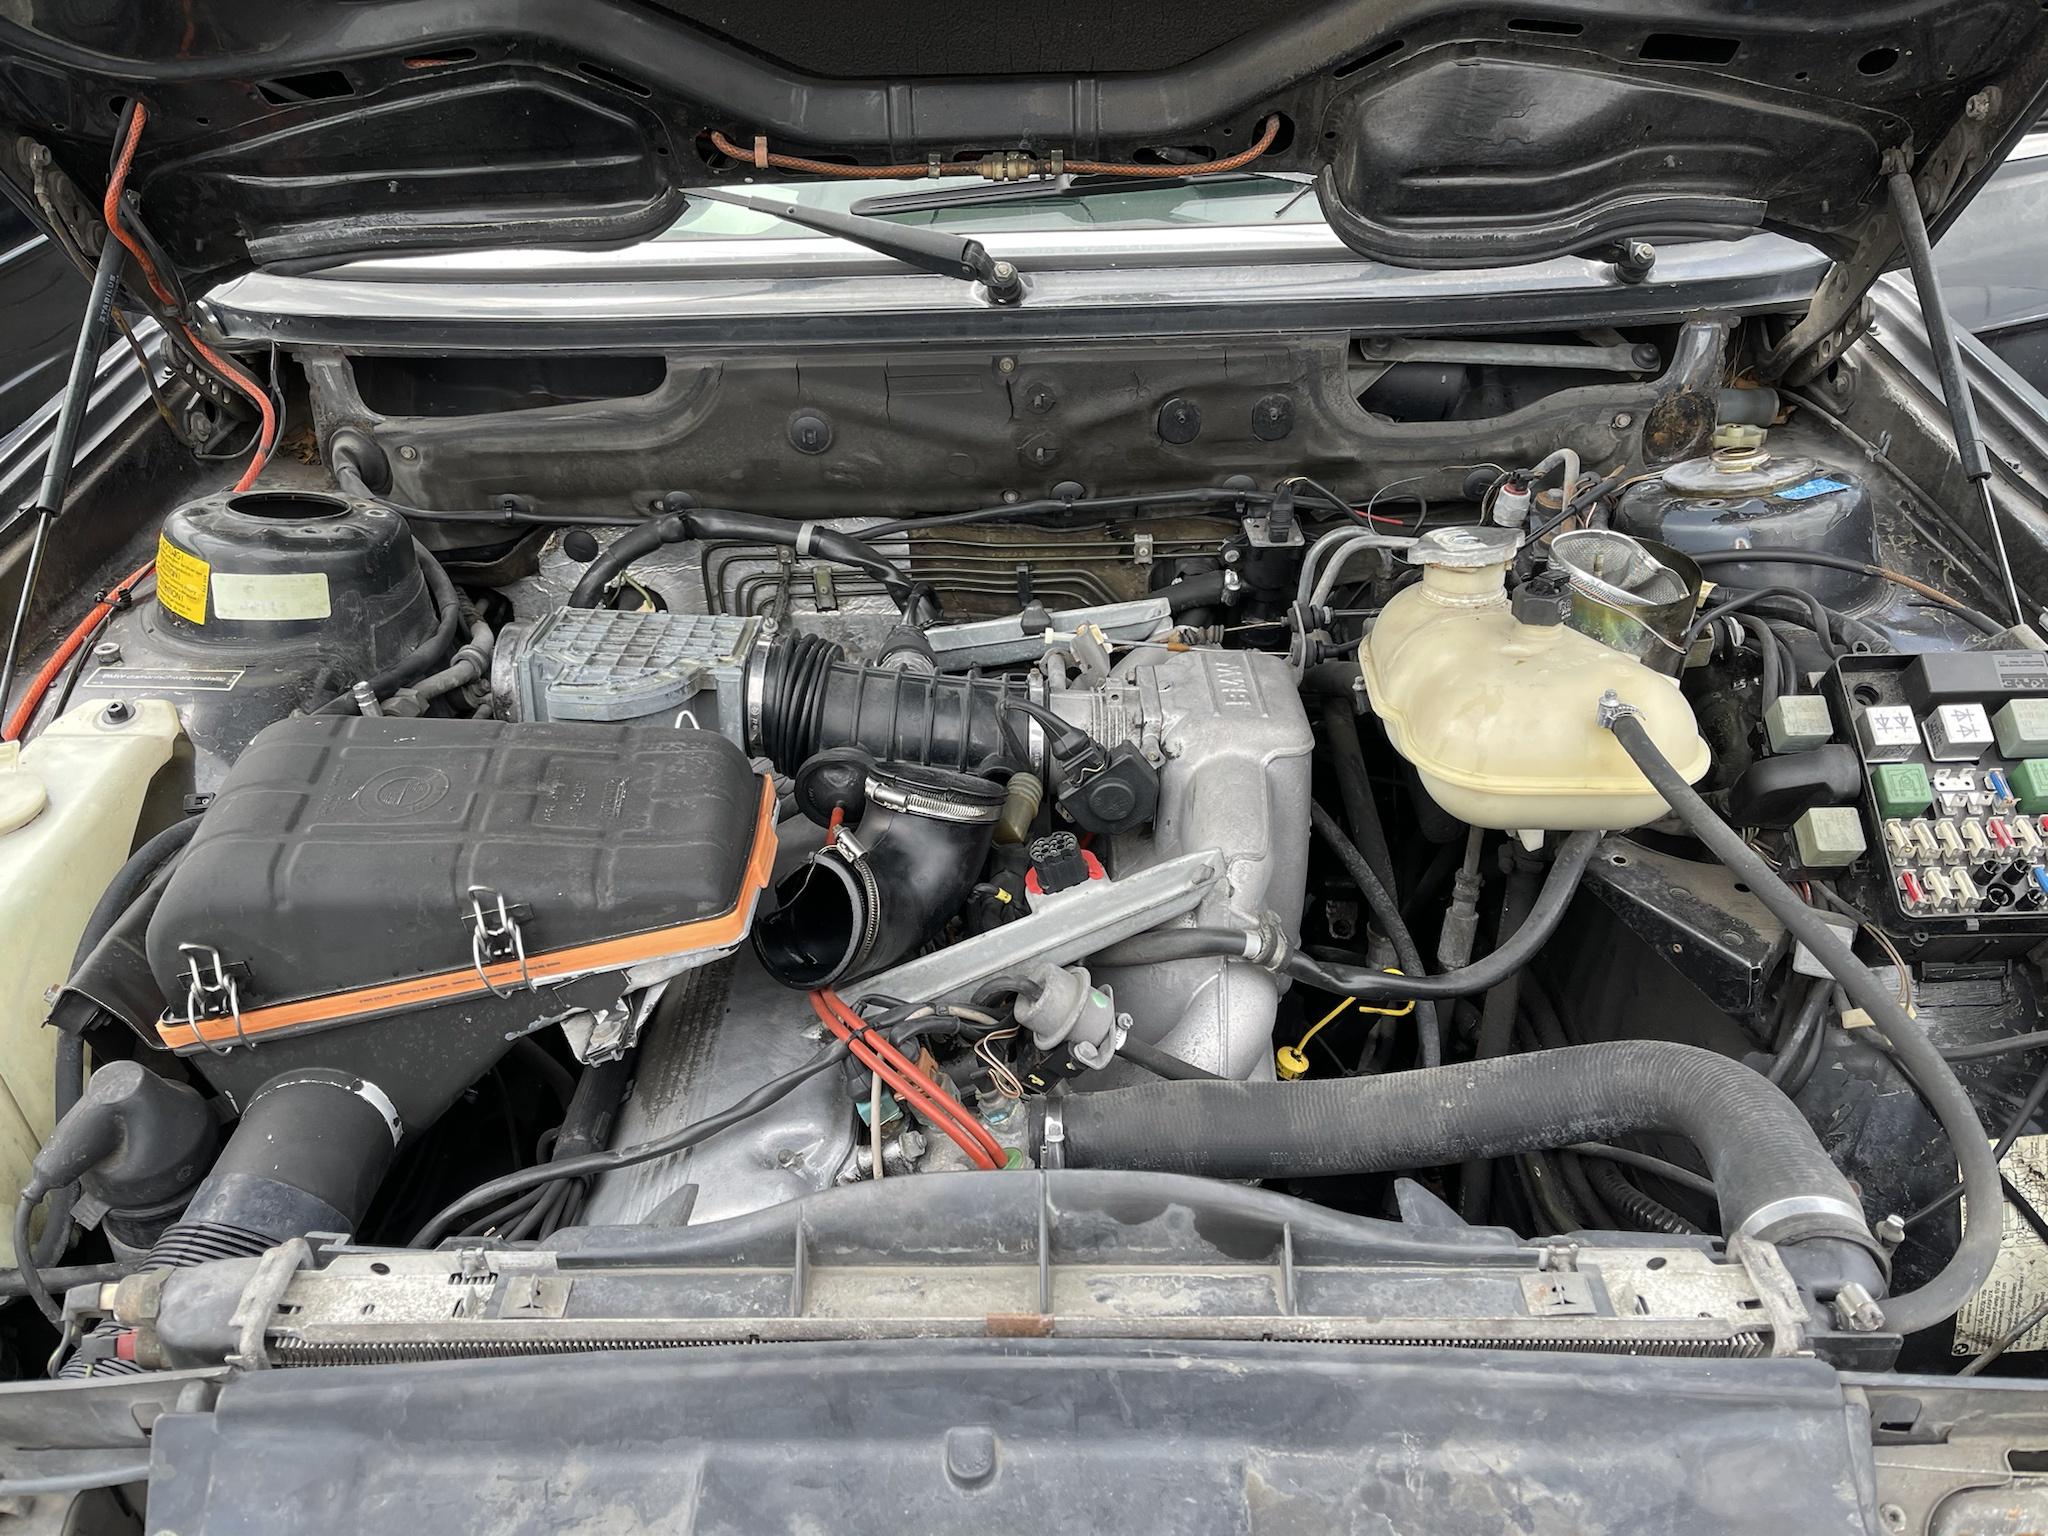
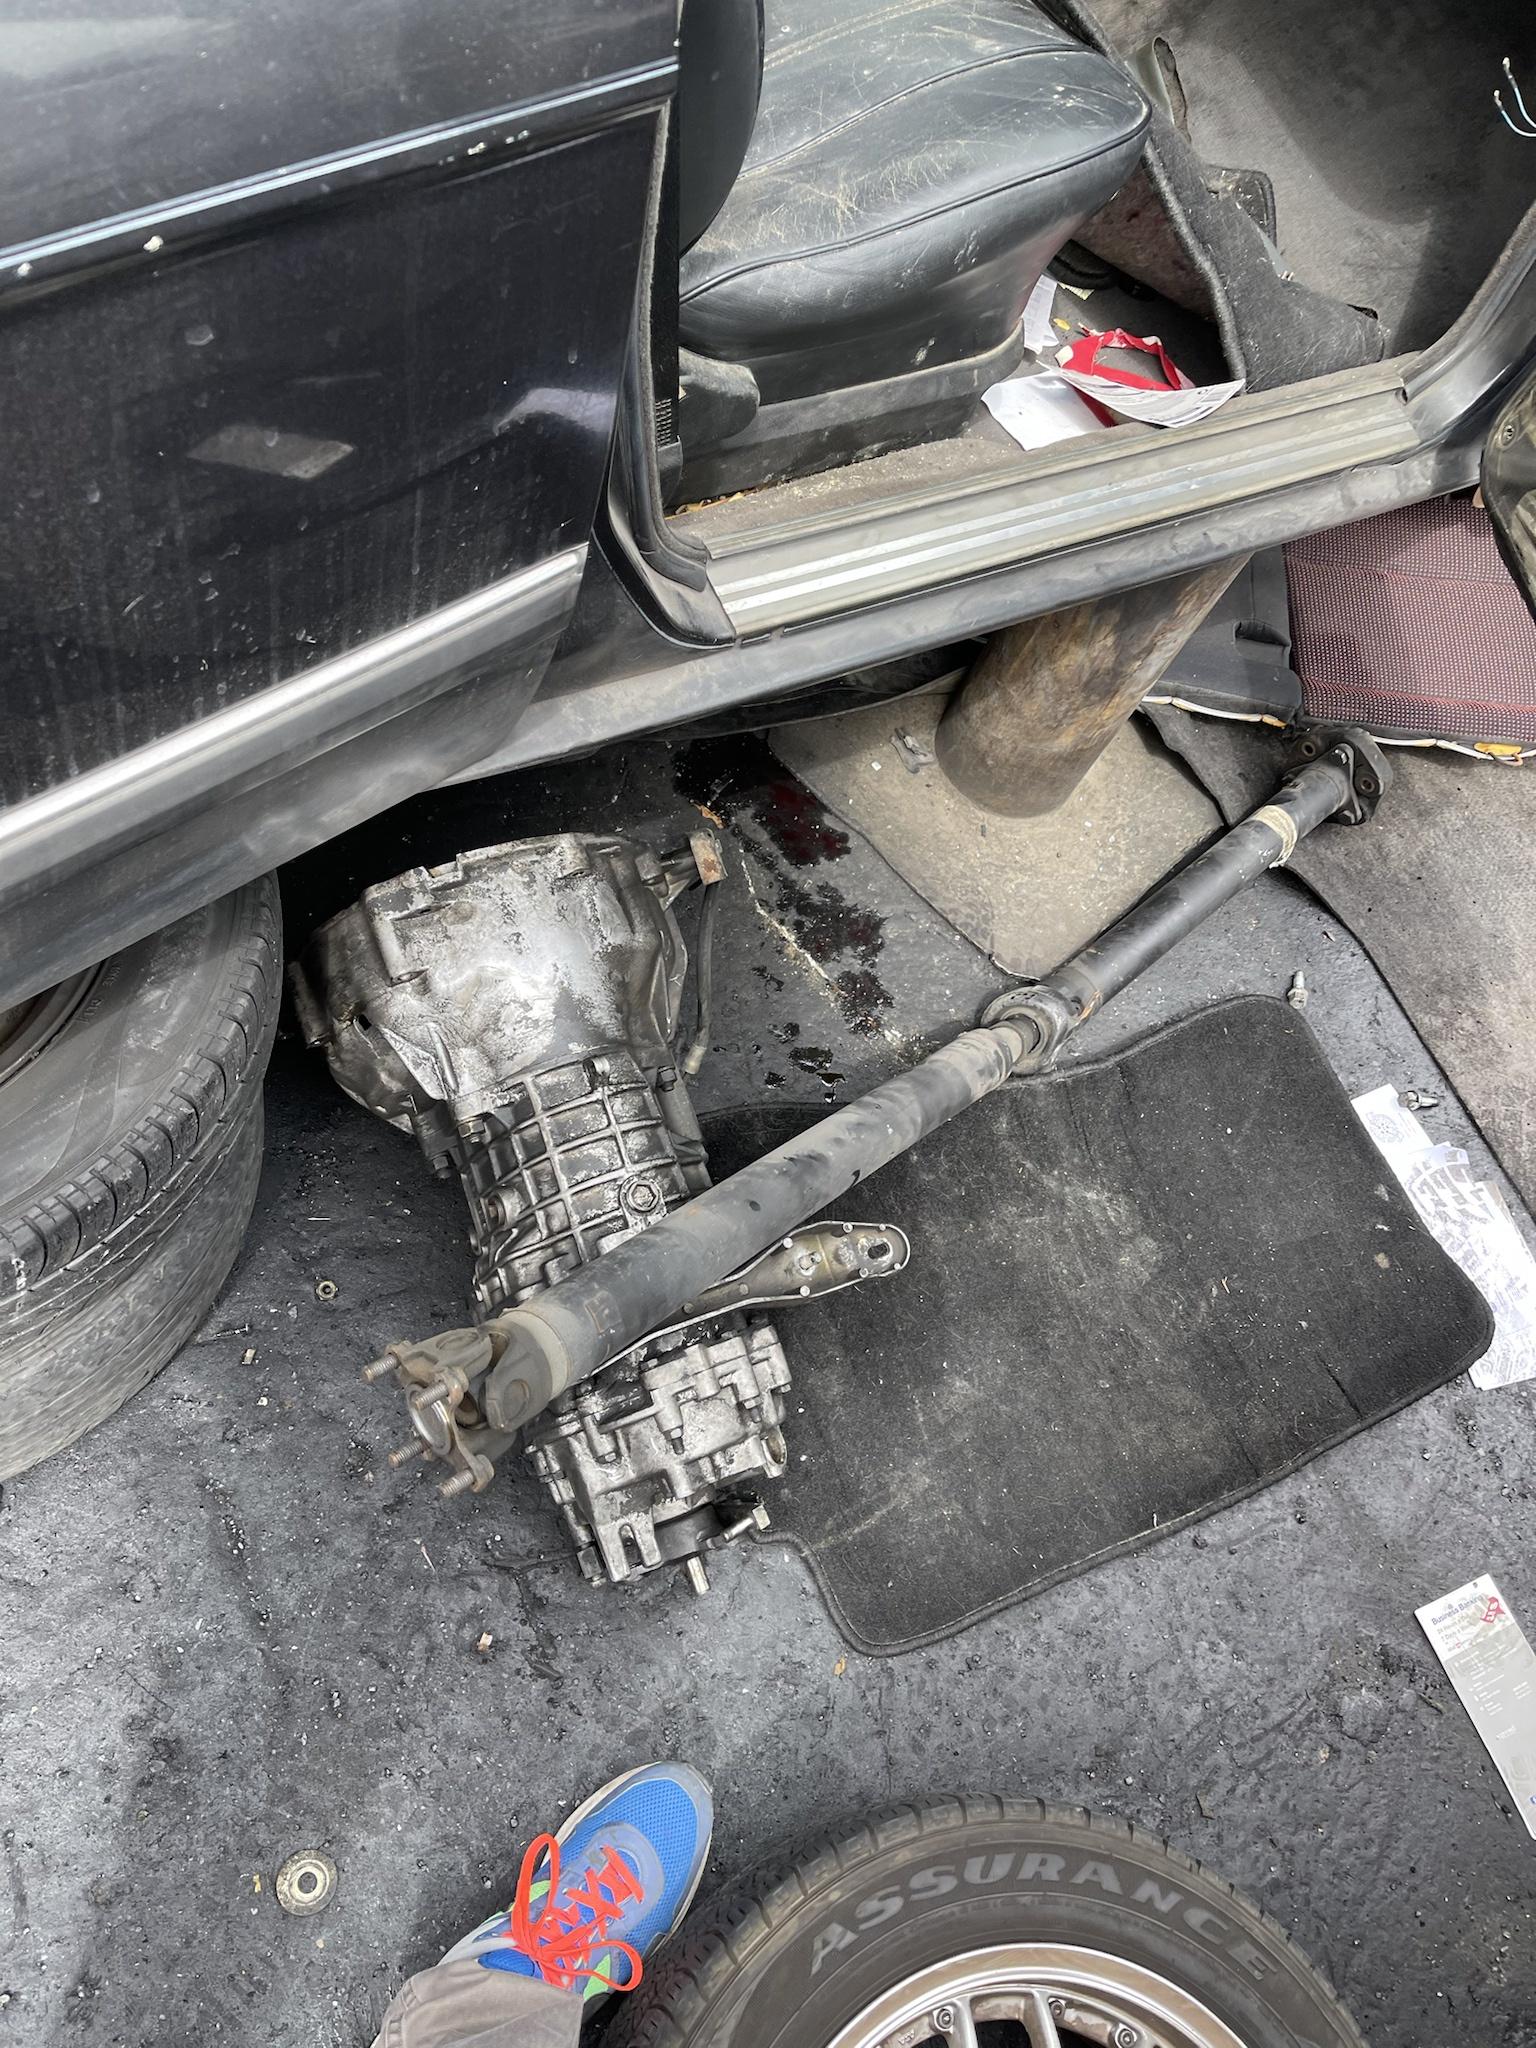
Found a 1985 535i with the Getrag 265 Transmission with LSD.

Image

Image

Image

Image

-----------------------------------------------------------------------

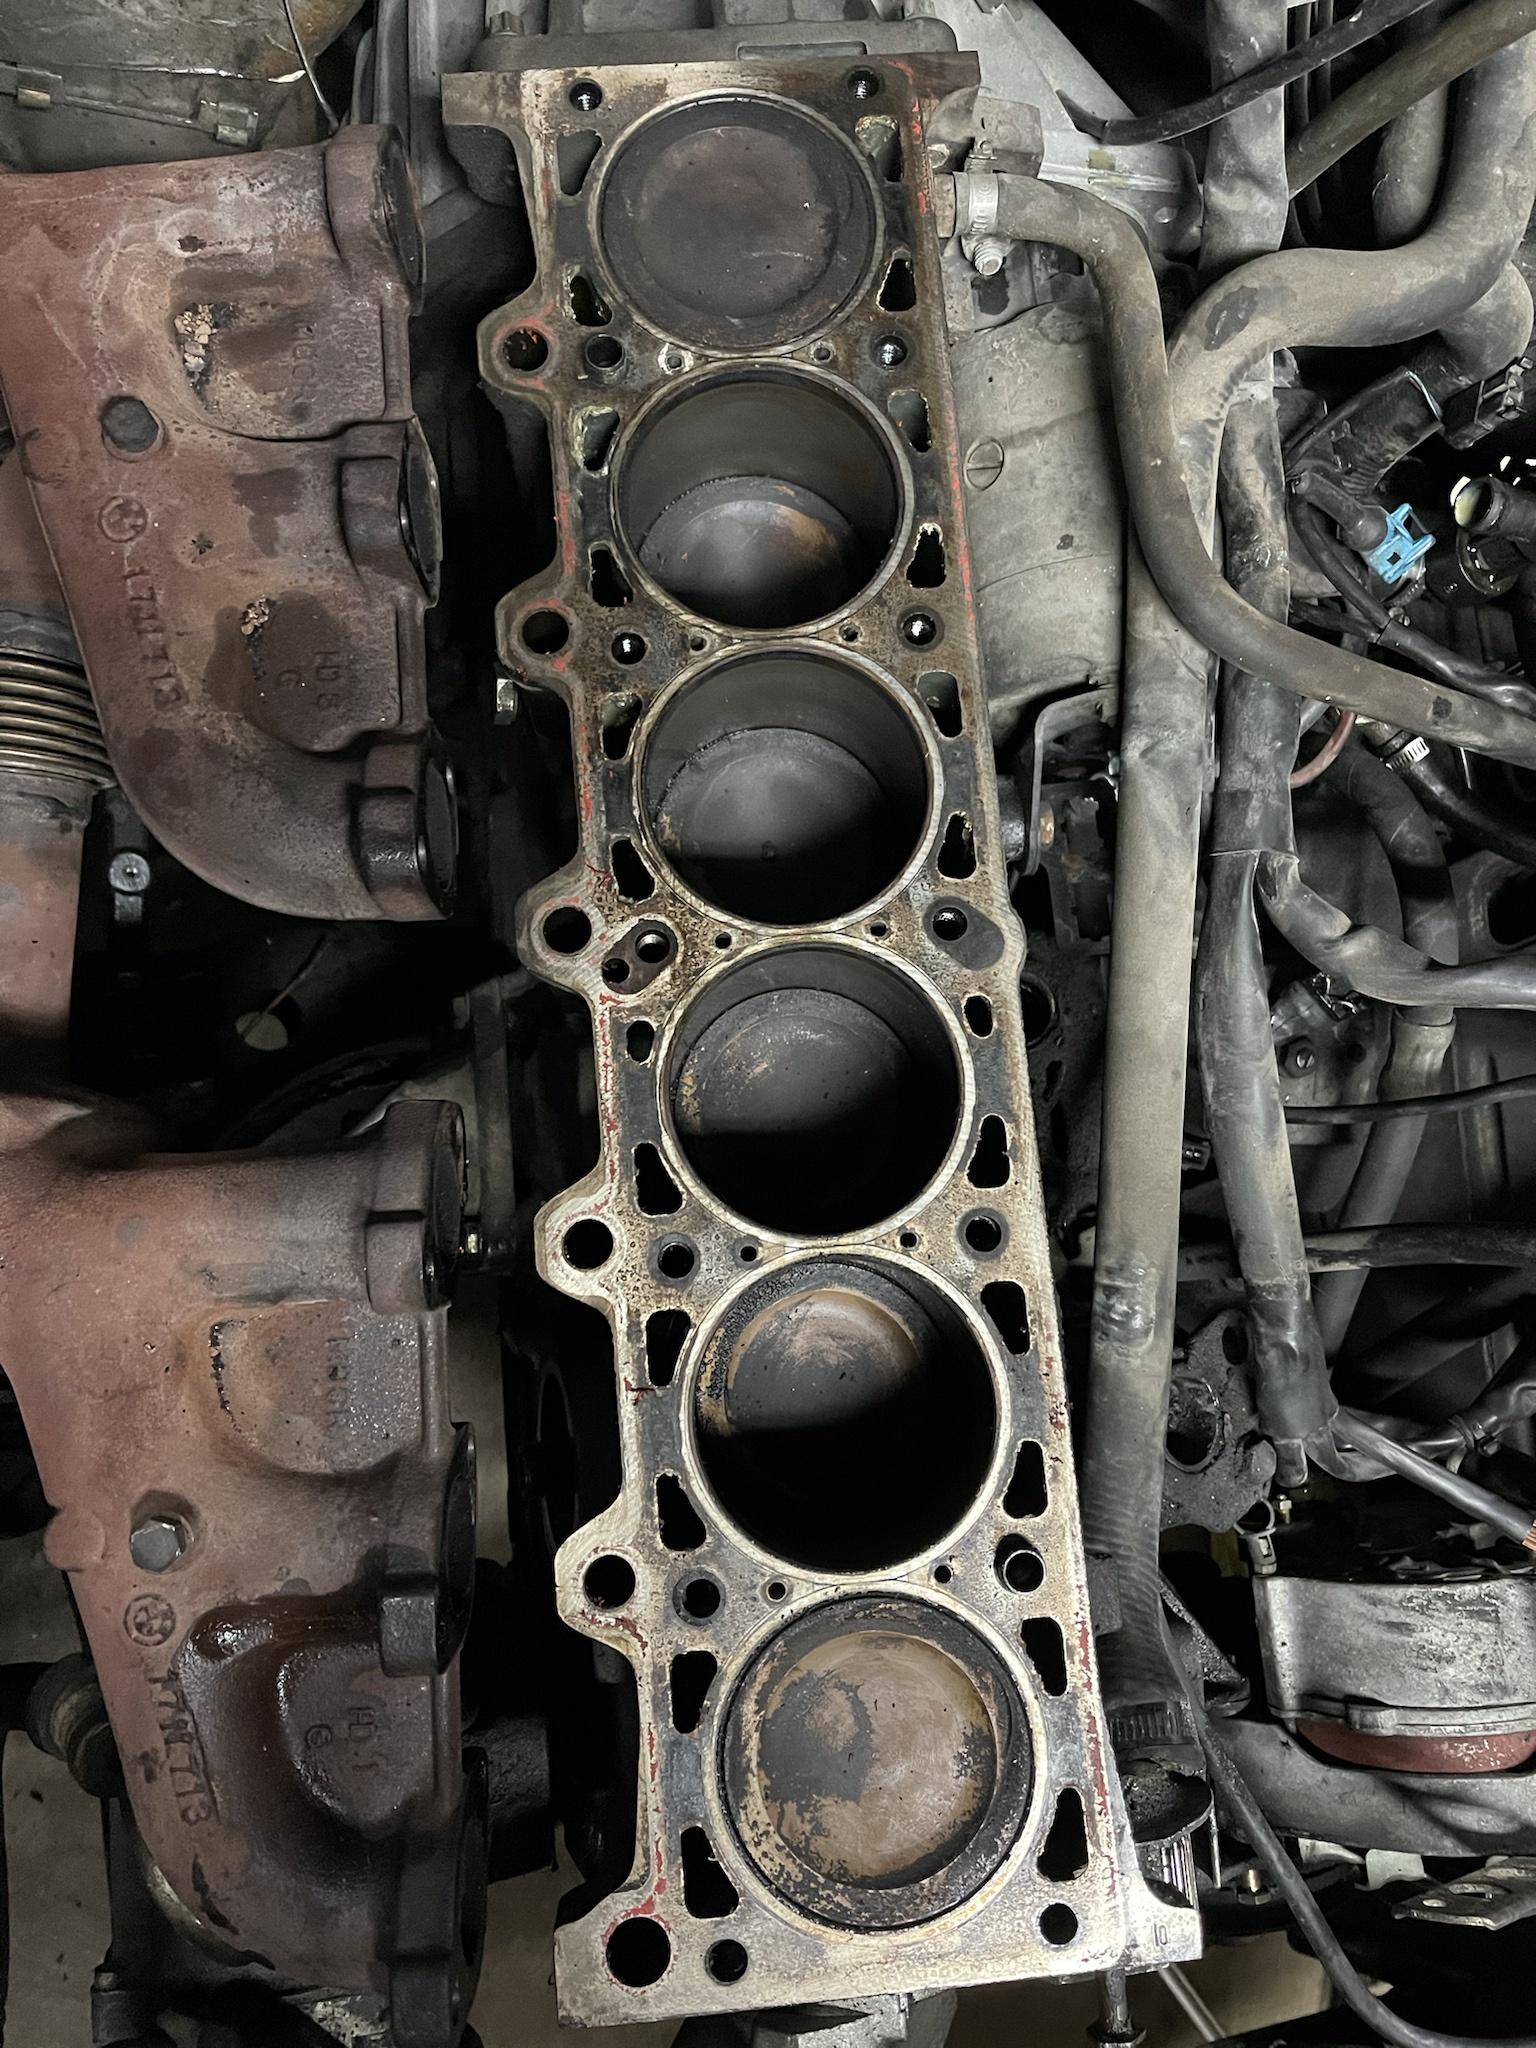
I'll be updating this thread when I have a chance to until I have fully caught up with everything I have done with the car. Currently almost completed the e2i conversion, but punctured the radiator taking out the AC condenser I think. :cry:

Collected all the parts needed for the conversion

Image

Image

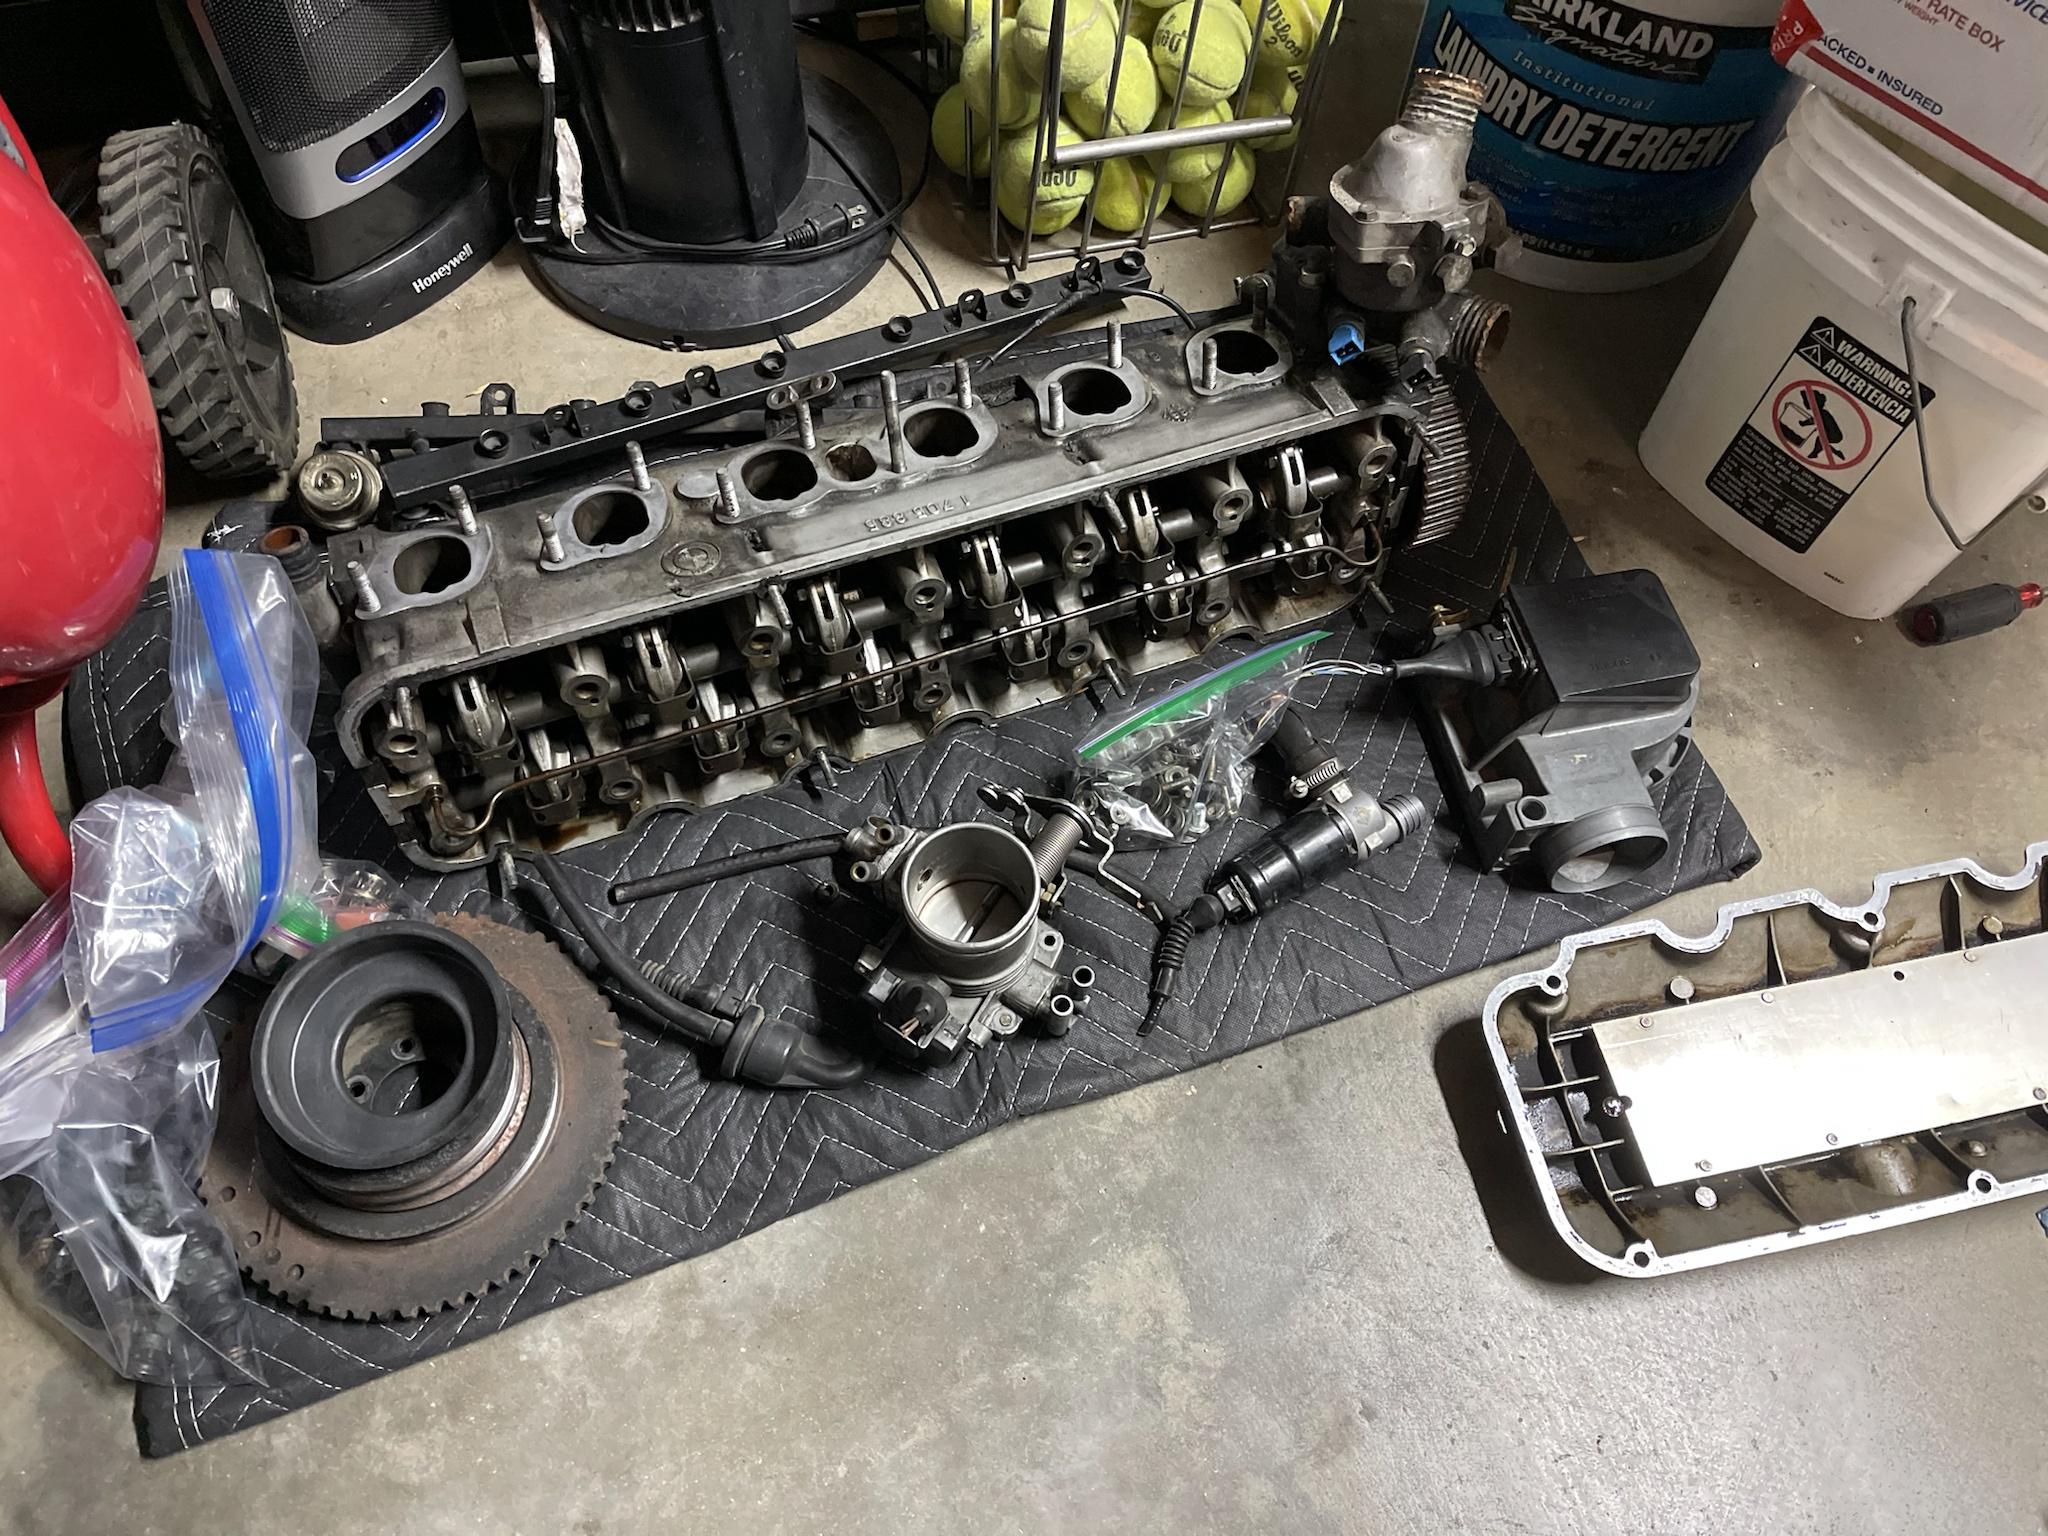
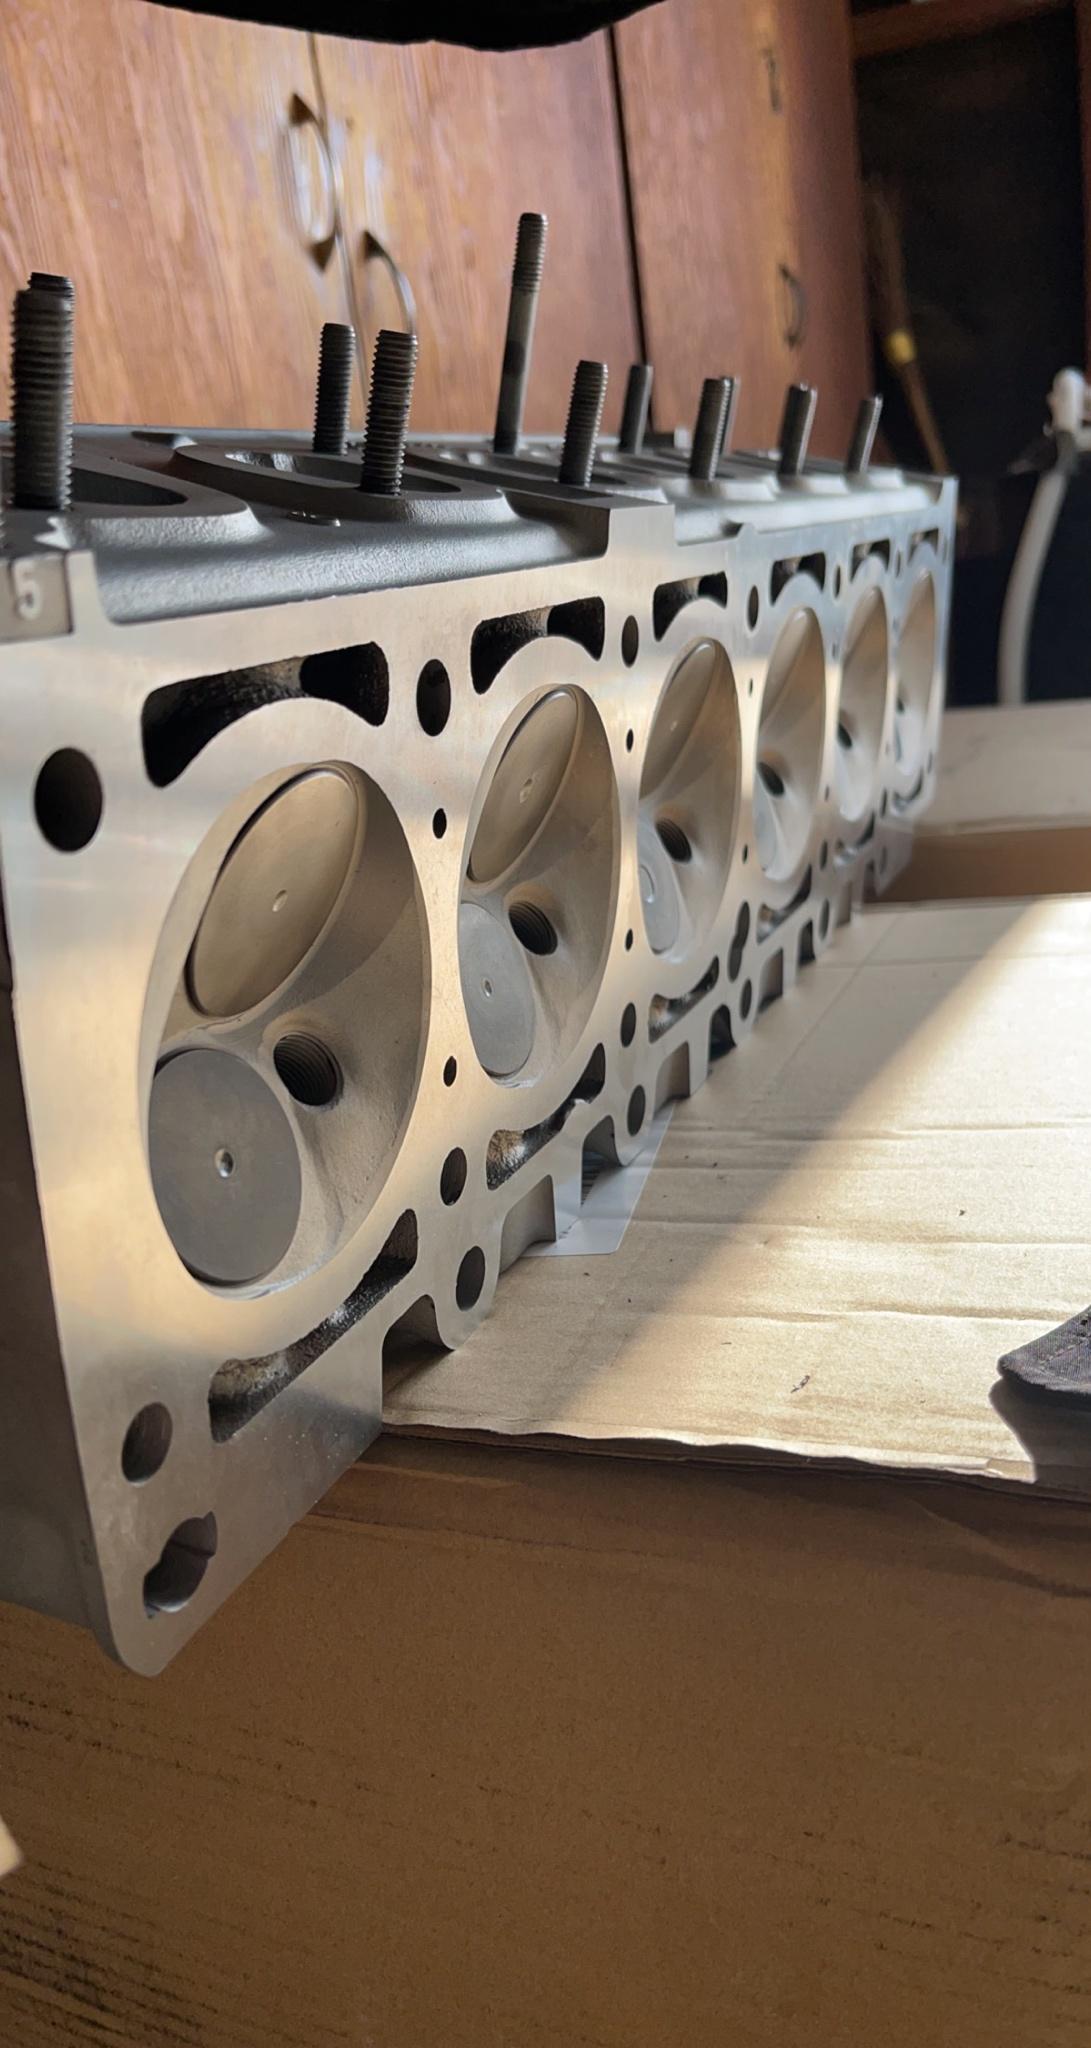
Head was pulled straight off of a junkyard car and looked to be in pretty clean condition. It was pulled from an e34 with what I found to have 120k Miles on it.

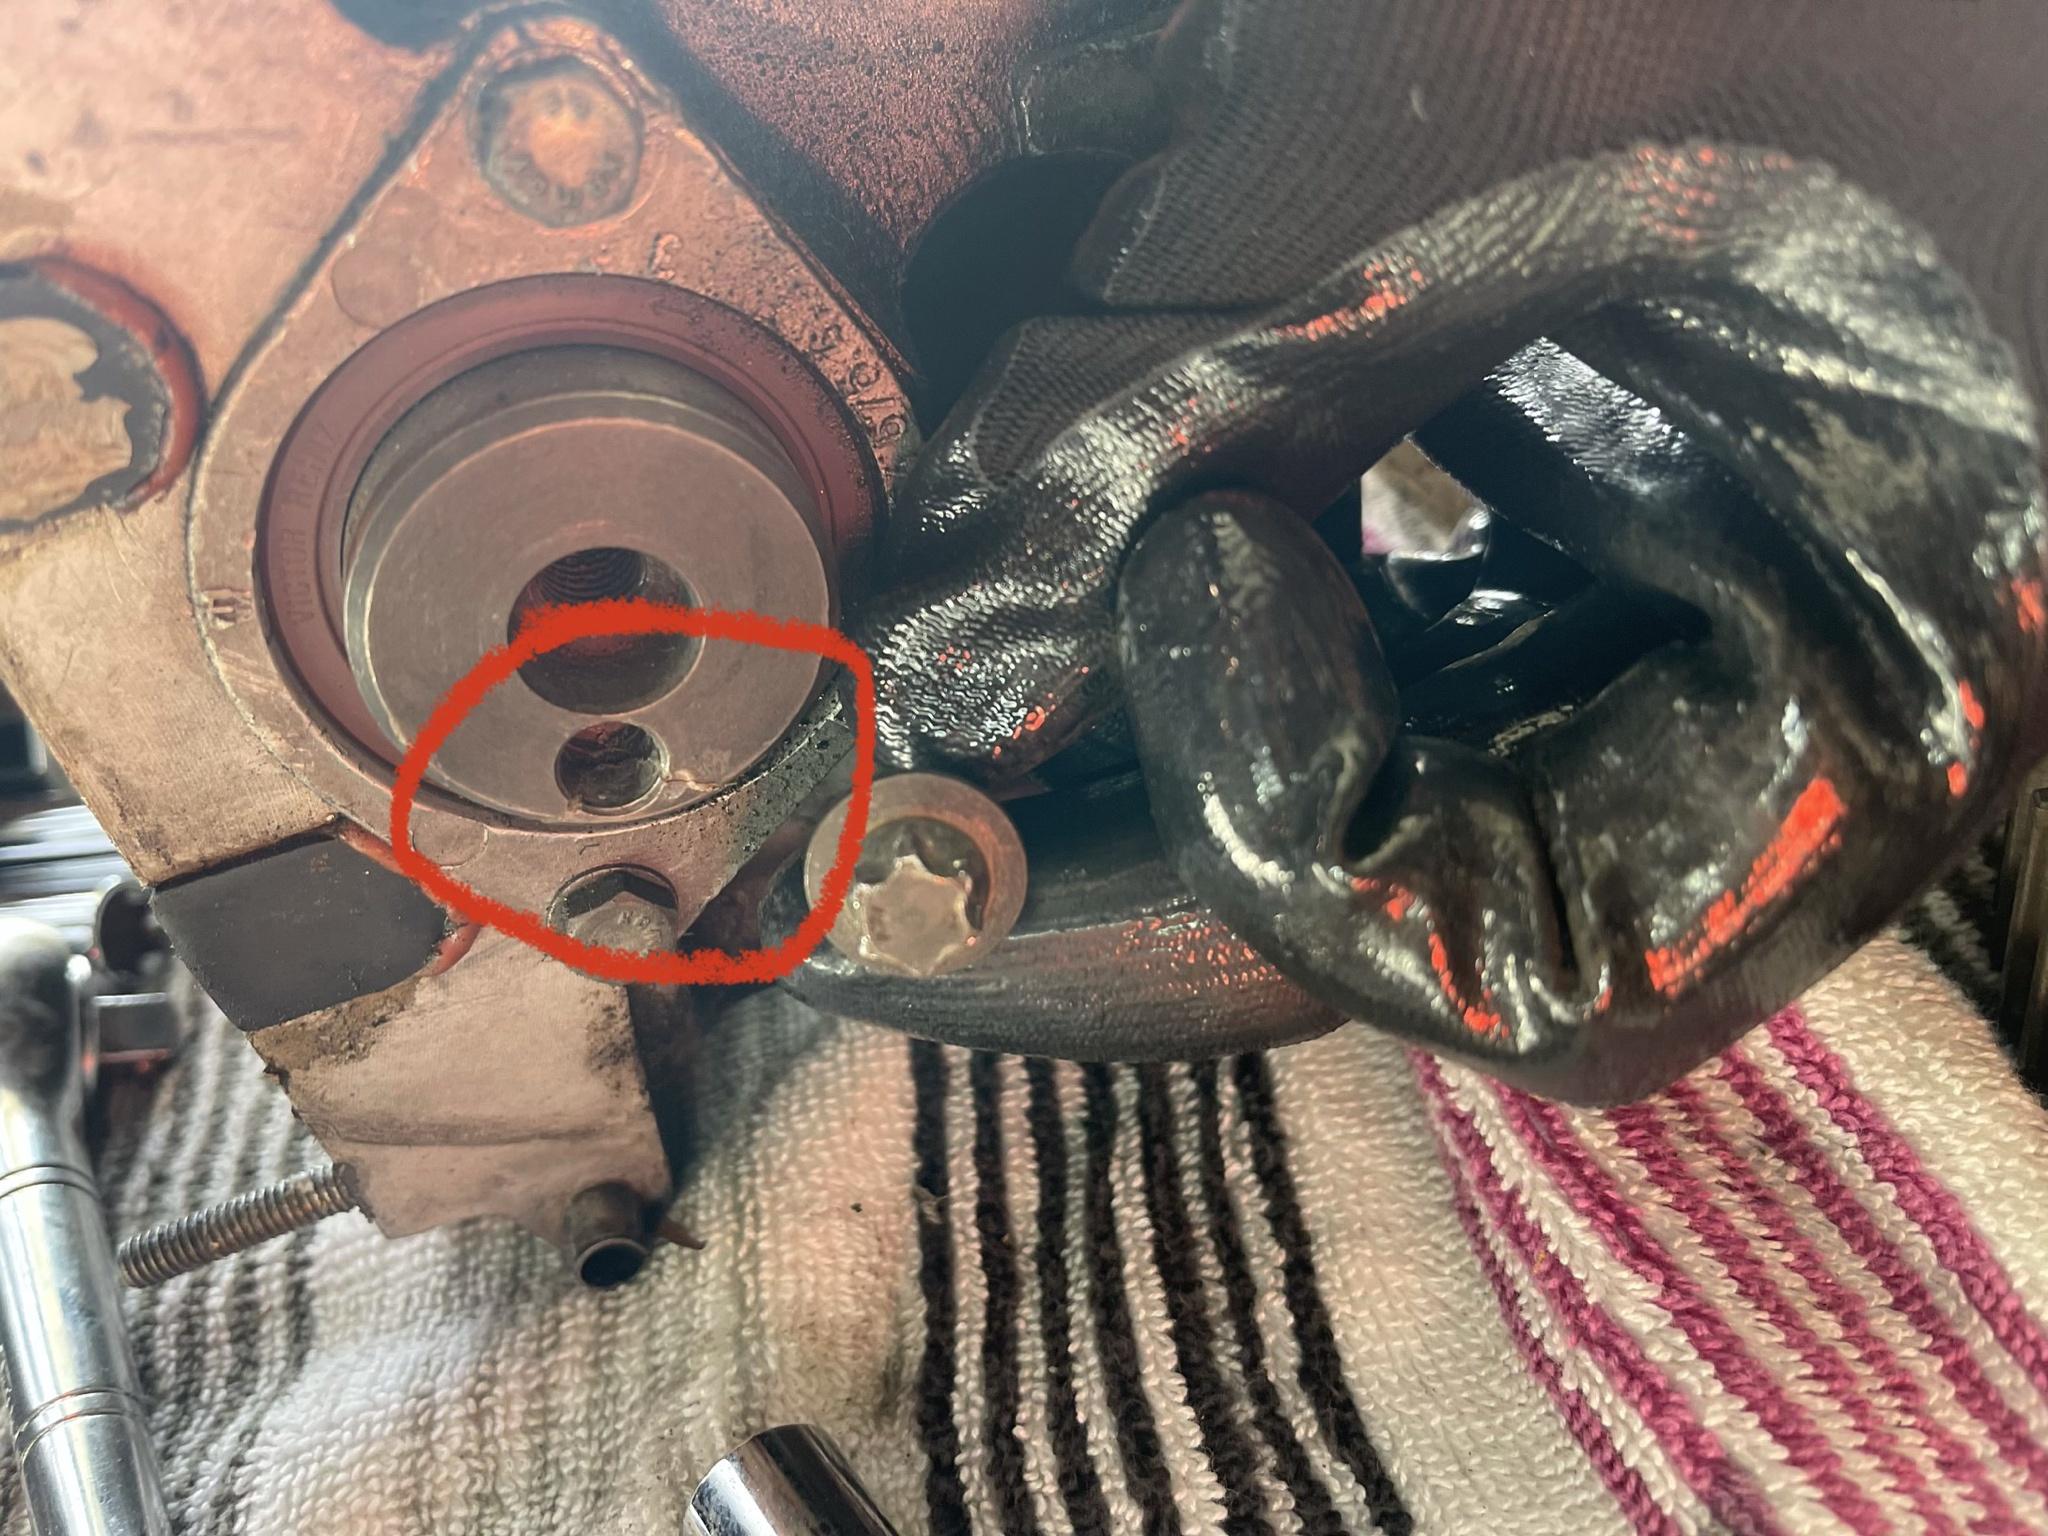
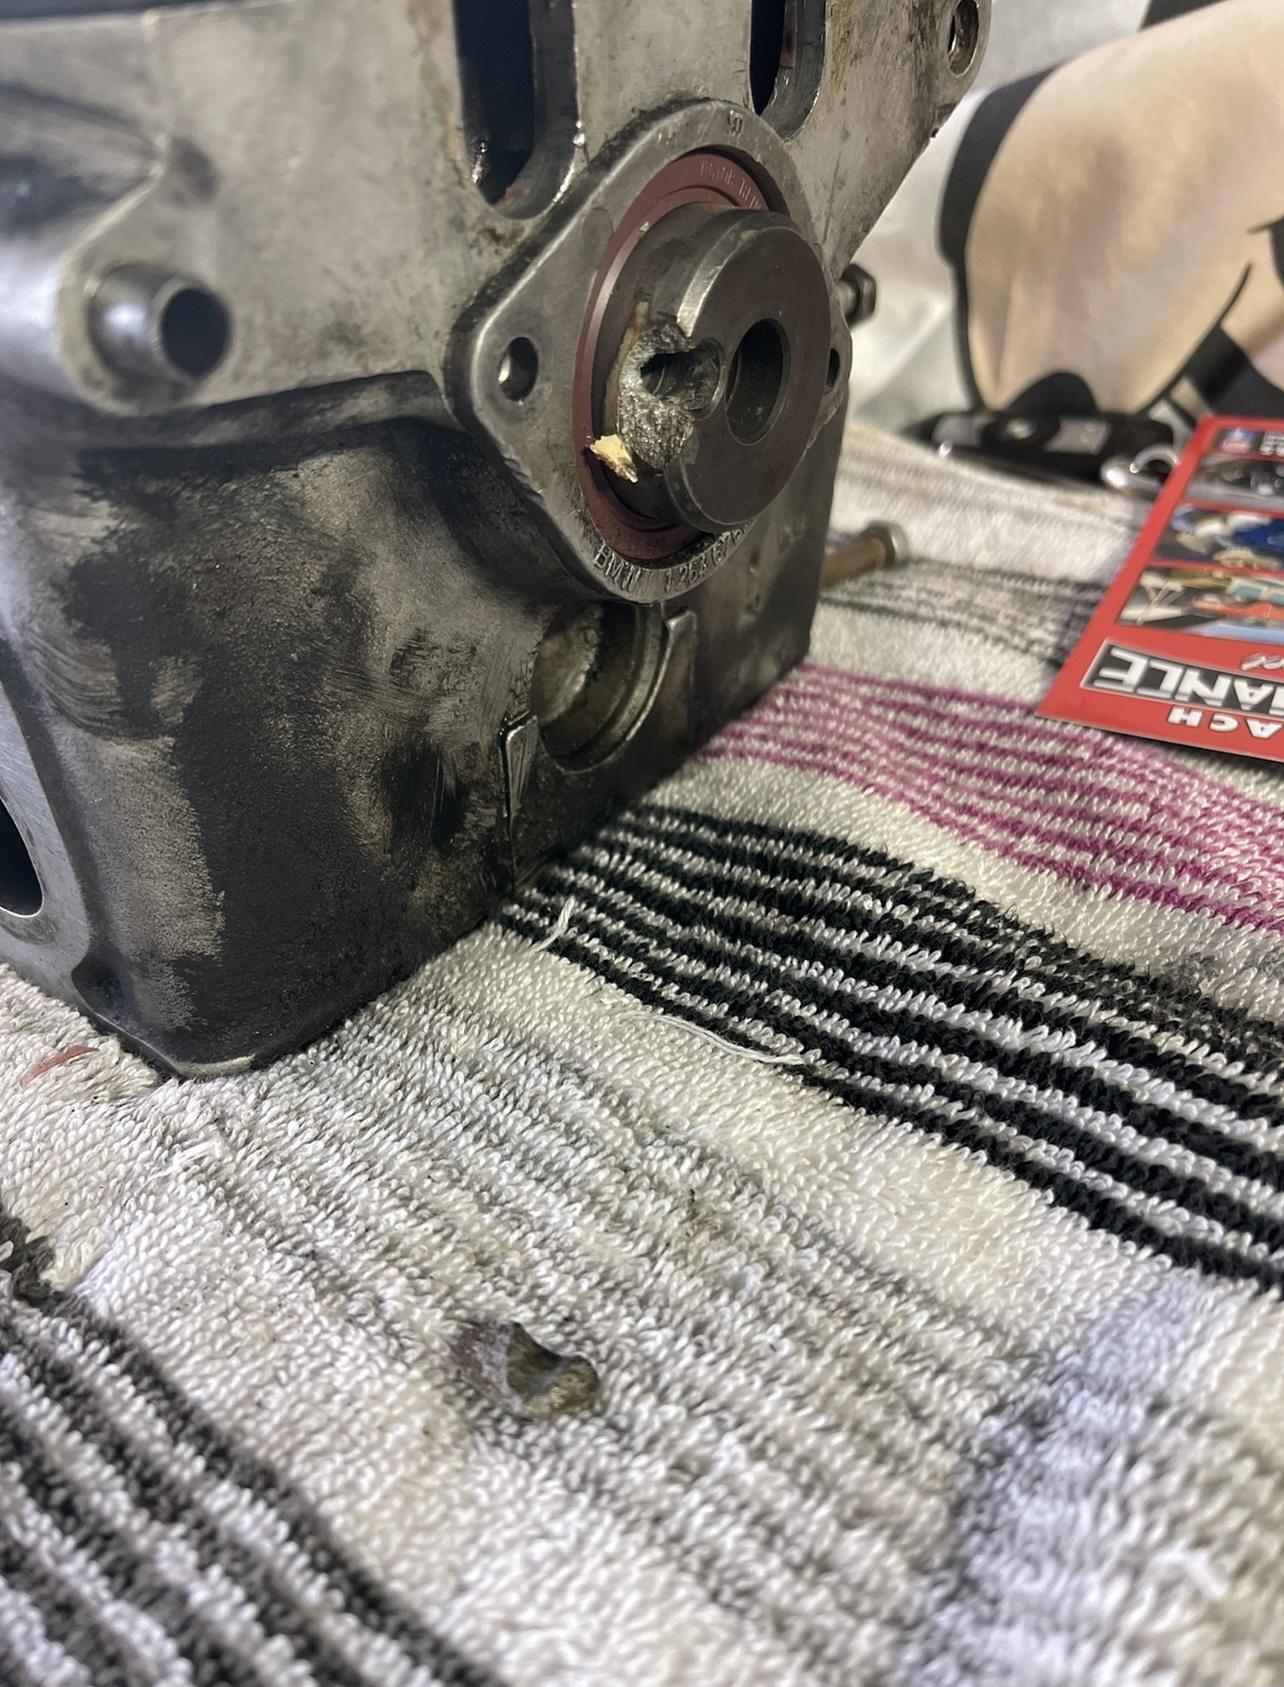
One of the most frustrating things I've had to deal with dealing with working on this car. As I was taking apart the head to take to the machine shop, I took off the cam pulley and found this.

Image

Image

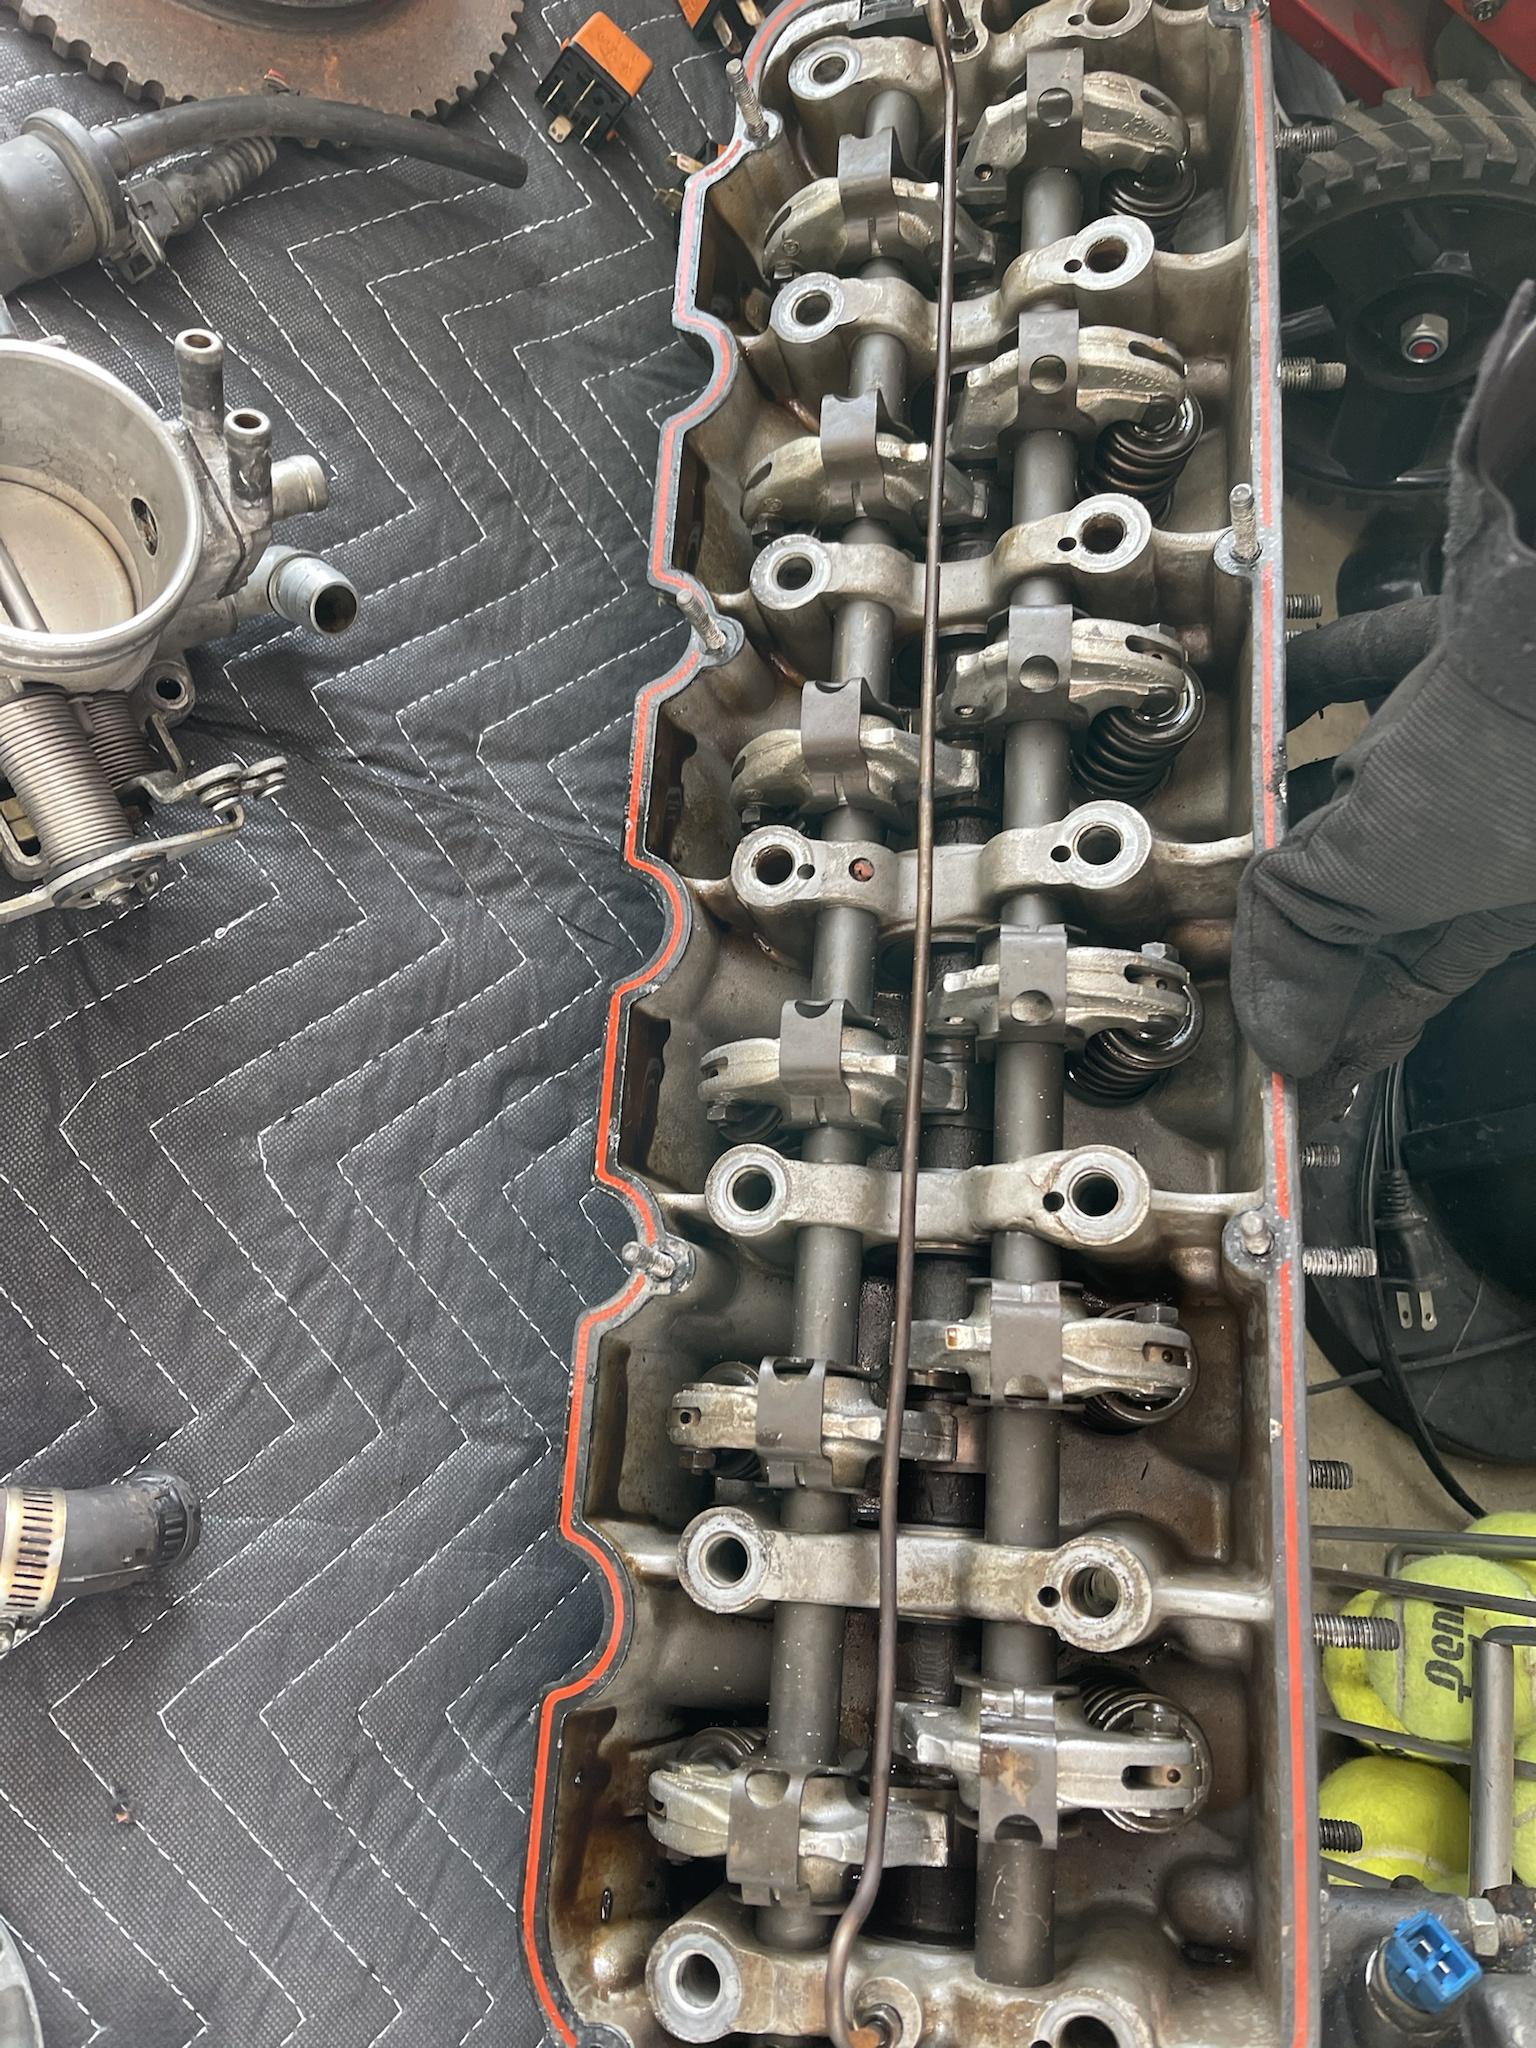
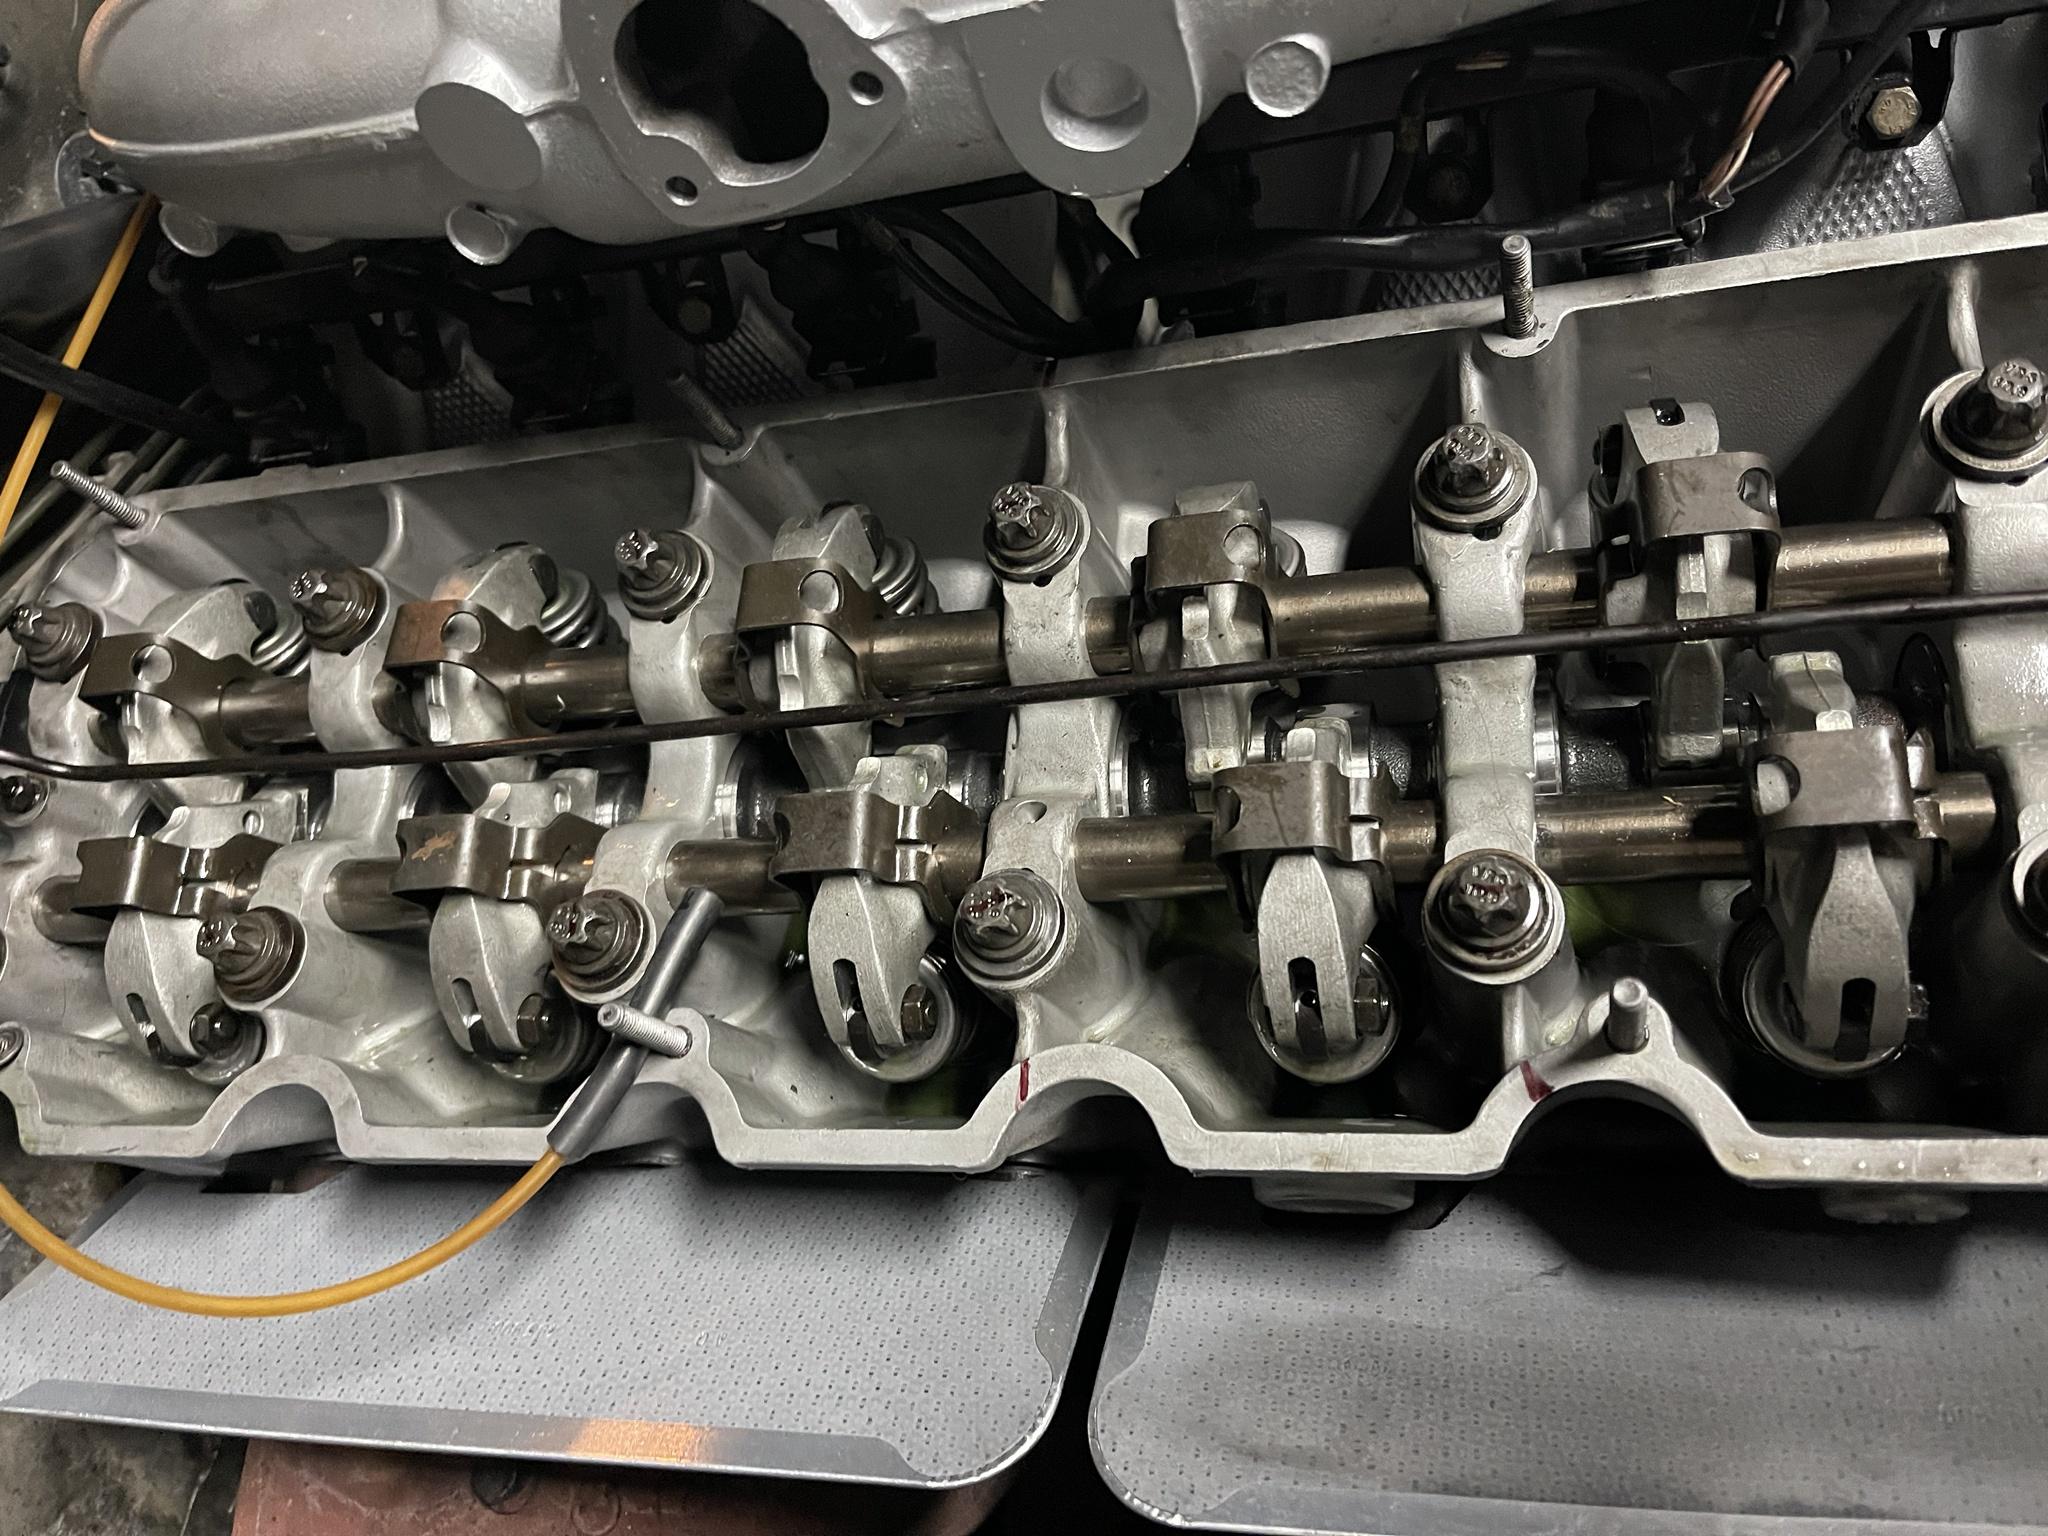
I have no idea how this could have happened, but it did. This became another, while I'm in there I might as well just replaced if I'm going through the hassle. So I ended up purchasing a new billet Ireland Engineering 272 Cam with new HD rockers and eccentrics.

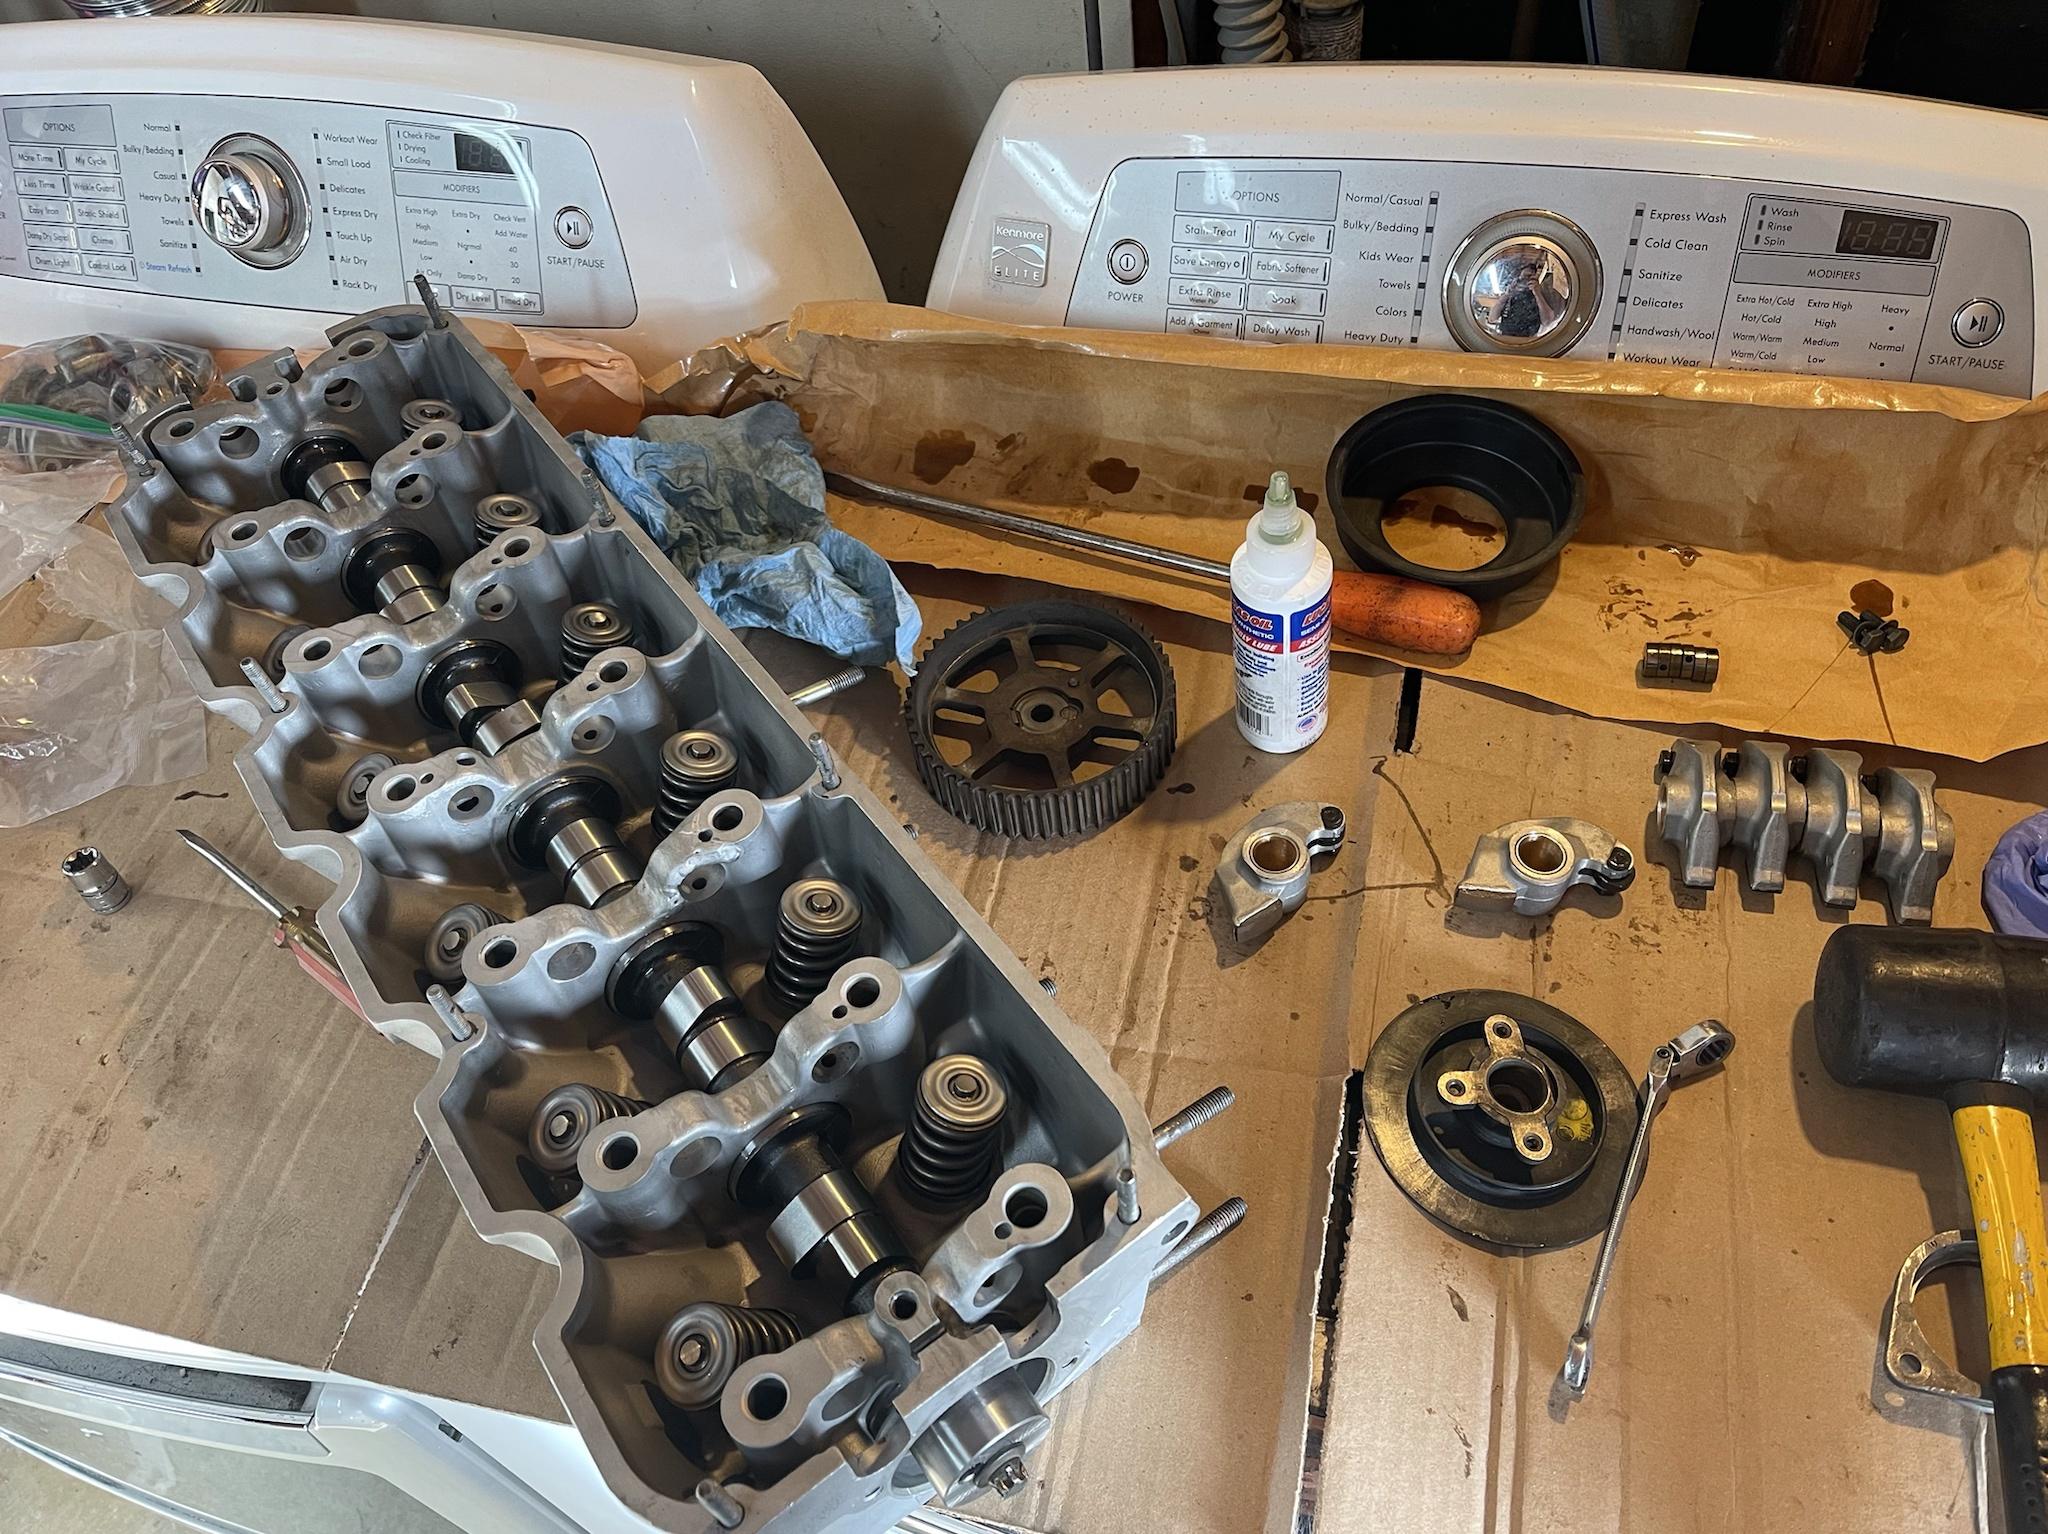
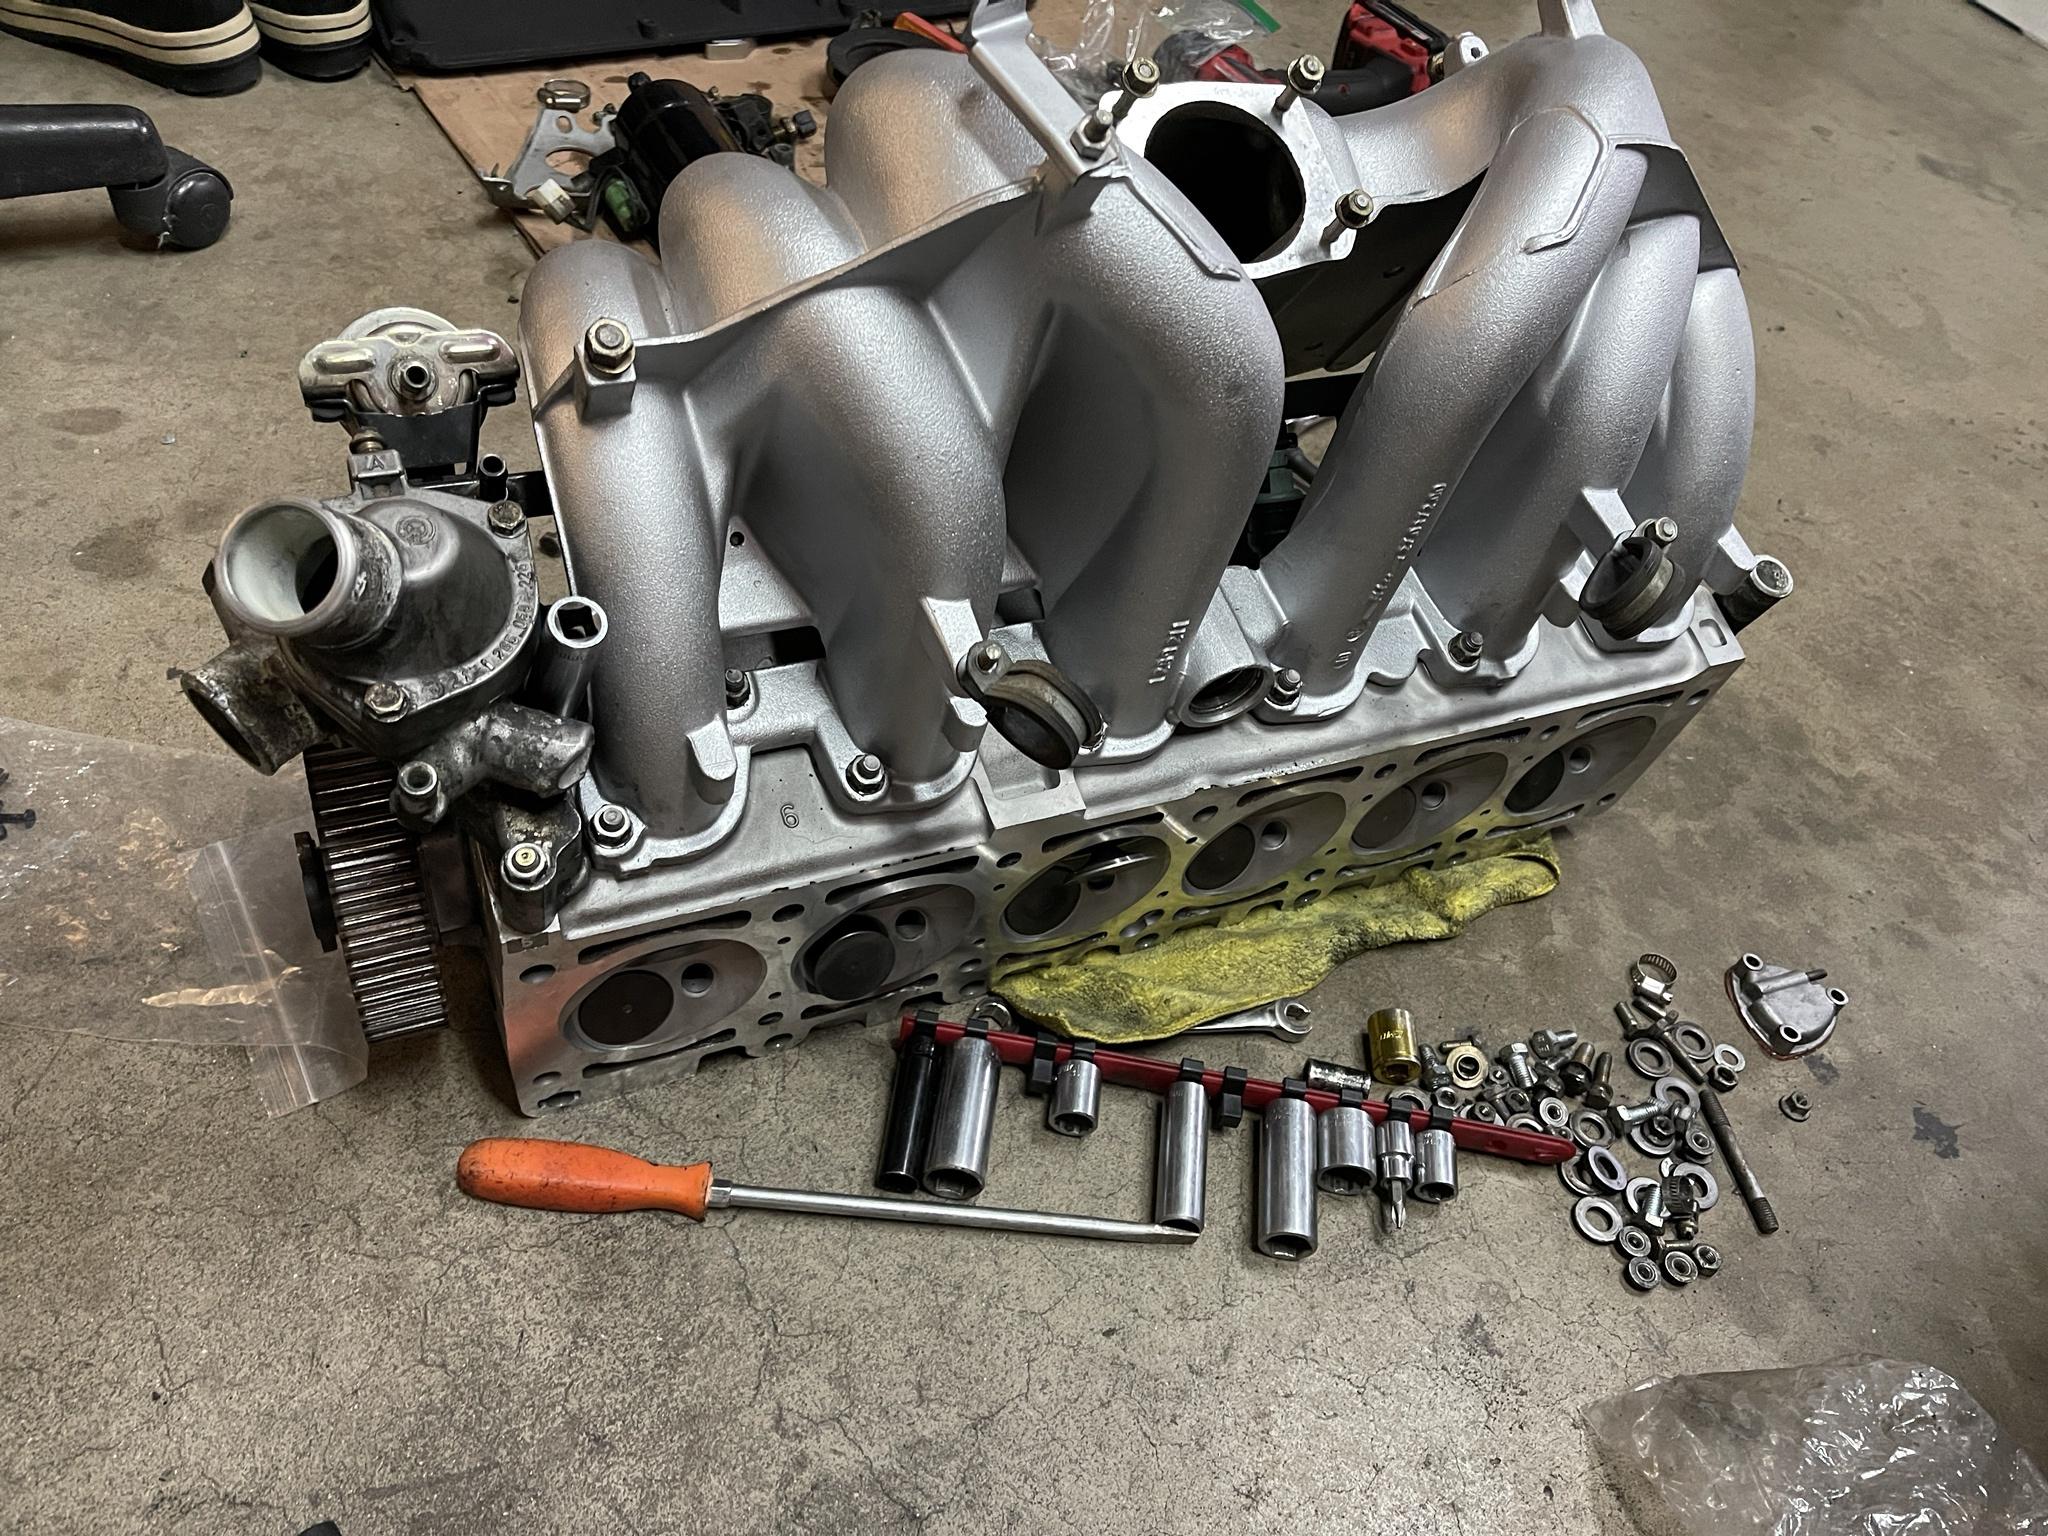
After the machine shop (had valve job, valve seals, valve guides, pressure test, and had it resurfaced)

Image

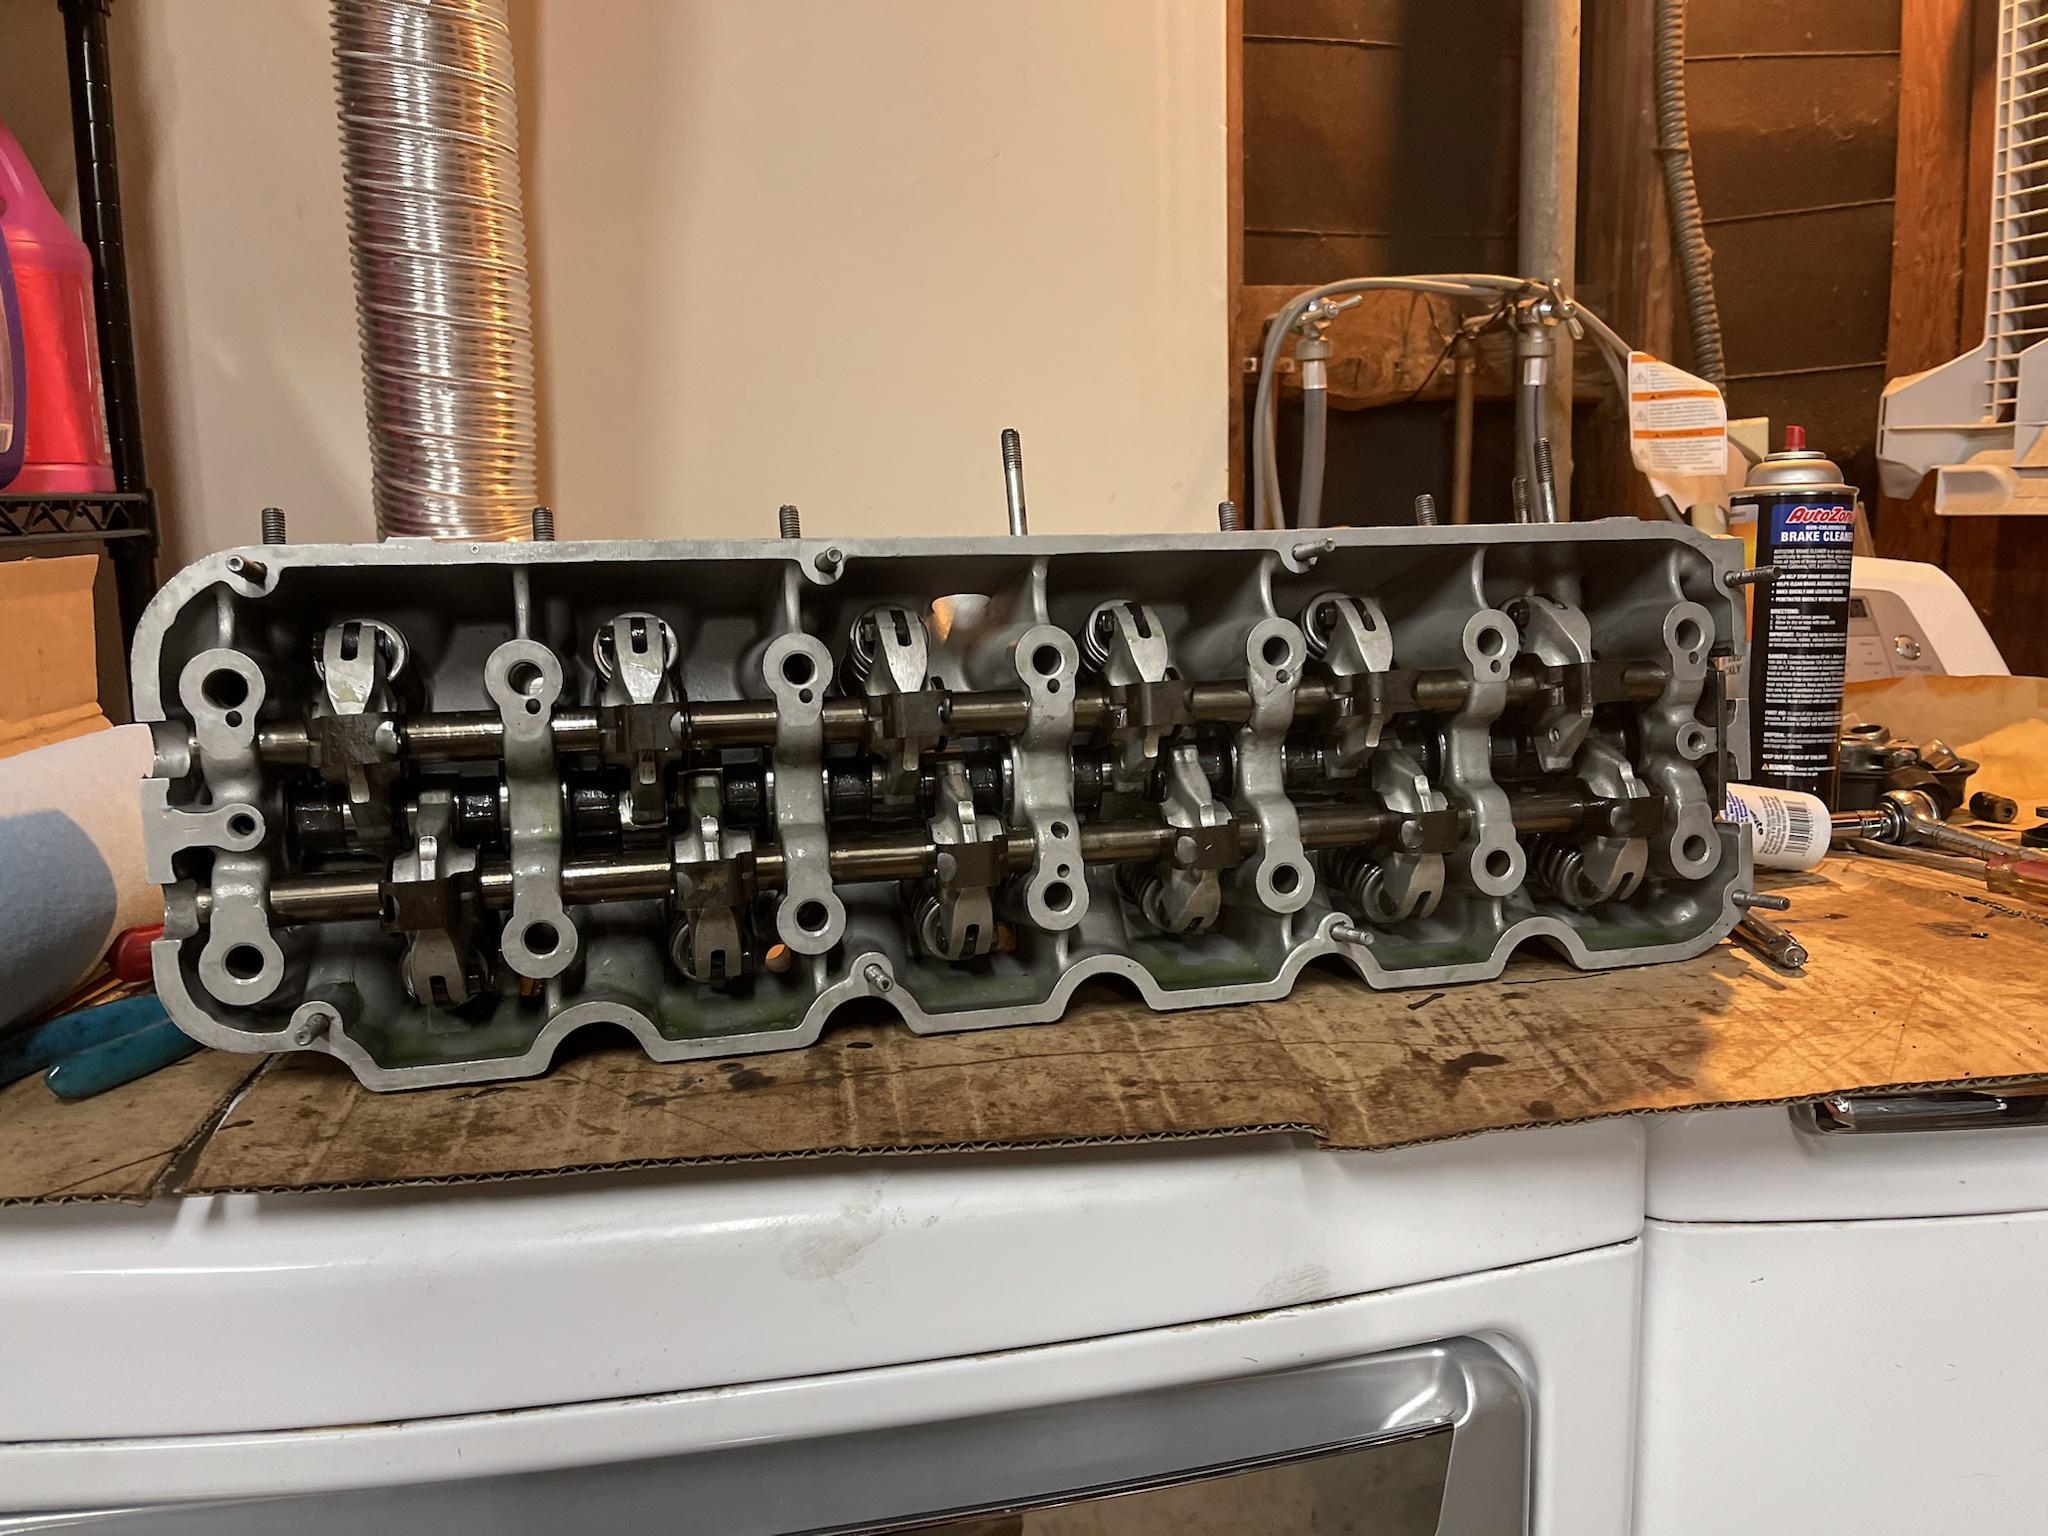
This was also the first time I have ever disassembled / put together a head or anything engine related, so was making sure to go extra slow and pay attention to old photos I took.

Image

Image

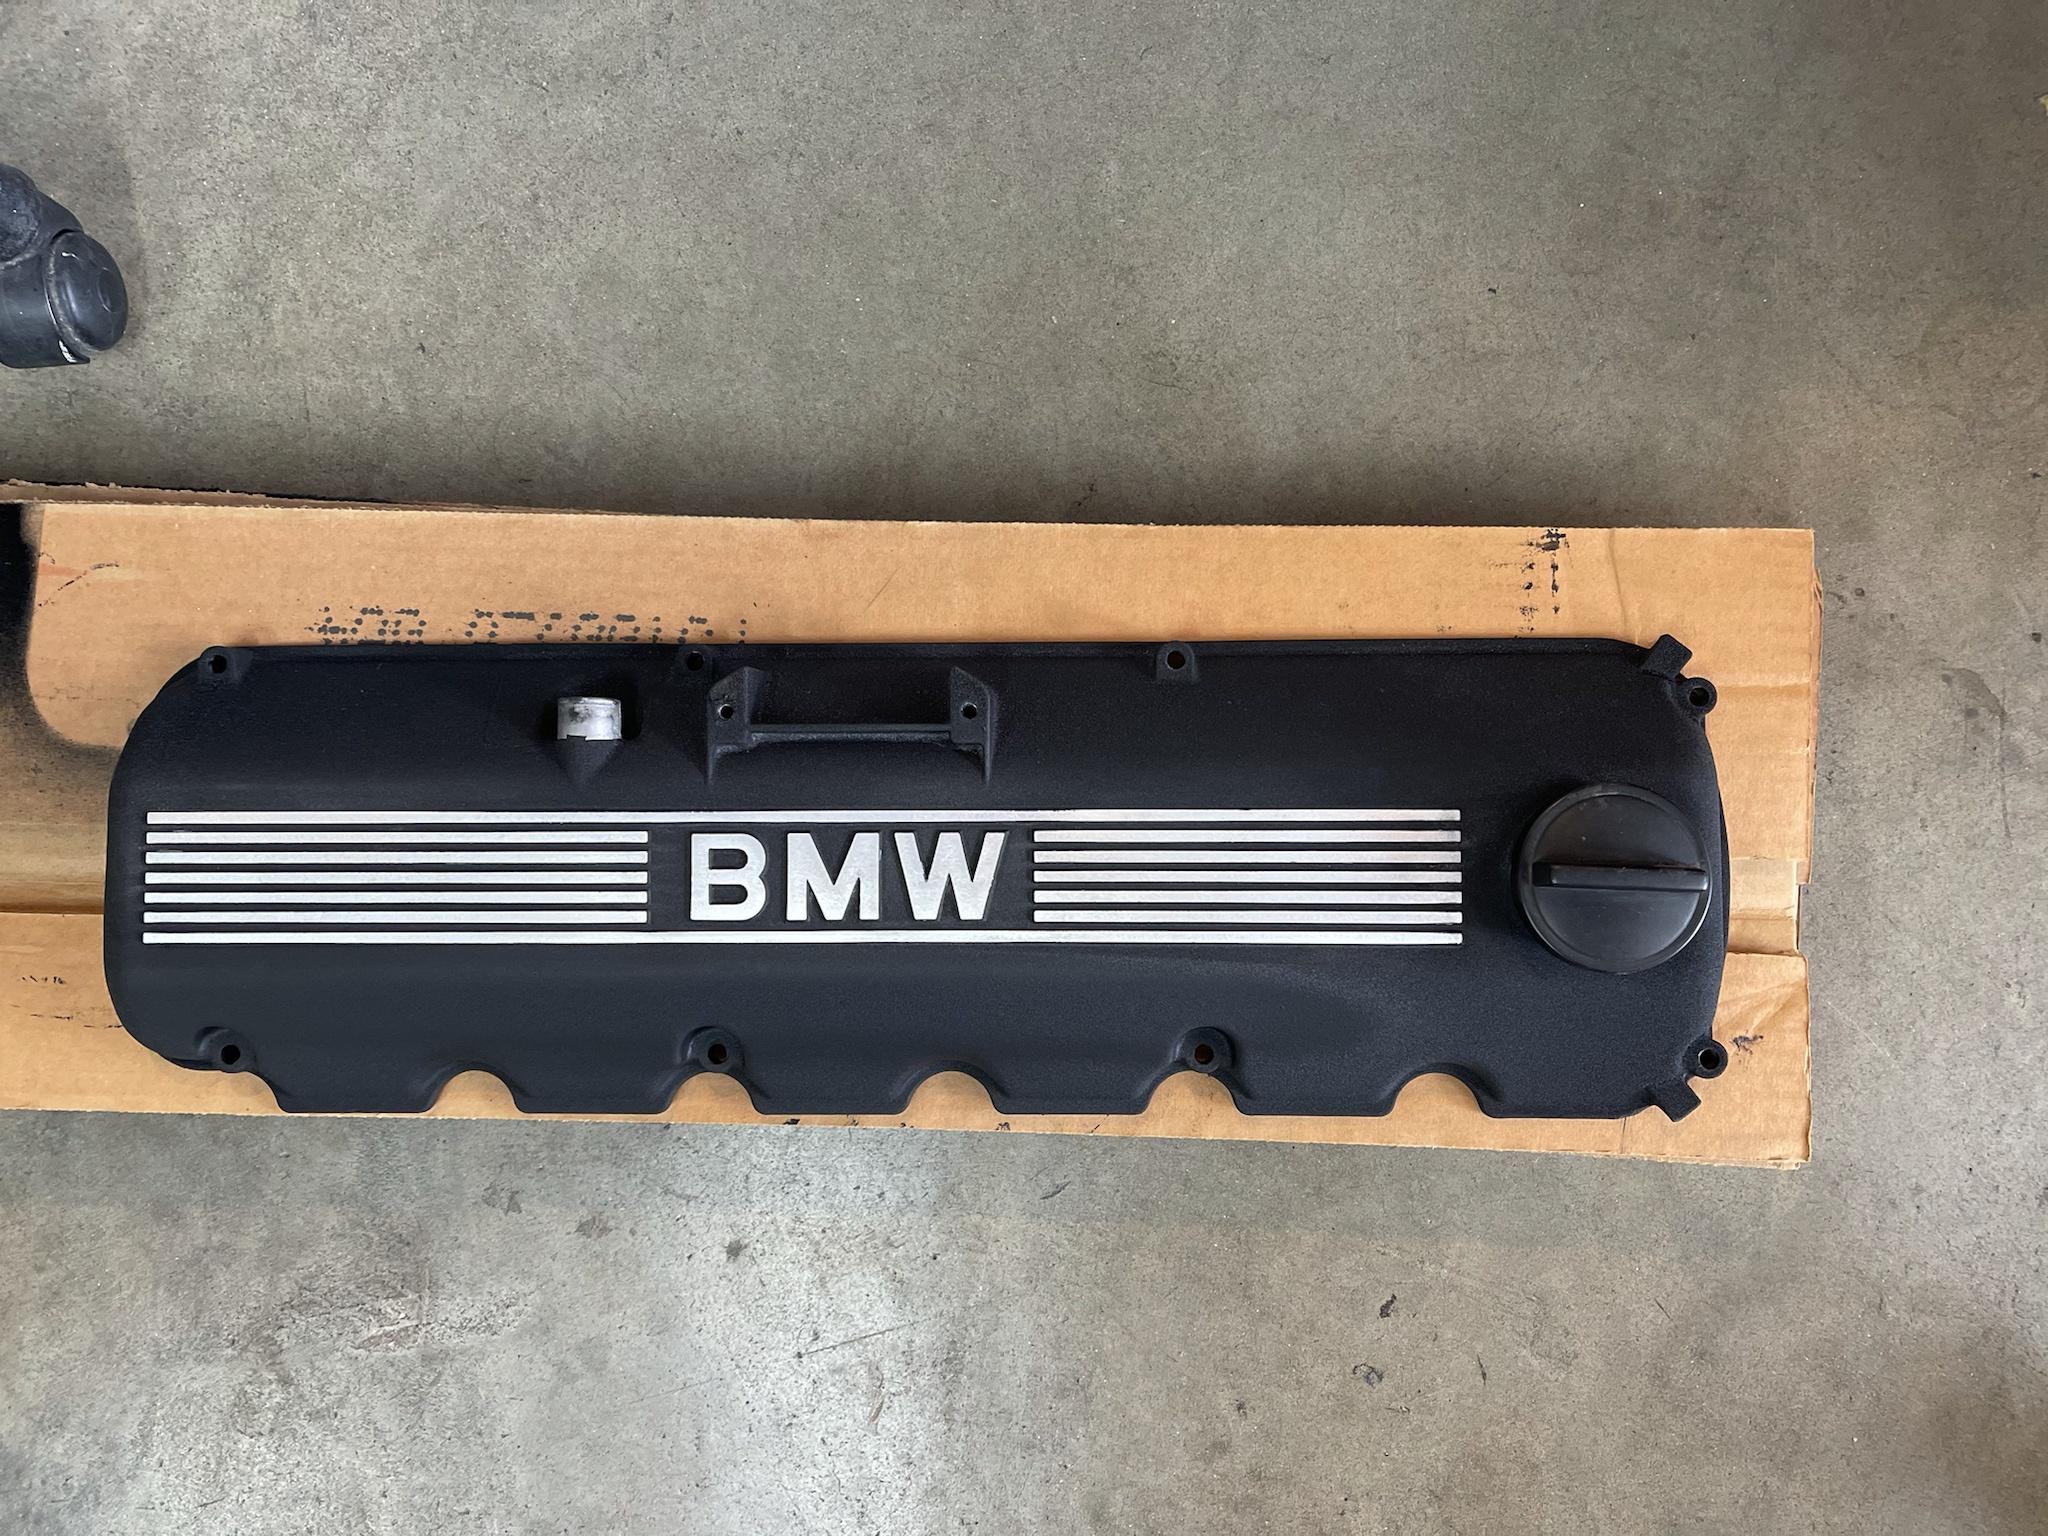
Painted the valve cover as it was out already

Image
mnnguy
Posts: 57
Joined: Sep 07, 2016 1:34 AM
Location: Los Angeles

Re: Never-Ending Project e28 528e

Post by mnnguy »

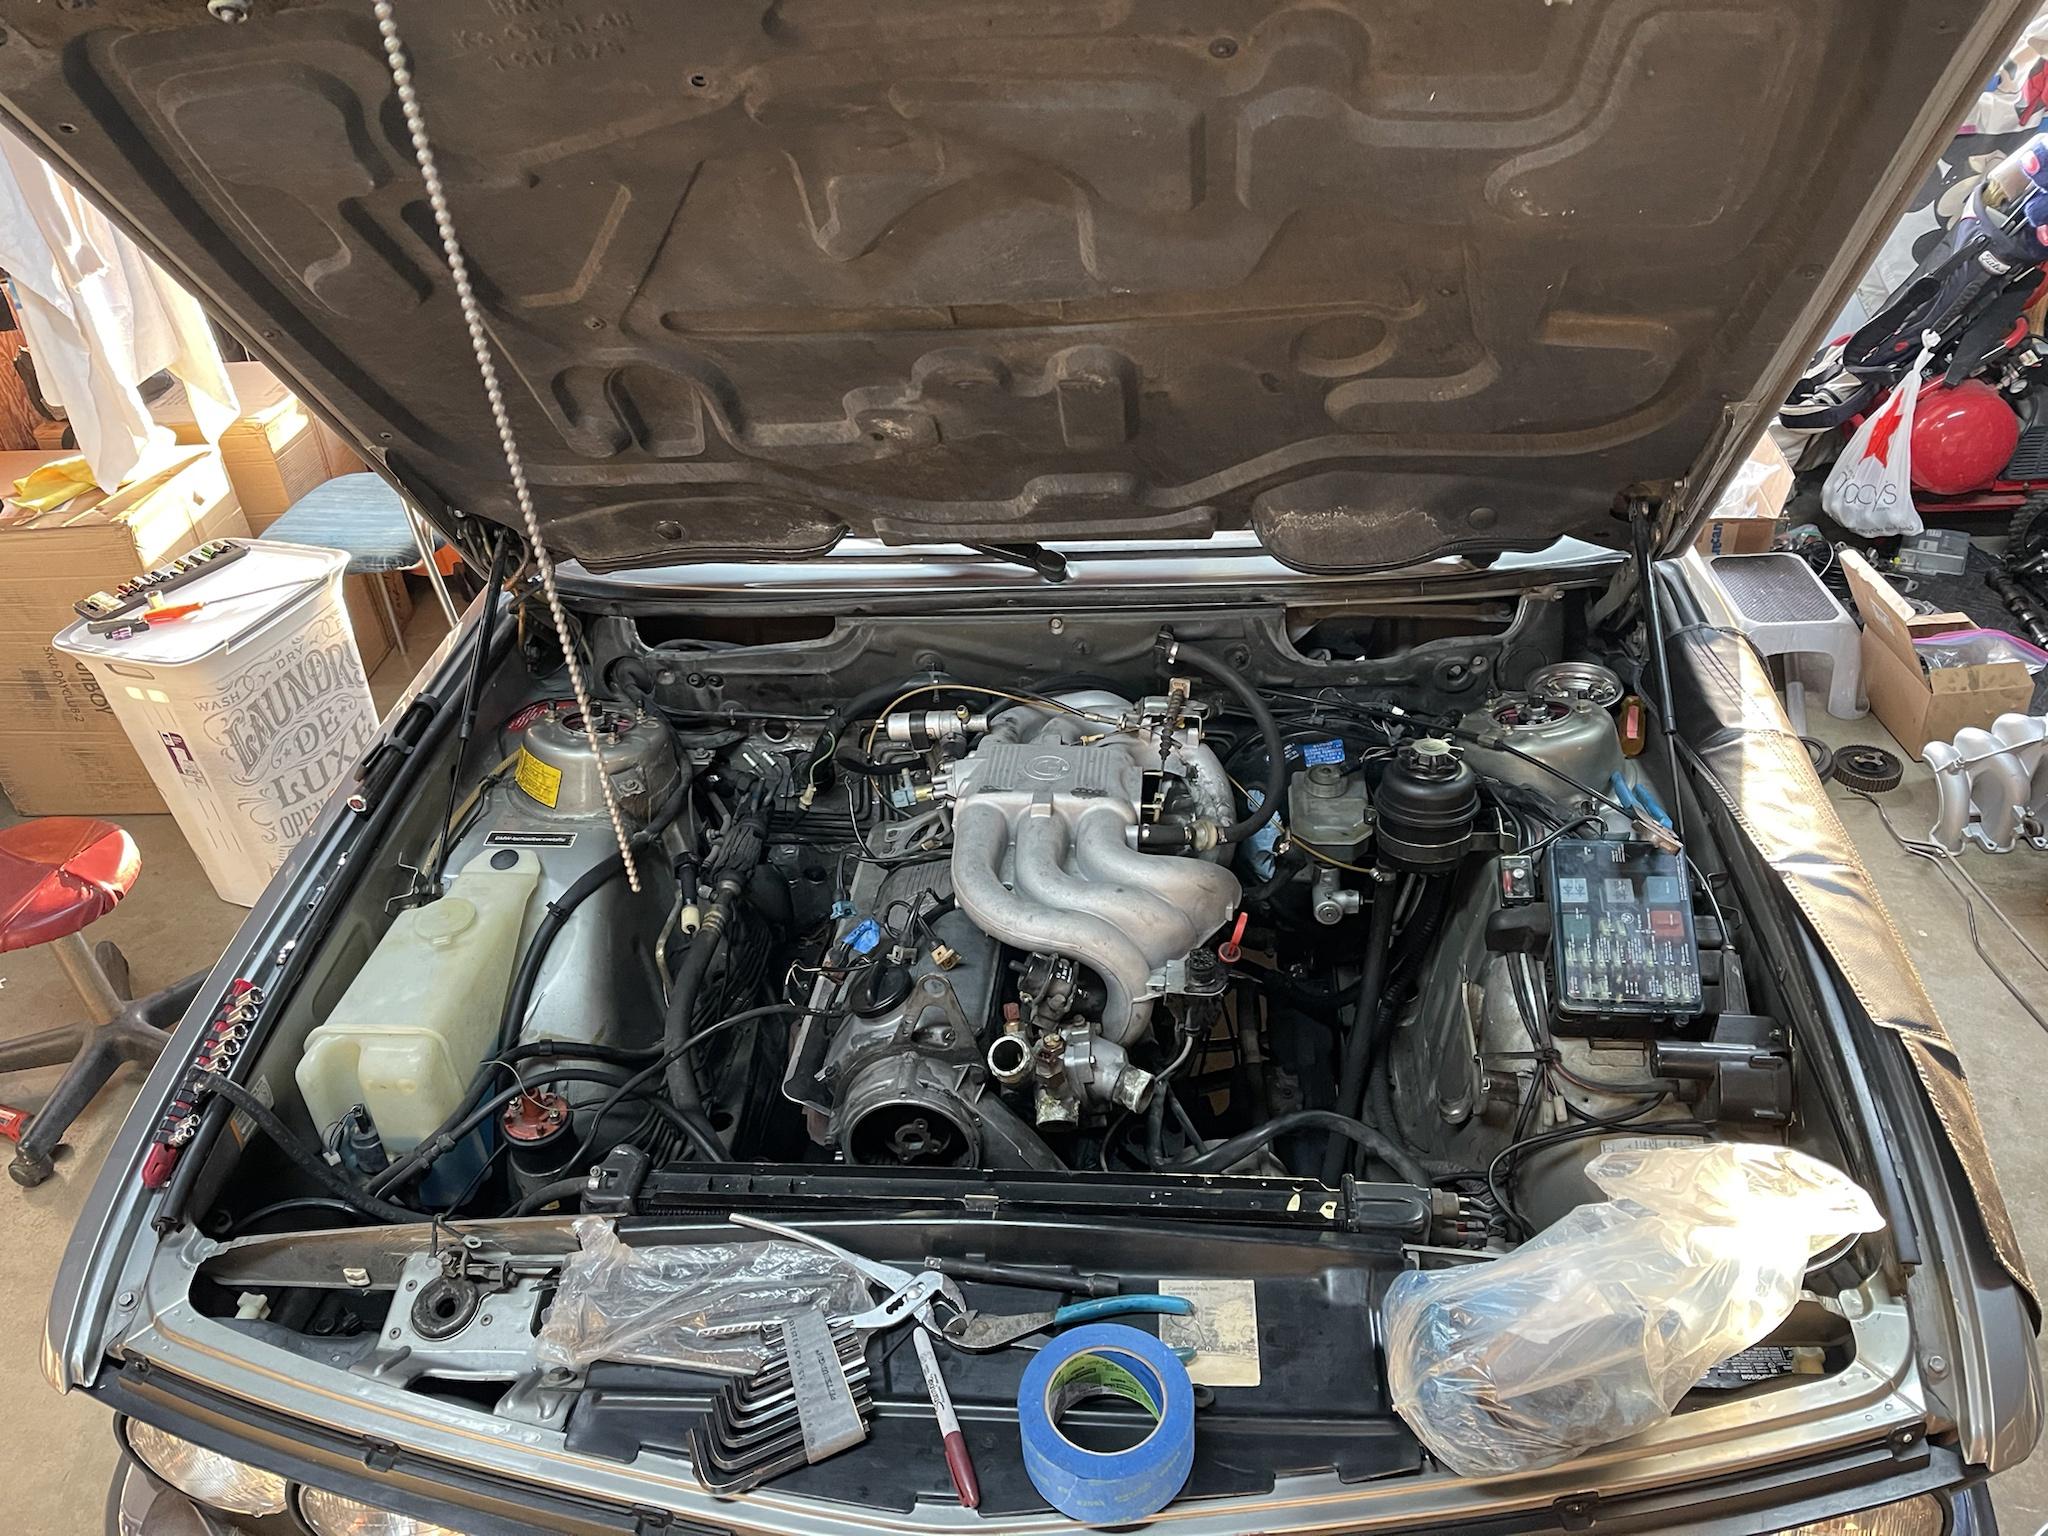
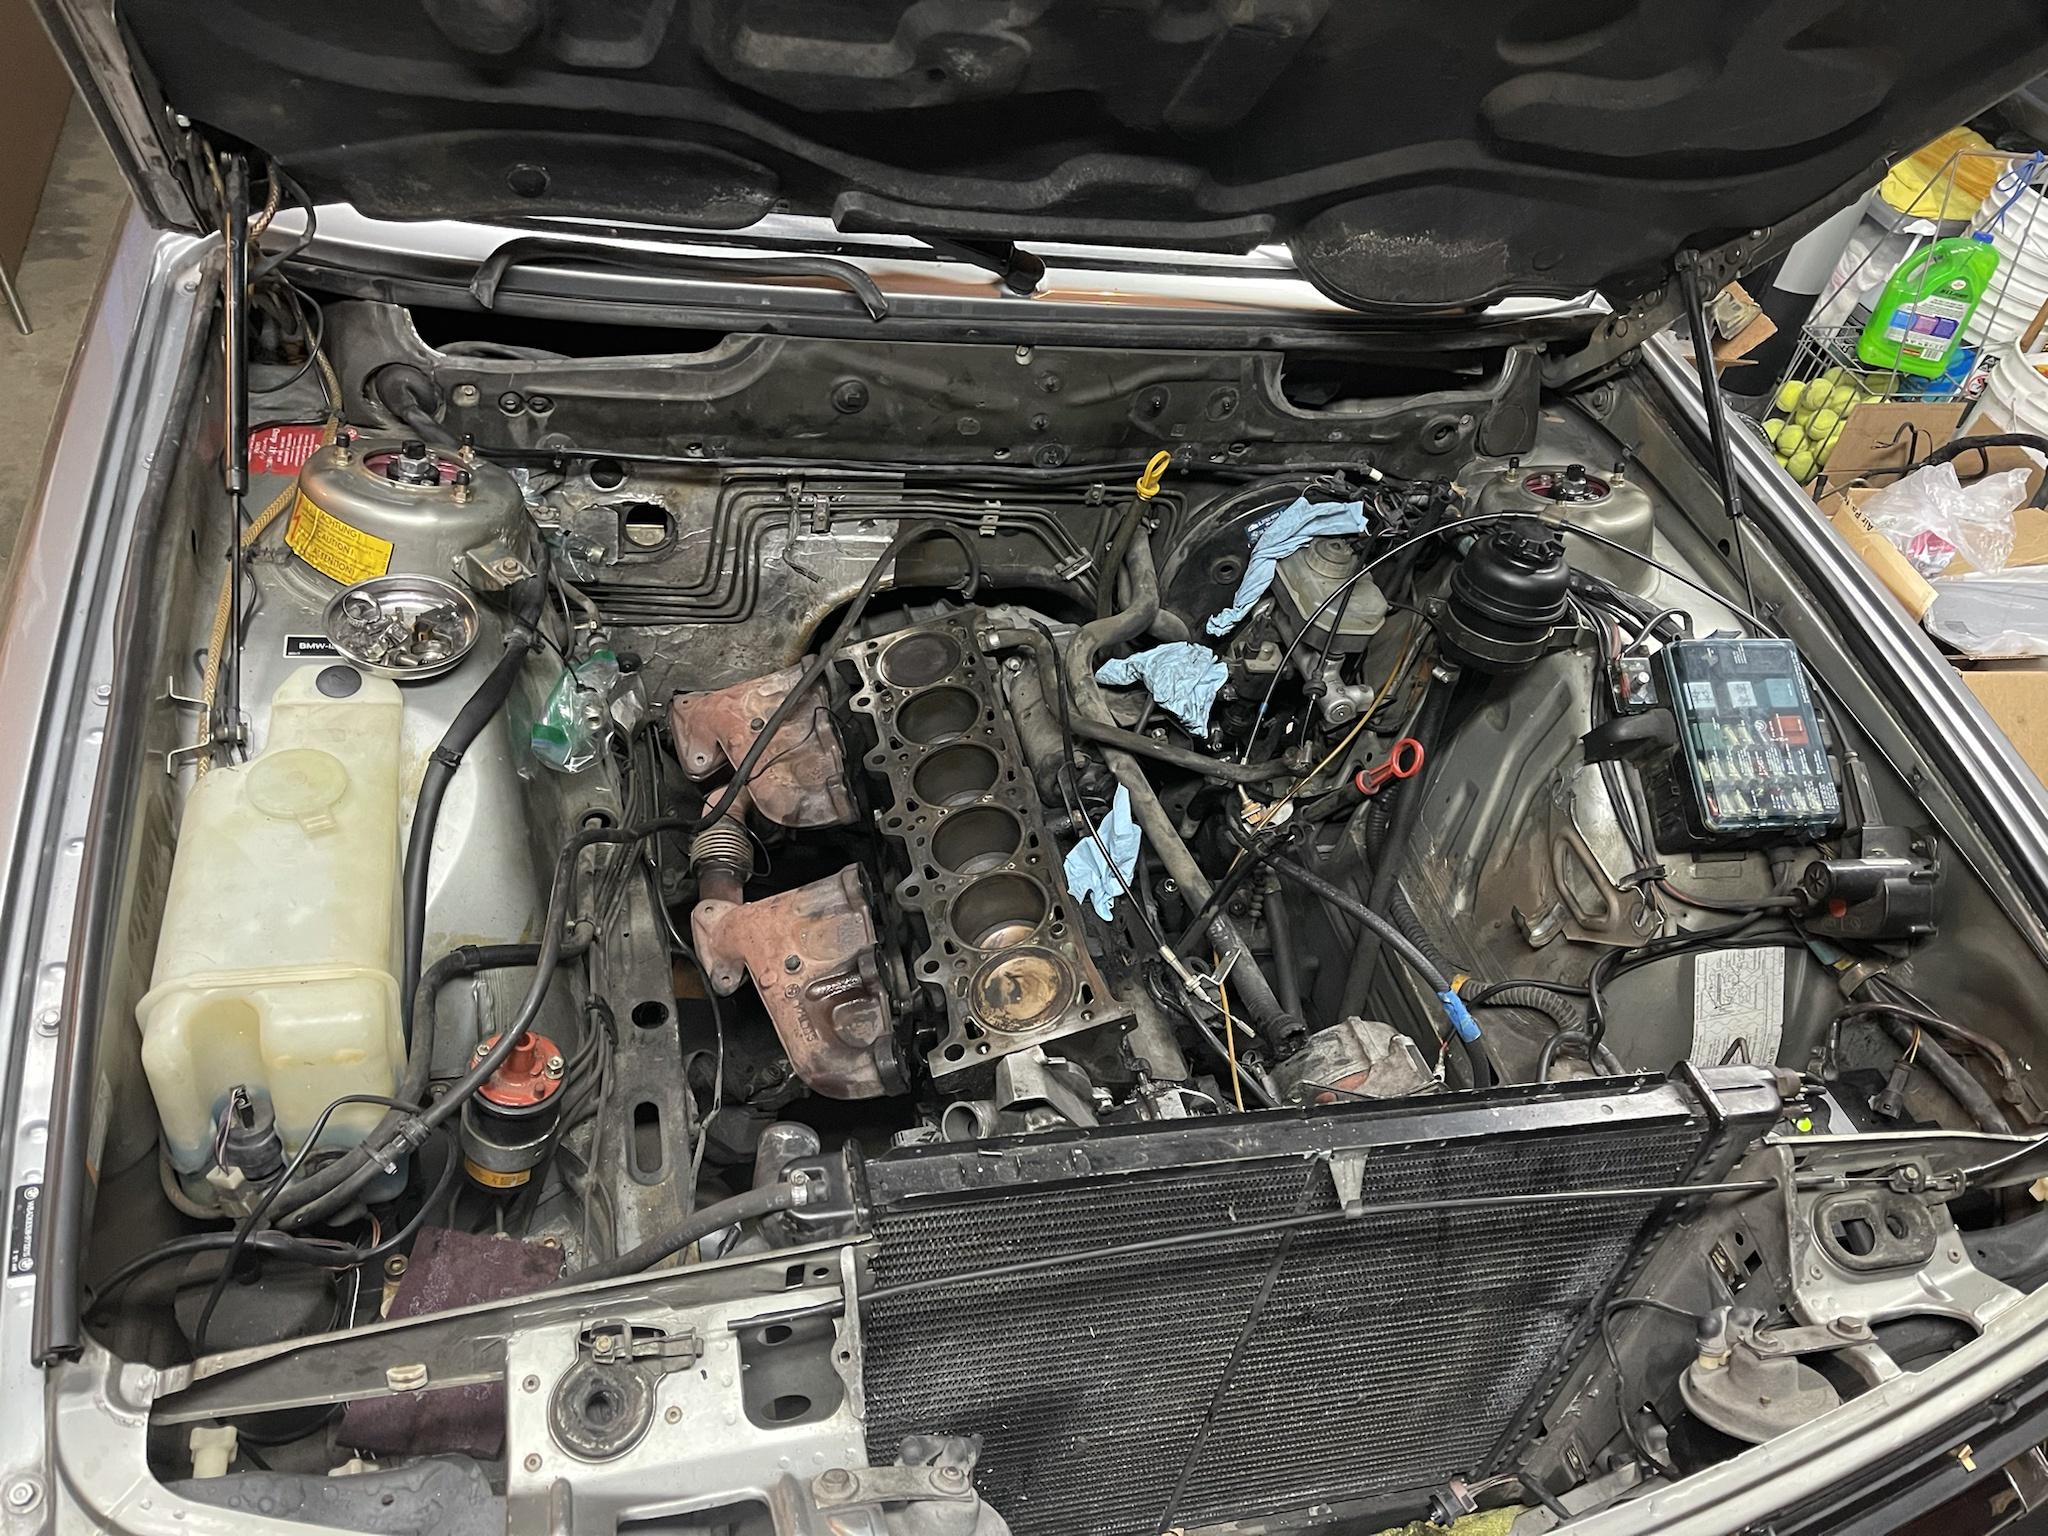
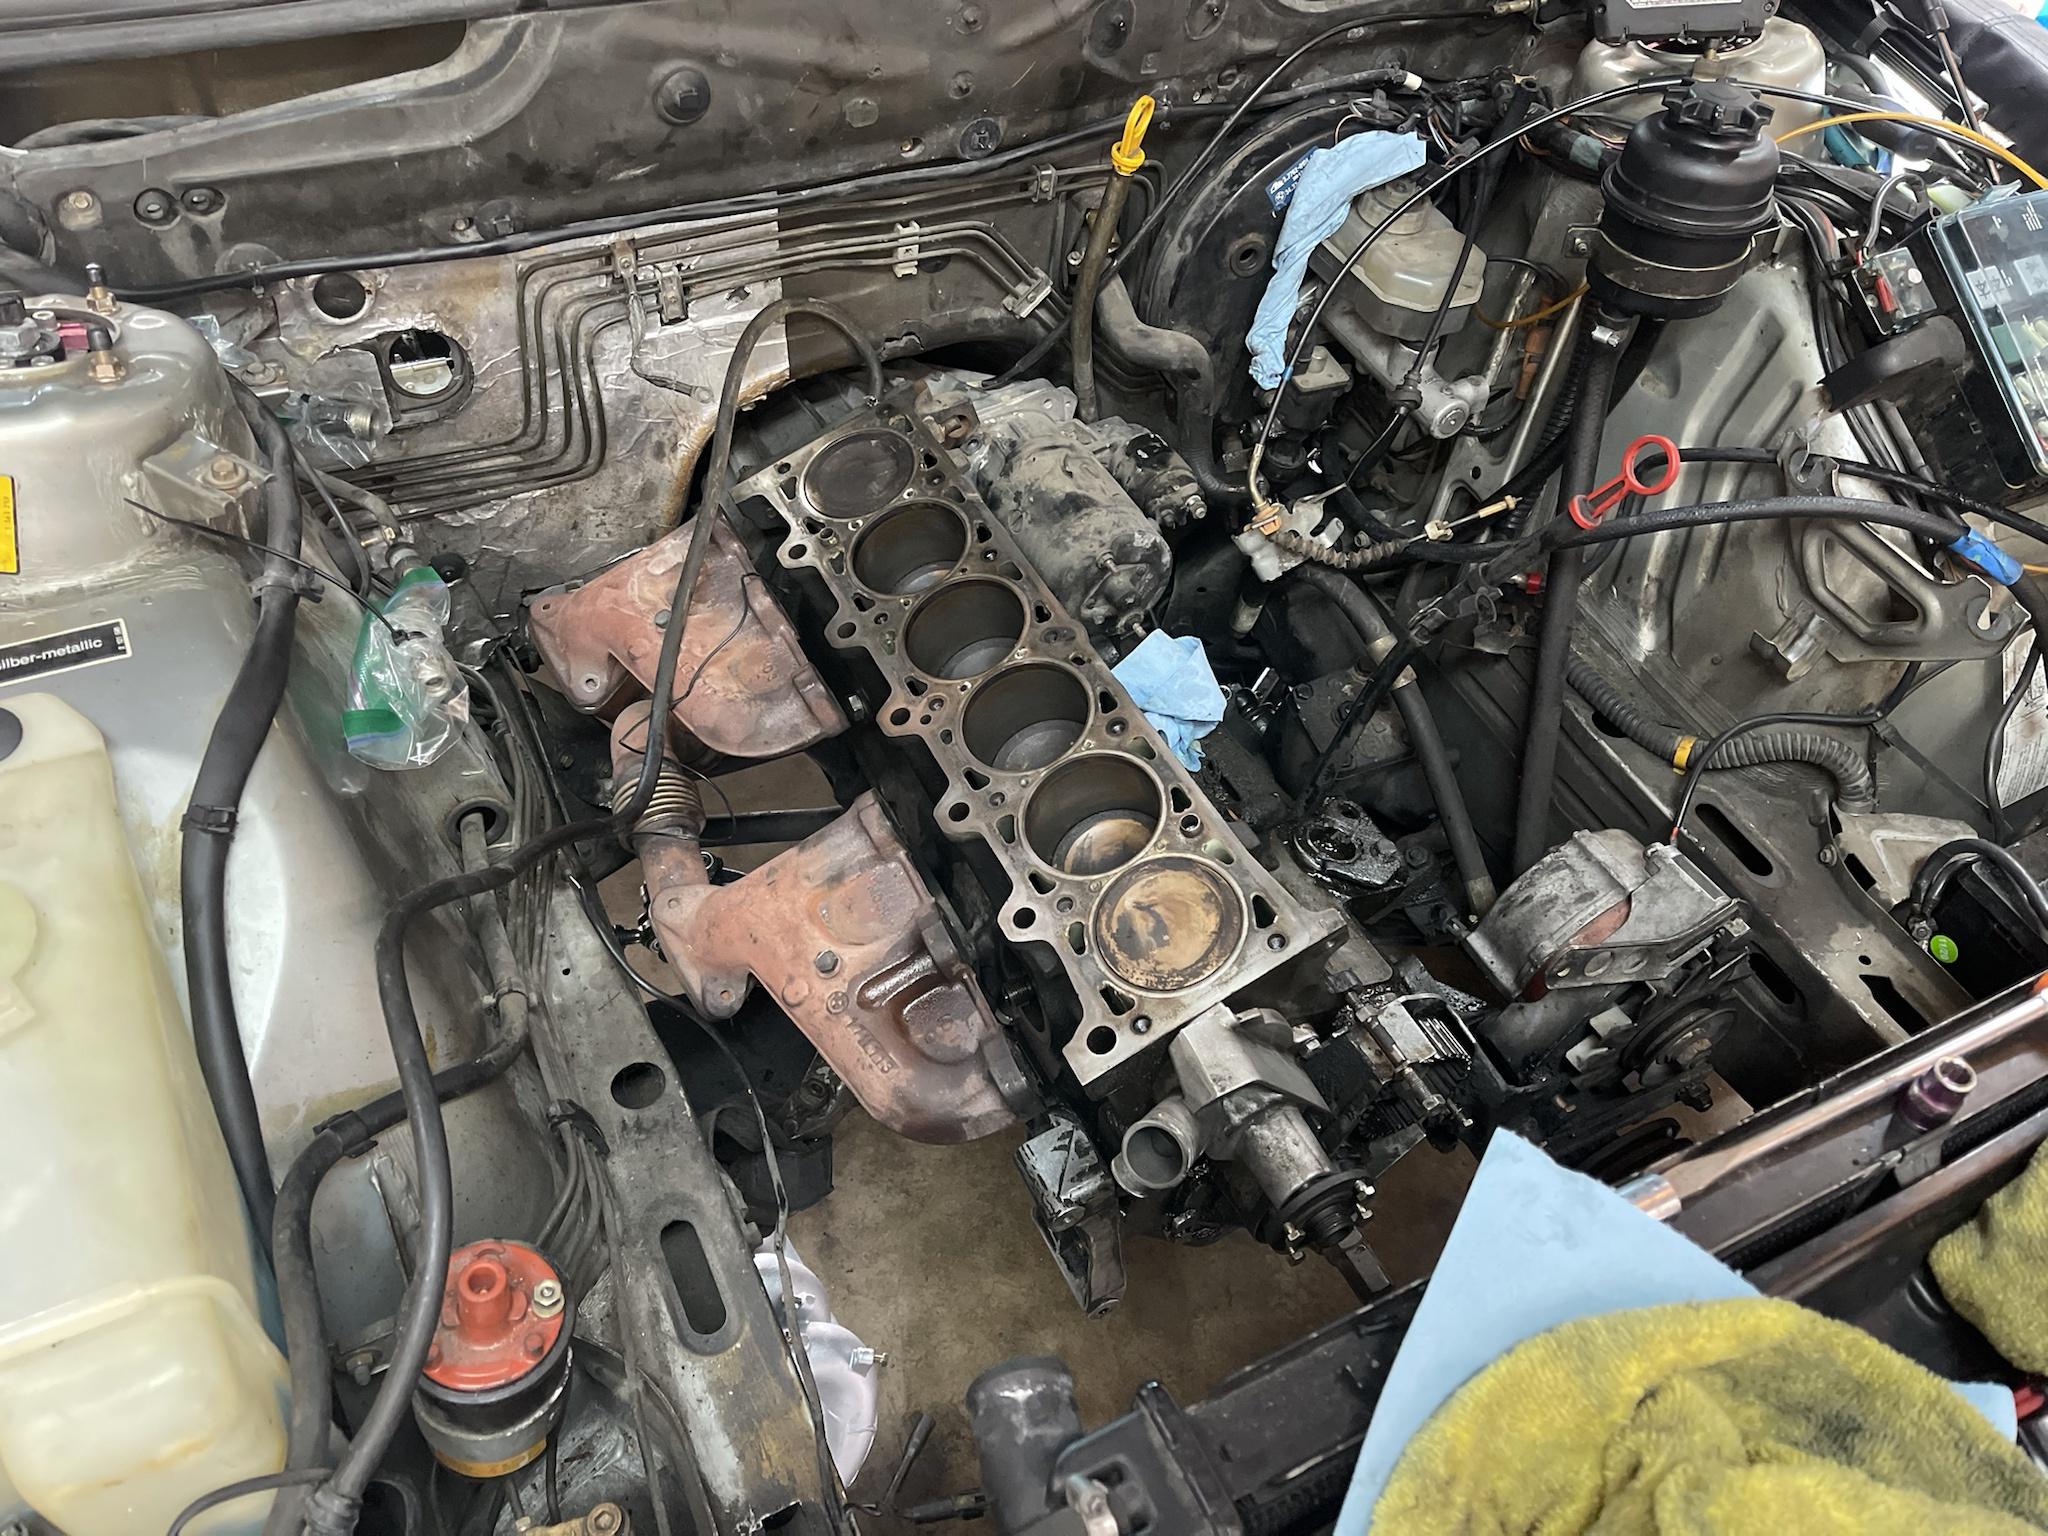
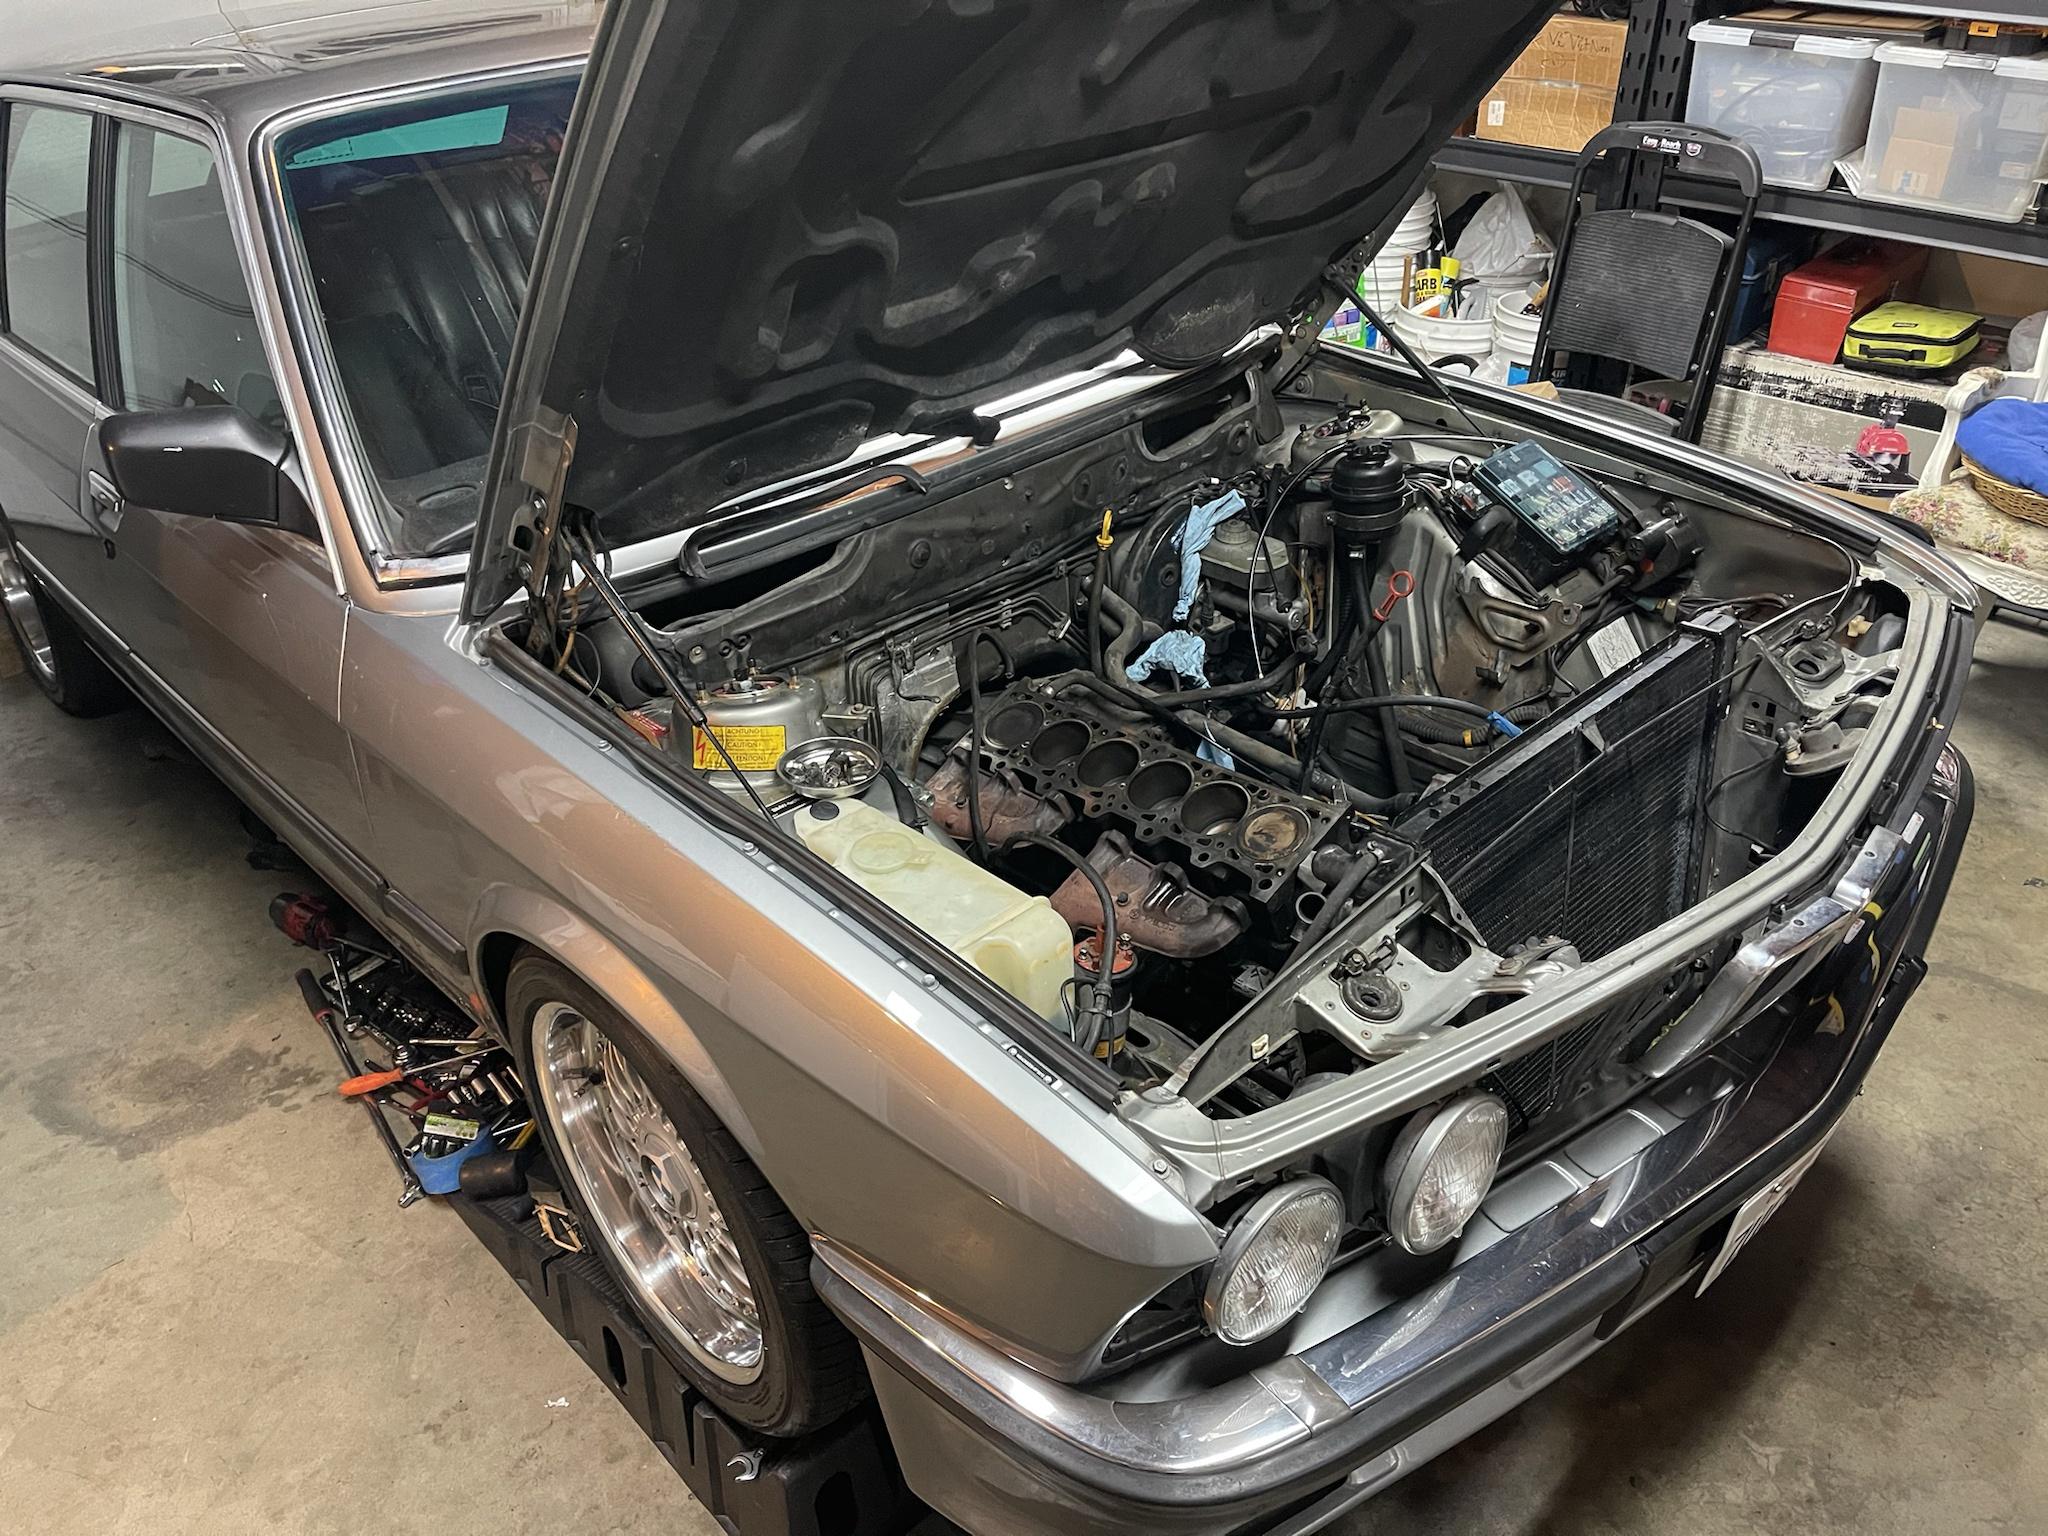
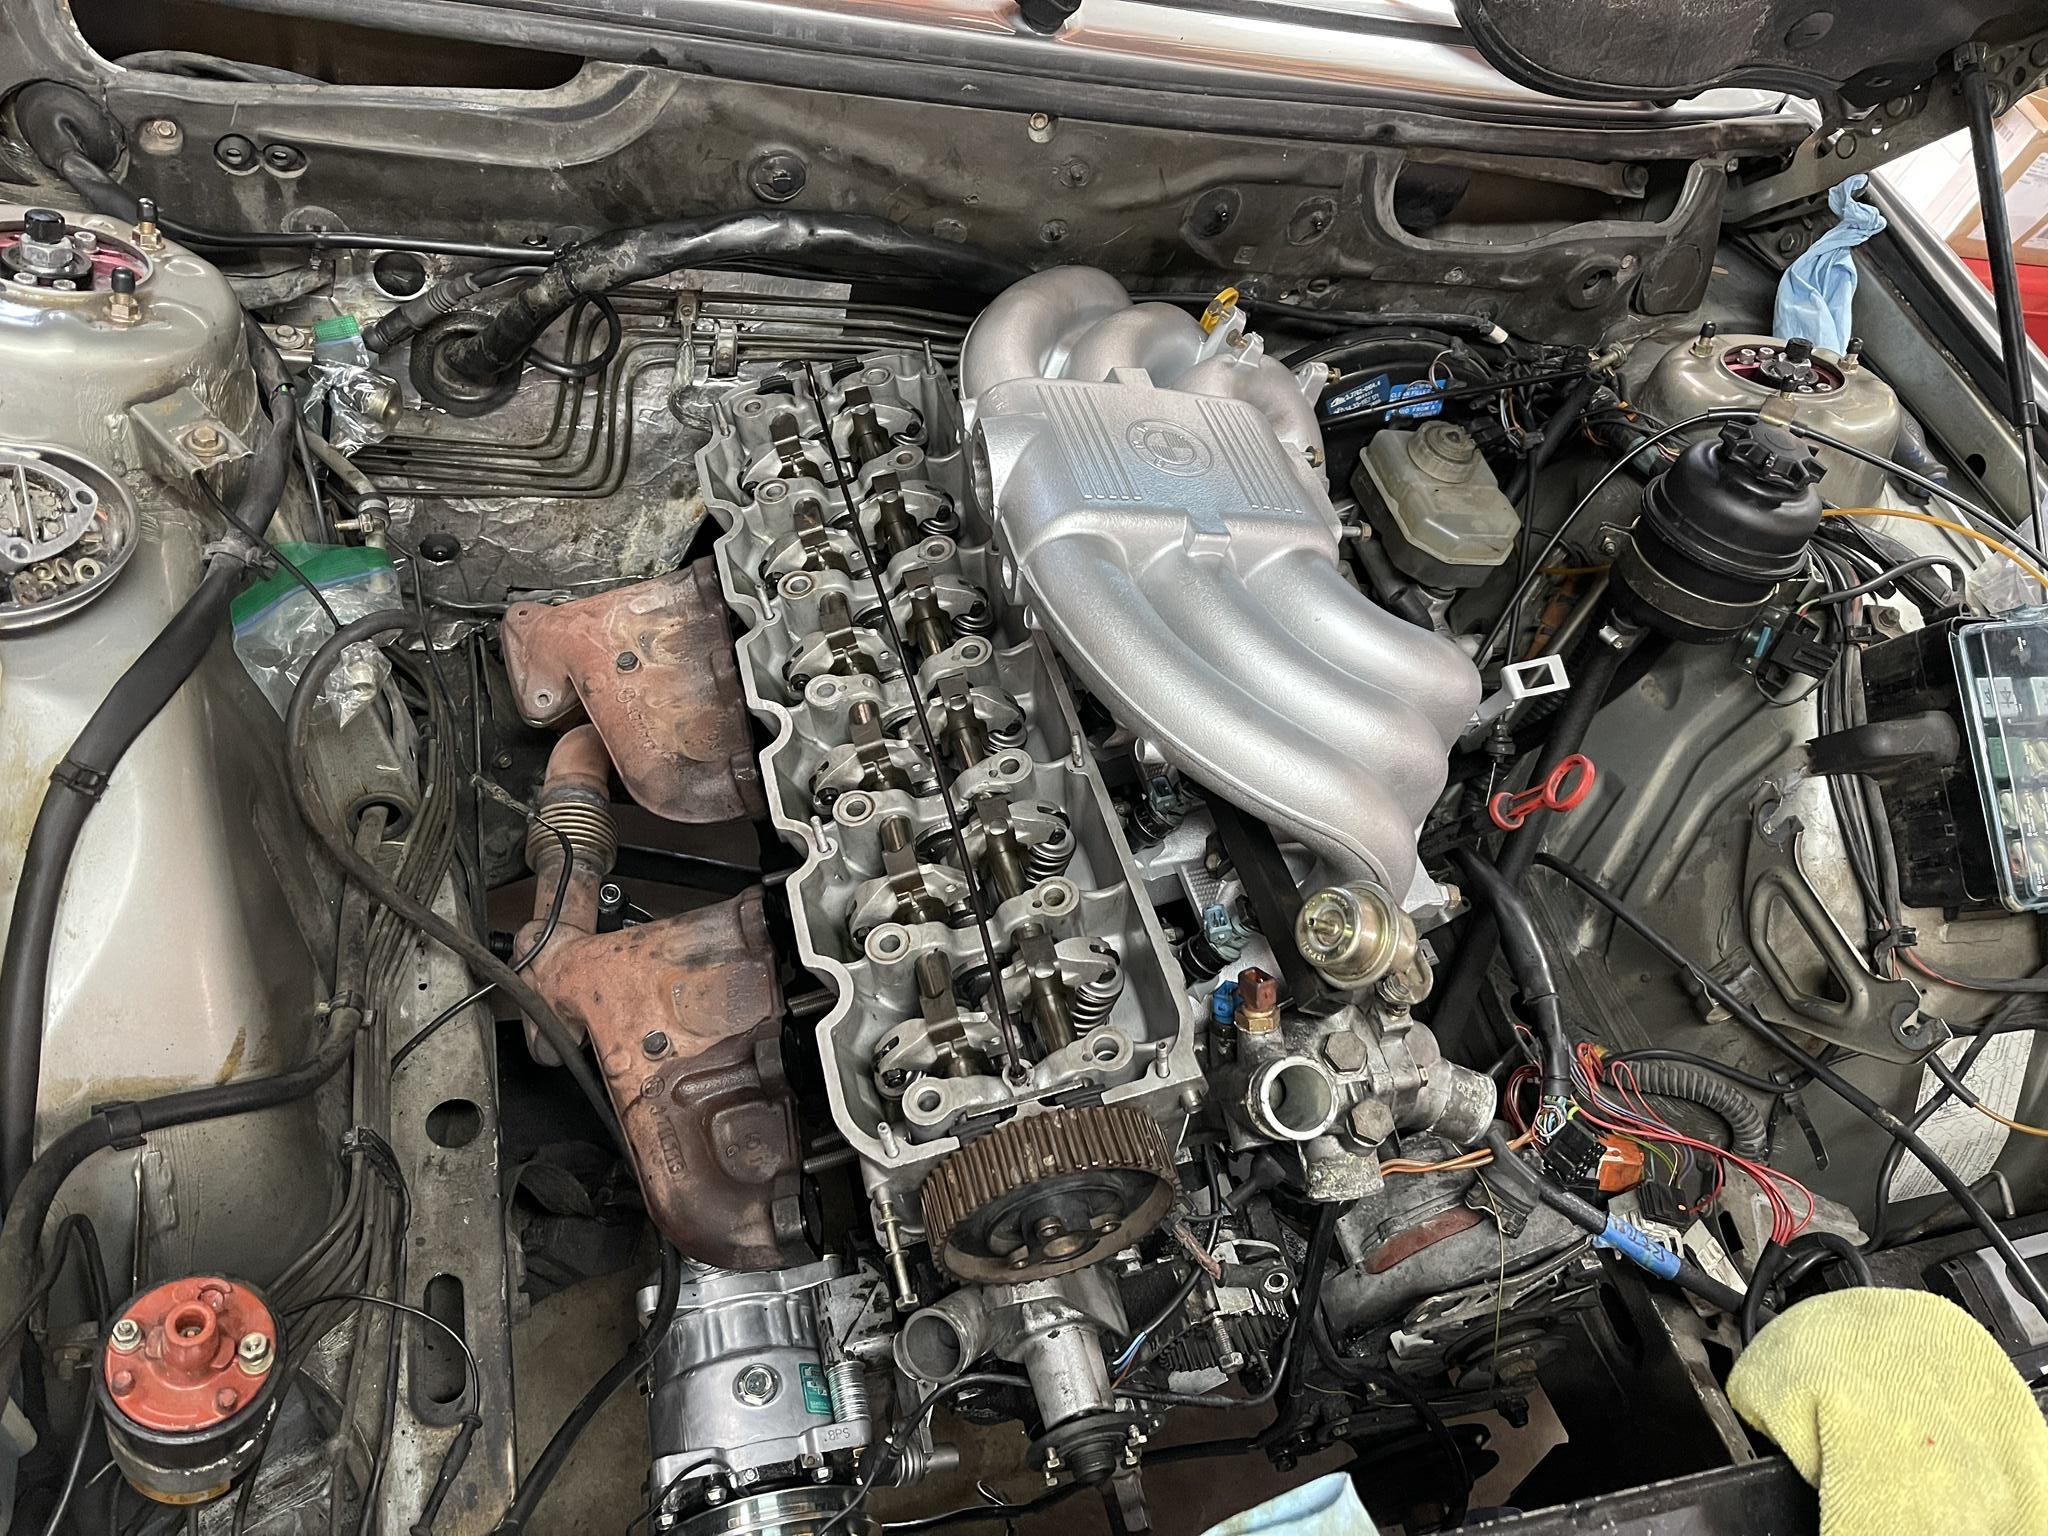
The disassembly of the engine bay:

Image

Image

Image

Image

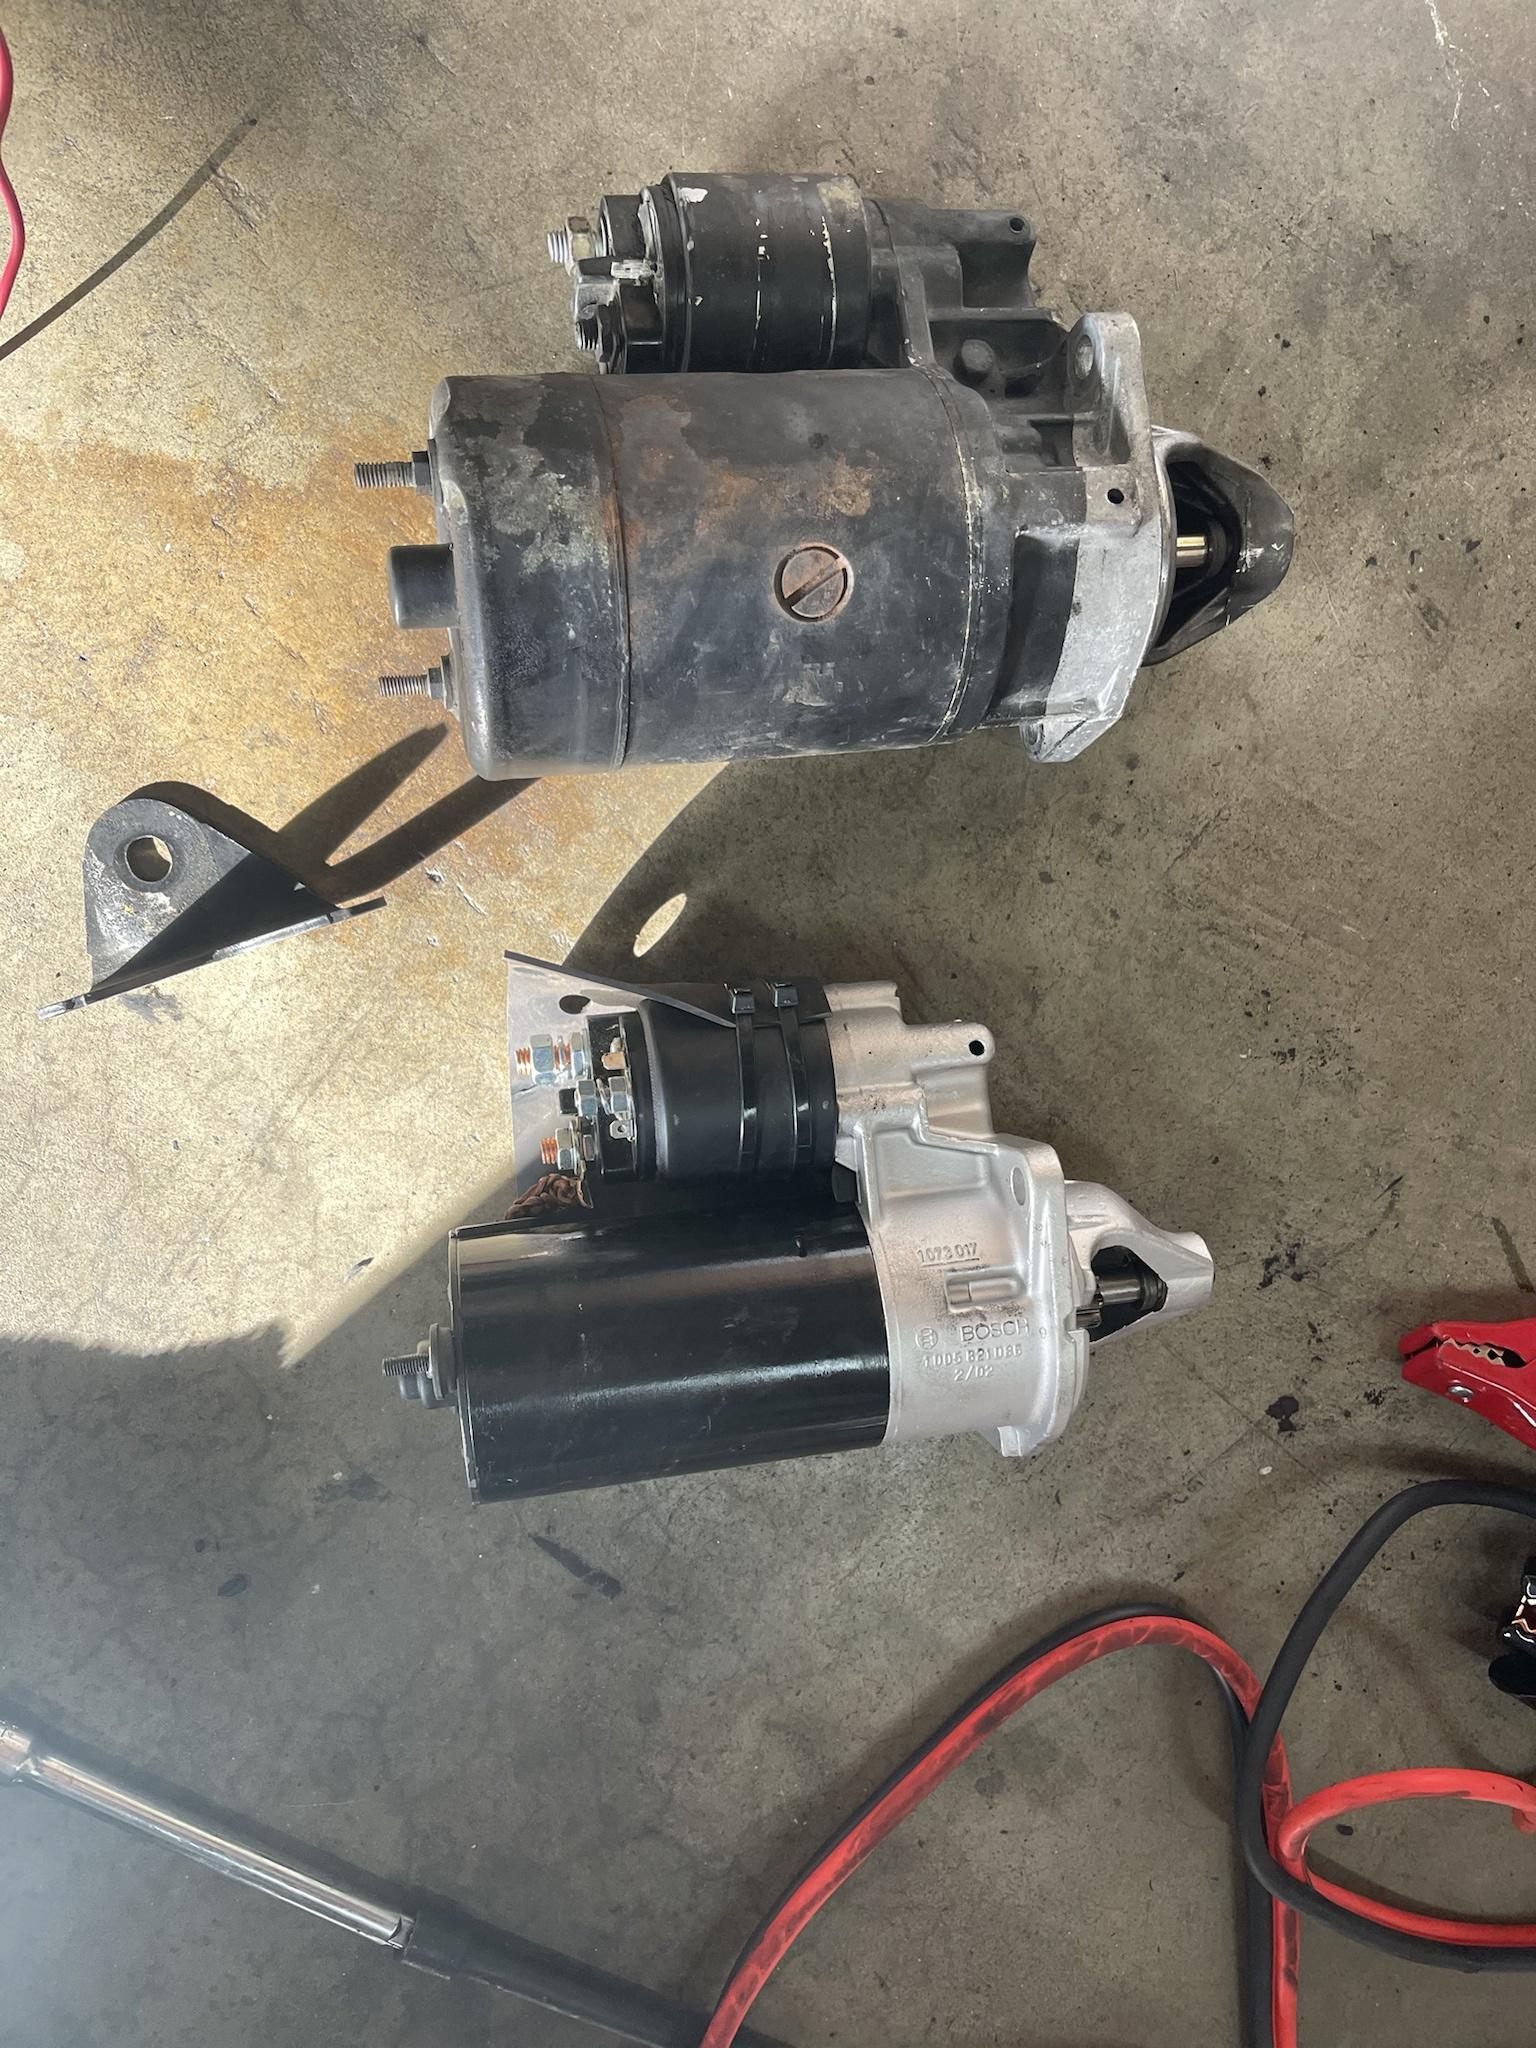
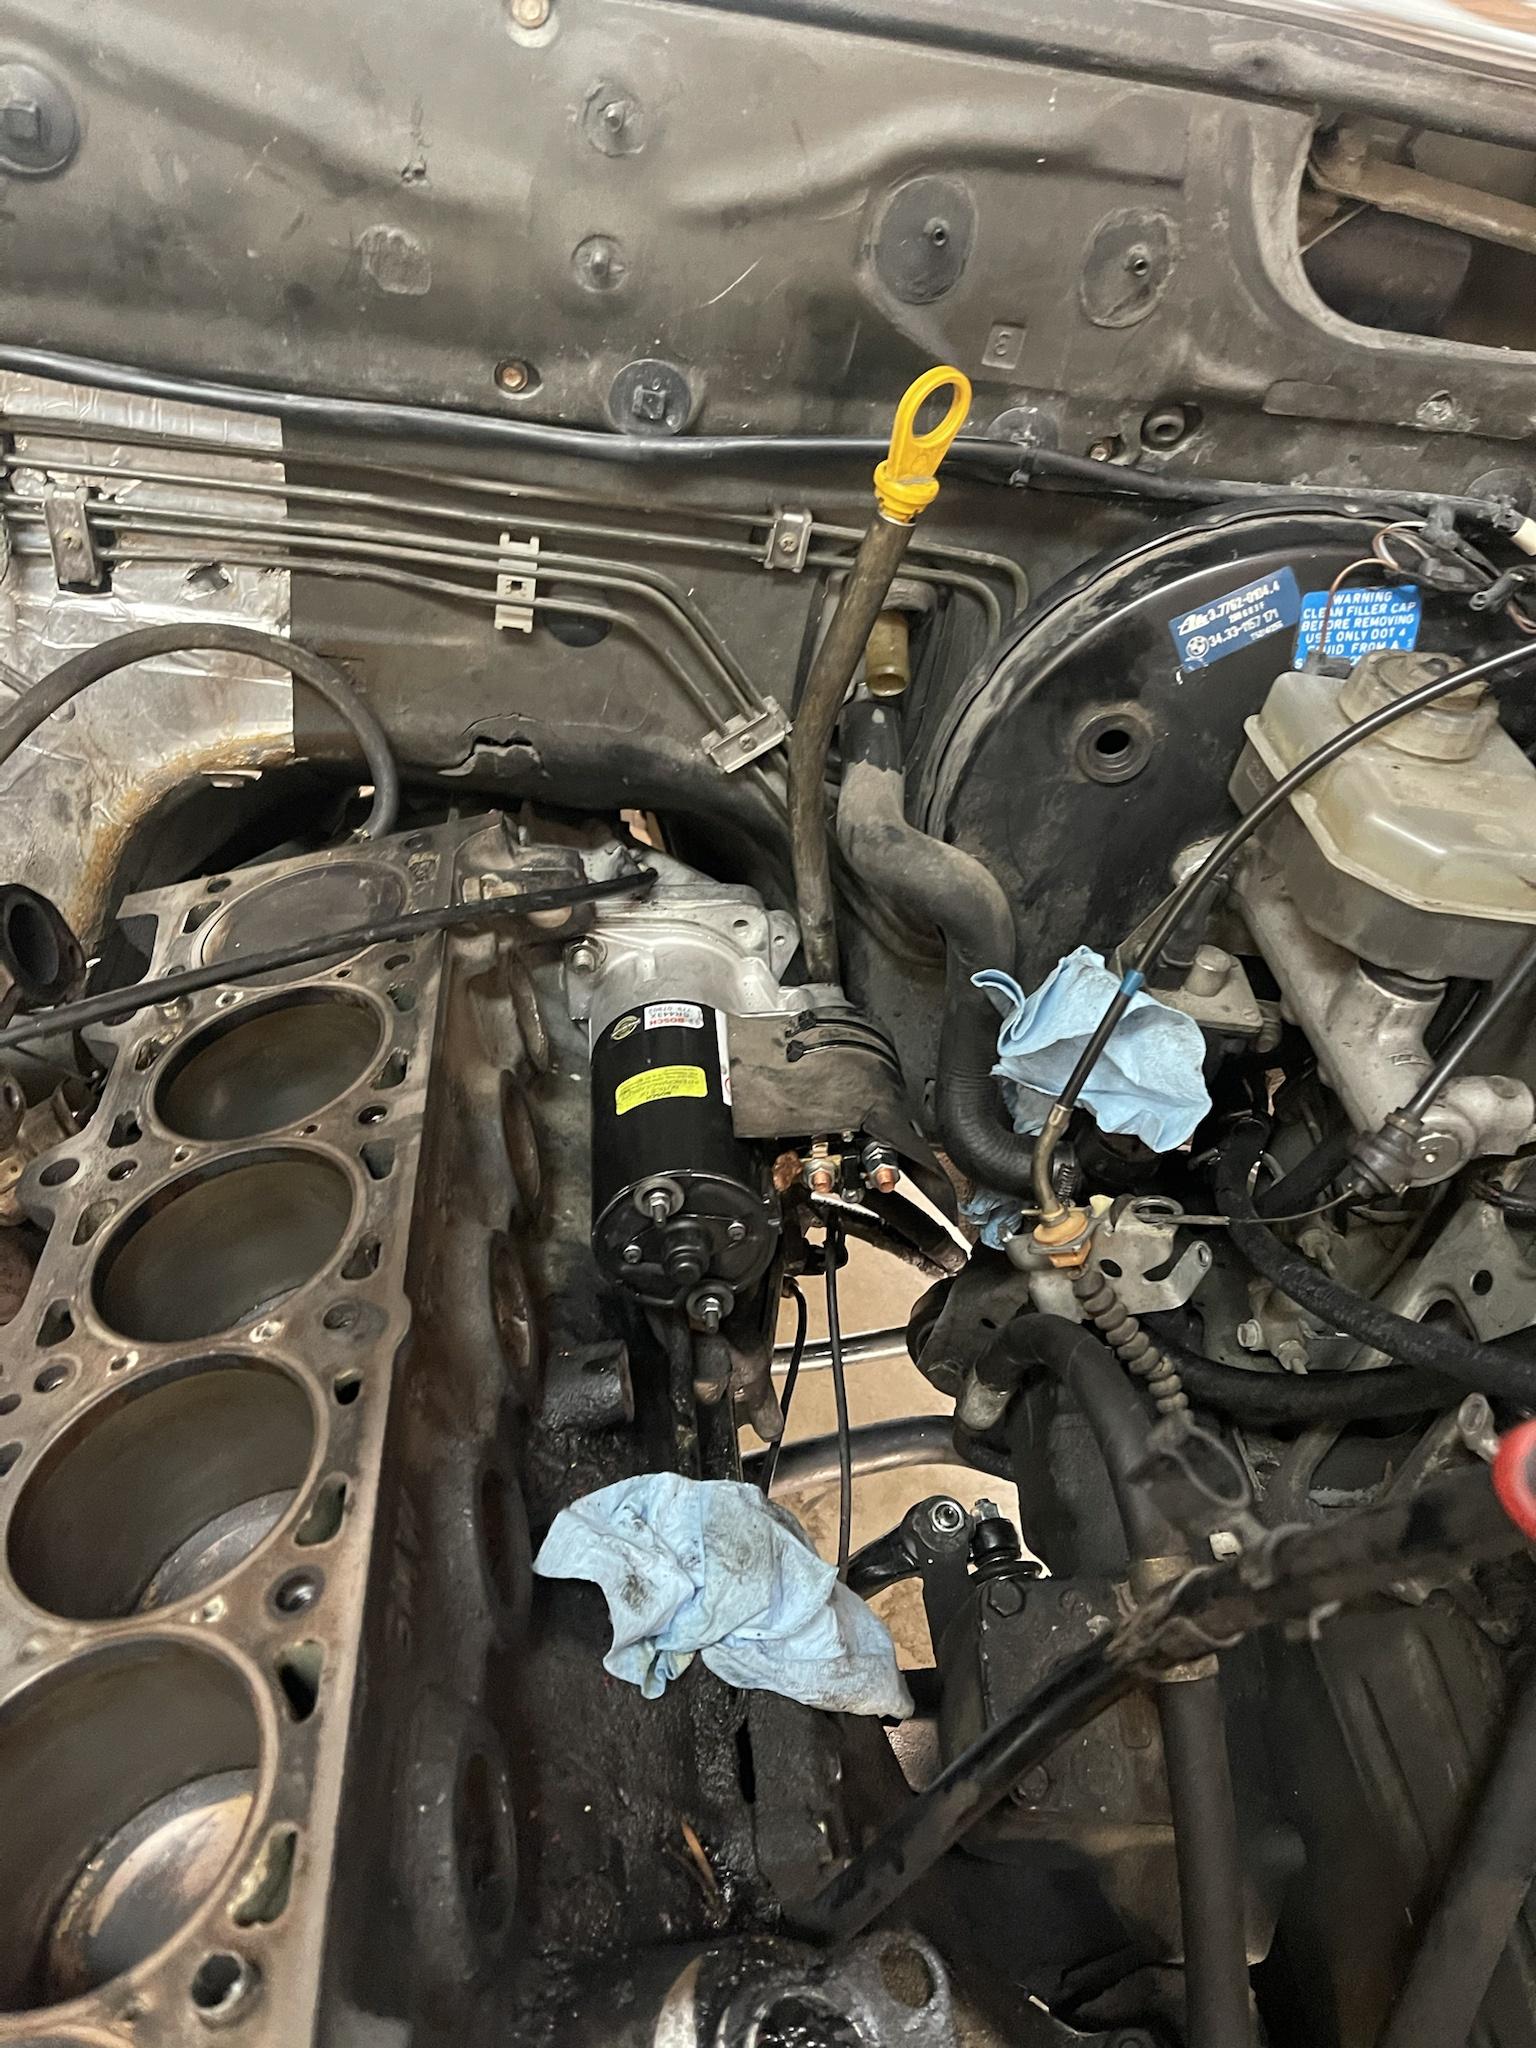
Decided while I was in there, and so I would not have to worry about any starter issues again, to go ahead and replace the starter with the gear reduction unit e30 starter (Bosch SR443x). Plus it sounds more satisfying to start up :laugh:

You will need the bracket that mounts the starter to the block from an e30/e34 as the mounting holes / stud locations are different as the whole unit is smaller. But the SETA harness is a perfect fit for it as the start connection becomes a ring terminal vs. the original small plug.


Image

Image

Image

Image

Image

Image

Image

Image

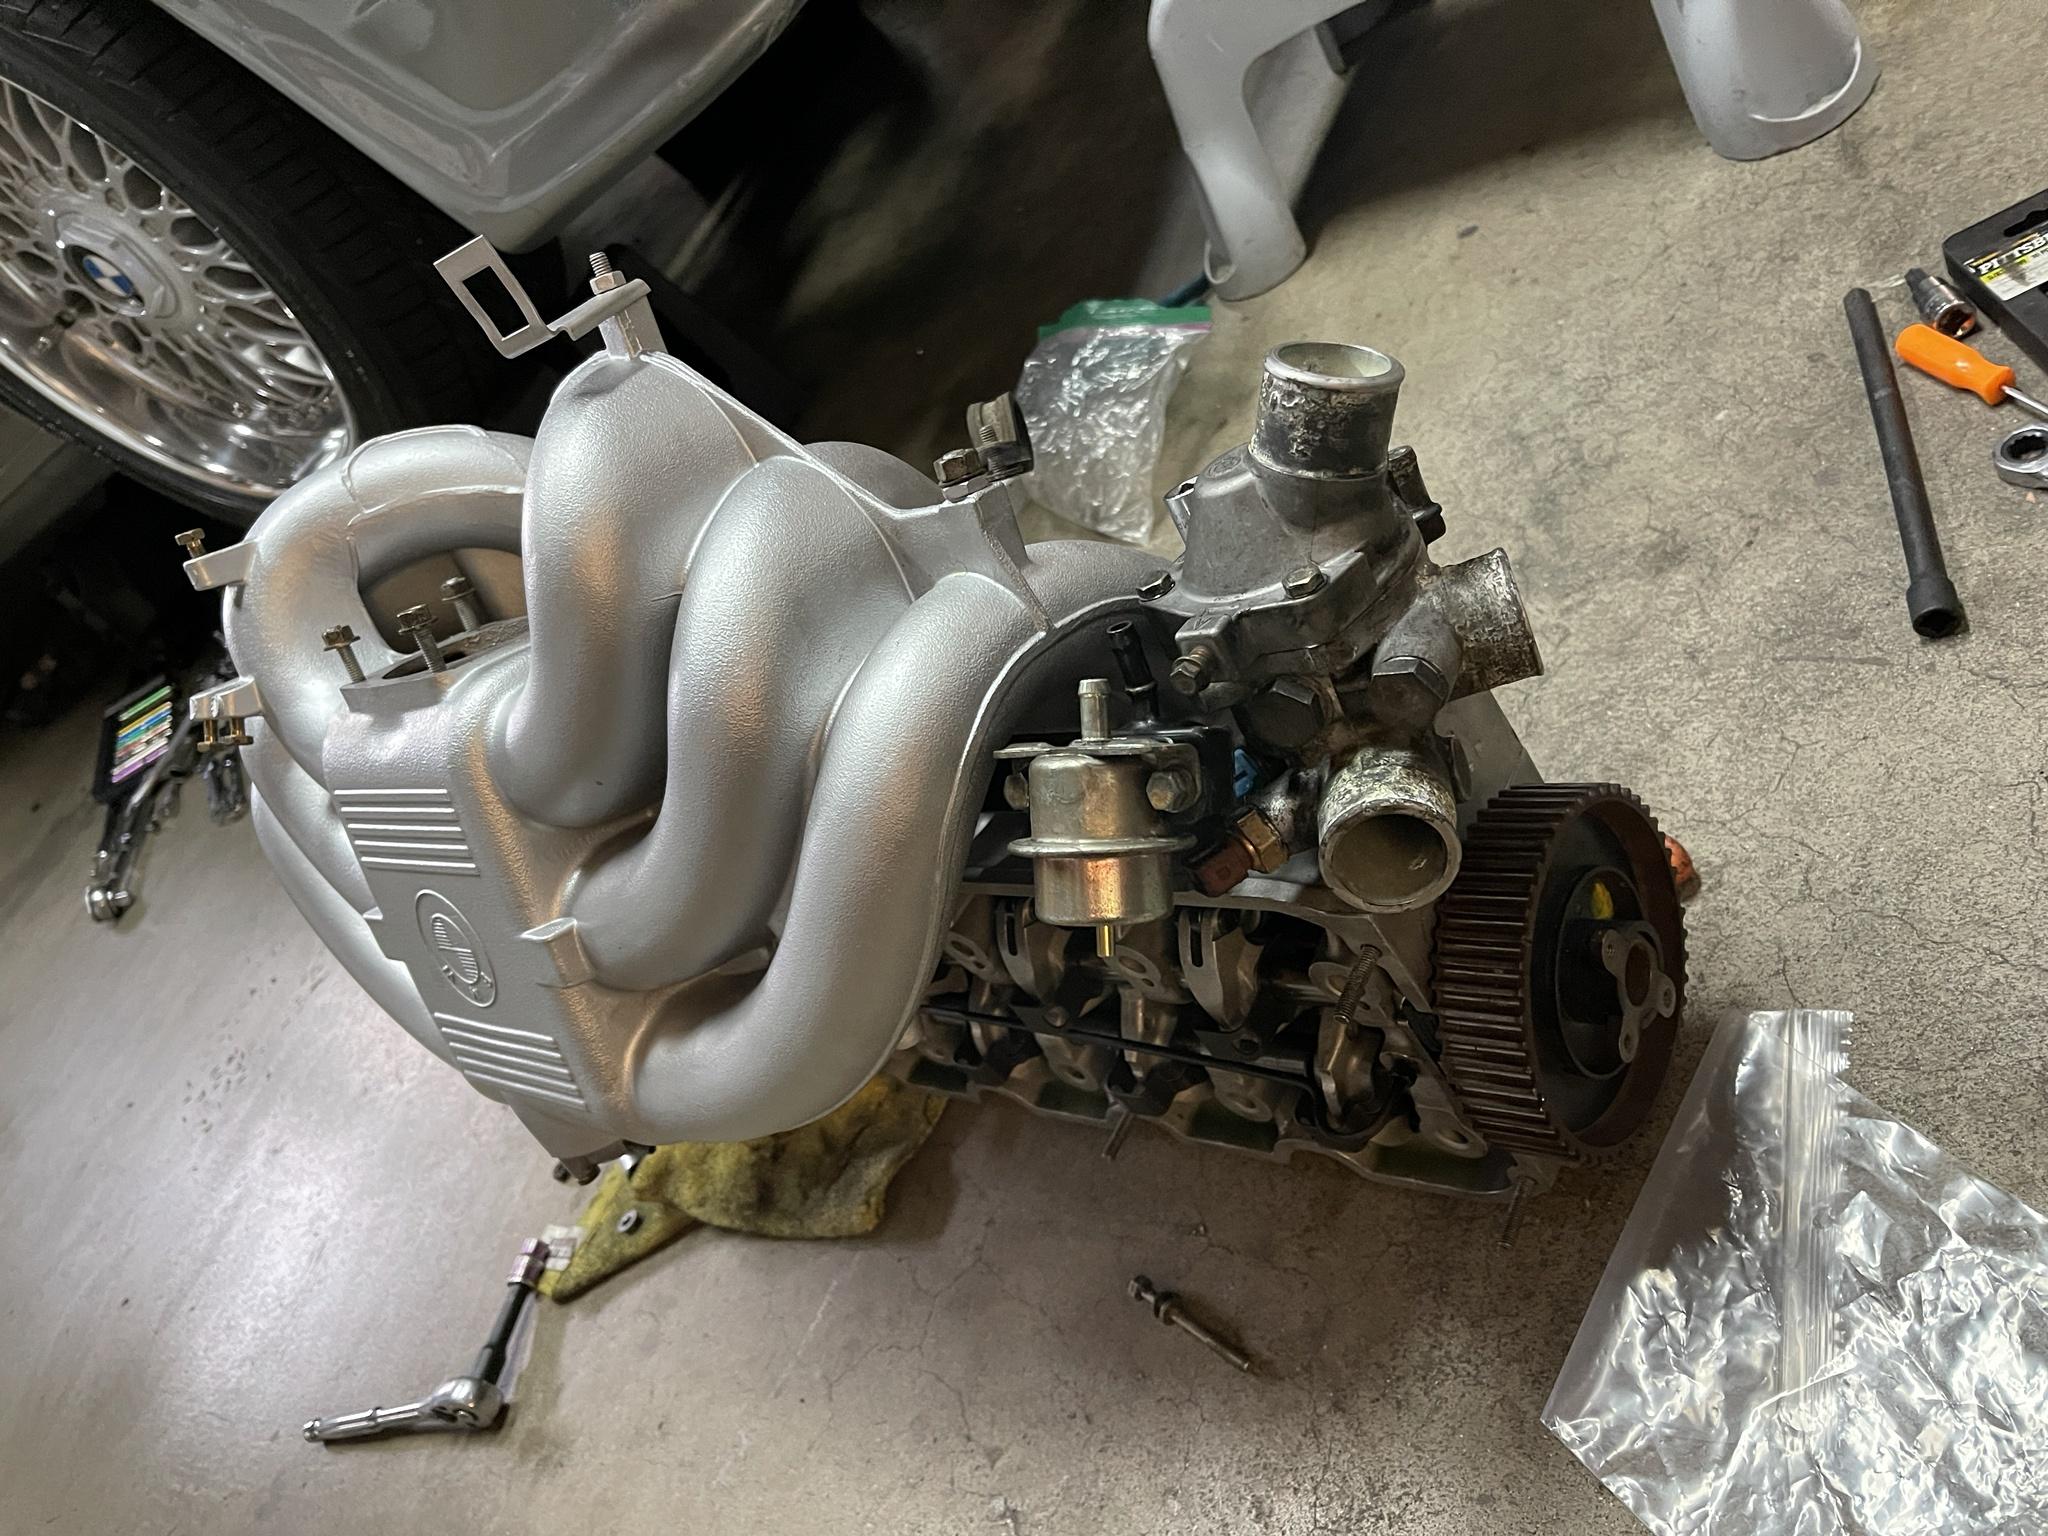
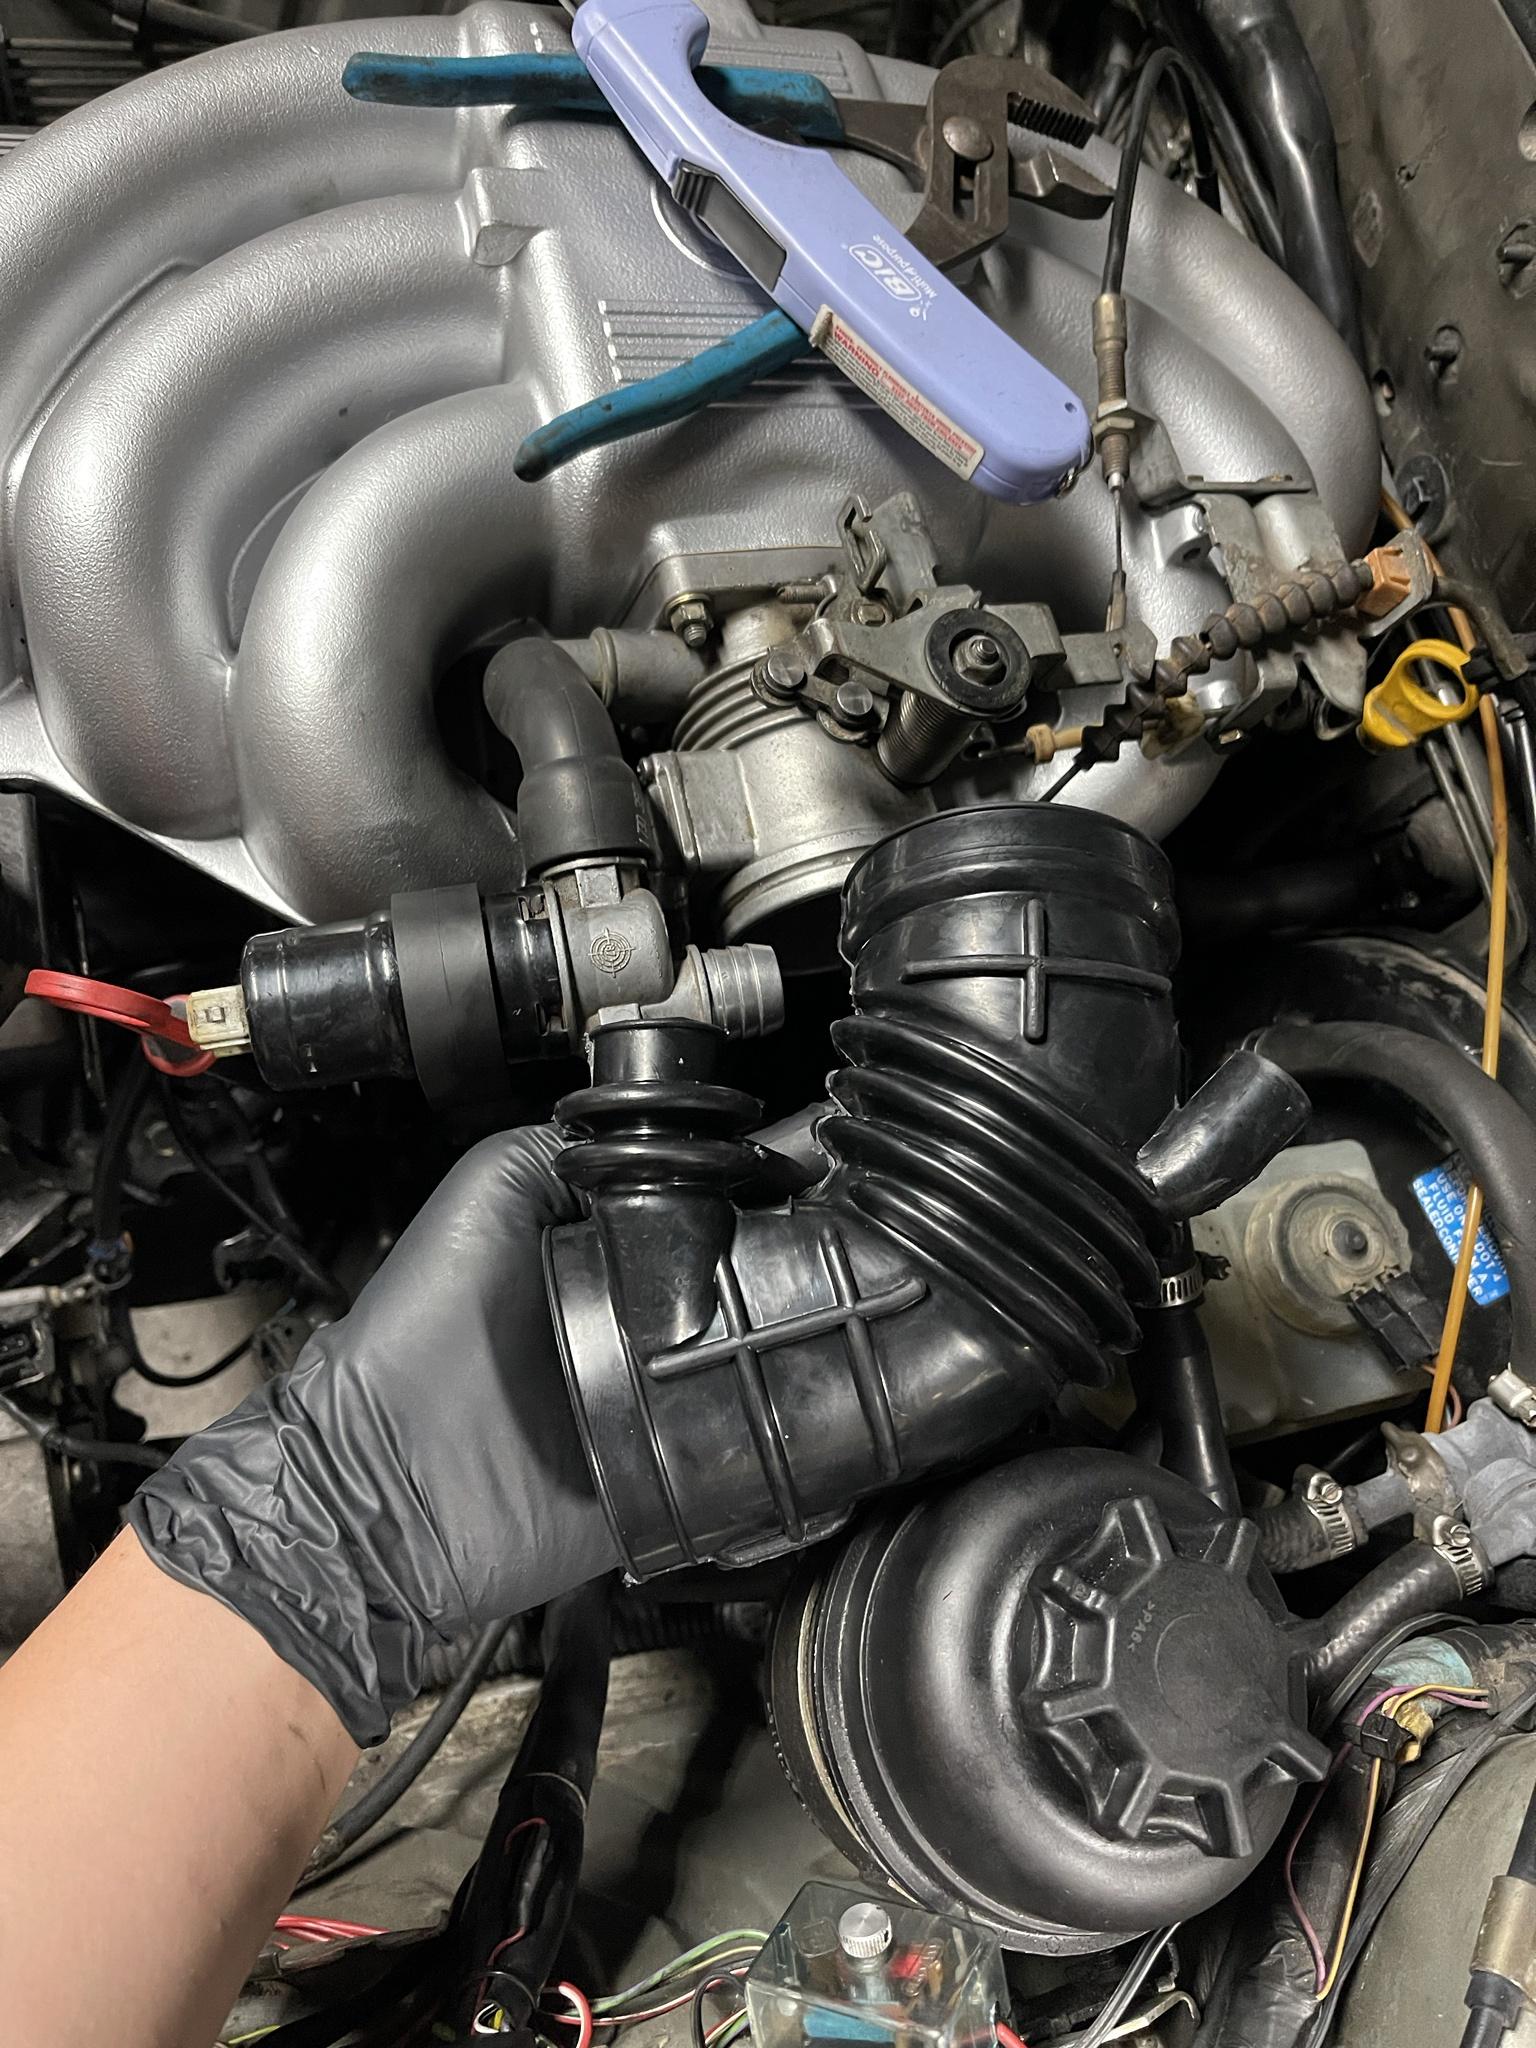
Made a mistake and bought the wrong intake boot, I thought that e34 that all of the i parts came out of were all later model components. But I guess not because I soon realized that the icv connection on the boot was a T connection, vs the L shaped ICV i have (later model m20s had T connection ICVs i believe?)

Image
Last edited by mnnguy on Jun 02, 2021 2:44 AM, edited 1 time in total.
mnnguy
Posts: 57
Joined: Sep 07, 2016 1:34 AM
Location: Los Angeles

Re: Never-Ending Project e28 528e

Post by mnnguy »

A while back, I tried to recharge the AC with r12 I found off craigslist / offerup and the whole system blew ice cold. It worked great even in above 110F weather. Though the car didn't get driven as much, and when I wanted to use it one time a couple months later it didn't work at all.

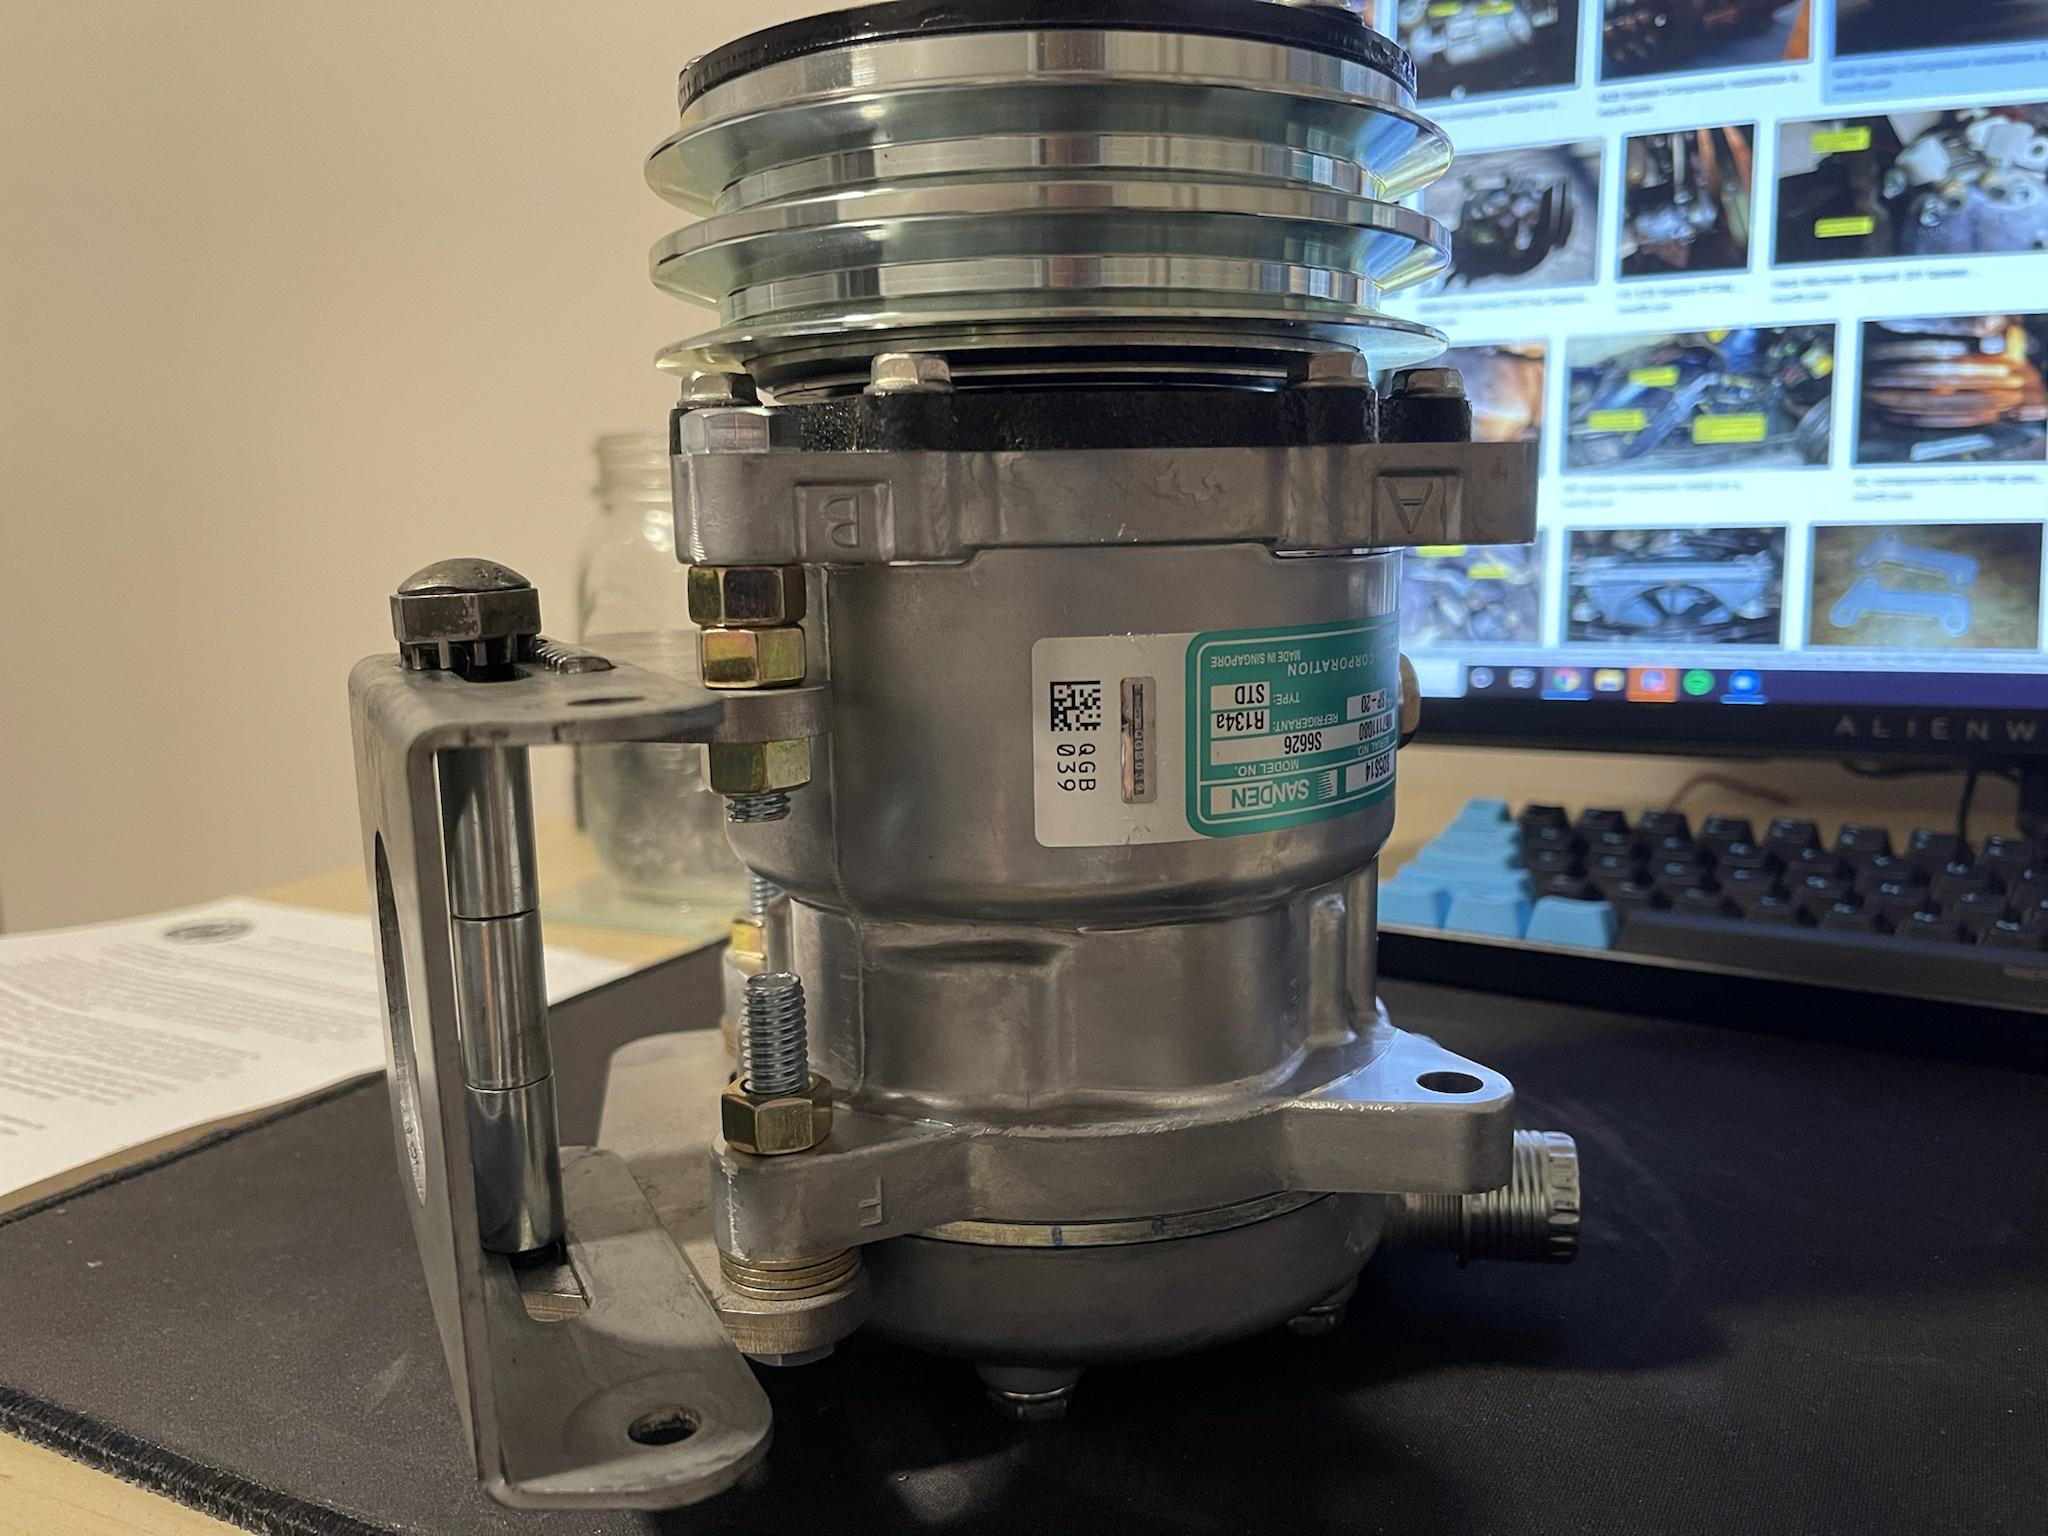
I found that there was a leak somewhere in the system. And instead of trying to hunt down the problem and try to possibly fix the old system, I just decided to just convert to the new Sanden and parallel flow condenser system.

Thanks to users @Demetk and @Dub-Nub for the supply of the brackets and the information on how to do the conversion on the m20 engine.

Image

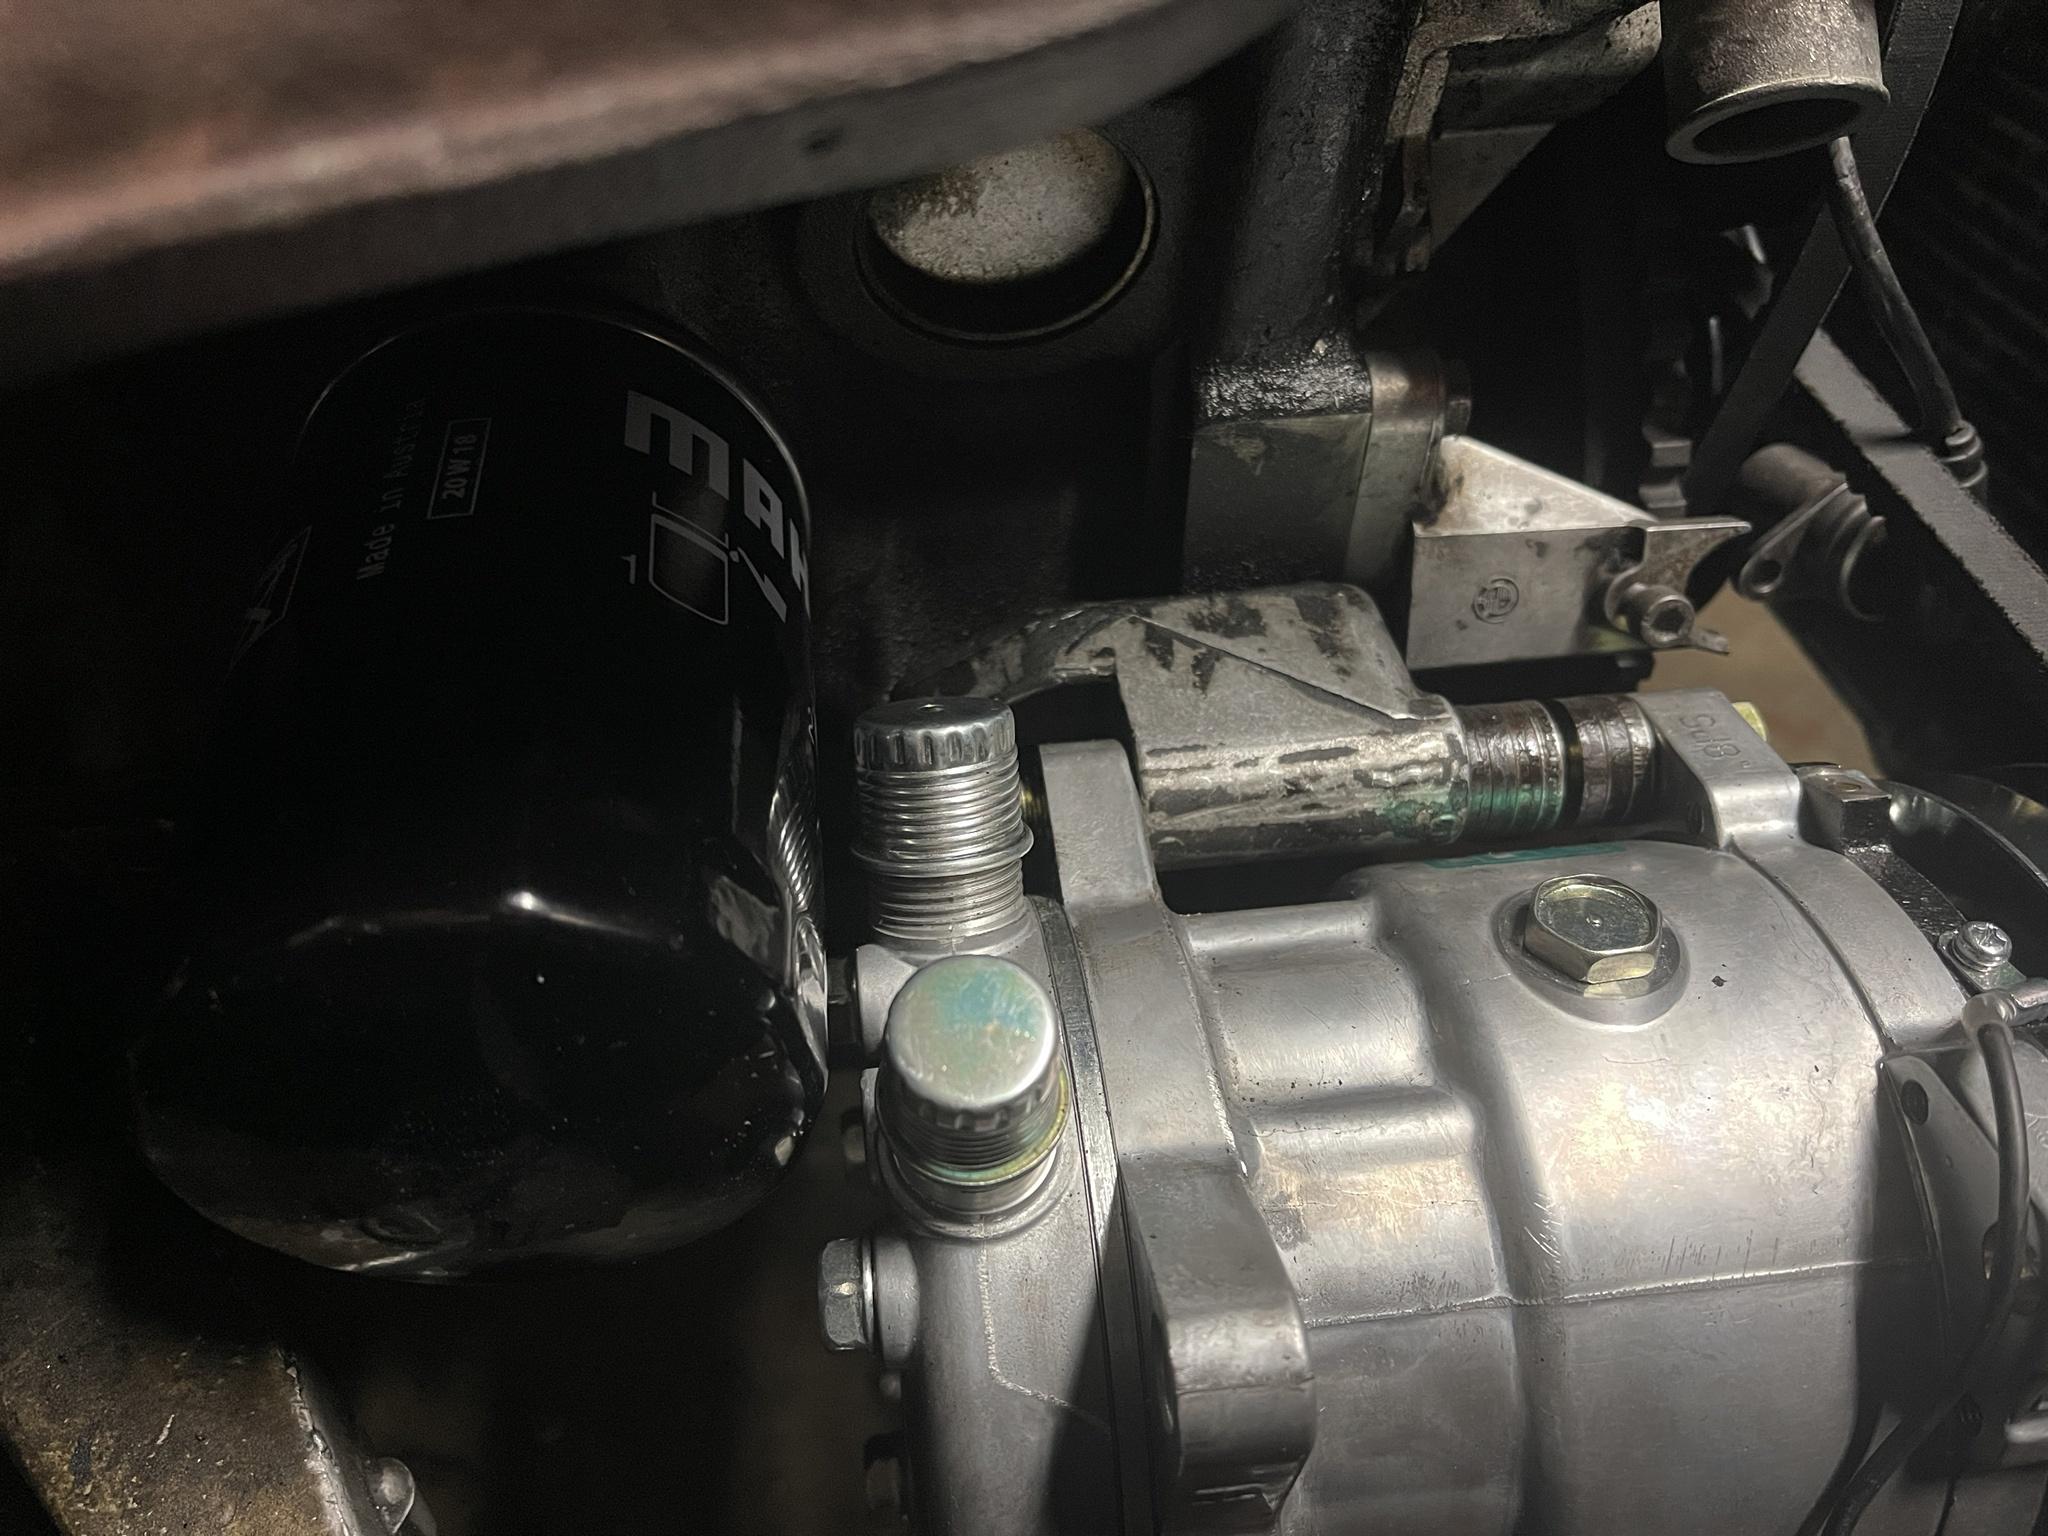
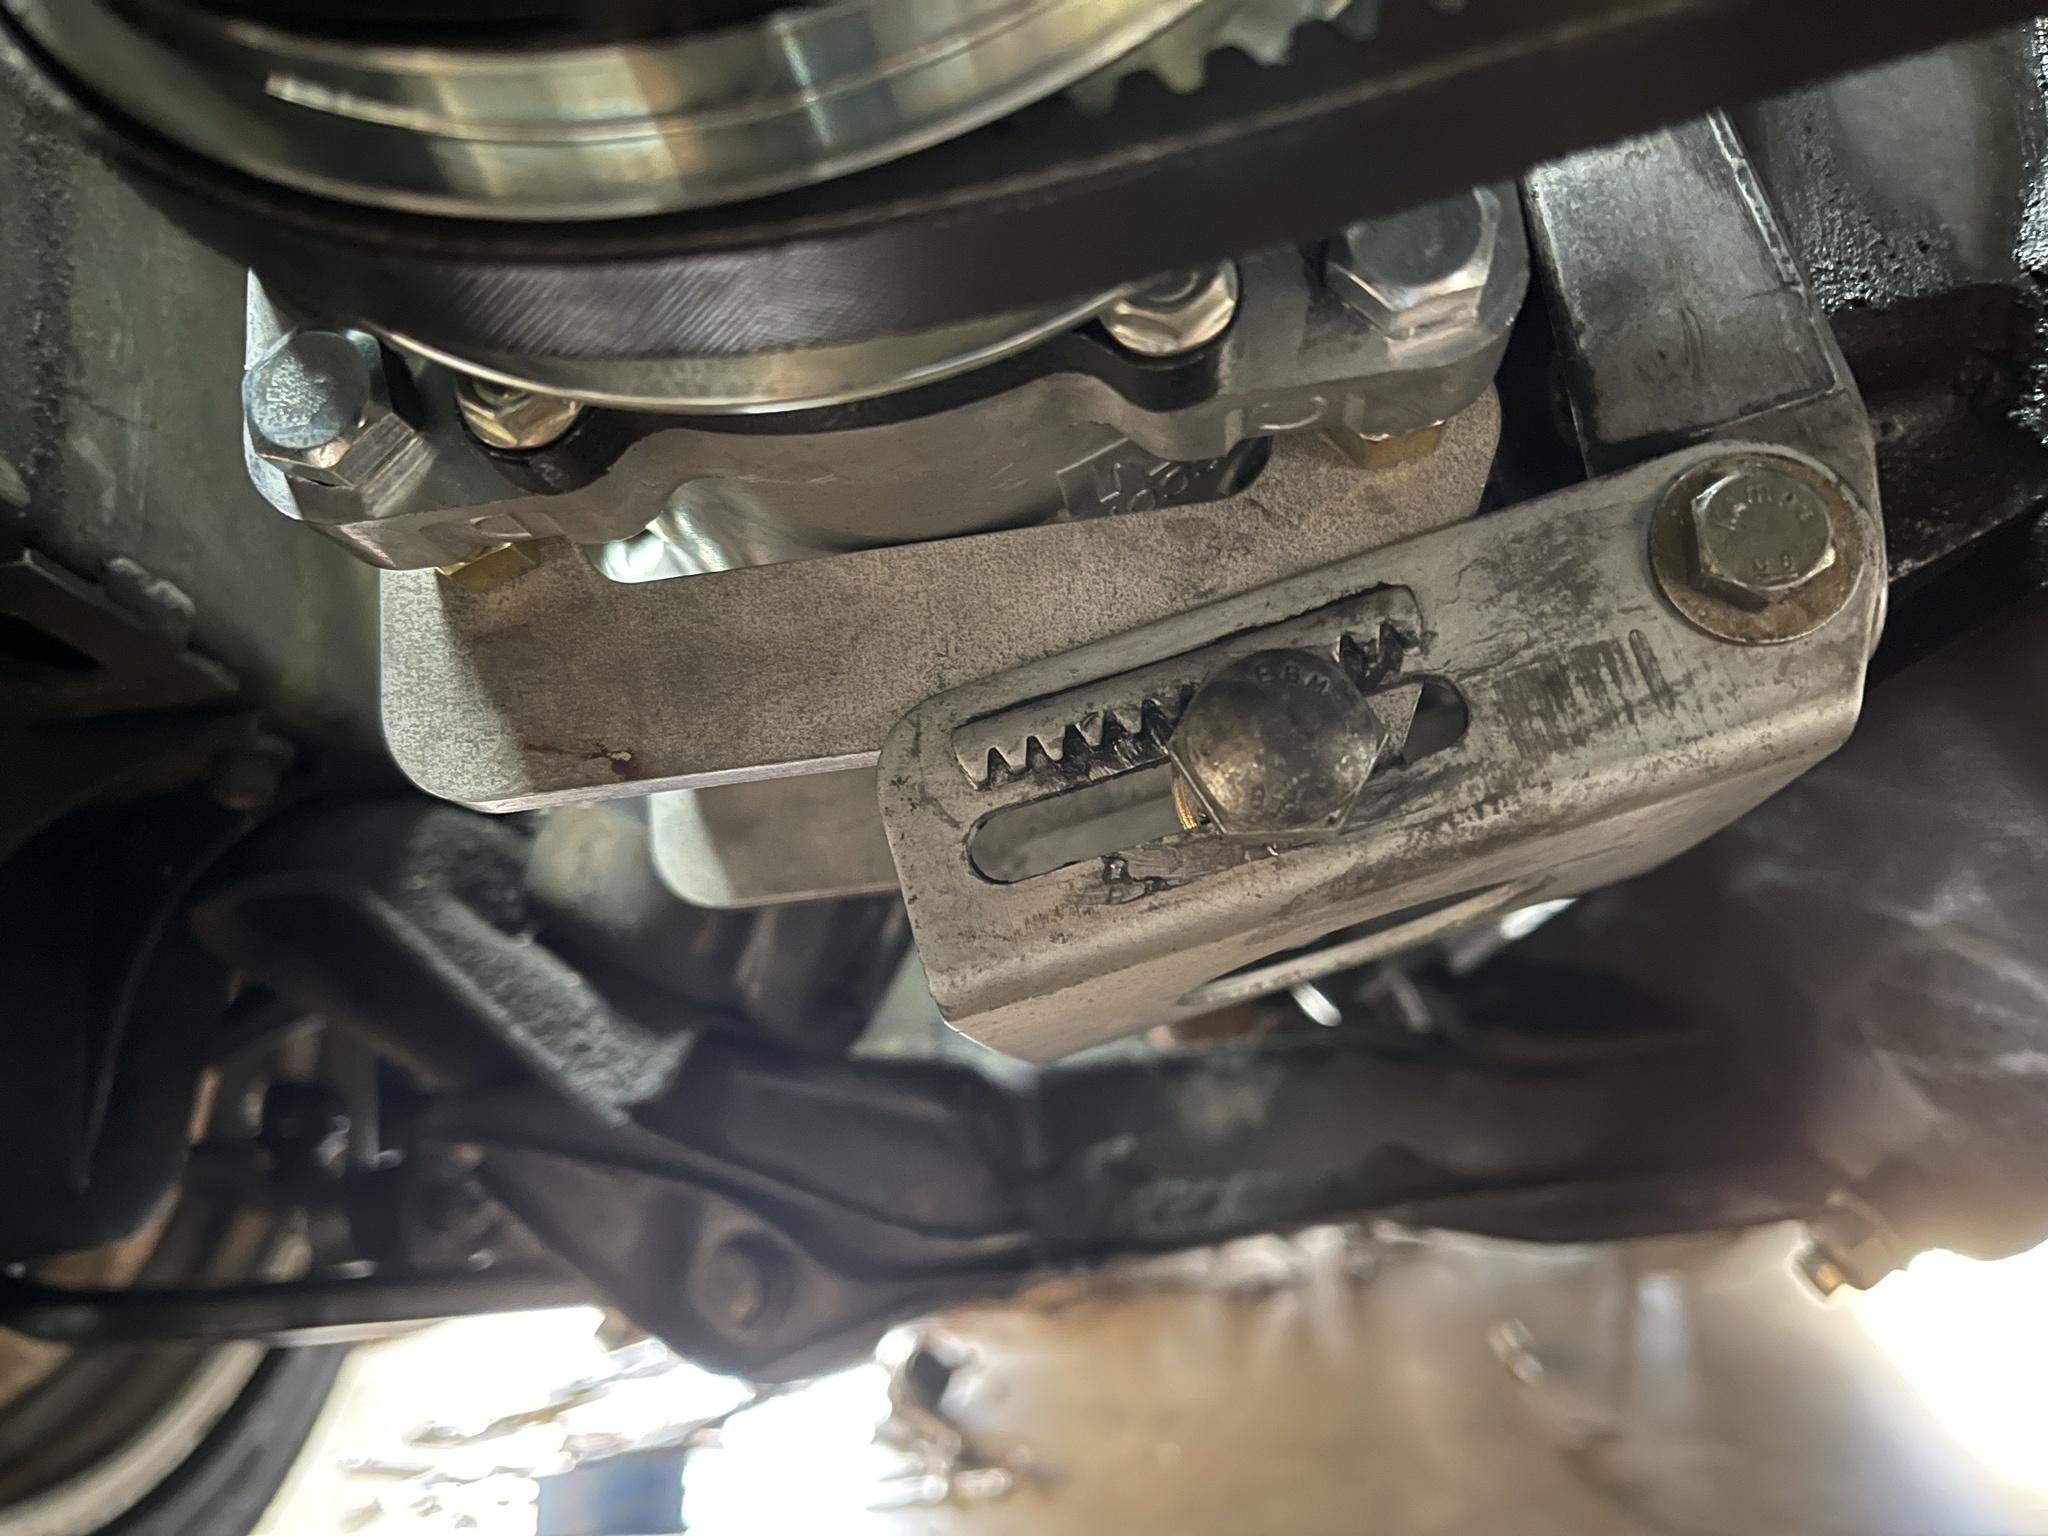
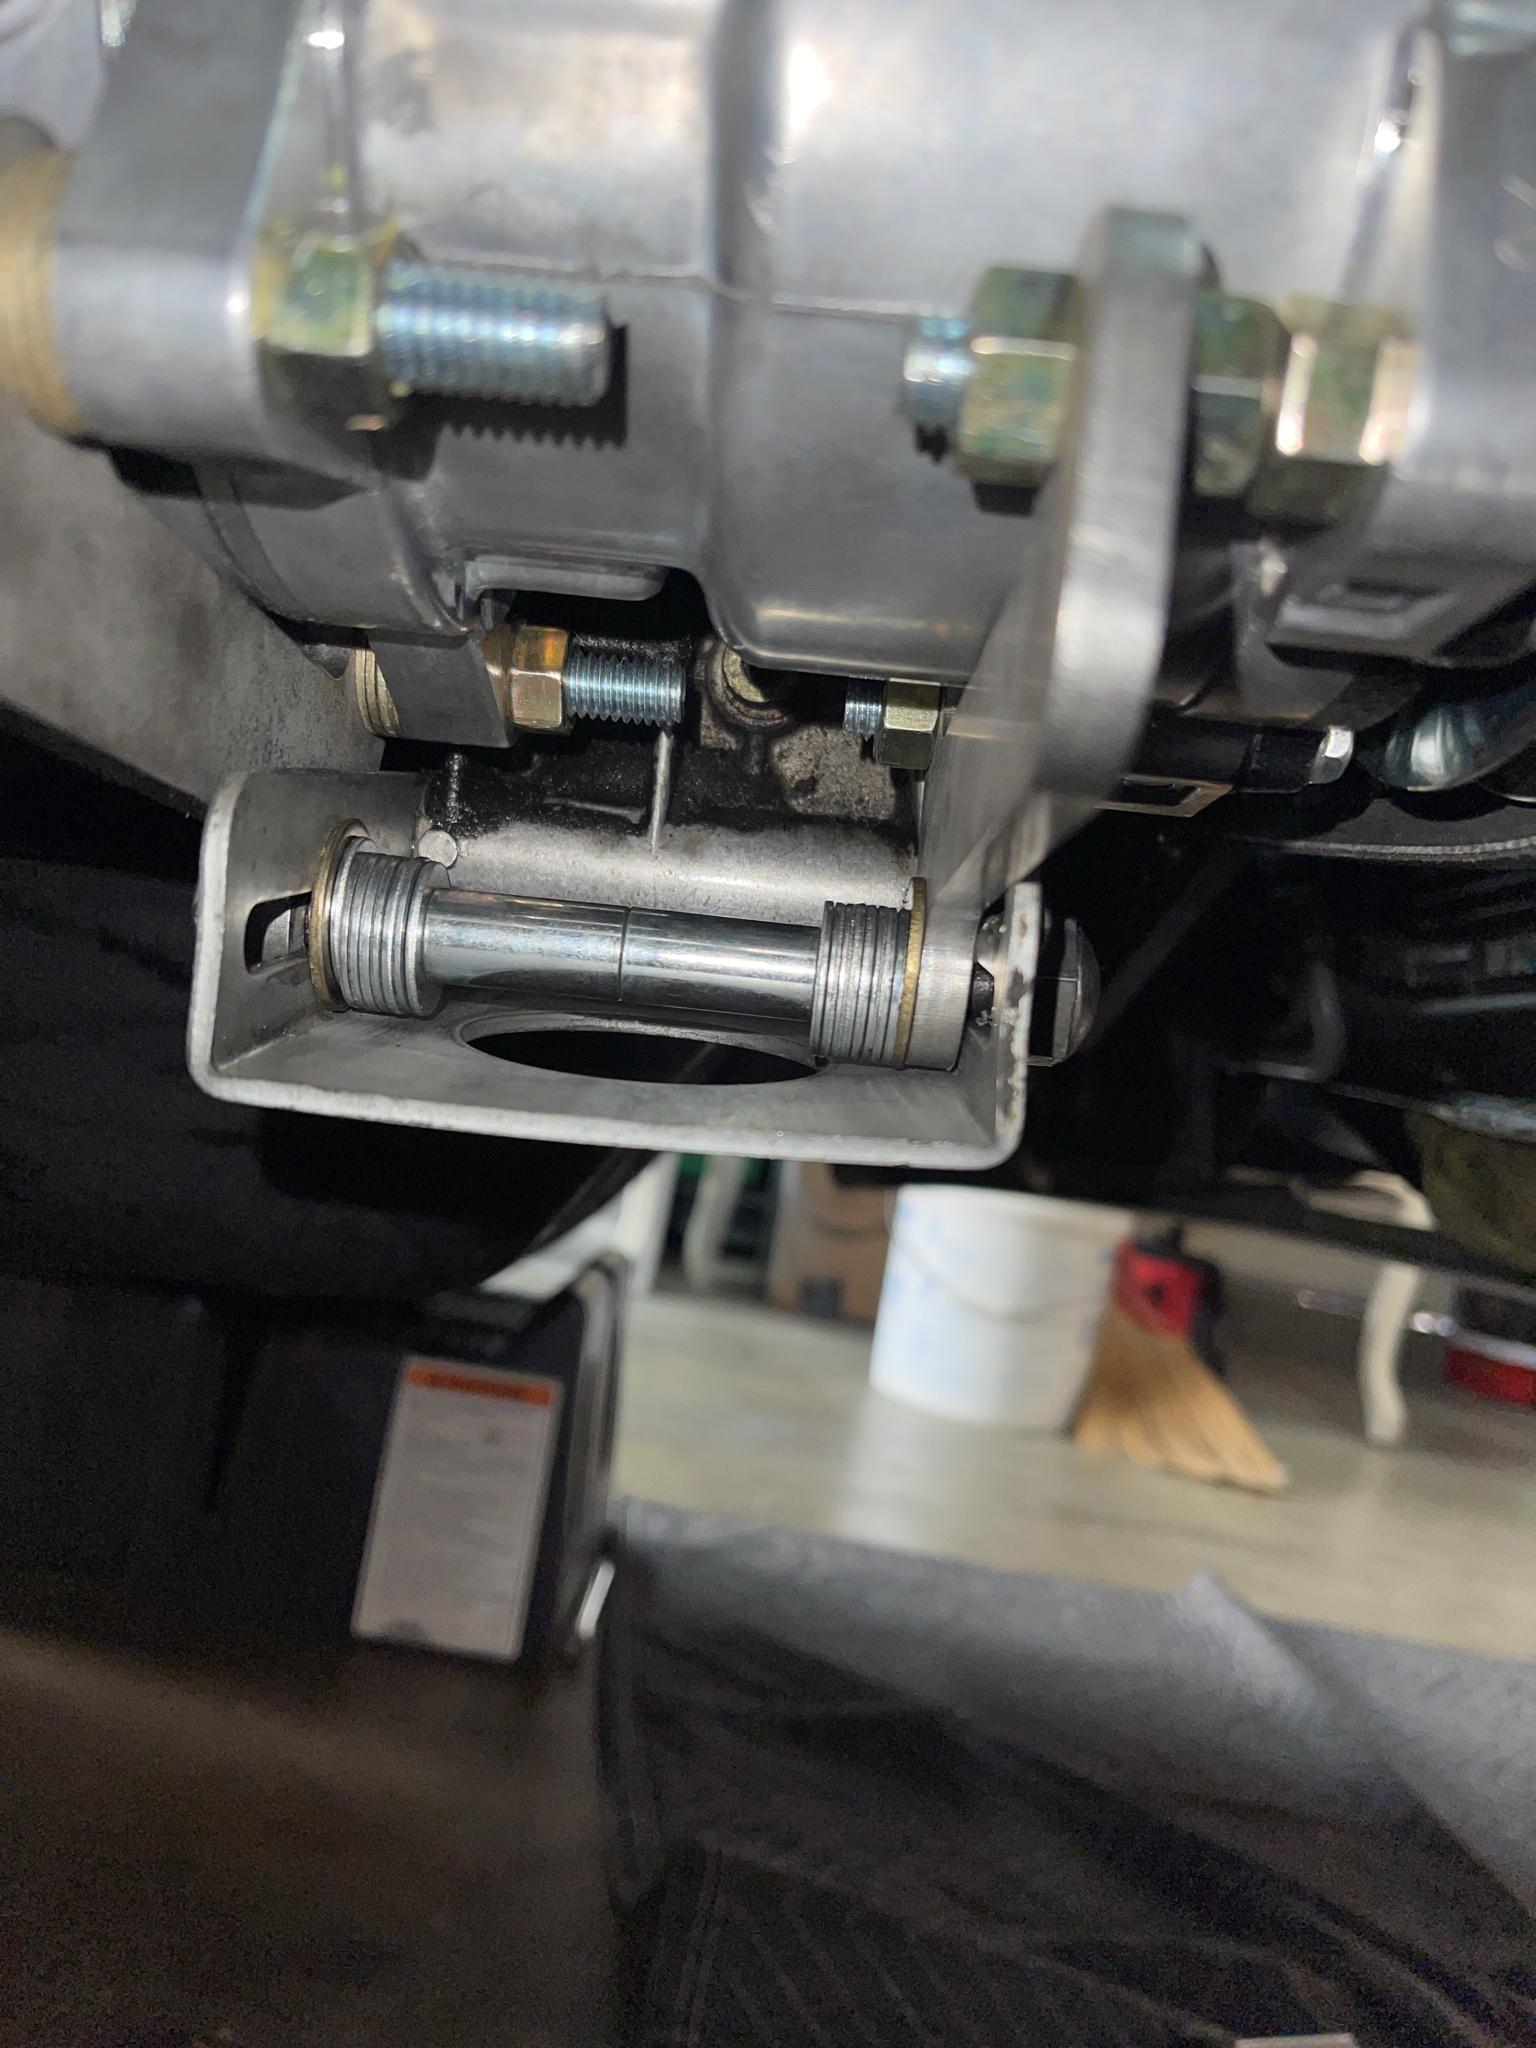
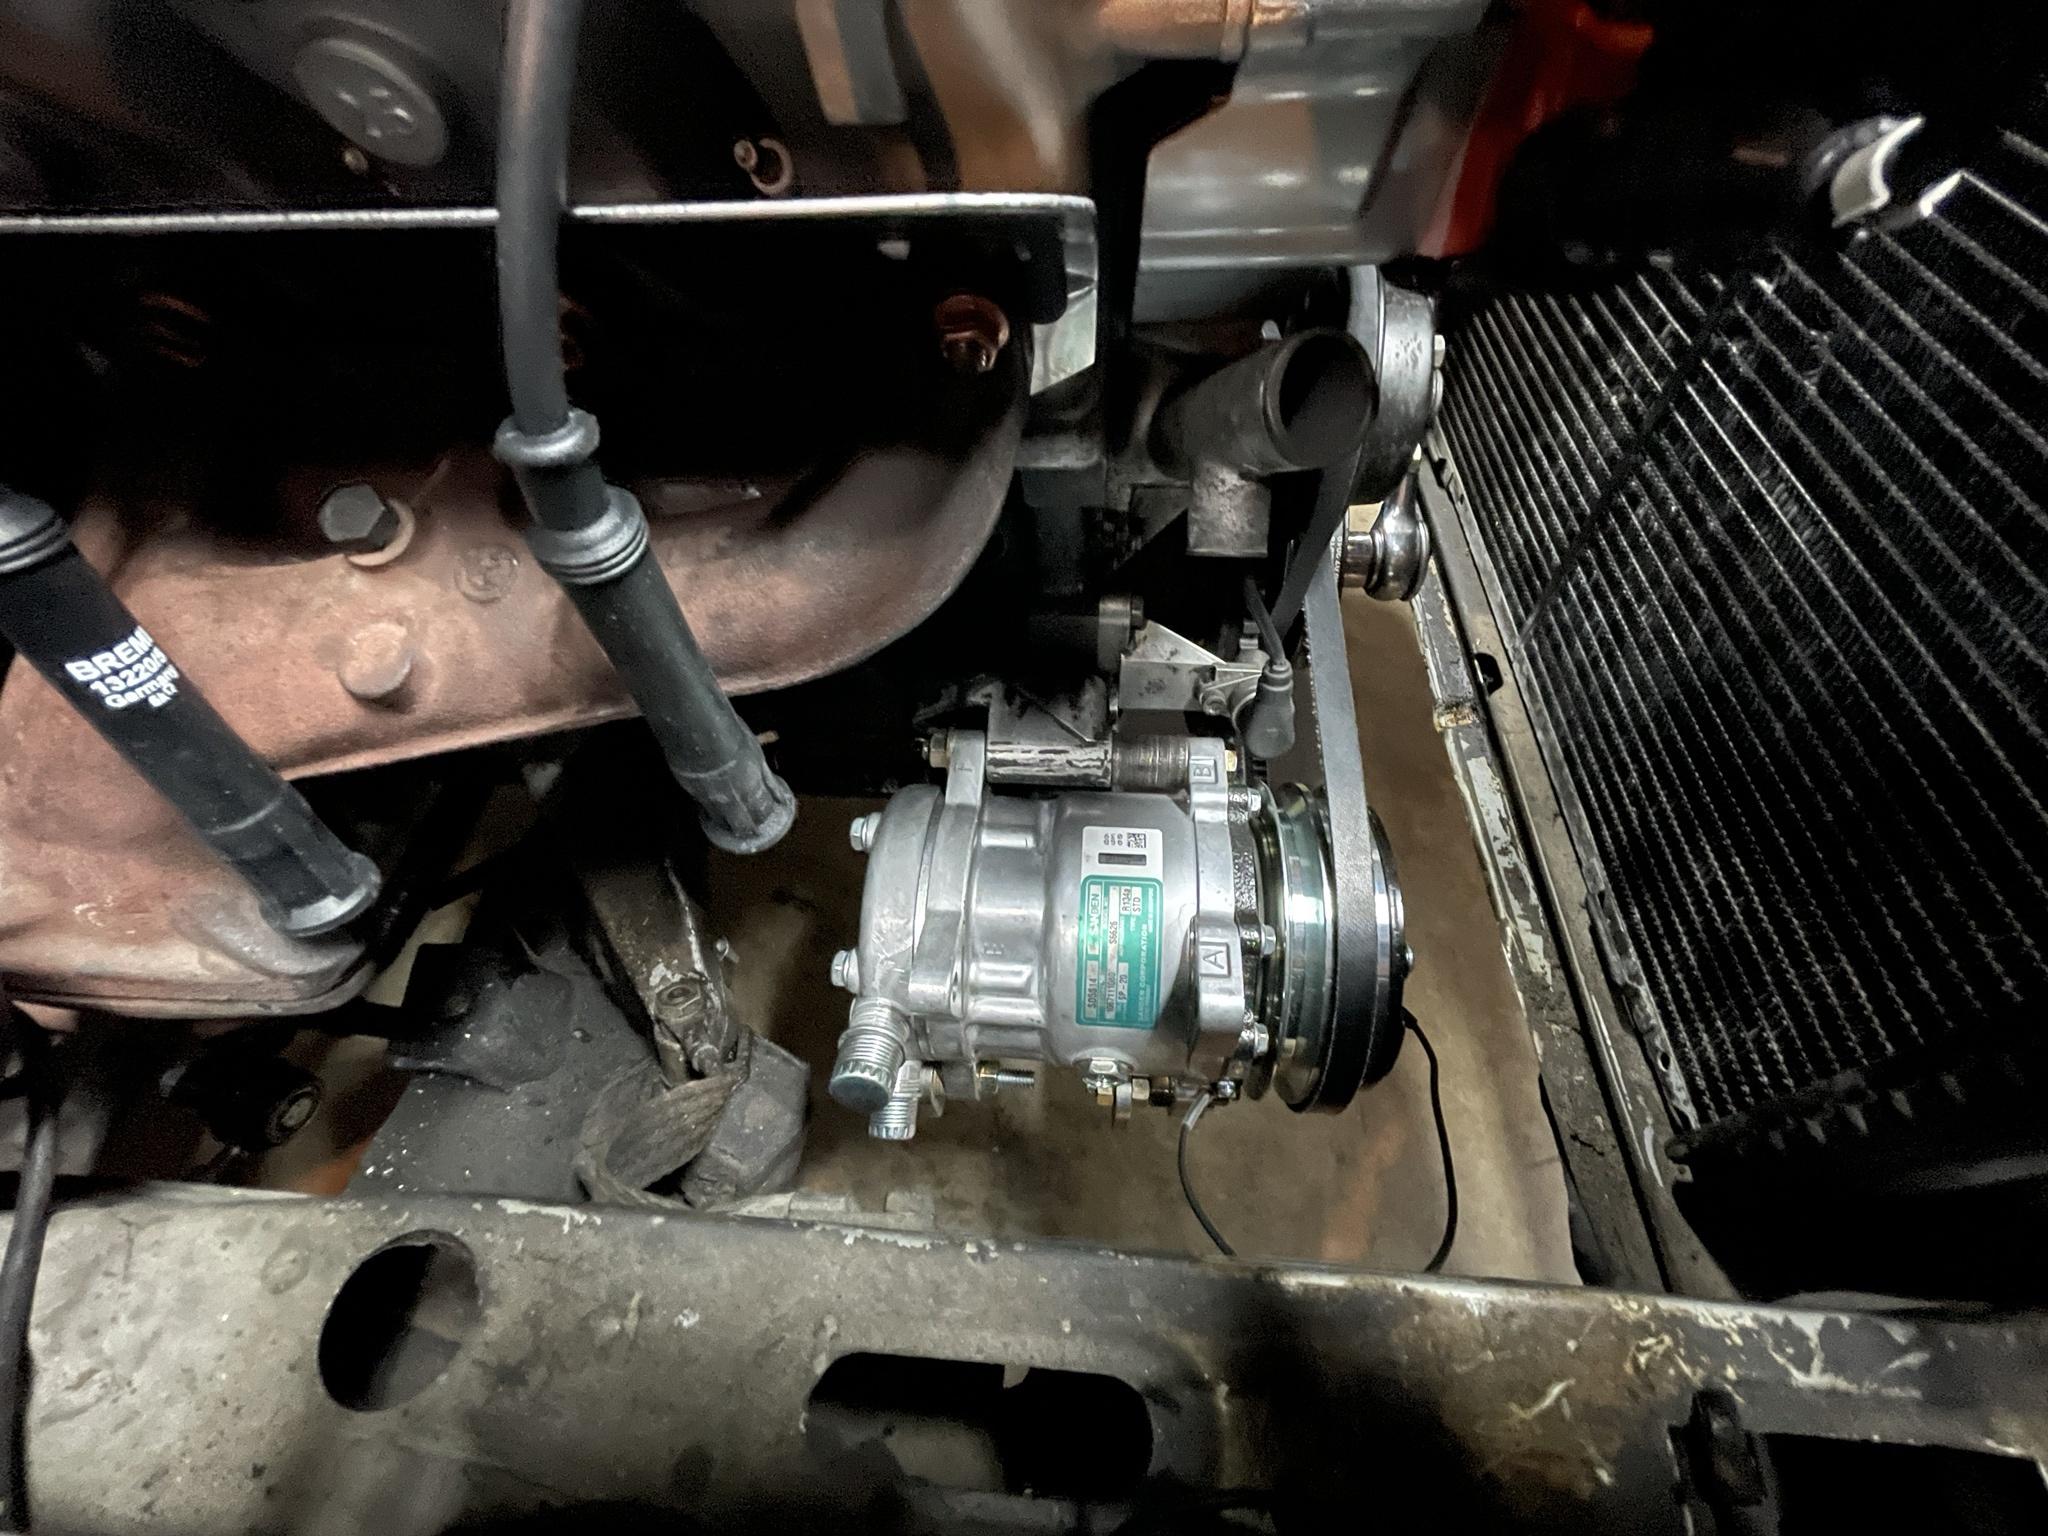
I realized after the fact that you have to have the compressor on its side 90 degrees because the fittings would be way too close to the oil filter.

Image

Image

I just used the hardware found in @Dub-Nub's post. And some 3/8 metal spacers that could be found from Home Depot. The spacers I used for the upper AC mount is actually just old head bolt washers as they fit pretty well, all I had to do was just sand down one headbolt washer until the gap was perfect.

I also wanted to retain the factory tensioning system, the bracket kinda bent in because I needed a couple more washers, I ended up fixing this but did not take a picture of doing so.

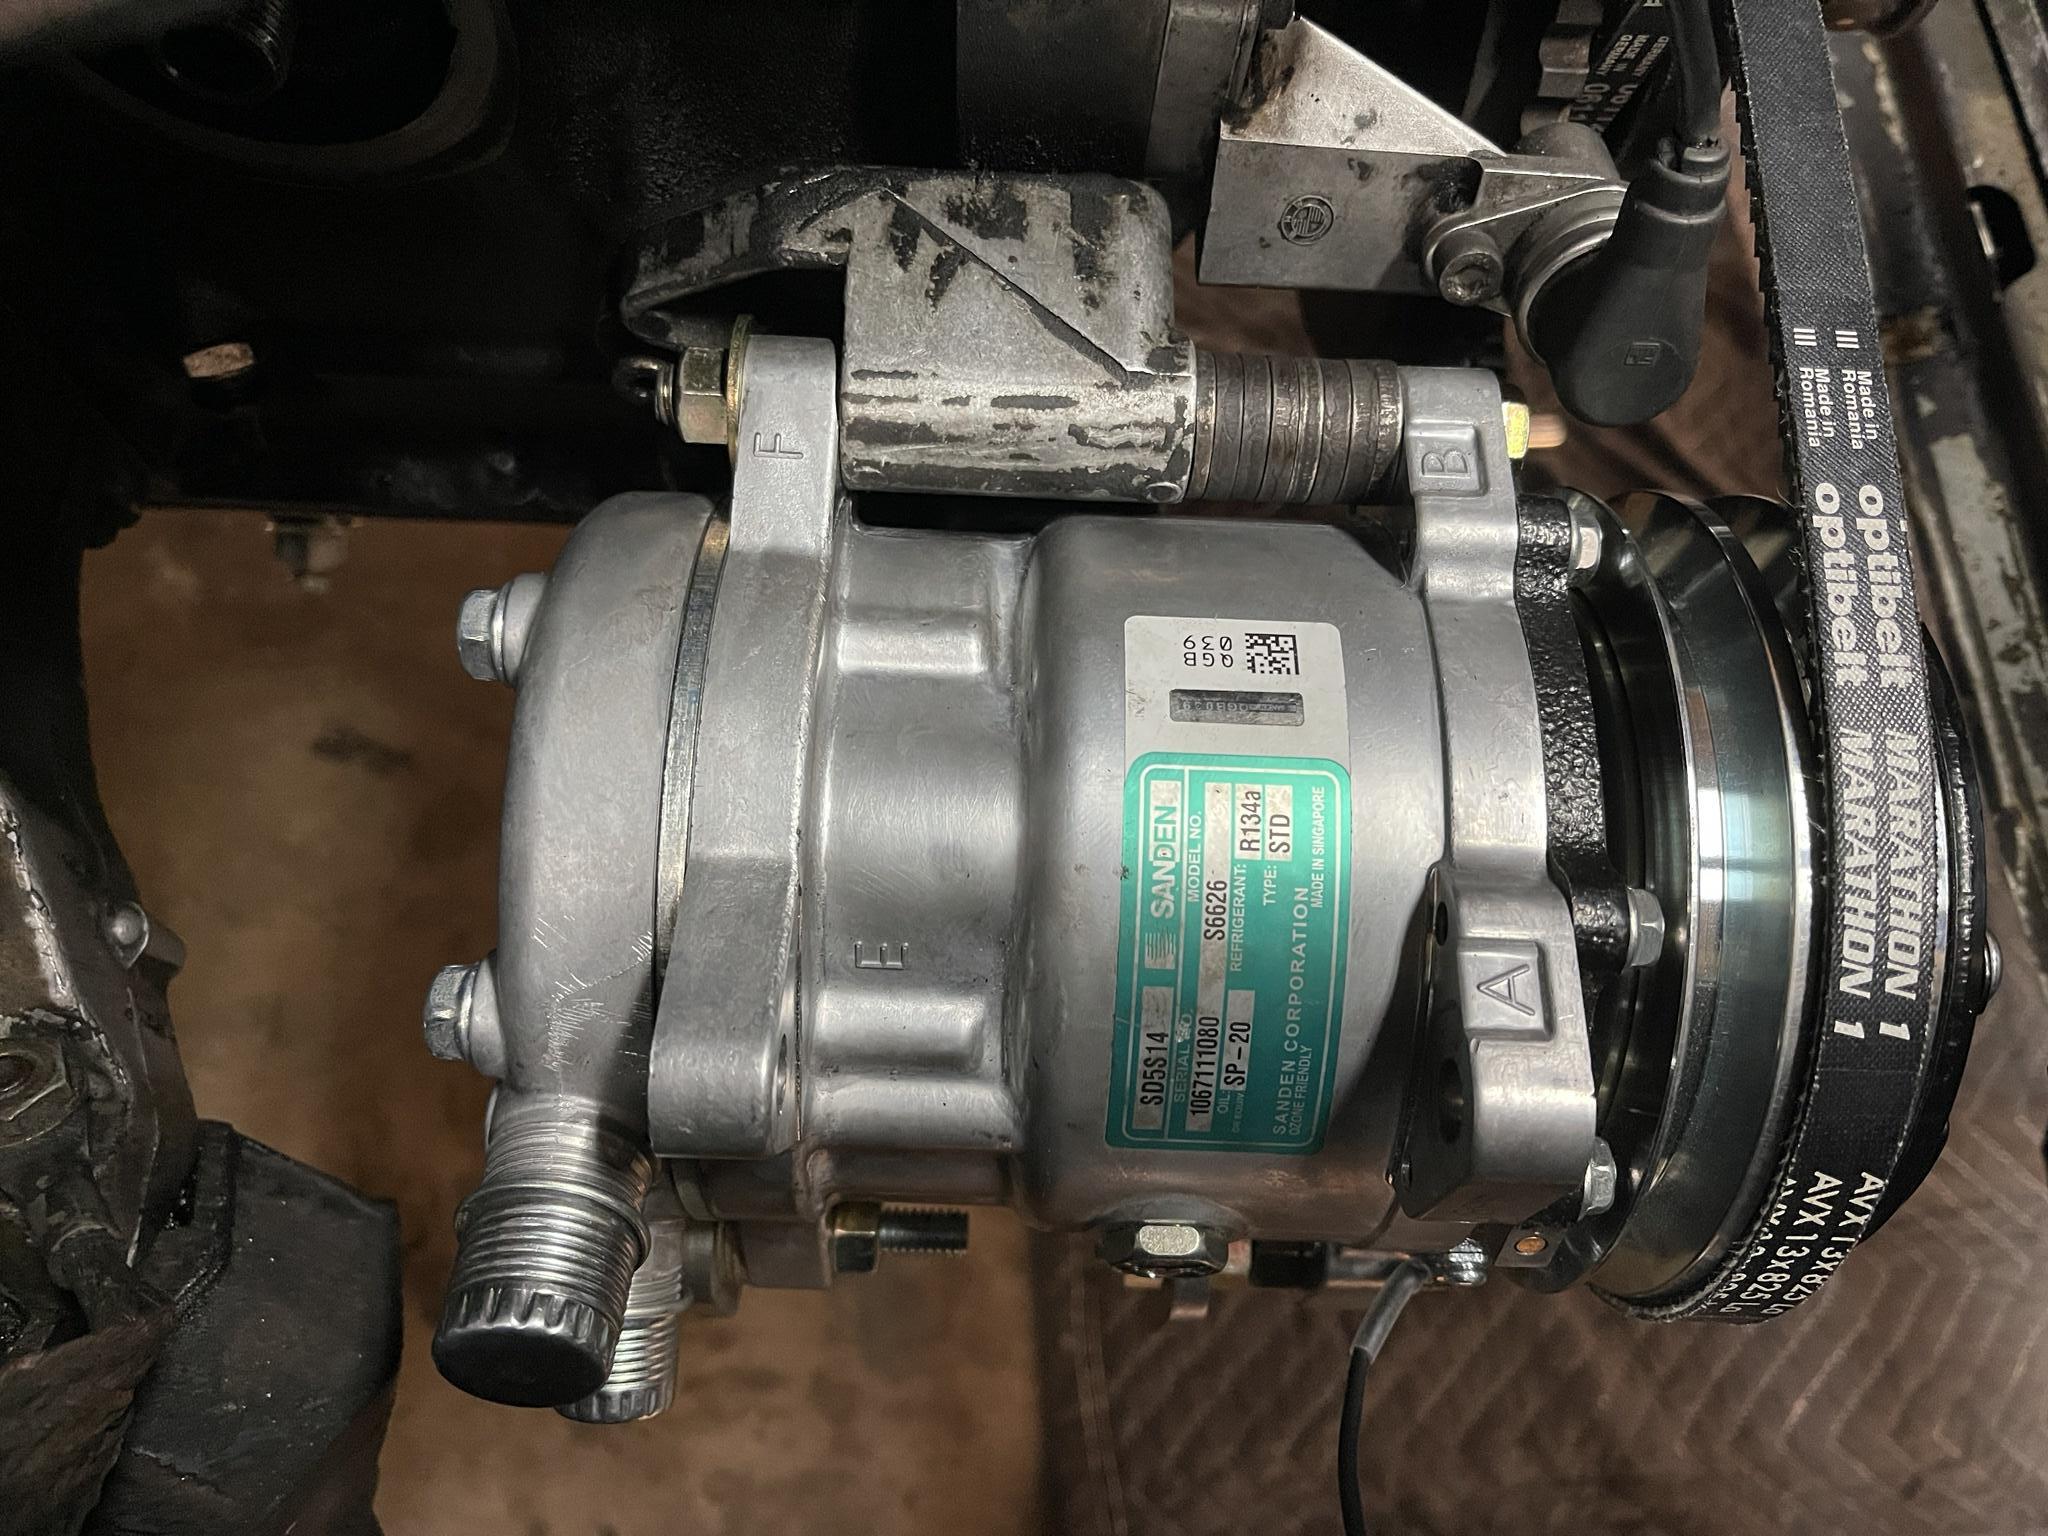
One tip for the AC Belt: make sure to use a 13 x 825mm belt. The original 10 x 810mm belt is way too hard to get on normally. And actually for m20 equipped e30s they revised the belt size and it now calls for 13 x 825mm but it was never updated for the e28s.

Image

Image

Mounted:

Image

Will return to this, just wanted to get the compressor mounted up before everything fills up that space.
Last edited by mnnguy on Jun 02, 2021 2:21 AM, edited 4 times in total.
mnnguy
Posts: 57
Joined: Sep 07, 2016 1:34 AM
Location: Los Angeles

Re: Never-Ending Project e28 528e

Post by mnnguy »

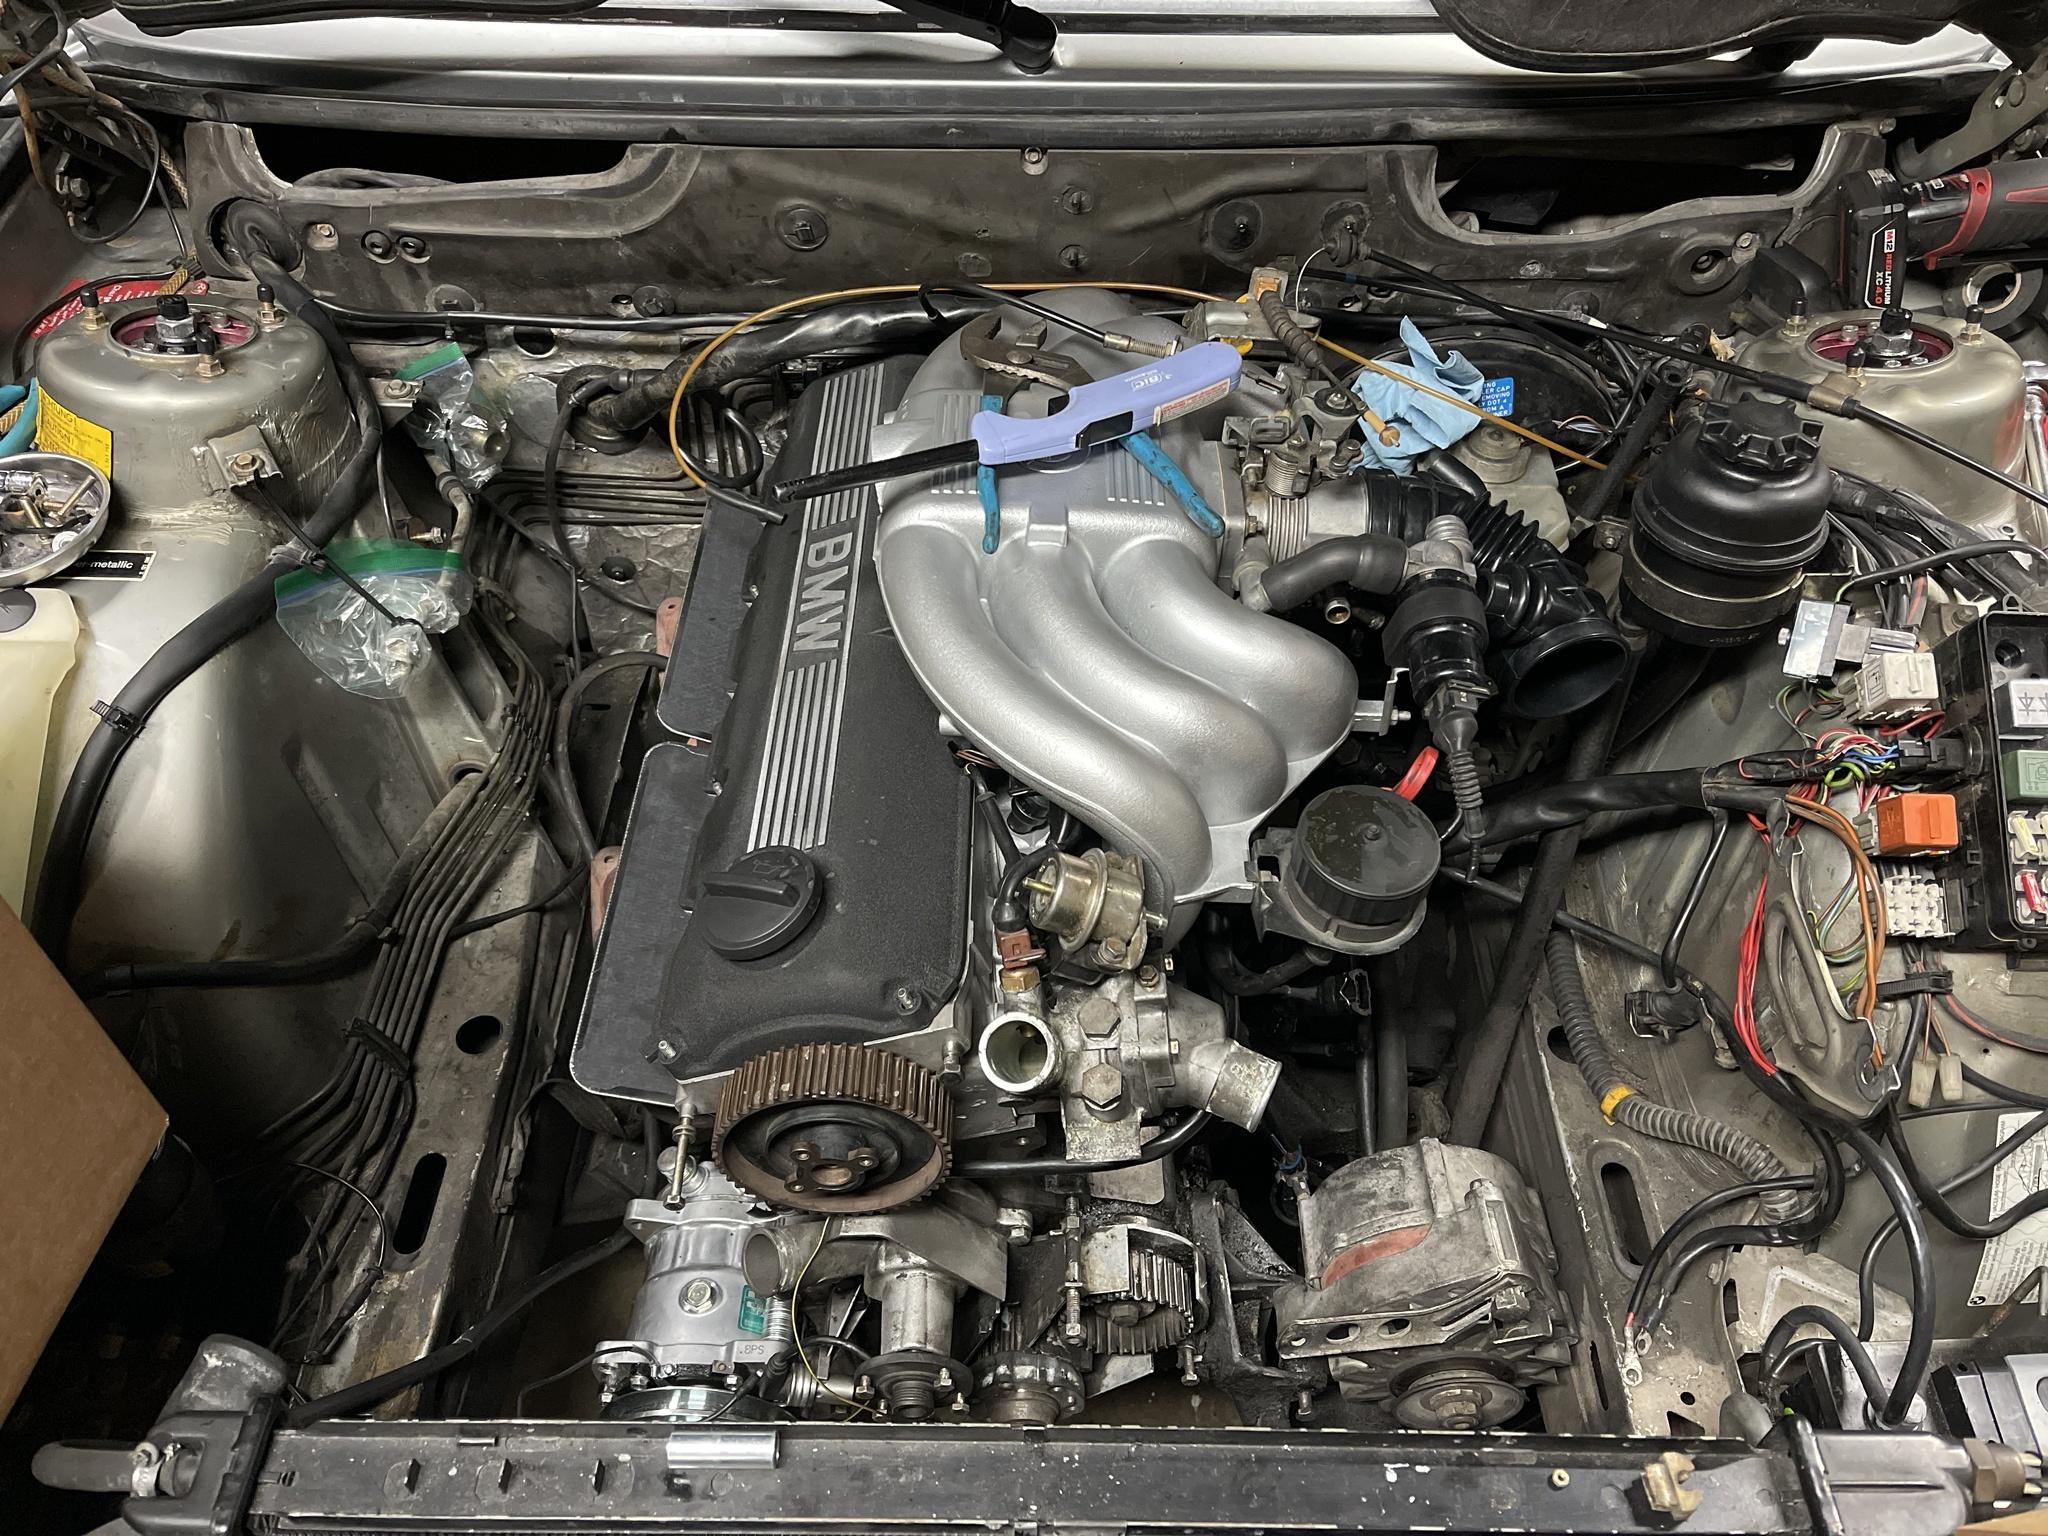
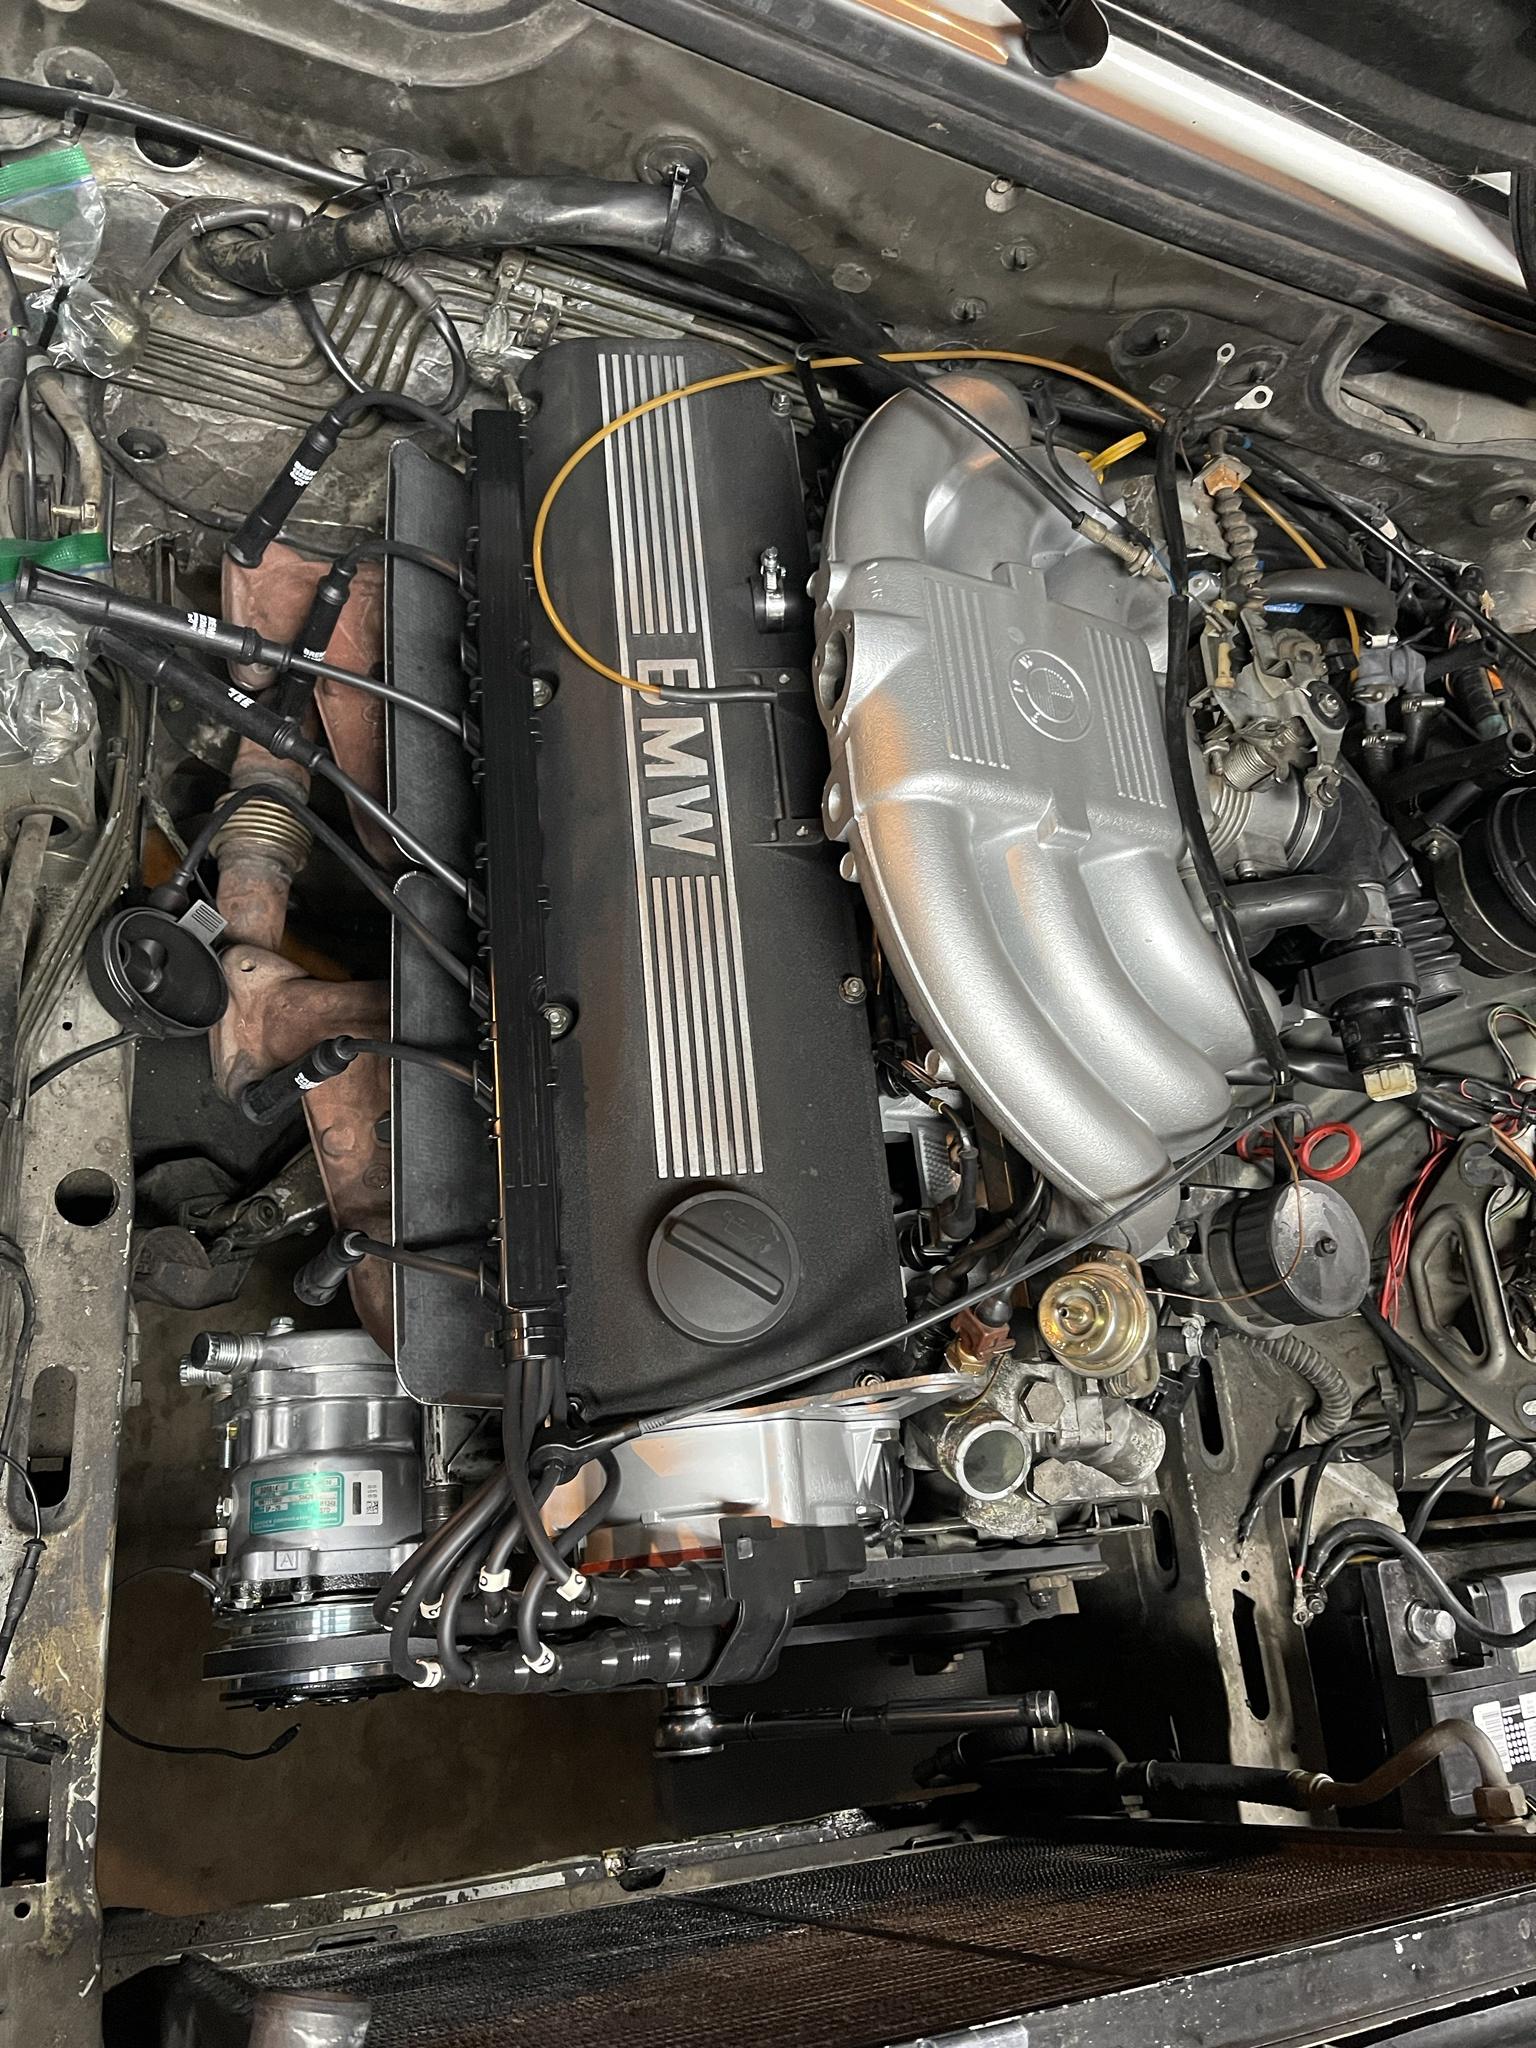
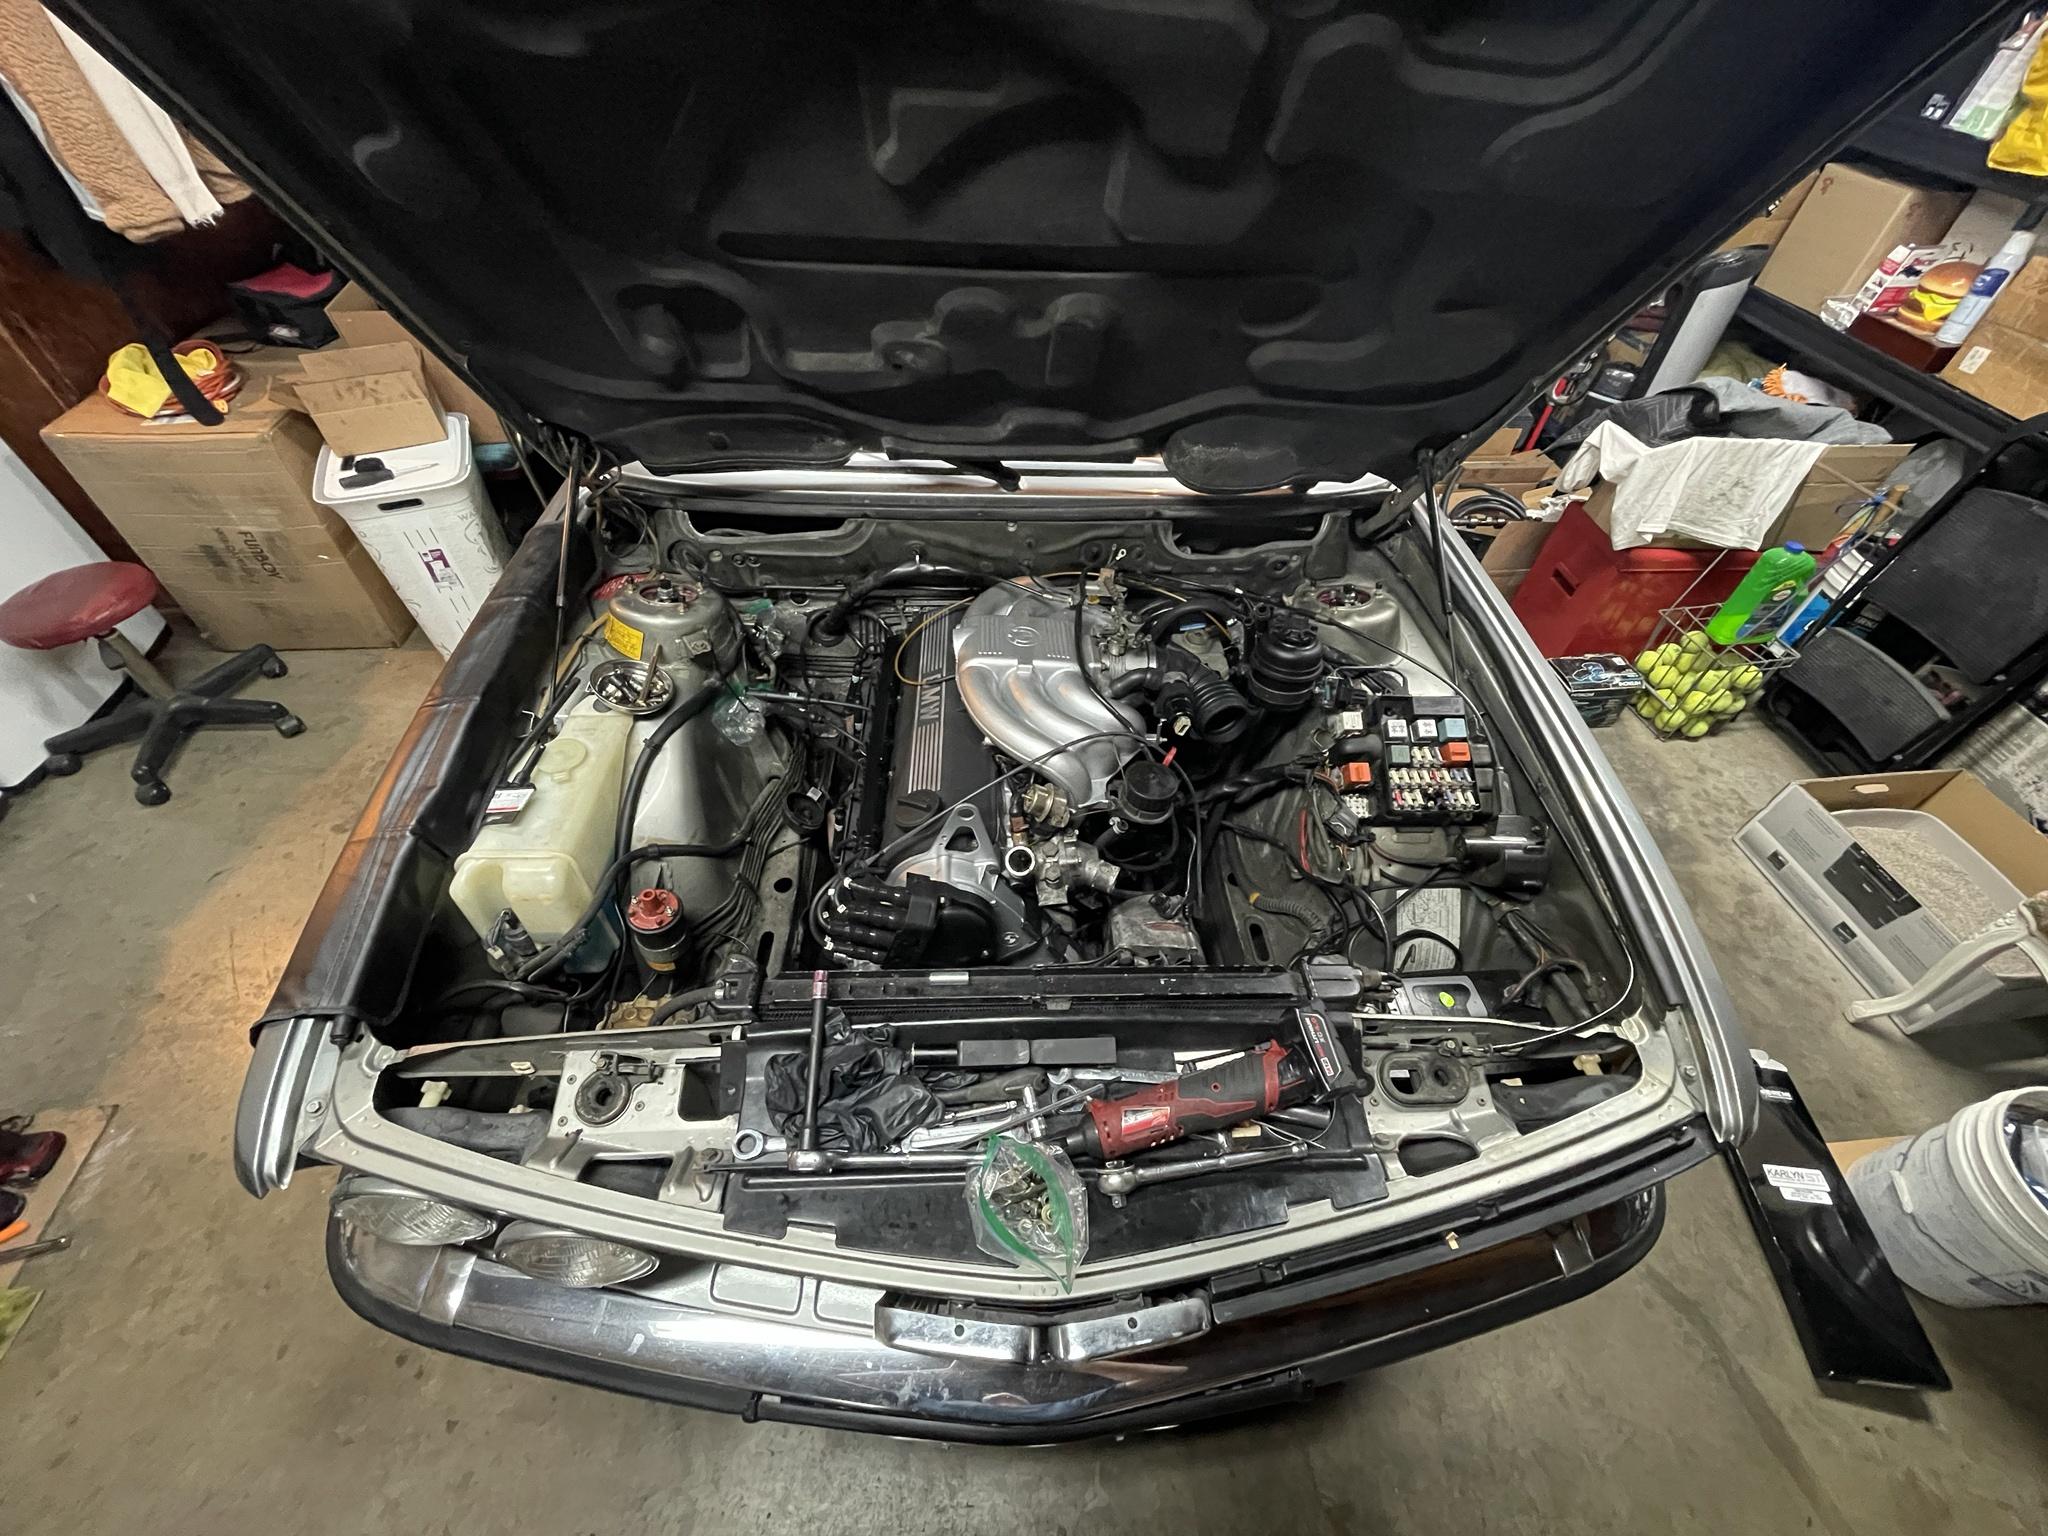
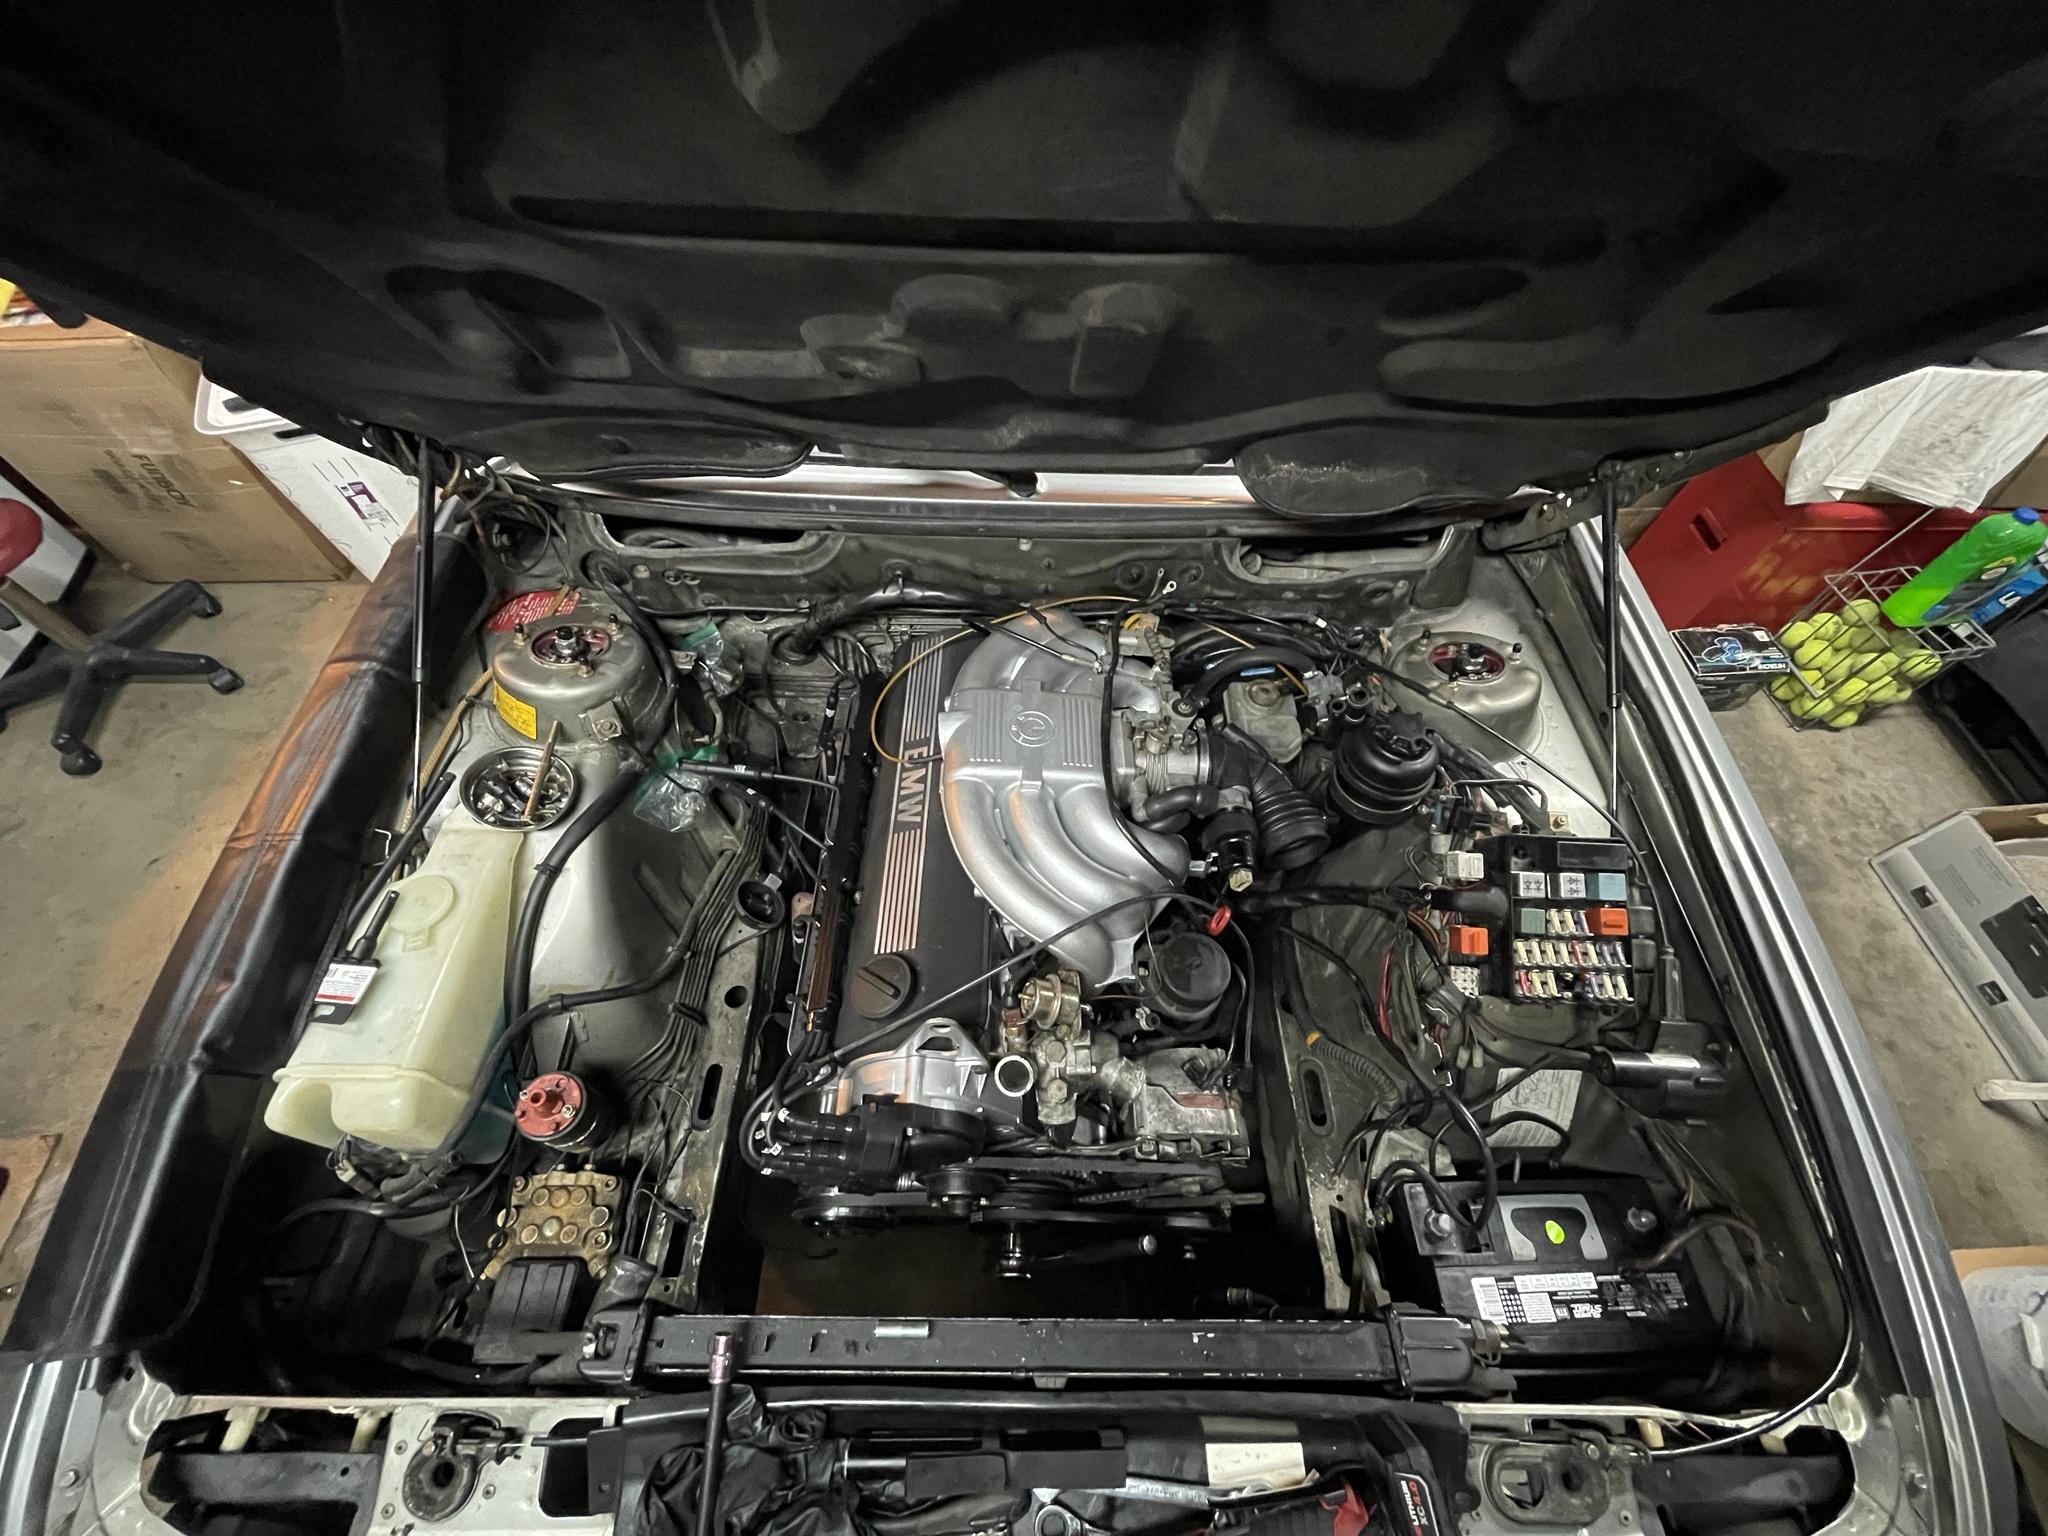
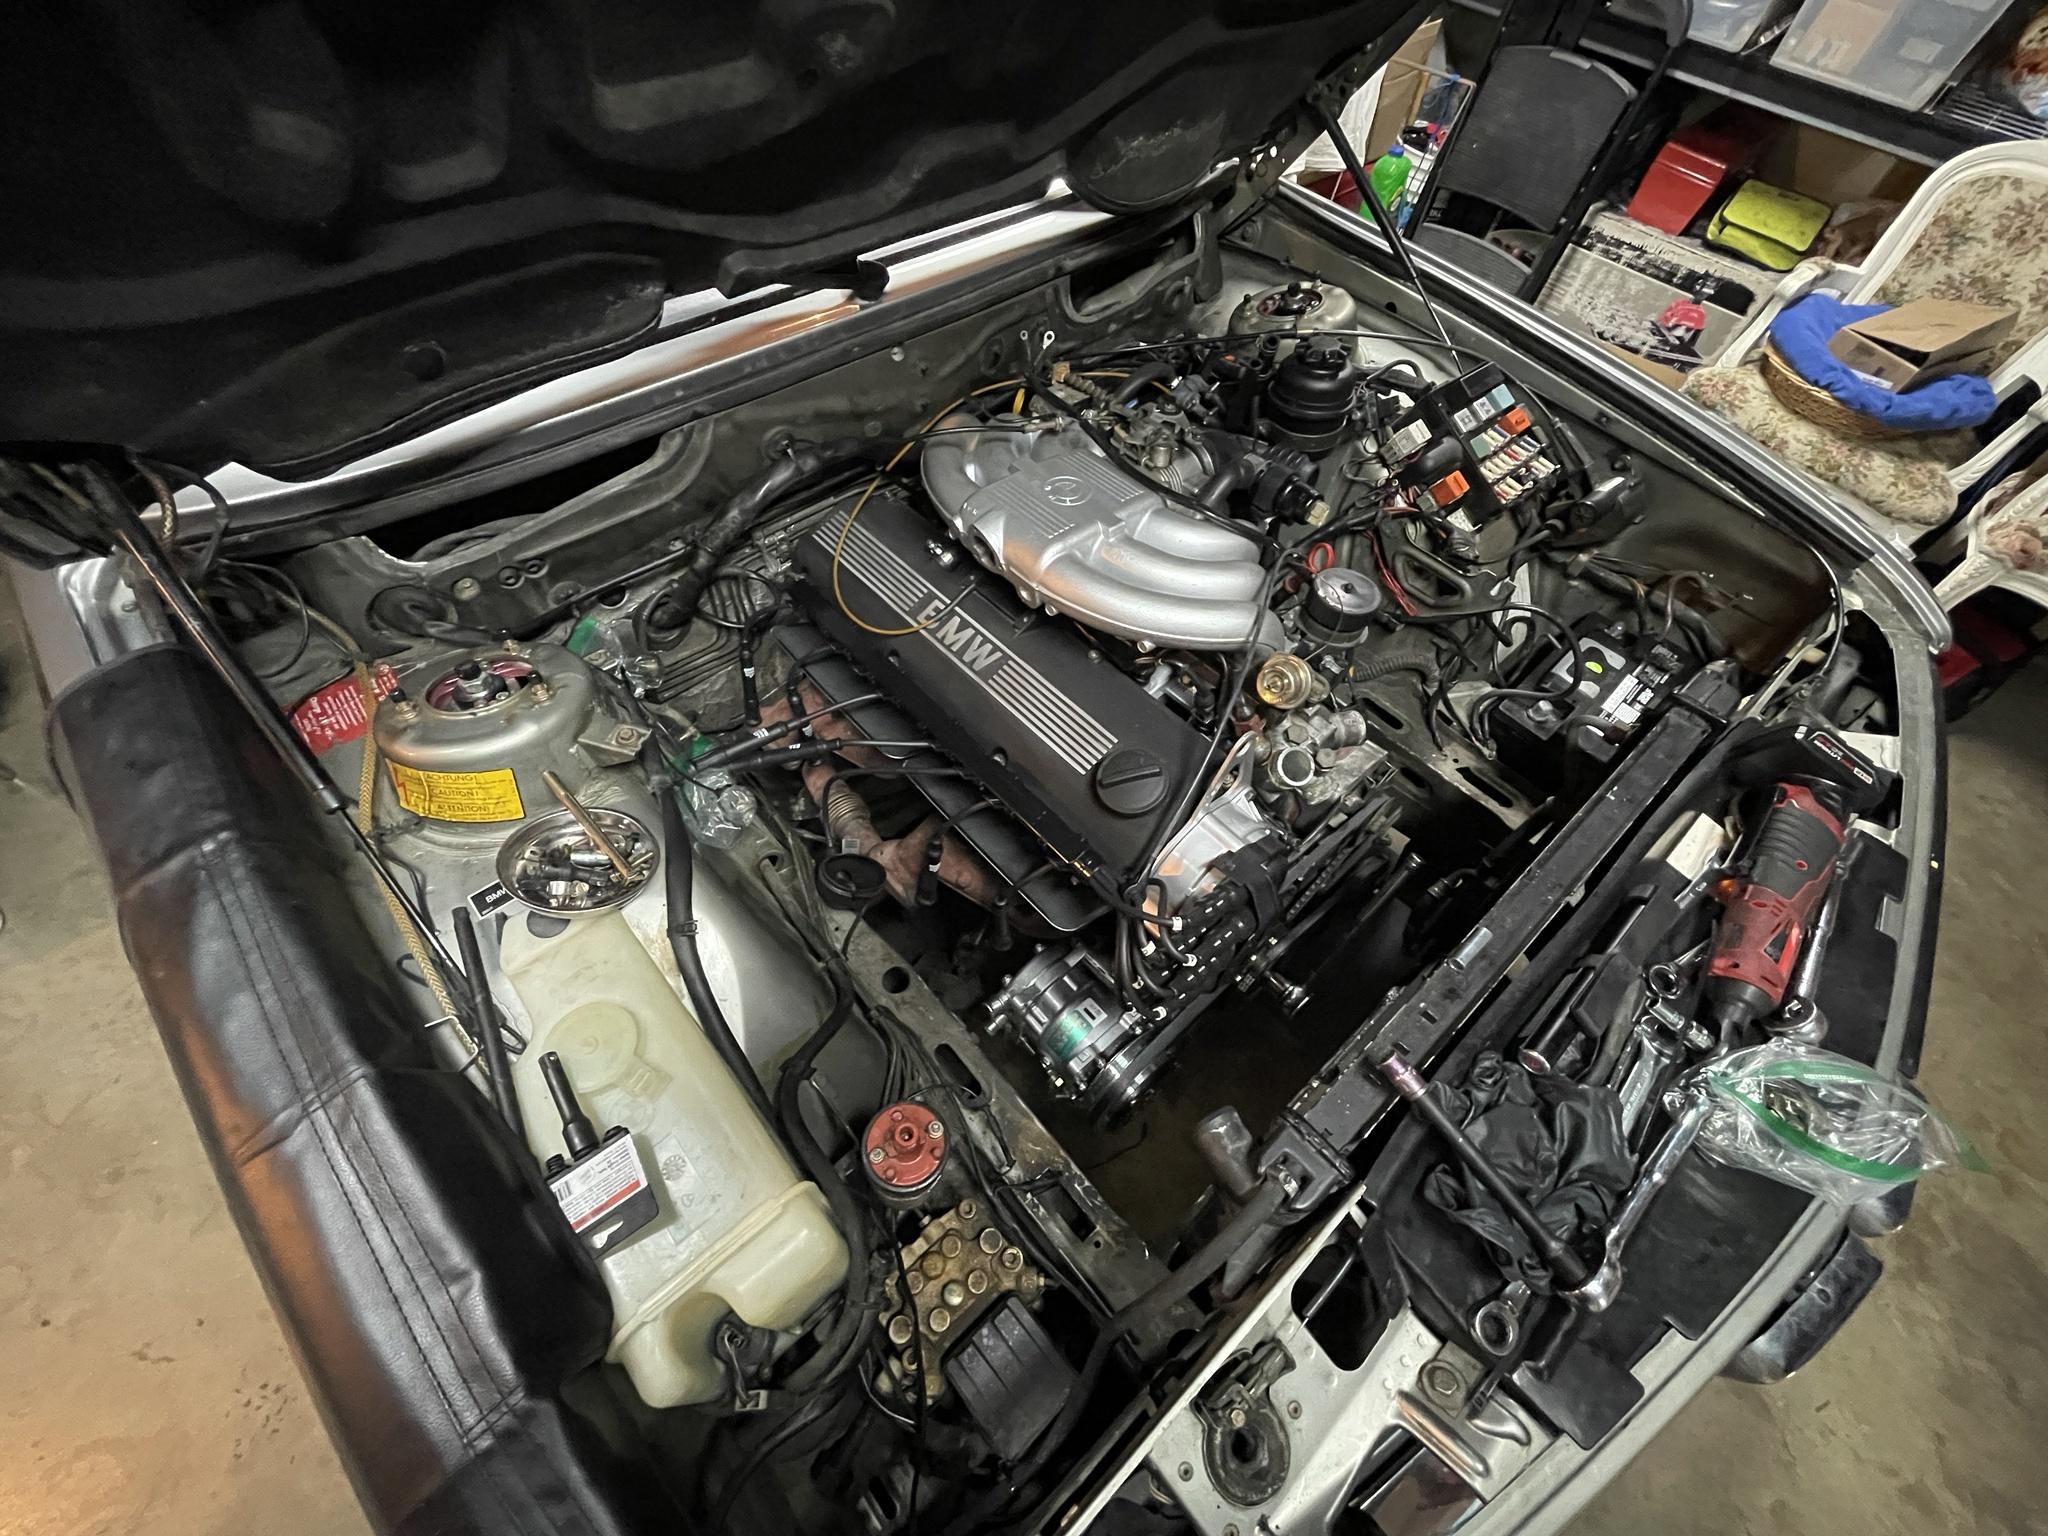
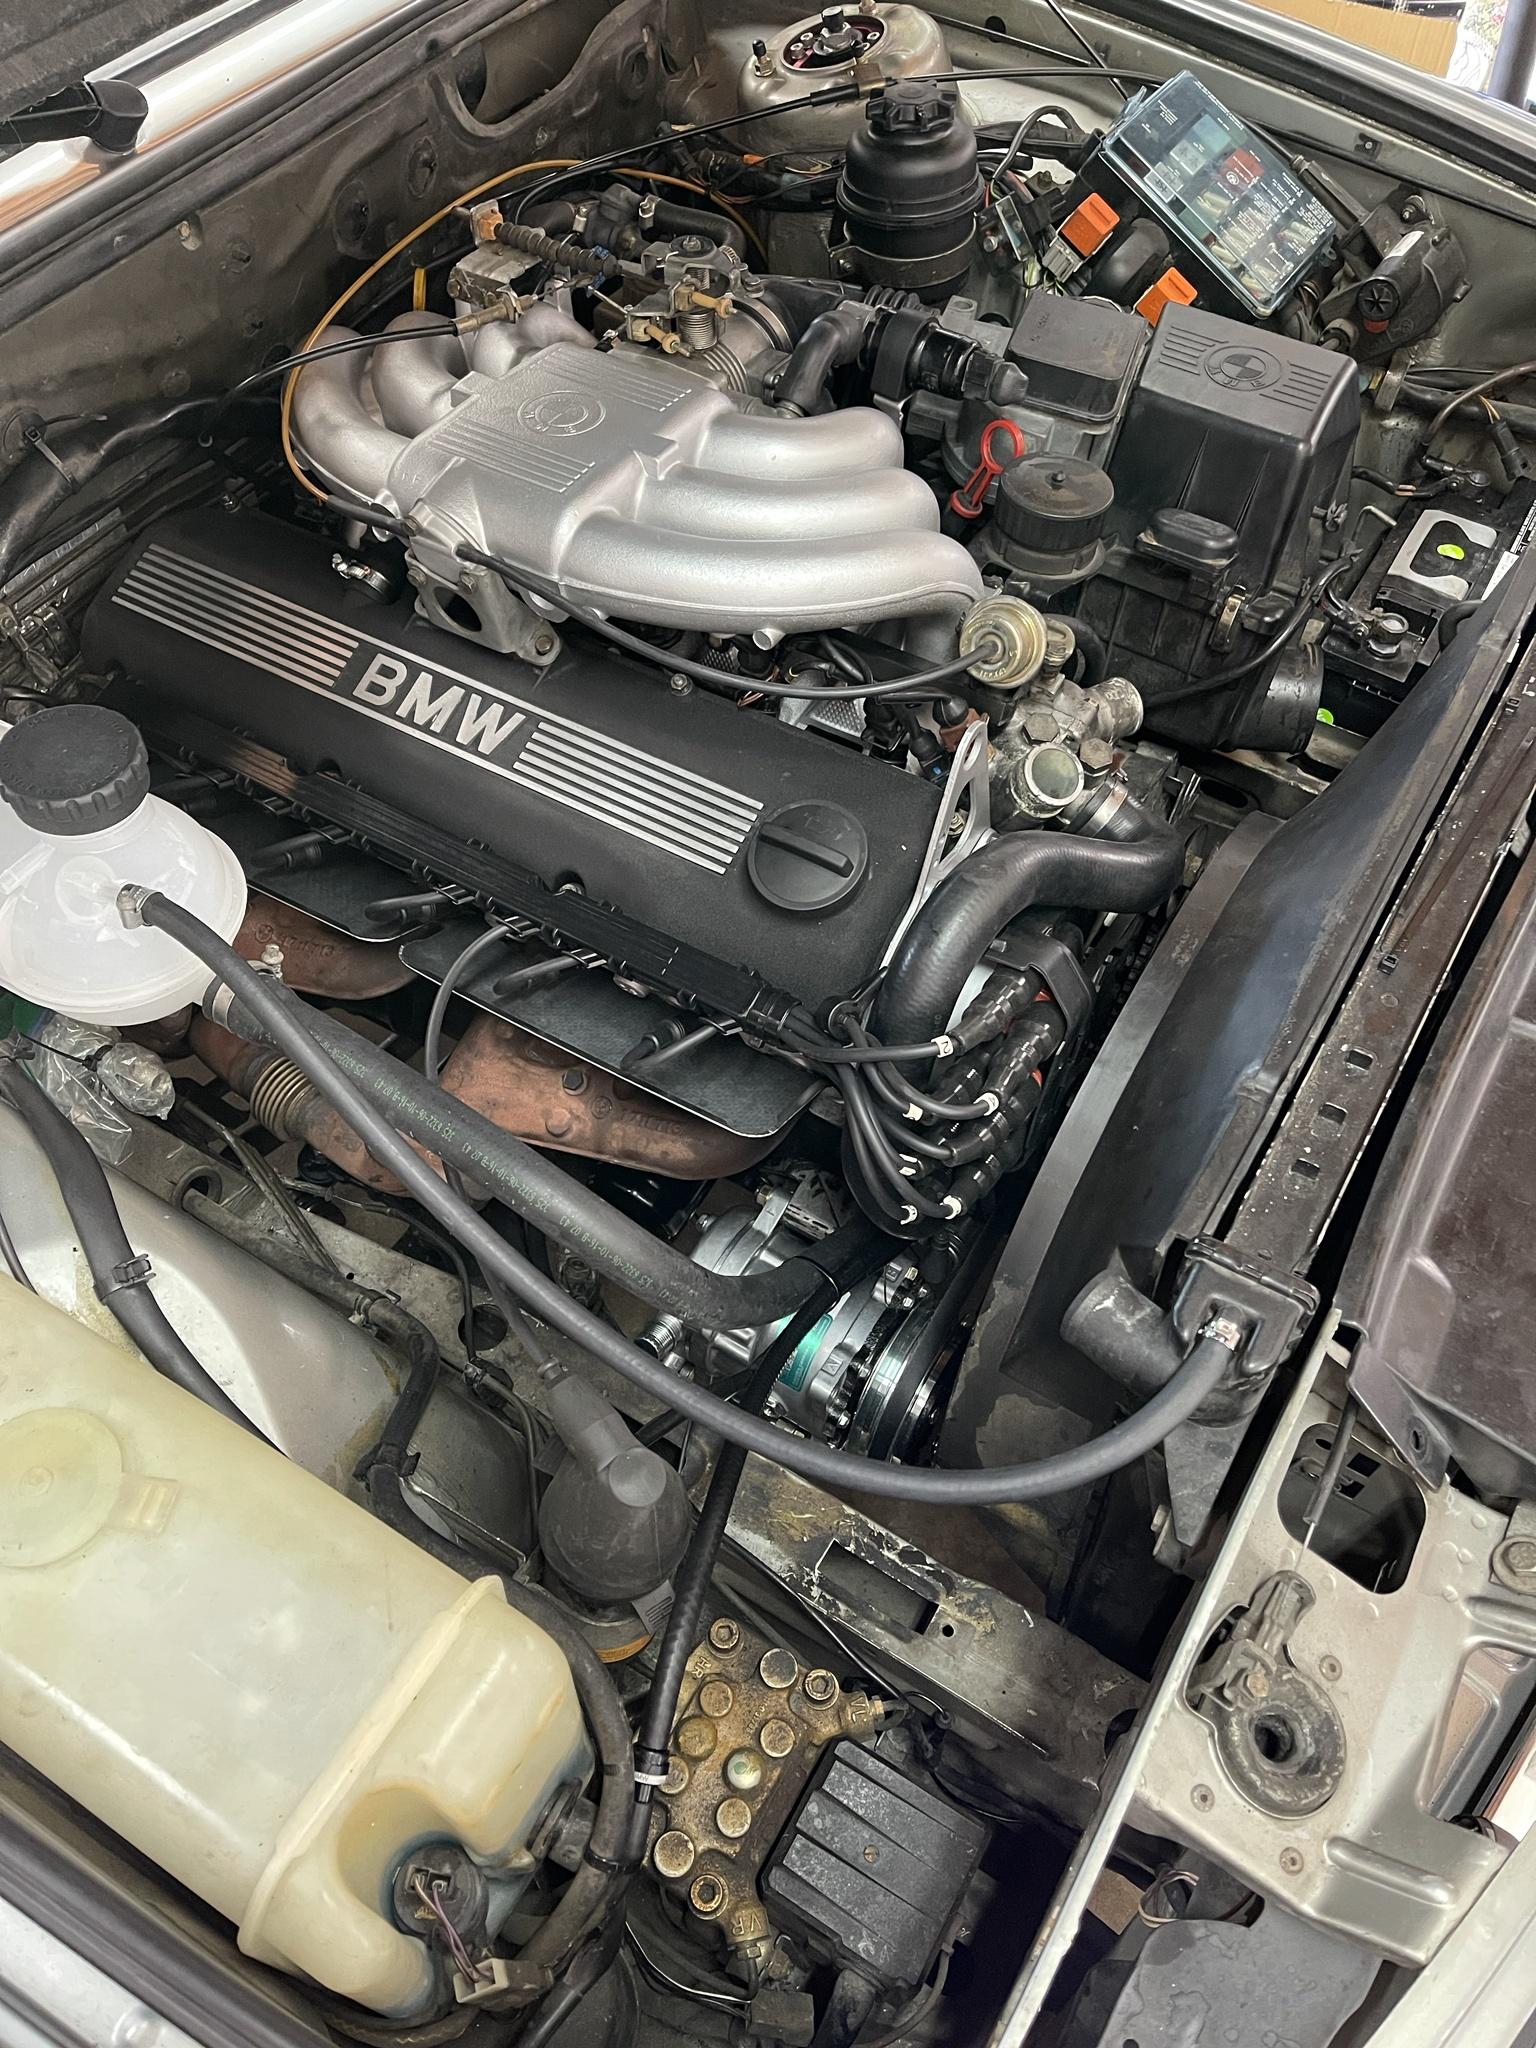
Assembly the rest of the engine bay.

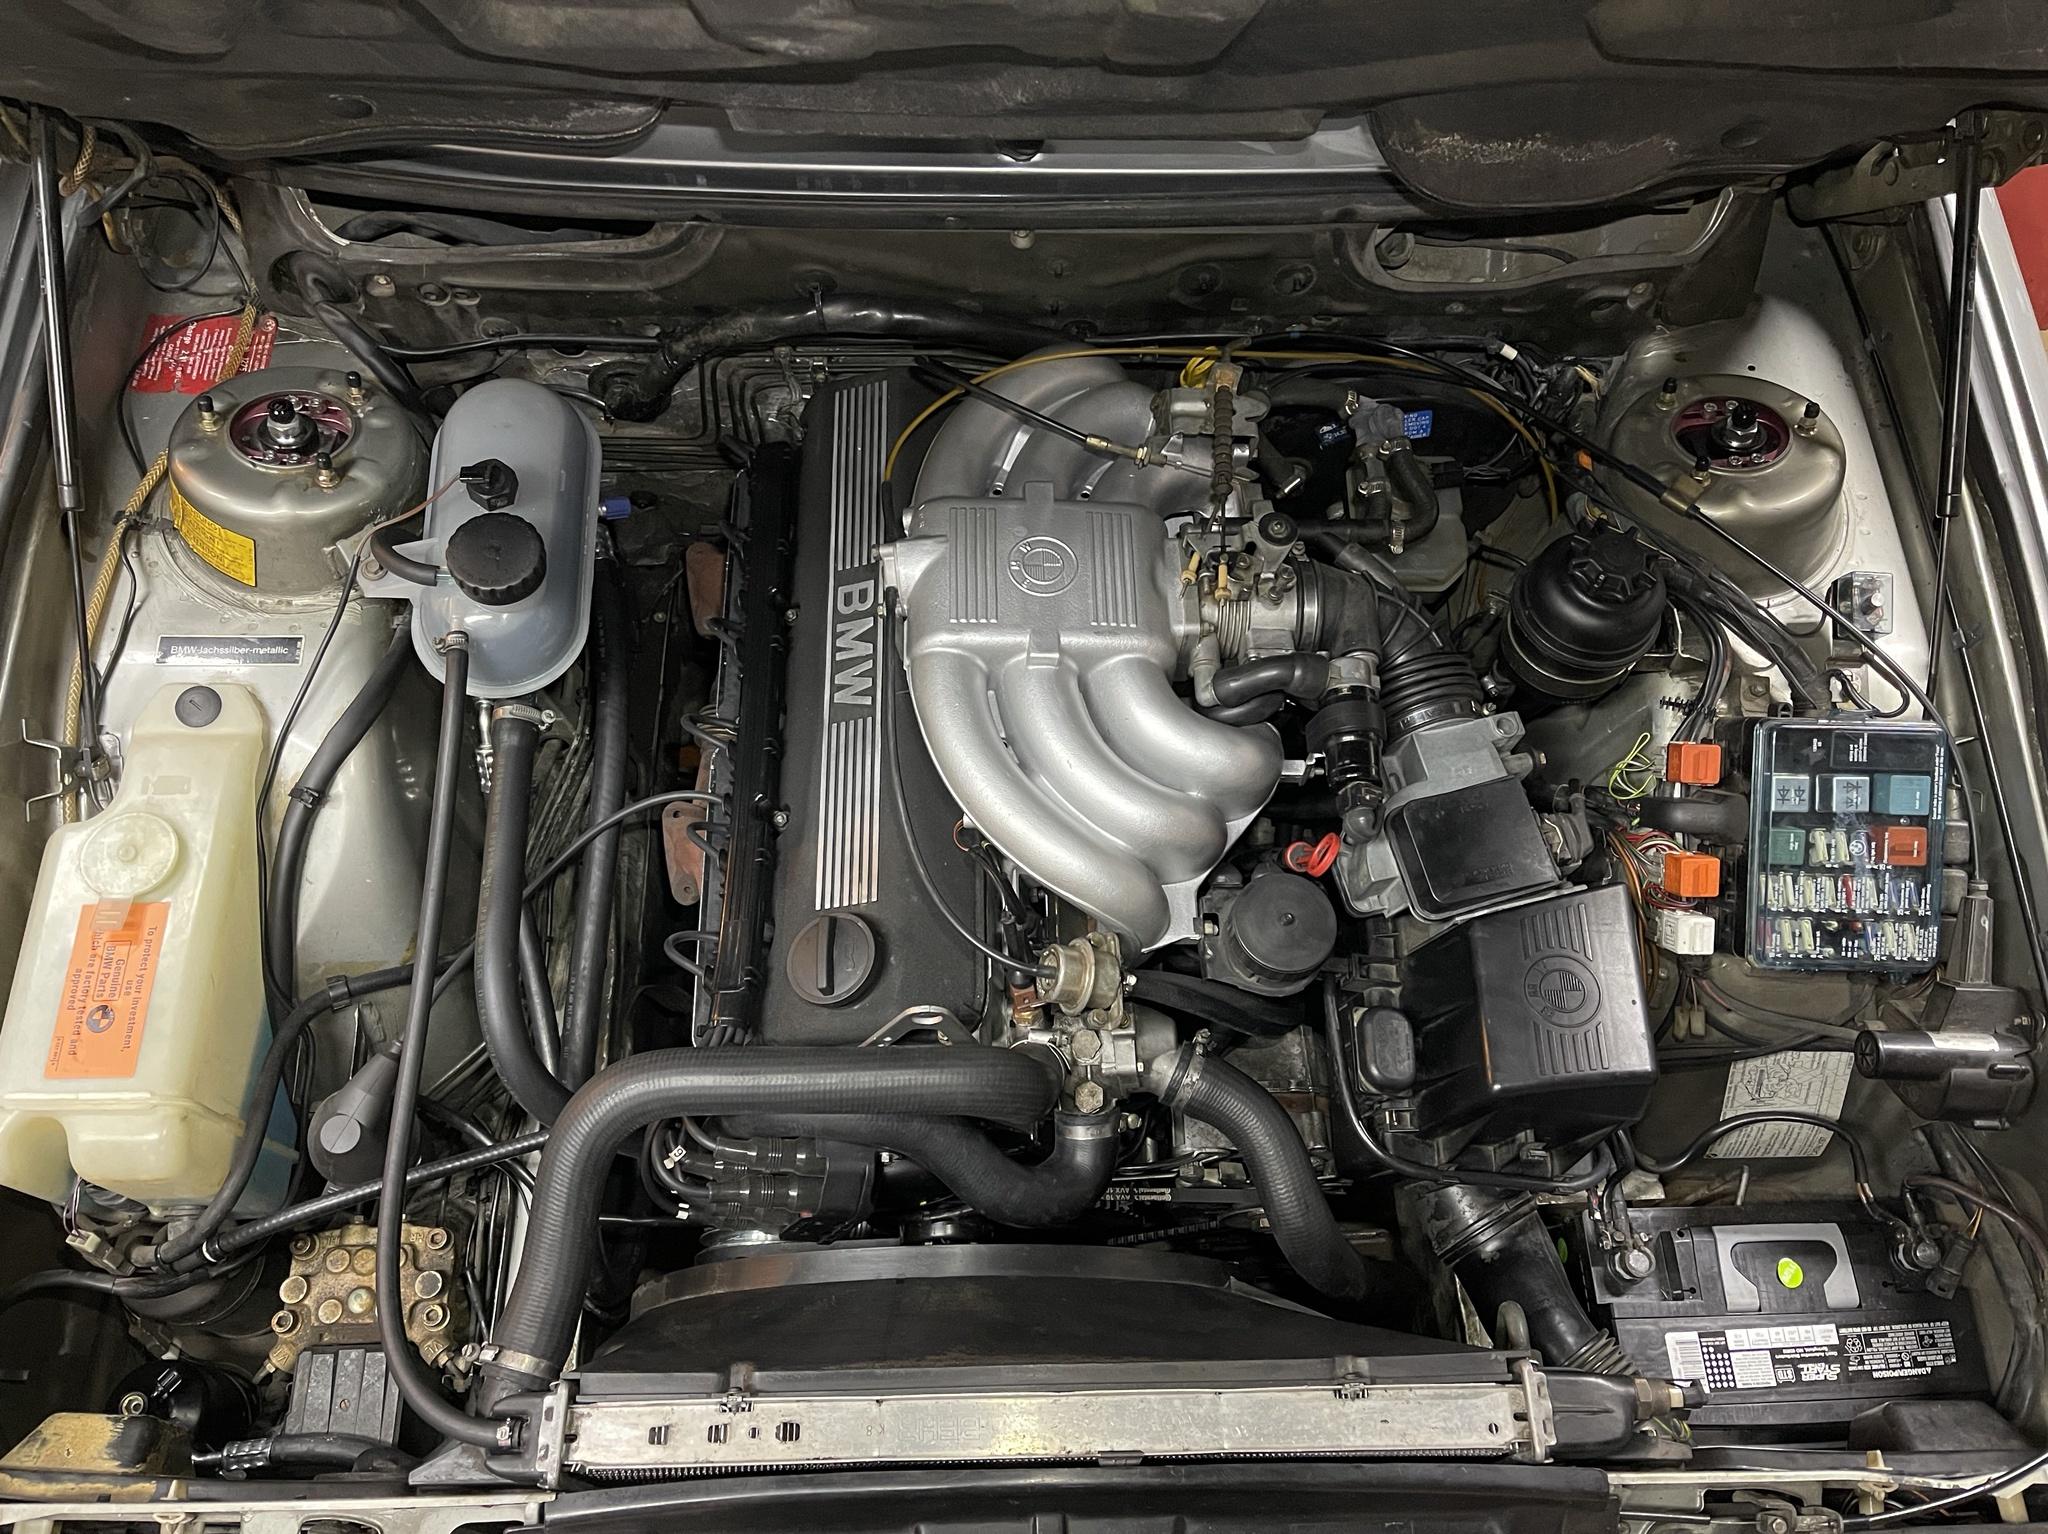
Every rubber hose has been replaced, all gaskets have been changed, new sensors as well. Almost every wear item has been changed already from the suspension to the fuel lines, and now basically everything in the engine bay.

You might notice that the exhaust manifold gaskets / heat shields are a different color than before. I couldn't stand seeing the light grey heatshields in the engine bay against the rest of the painted parts in the engine bay so I opted to replace it with black heatshields to satisfy my OCD. Plus the light grey ones were a dirt magnet and were already smudged with grime after 5 minutes on the car.

Also brand new coolant reservoirs are only about $25-30 from RockAuto and they make the engine bay look good with it being white so it was a no brainer.

Image

Image

Image

Image

Image

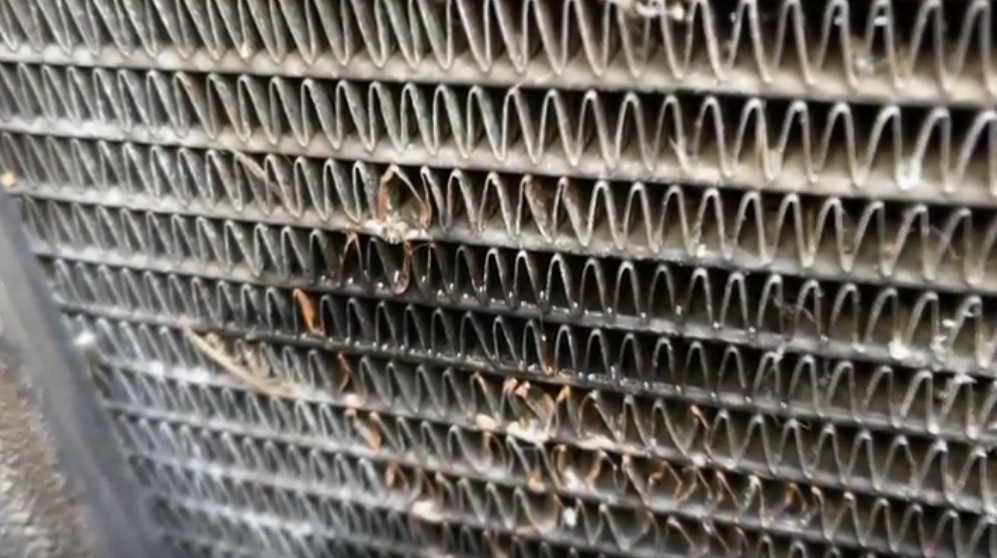
At the moment, this is where the car is currently sitting. I have a new radiator being shipped out because I created a pinhole leak by accidentally bashing it with the original AC condenser.

Image

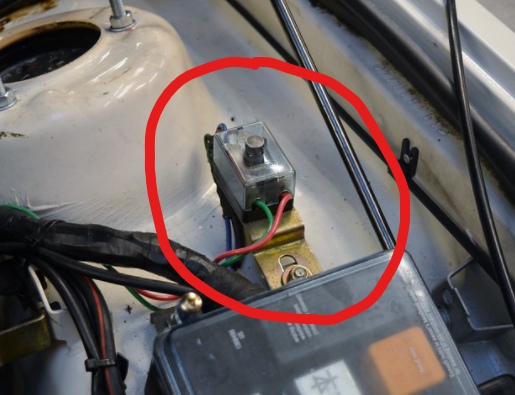
Also, if anyone has this mounting bracket from the SETA for the aux fuse box, please let me know. I am looking for one so it doesn't just hang loosely around by the fuse box.

Image
mnnguy
Posts: 57
Joined: Sep 07, 2016 1:34 AM
Location: Los Angeles

Re: Never-Ending Project e28 528e

Post by mnnguy »

New update:

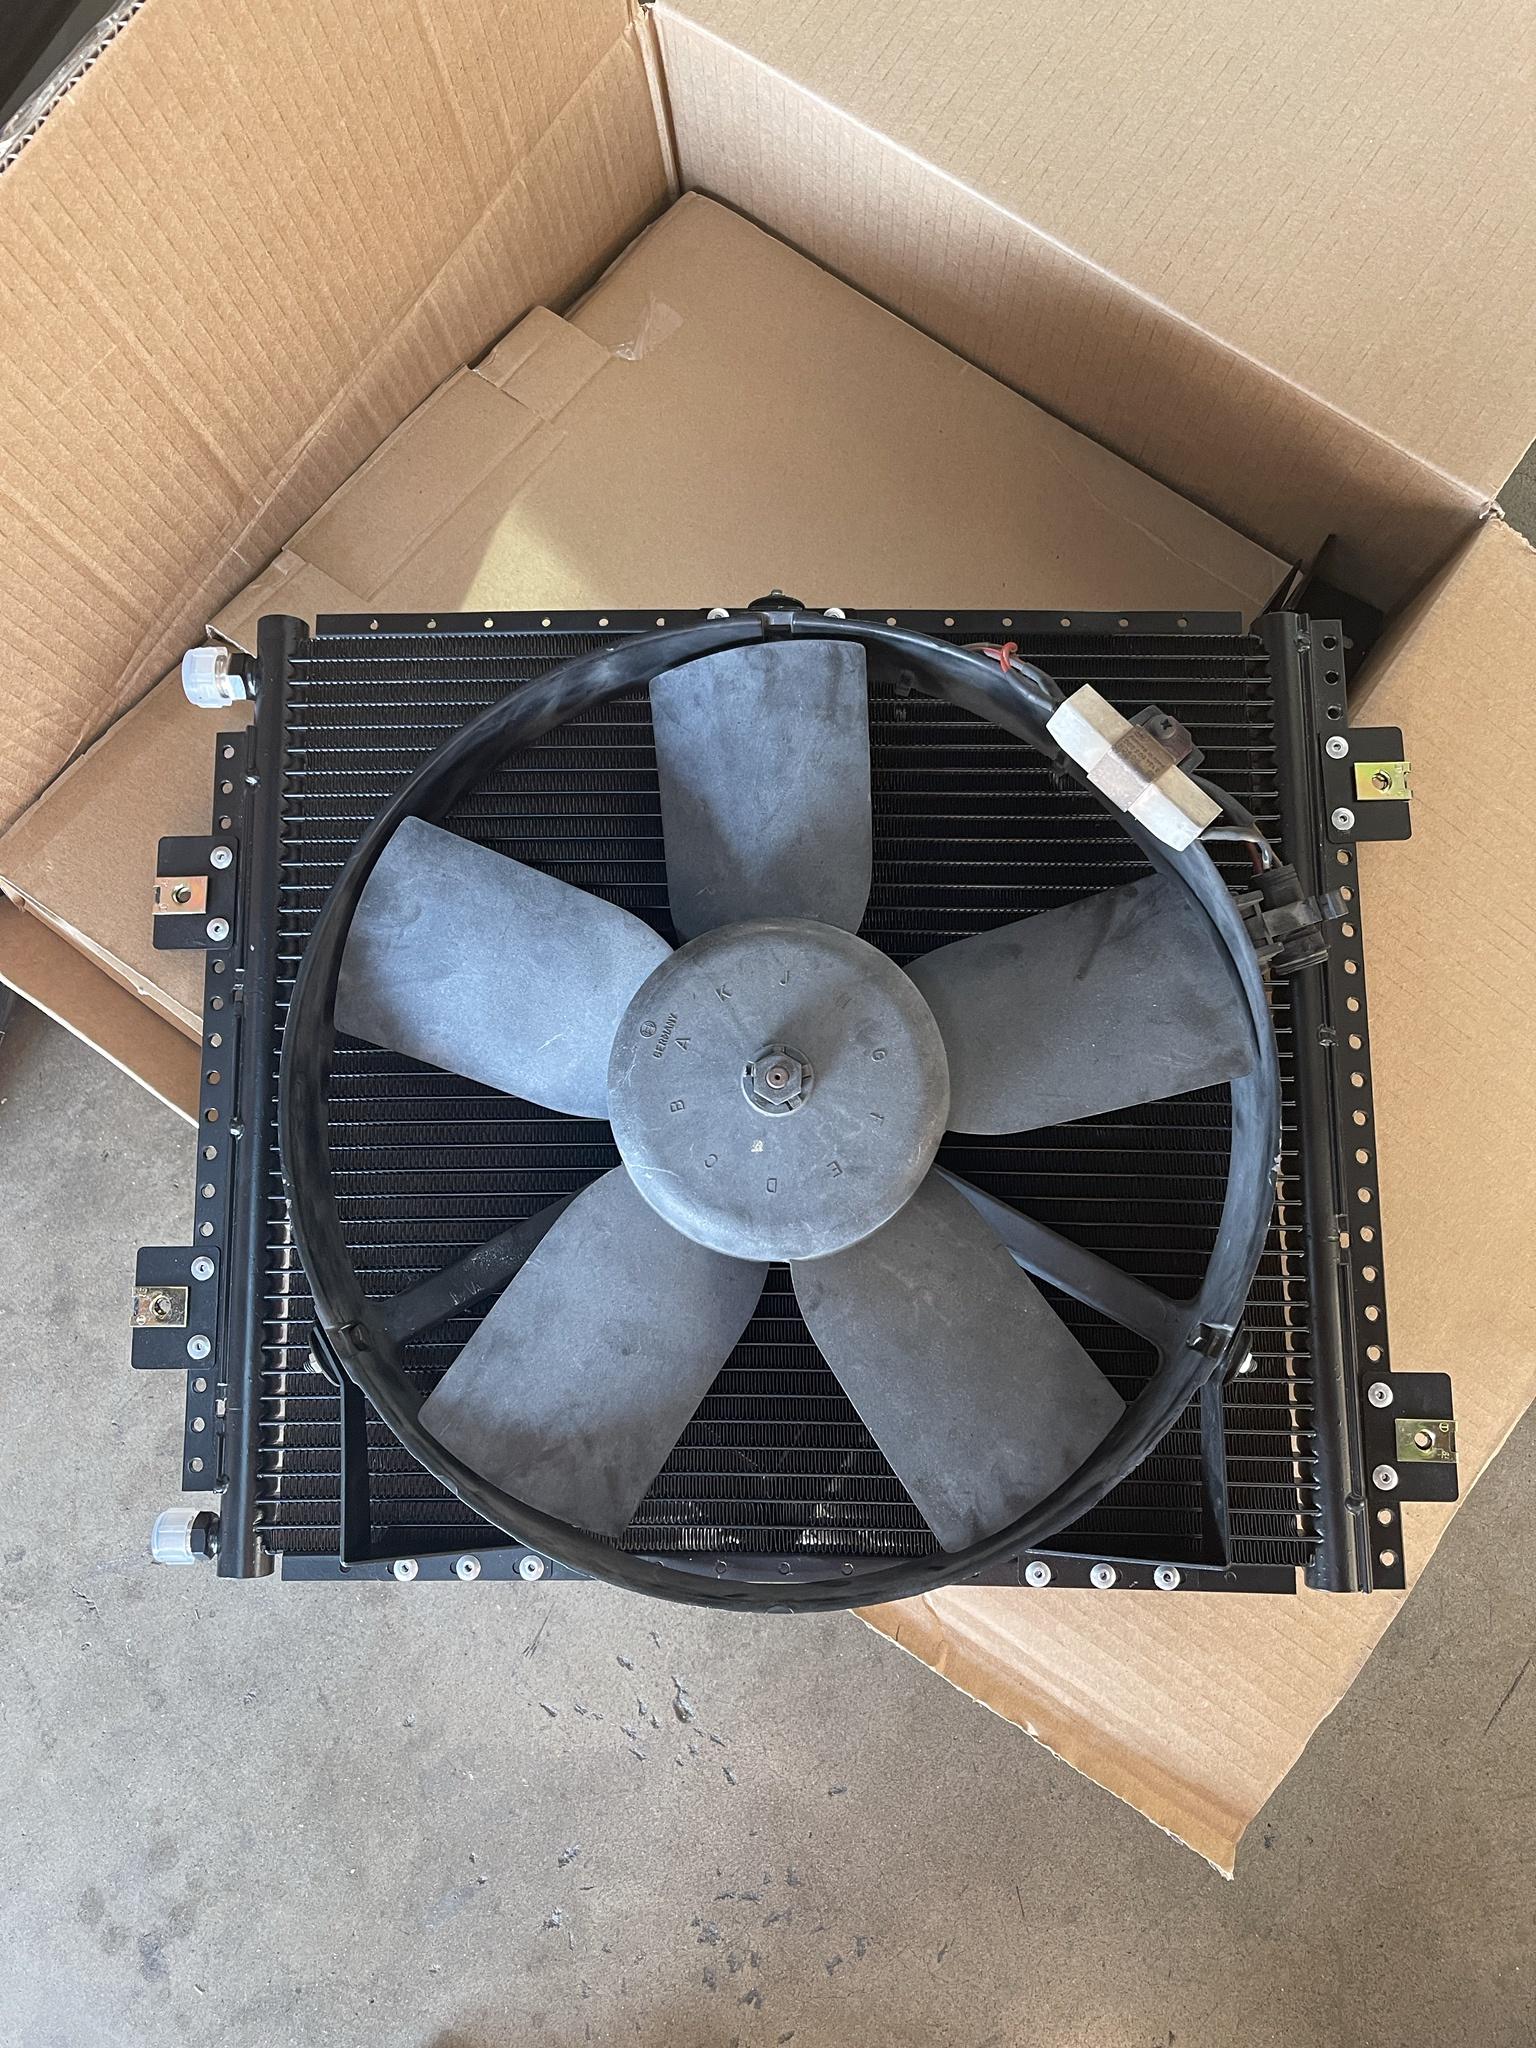
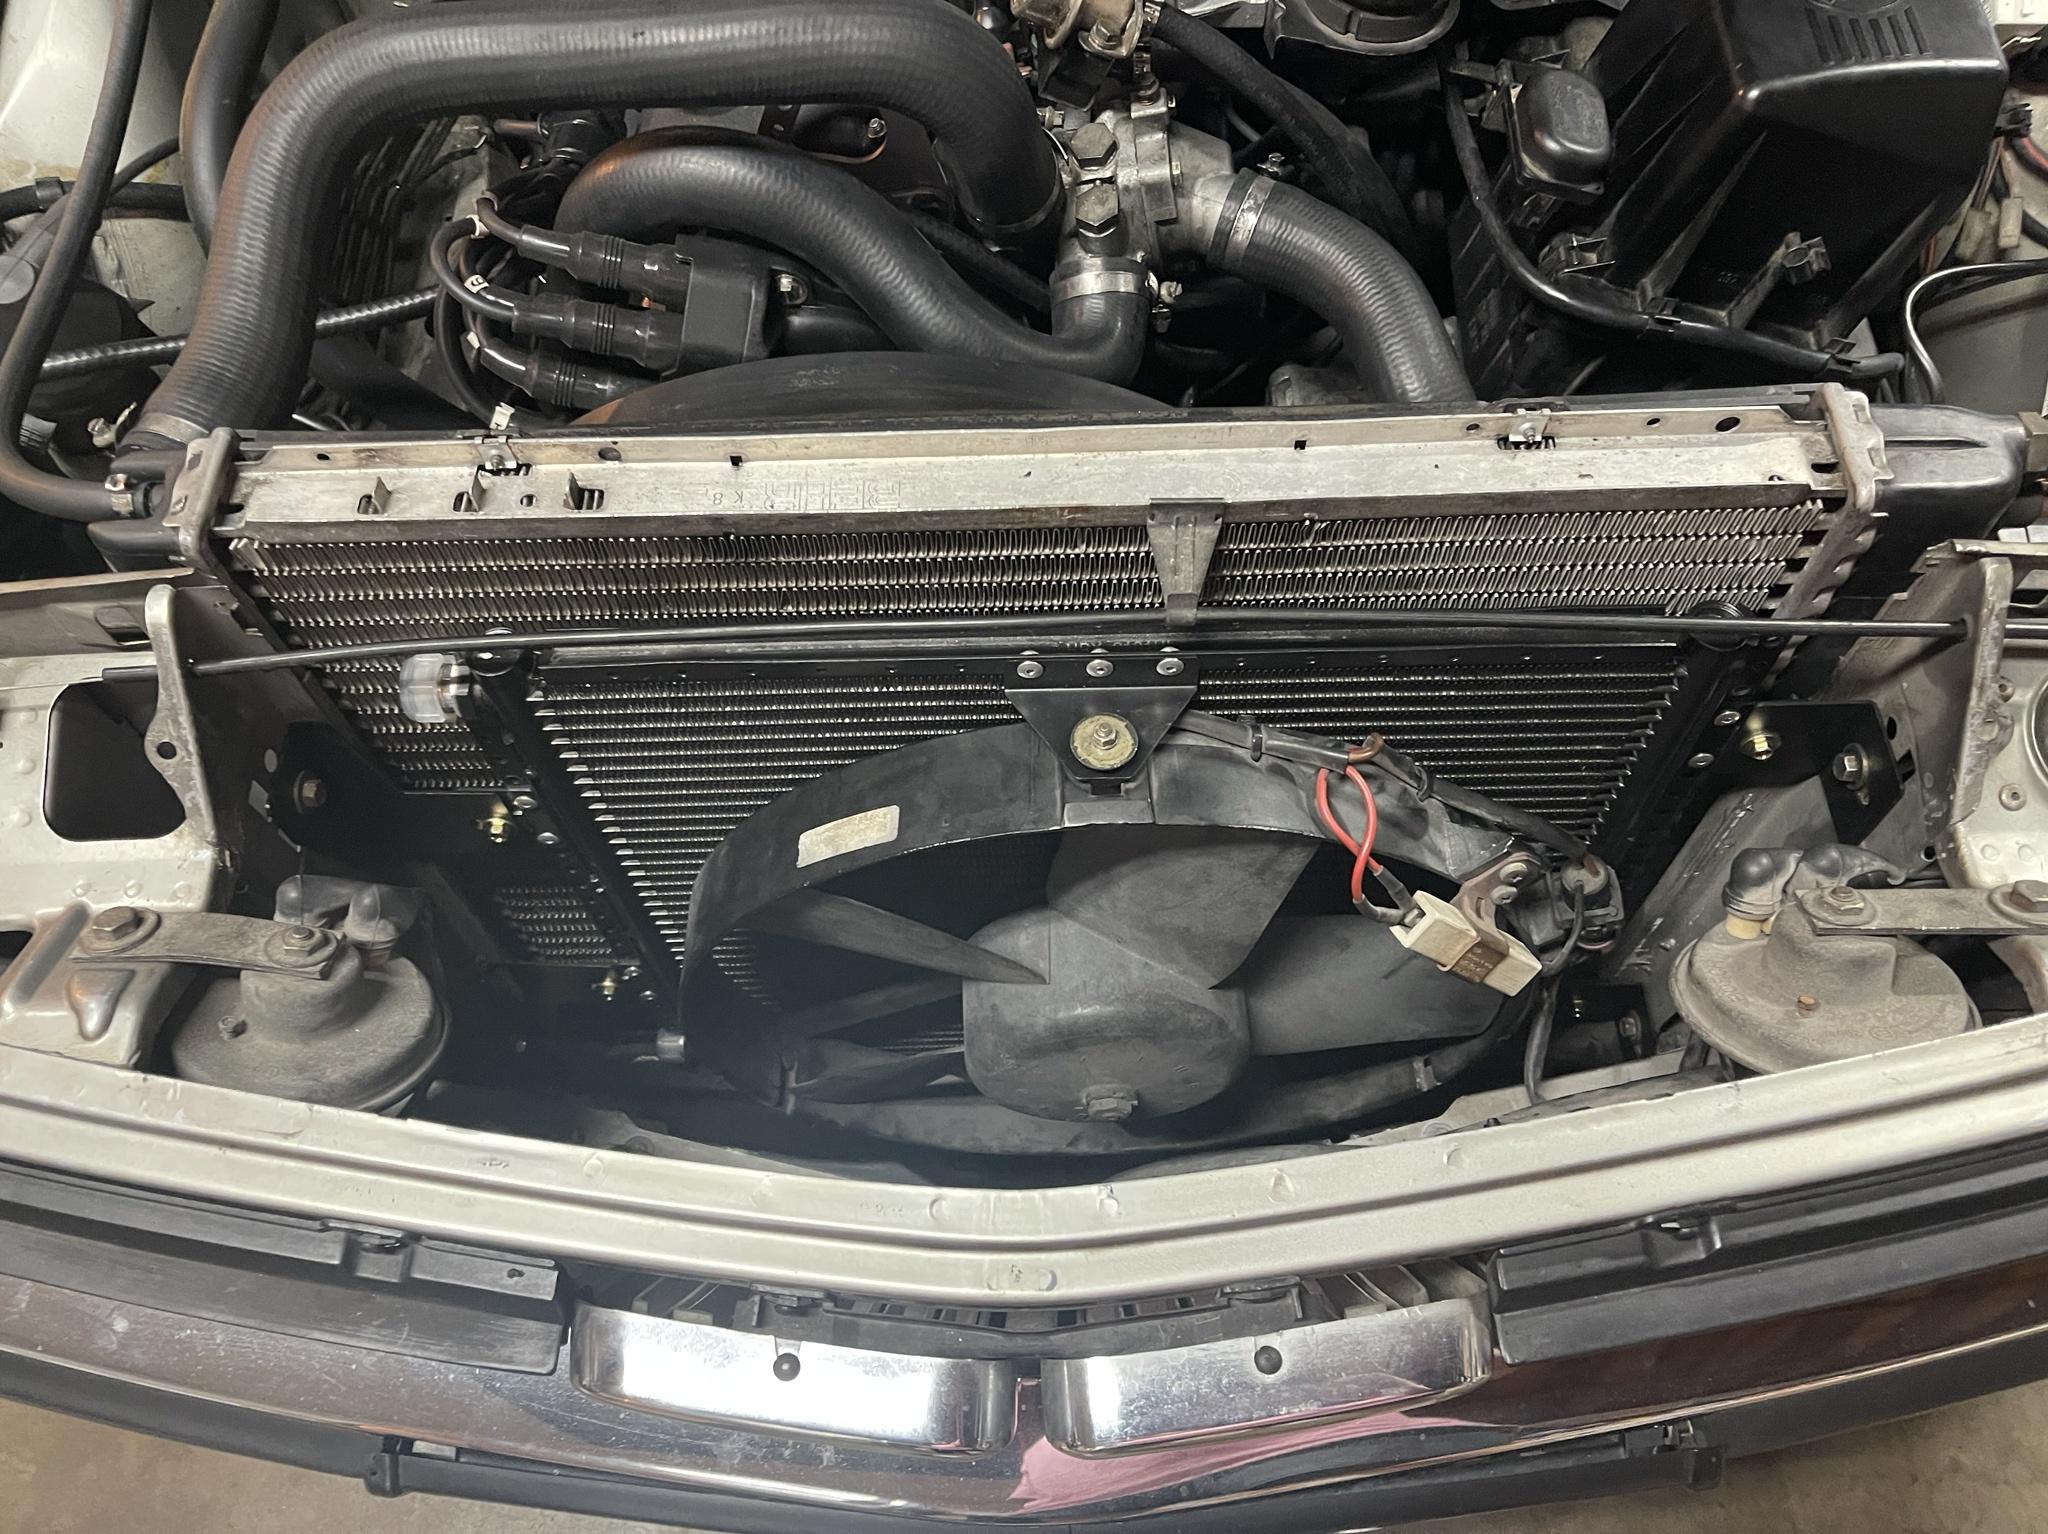
Received a new used radiator to put into the car, had no issues whatsoever. Also ordered just the A/C condenser from Austin to finish off the main parts around the AC system.

Image

Image

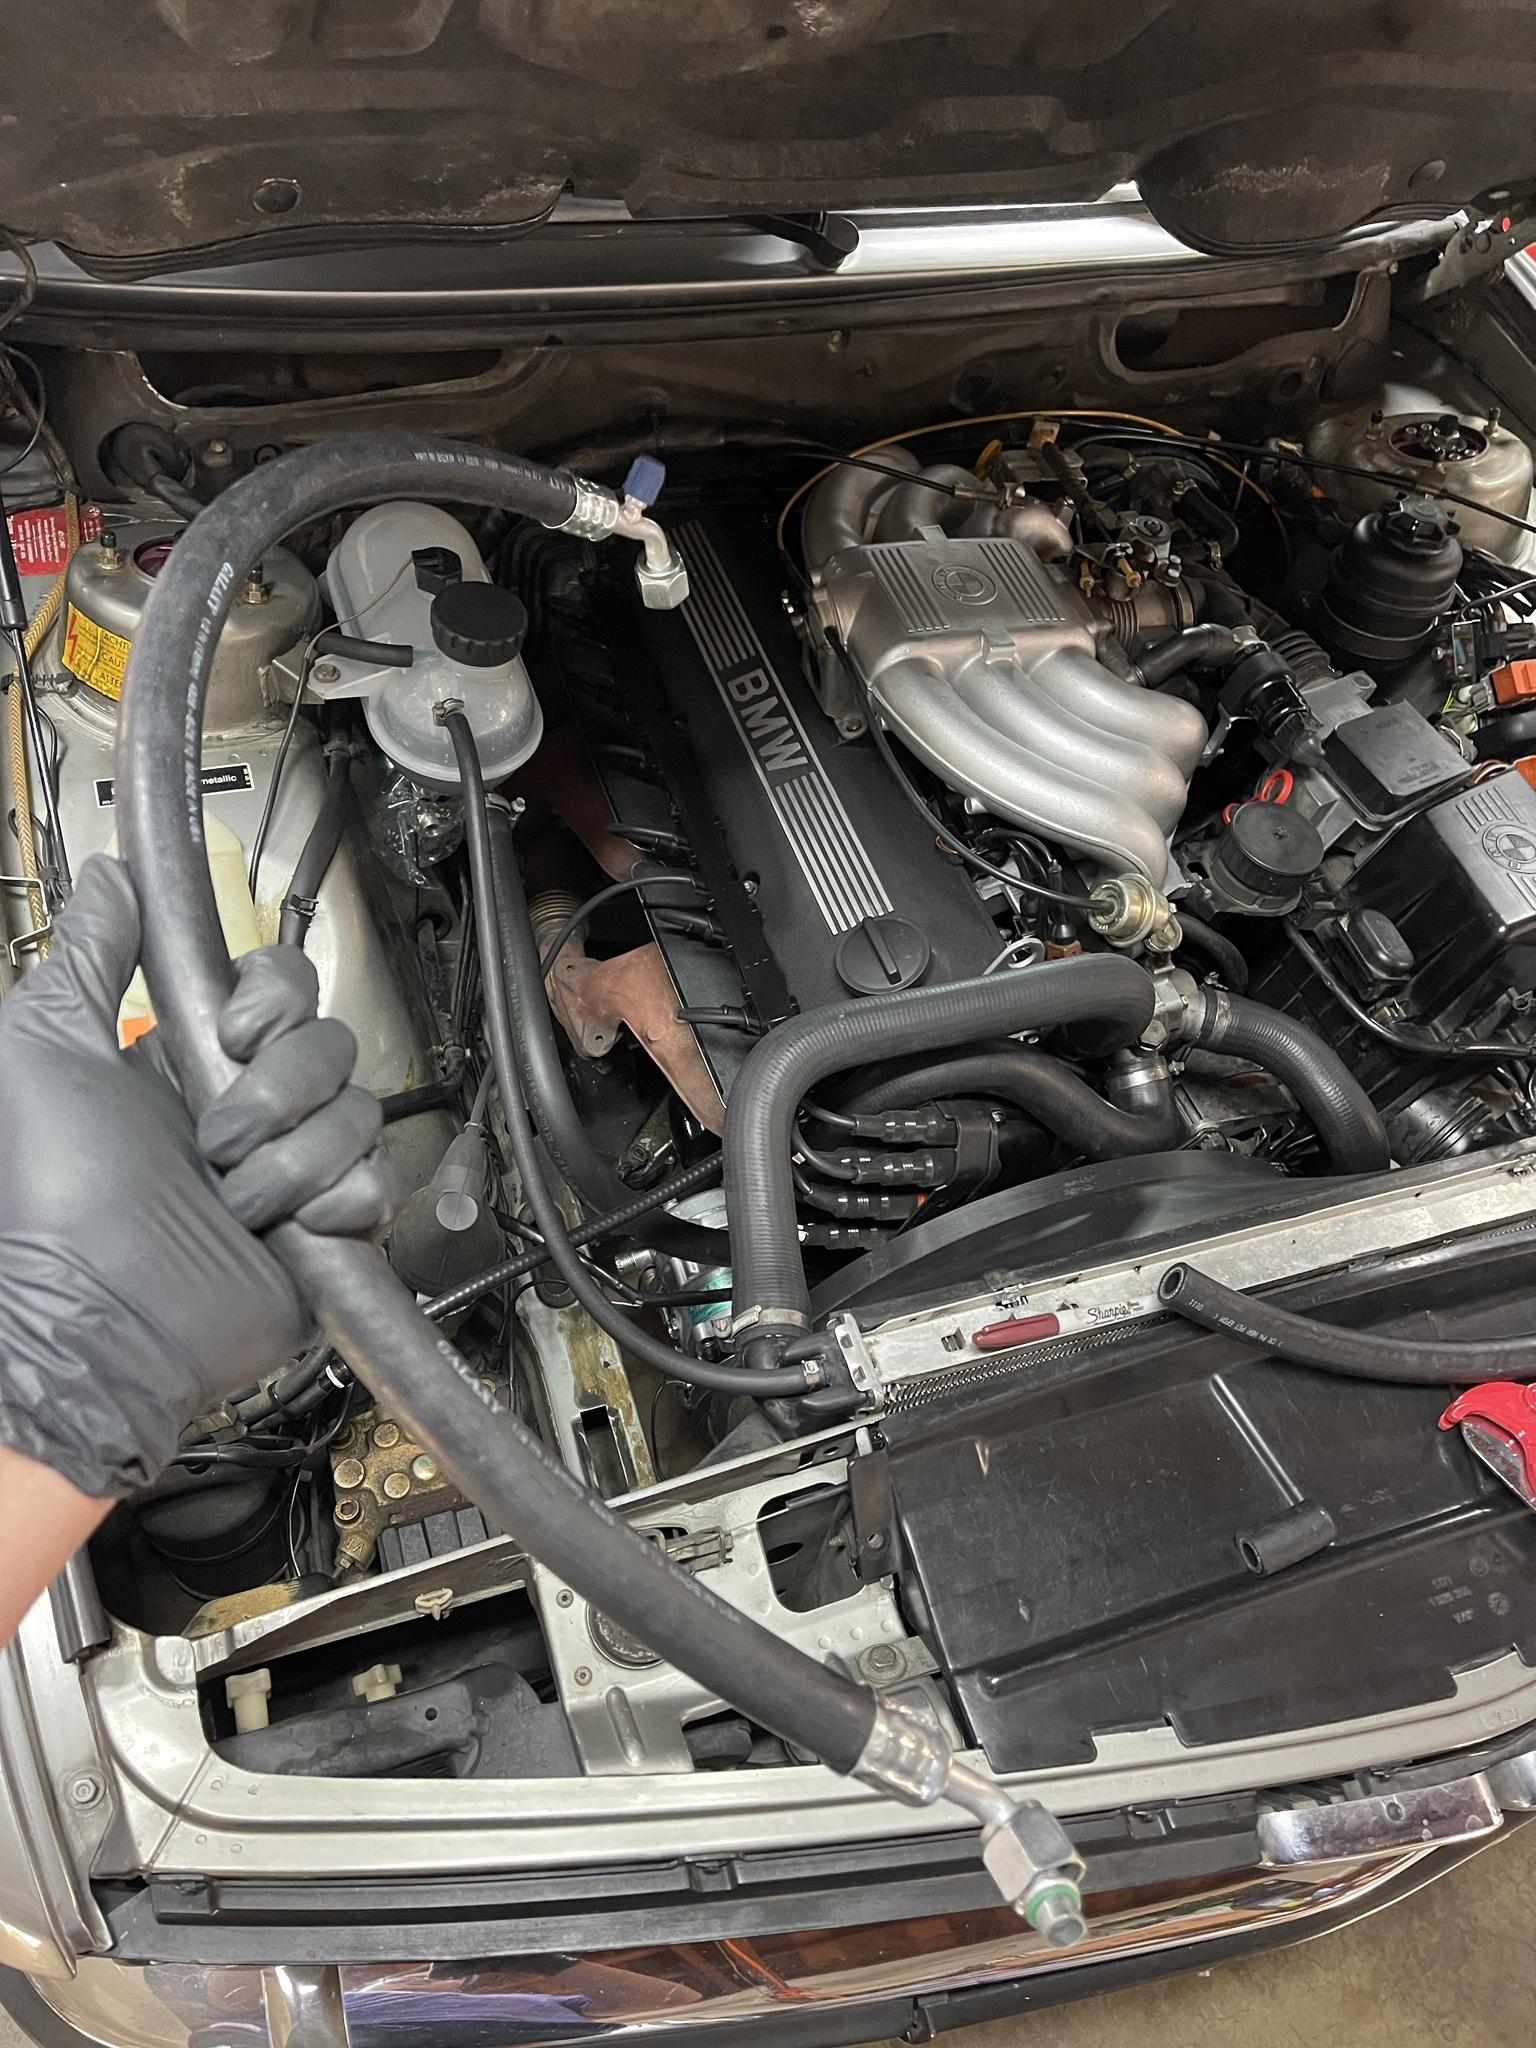
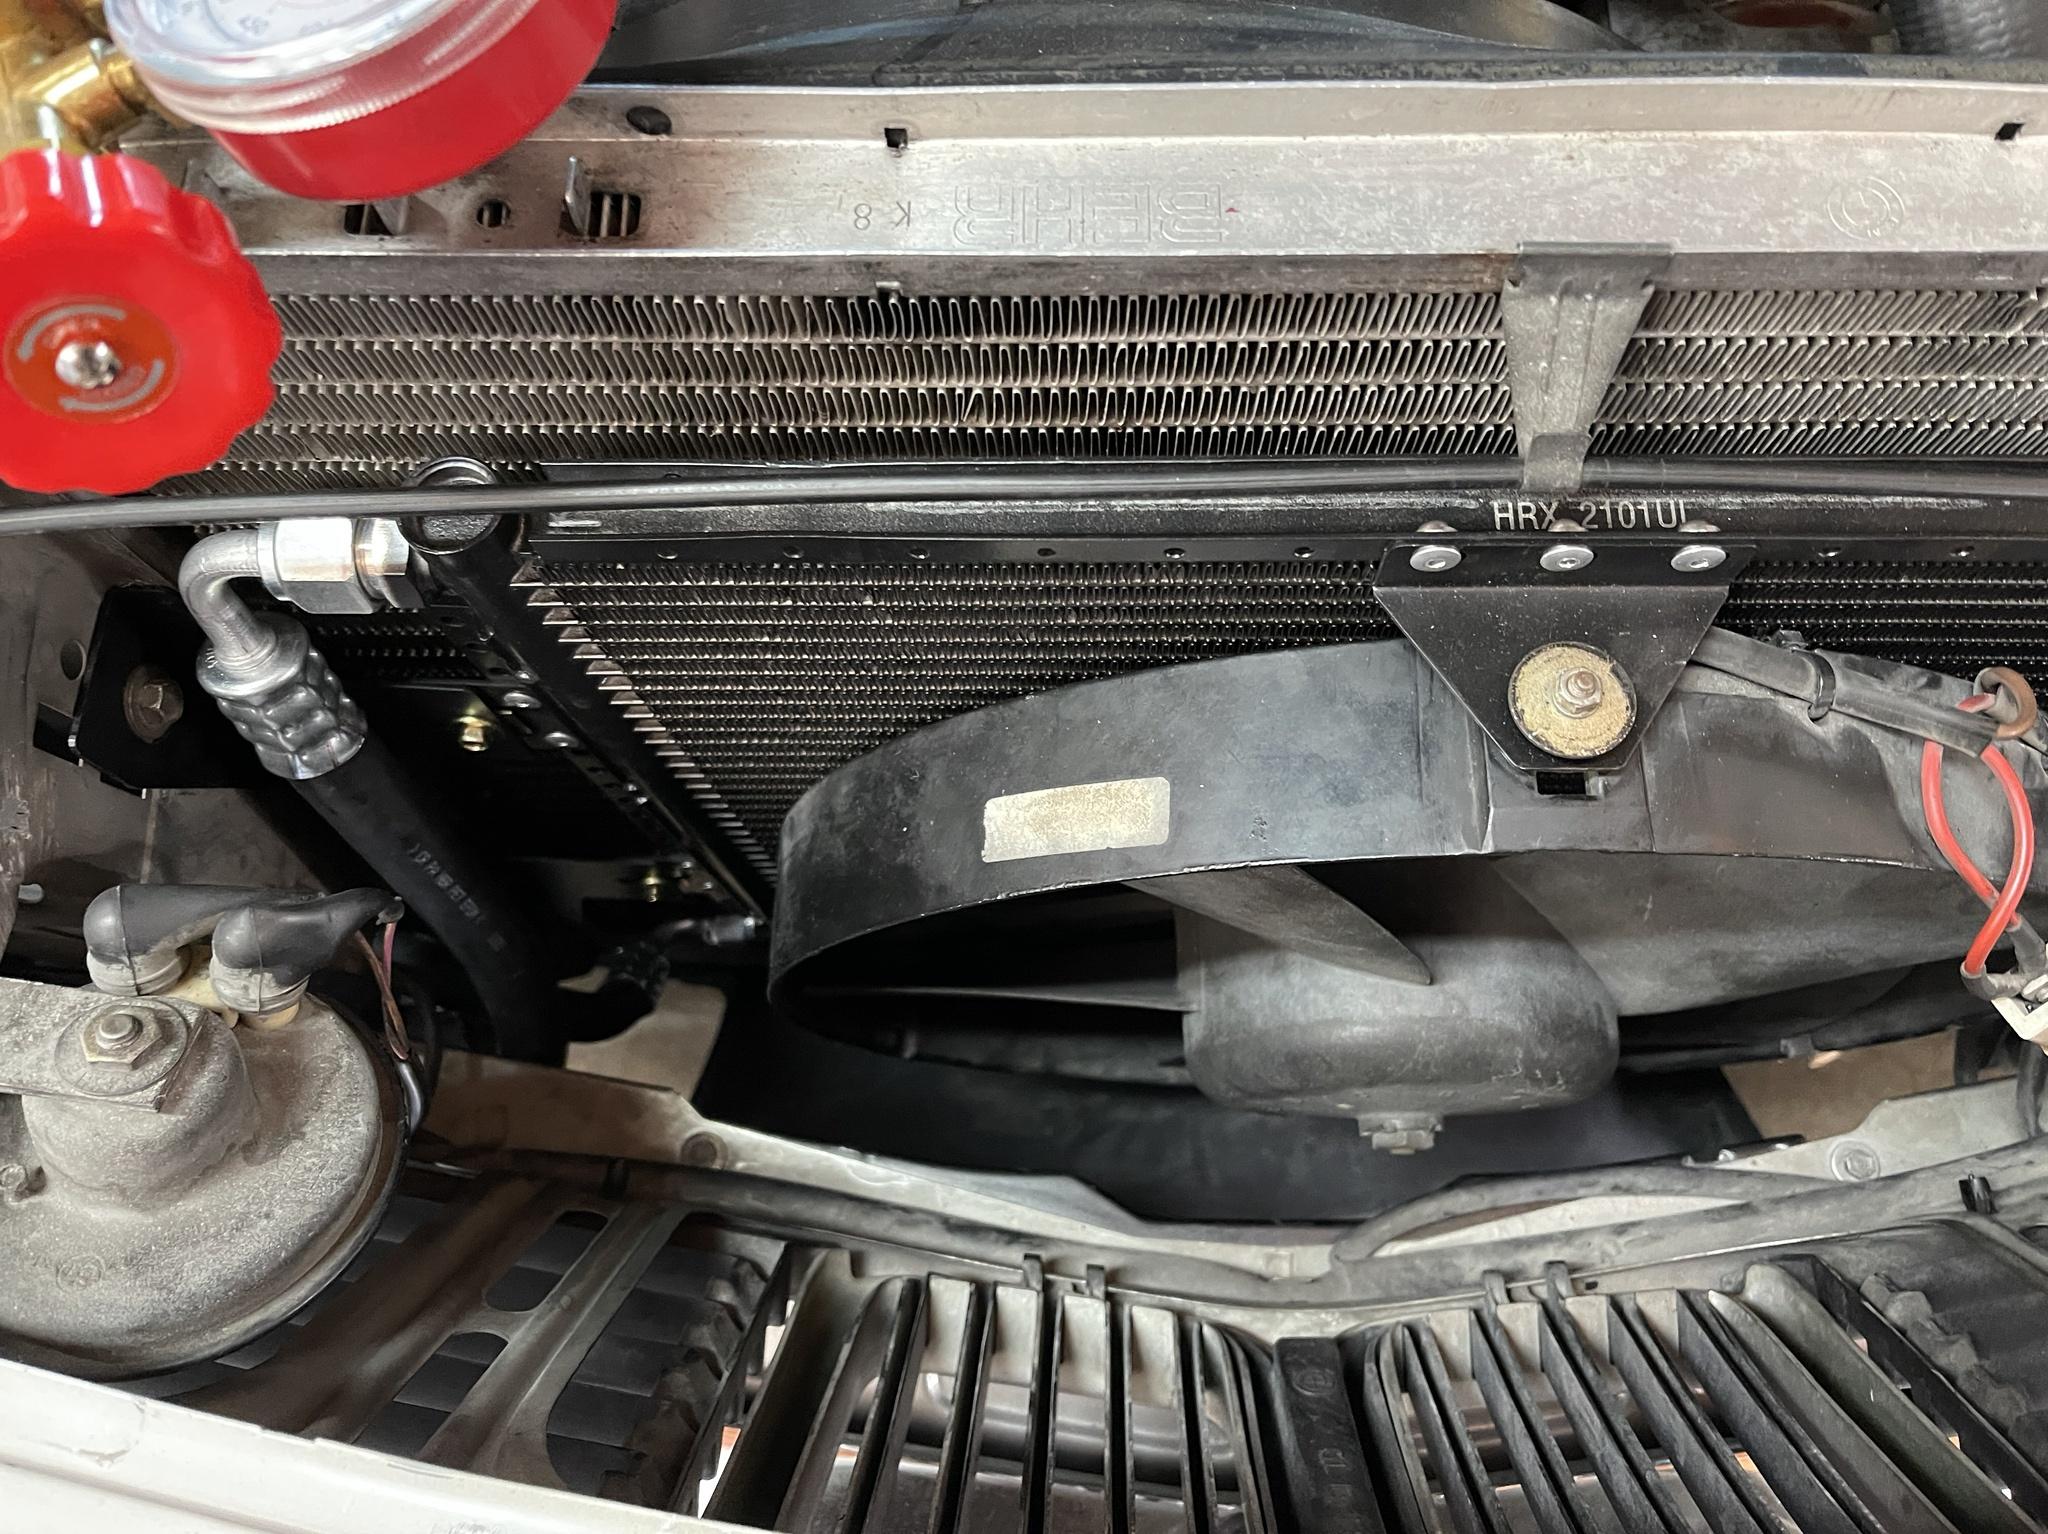
The fit and finish of the condenser was perfect, and everything bolted right in super easily. Next up was to make all the A/C lines myself to get everything working properly.
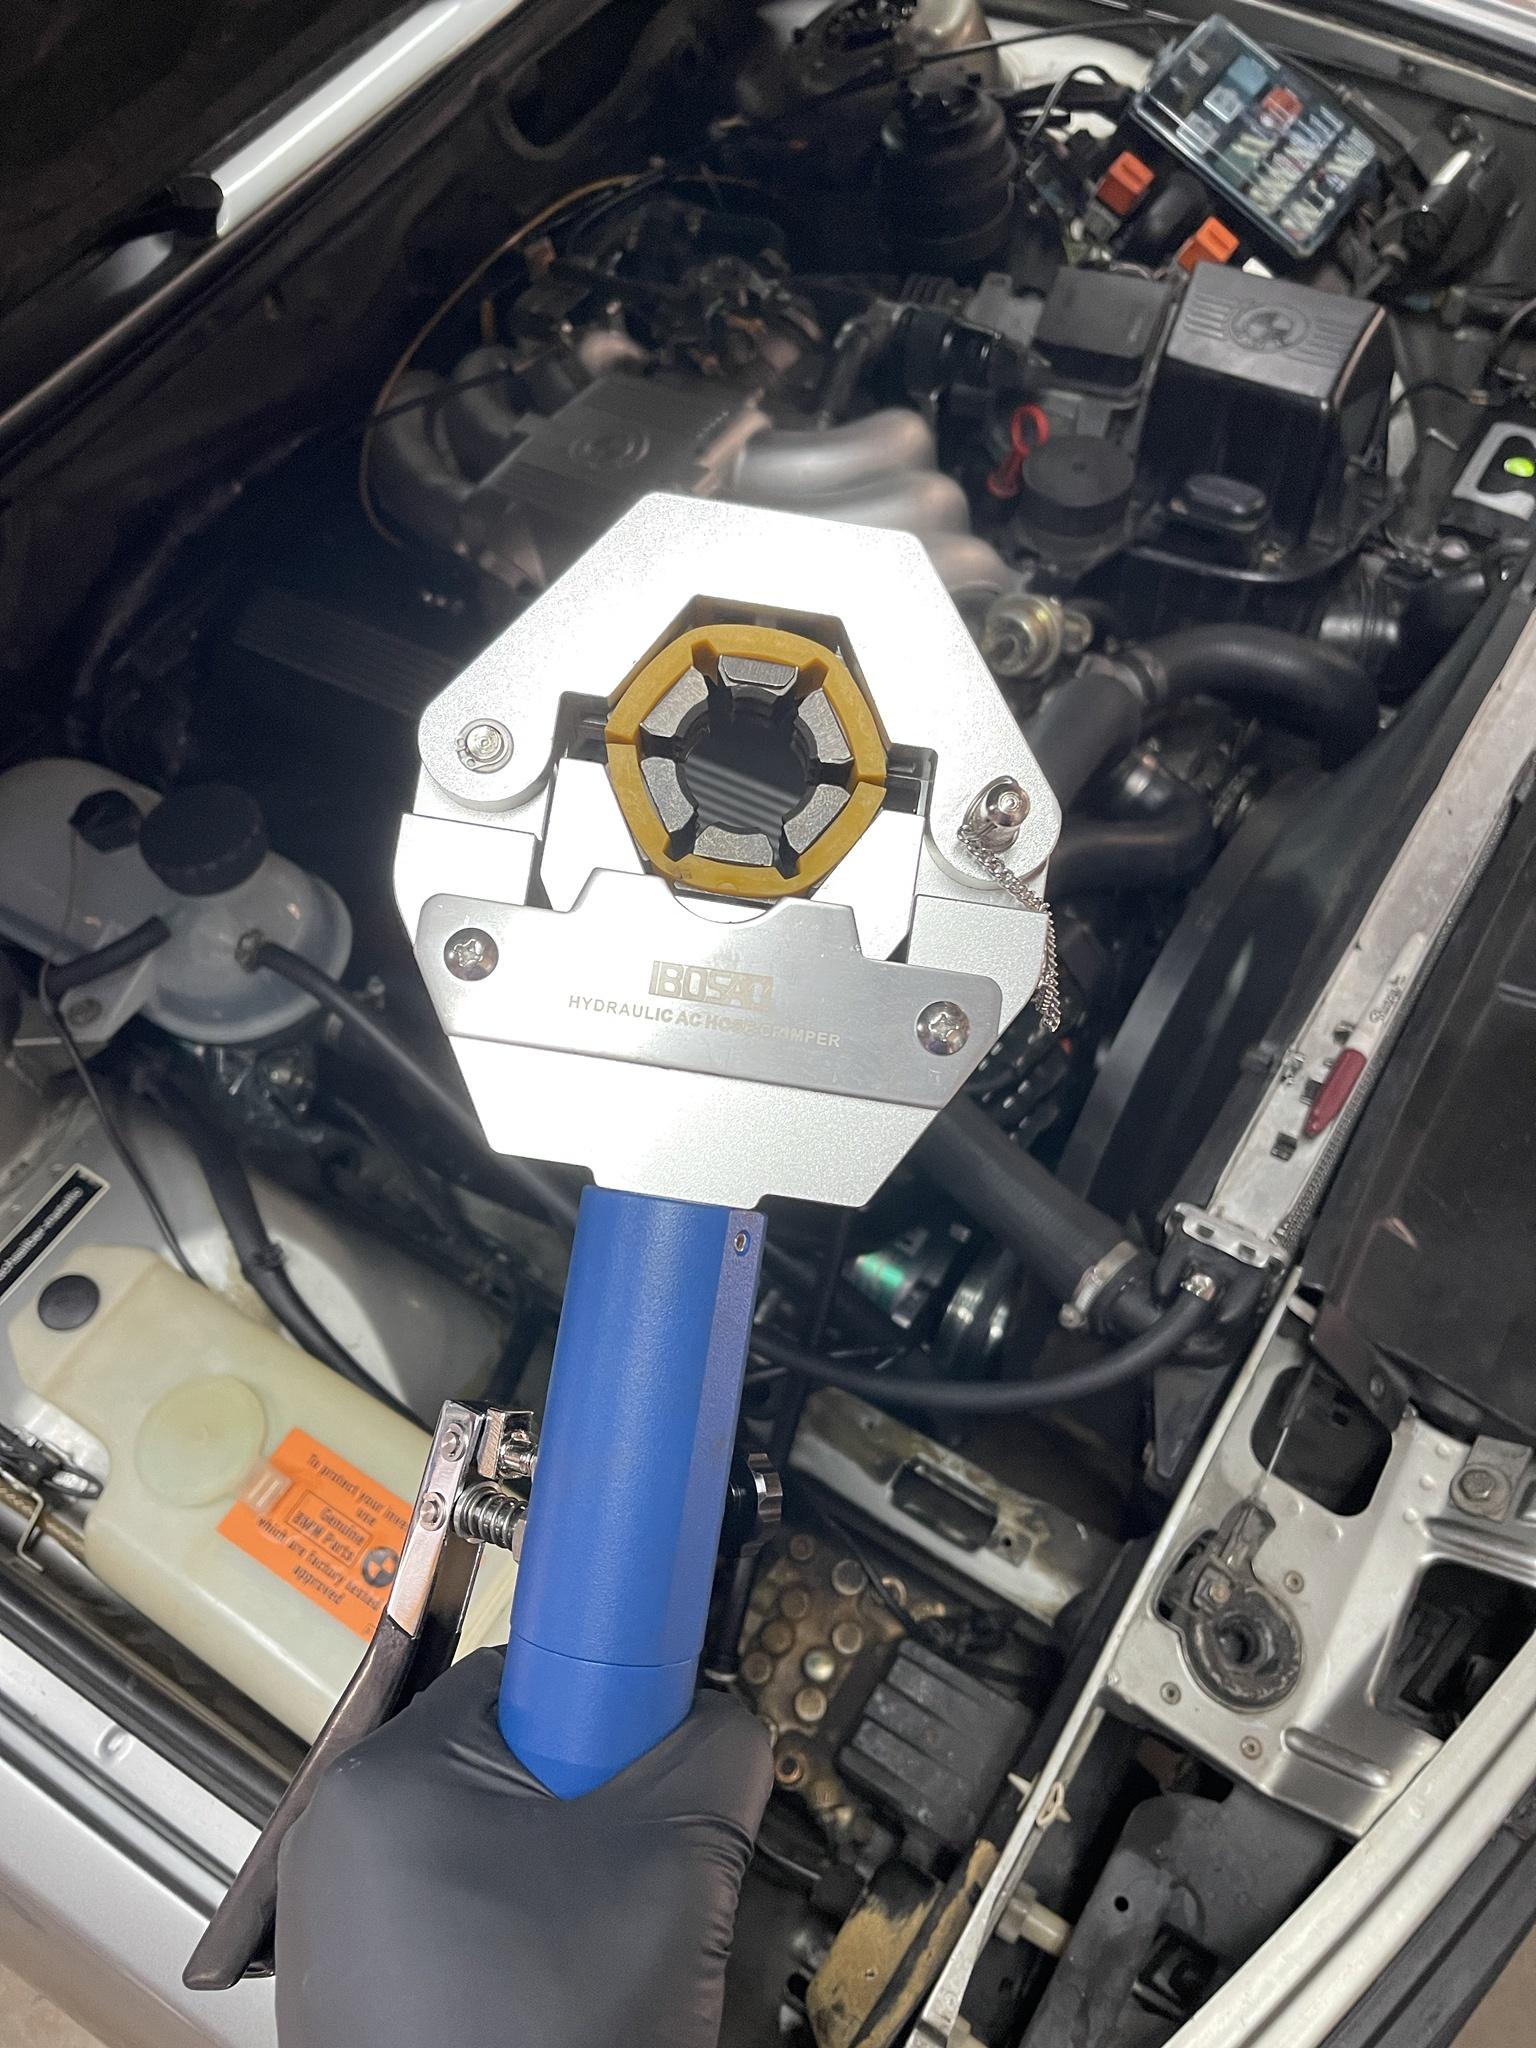
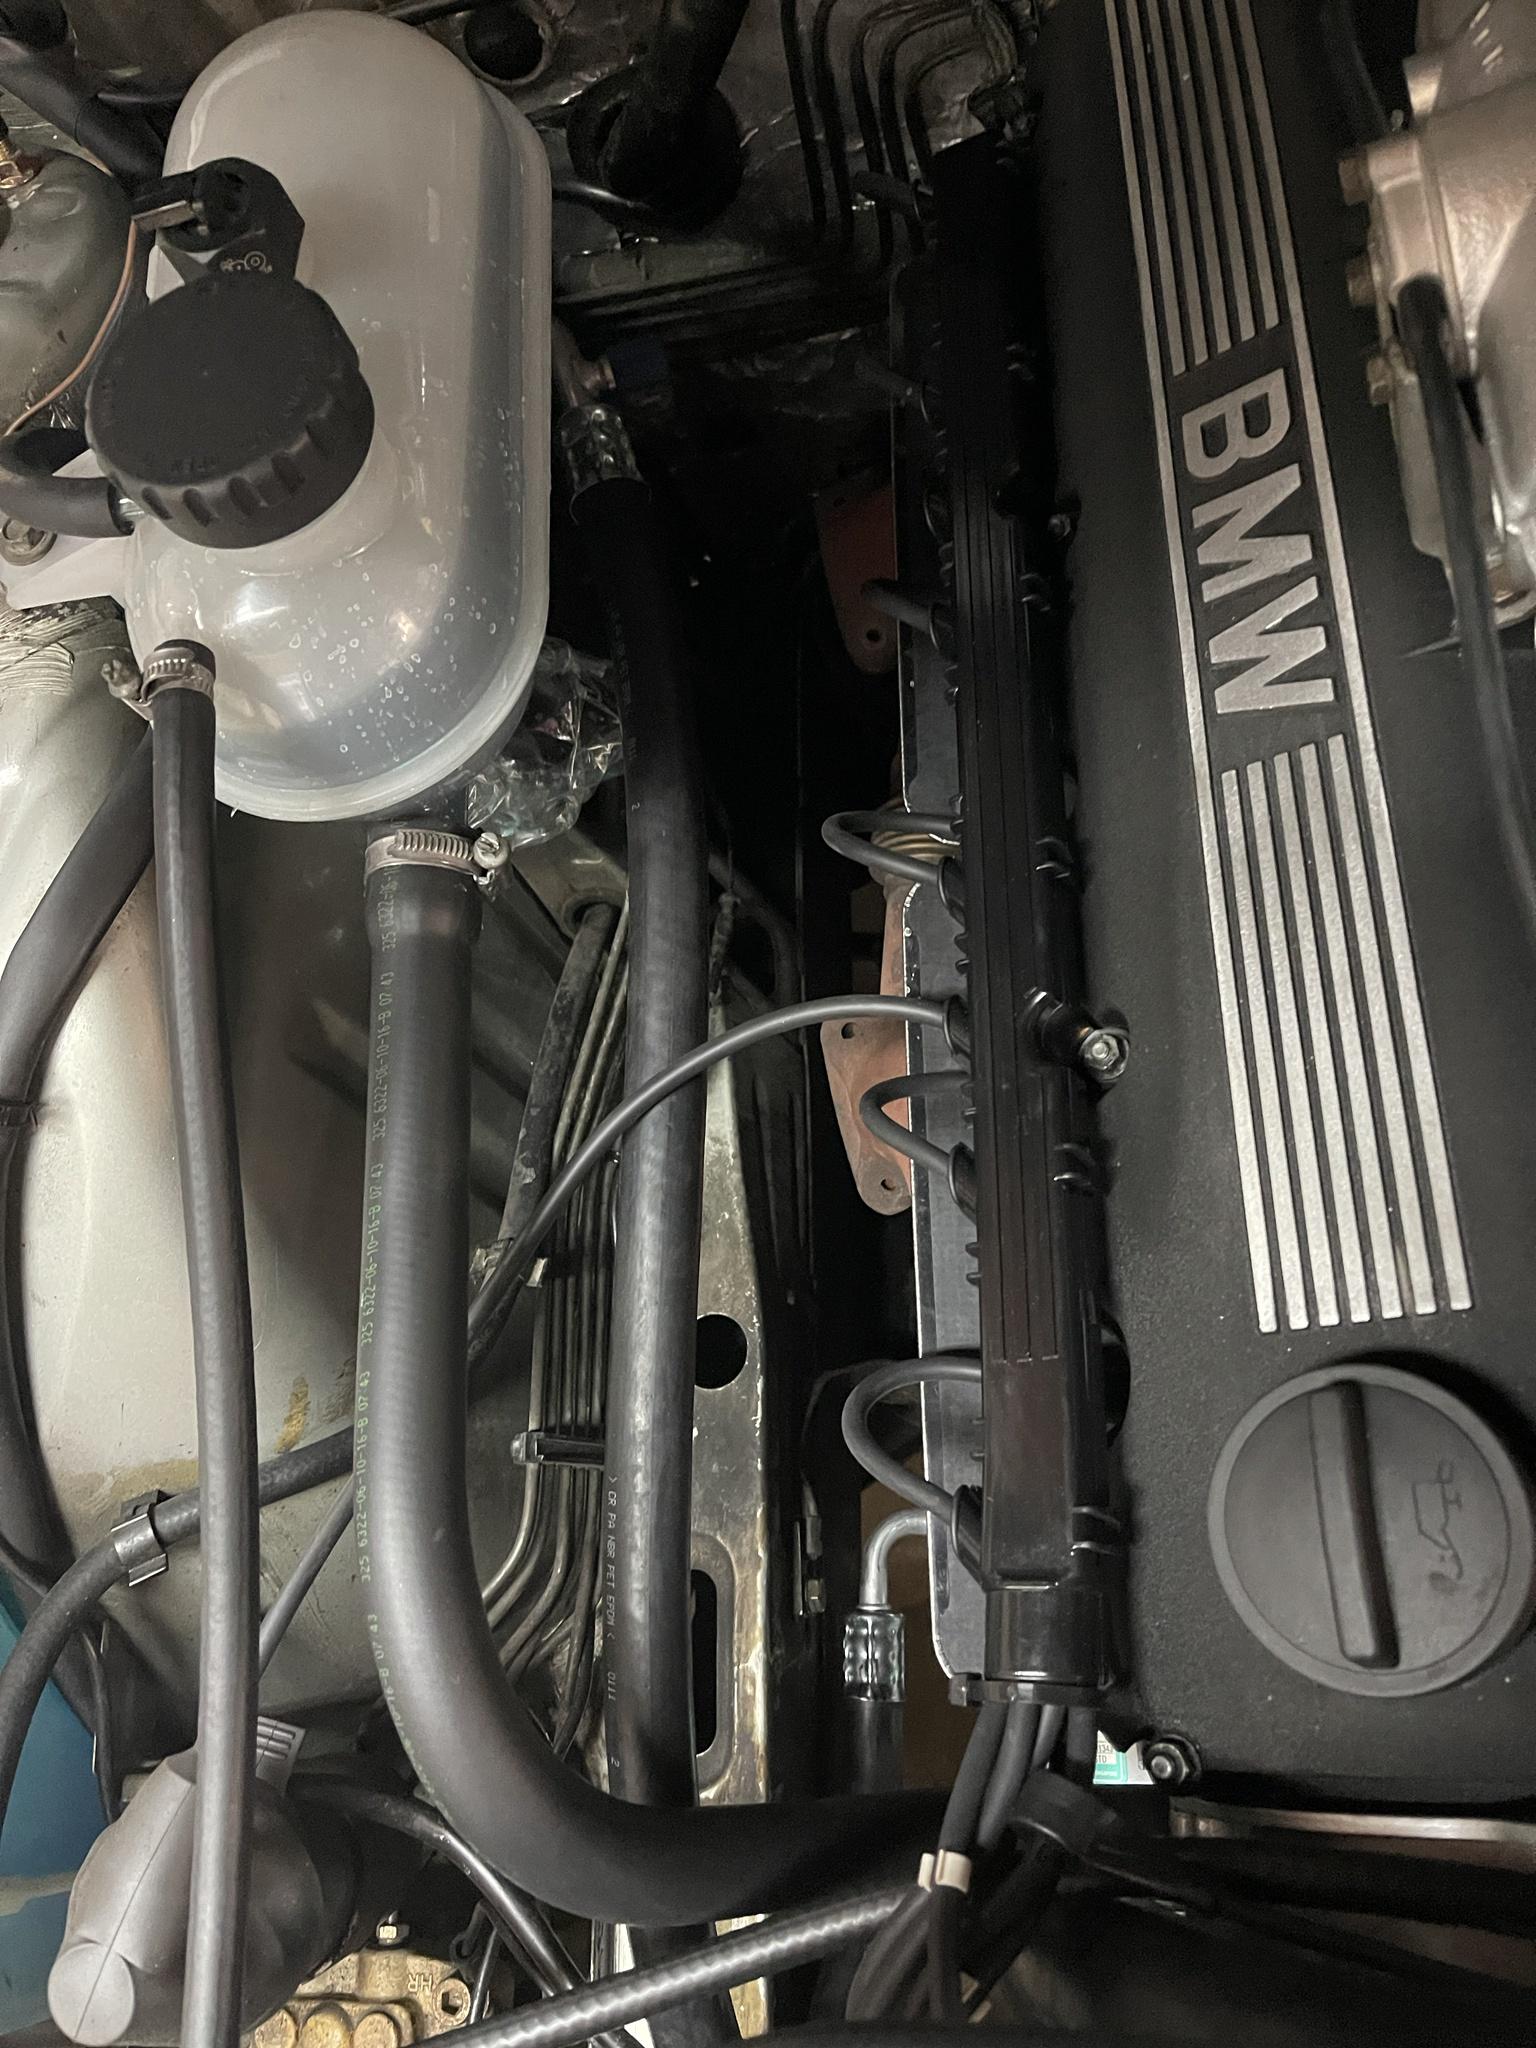
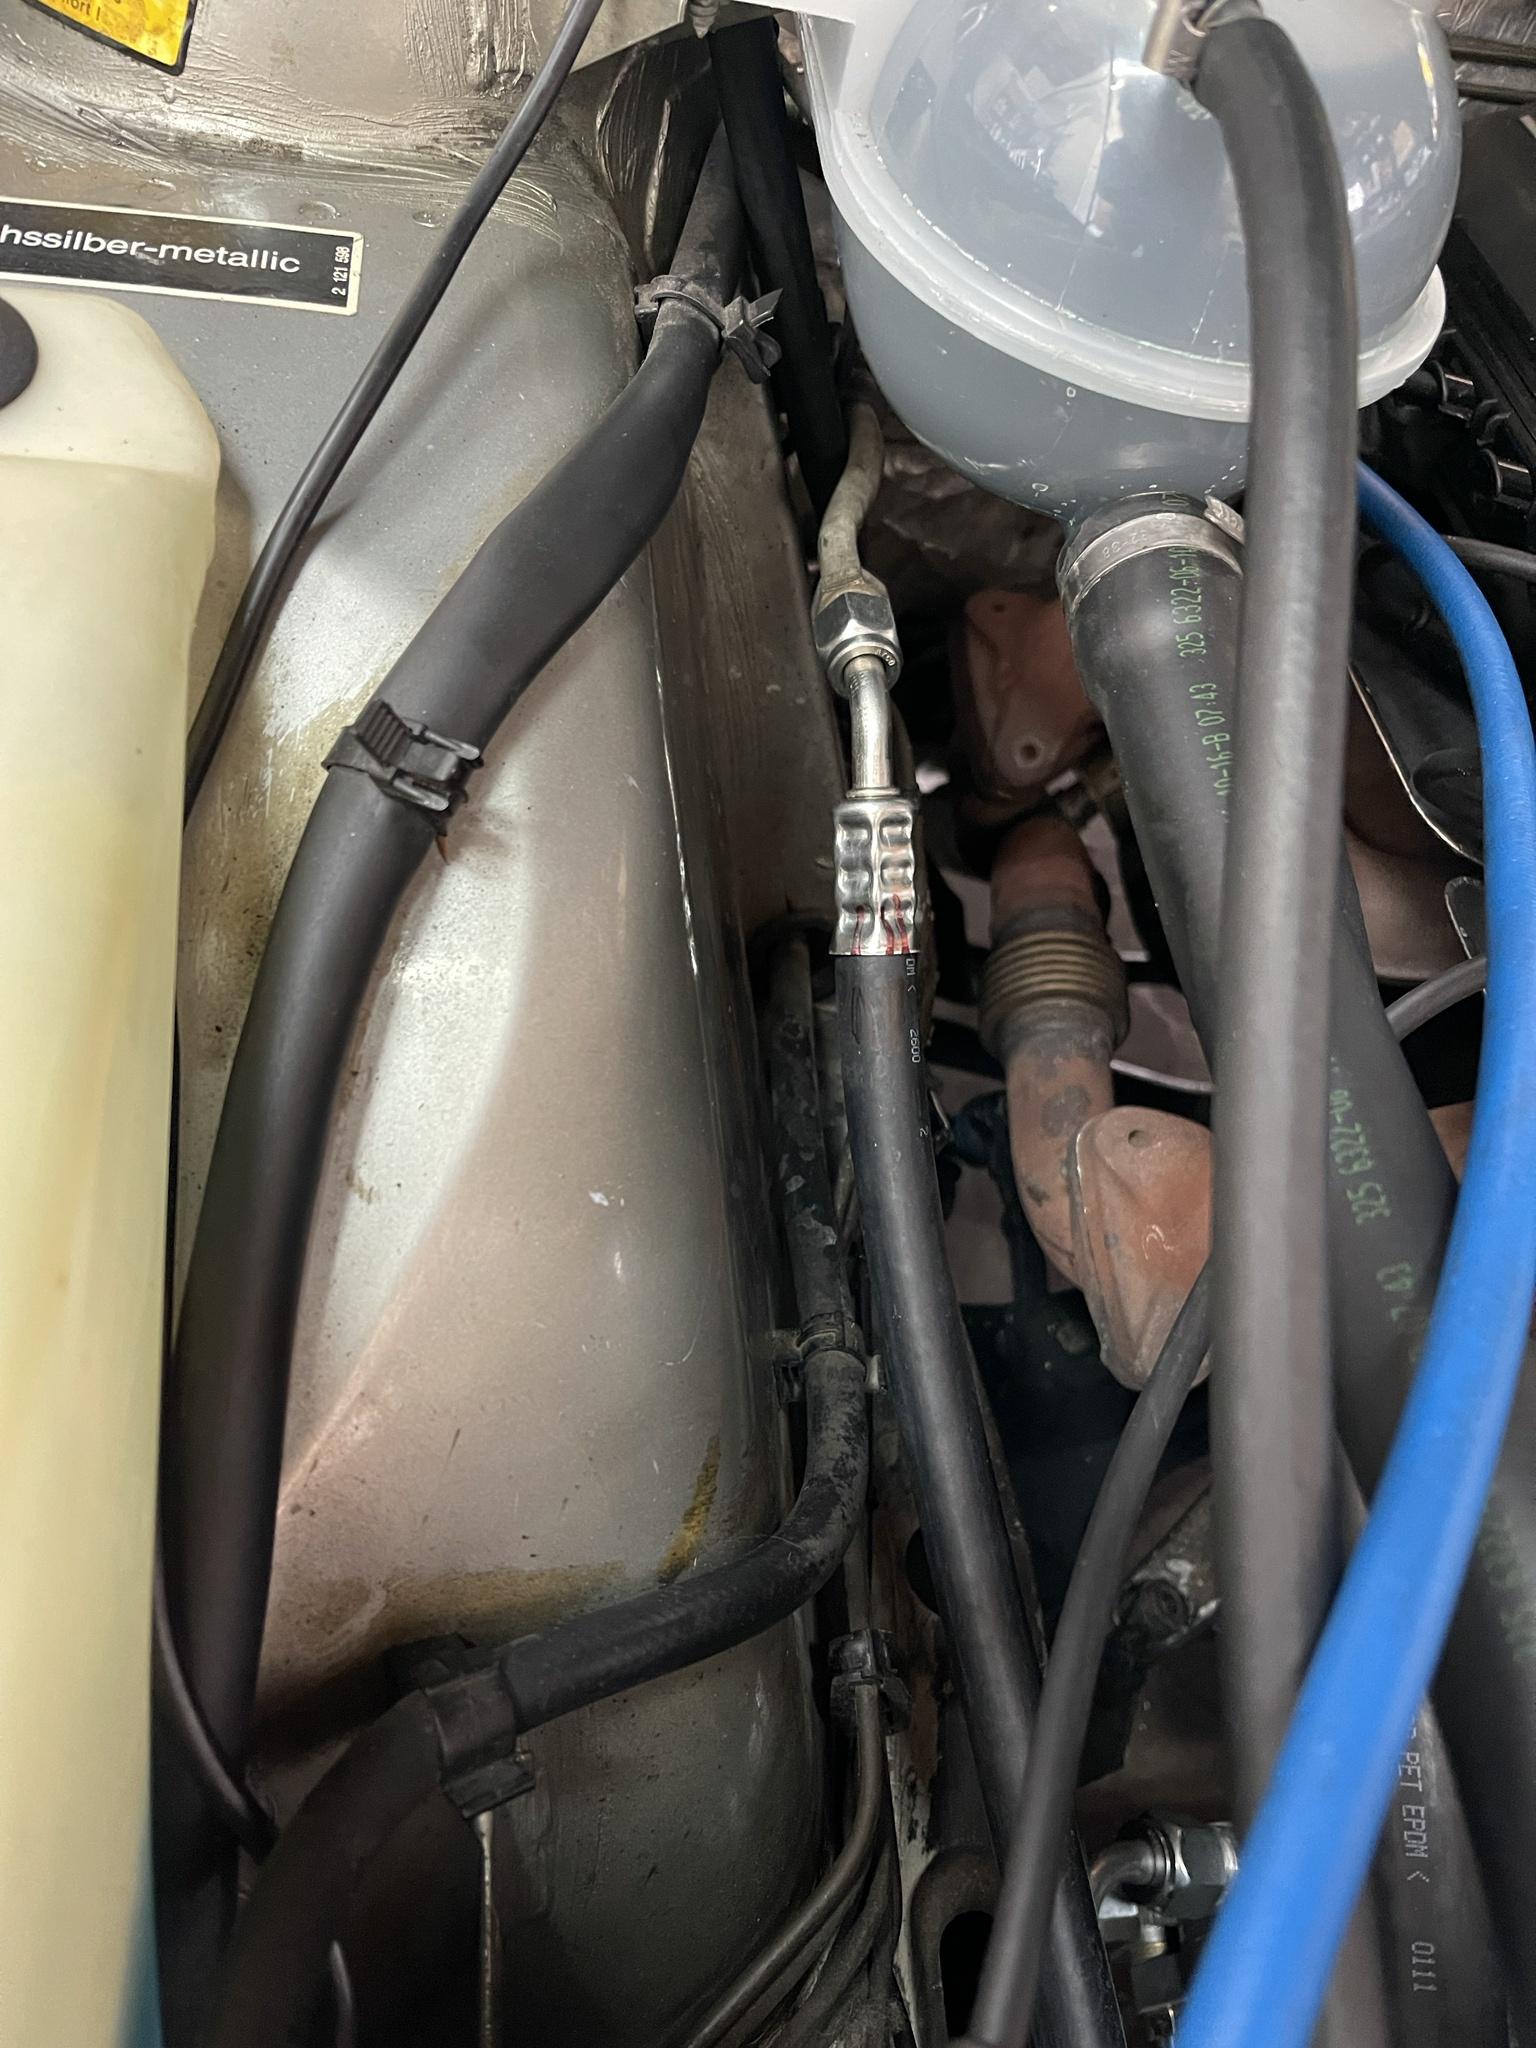
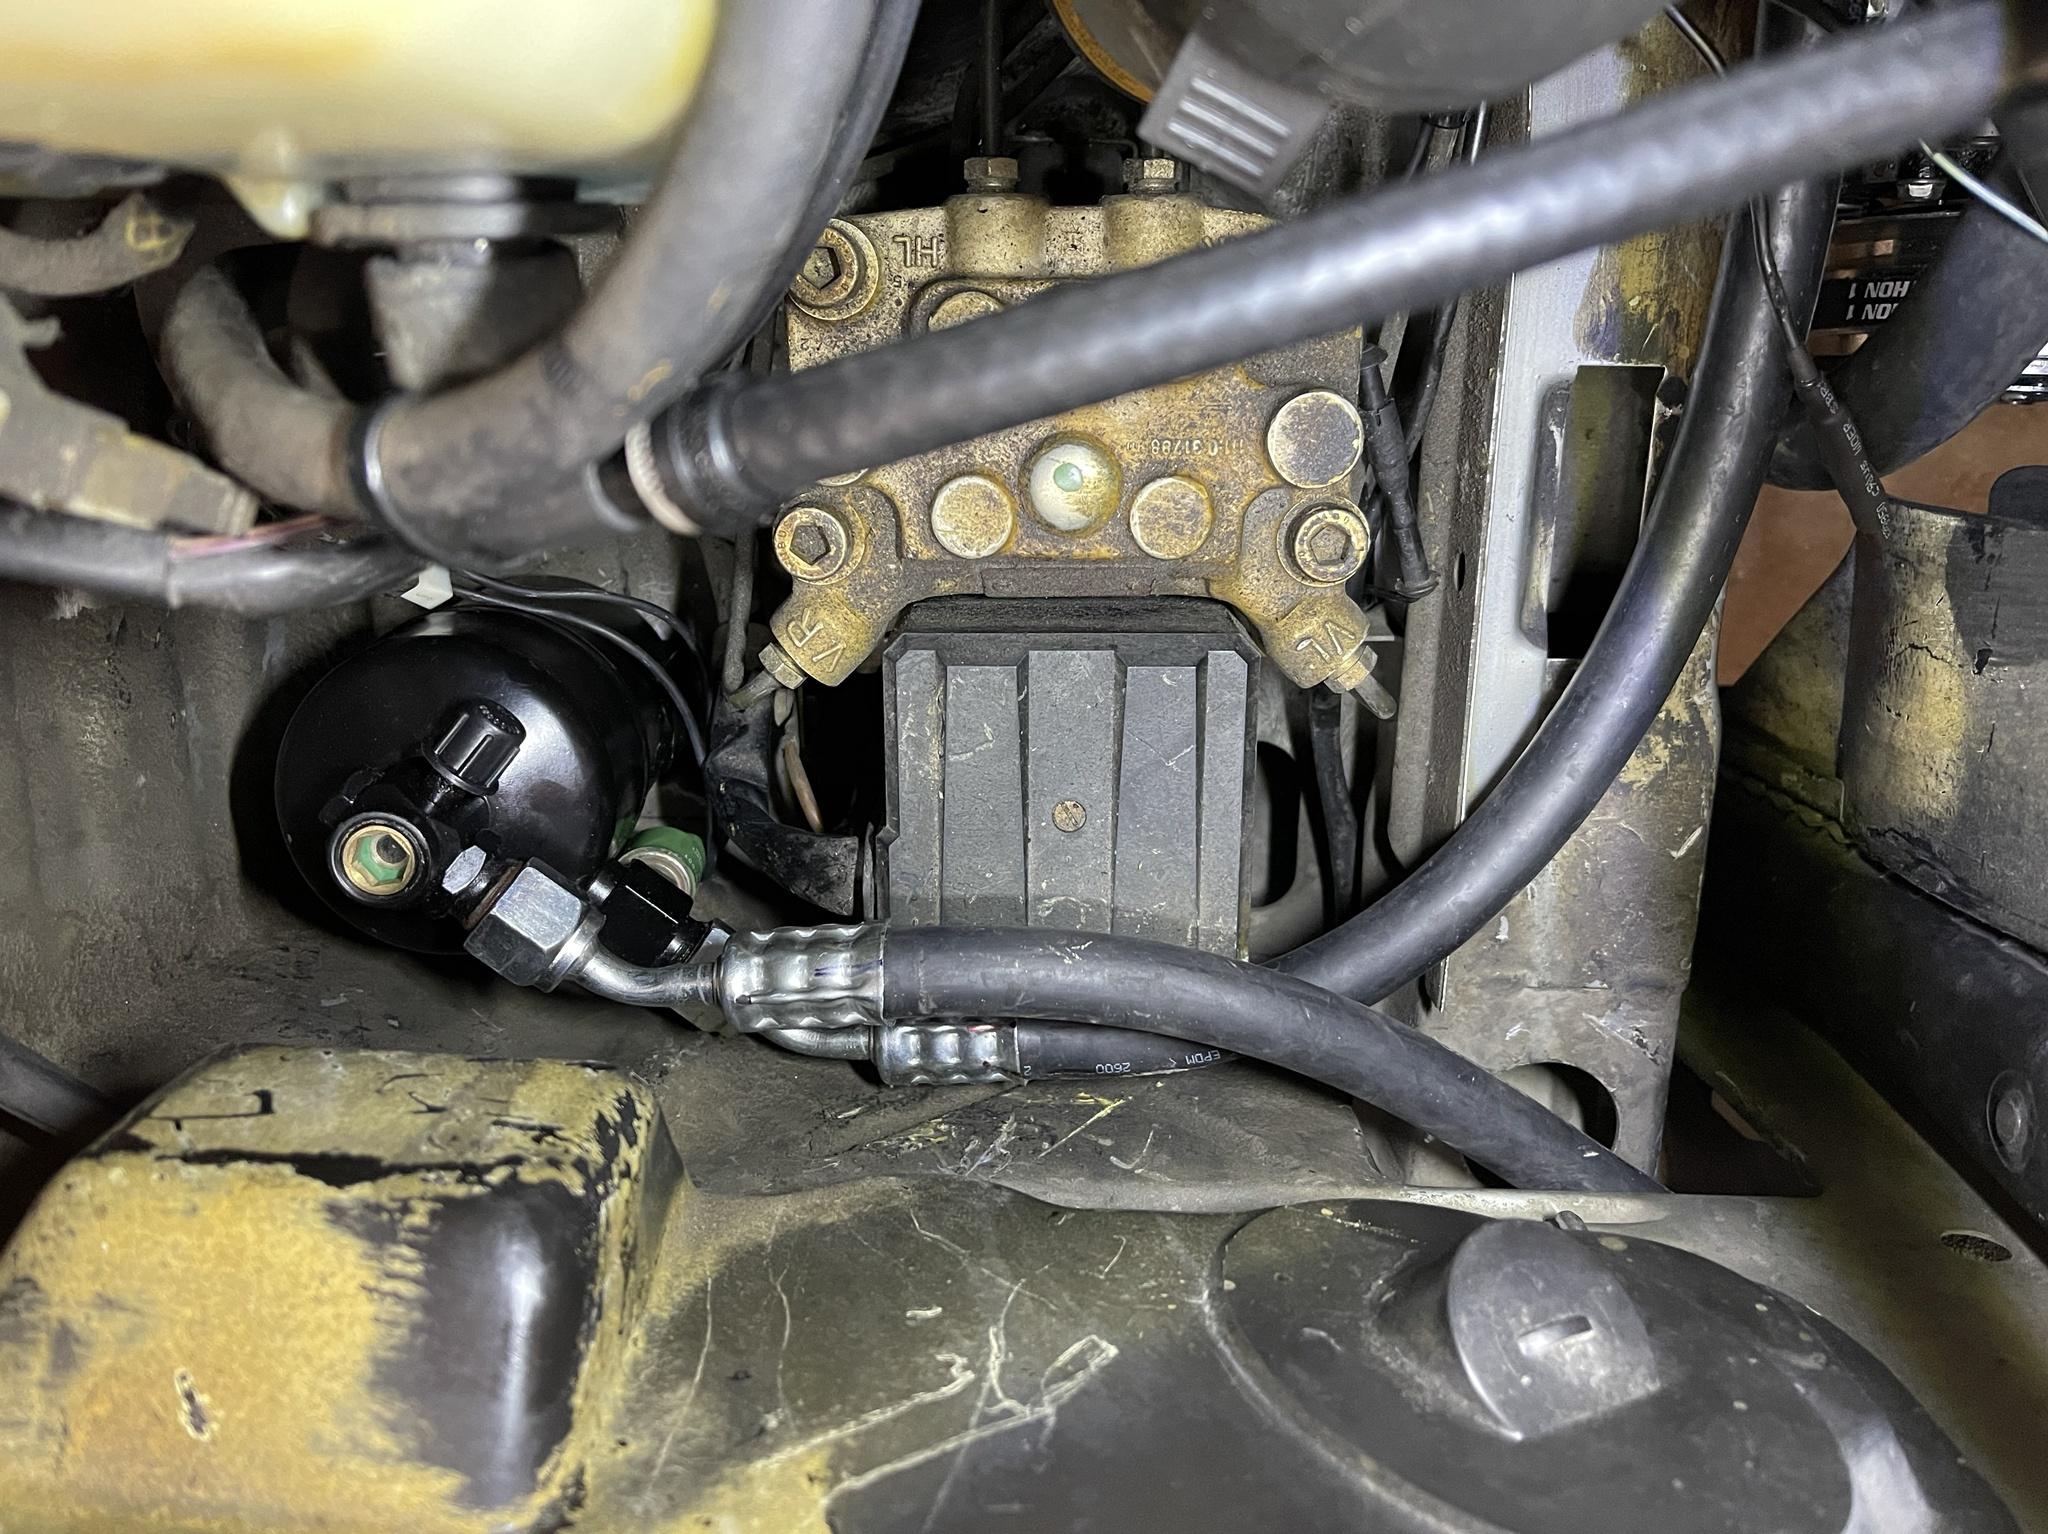
I ordered an A/C hose crimper off of Amazon and it worked perfectly, and had no issues with any of the lines leaking. Put in a new receiver drier, expansion valve, and flushed all the remaining lines out.

Image

Image

Image

Image

Image

Image

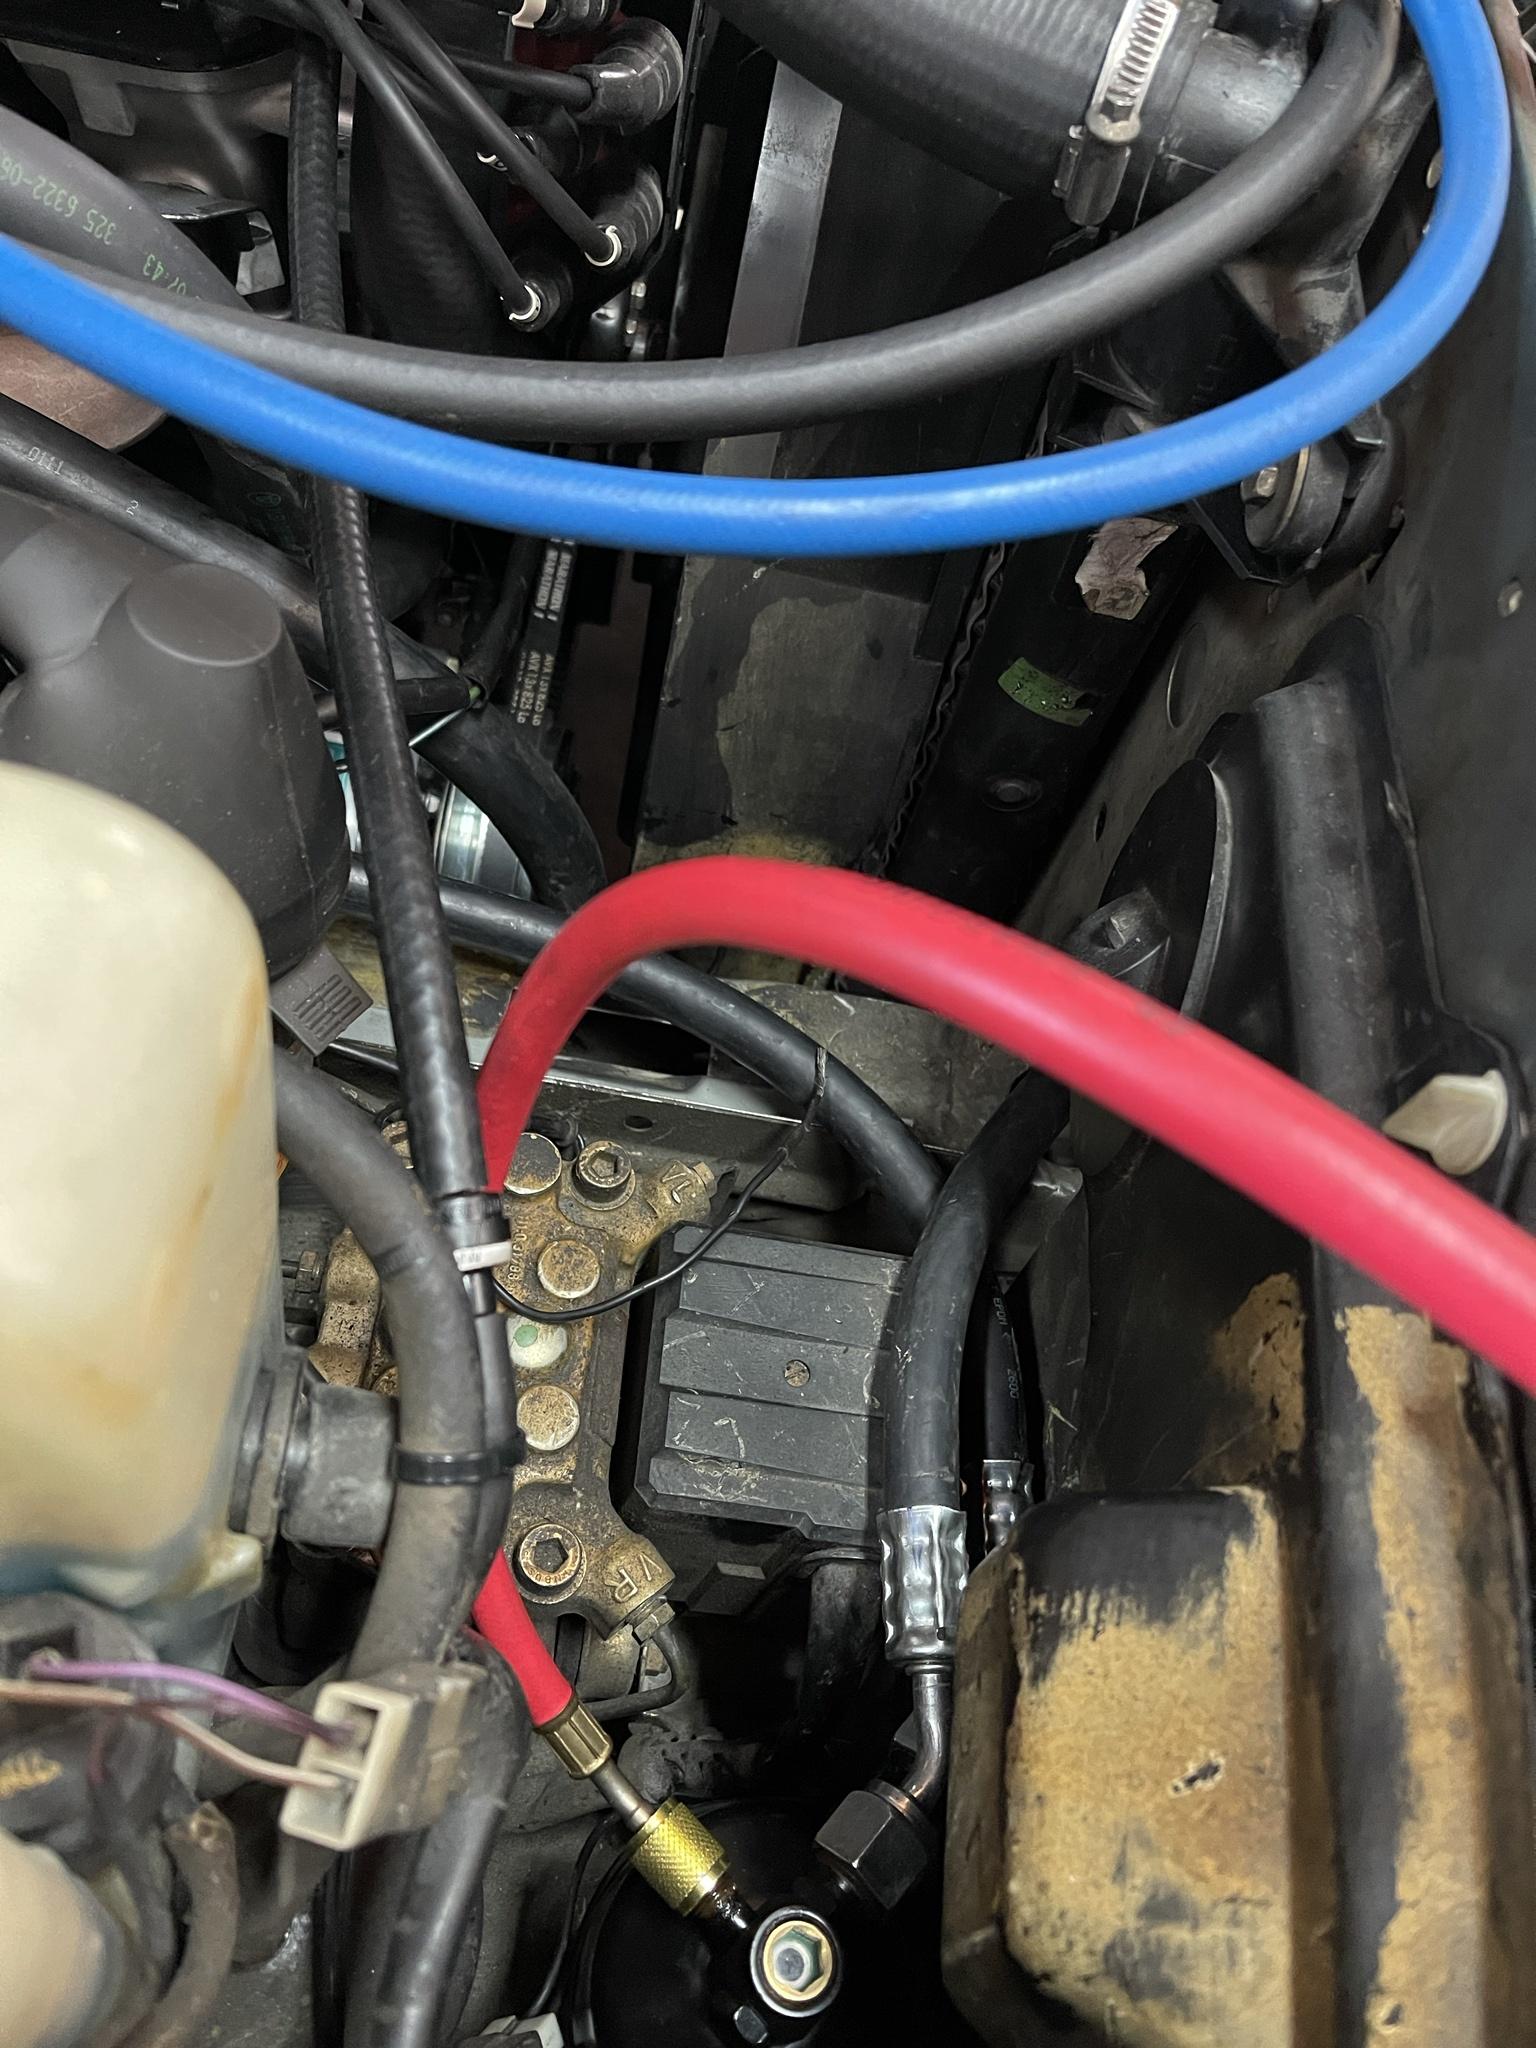
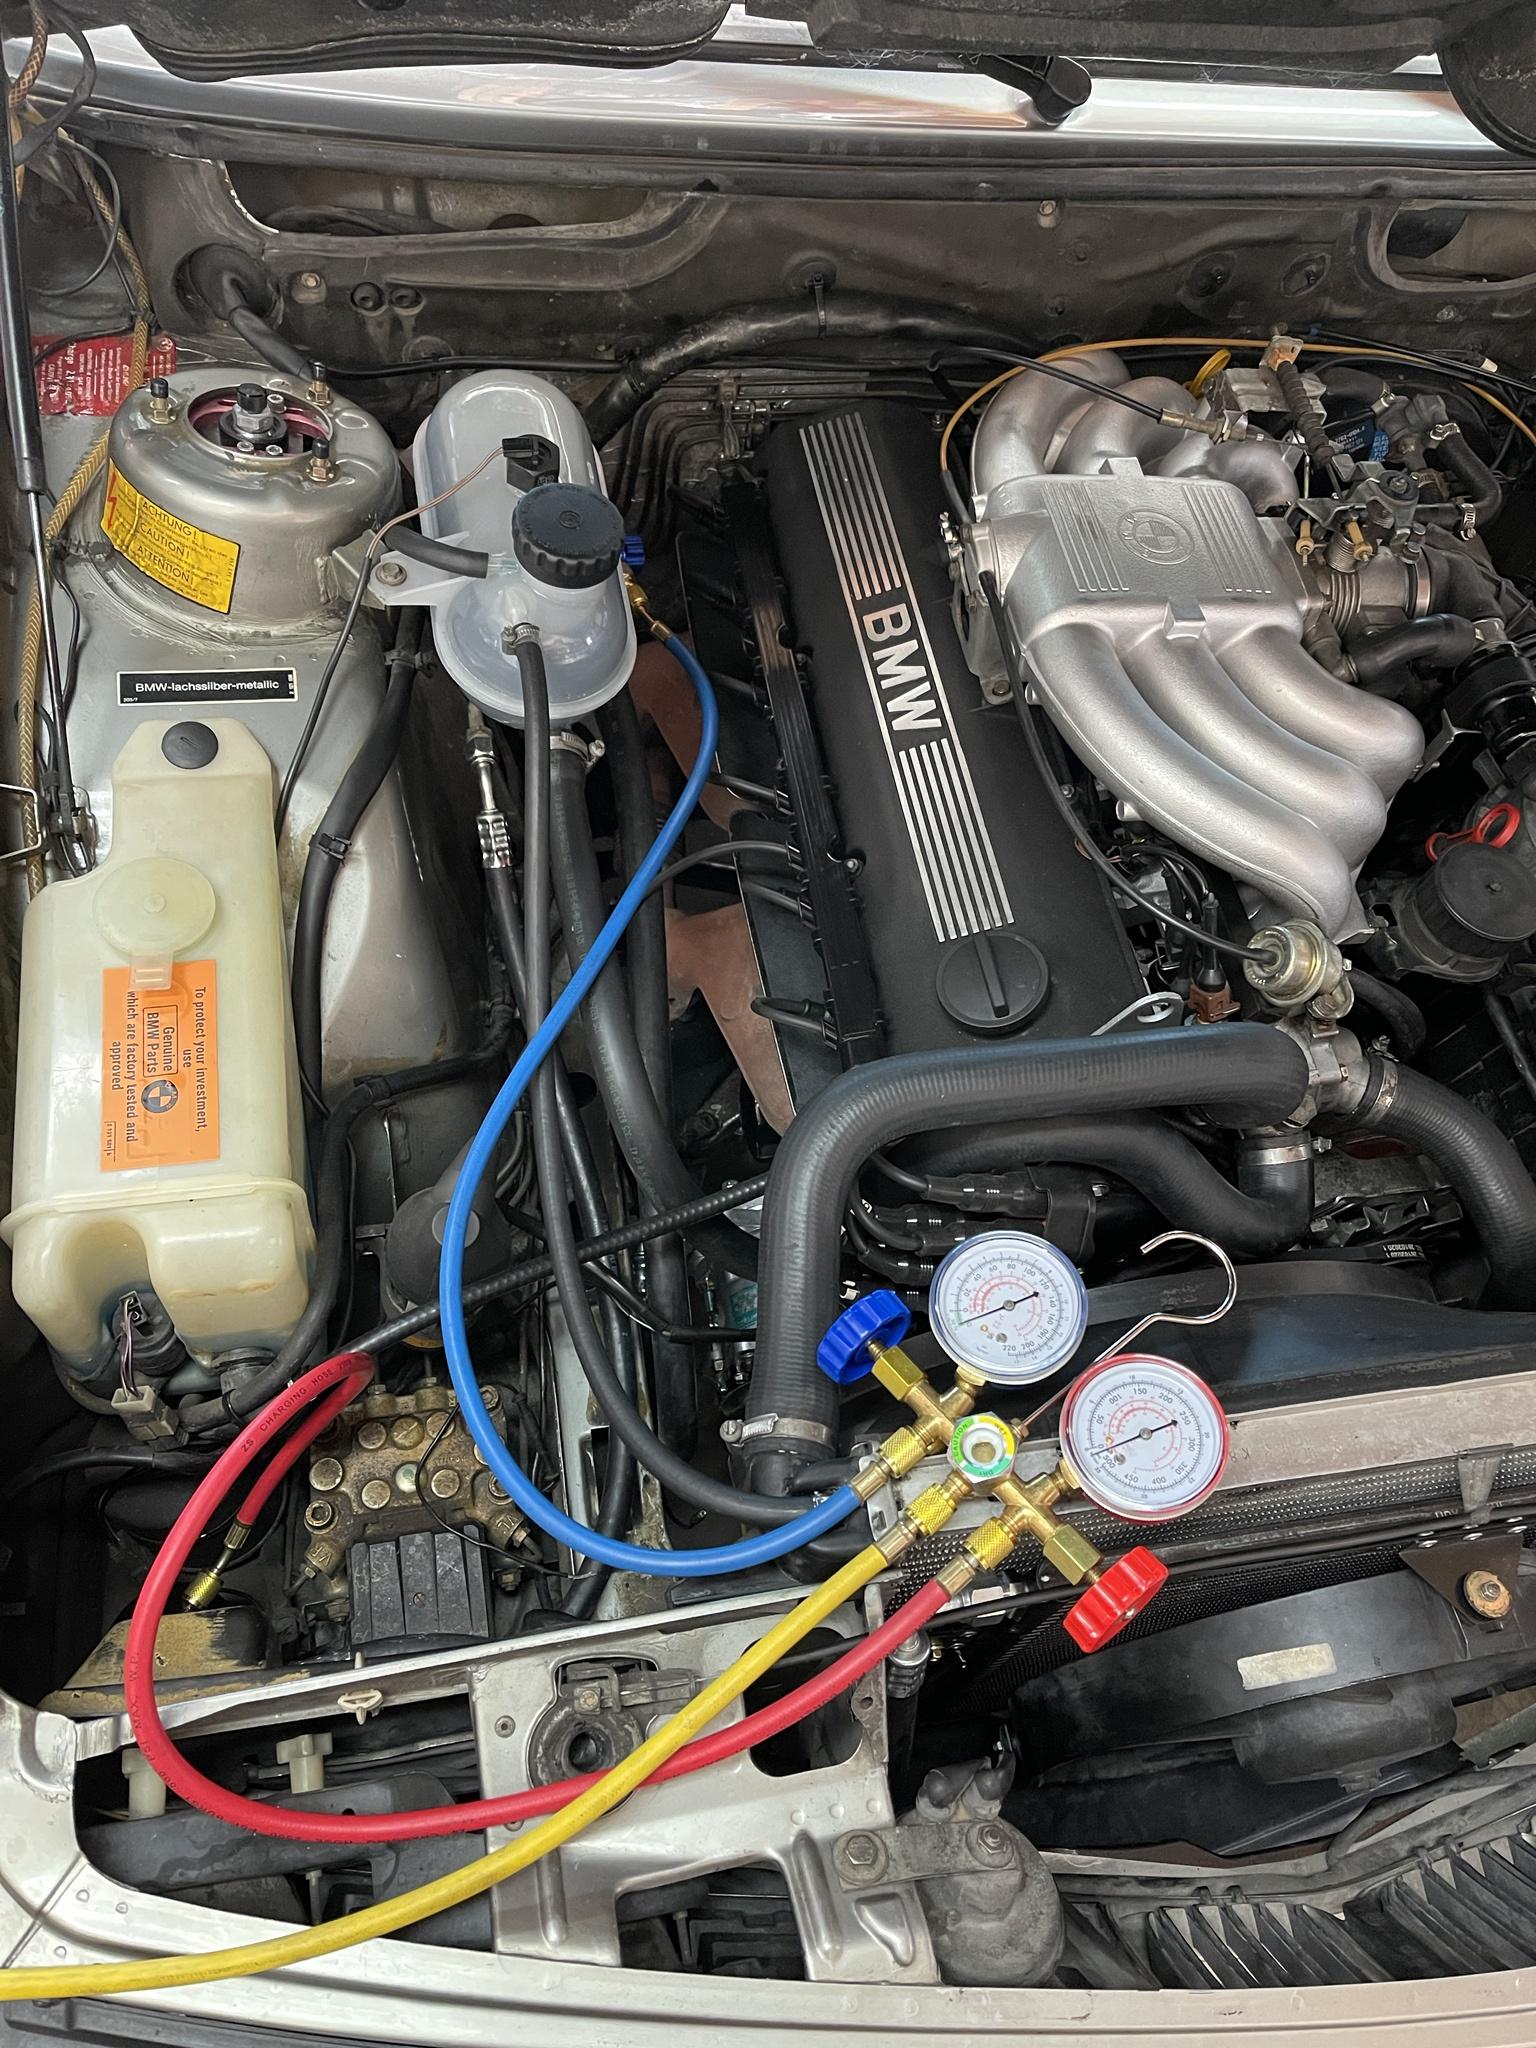
I vacuumed down the system for 45 minutes and then let it sit to see if there were any leaks for about 2 hours, there were no leaks so I proceeded to fill the system up with 80% of the capacity of the system. That came out perfectly to about 36 oz or 3 cans of R134A.

Image

Image

Filling up the system, I just used R-134A and not any of the other gases that have been found to work. I have not yet put a thermometer up to the vents to check the temperature, but it blows very cold just in time for summer.

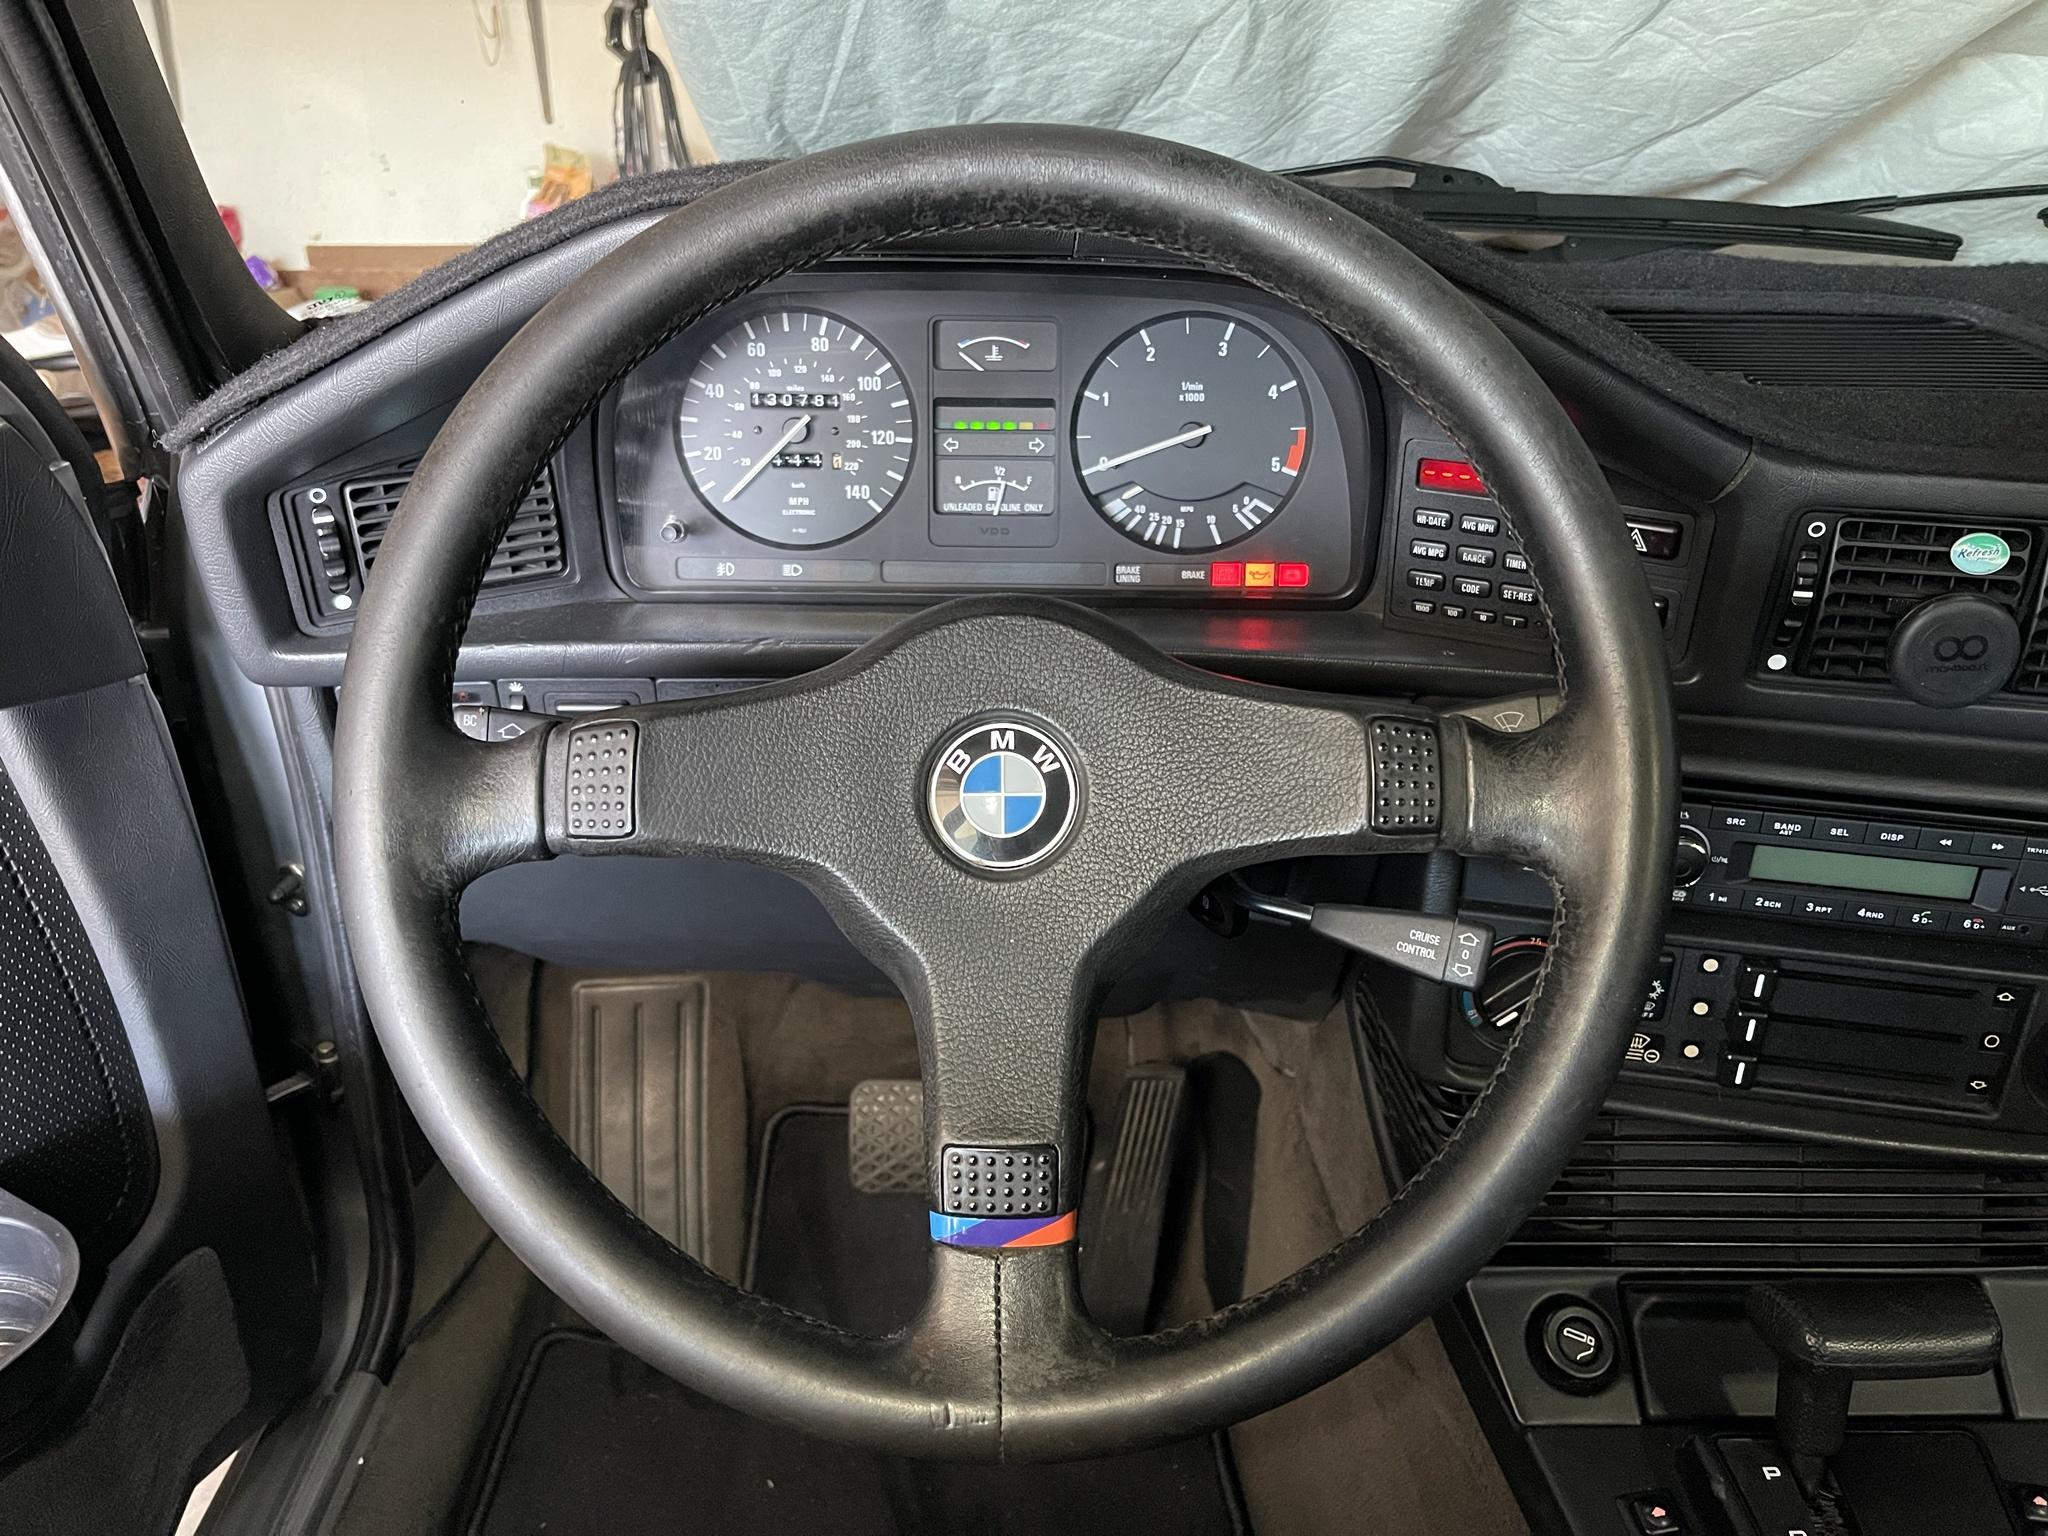
Also found a crazy deal on an mtech spoiler and mtech 1 steering wheel that I couldn't pass up with parts getting harder to find and more expensive than before.

Image

Image
Last edited by mnnguy on Jul 07, 2021 2:05 AM, edited 2 times in total.
alps
Posts: 112
Joined: Oct 03, 2020 12:47 AM
Location: Los Angeles
Contact:

Re: Never-Ending Project e28 528e

Post by alps »

Steering wheel looks great, same with the AC install. Paint too, everything really, haha! Well done.

A couple questions if you don't mind:

Where'd you get the dash cover? It looks good...
Who'd you use for paint? I'm in the LA area too and getting the itch to paint mine.
mnnguy
Posts: 57
Joined: Sep 07, 2016 1:34 AM
Location: Los Angeles

Re: Never-Ending Project e28 528e

Post by mnnguy »

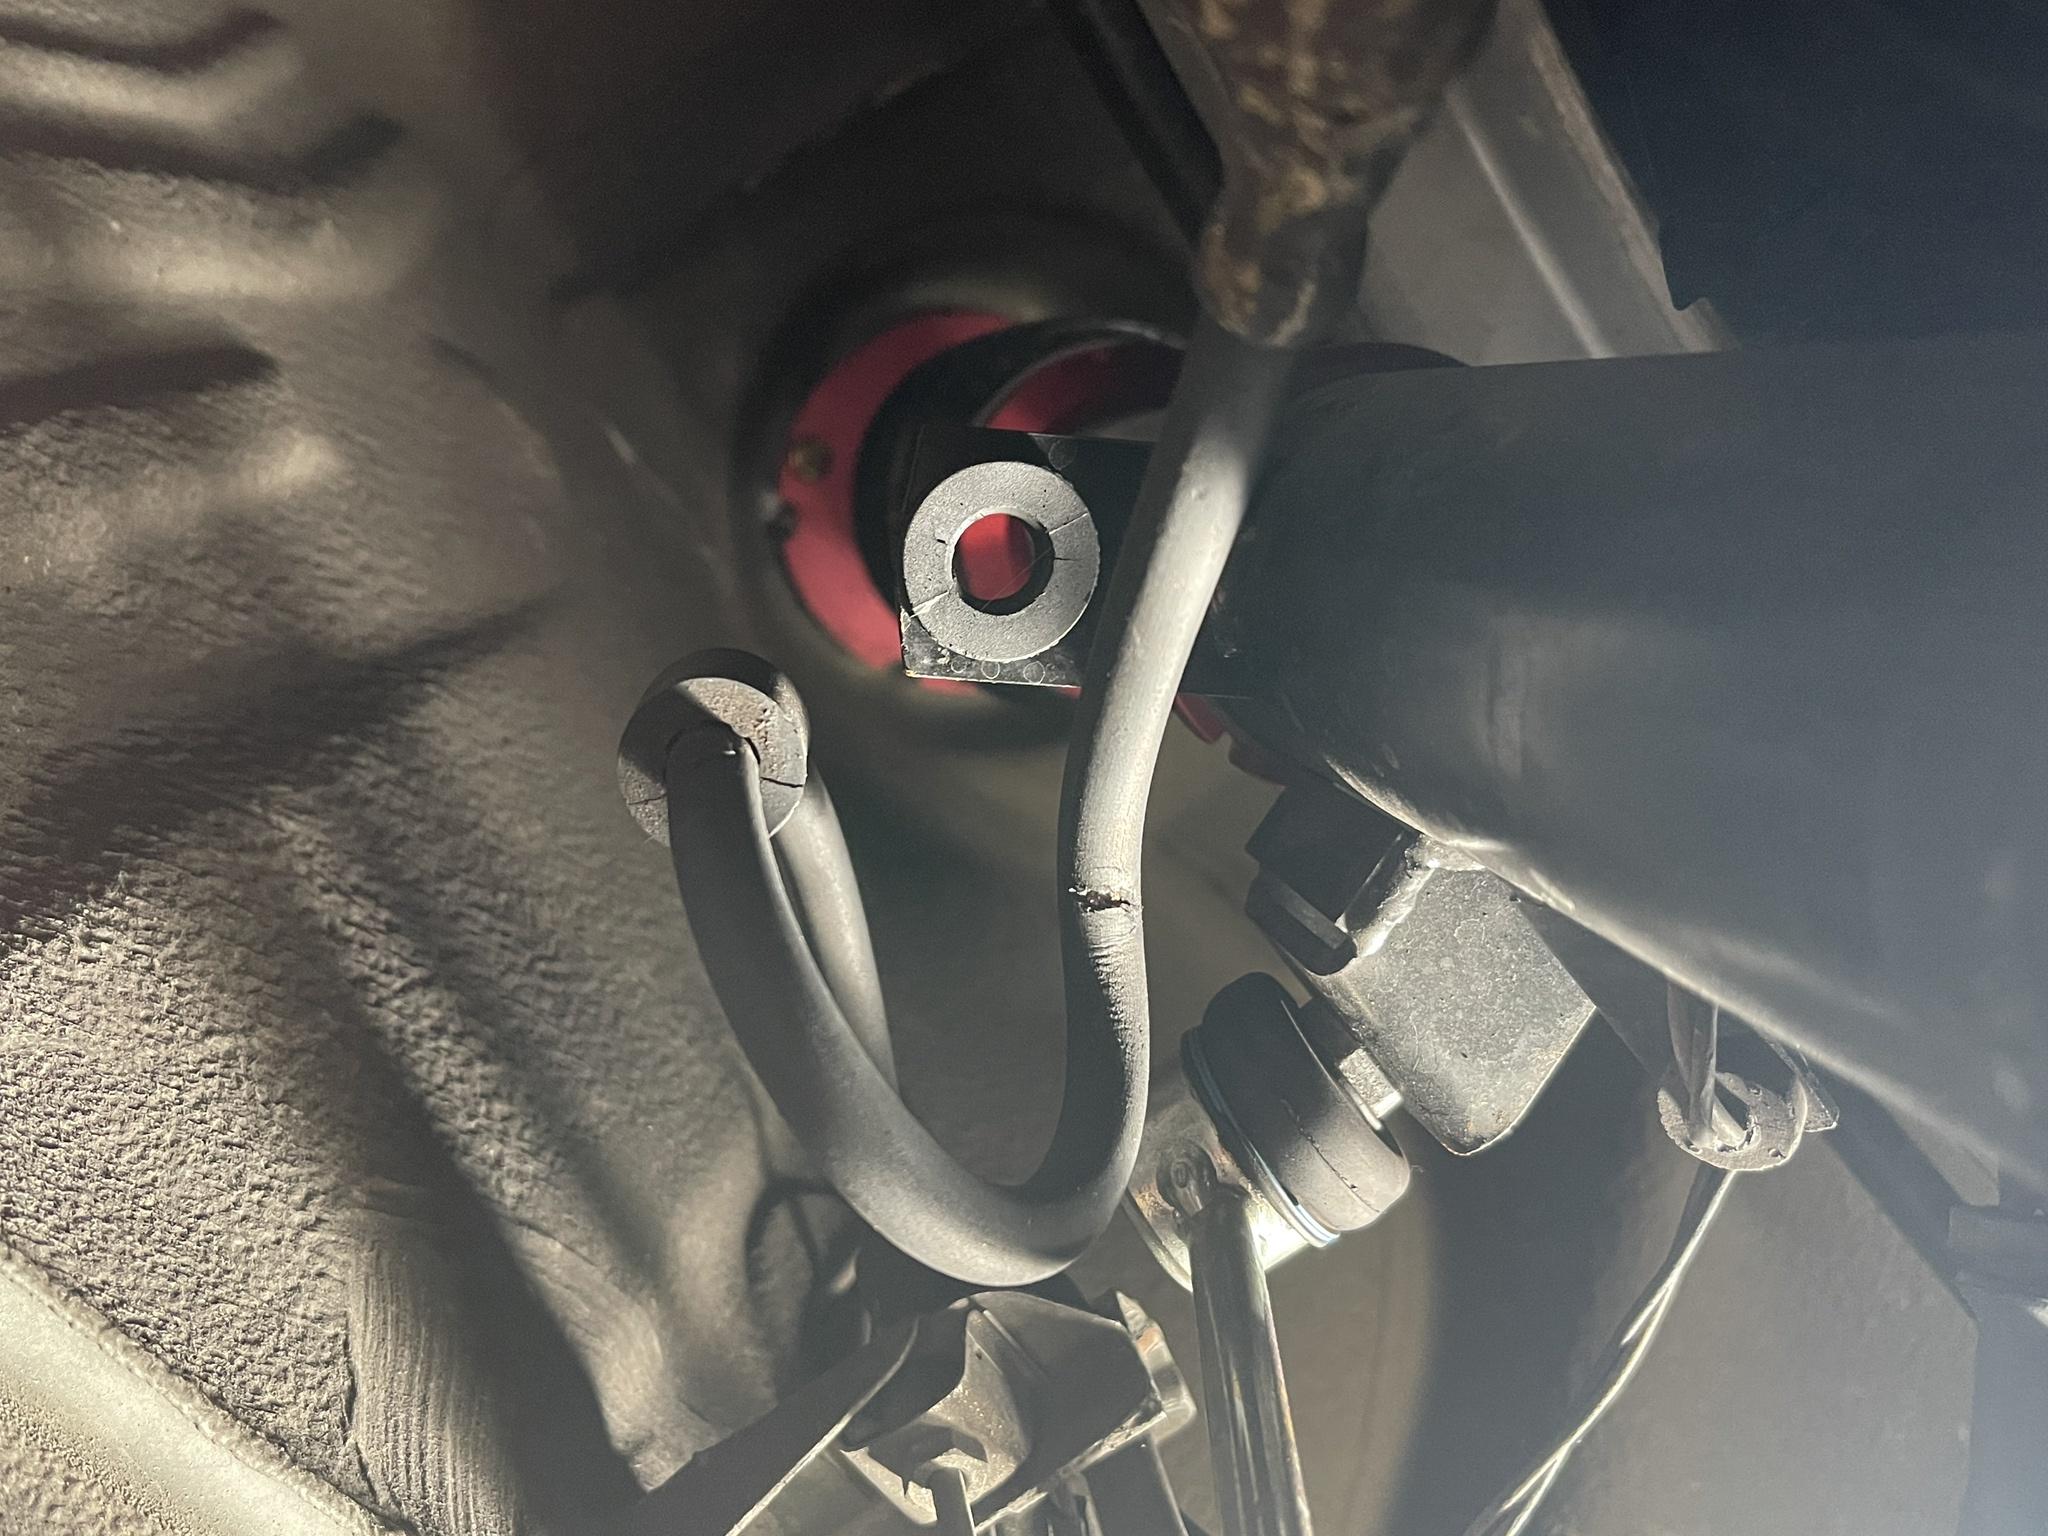
While the car was in the air, found that there was a crack in the front brake hoses line. So I replaced every brake hose front and rear, and flushed the system out and have all new fresh fluid.

Image

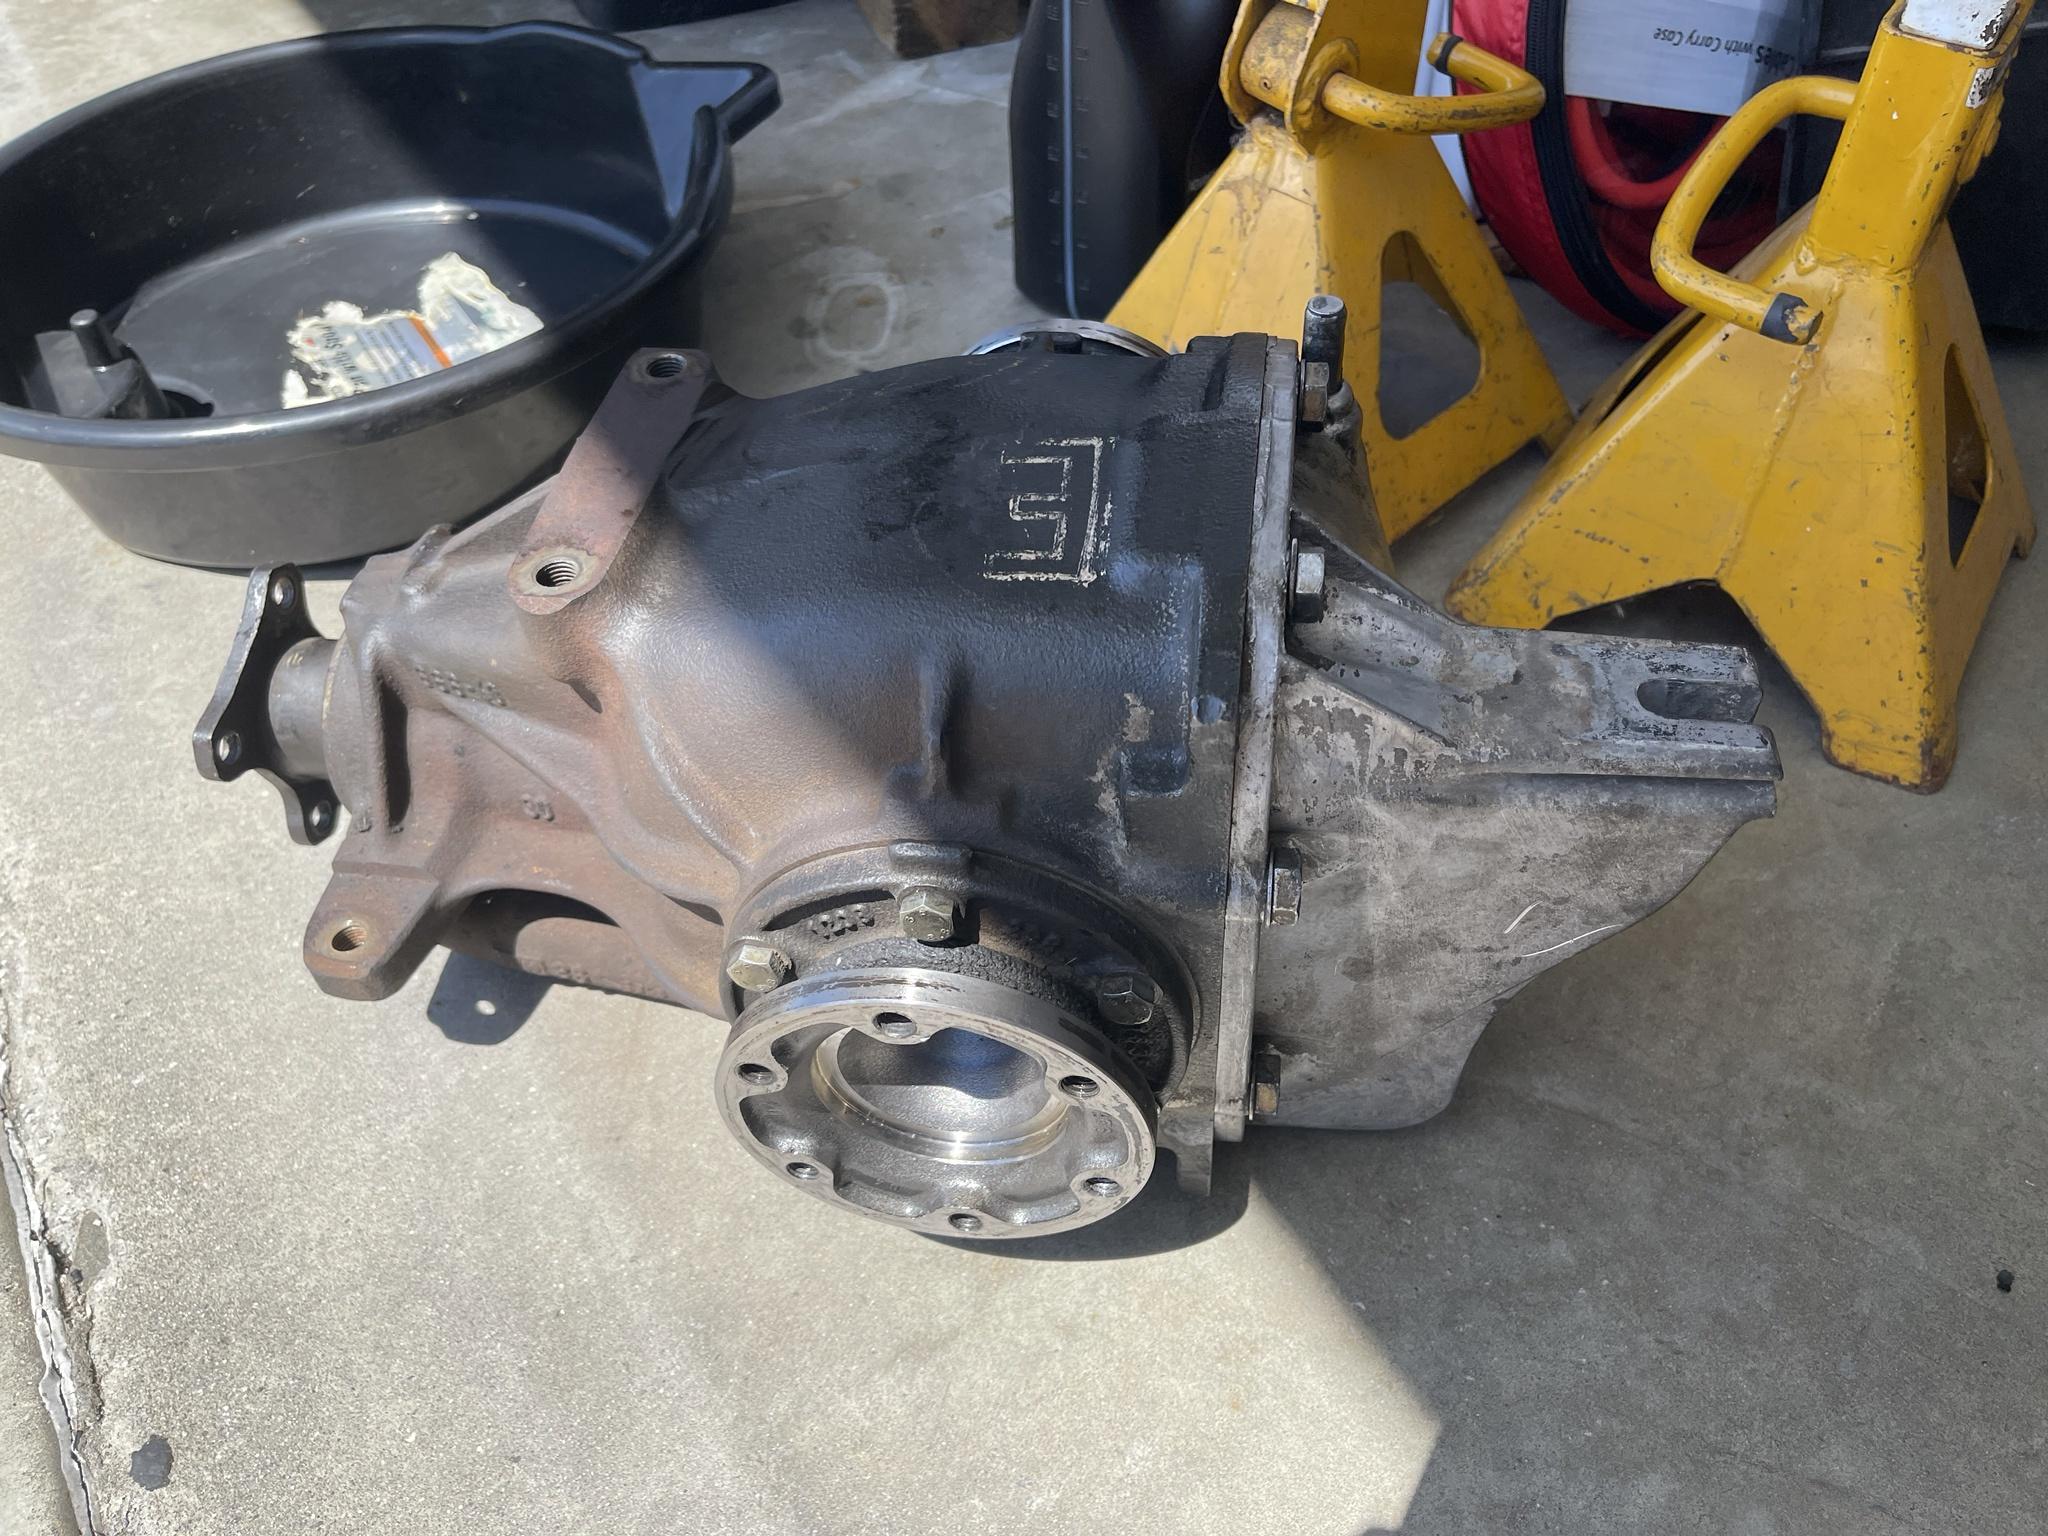
I also installed a new 3.46 differential that I found a really good deal on, even if it is an open unit. Replaced the speed sensor and output shaft O-rings and installed new diff gasket and fresh fluid.

Image

Installing a diff by yourself is a pain, and diff studs do help somewhat. As I was removing the old diff, the back driveshaft somehow pulled out with it even though all the nuts were removed. I had to drop the exhaust and heat shields to be able to pull the driveshaft out to have it in the correct balanced orientation again.

I was chasing down an alternator belt squealing issue as I couldn't figure out what the problem was.
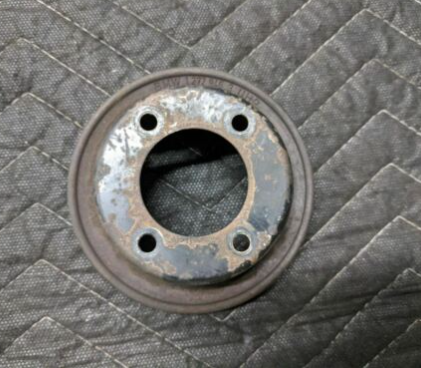
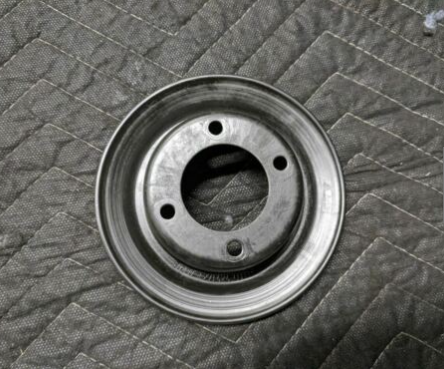
But if you perform the e2i conversion, you need the late model m20 water pump pulley or else the belt will not be long enough.
I'm not sure why, but my car needed the late model pulley, but a friend of mine has the same e28 e2i conversion with the early model pulley, and has perfect tension on the belt. Picture of the size difference is seen below as reference. The late model pulley is approx. 1 in larger in diameter than the ETA one.

Image

Image

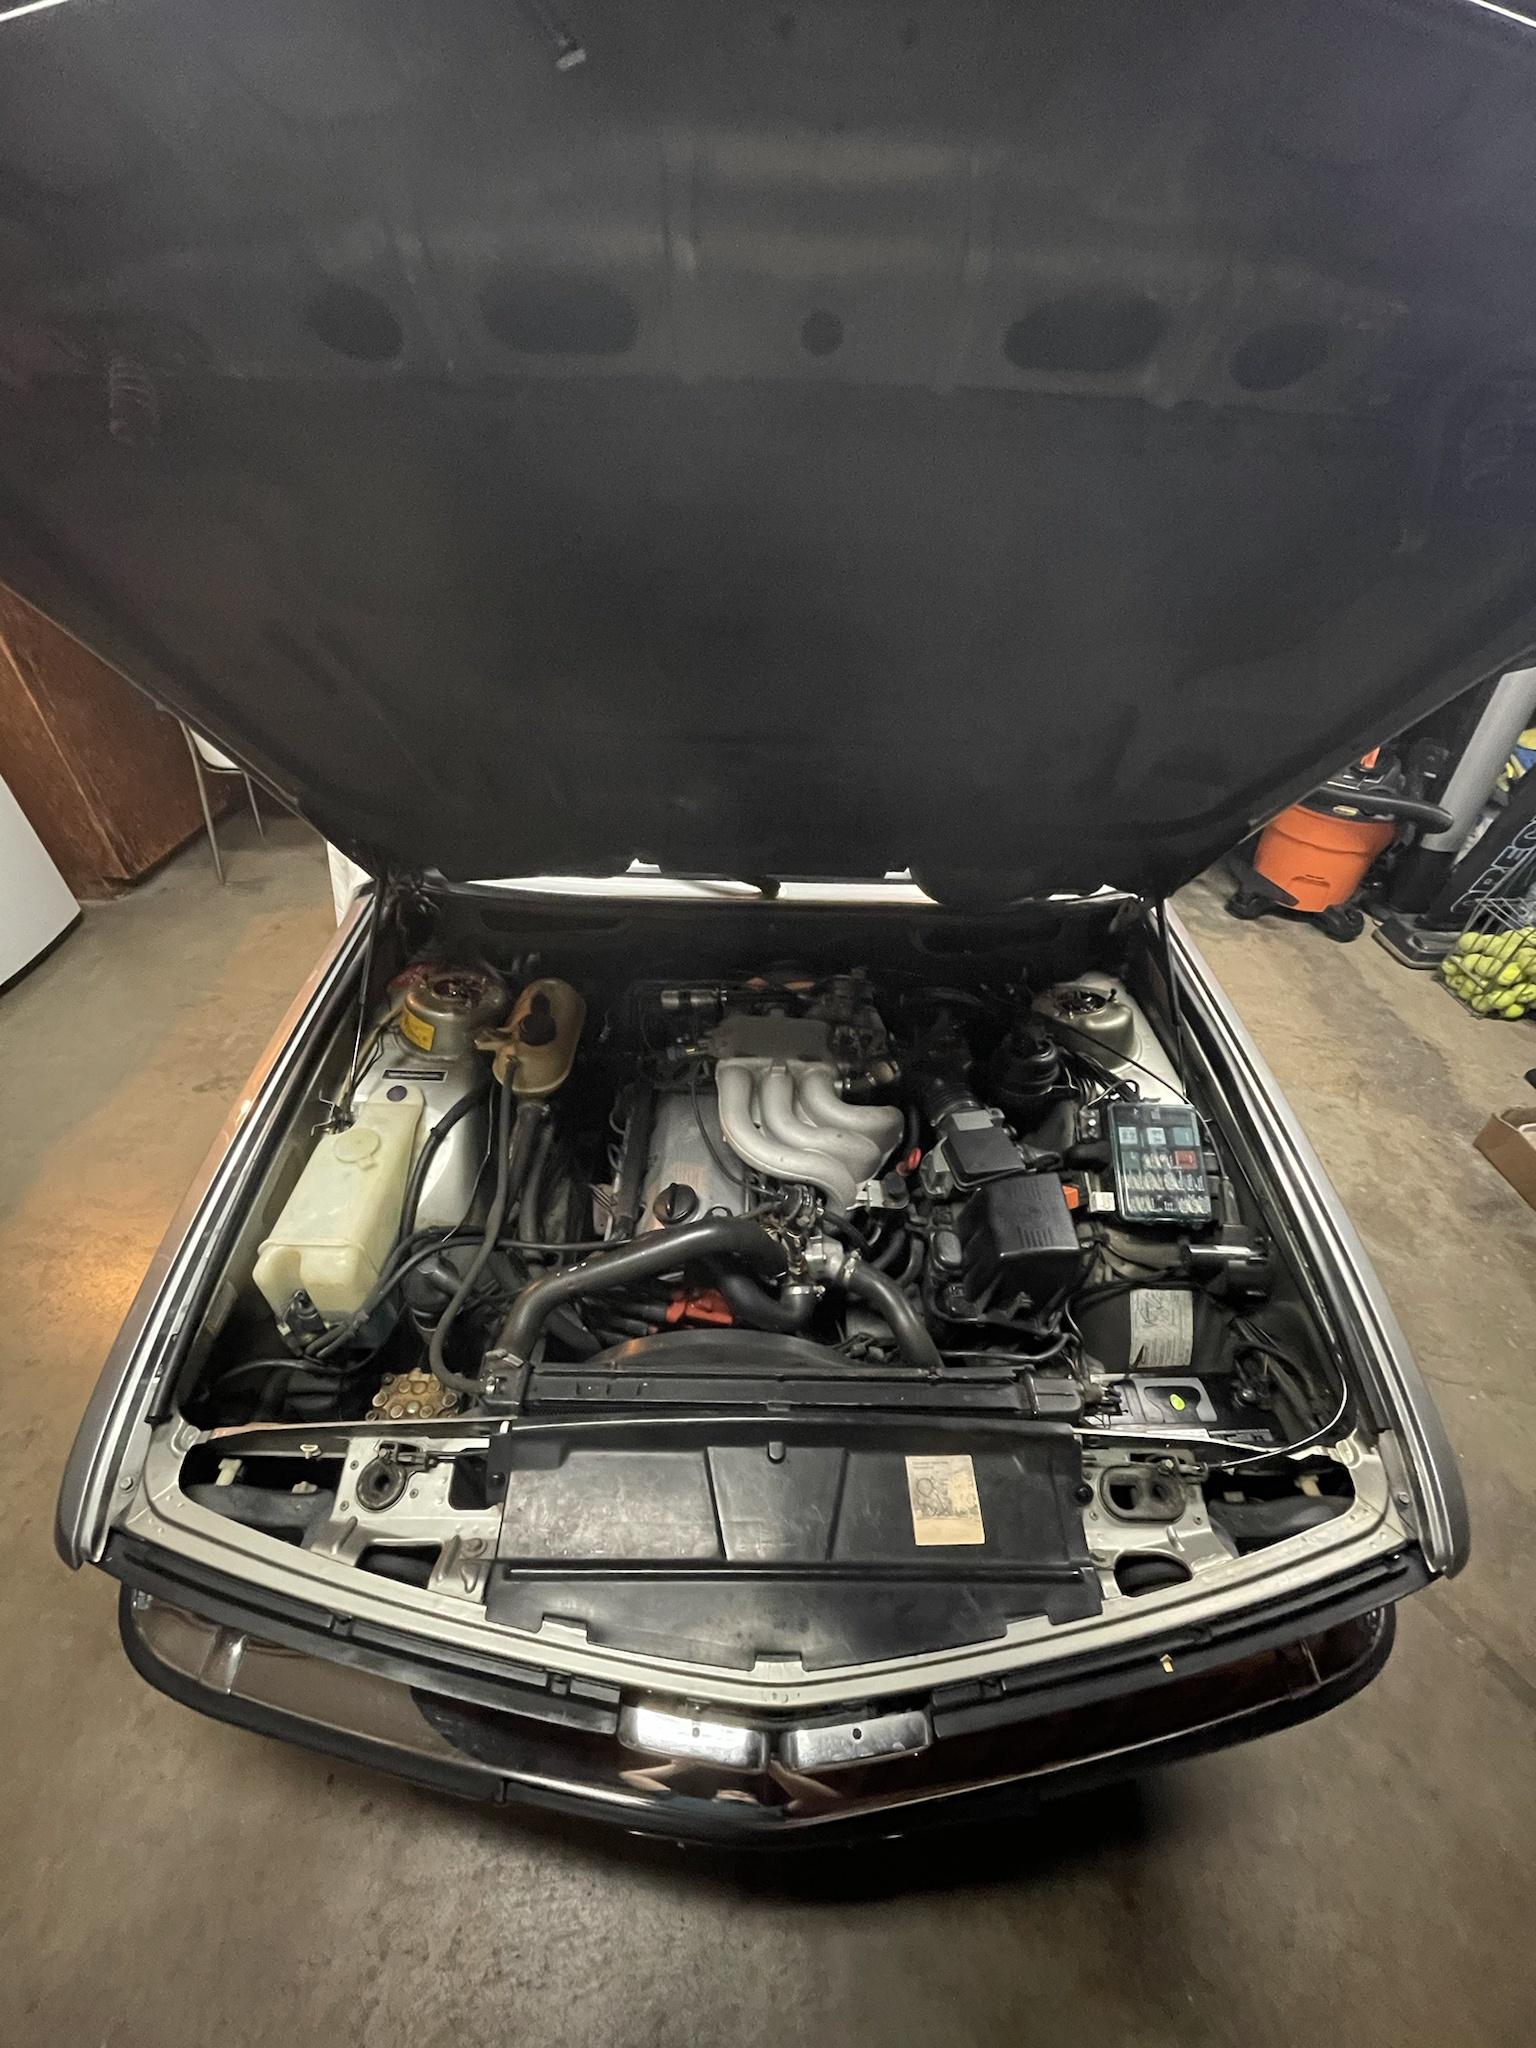
This is the current state of the engine bay after all the work performed. There nothing much left here in the engine bay to work on as of now, just small things here and there. Next step would be for new Ford Injectors and a tune from SSSquid thats tailored to the build.

Image

Taking the car out for the first time in a little while to a show because of all the COVID craziness.
Stopped by the Pelican Parts Cars and Coffee show not too long ago, and was able to meet some really cool people and saw some really unique cars. Really big Porsche crowd as expected though.

Image

Image

Image

Image
mnnguy
Posts: 57
Joined: Sep 07, 2016 1:34 AM
Location: Los Angeles

Re: Never-Ending Project e28 528e

Post by mnnguy »

alps wrote: Jul 07, 2021 12:51 AM Steering wheel looks great, same with the AC install. Paint too, everything really, haha! Well done.

A couple questions if you don't mind:

Where'd you get the dash cover? It looks good...
Who'd you use for paint? I'm in the LA area too and getting the itch to paint mine.
Thank you!

If I remember correctly, the dash cover came from Coverking. I'm pretty sure its still available. Its attached with some double sided velcro strips that have held it pretty well over the past few years.

I've gotten the car painted by Gustavo at Avalon Collision & Service. He was the most reasonably priced in the area, and he also painted the Chevy C10 and another neighbor's car that you can see in the background of the photos. I don't know what his prices would be now especially since its been about 4 years since. But I do plan on getting the mtech spoiler painted by him soon.
Tiit
Posts: 290
Joined: Oct 06, 2017 6:27 AM
Location: Canberra

Re: Never-Ending Project e28 528e

Post by Tiit »

Impressive
alps
Posts: 112
Joined: Oct 03, 2020 12:47 AM
Location: Los Angeles
Contact:

Re: Never-Ending Project e28 528e

Post by alps »

mnnguy wrote: Jul 07, 2021 1:23 AM
alps wrote: Jul 07, 2021 12:51 AM Steering wheel looks great, same with the AC install. Paint too, everything really, haha! Well done.

A couple questions if you don't mind:

Where'd you get the dash cover? It looks good...
Who'd you use for paint? I'm in the LA area too and getting the itch to paint mine.
Thank you!

If I remember correctly, the dash cover came from Coverking. I'm pretty sure its still available. Its attached with some double sided velcro strips that have held it pretty well over the past few years.

I've gotten the car painted by Gustavo at Avalon Collision & Service. He was the most reasonably priced in the area, and he also painted the Chevy C10 and another neighbor's car that you can see in the background of the photos. I don't know what his prices would be now especially since its been about 4 years since. But I do plan on getting the mtech spoiler painted by him soon.
Thanks for the intel!

I had ordered a 'charcoal' dash cover from cover king but it showed up and was much lighter than expected. Which Avalon Collision location did you use? The paint looks great in your photos, is it as good in person?
mnnguy
Posts: 57
Joined: Sep 07, 2016 1:34 AM
Location: Los Angeles

Re: Never-Ending Project e28 528e

Post by mnnguy »

Thanks for the intel!

I had ordered a 'charcoal' dash cover from cover king but it showed up and was much lighter than expected. Which Avalon Collision location did you use? The paint looks great in your photos, is it as good in person?
Yep no problem

Ah so looking at my receipts I ordered the “black” dash cover and didnt get the charcoal one since I wasnt sure how close the color would be. Chose the black because it would contrast better? And not look like I was trying to get a close match.

And its Avalon Collision and Service in Carson, CA. The paint looks really good to this day, im not sure how it holds up to more expensive shops that charge 2-3x as much but it looks really good and I get compliments on it. Still shows a mirror like reflection even though I havent buffed it since I got it back like 4-5 years ago?
mnnguy
Posts: 57
Joined: Sep 07, 2016 1:34 AM
Location: Los Angeles

Re: Never-Ending Project e28 528e

Post by mnnguy »

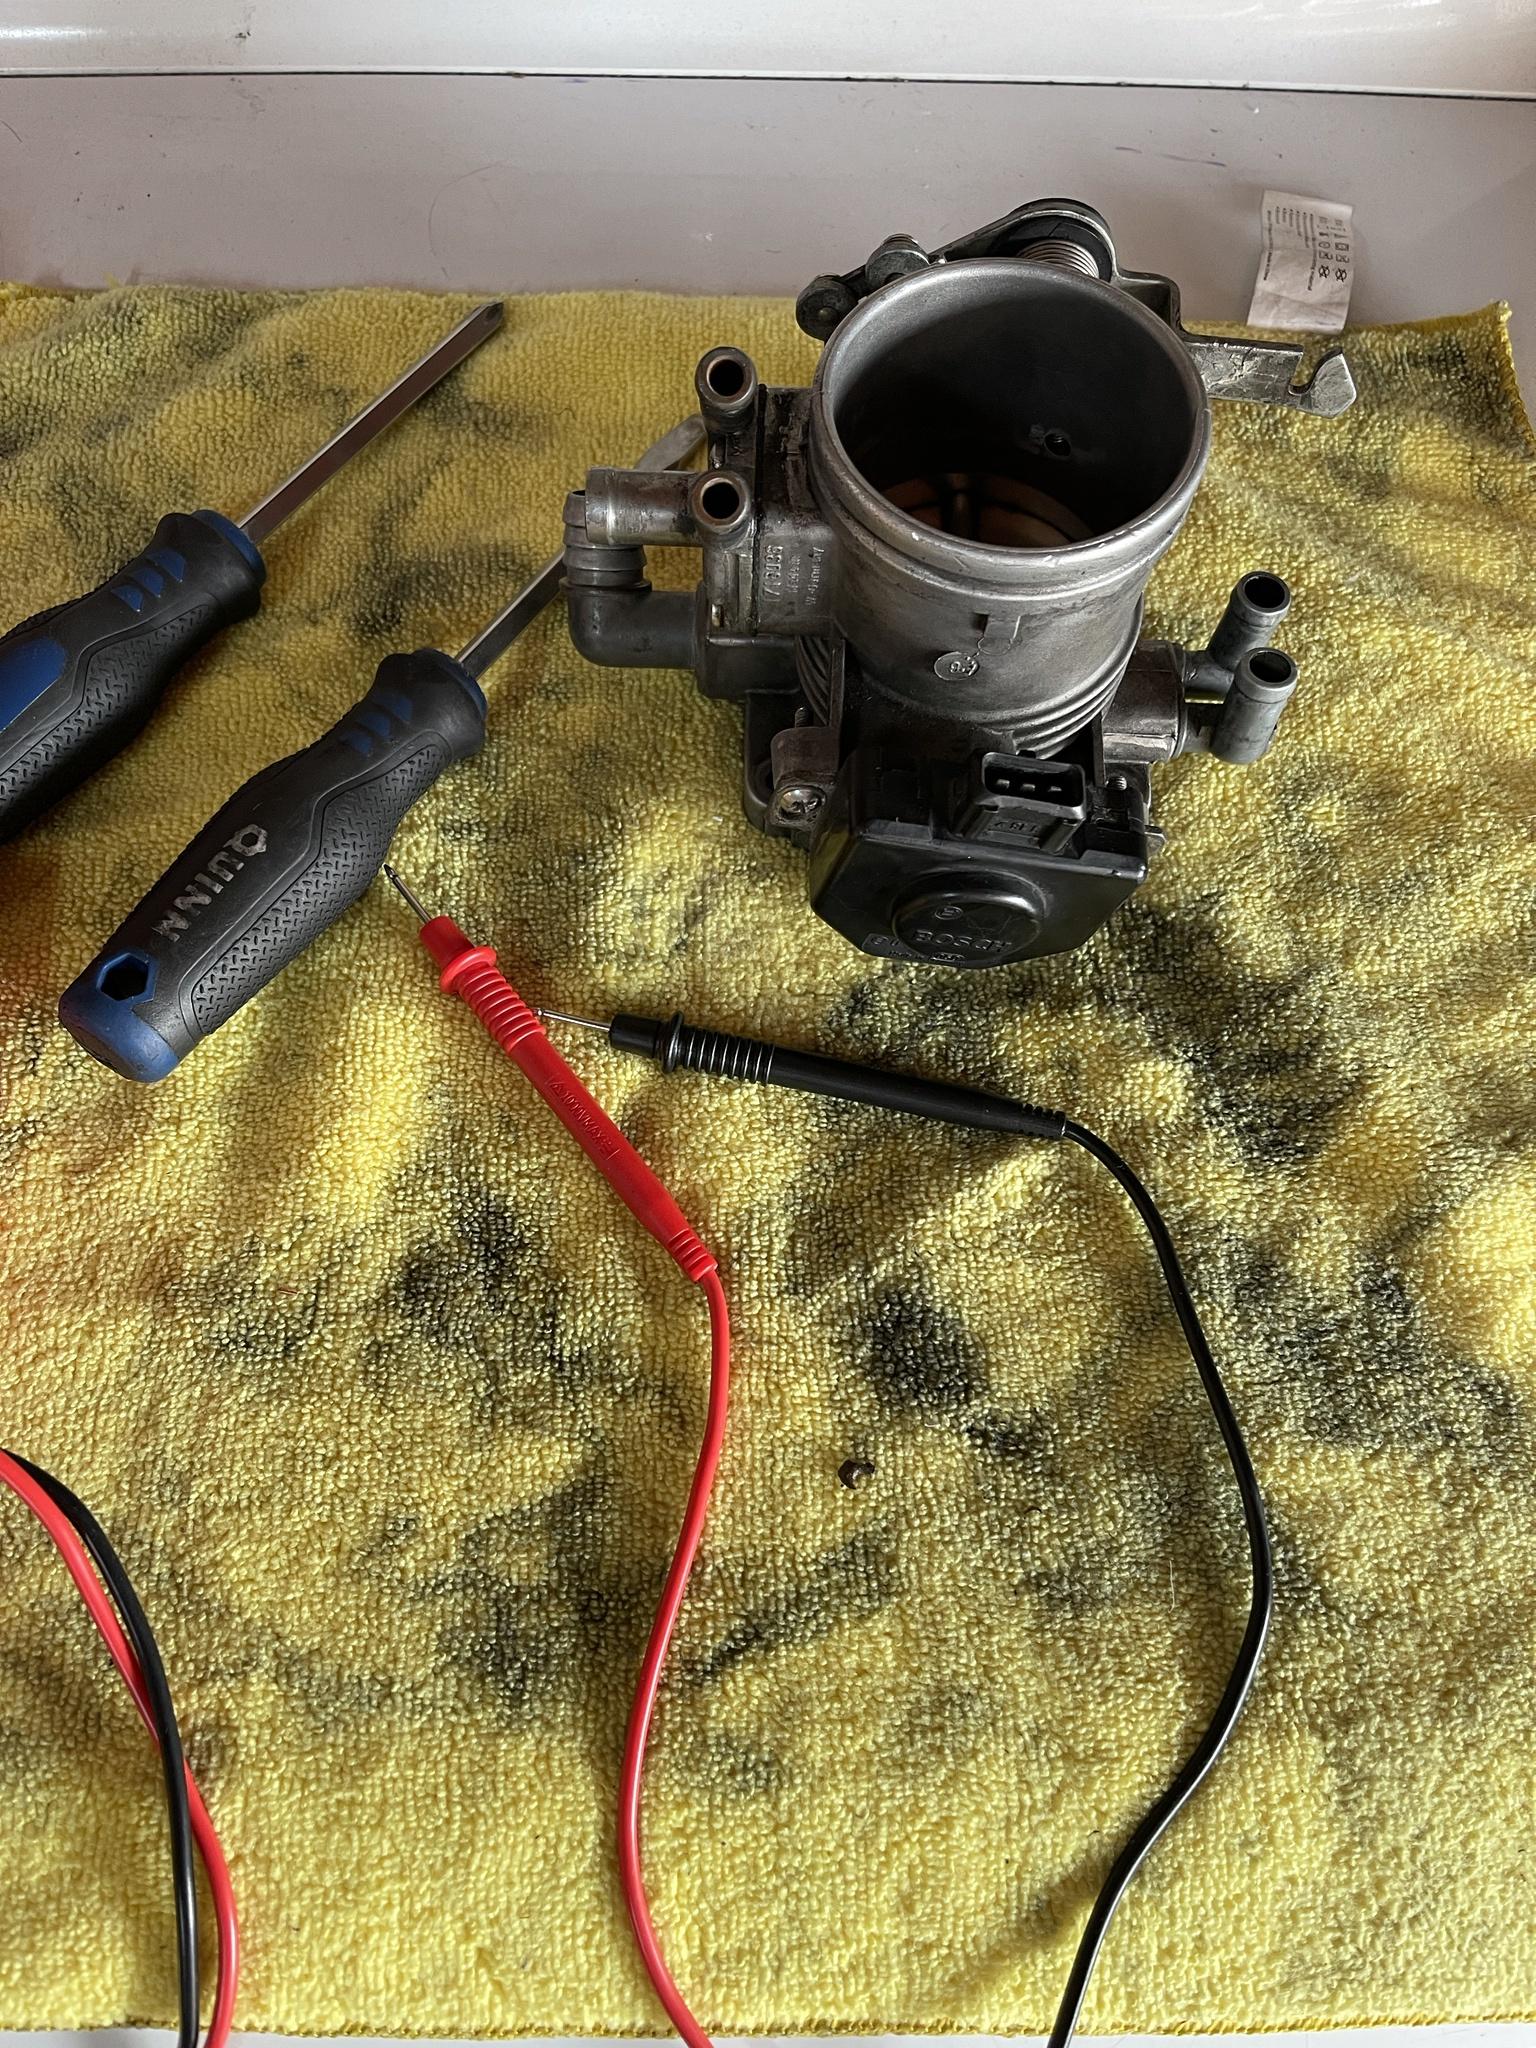
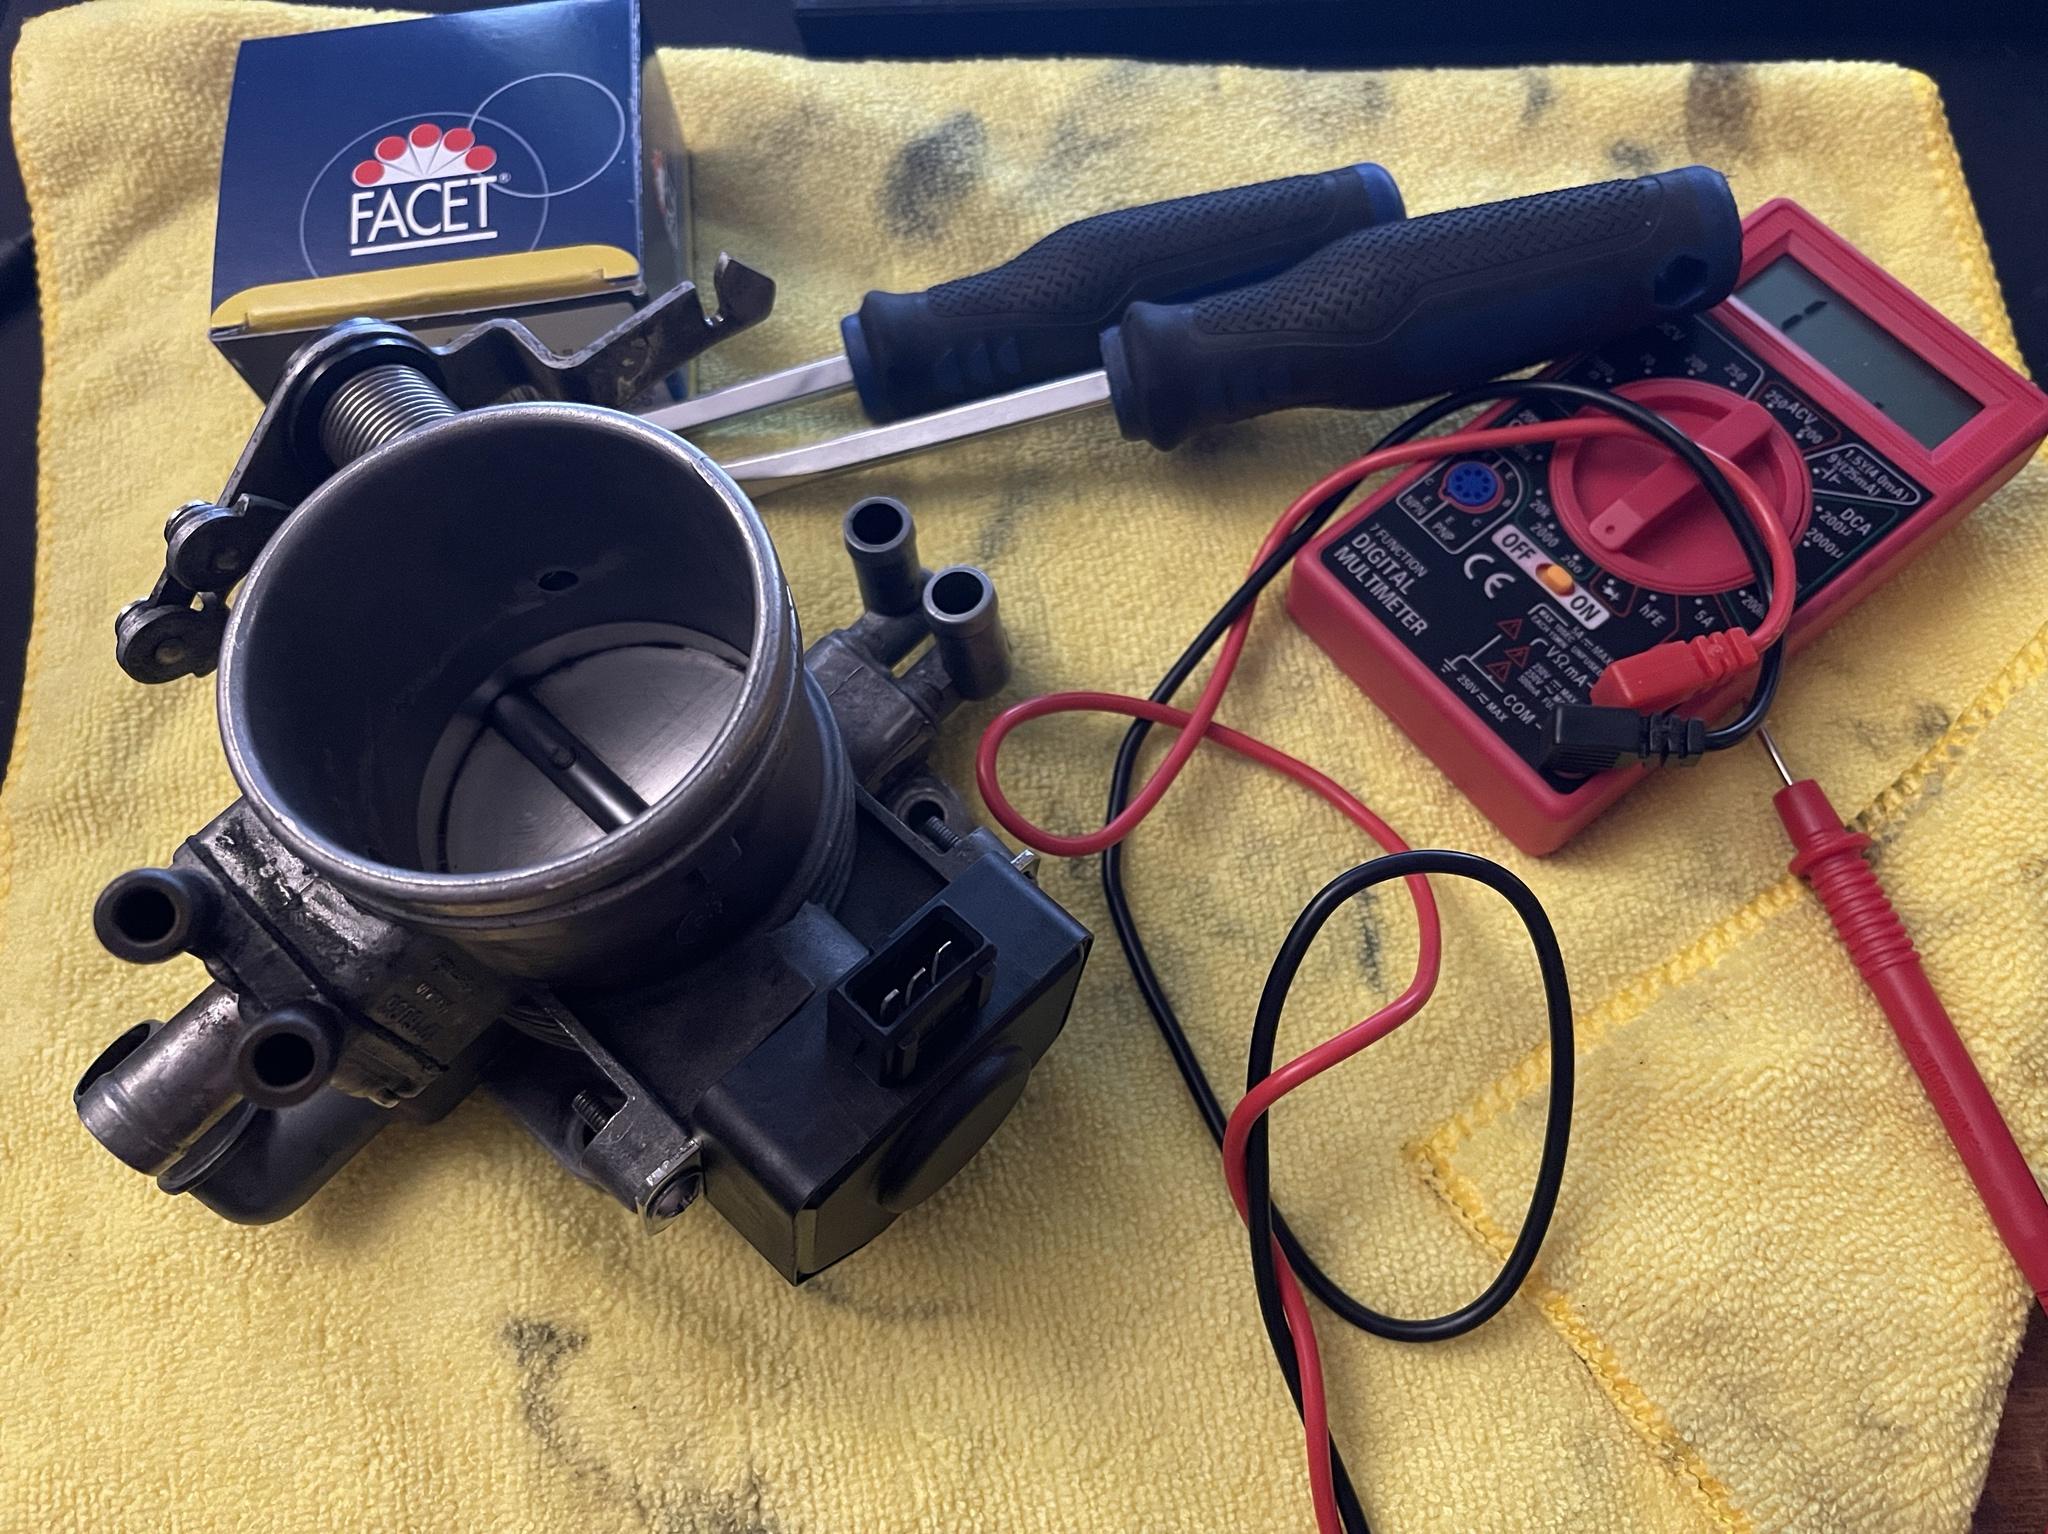
Past few months I have been chasing down a rough idle when the car is cold and put into drive or reverse. This problem got worse when I unplugged and replugged in the TPS plug. After this the car would not stay idling RPM would move from 900 rpm then down to 500-600 rpm after applying throttle, engine would hesitate on acceleration and and at stops the car would sometimes stall out completely.

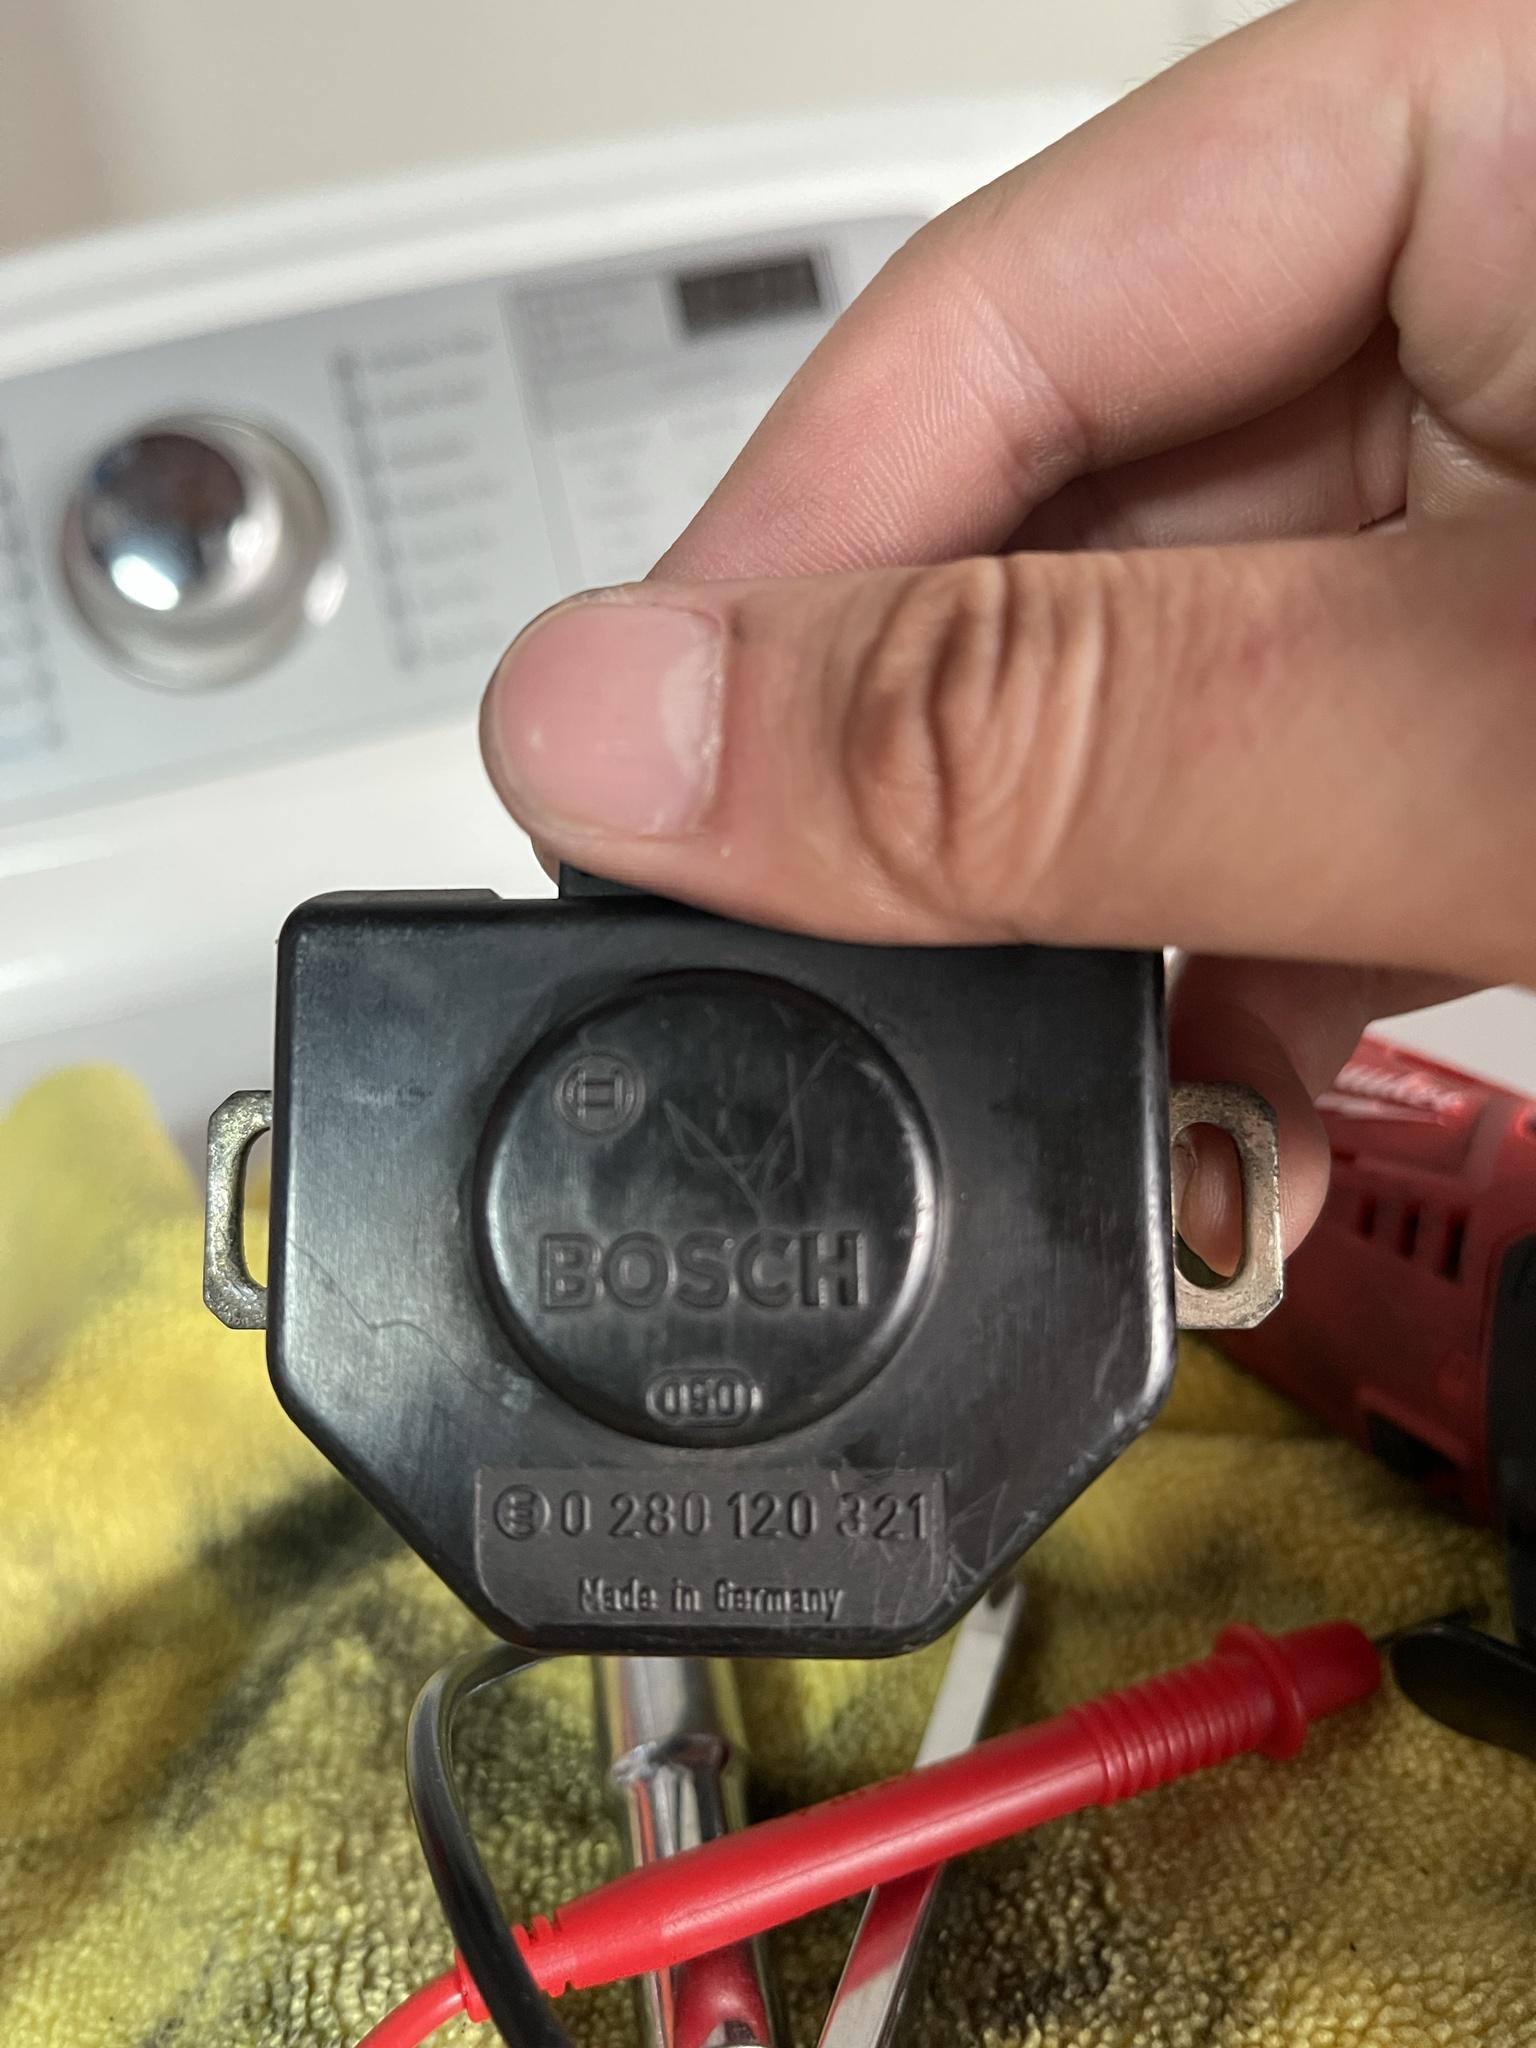
I first started by hooking up a multimeter to the TPS while on the car and saw that it was completely out of spec. I removed the TPS and then tried to manually adjust it to the ohm readings from the Bentley manual.

Image

Image

I could not get the TPS to get a reading anywhere close to what was needed so I pulled it off and replaced it with a new unit from Facet. Calibrated the sensor so that it was exactly within spec.

Image

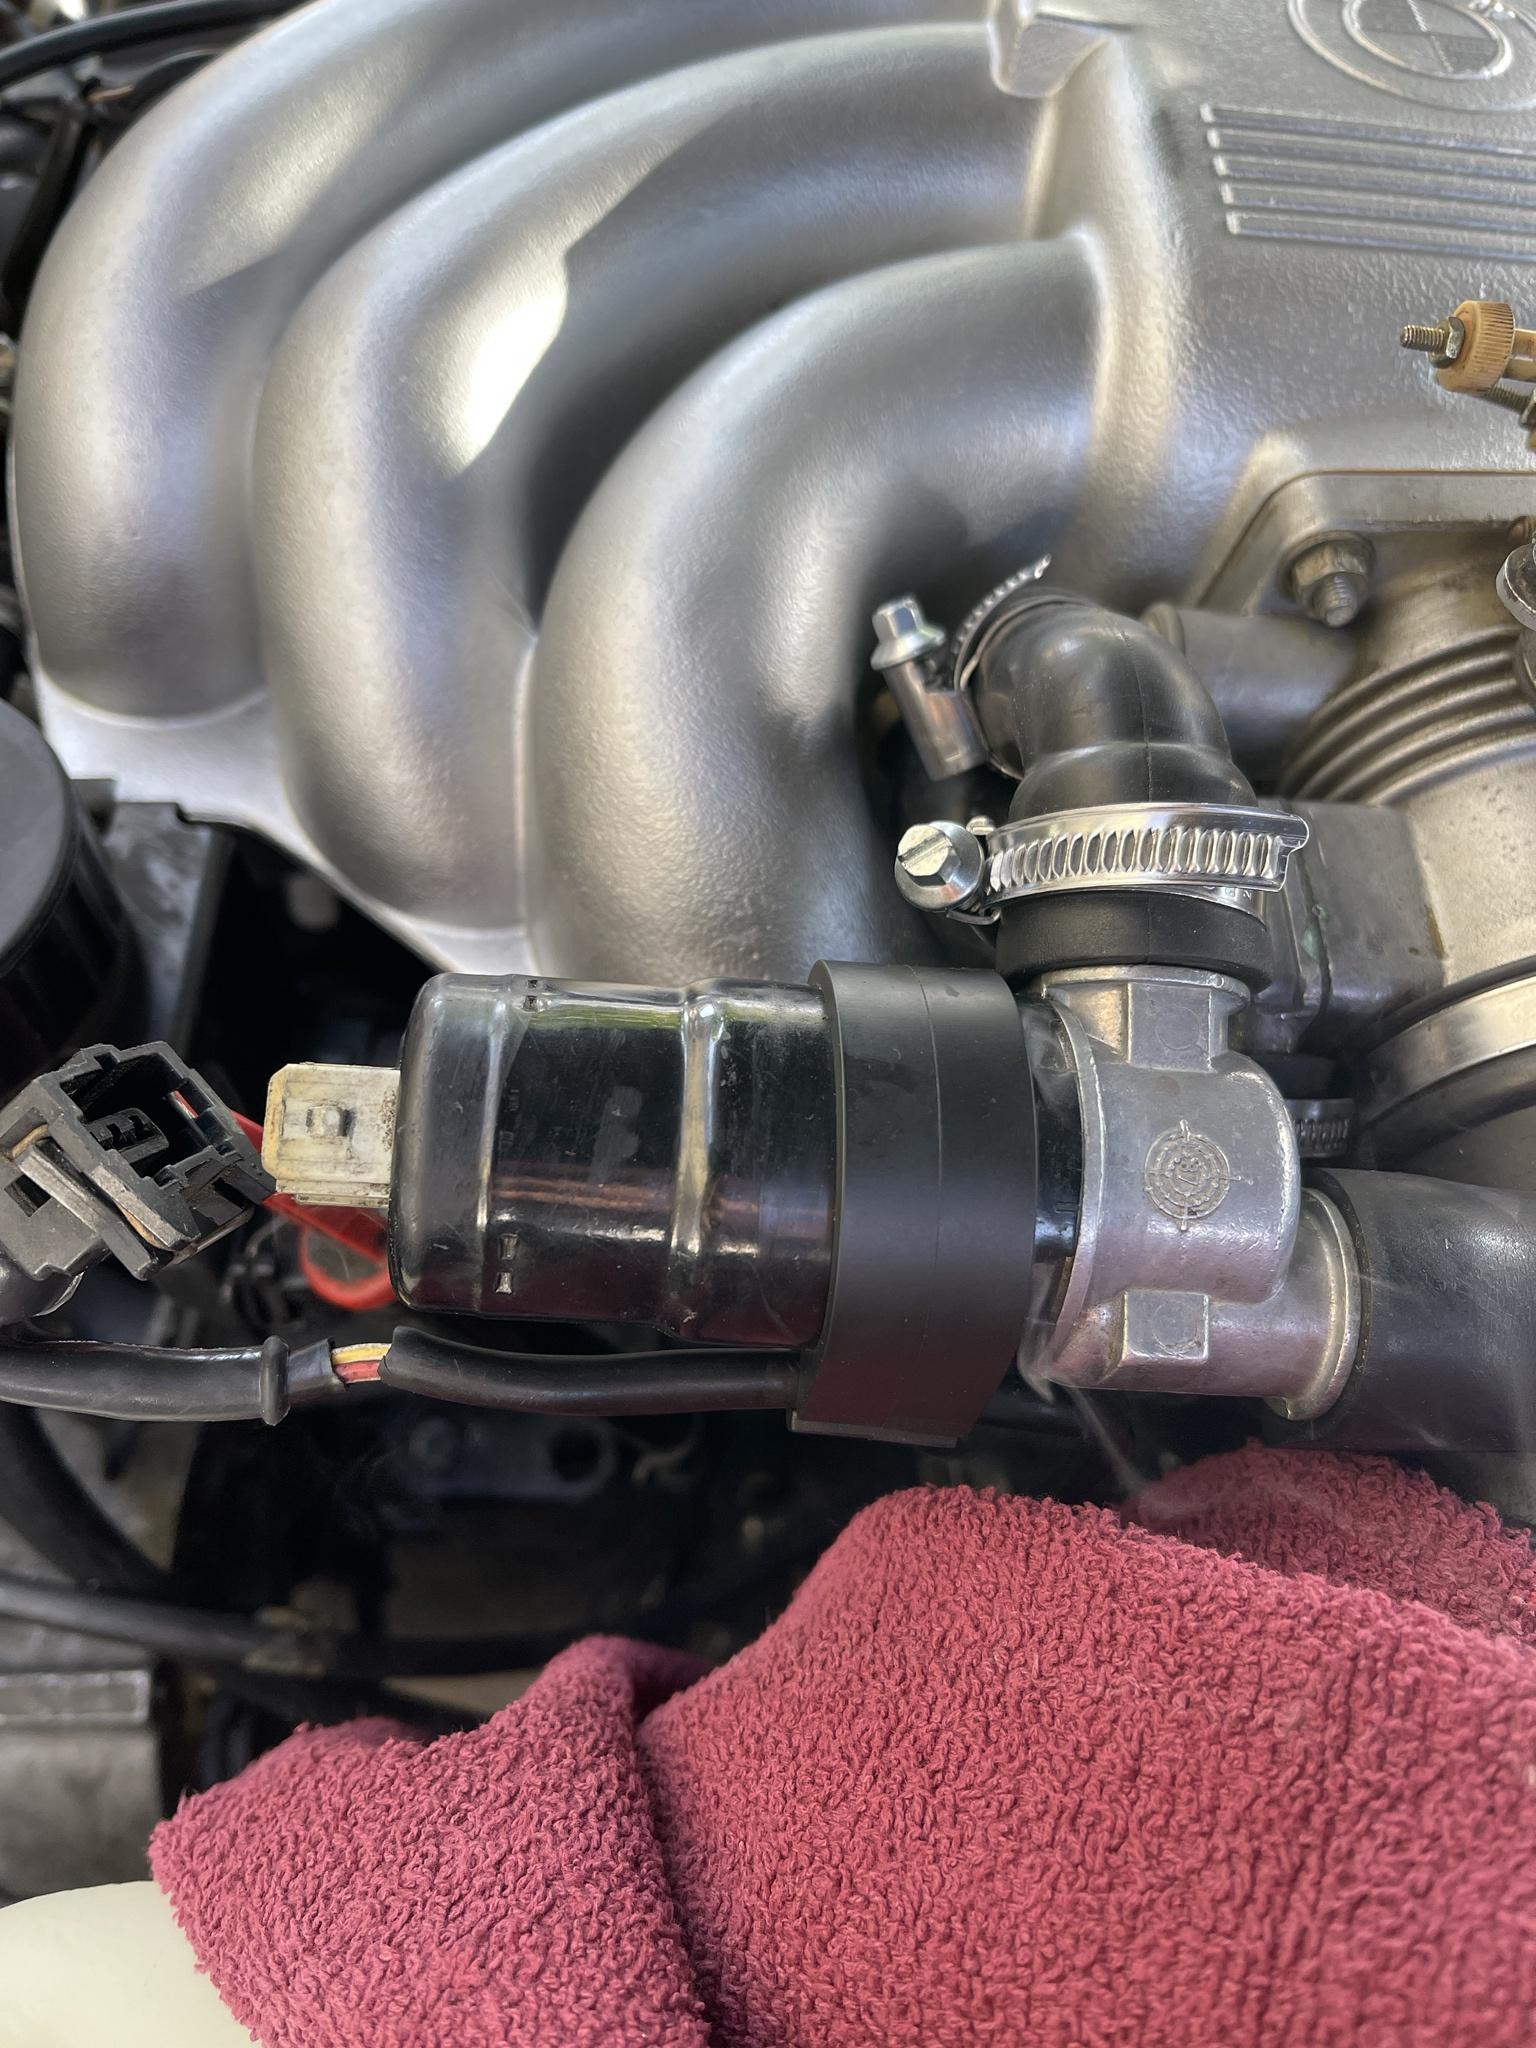
That still did not fix the problem I had with the engine stalling out and there being hesitation on acceleration so I performed a smoke test and saw leaks from the ICV, and around the valve cover.

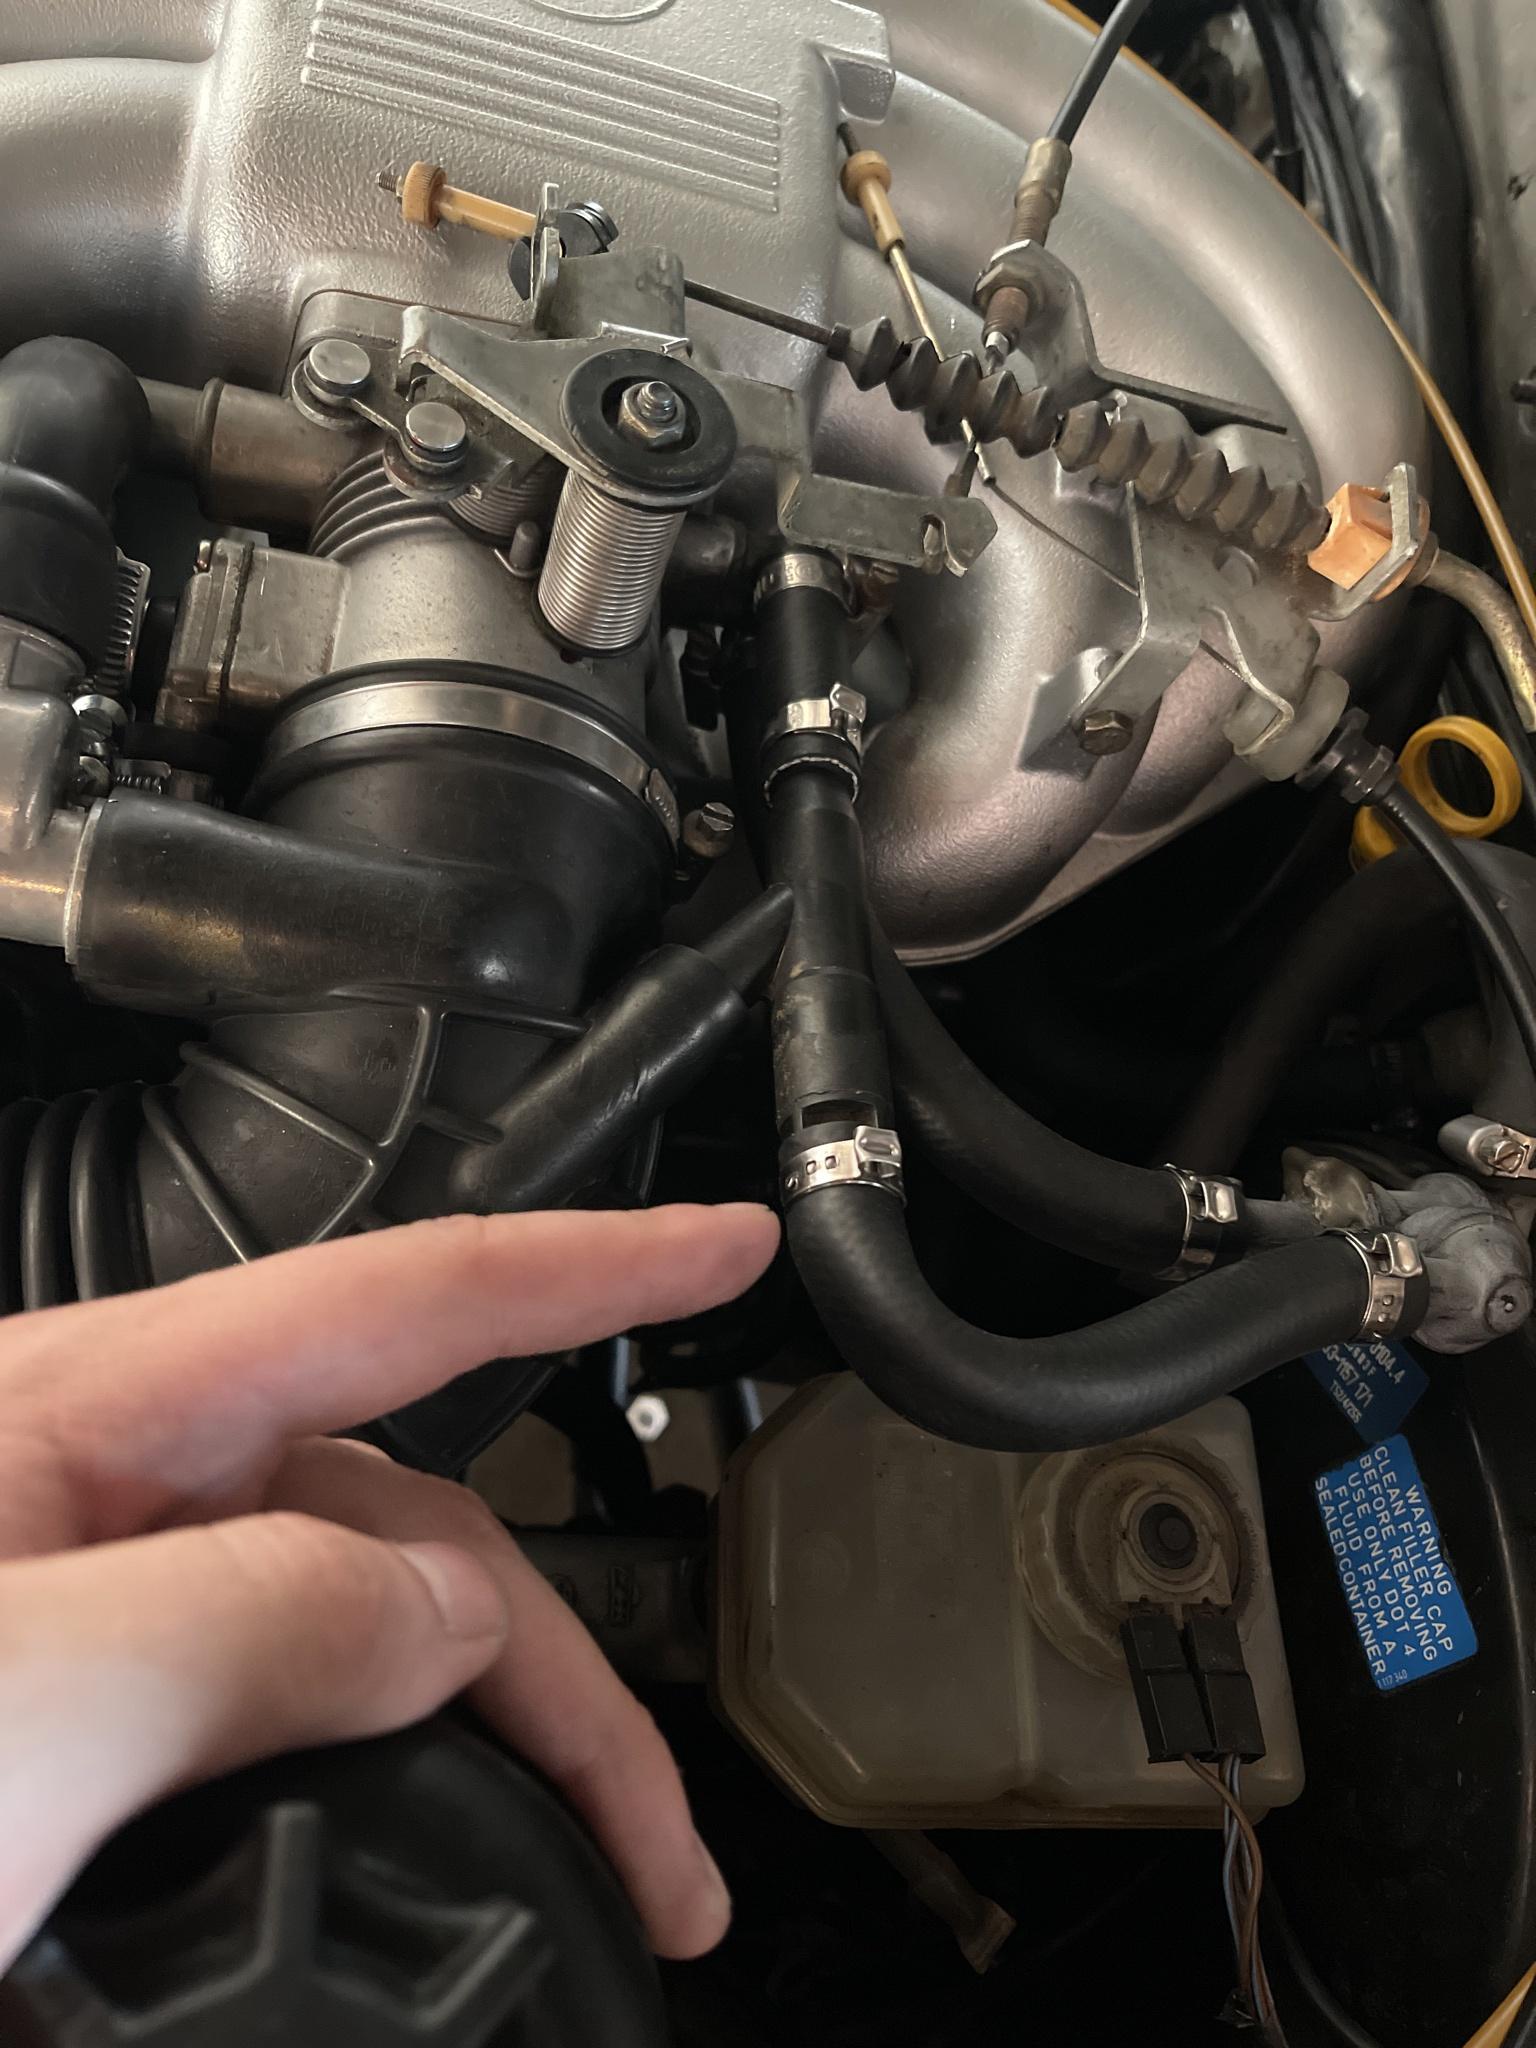
The ICV was leaking from the housing and from where the connector is, so that was replaced with another good used unit that I had from my old e30. I also went and replaced the vacuum lines that come from the throttle body and lead into the brake booster. The valve cover was leaking because the stud that was holding the nut down onto the valve cover was stripping and was not tightening enough.

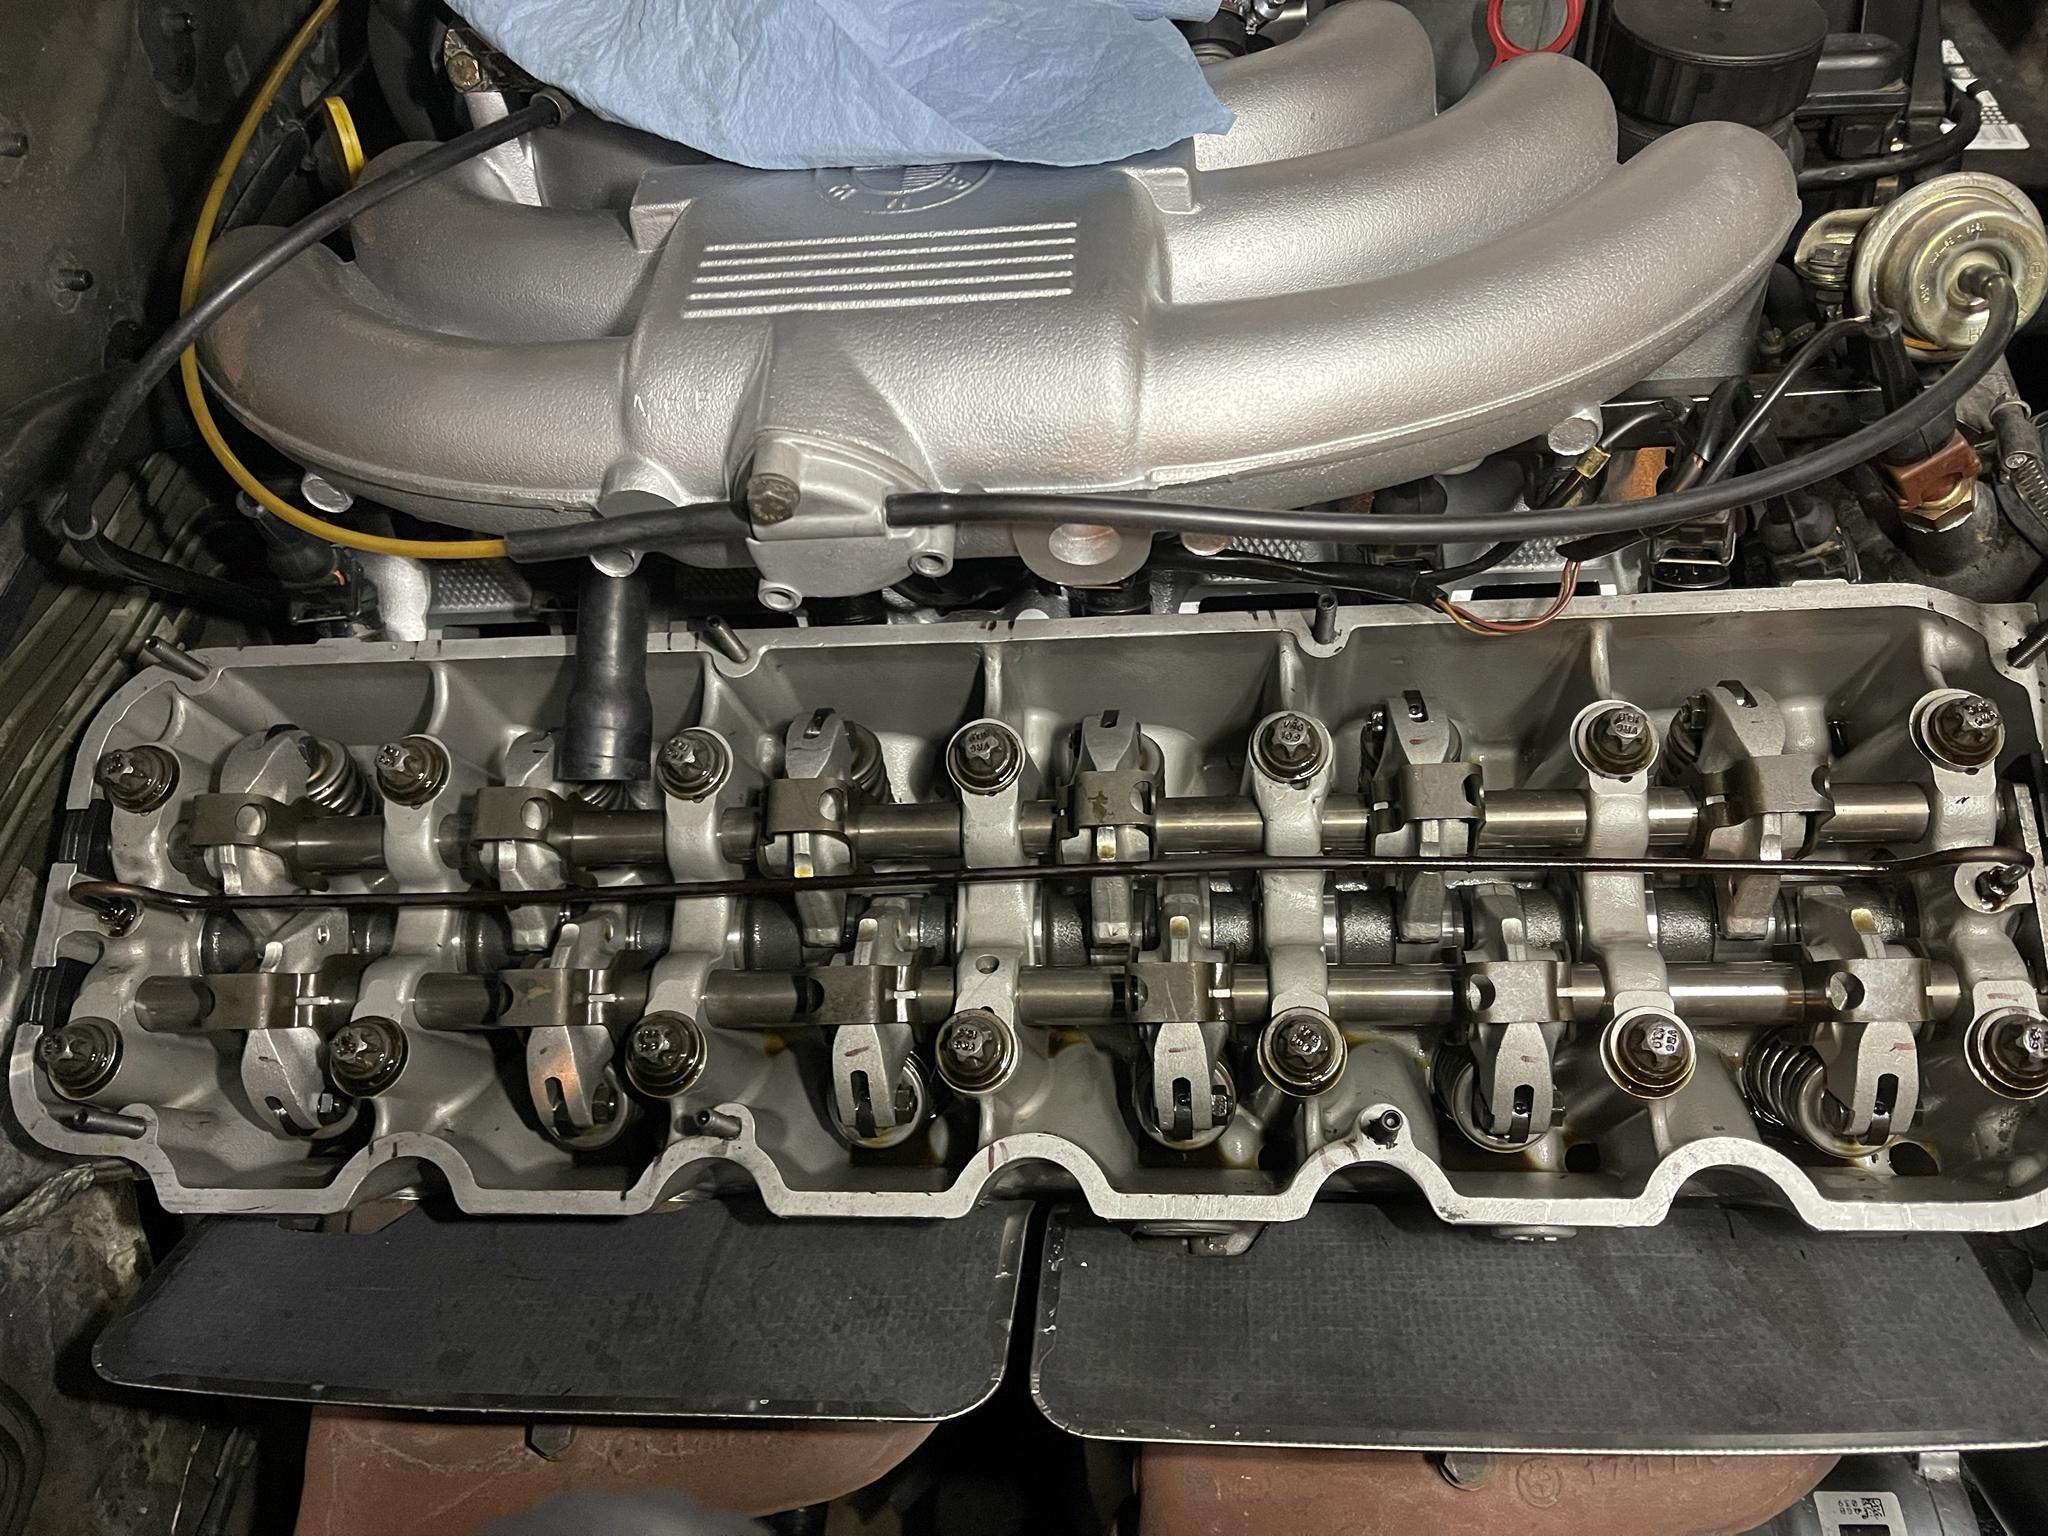
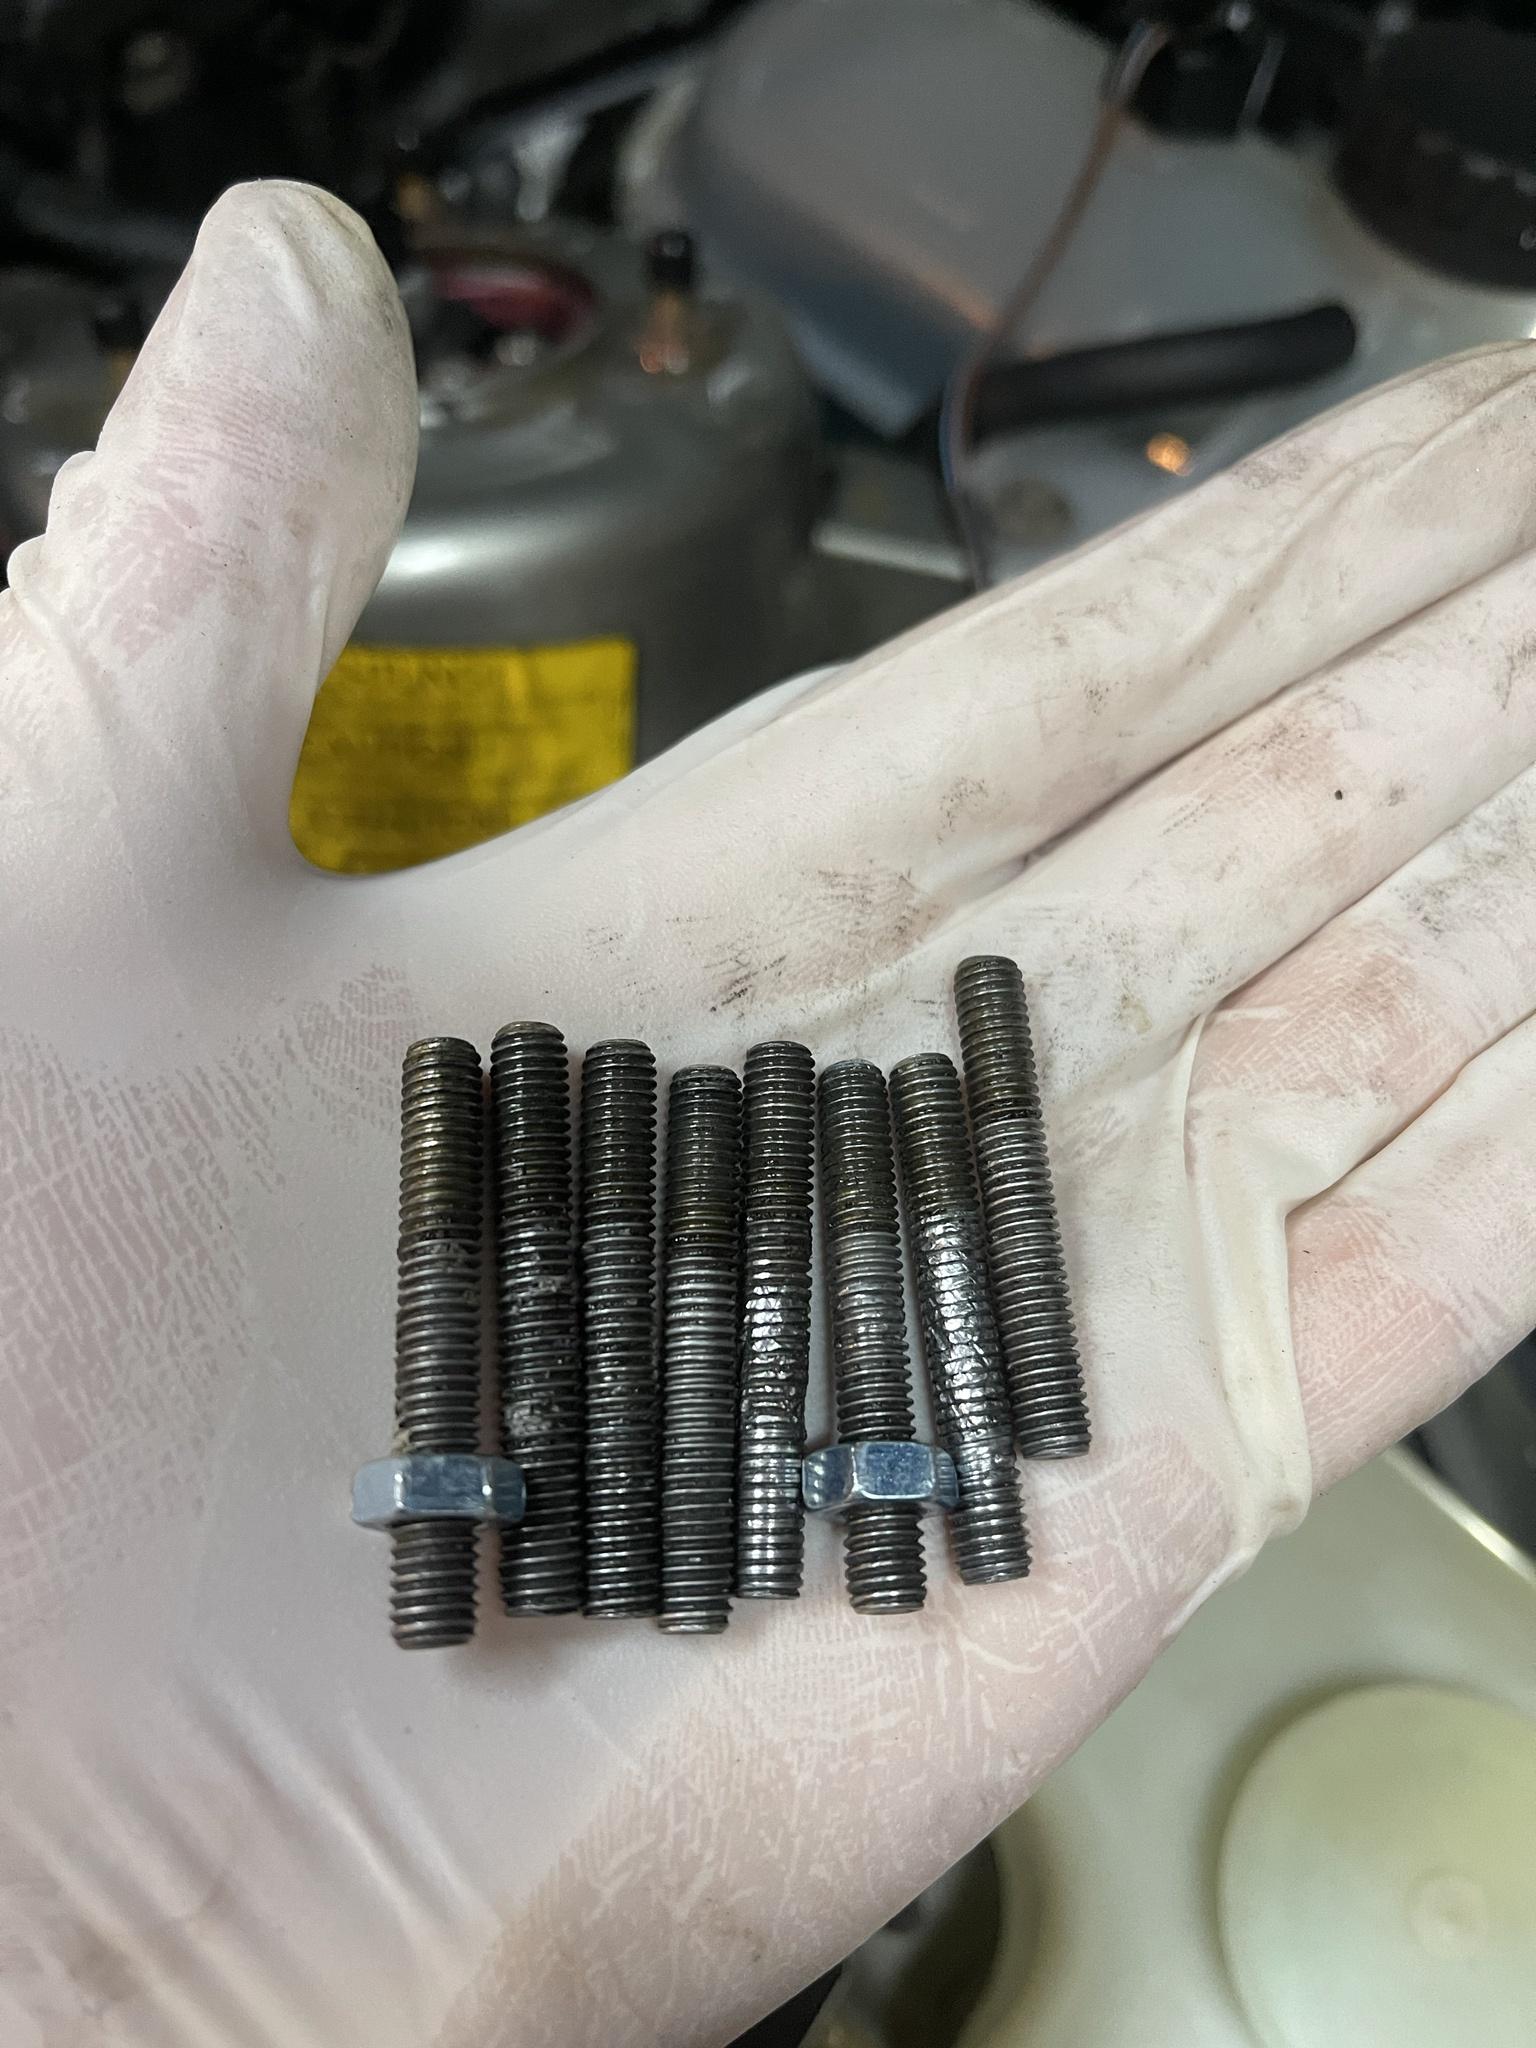
I replaced the valve cover studs with new ones that had a hex head to make reinstallation super easy as well. The original ones were mostly a non issue to remove, but 2 or 3 of them were stuck and would not come out with the double nut method. Thankfully PB Blaster and vise grips got them out with no drama at all.

Image

Image

Image

Image

Image

The problem still persisted slightly even after fixing and replacing all of these things, and so I wanted to make sure that the fuel pressure was strong enough. I jumped the fuel relay to listen to if the fuel pumps were working as they should.

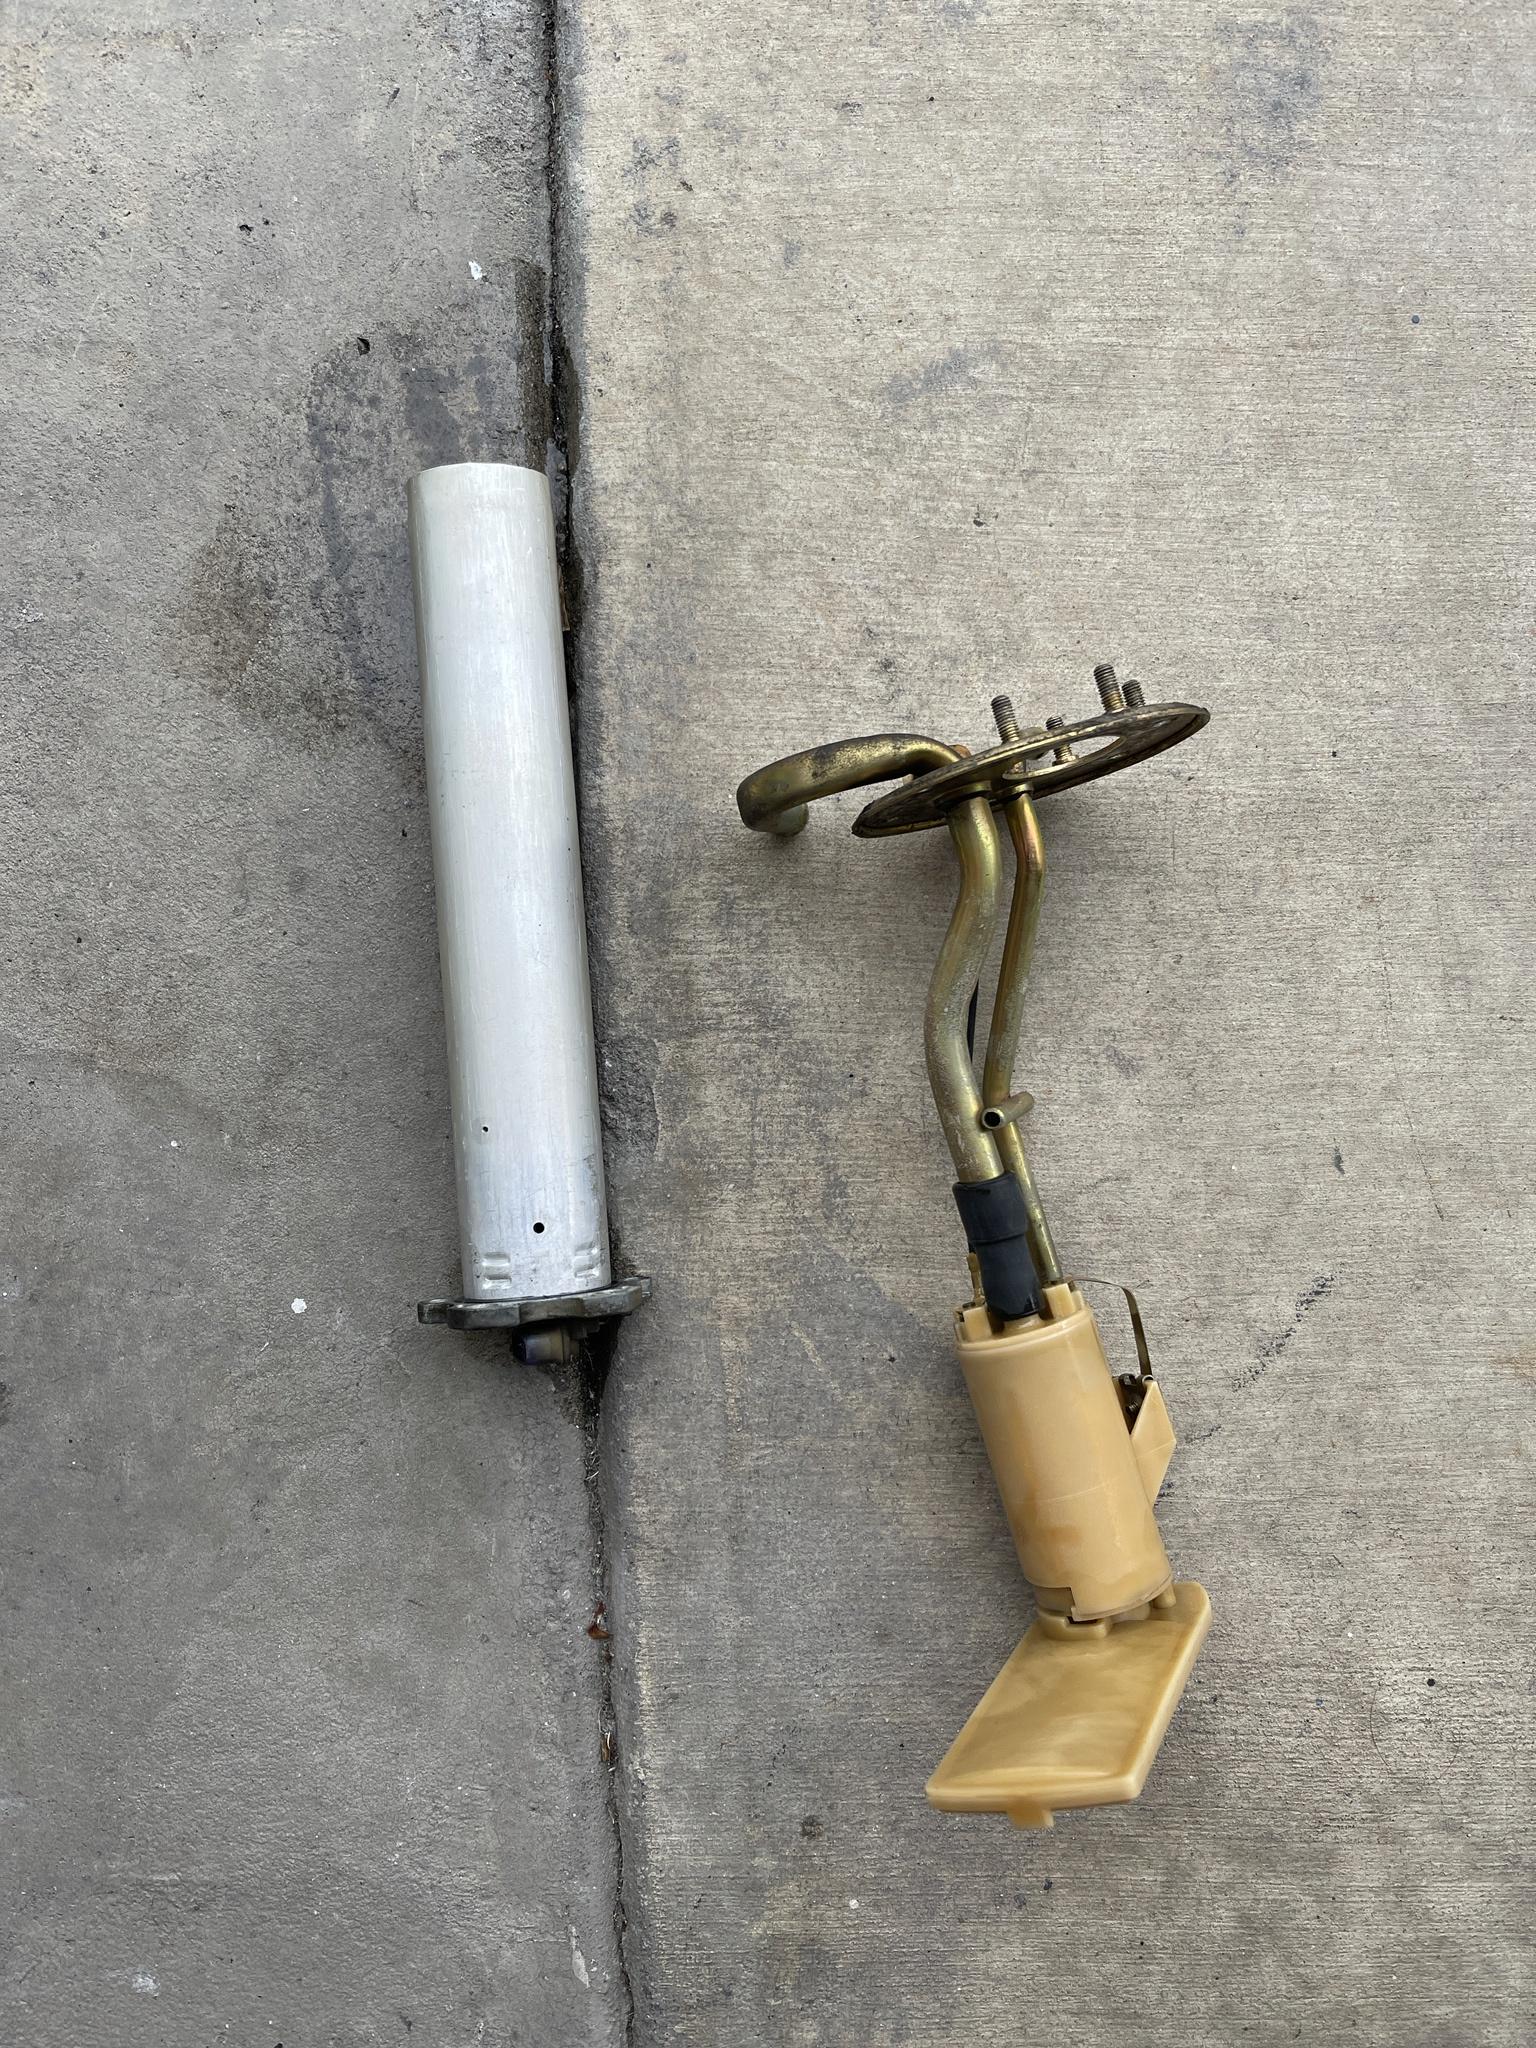
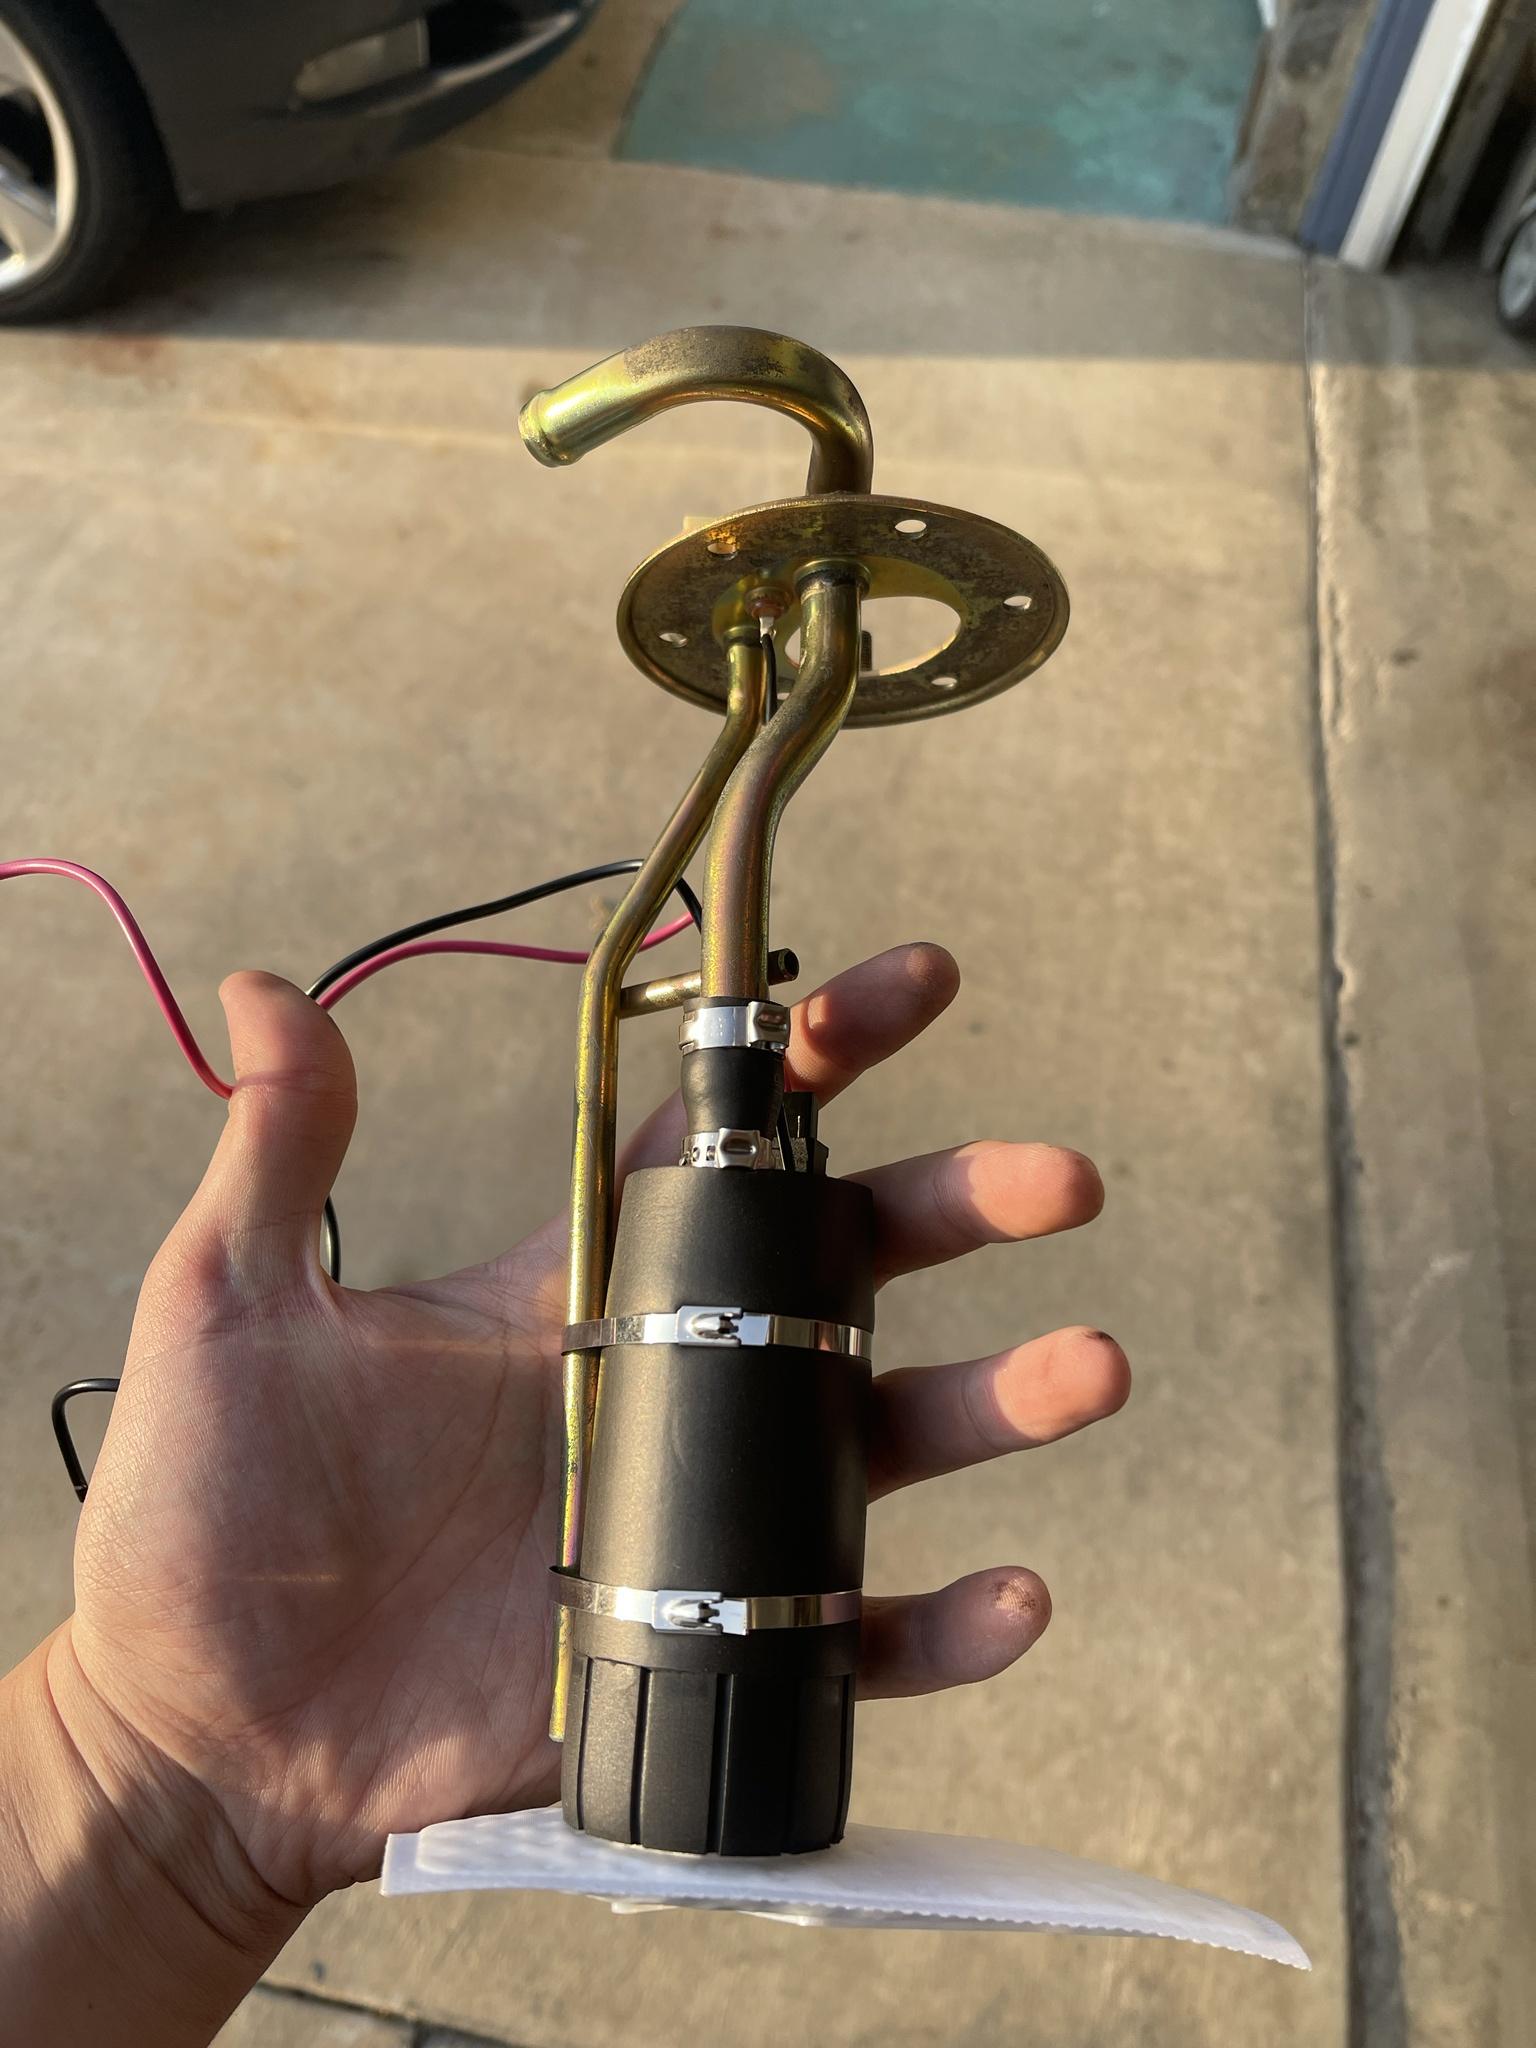
I found that the in tank pump was completely dead, and then the main pump under the car was pretty loud. From here because I didn't want to spend the crazy money on the OEM pumps on this car, I replaced it with a TRE 255 pump as was recommended from the In-tank pump modification thread found on here.

Image

Image

Image

I did the modification differently than what was found by most as I wanted to make sure to use submersible hose inside of the tank instead of the normal fuel injection hose sold at most stores.

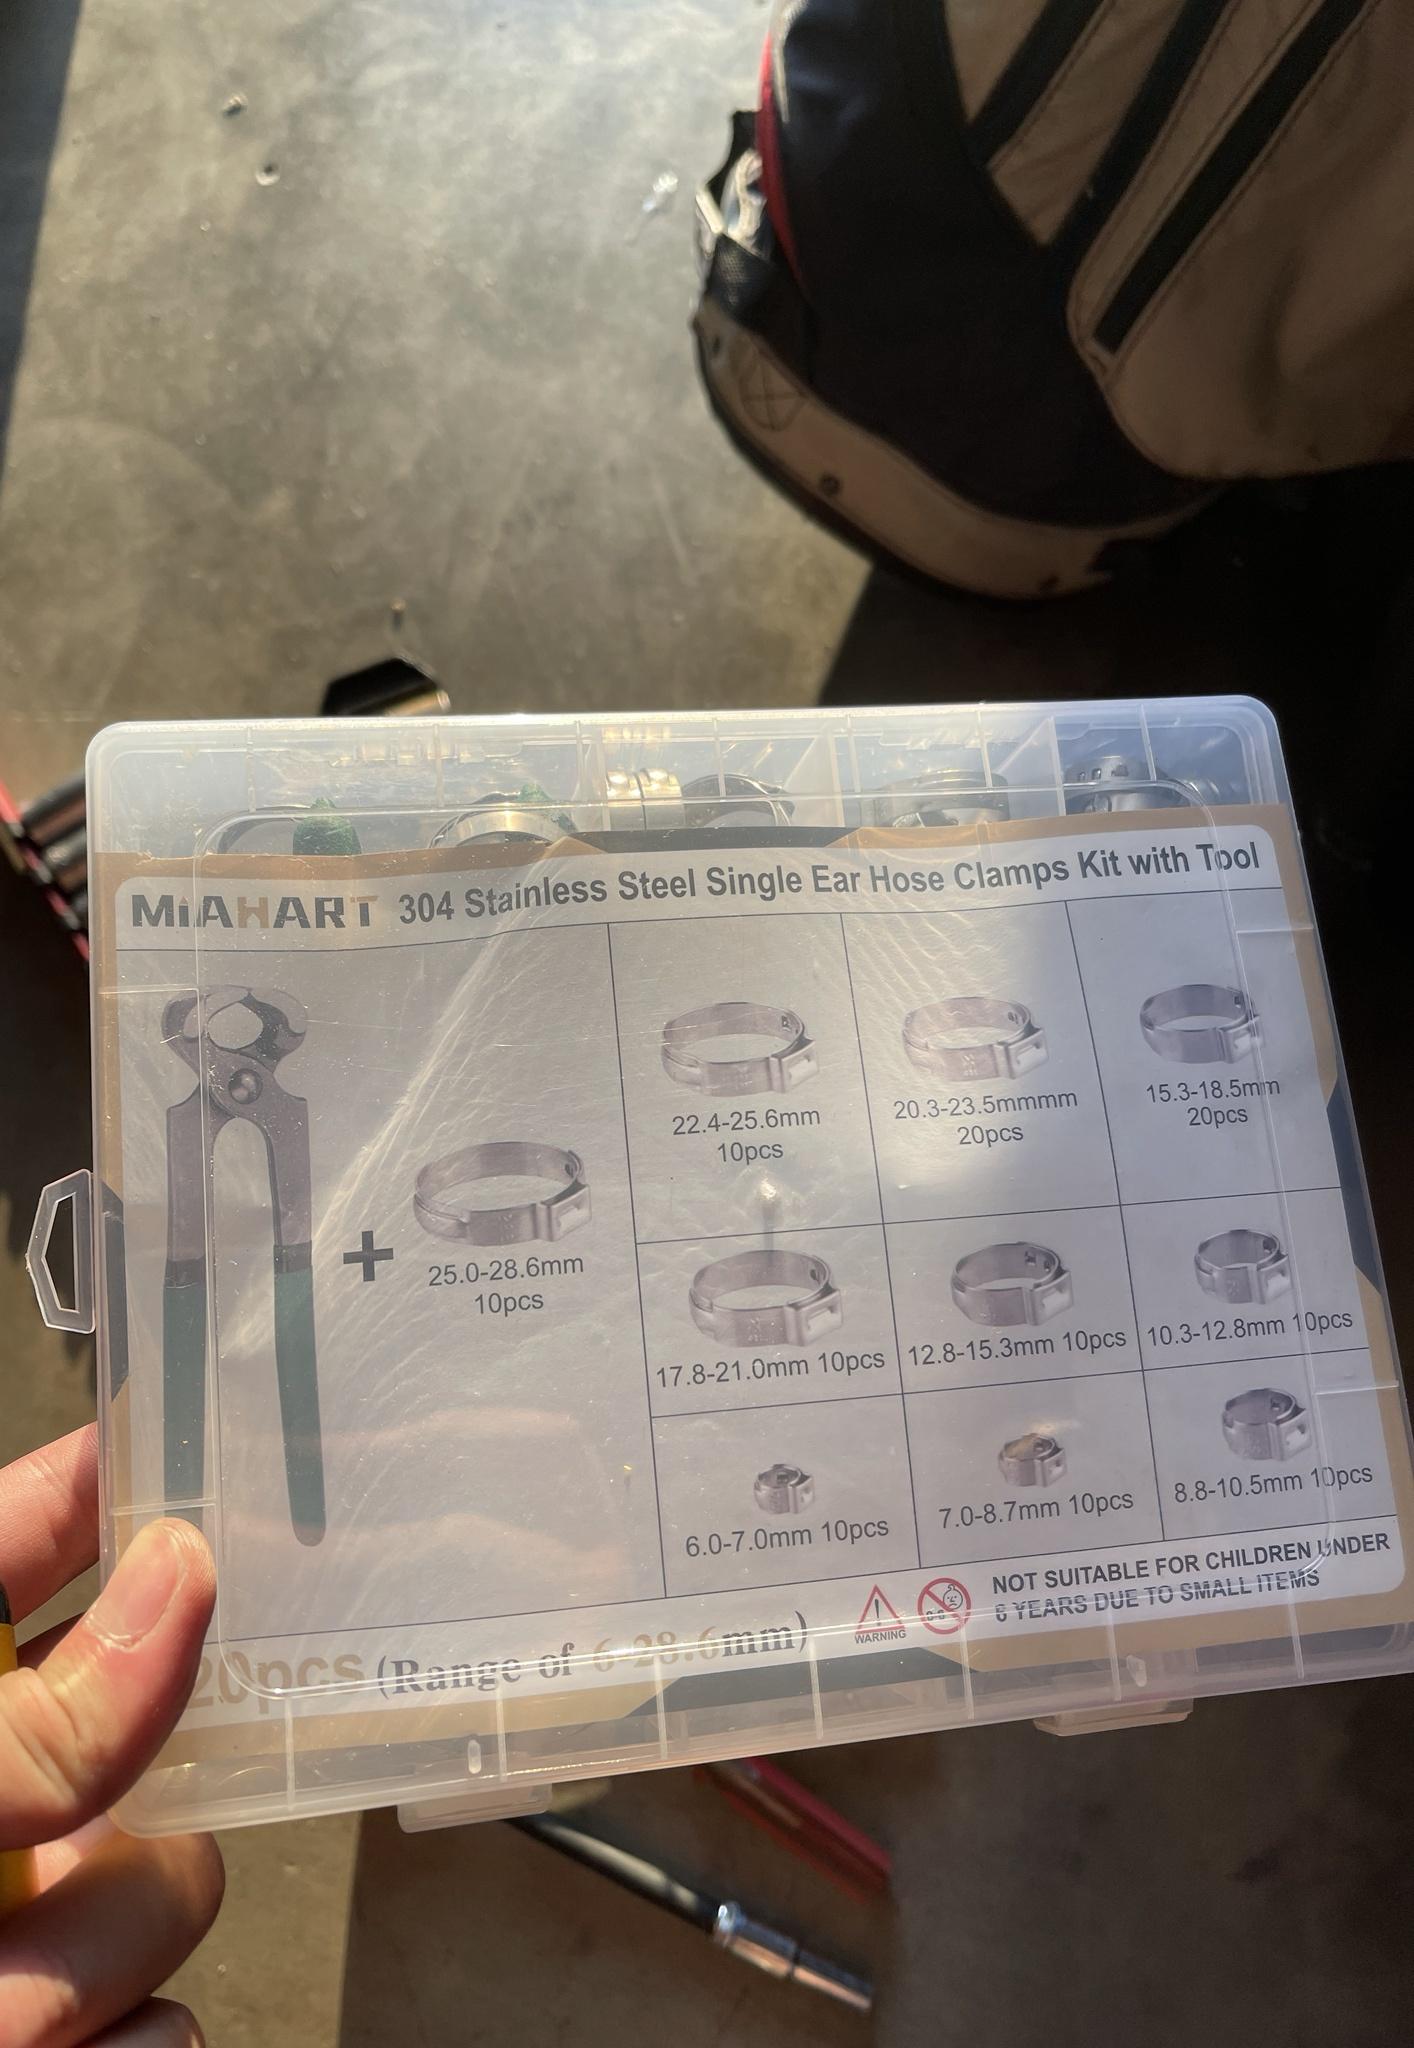
From the TRE pump to the outlet line I used a small section of 3/8 Gates submersible house and then heated it up in boiling hot water to make the rubber more pliable and slipped it over the outlet pipe. It is still a tight fit, but the other end slipped over the pump perfectly and secured it in place with Oetiker style clamps. I secured the pump to return pipe with stainless steel zipties to keep the entire unit as upright as possible.

The outlet of the pump to the metal fuel hardline, I used 1/2in fuel injection hose and used a 1/2in to 5/16in adapter and routed that directly to the hardline. Doing all of this allowed to also to replace all the fuel line that was previously there, also noticed that these rubber lines were also in not bad shape with the rubber still very pliable- so atleast the previous owner took care of these while in his ownership.


Installed the pump back onto the car and everything was working better than before!
The rough idling problem that used to happen during cold starts was no longer present in all gear selections. The car would idle perfectly smoothly with no strong vibration throughout the cabin. There was no problems with the car stalling anymore, made sure of this by driving around in almost all traffic conditions. The car idles very well now with no hesitation on acceleration as well.

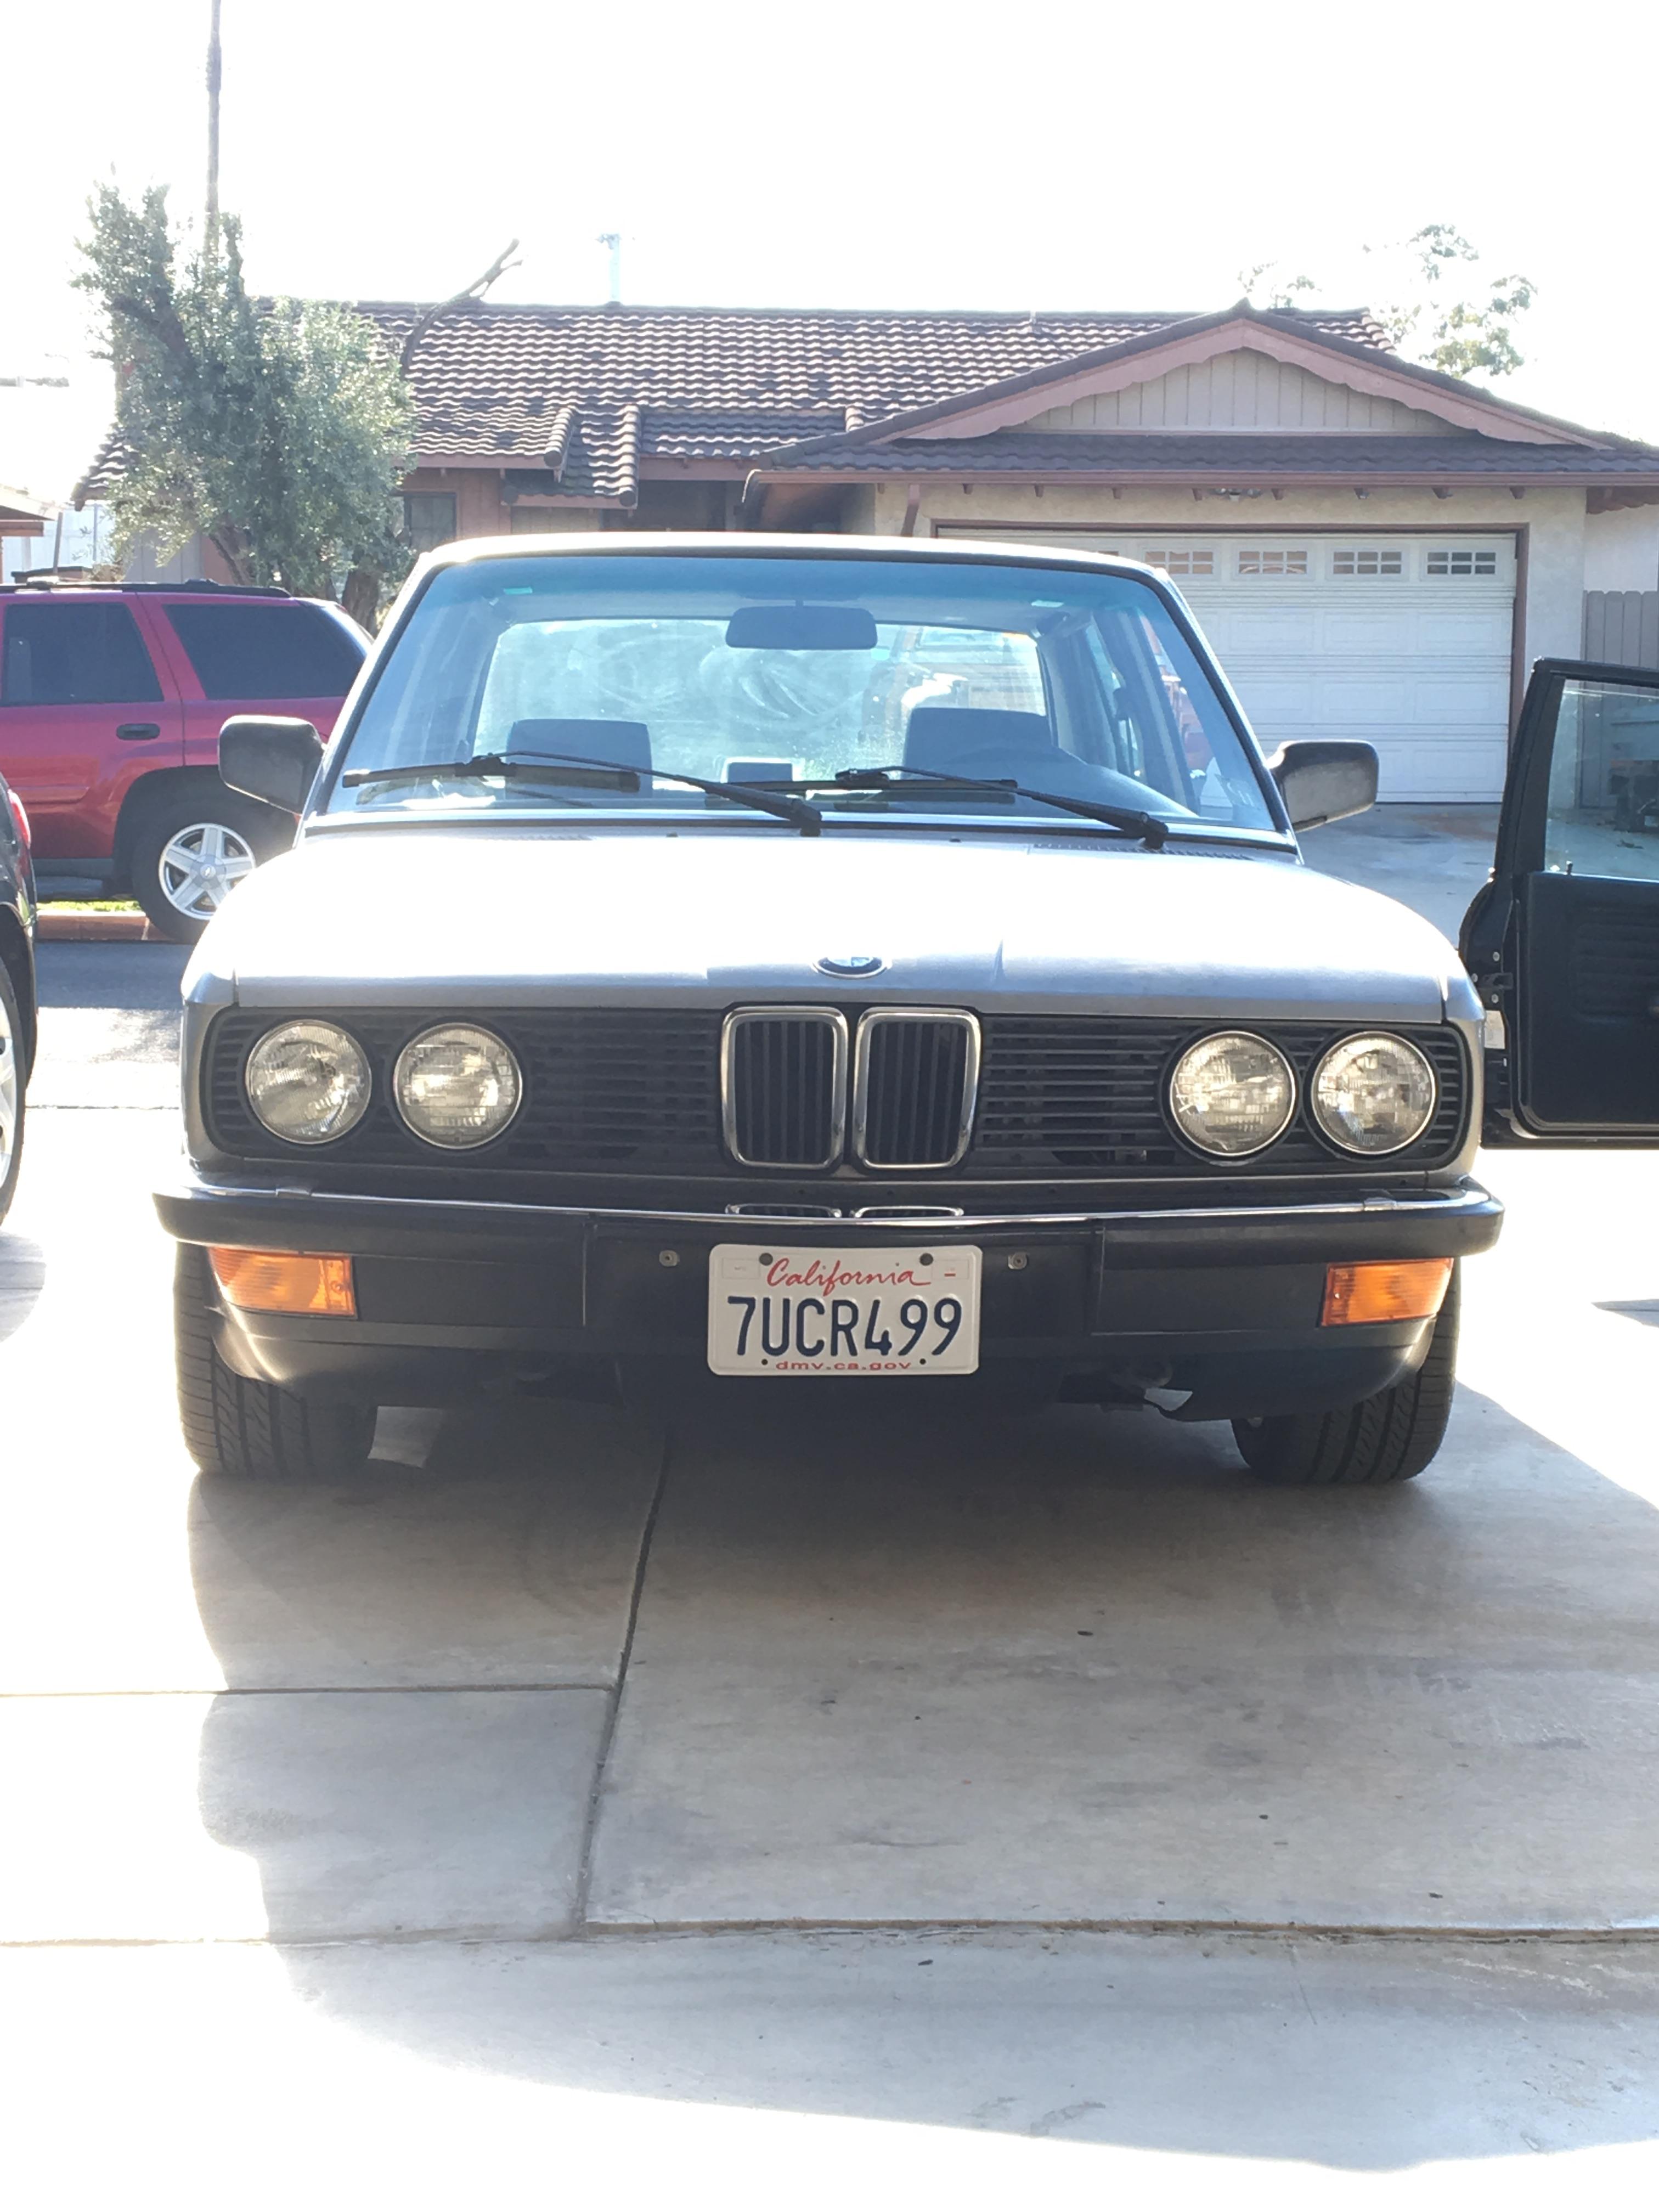
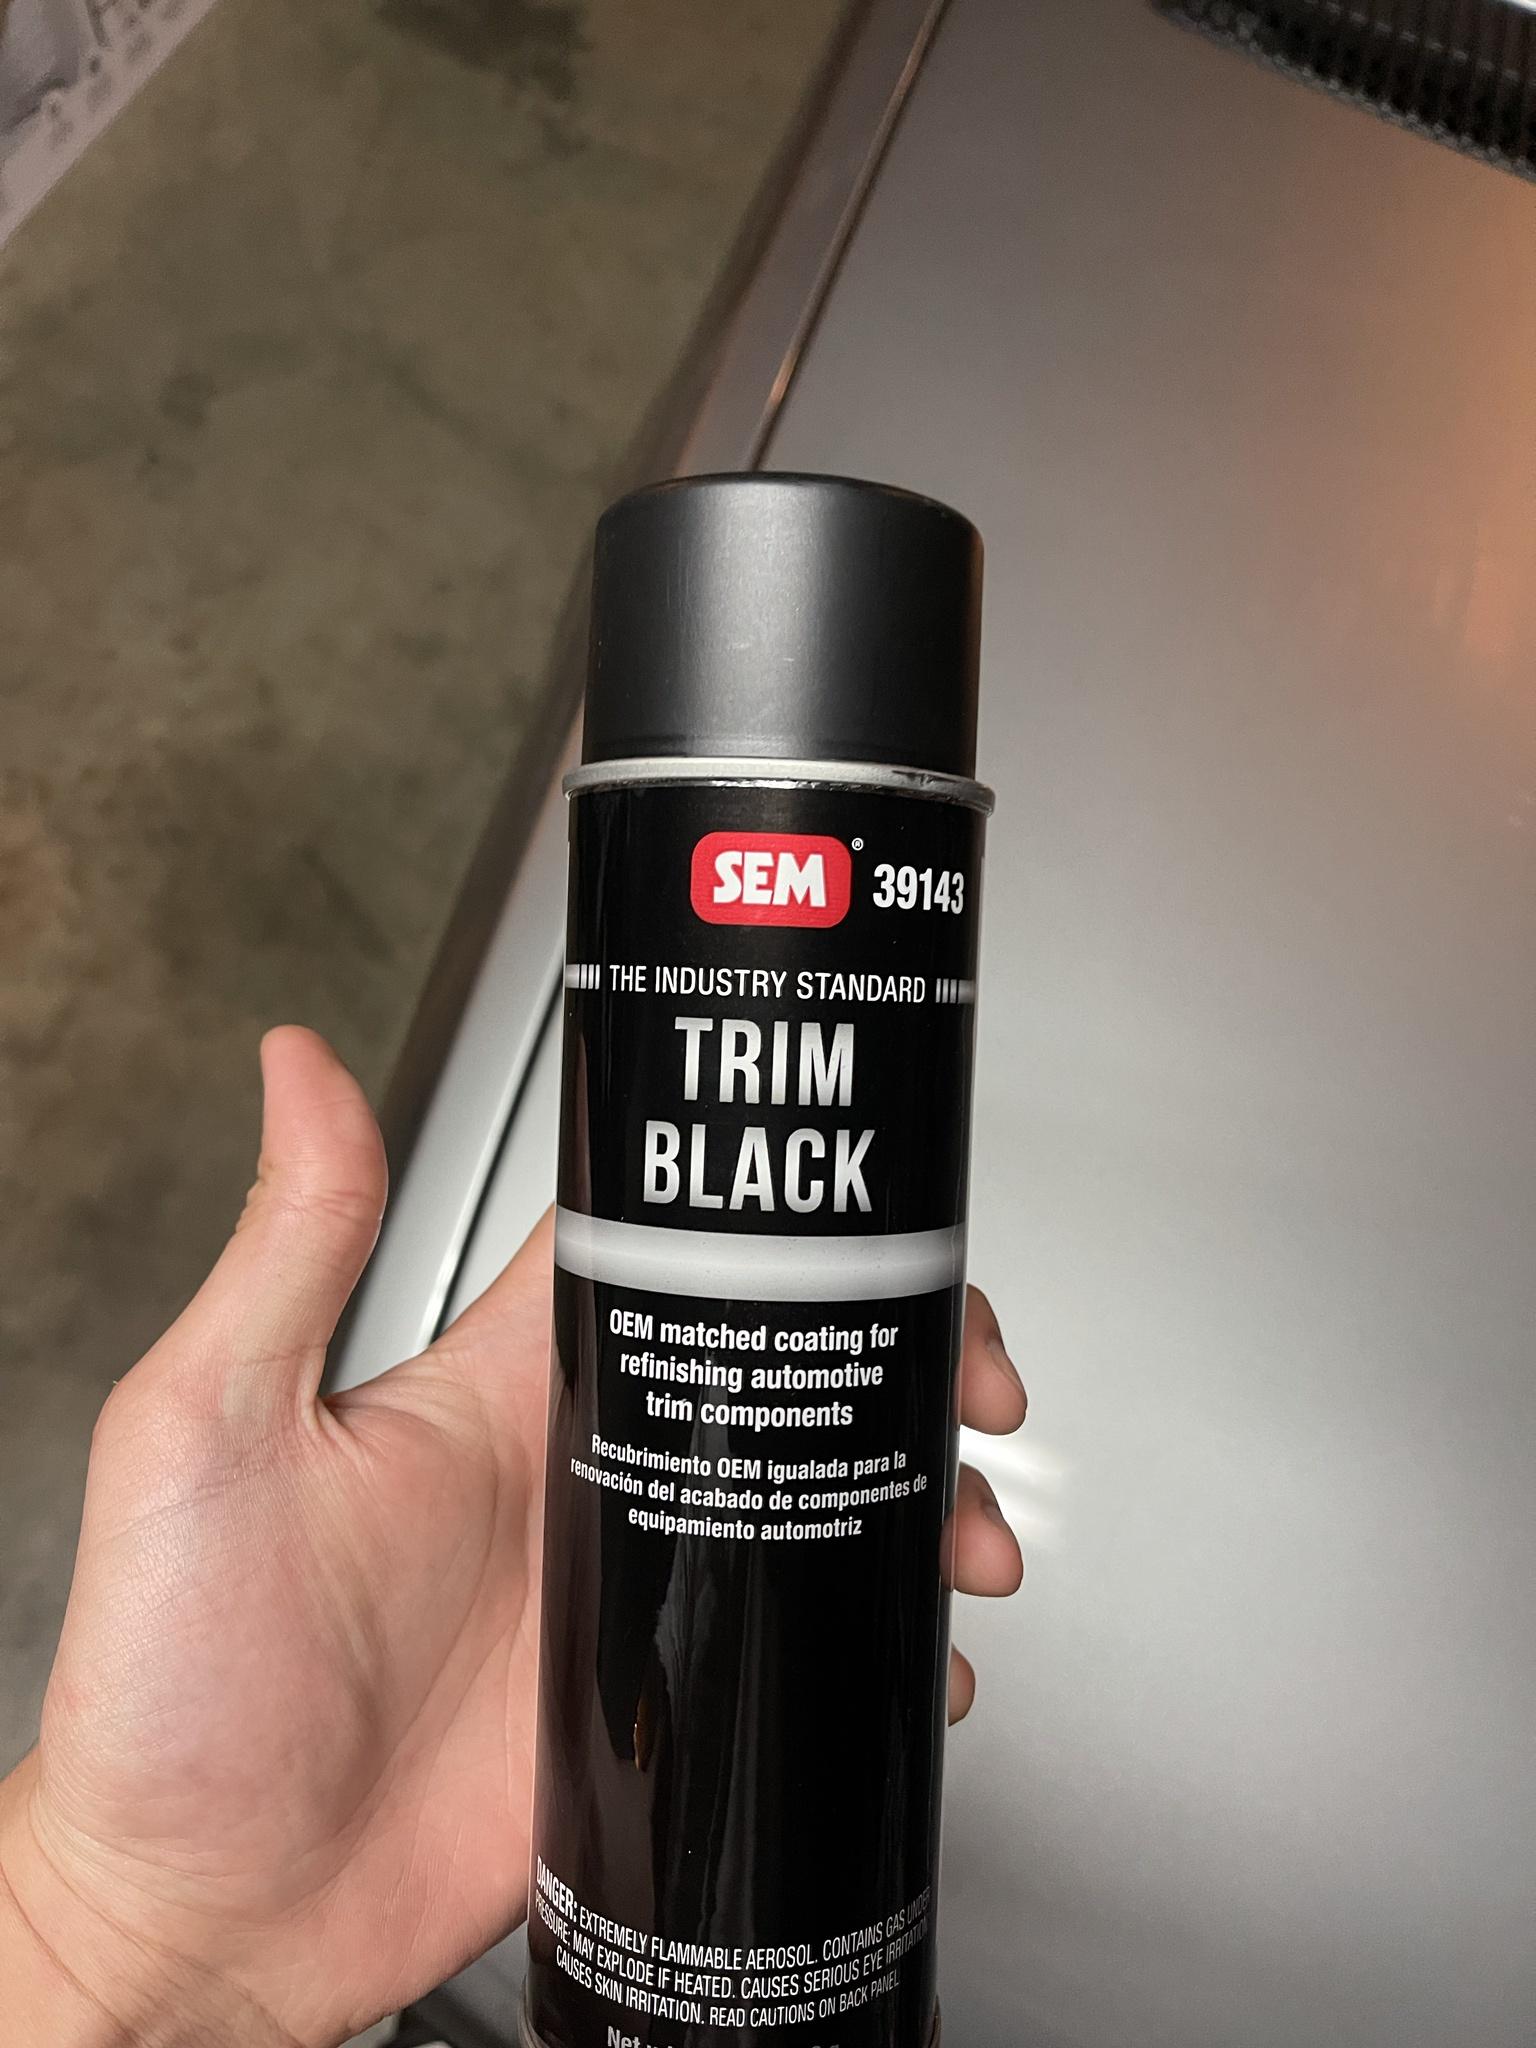
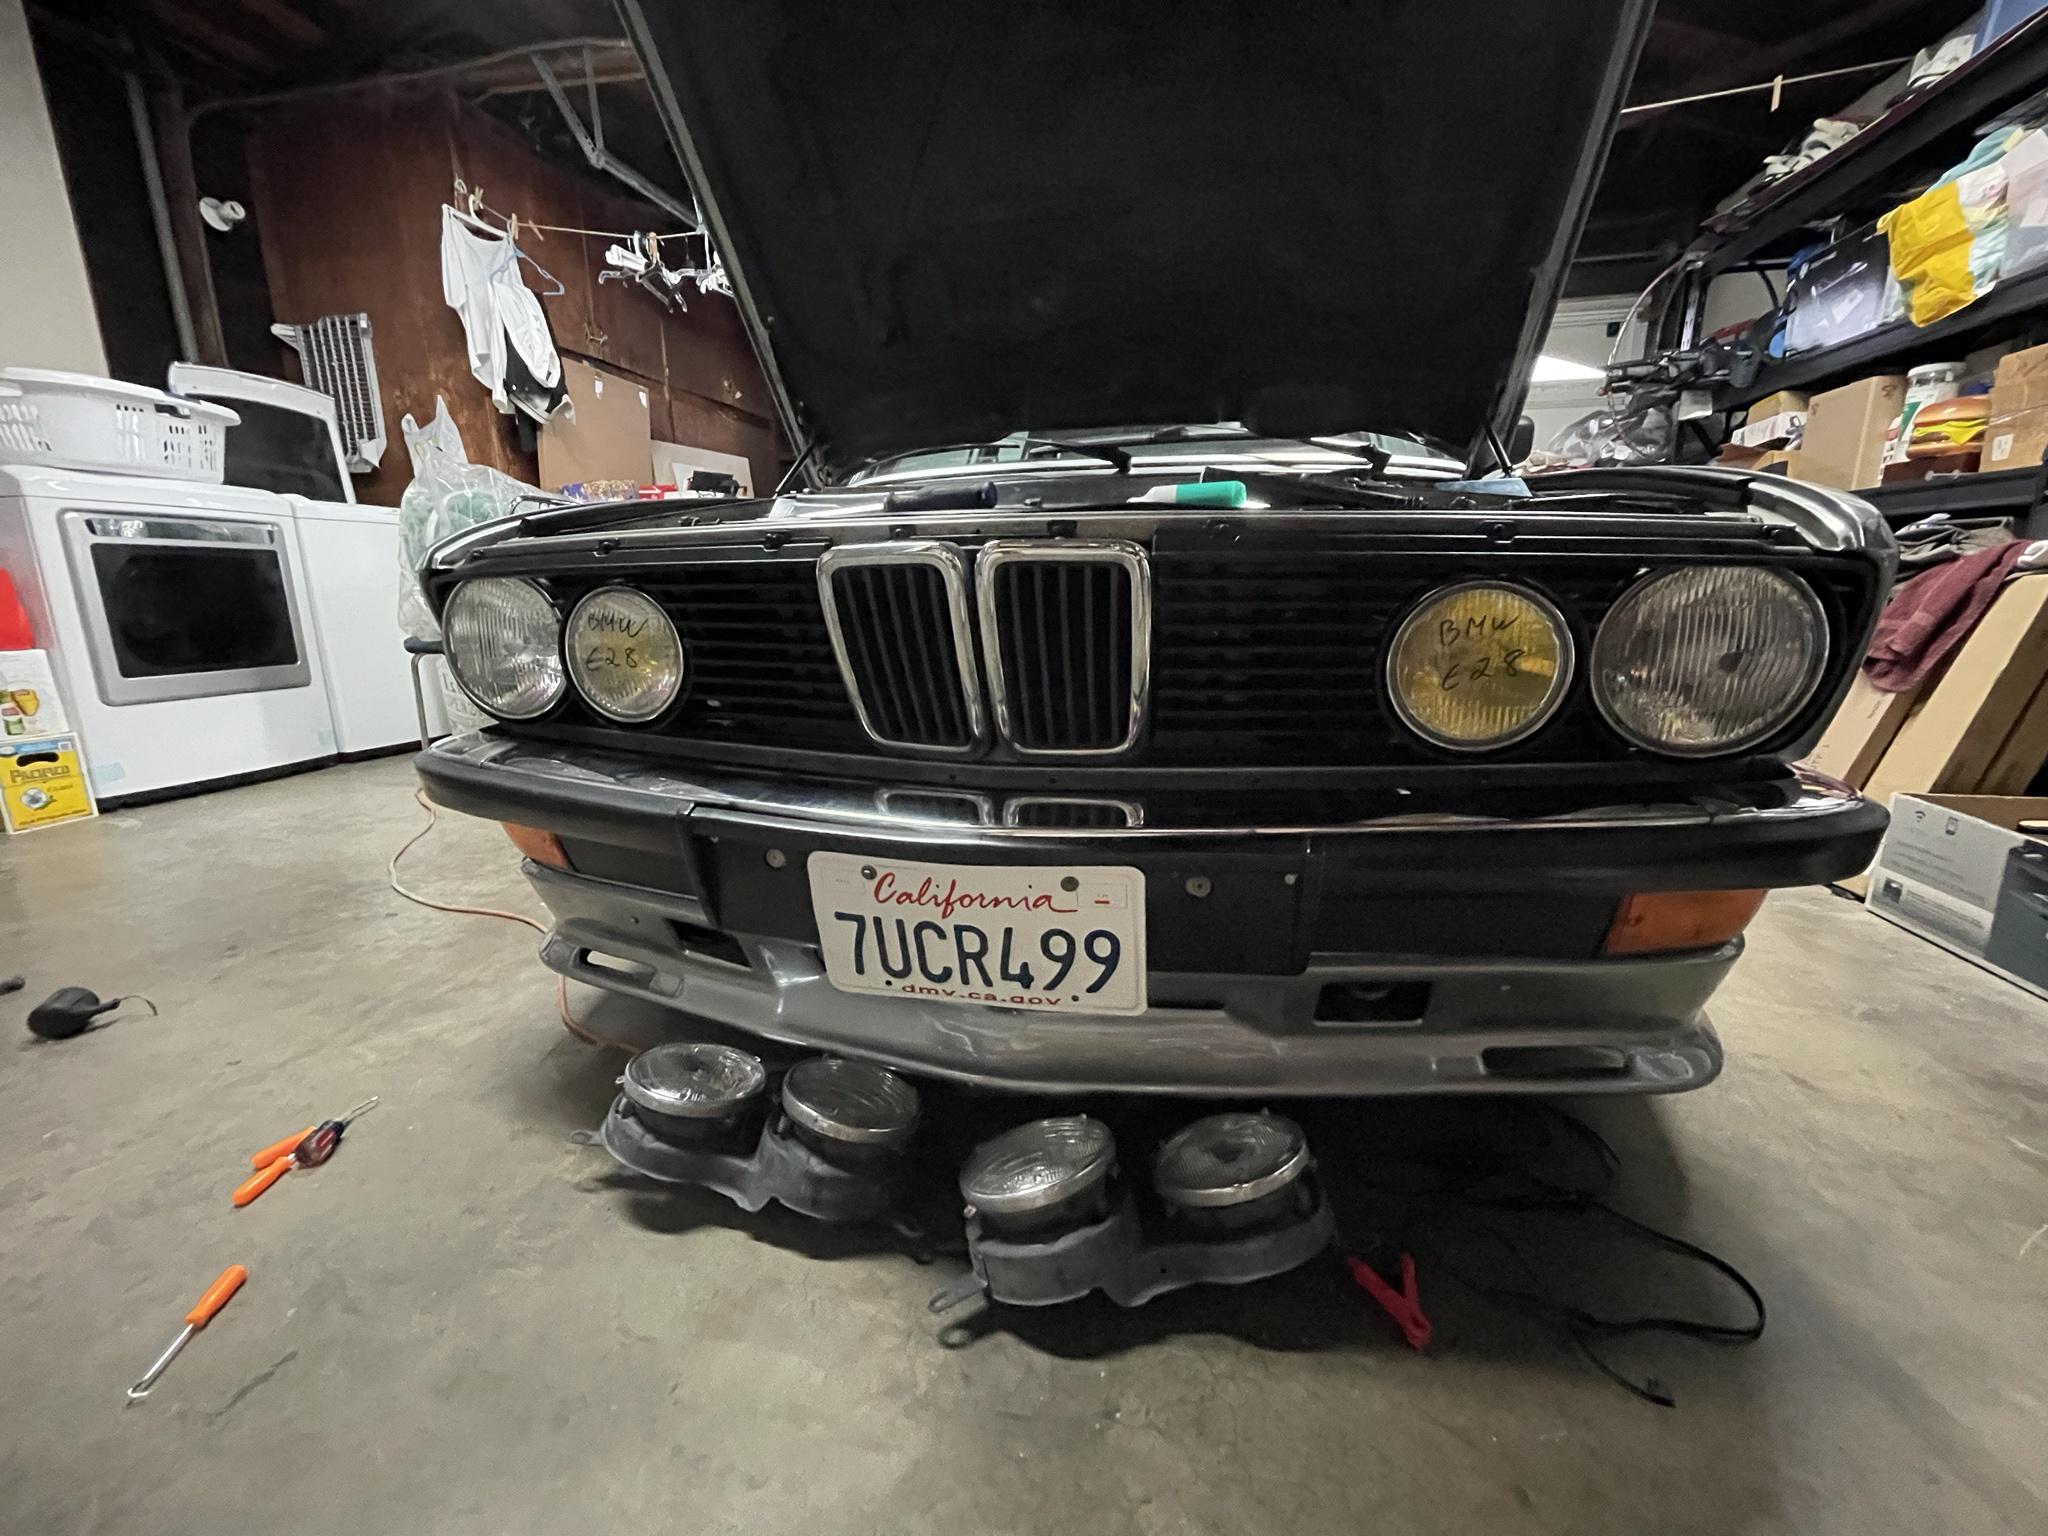
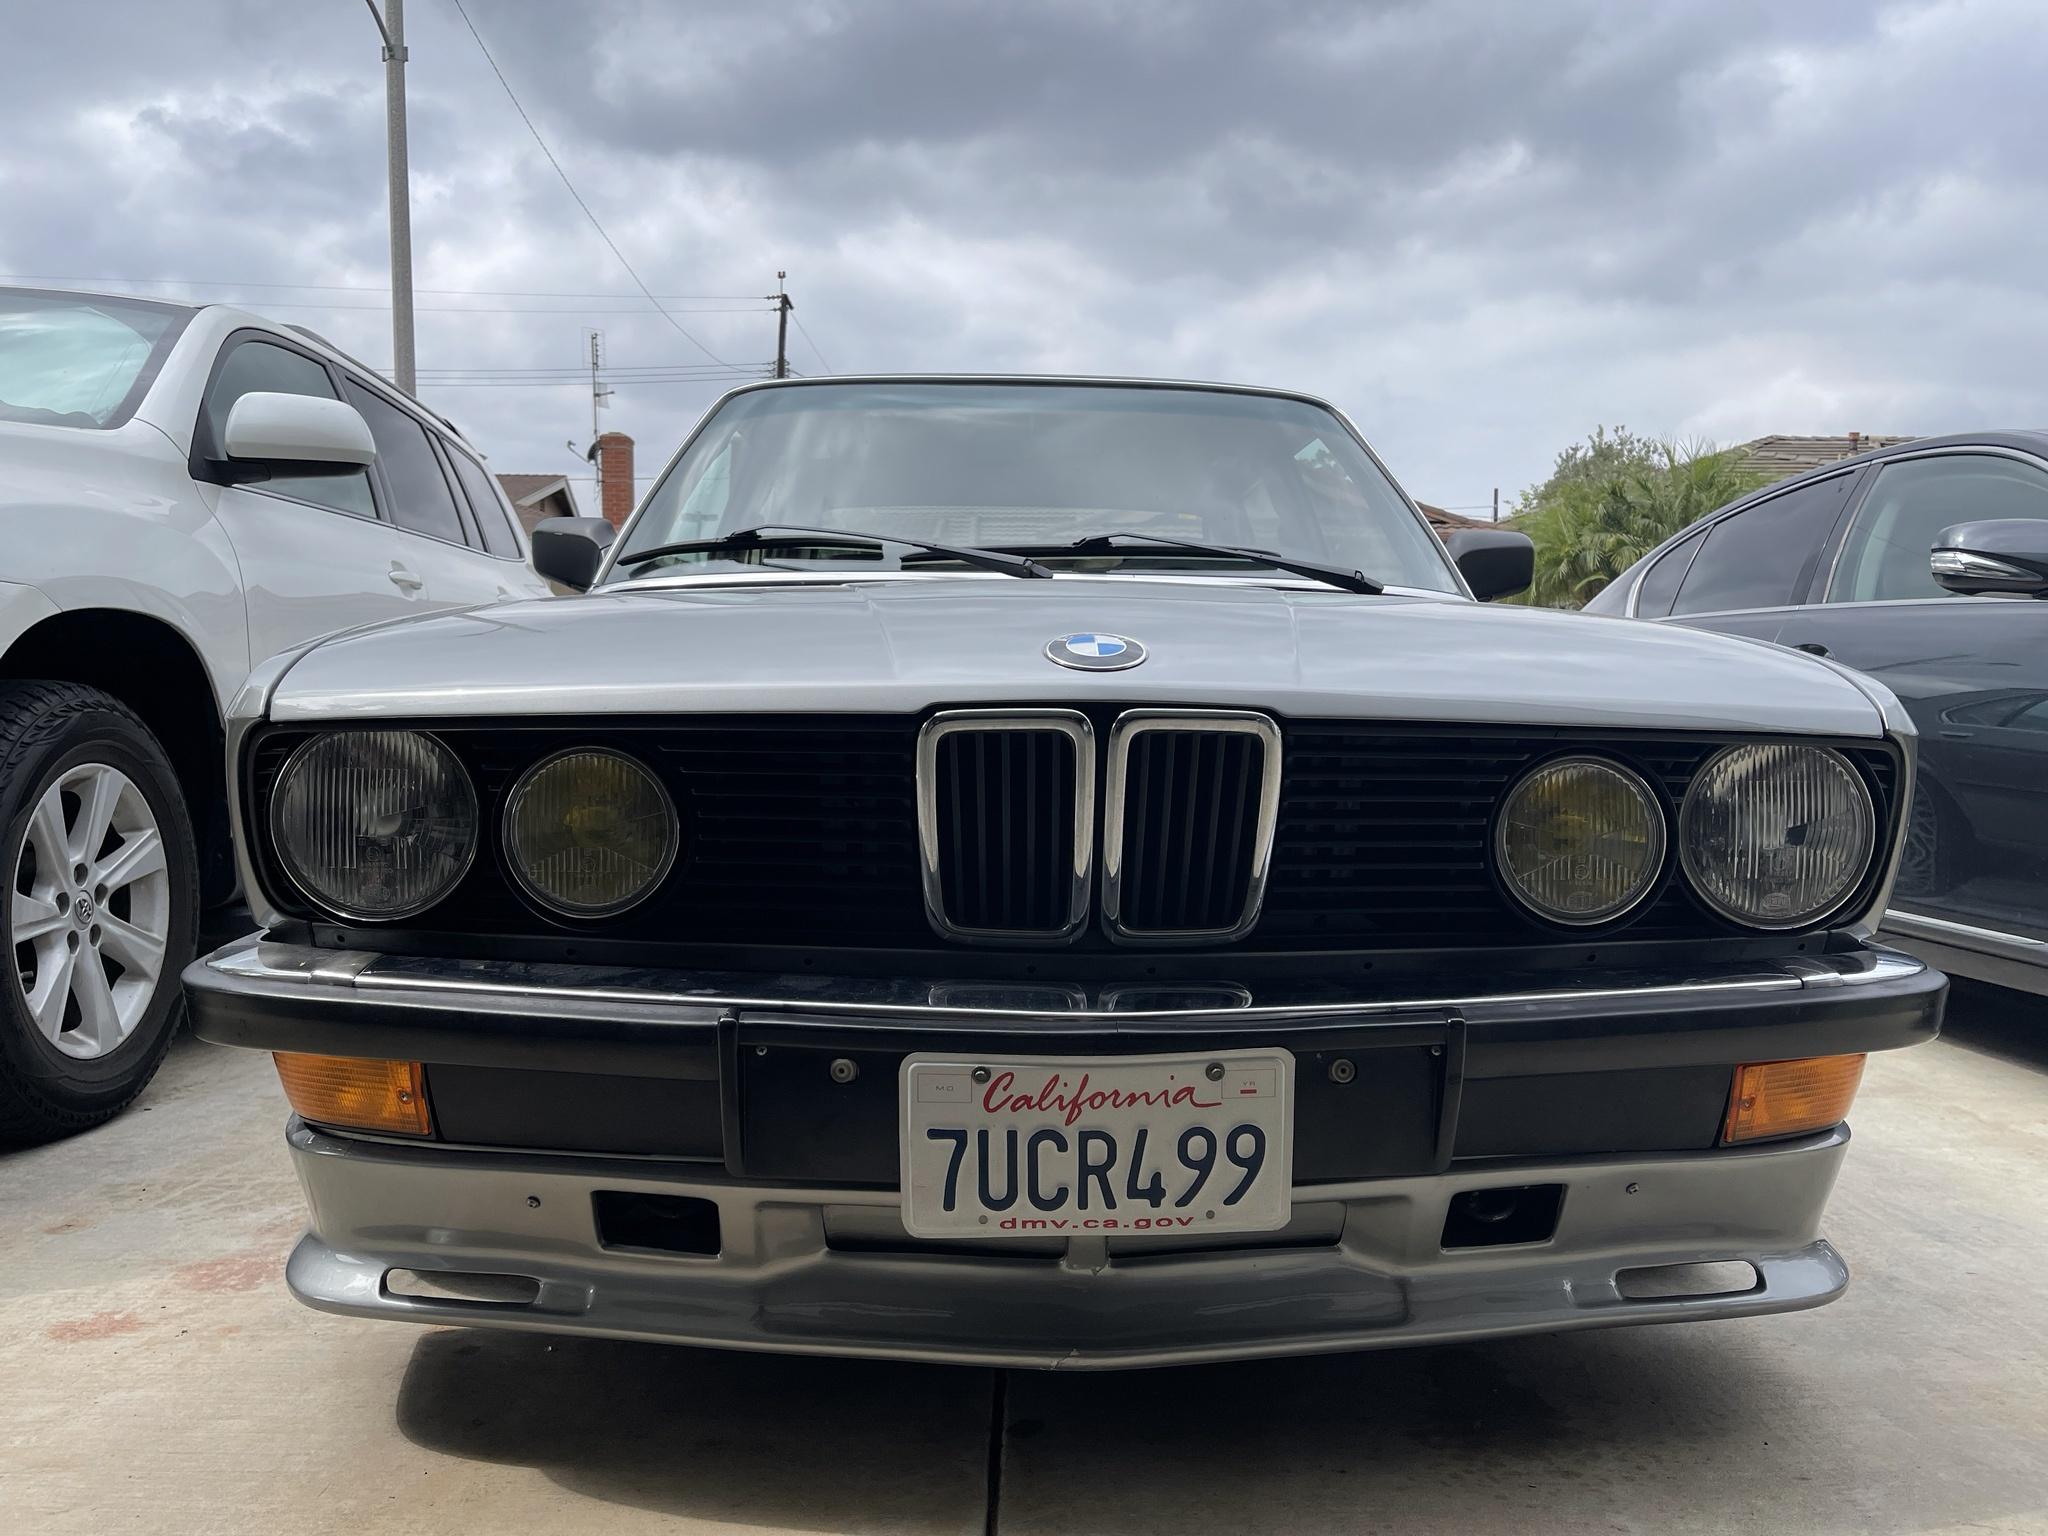
New Euro goodies finally came in and was able to install French Euro Headlights that I was able to source overseas. With them I also sourced Euro grills from the UK that were in rough shape and extremely faded/dirty. Painted them with SEM Trim Black paint to bring them back to life and installed everything.

Image

Image

Image

The car is looking good and most importantly running well now. There are only small things I want to work on sometime in the near future. While in gear the is a slight vibration, and one of the rubber mounts that have not yet been replaced yet are the subframe bushings that seem to be original to the car. Might look to find a shop to replace those with OEM rubber as I do not want to have to deal with that process at all.

Possibly thinking about the idea of switching to an M5 lip with a new valance that has the cutouts on the front and top of valance instead of the current one that has everything blocked out. The current valance on the car has some slight alignment problems with the turn signals and fog light covers not seating 100% where they should be.
jacobthegoat
Posts: 64
Joined: Mar 20, 2020 12:59 PM
Location: Nashville, TN

Re: Never-Ending Project e28 528e

Post by jacobthegoat »

Wow we have very similar cars! (Well, besides yours being a lot nicer).

I really enjoy the e2i m20 and especially paired with a manual trans, it floats! I’m planning on putting a 272 regrind in mine when I replace the head gasket. Do you think it’s worth the money? I’d love to see a video of the idle.
gwb72tii
Posts: 739
Joined: Sep 21, 2021 4:58 PM
Location: The Great Pacific Northwest

Re: Never-Ending Project e28 528e

Post by gwb72tii »

If you don't mind me asking, what front spoiler is that, what brand?

never mind, just read thru the post

Looking good BTW
mnnguy
Posts: 57
Joined: Sep 07, 2016 1:34 AM
Location: Los Angeles

Re: Never-Ending Project e28 528e

Post by mnnguy »

jacobthegoat wrote: Dec 21, 2021 7:00 AM Wow we have very similar cars! (Well, besides yours being a lot nicer).

I really enjoy the e2i m20 and especially paired with a manual trans, it floats! I’m planning on putting a 272 regrind in mine when I replace the head gasket. Do you think it’s worth the money? I’d love to see a video of the idle.
Thank you! And yes a manual swap is in the works, just slowly piecing parts together but it is getting harder to source the right parts.
And for the cam I’m not too sure as the car is still an automatic and I never had a chance to try the e2i with the stock cam as it broke. But the car pulls very healthily and strong up to redline. The whole engine trans setup feels super smooth when cruising.

Ill send a video of the idle but the exhaust is still practically stock so not much sound/lumpy idle comes from it.
mnnguy
Posts: 57
Joined: Sep 07, 2016 1:34 AM
Location: Los Angeles

Re: Never-Ending Project e28 528e

Post by mnnguy »

jacobthegoat wrote: Dec 21, 2021 7:00 AM Wow we have very similar cars! (Well, besides yours being a lot nicer).

I really enjoy the e2i m20 and especially paired with a manual trans, it floats! I’m planning on putting a 272 regrind in mine when I replace the head gasket. Do you think it’s worth the money? I’d love to see a video of the idle.
https://www.youtube.com/watch?v=ss1yvfG6YCw

I finally have had a chance to record a video of the idle. This is how it sounds out of the stock exhaust- it is very quiet but most of the sound comes from the induction noise from the engine bay.

I want to eventually switch to the super eta exahust/ have an exhaust that is a little bit louder so I can fully hear the sound of the engine.
mnnguy
Posts: 57
Joined: Sep 07, 2016 1:34 AM
Location: Los Angeles

Re: Never-Ending Project e28 528e

Post by mnnguy »

Its been long past due since I made my last post. The car had been sitting for almost half a year due to being busy and balancing work and life.

Since my last update on this thread, I had got into an accident with my daily driver e92 when I was driving down and a dog sprinted out from in front of a parked car and I instinctively swerved to not hit it, ended up causing me to hit a curb when trying to avoid other cars. The car was definitely repairable but was not worth it to me to repair. I ended up selling the car to a person that did intend to fix it and and put it back on the road.
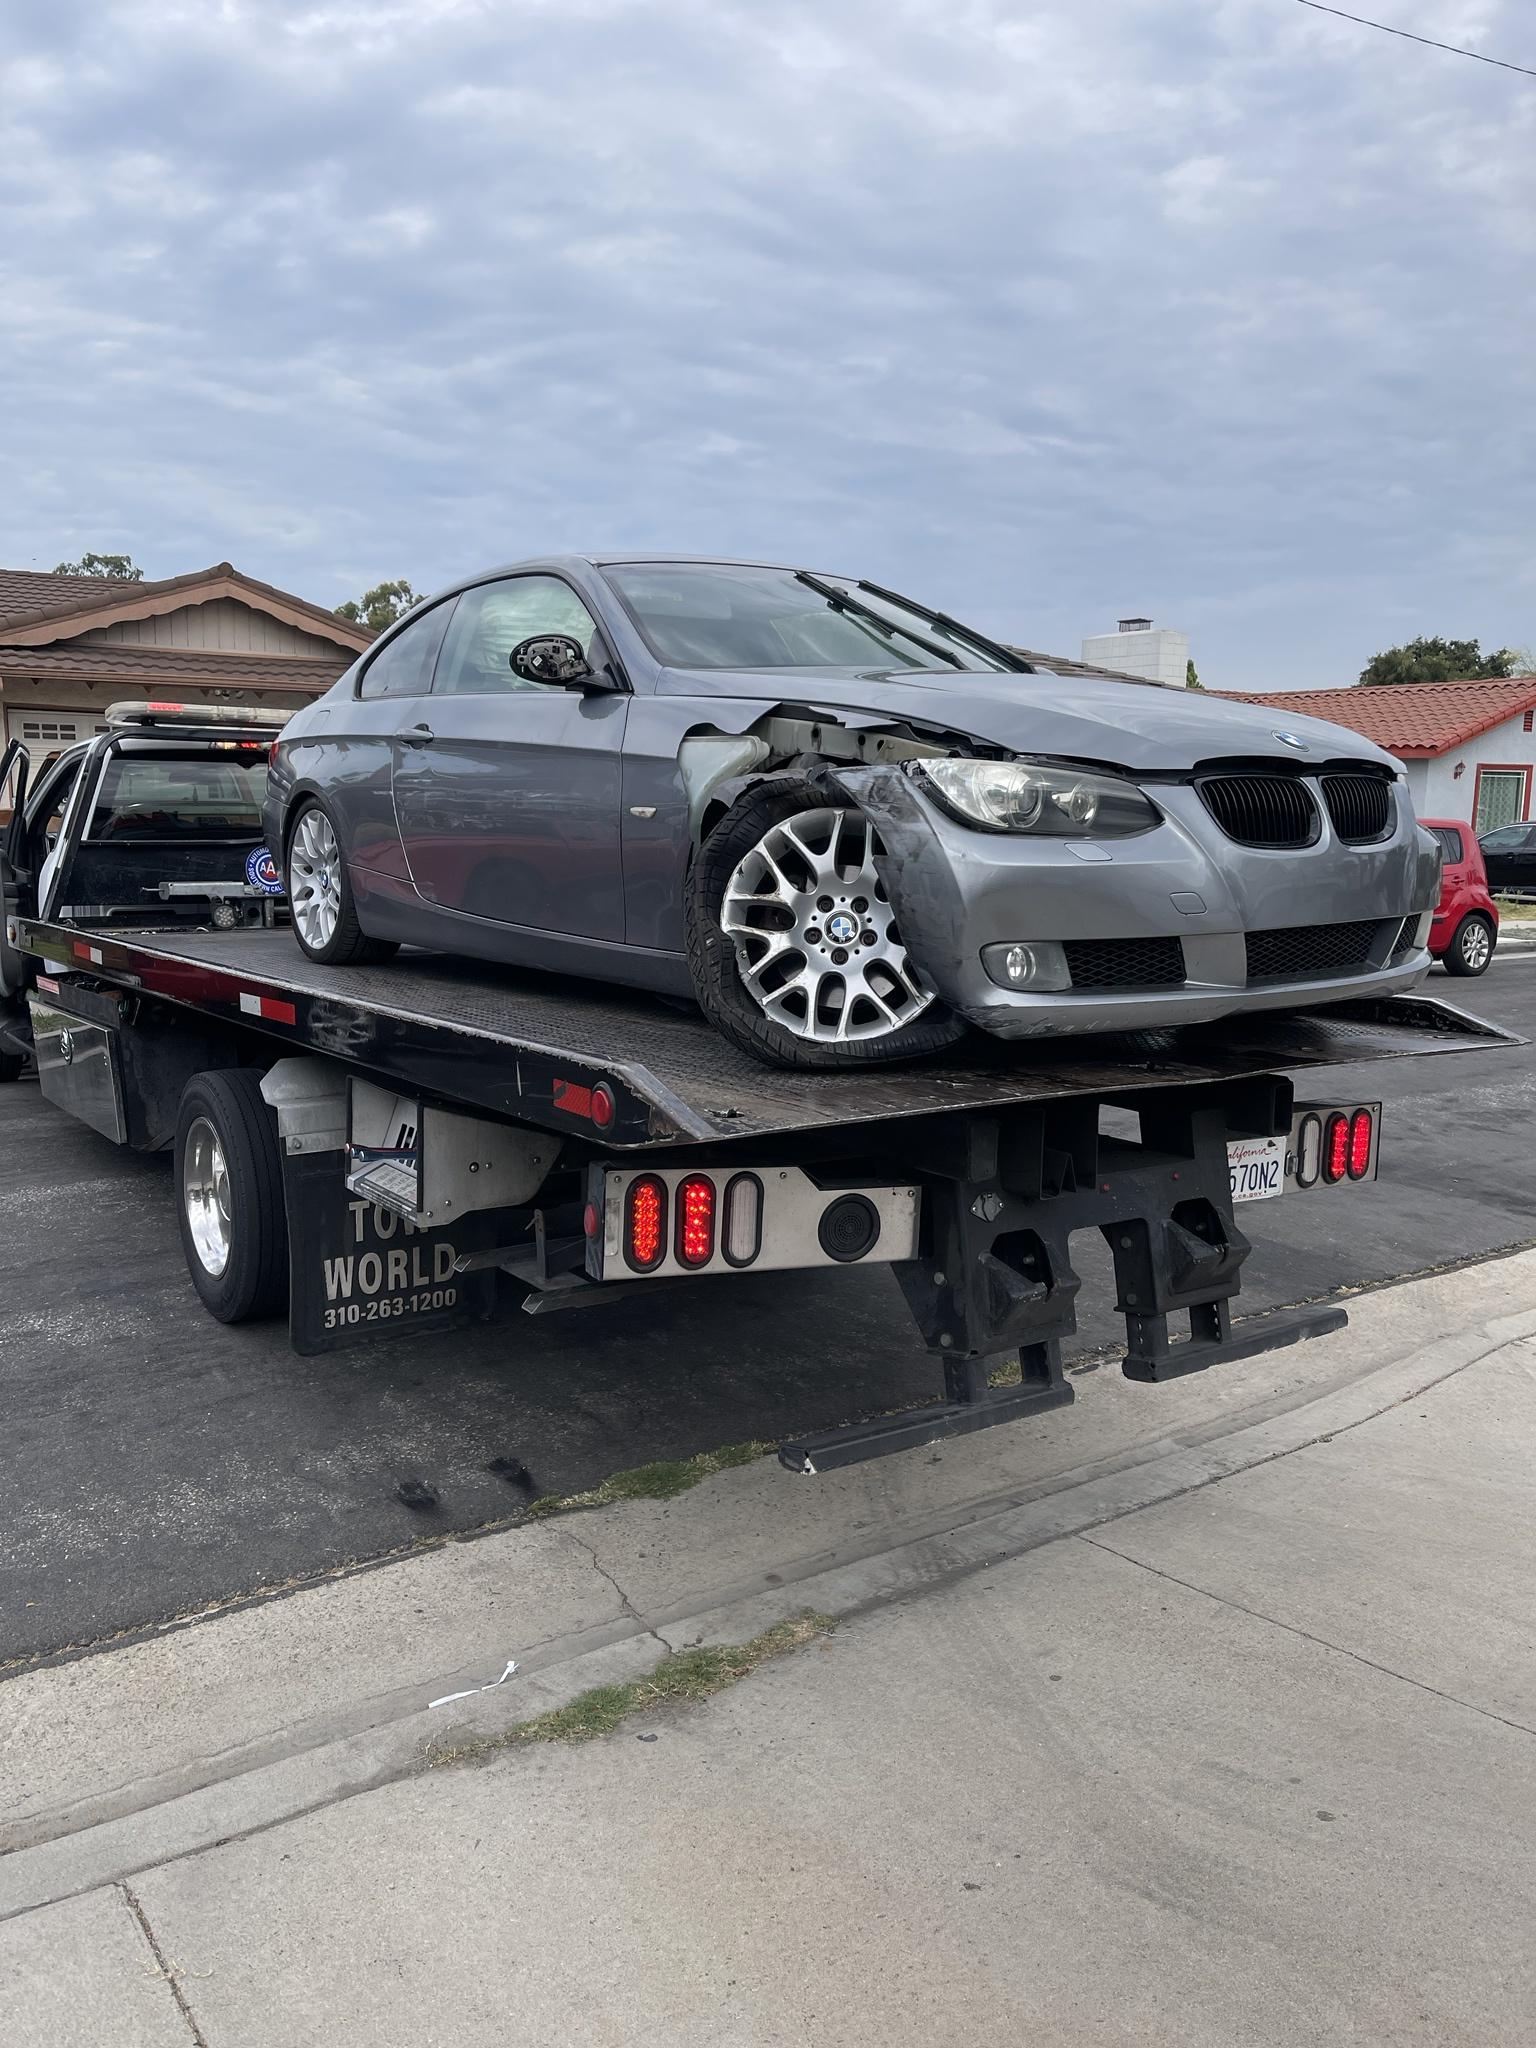
Image

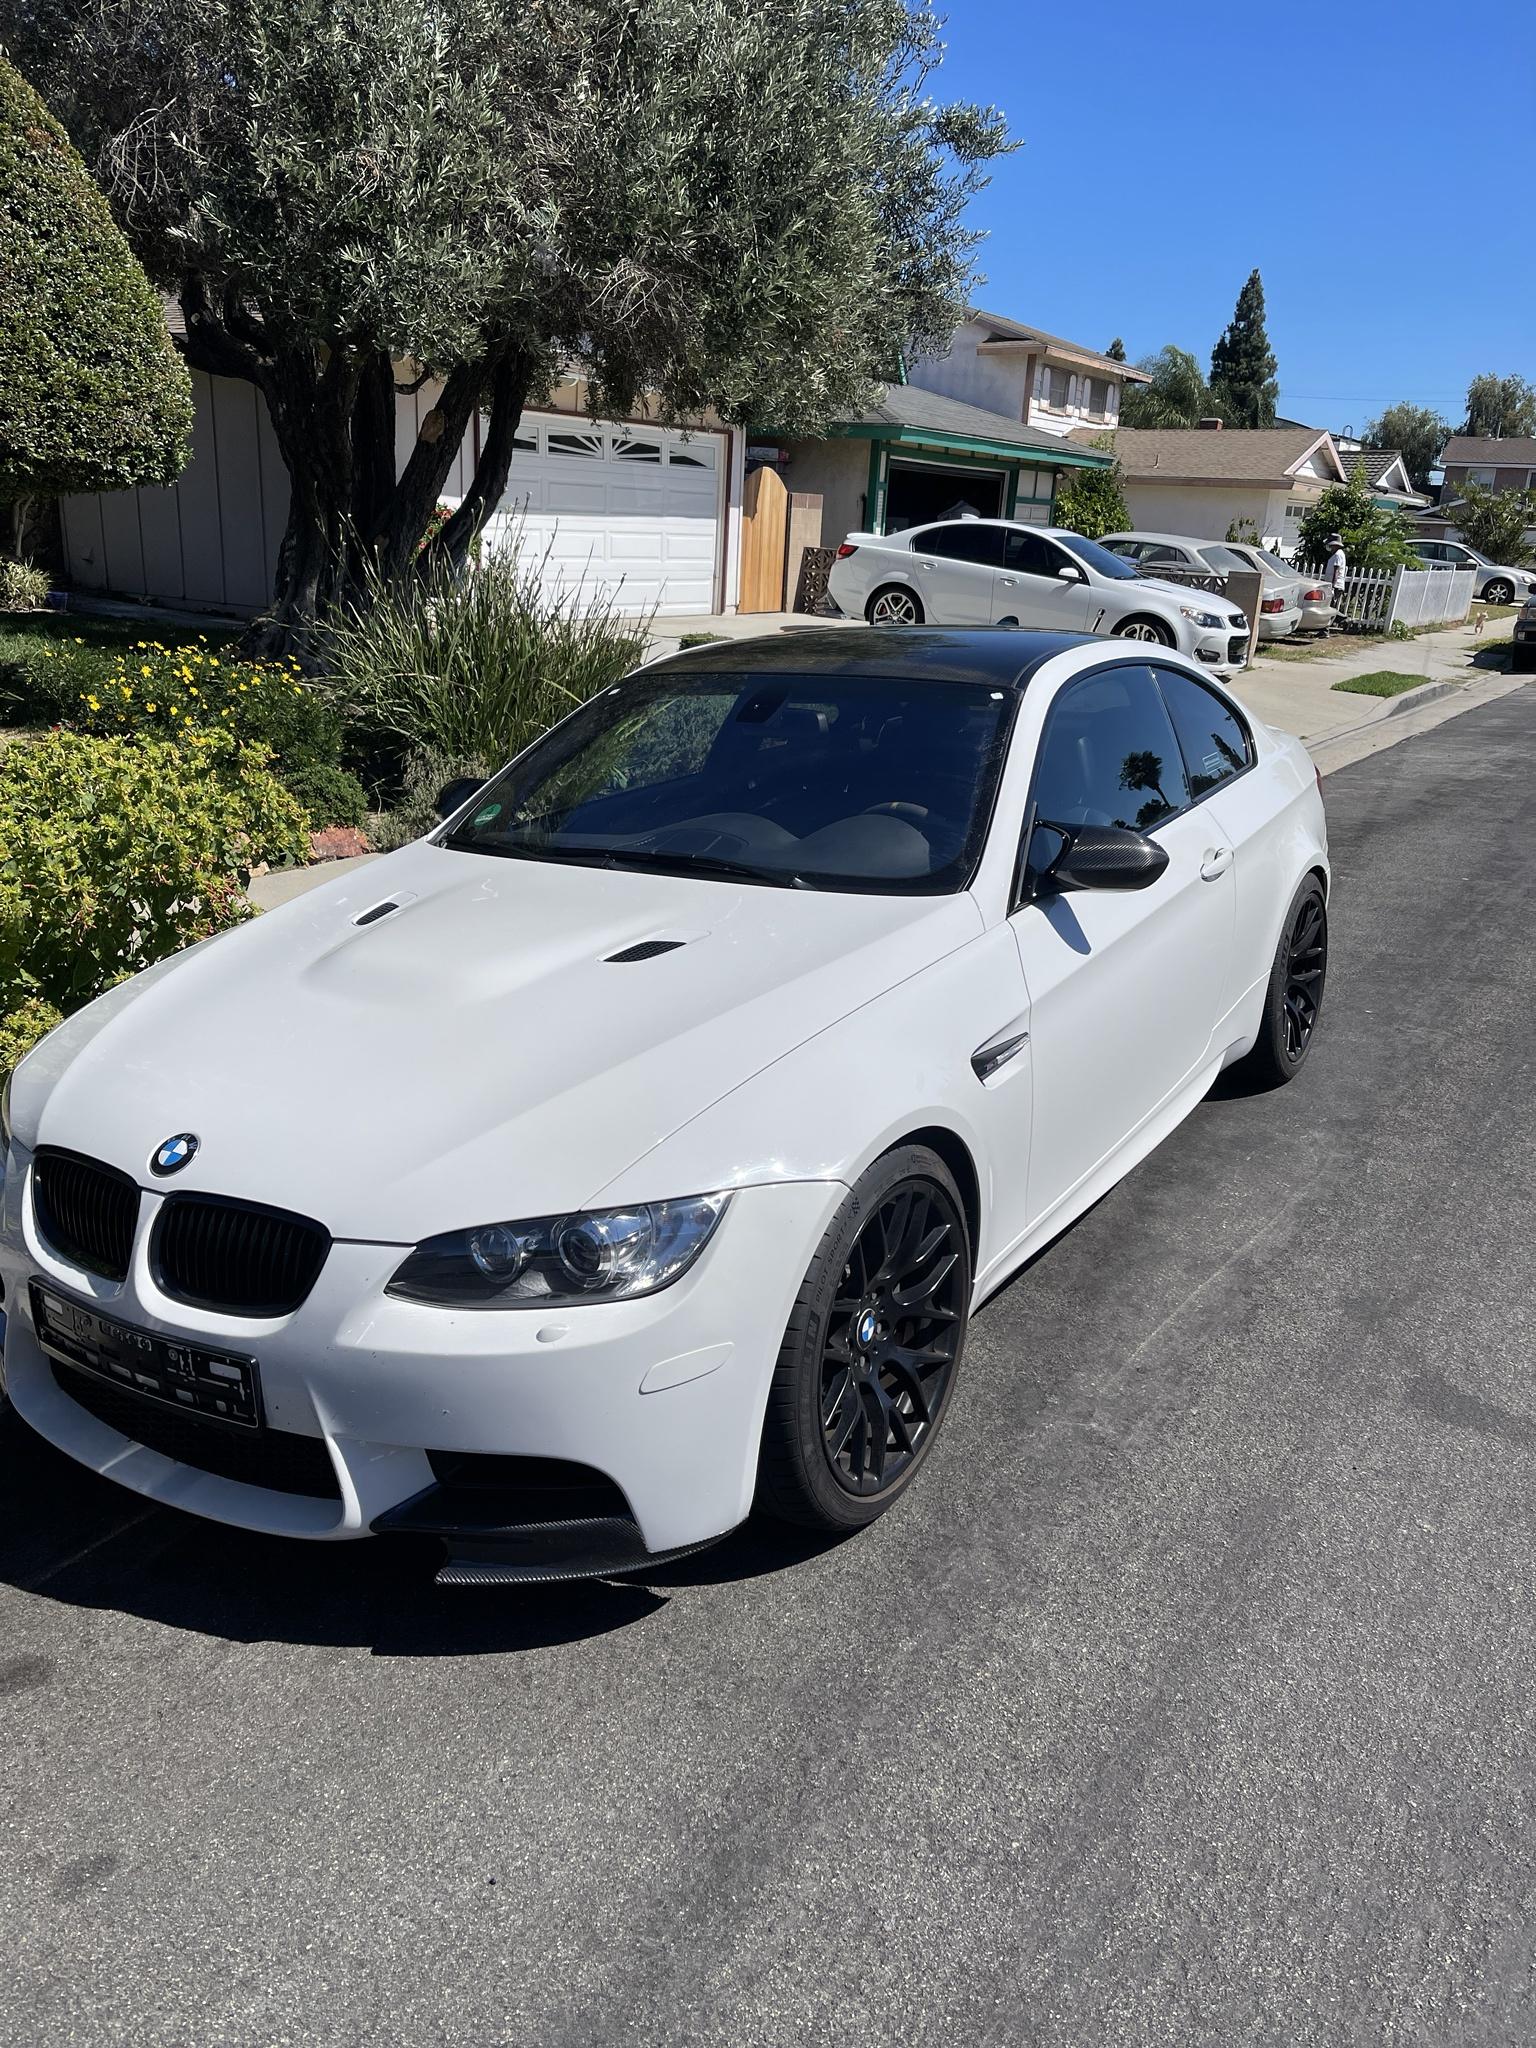
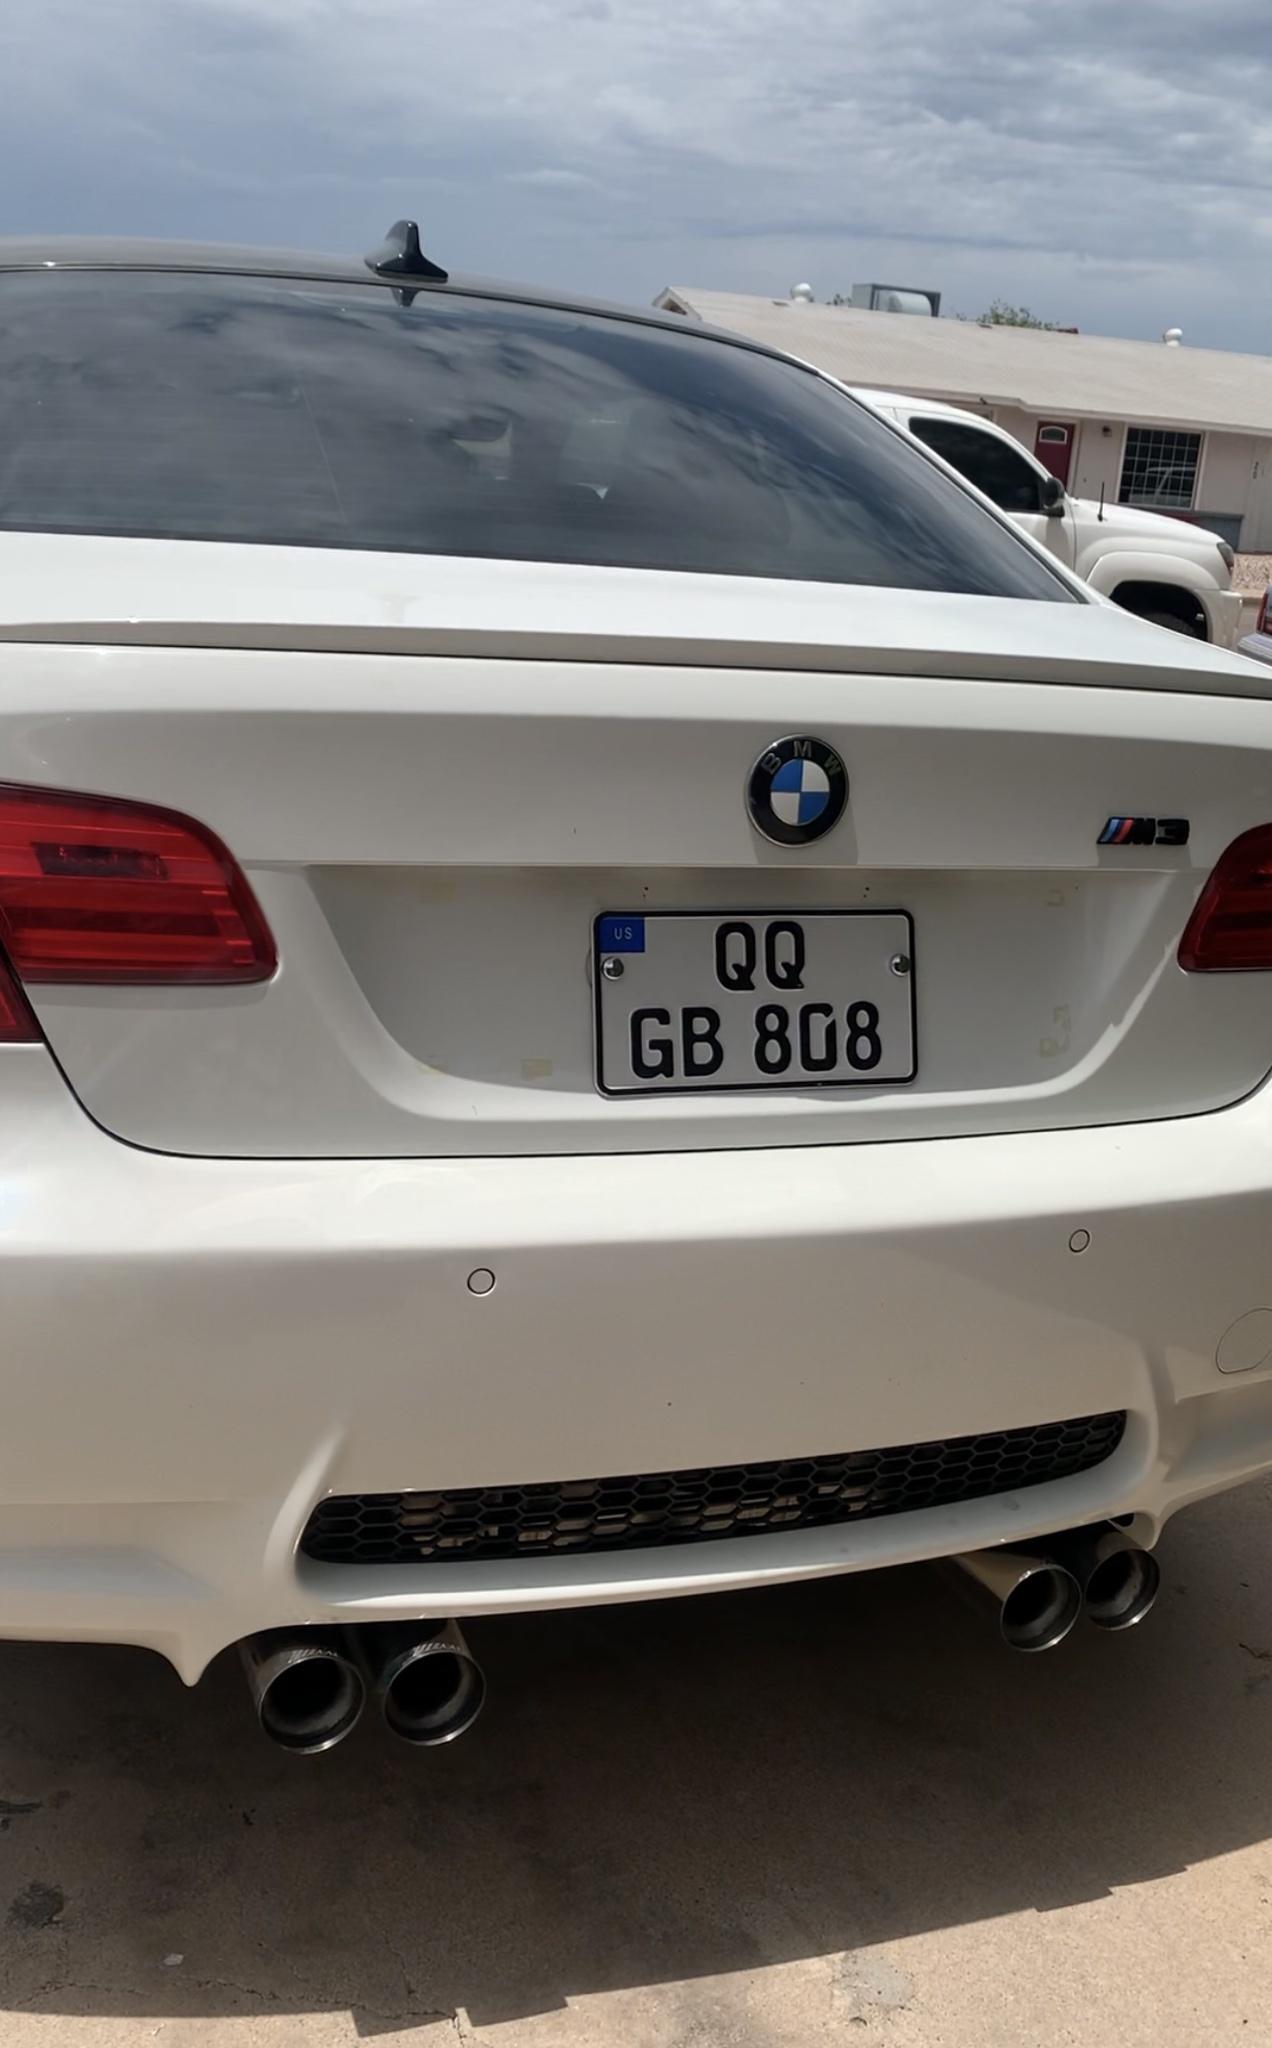
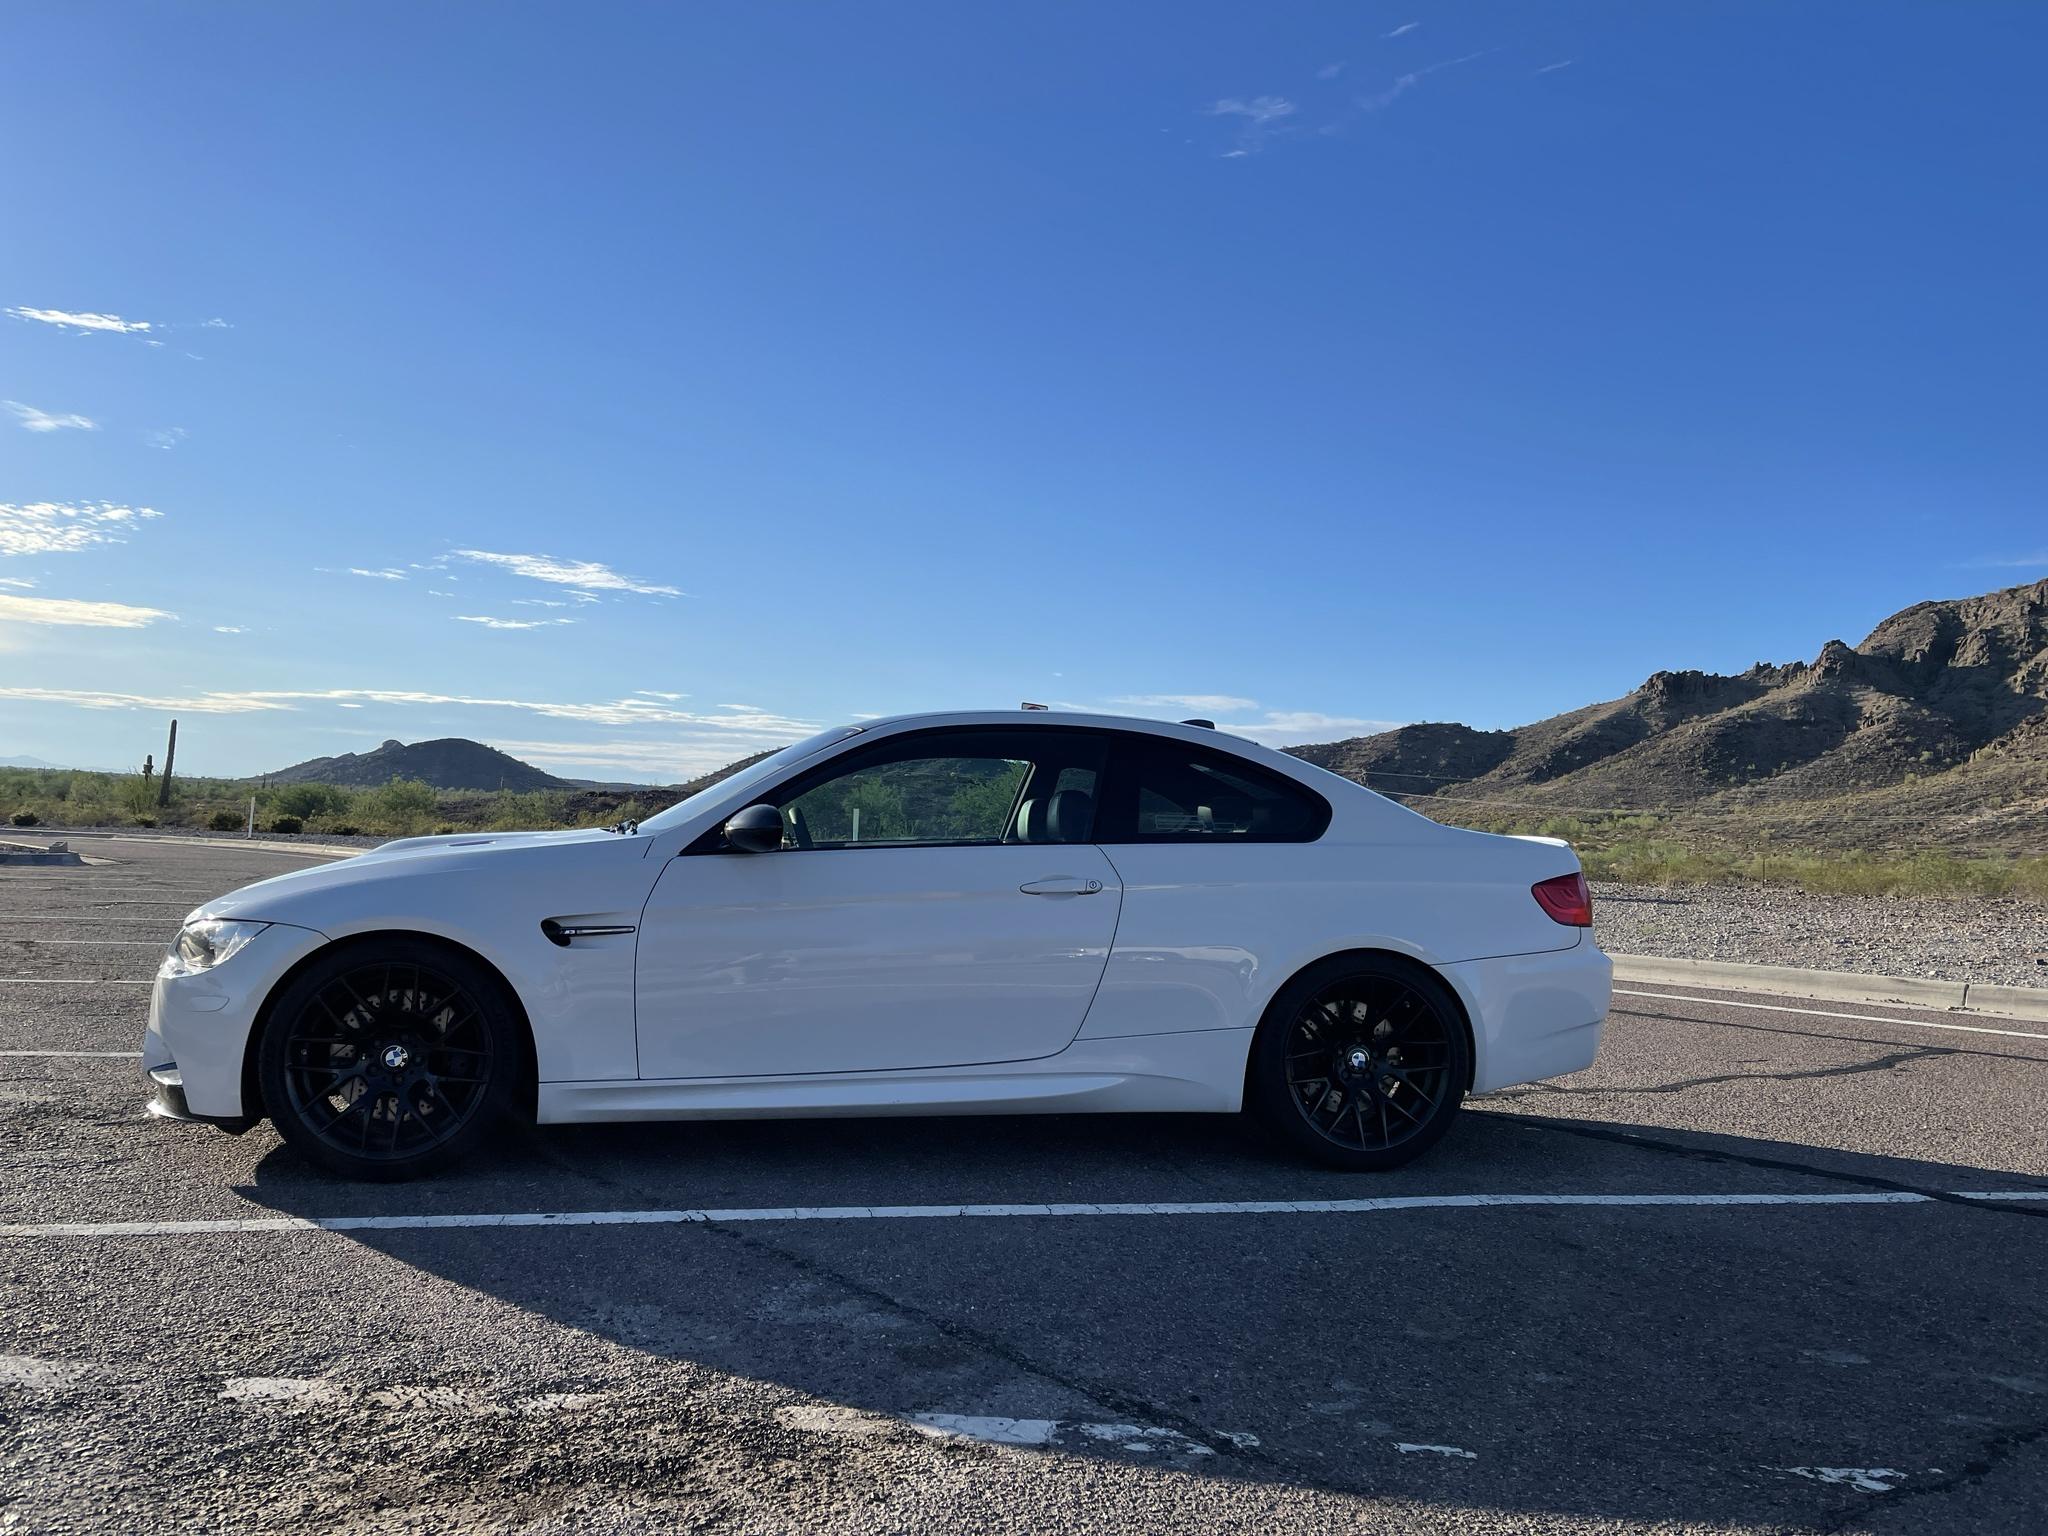
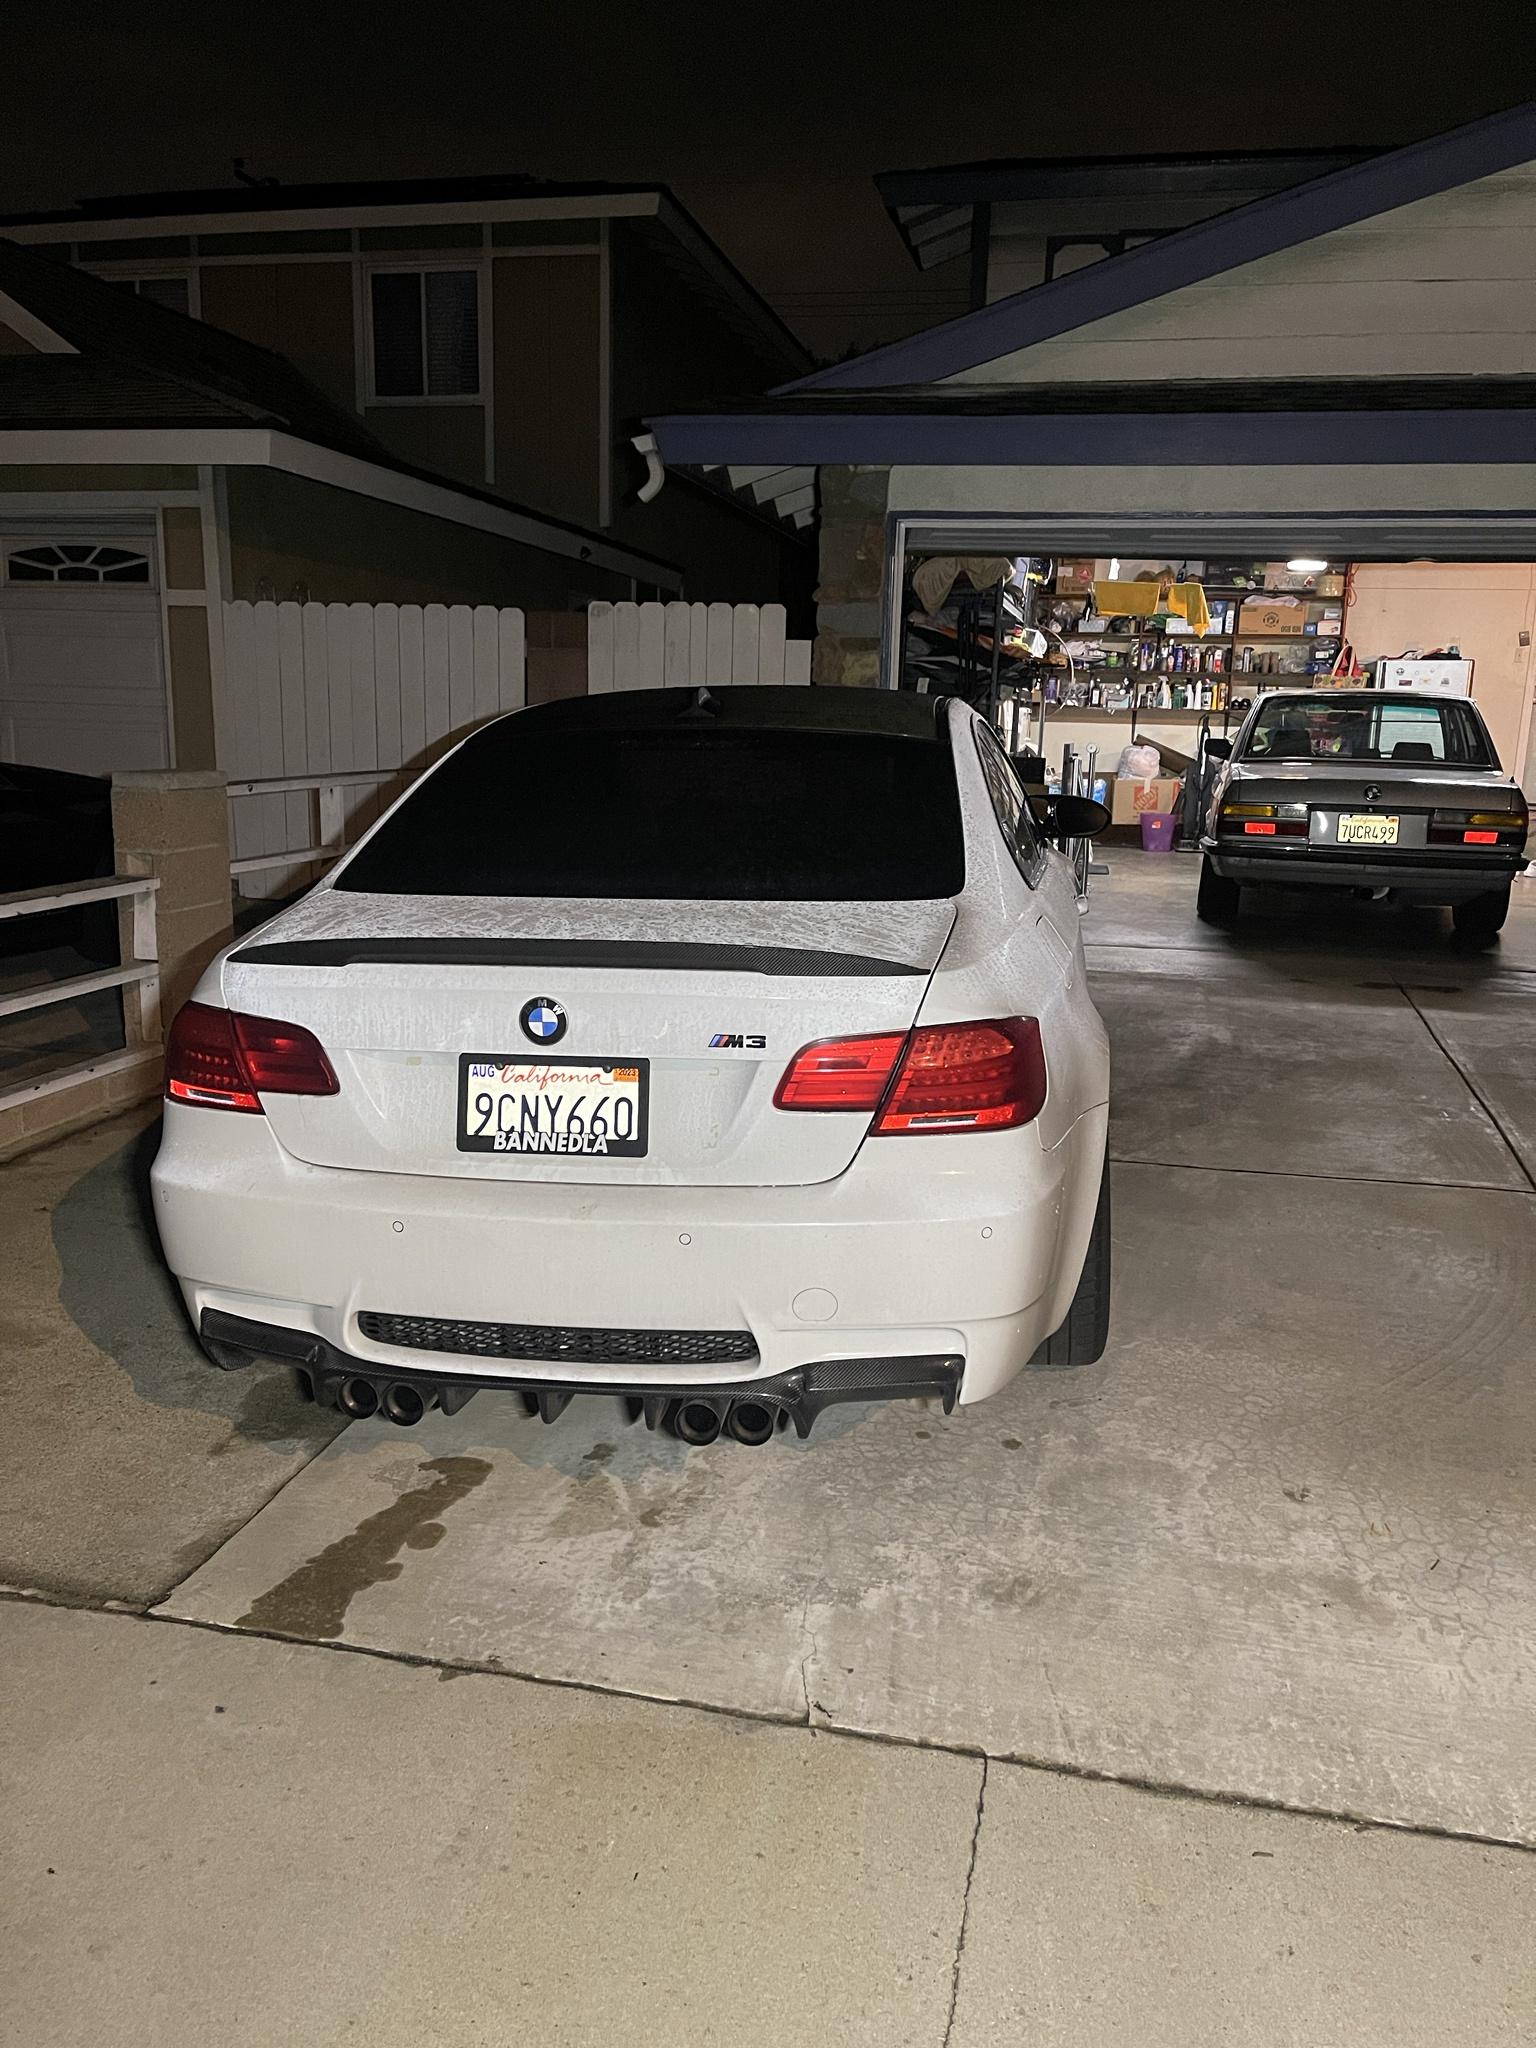
At the same time I had been searching for an e92 m3 to replace my daily driver, and was looking for one for about 6 months prior to the incident. Within the same week of selling the car off, I had found an e92 m3 with the right specs I had been looking for that was underpriced and in great condition.

It is a 2012 m3 with 64k miles at time of purchase (now with close to 70k) with DCT, competition package, carbon roof, and Fox Red/Novillo two tone interior. When I had messaged the buyer I was lucky to be the first person to message him as 13 people messaged him shortly after.

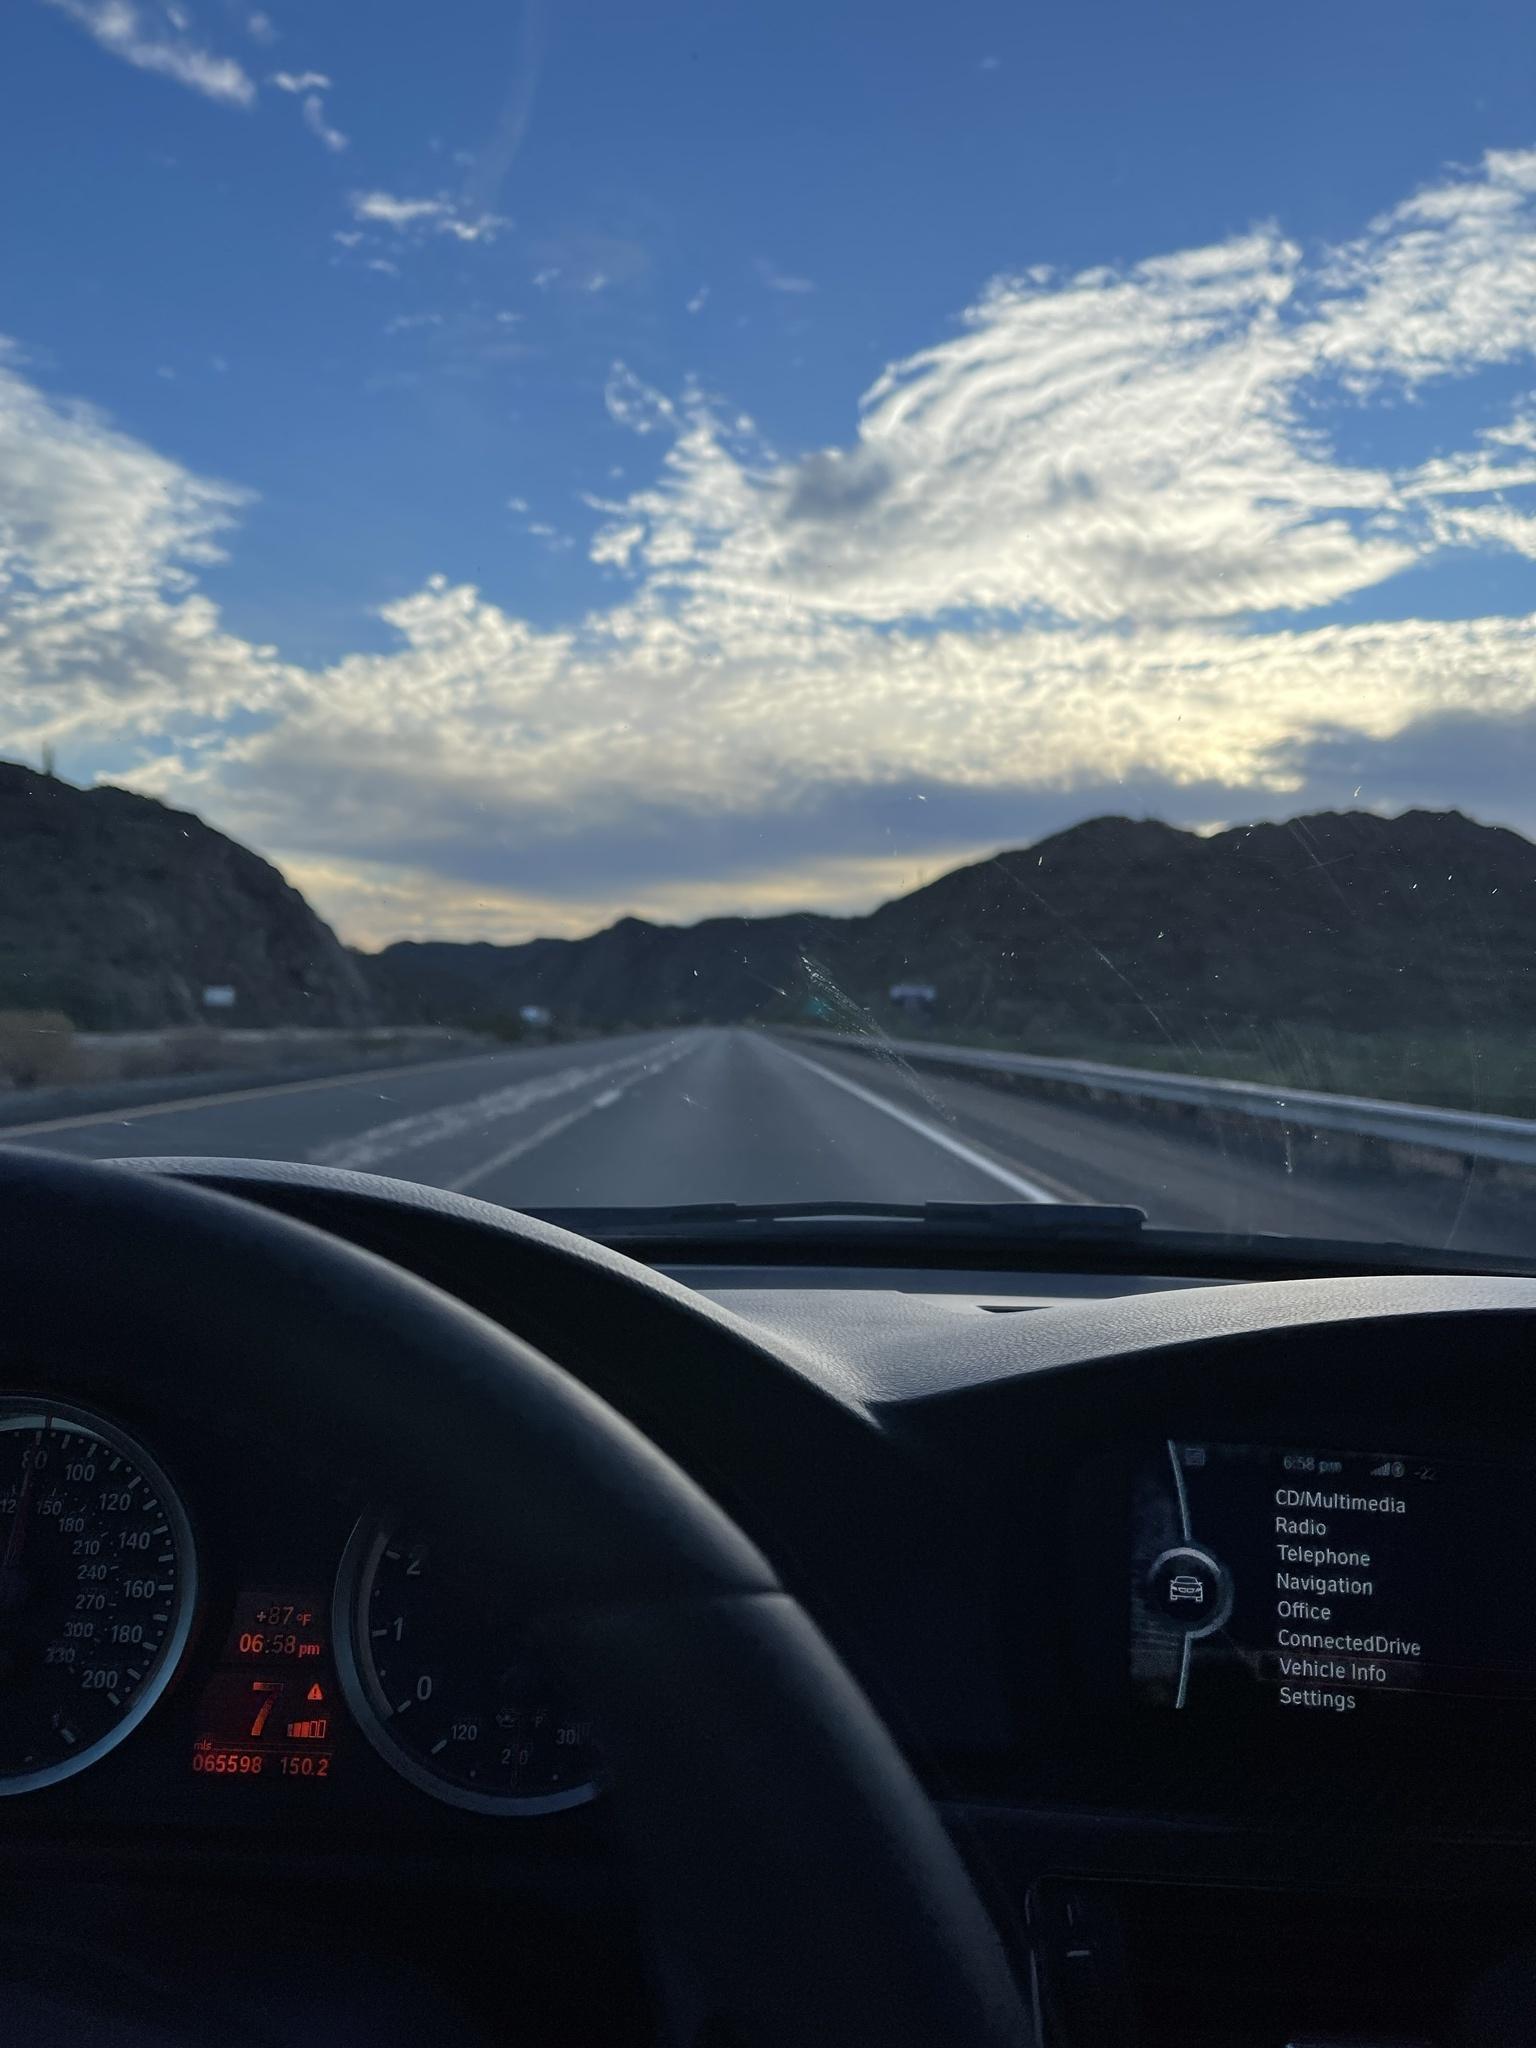
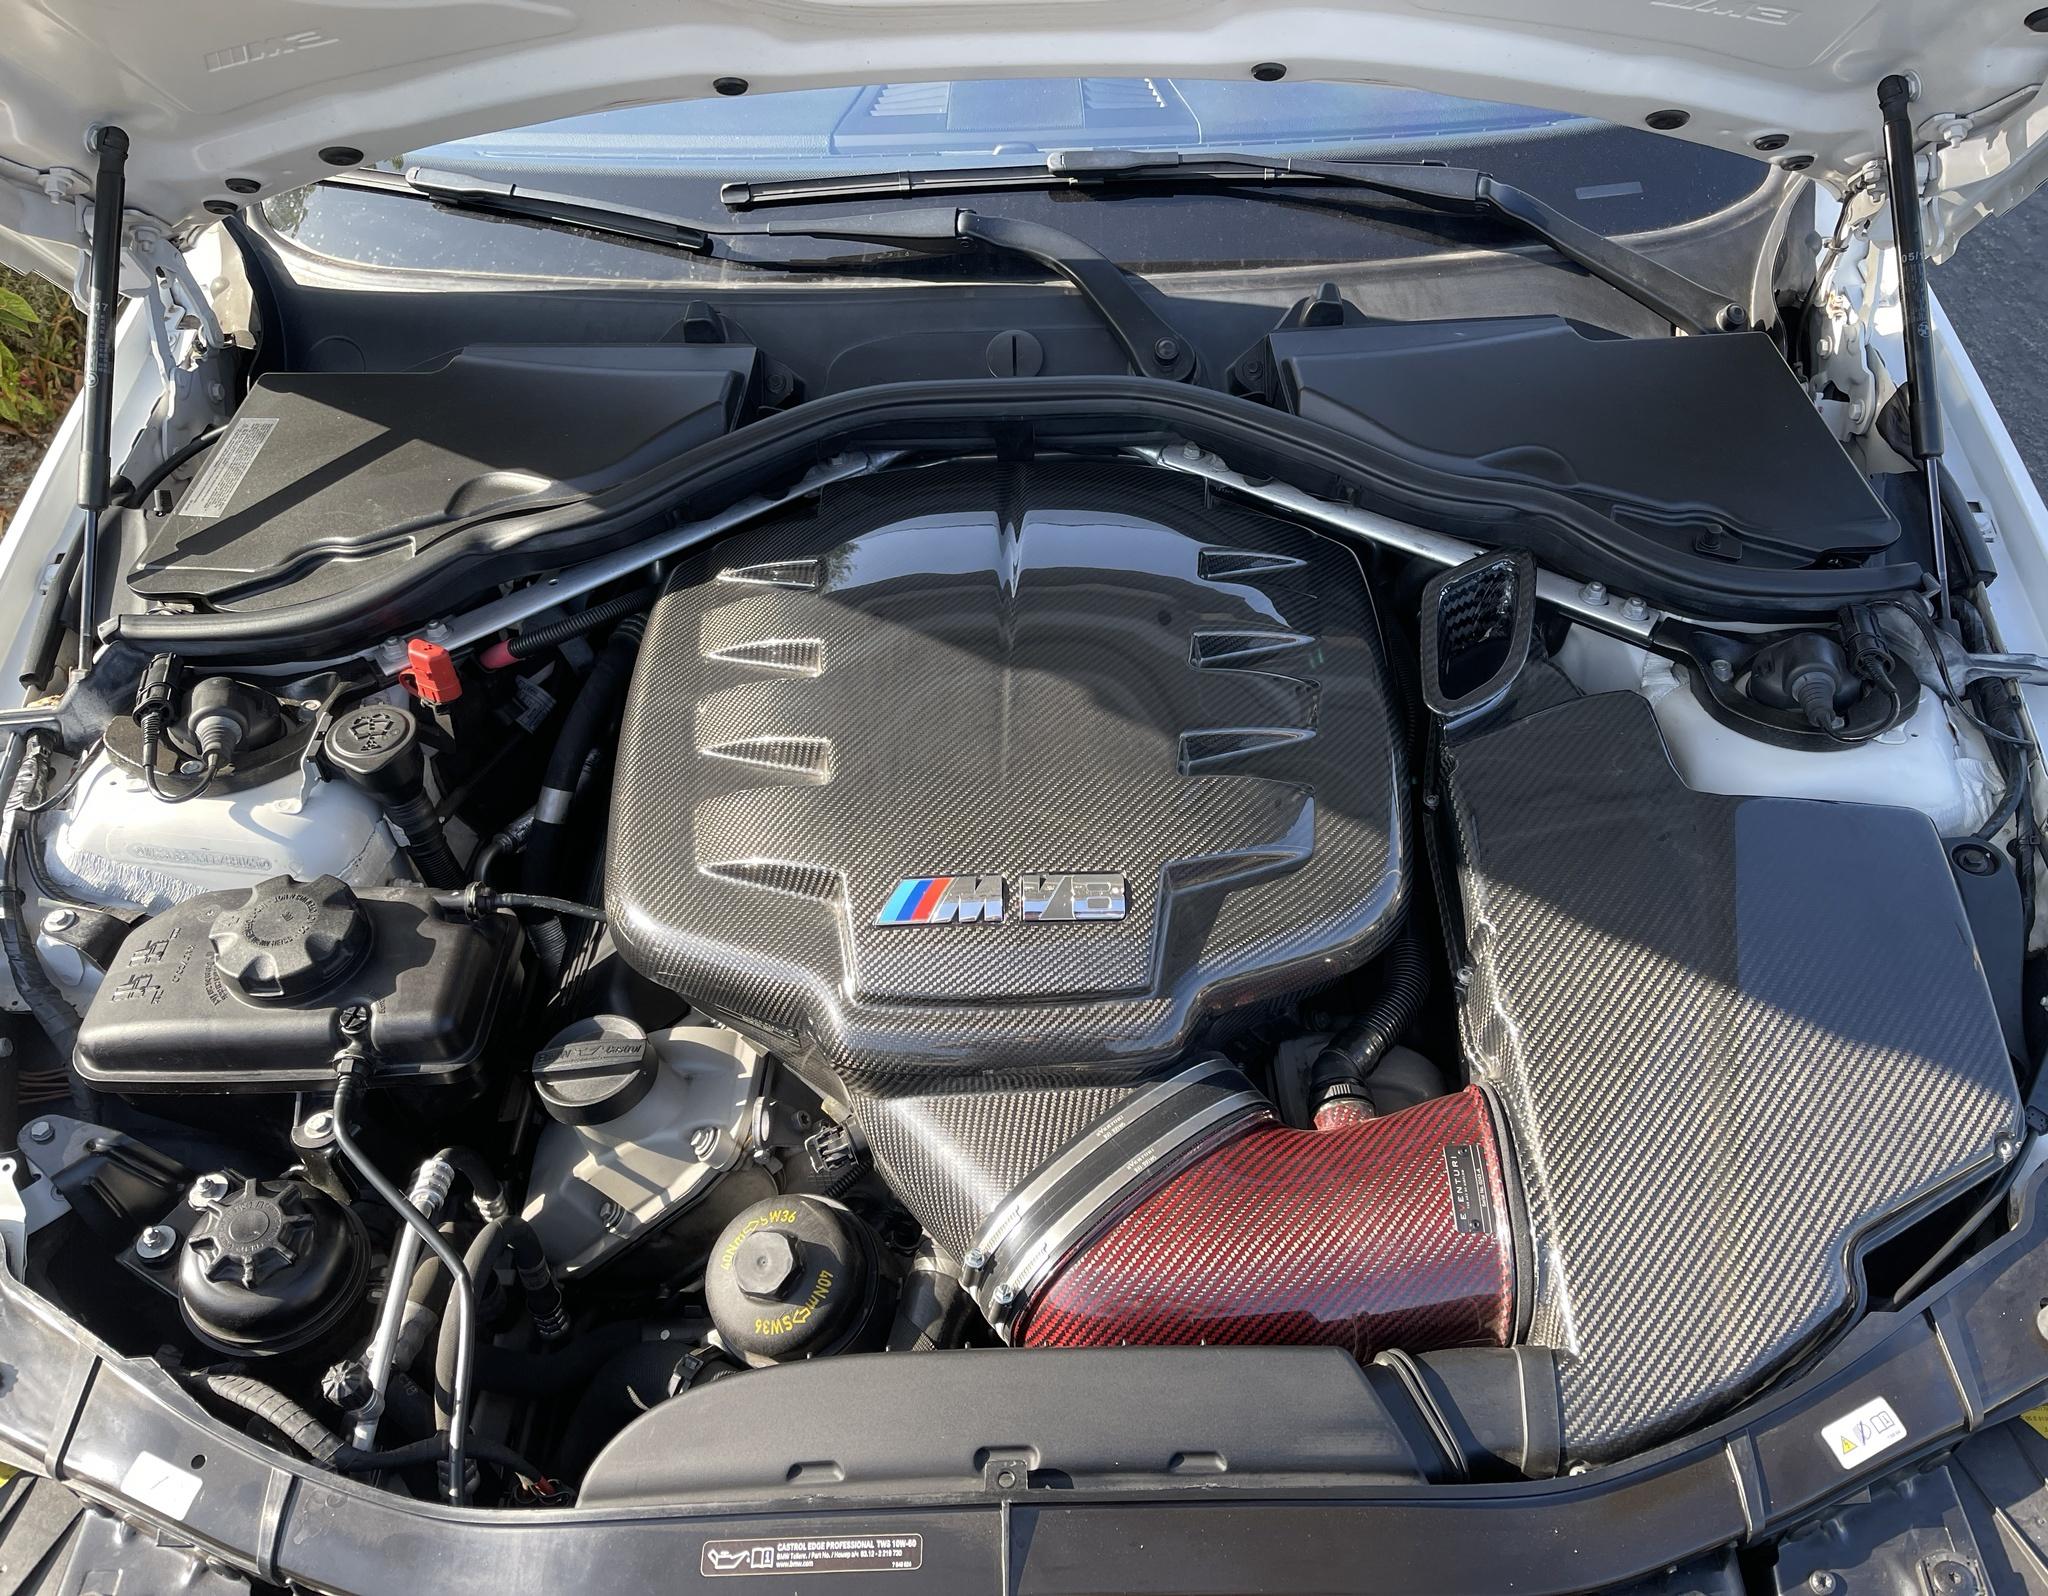
I had a PPI on the car by a BMW Race Prep shop in the area, and everything checked out. The next day I flew out to Scottsdale, AZ and picked it up and drove it back to LA the same day. Car came with some goodies like an M Performance Inconel exhaust, full Eventuri Intake/Plenum, M Performance Steering Wheel, and carbon fiber parts all around.

The car is currently taking over daily driver duties, and is a blast to drive. Its a v8 that screams to 8600 RPM.
One cool fact was that the car was imported to Germany by the previous owner when they were stationed there for the military and it has seen the Nürburgring and hit 197mph on the speedometer on the Autobahn.
Image

Image

Image

Image

Image

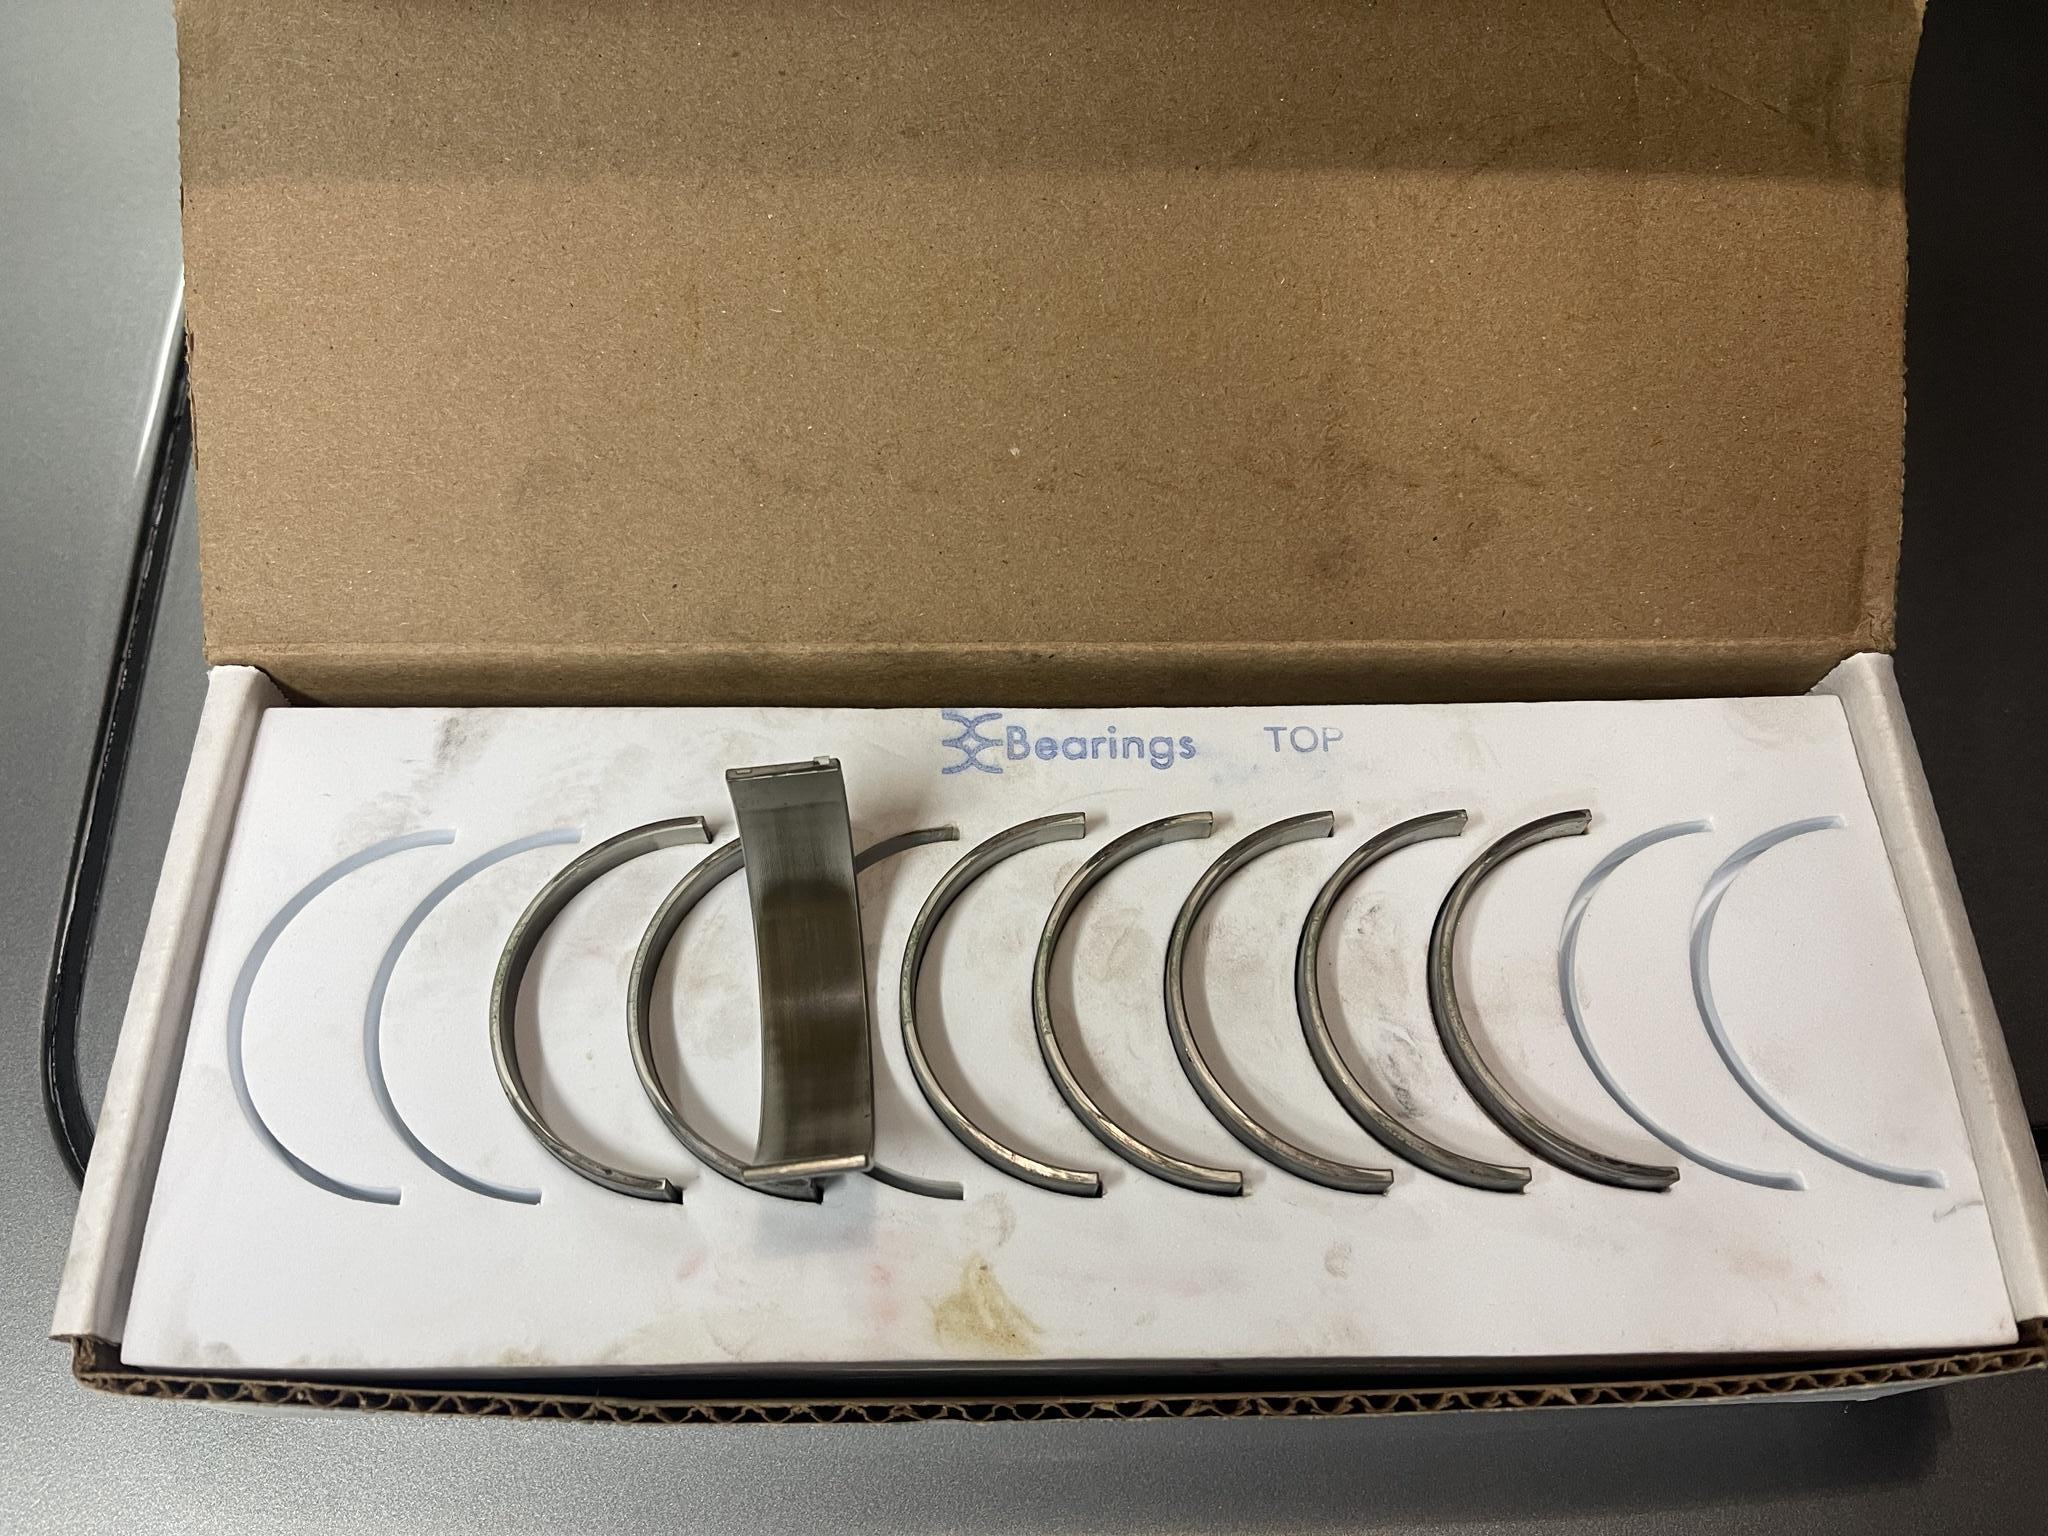
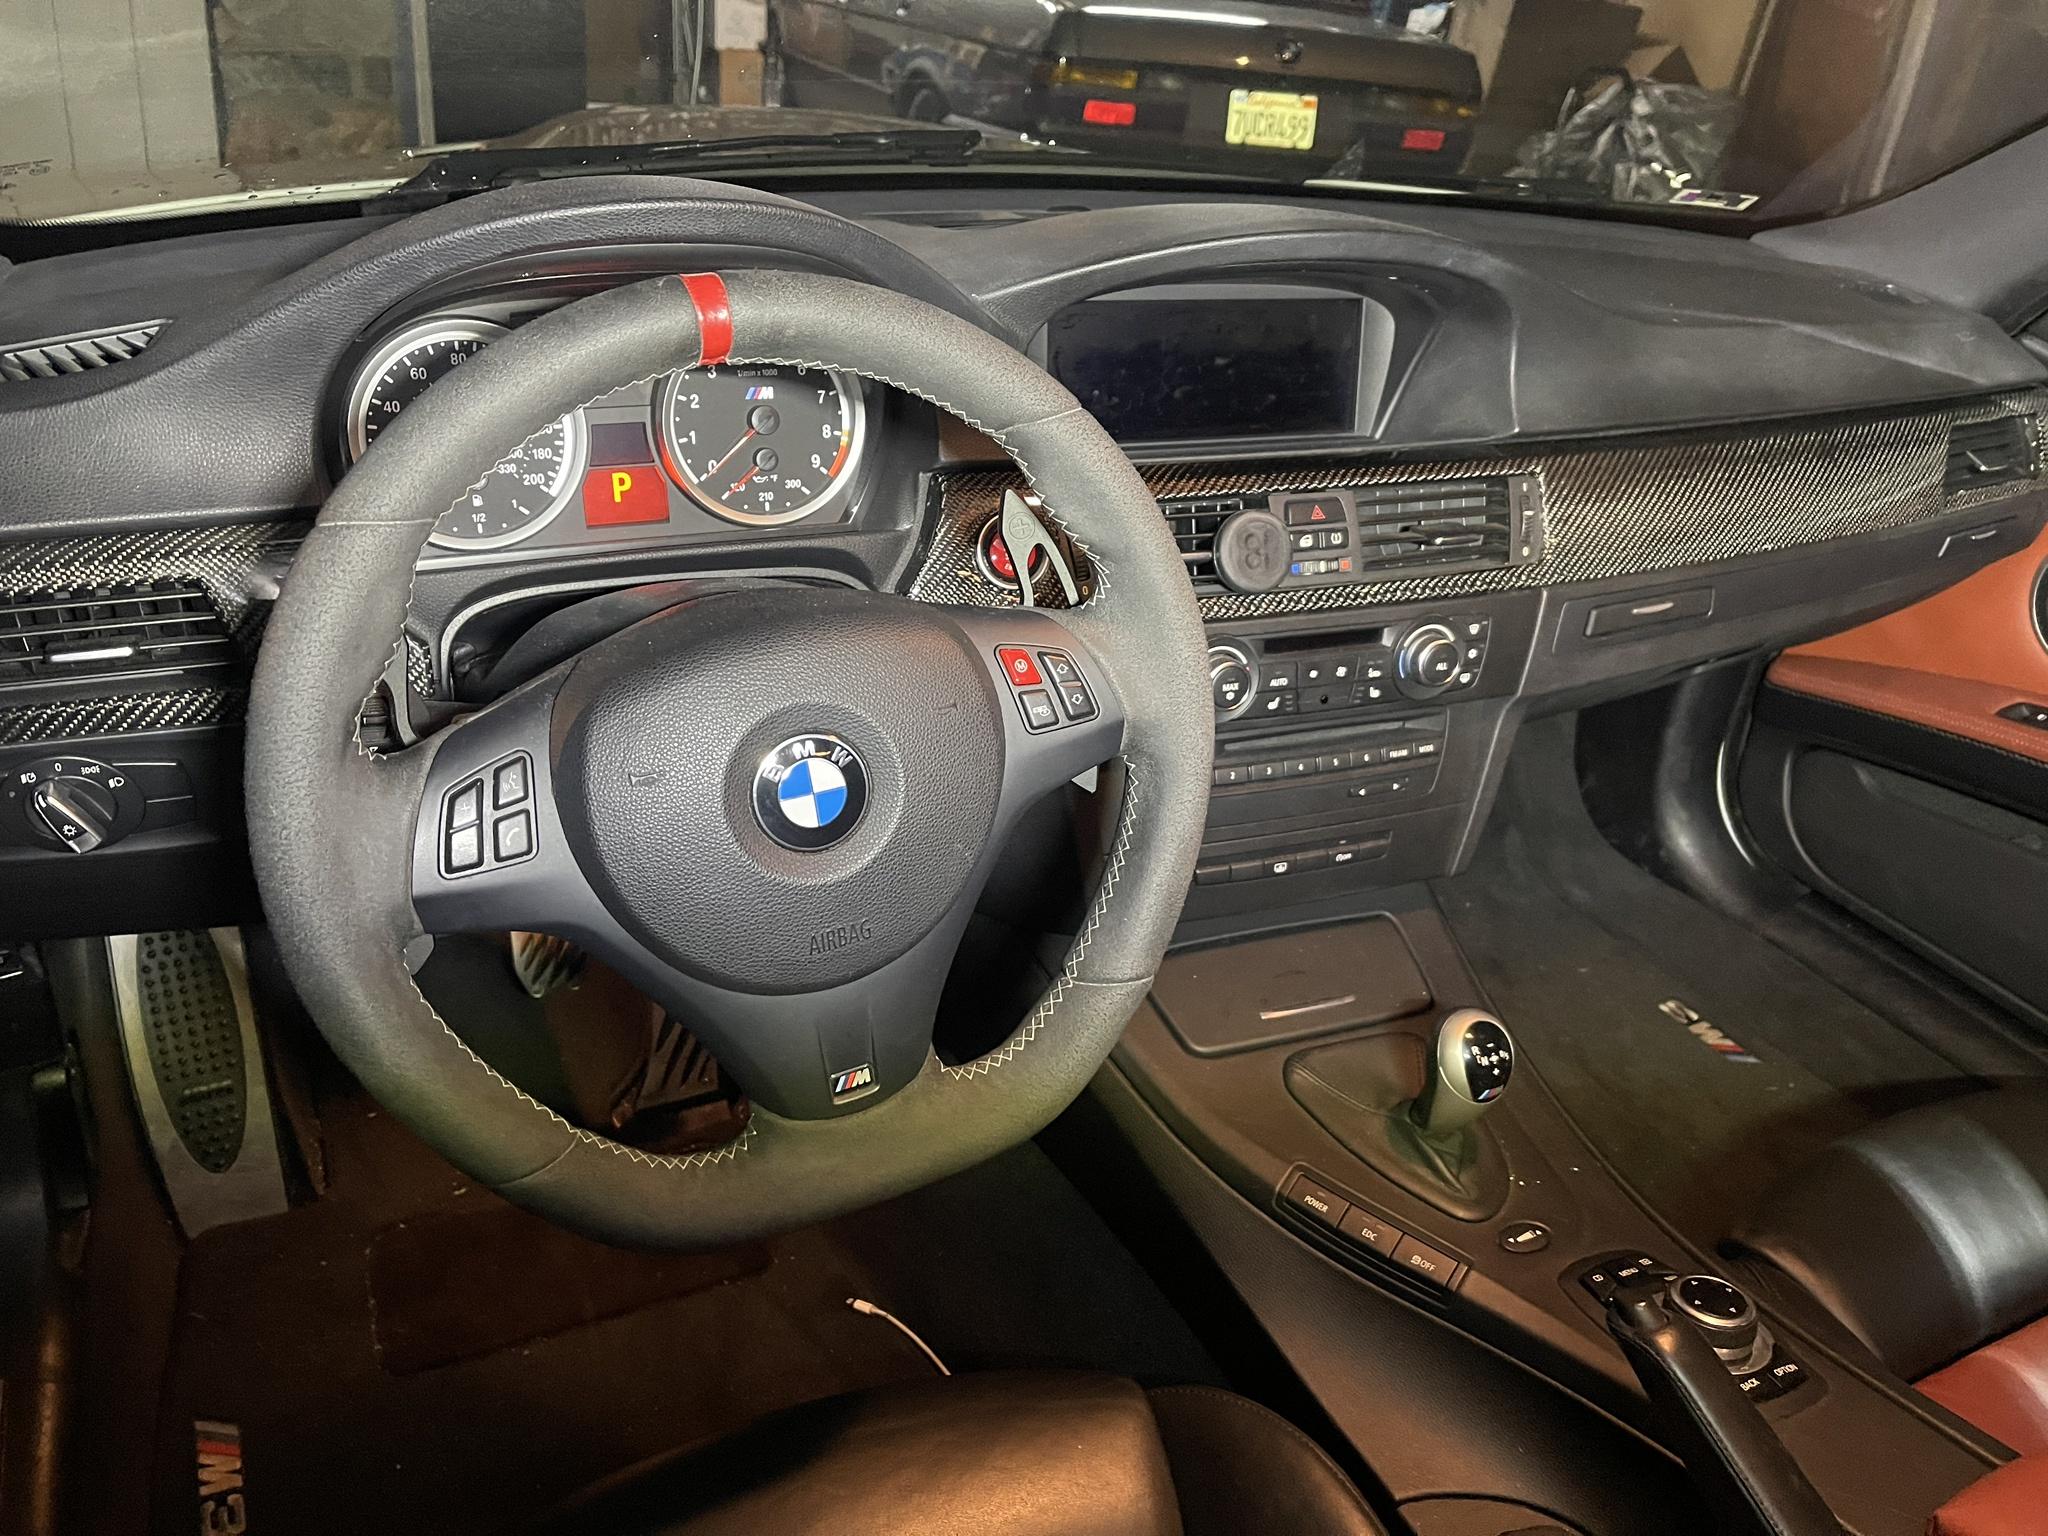
I did freshen up the interior with new floormats, red stripe for the alcantara steering wheel, OEM M performance spoiler, and a rear carbon diffuser. One of the first things to tackle on the car was the dreaded rod bearings that have super tight clearances with the thick 10w60 oil that can destroy a motor, so right when I purchased it I shelled out and had them replaced with upgraded bearings with increased tolerances for oil.
Image

Image

Image

---------------------------------------------------------------------------

Now back to the e28. The car had been sitting for almost half a year, and it came time to get the car smogged. The catalytic converter that was in the car was no longer good so I had it replaced at a local muffler shop and it passed smog perfectly fine with the e2i and cam. On the way driving back home from the test, I attempted to turn on the A/C when a death screeching sound started and smoke started to pour from out under the hood. I really thought the car had caught on fire, but I found out that the AC Belt had been shredded/burned.
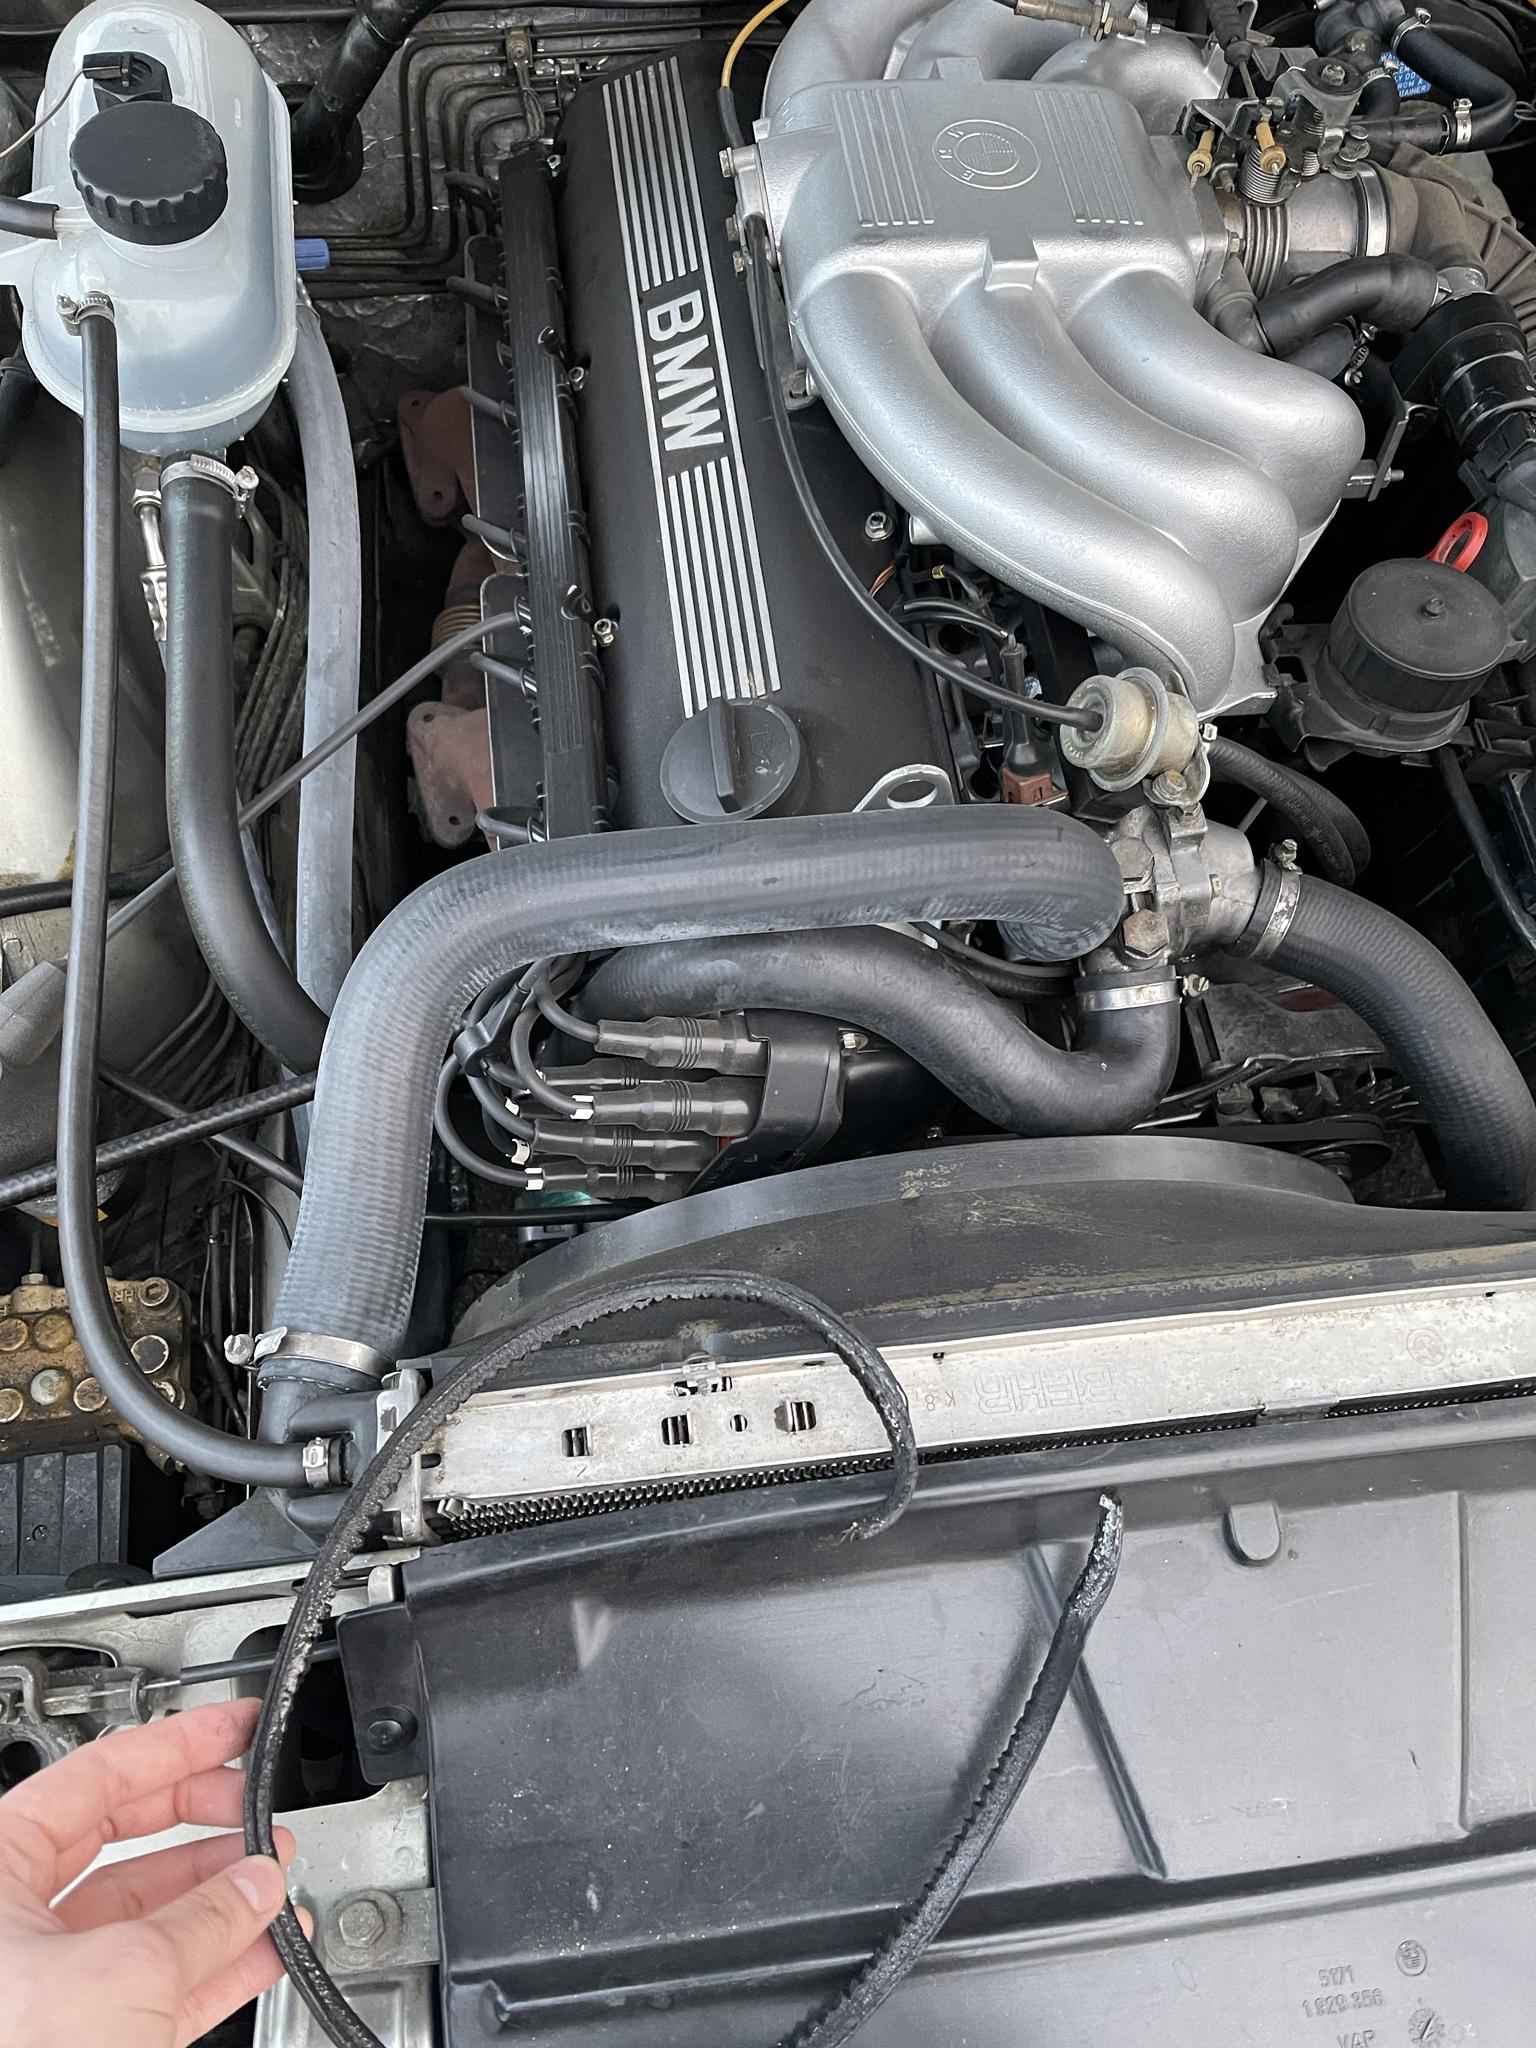
Image

I found out that the A/C compressor had seized and the belt was spinning on the pulley, but the pulley was no longer spinning. I am going to fix this soon, but currently it is cold in SoCal and I have no need for the AC at this time. Ill be having the AC Compressor replaced and flushing the system as well as overhauling the entire interior hvac system.

Now that the car was roadworthy again, I decided to get everything sorted on the car and get things working perfectly again.

I have been chasing a vibration at idle in drive most likely due to a lower idle at around 600RPM. I have smoke tested and verified all parts relating to the idle are functioning properly, but I am still not able to figure this part out. The vibration gets almost nonexistent when the car is warmed up and is the worst when the car is cold.

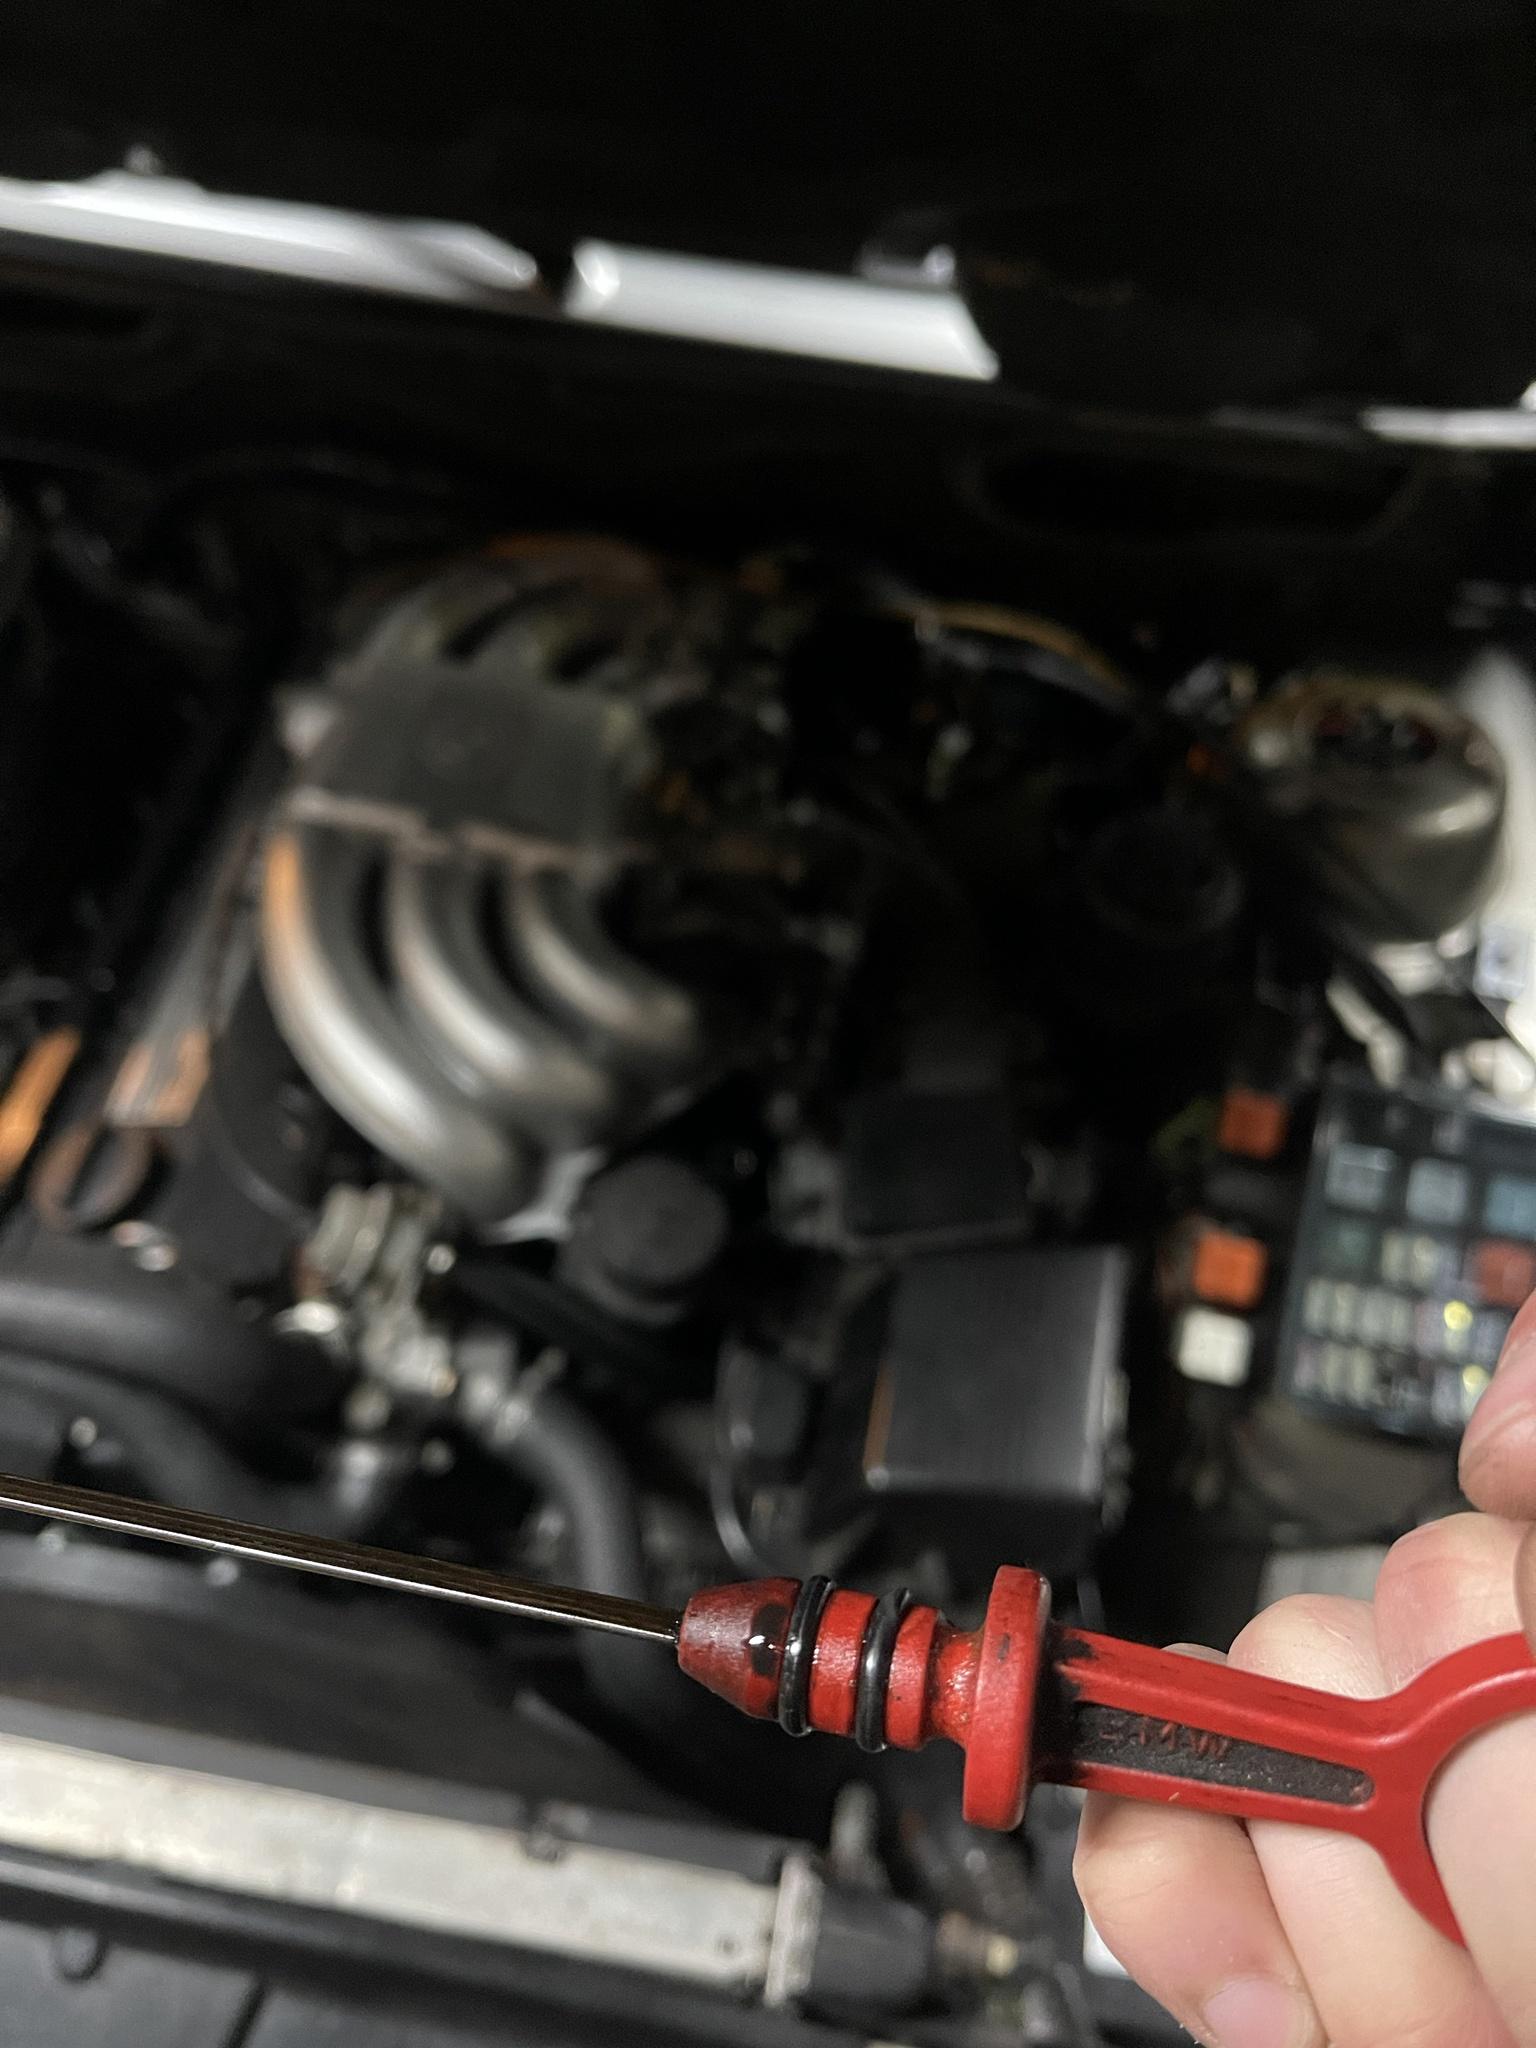
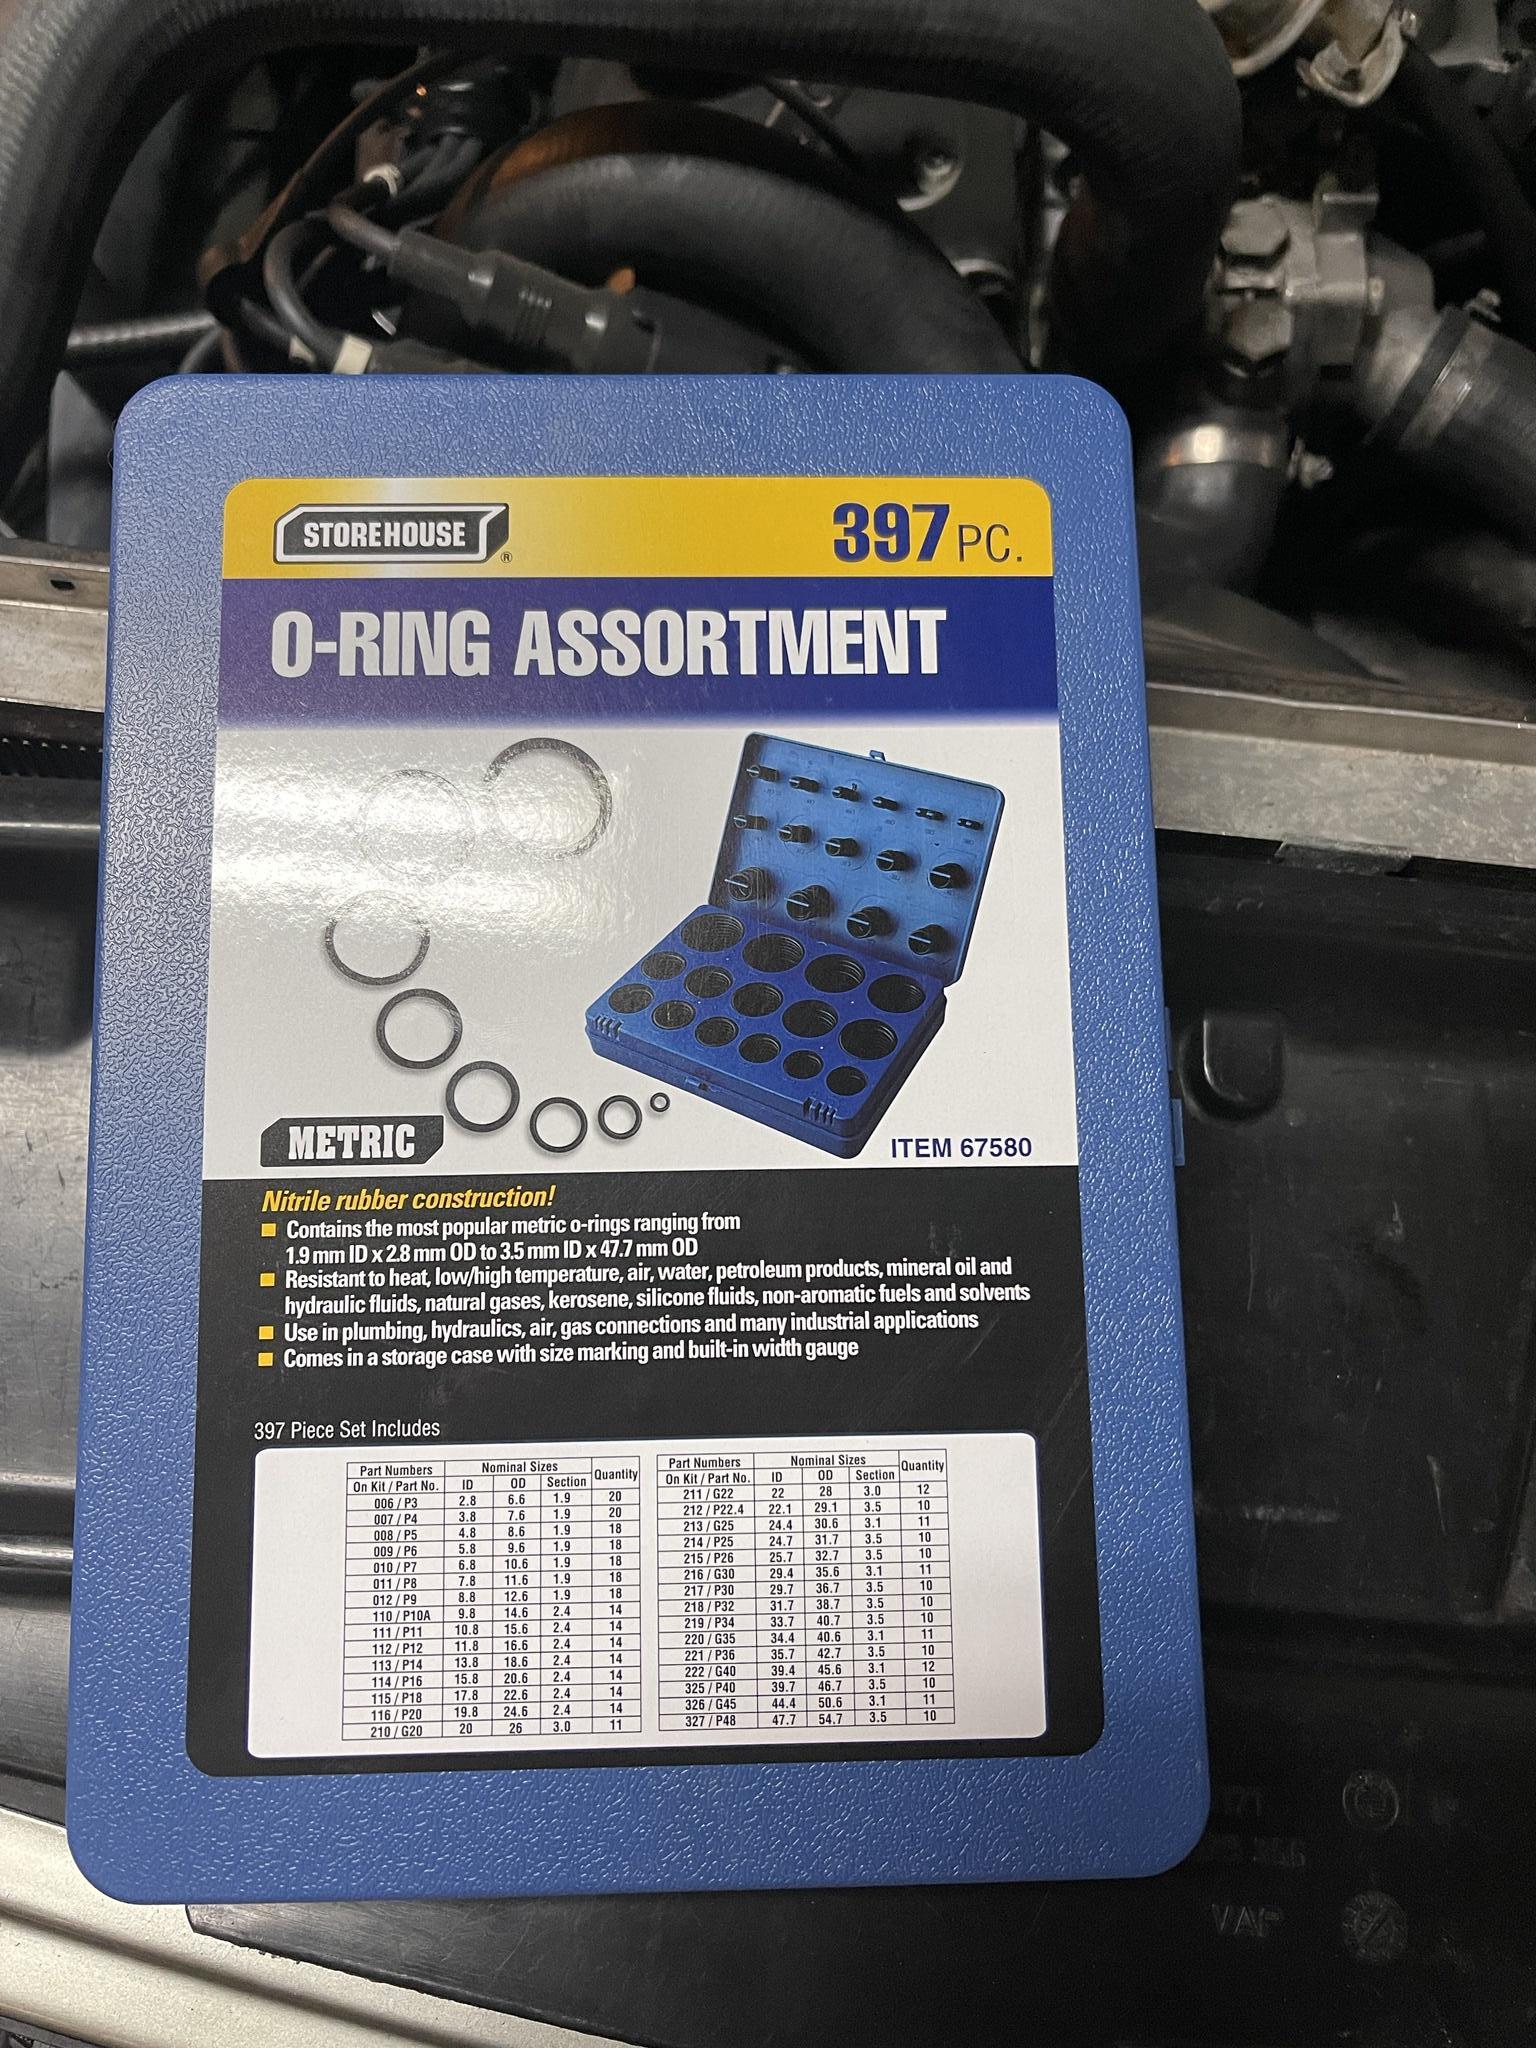
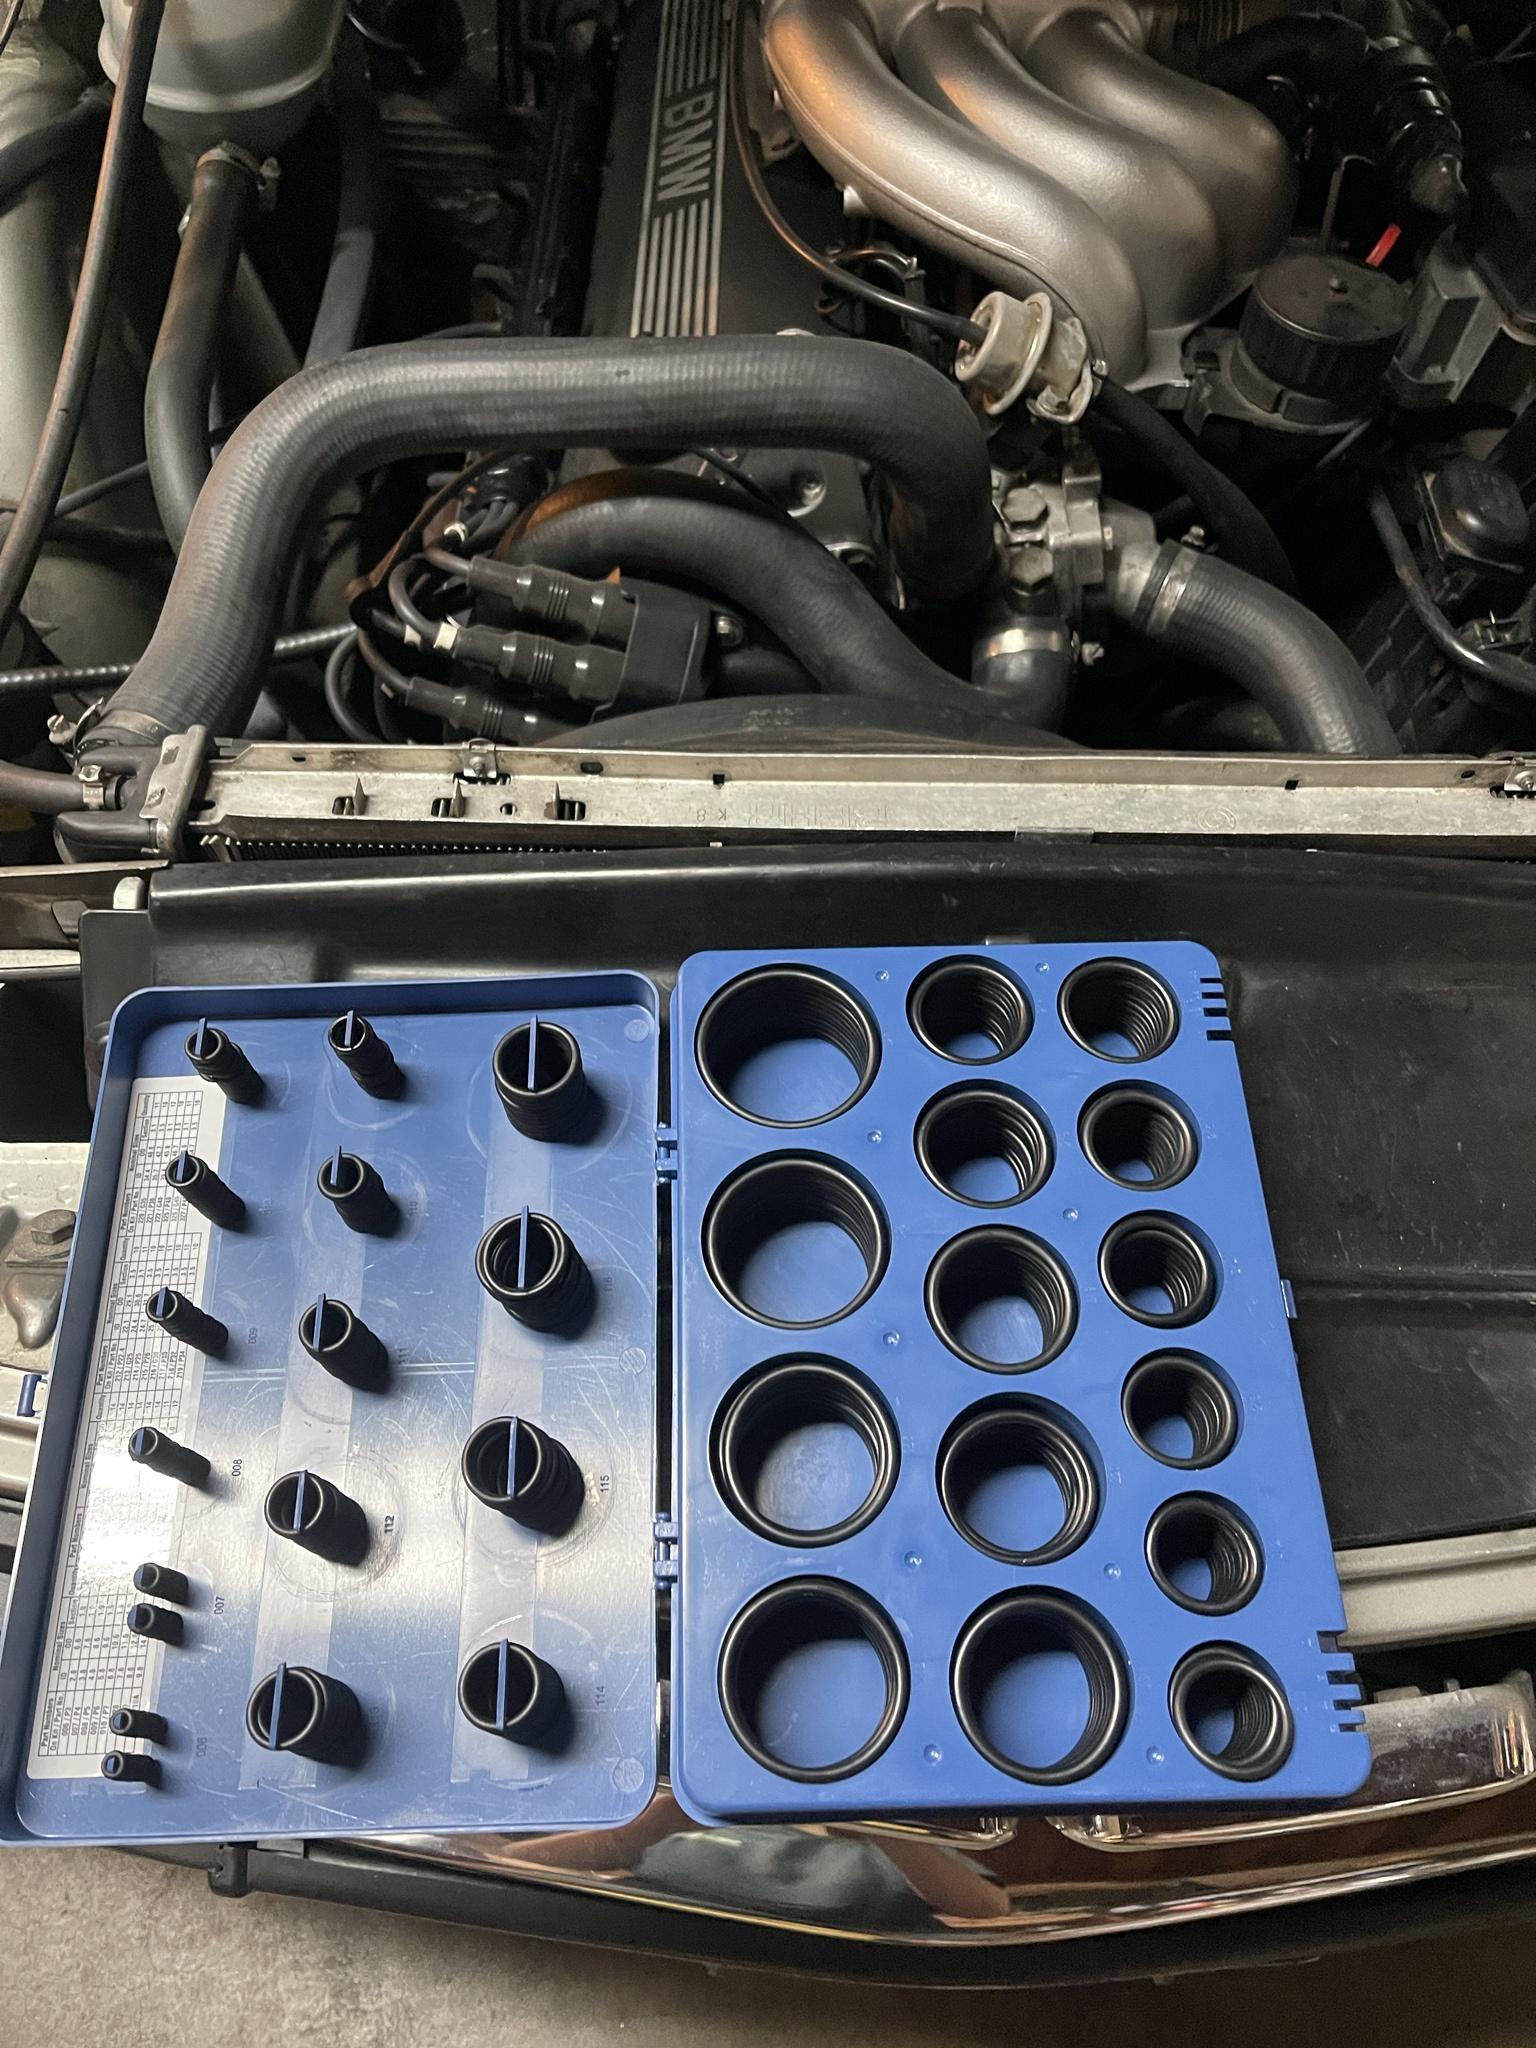
I had decided to change the O-Rings on the oil dipstick. The original O-rings on the dipstick were stuck fully flat and you could slide the stick with almost no force in and out of the dipstick tube. Now its a snug fit.
Image

Image

Image

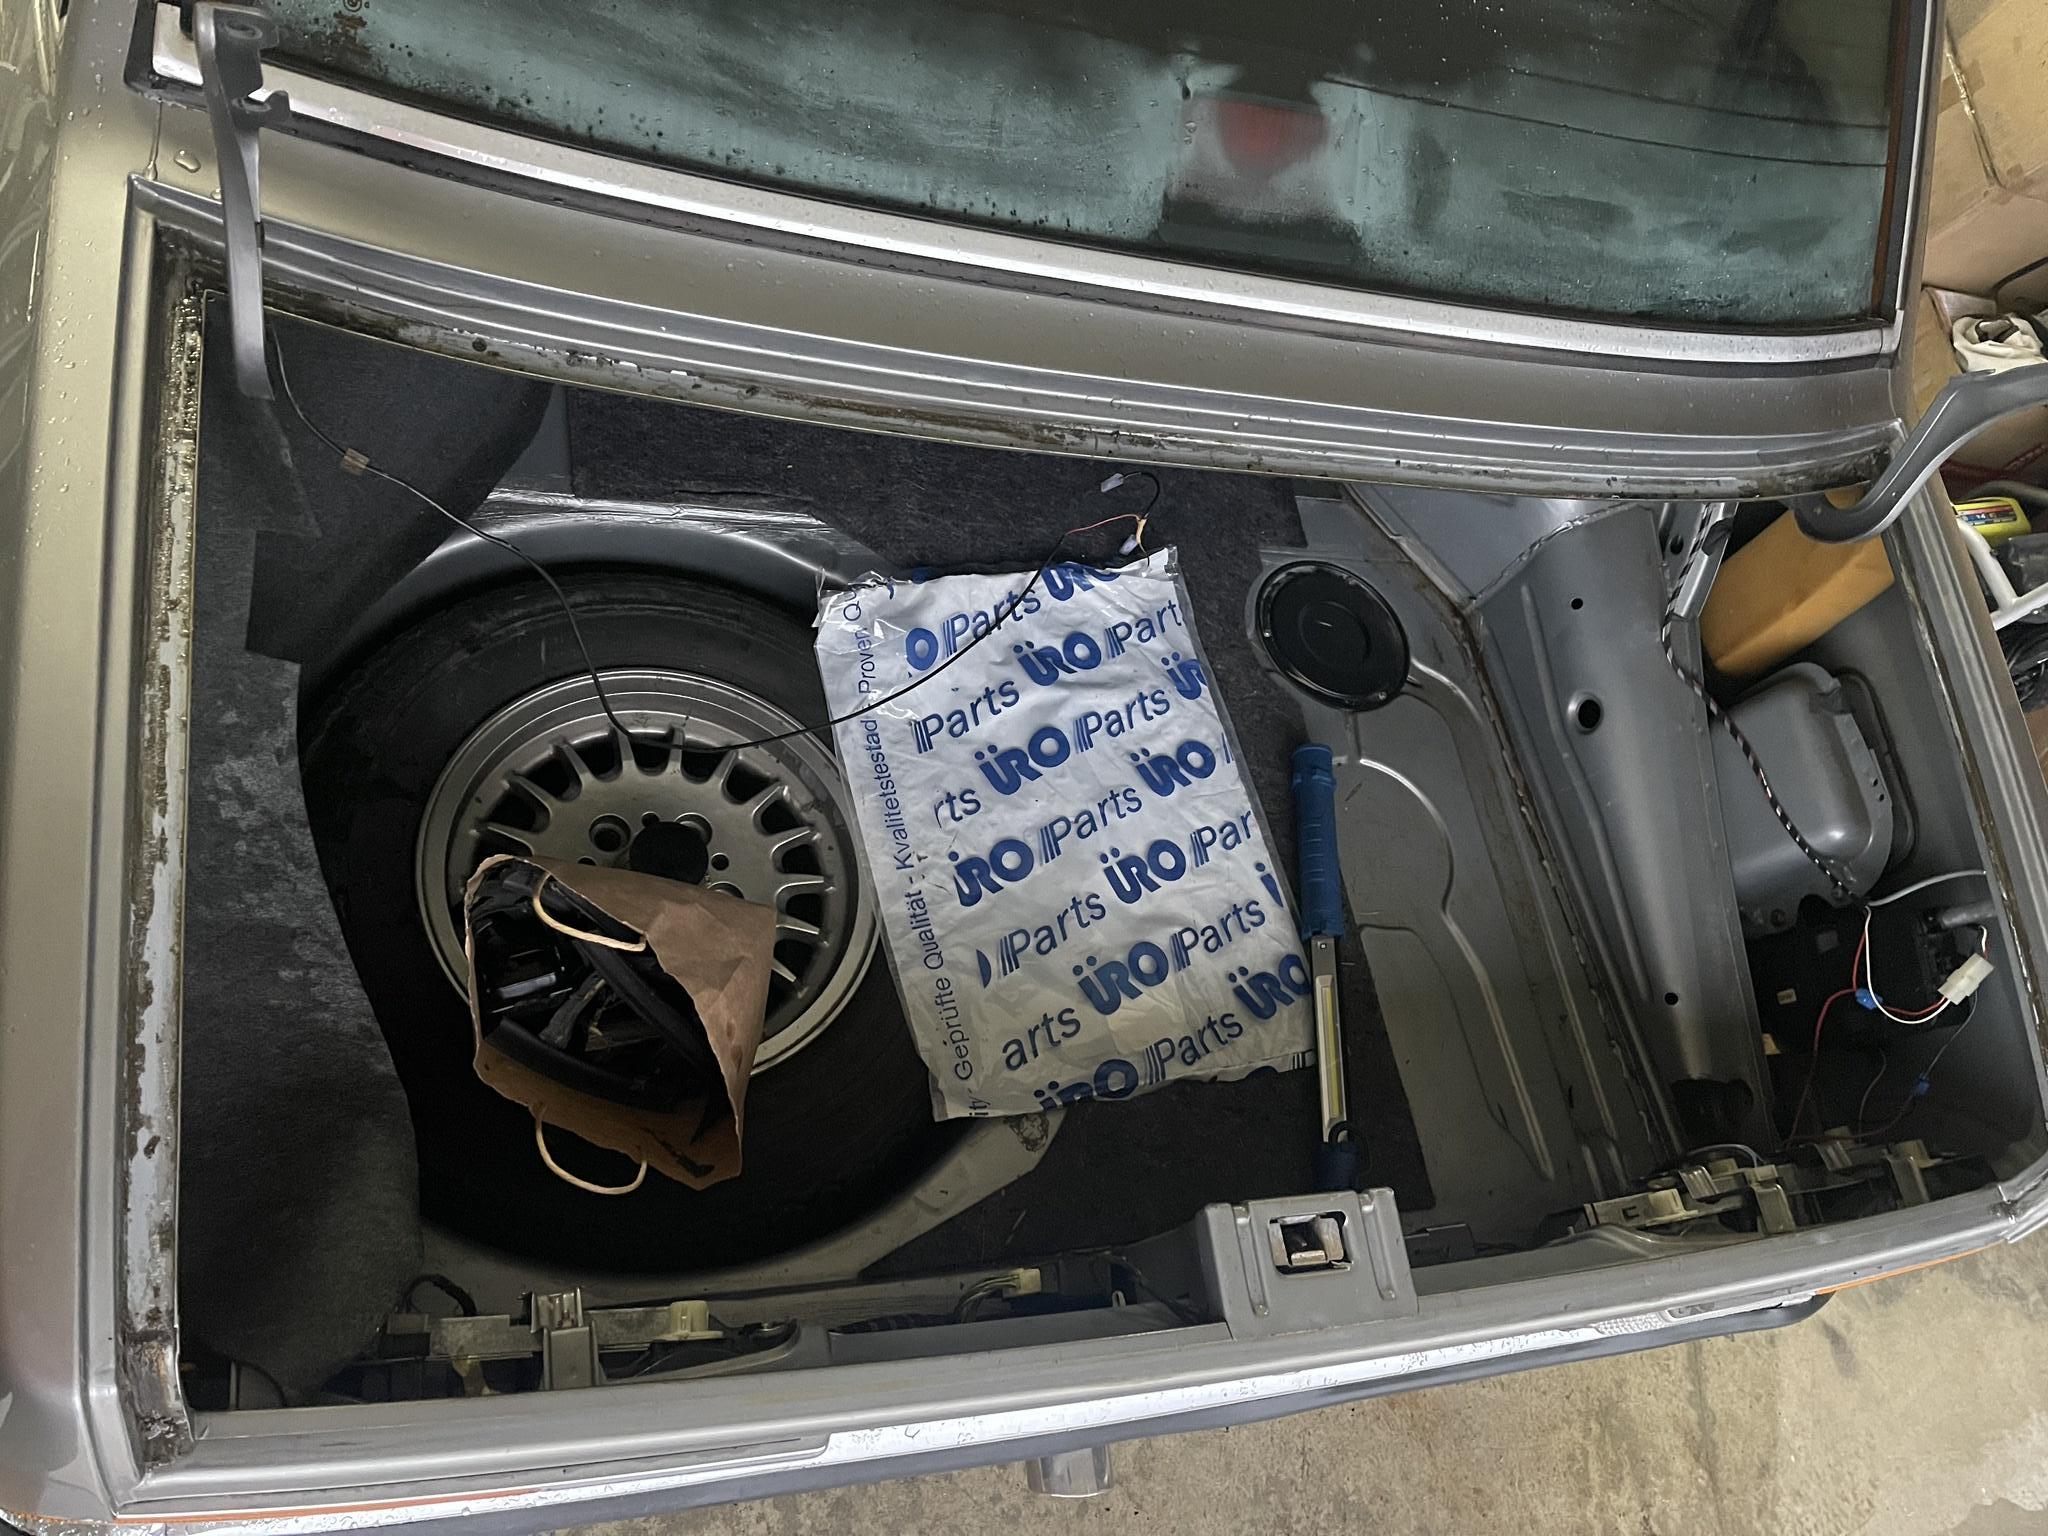
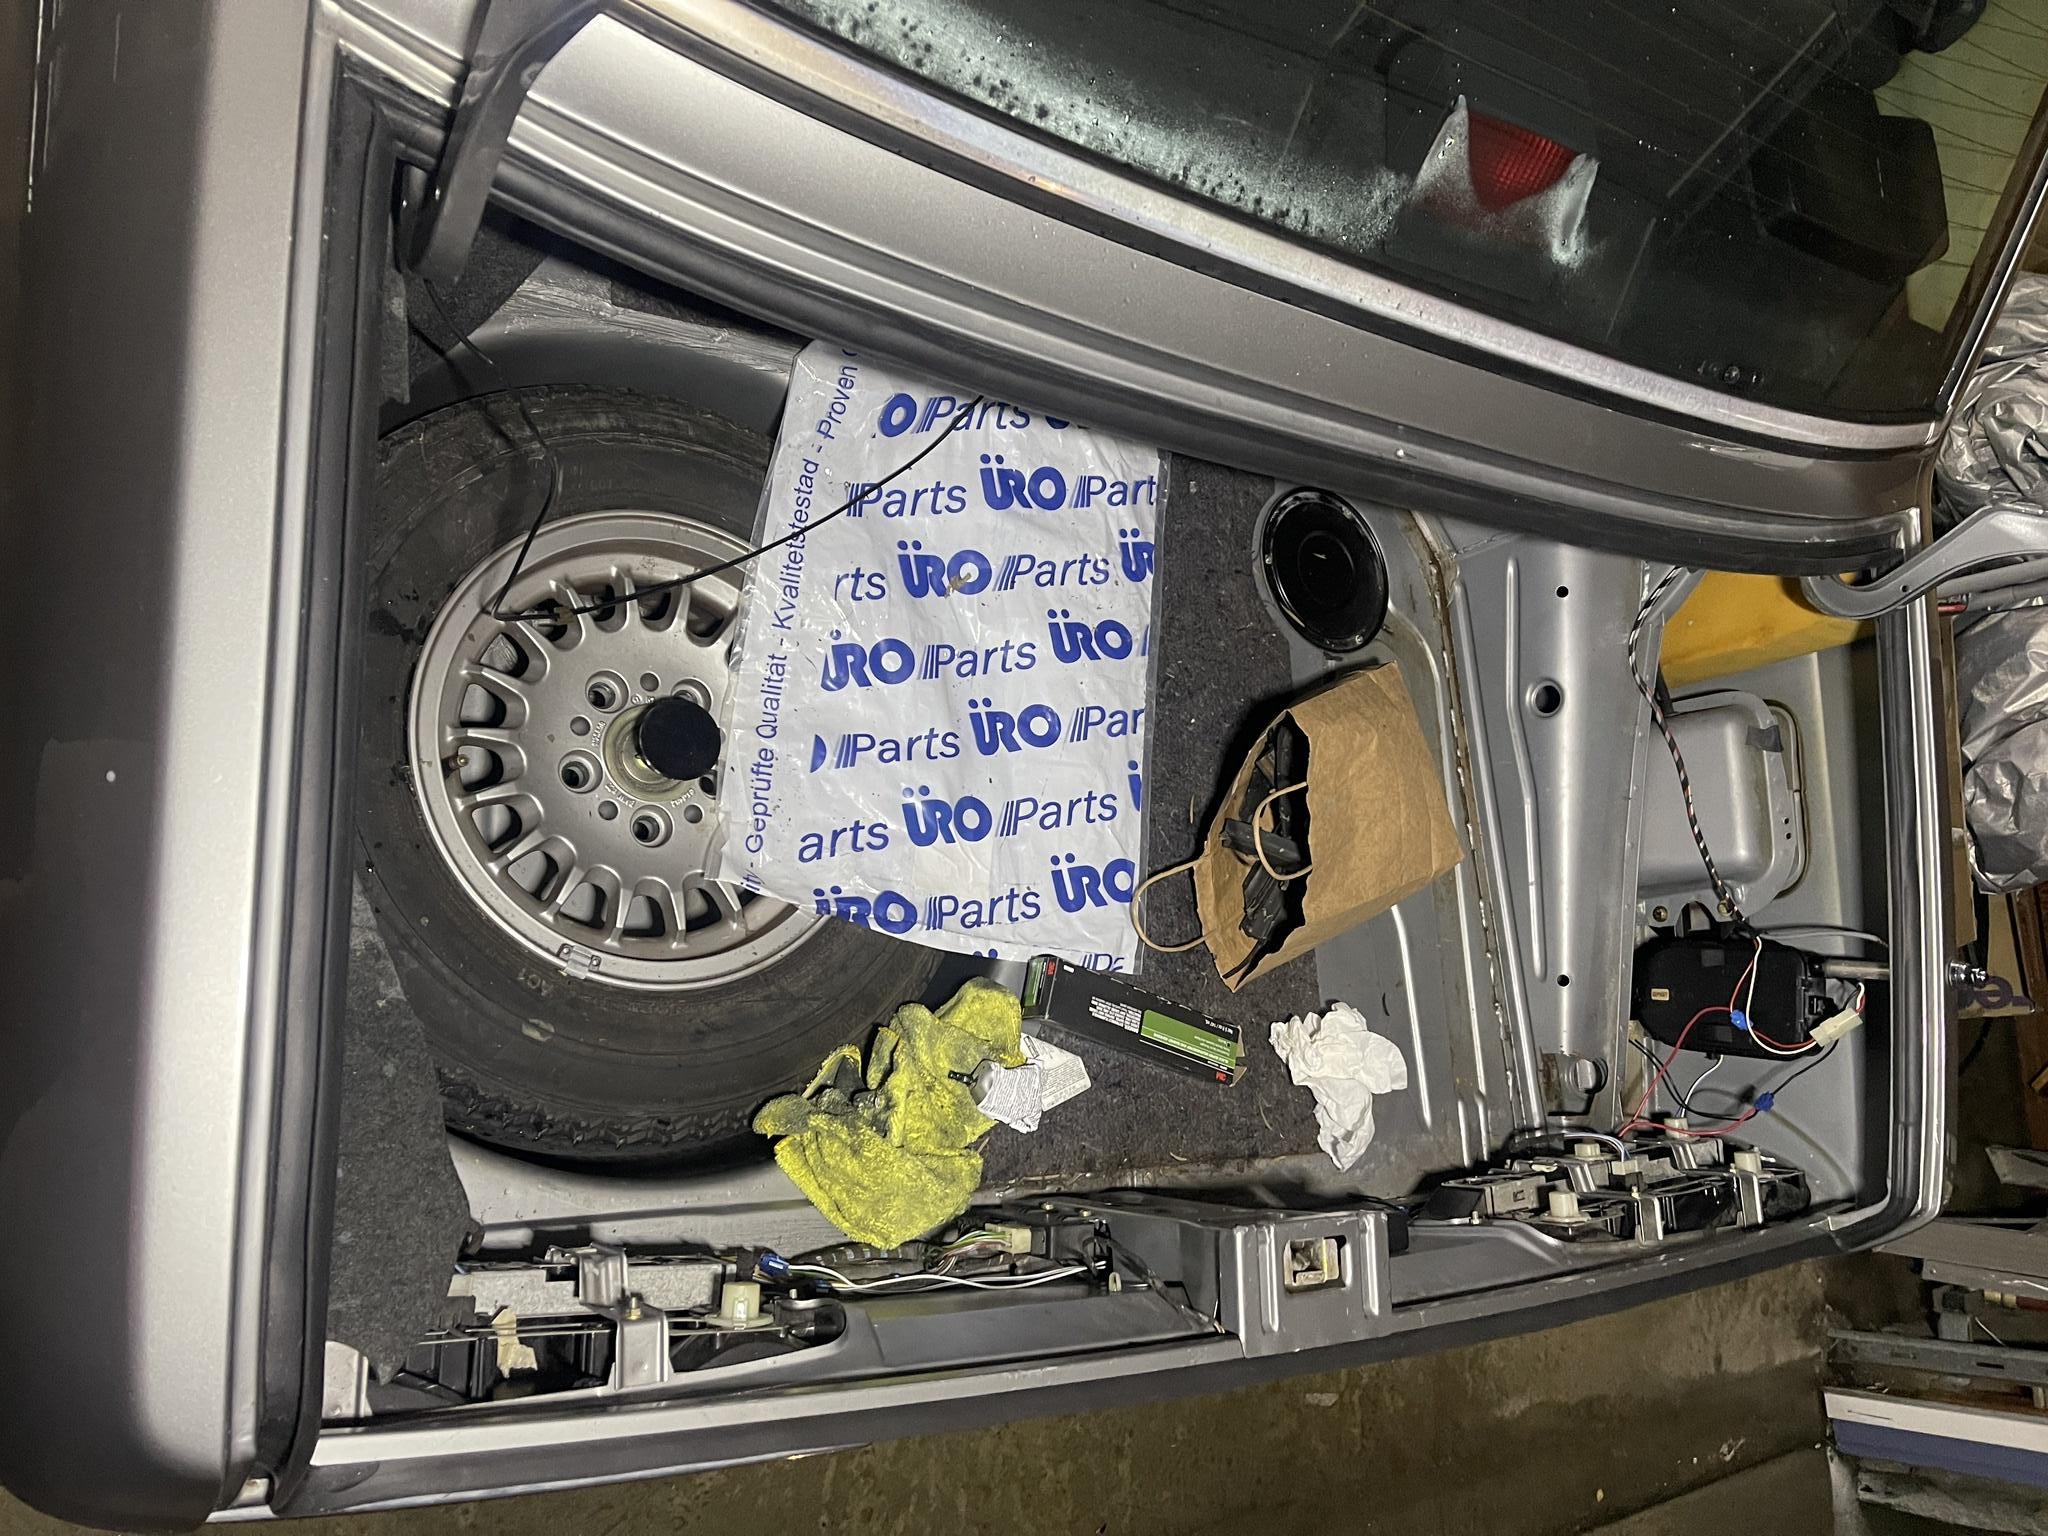
Next part I tackled was the weather sealing of the car. With the constant rain that has been hitting California for the past month, I noticed that there was water entering the interior of the trunk. This was never a problem in the past as the car would always be stored in the garage, but now I had been taking it out more and more.

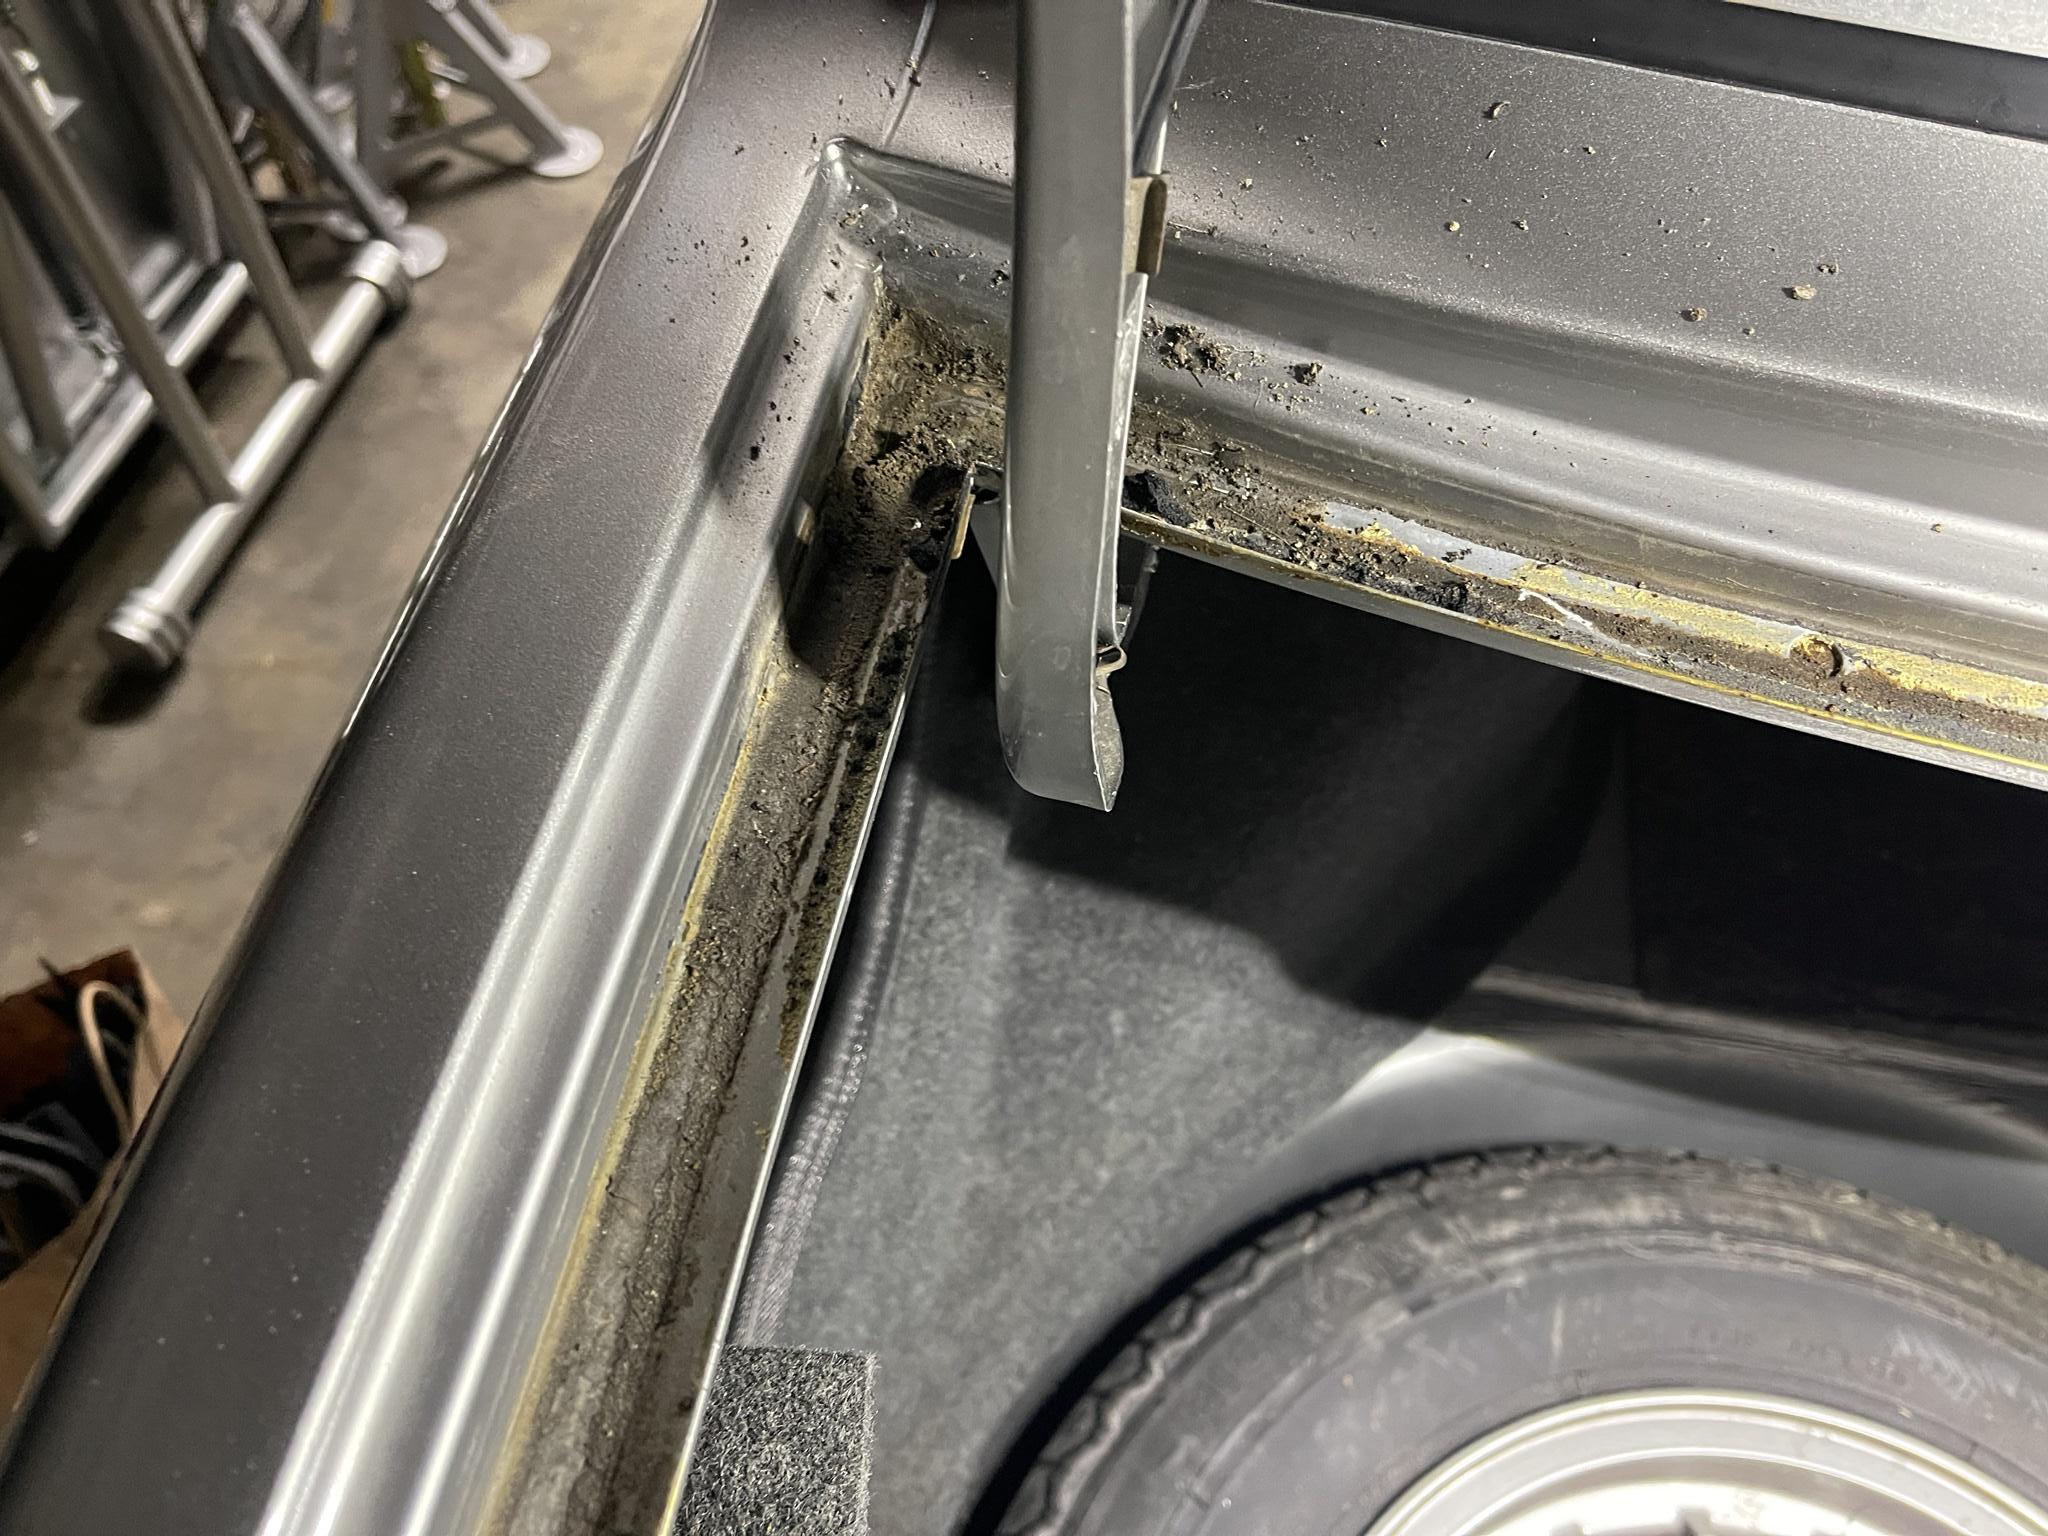
I found the culprit to be the trunk gasket as it was torn in some areas. There was condensation on the underside of the entire trunk gasket channel. The tail light gaskets had already been replaced in my ownership well. From my research it was found that the URO Trunk Gasket worked the best so I went forward to install that piece.

The gasket was removed and the trunk was removed for the installation of the new gasket. I used 3M General Purpose Adhesive Remover #38983. The other 3M product often mentioned #08987 is unable to be delivered to California but the product I used was able to from Amazon. I used 3M Black Weatherstrip Glue to hold the gasket in place in the channel.

FYI - The remaining glue is almost impossible to remove without this remover. It made the process so much faster. I believe it took me about 1-2 hours to have everything completed and installed.
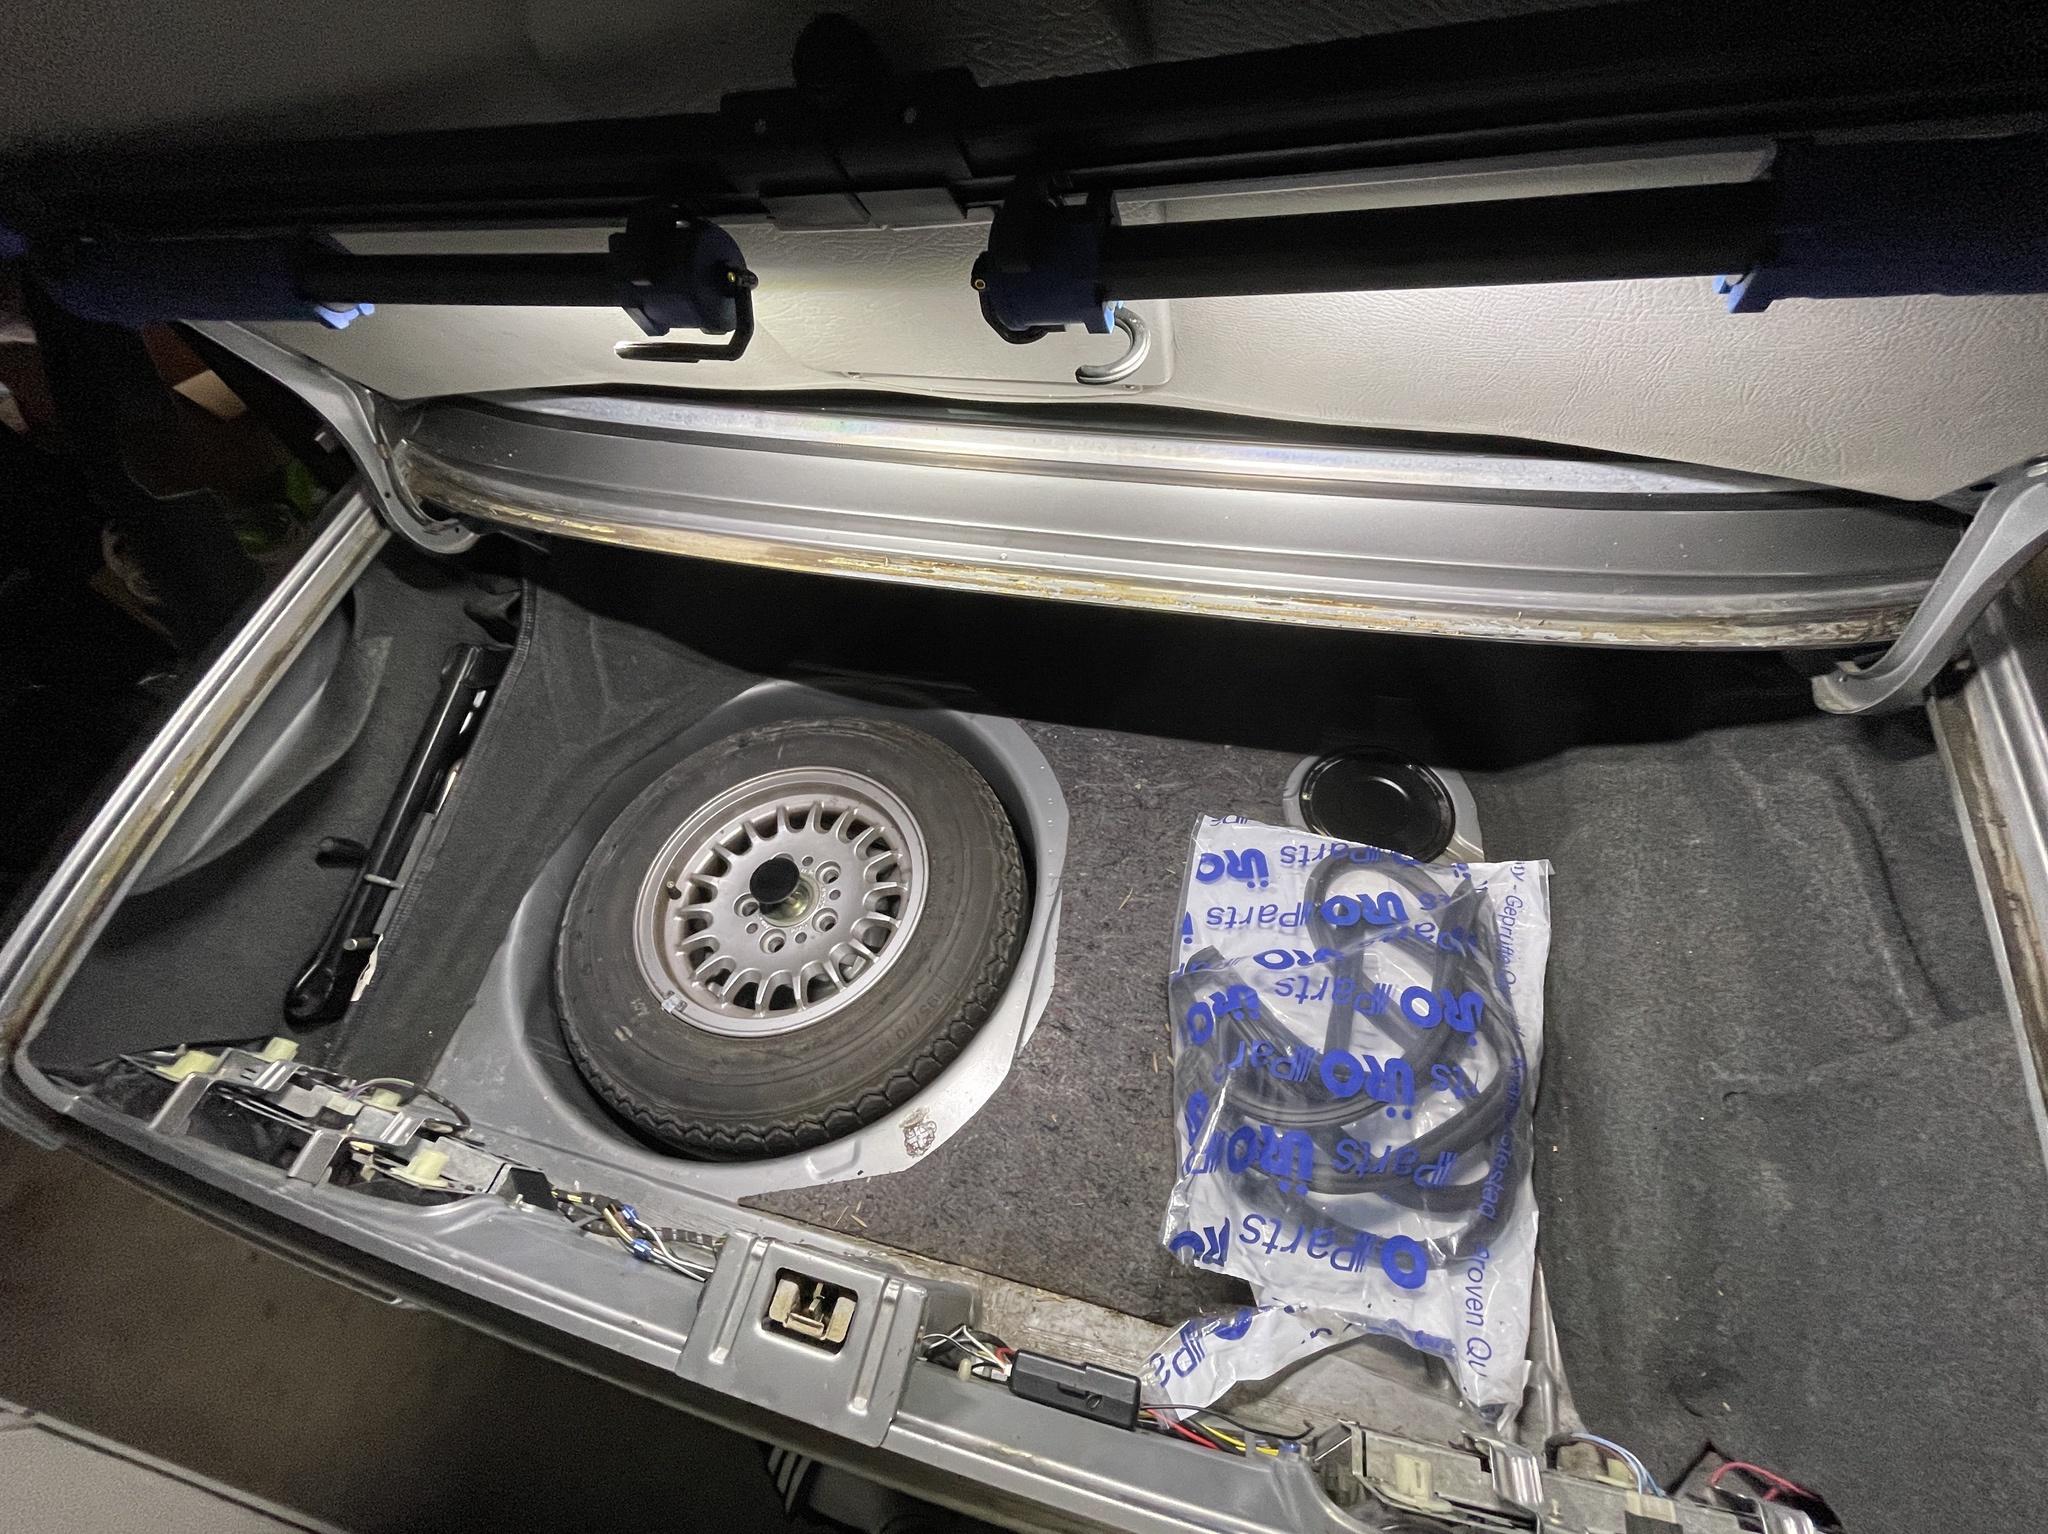
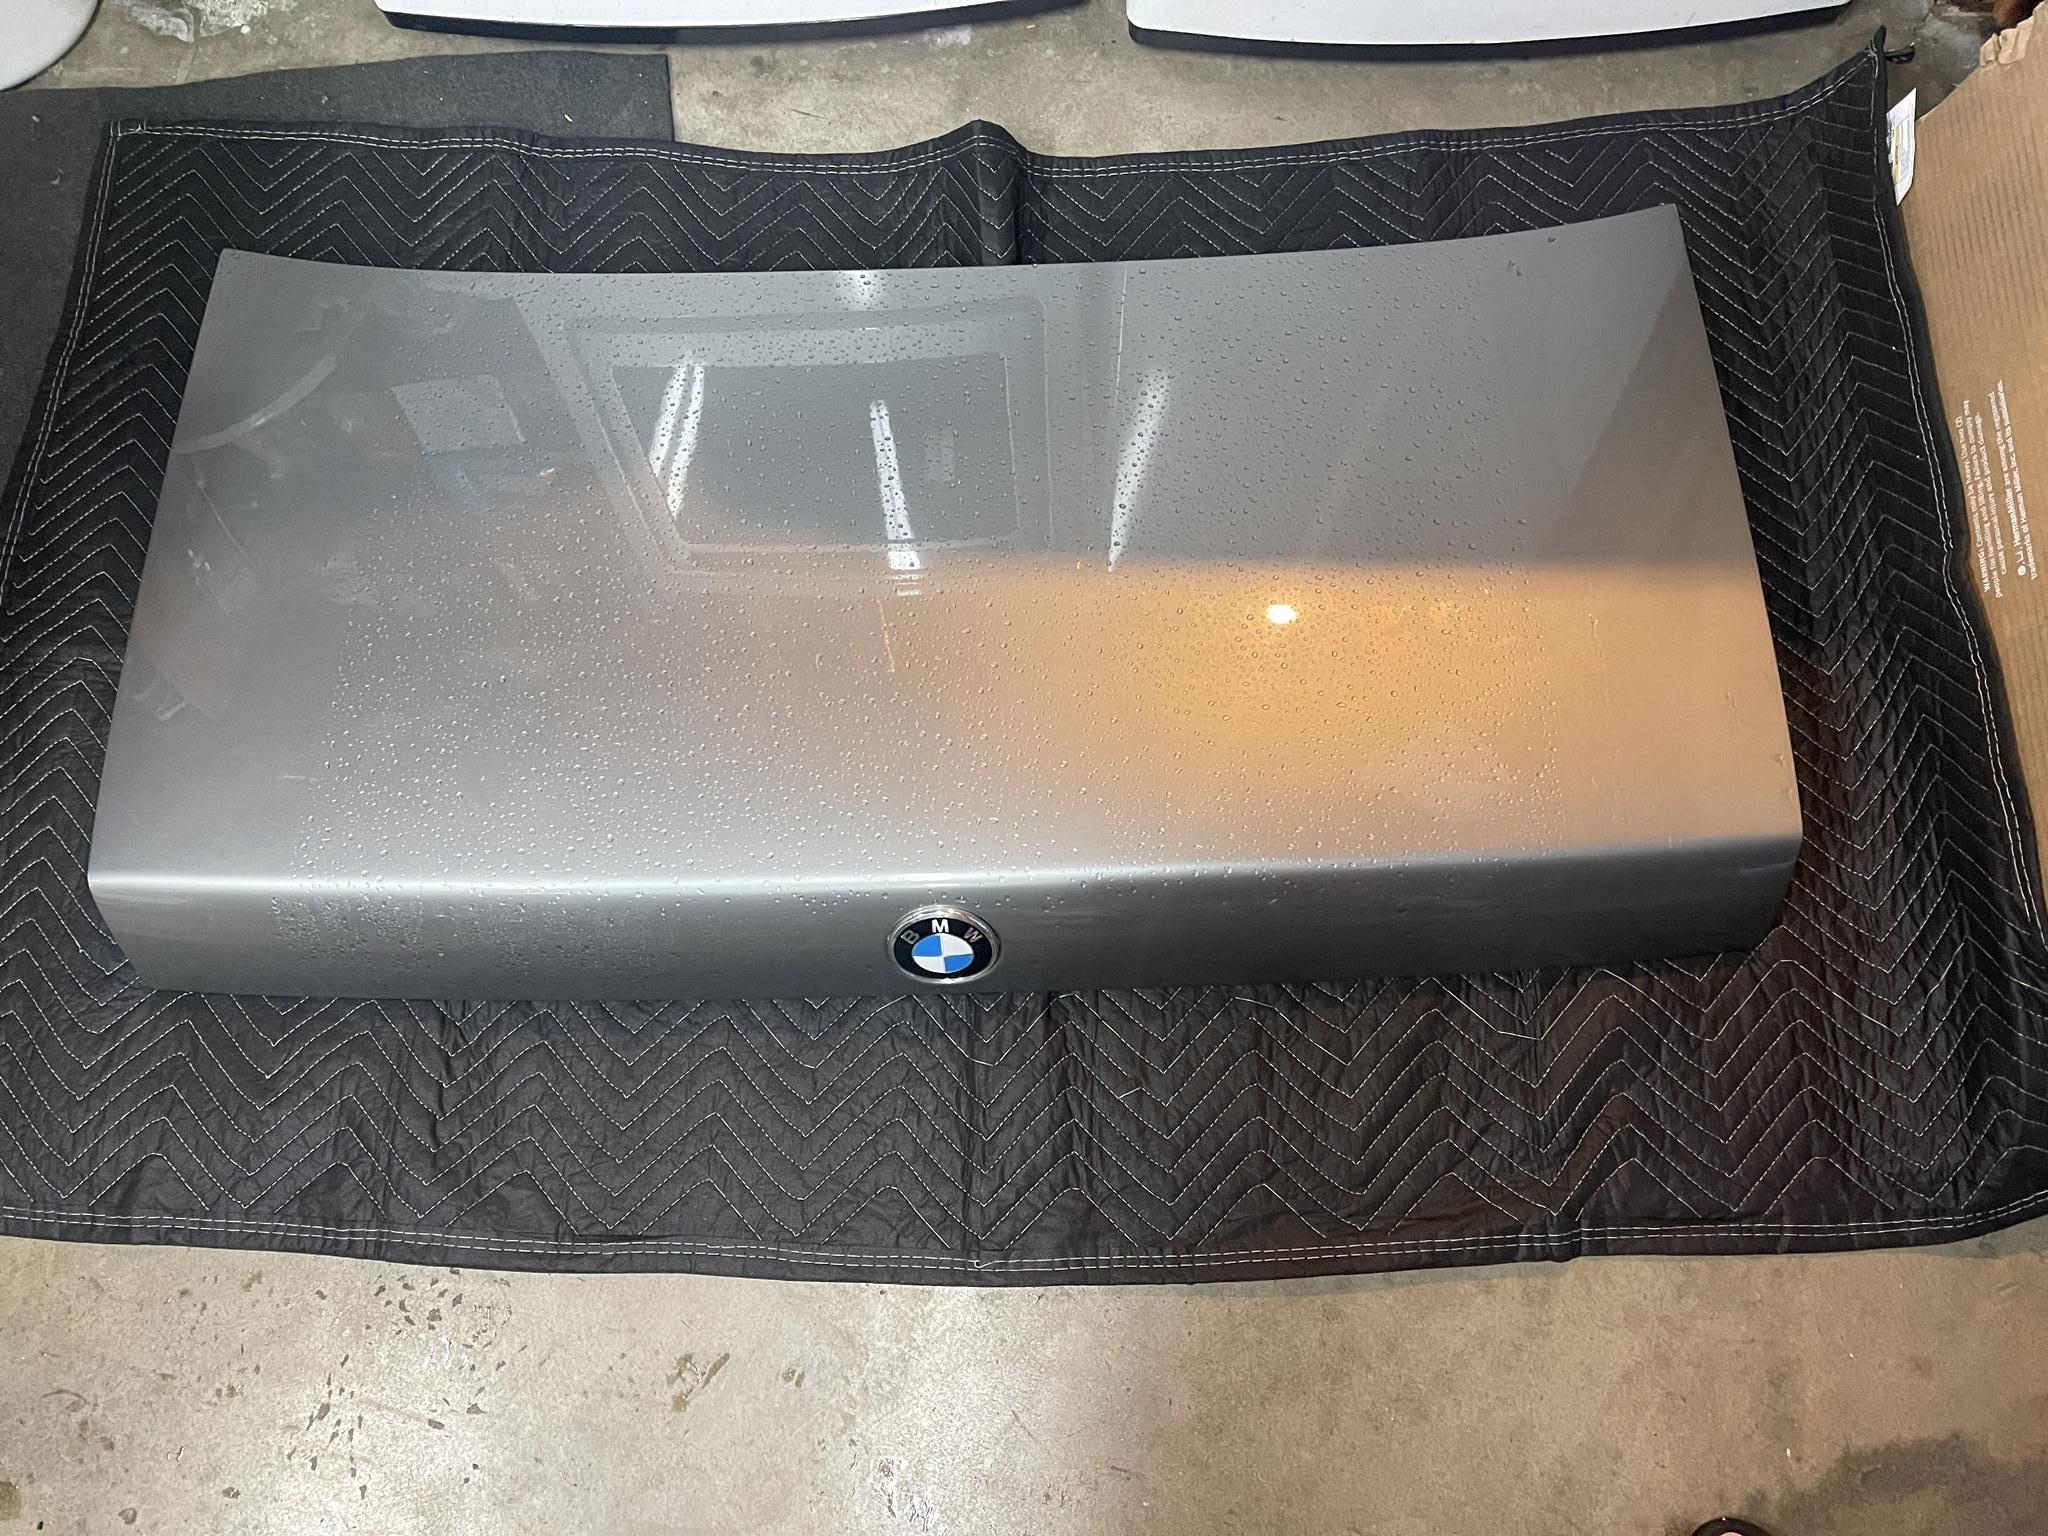
Image

Image

Image

Image

Image

Now with the gasket, I havent noticed any water entering the trunk and the carpets were reinstalled after letting them air dry.

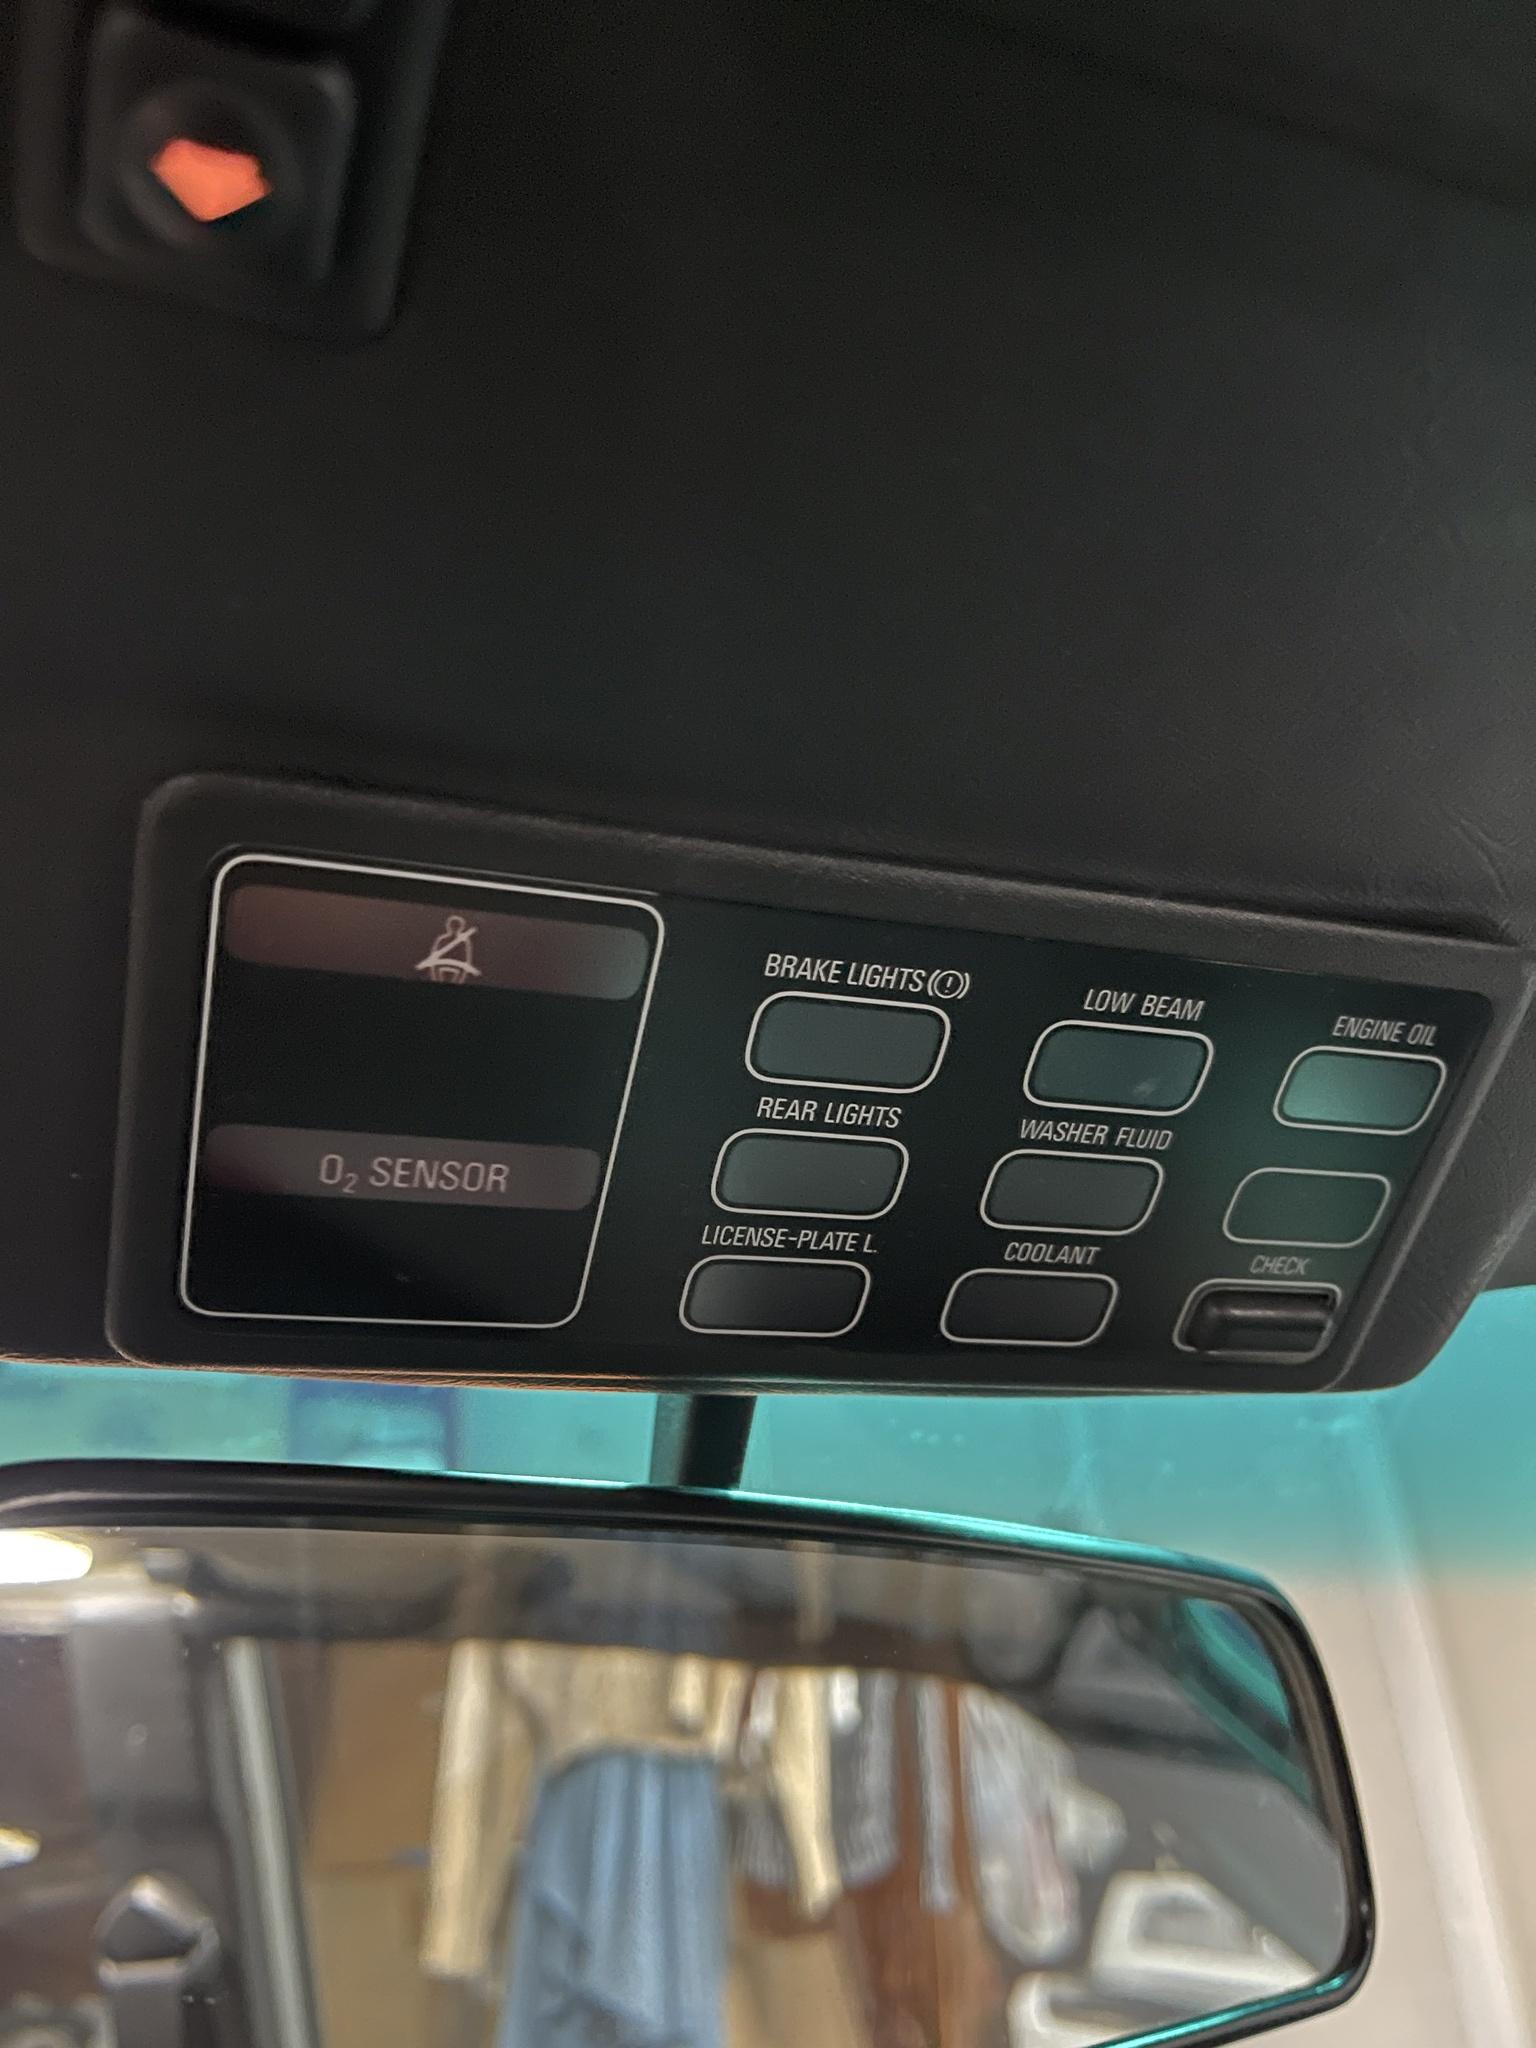
Next piece to tackle was the Brake Light indicator in the Overhead Checkpanel was lighting up but I could not figure it out. The brake lights were all functional and I had previously cleaned all the contacts on the tail lights / made sure the correct bulbs were being used. All the lights were operating correctly when I had tested them.

I had heard that the brake light switch could be a problem on e30s as it sends a signal to the overhead panel, so I switched it out as it was a fairly cheap part only costing a couple bucks.
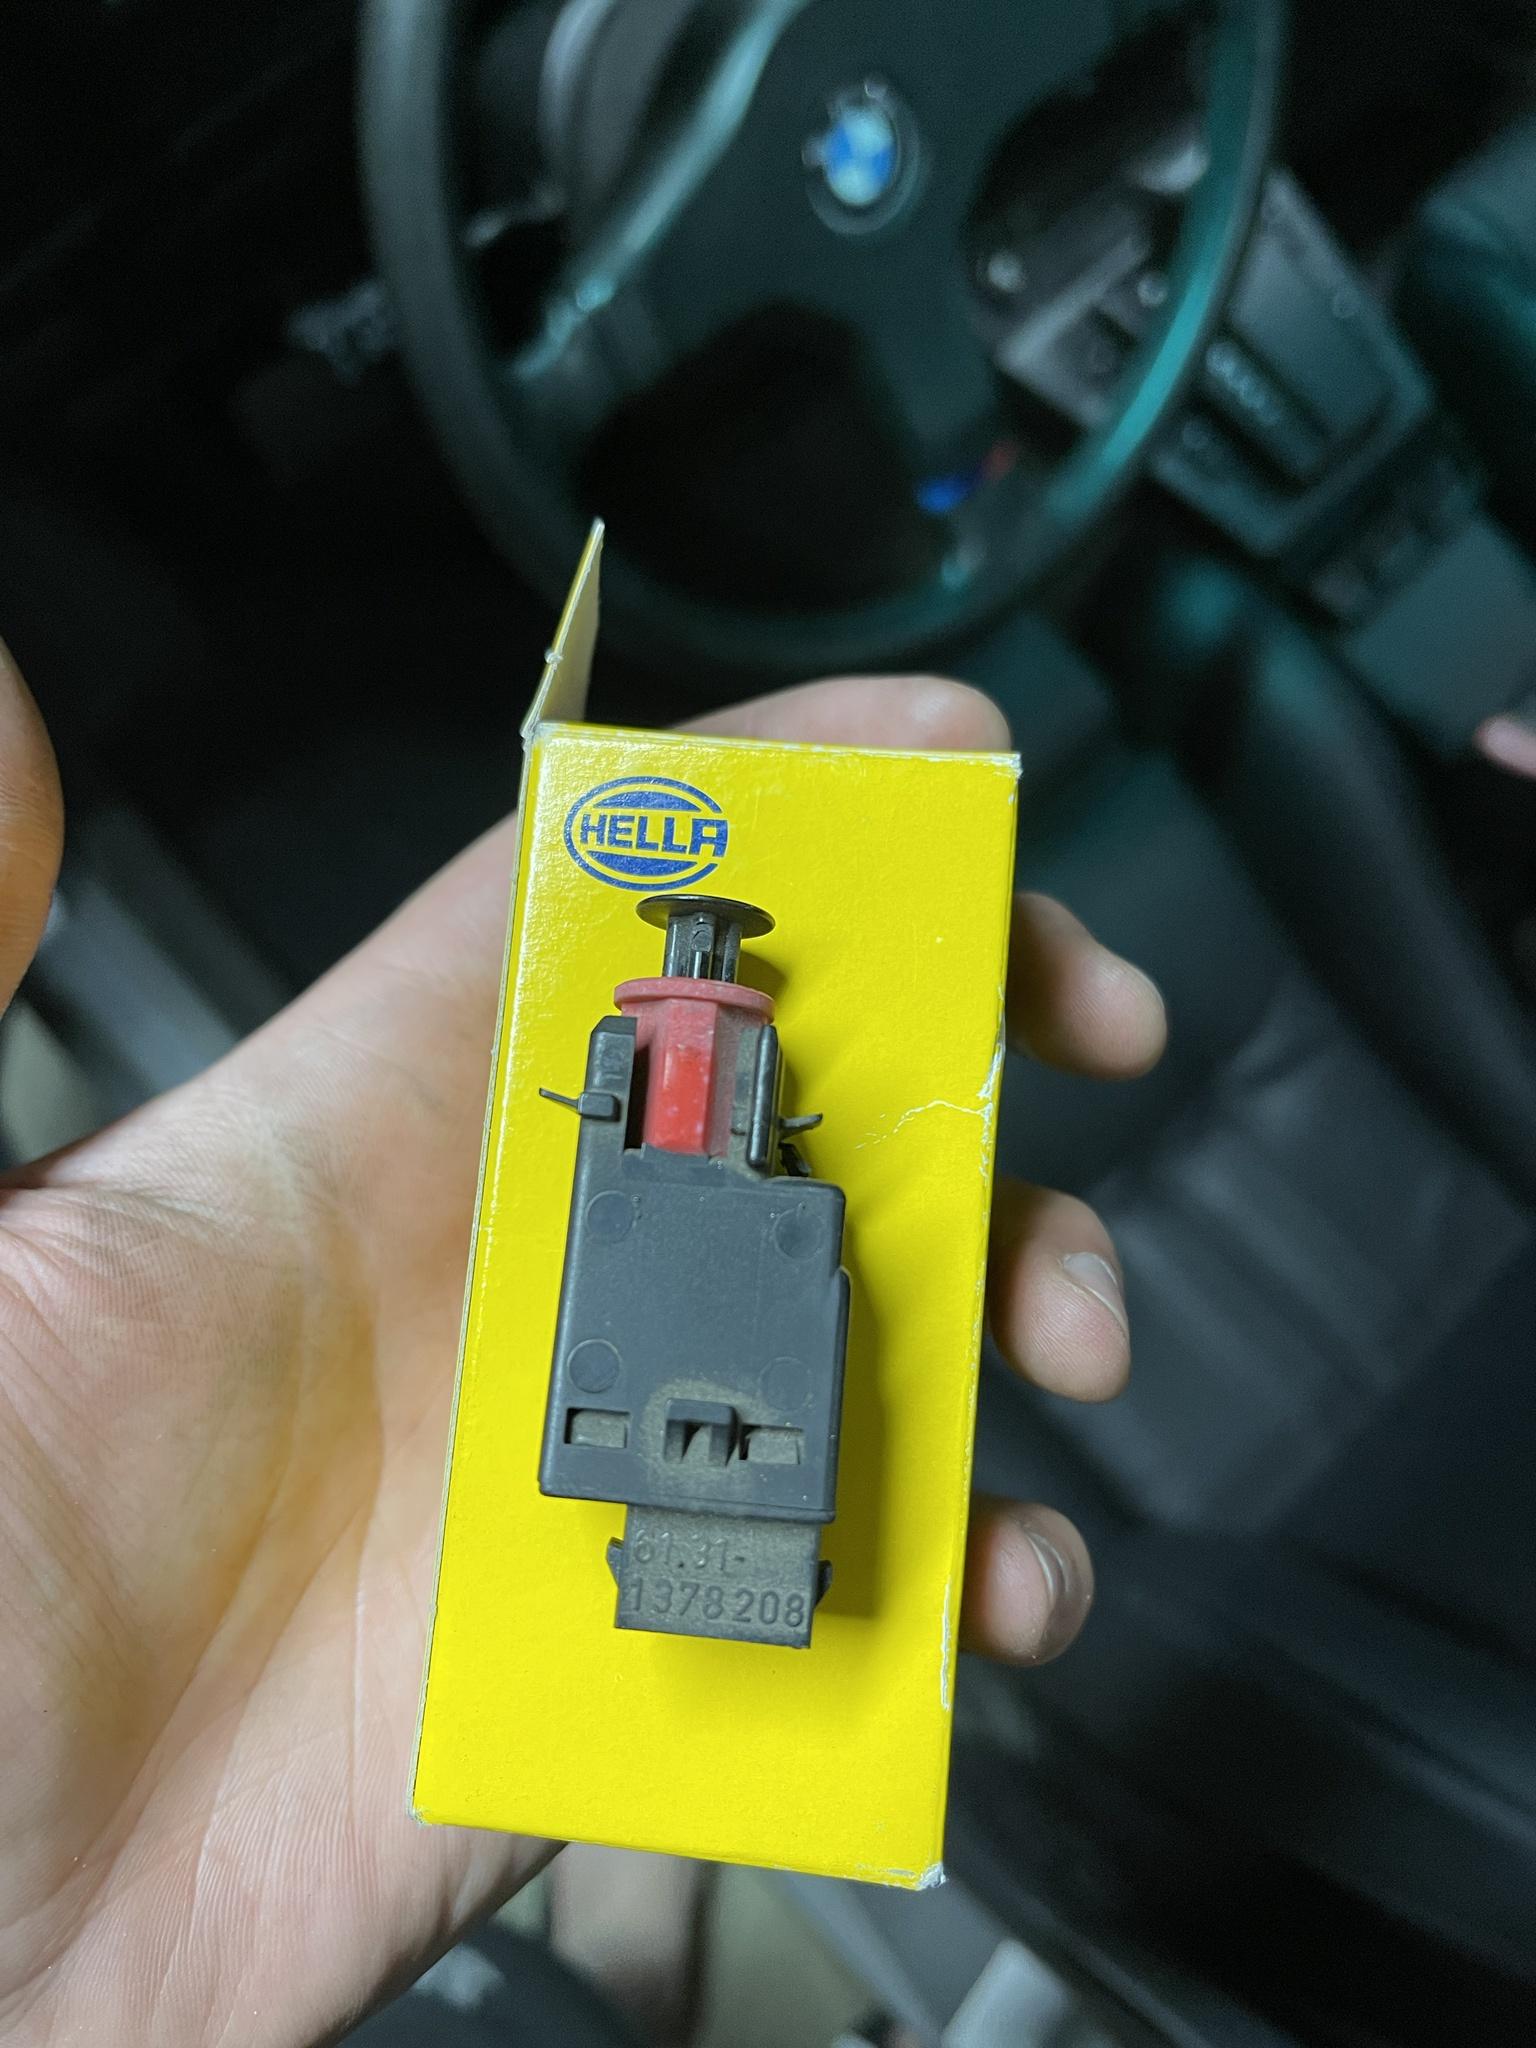
Image

This did not fix the problem, and when I went to go check the taillights after installing the part, I noticed that the third brake light was not working at all. This was all happening the same time I was doing the trunk gasket as well.

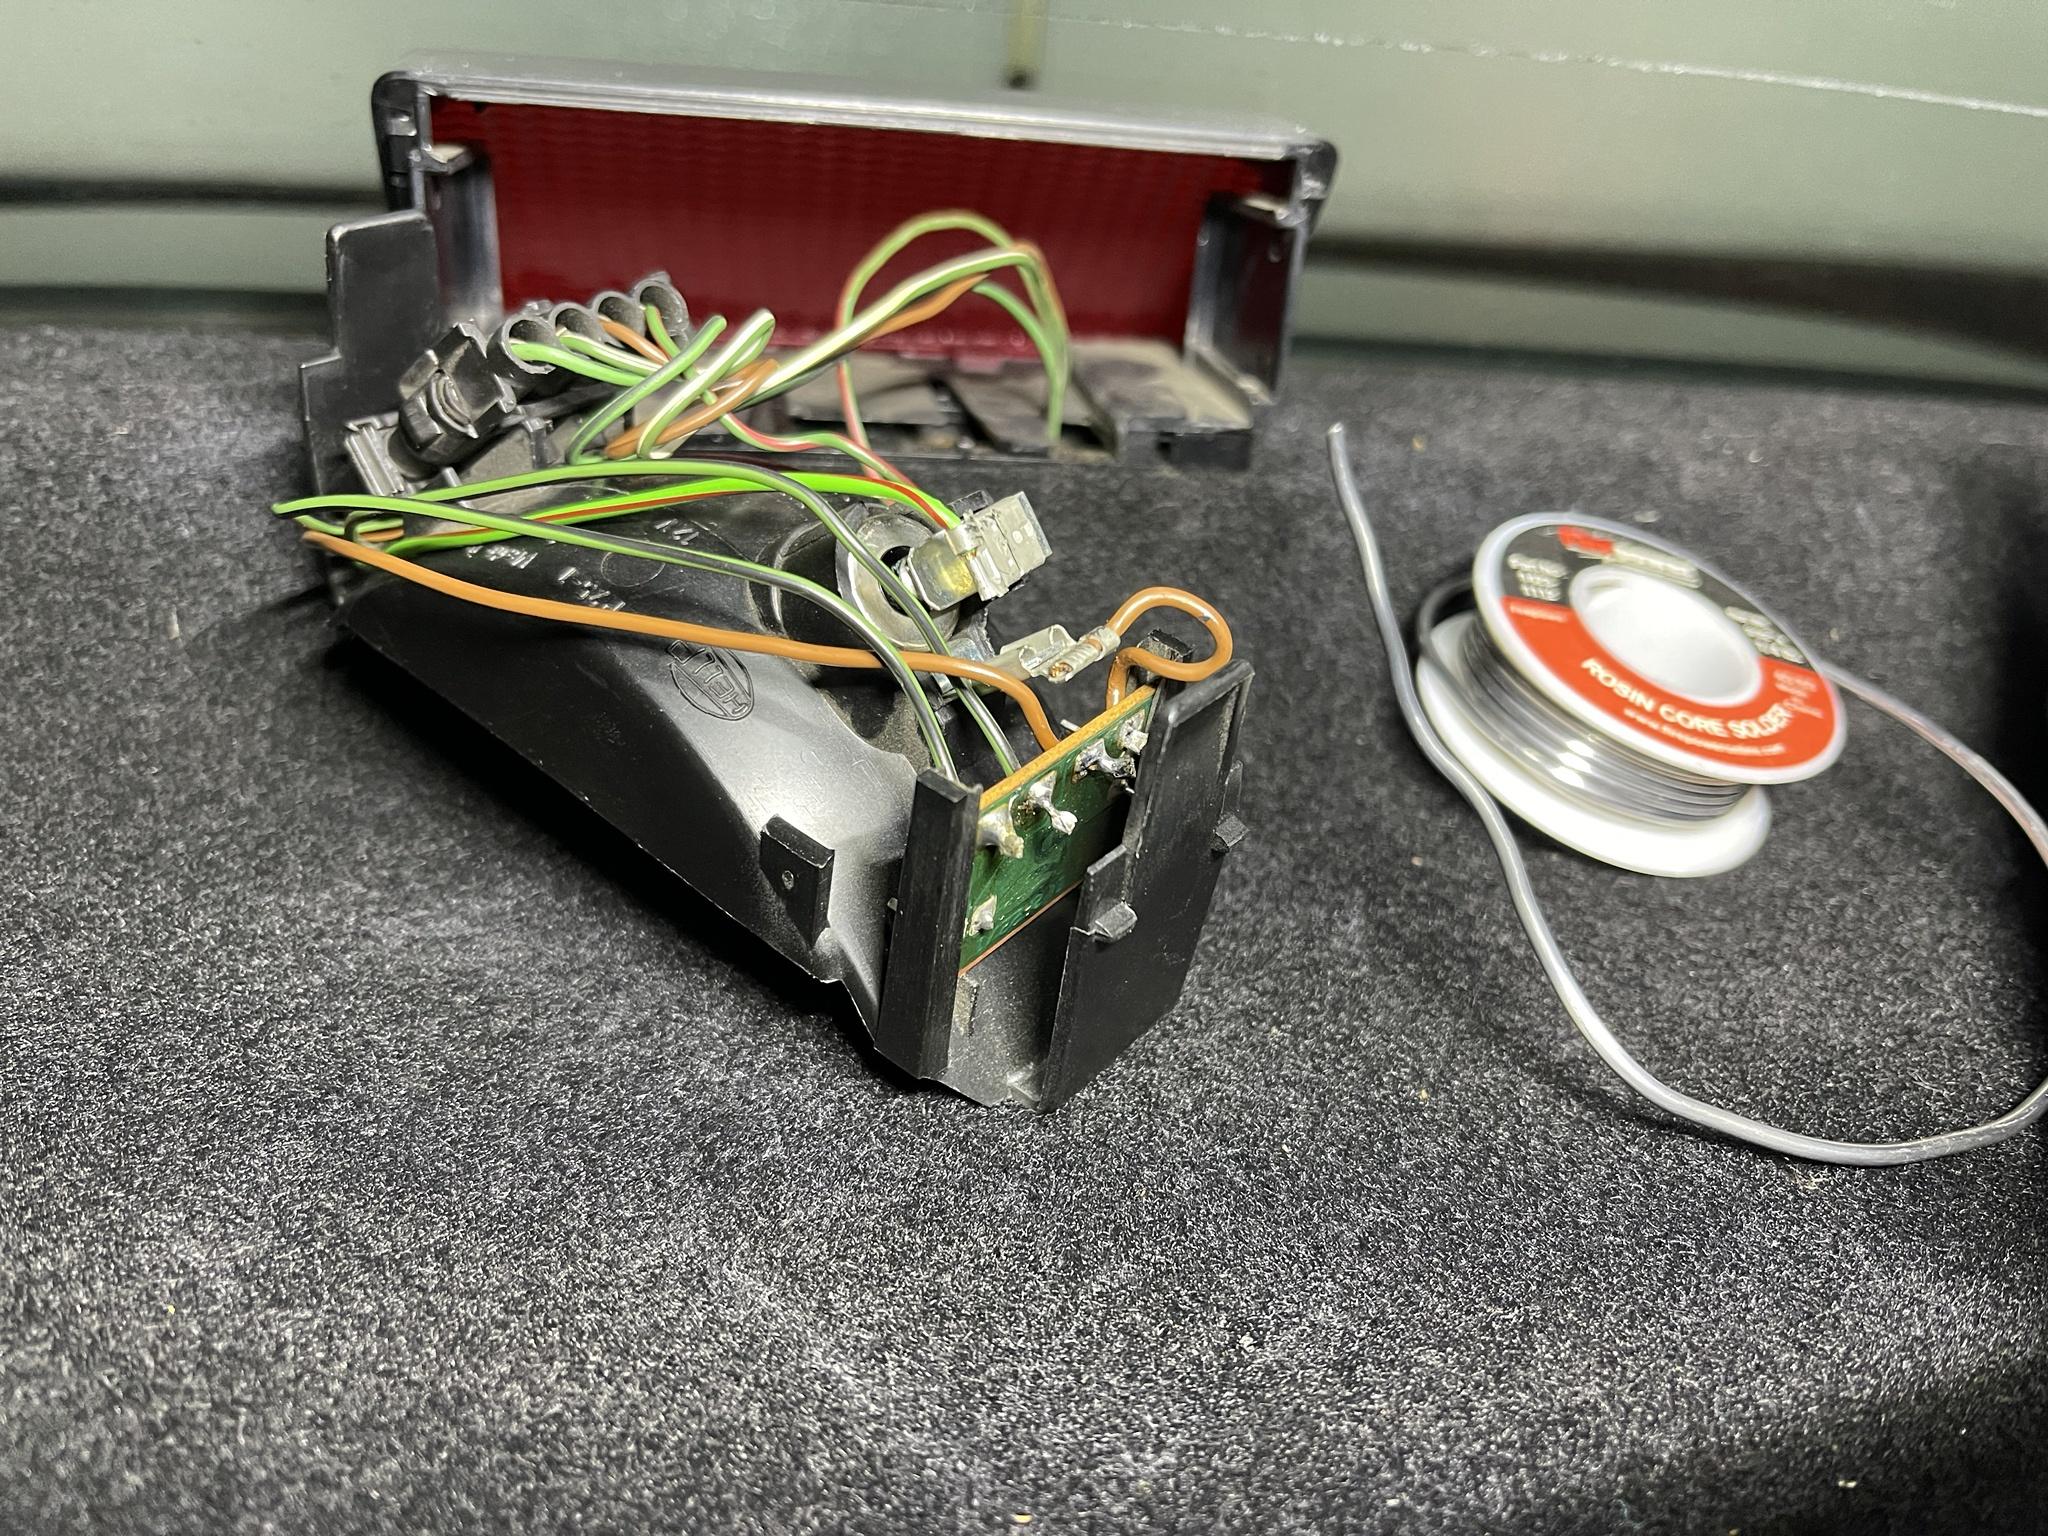
I opened up the third brake light housing and changed the bulb, cleaned the contacts and it worked again but the light did not go off. Then I started to notice that the light would turn on and off randomly when being tested. I ended up finding that the Green/Black wires connections going to the circuit board were not secure and making proper contact so I soldered those back in place in the car. (The connector was impossible to take out so I decided to just fix it there)
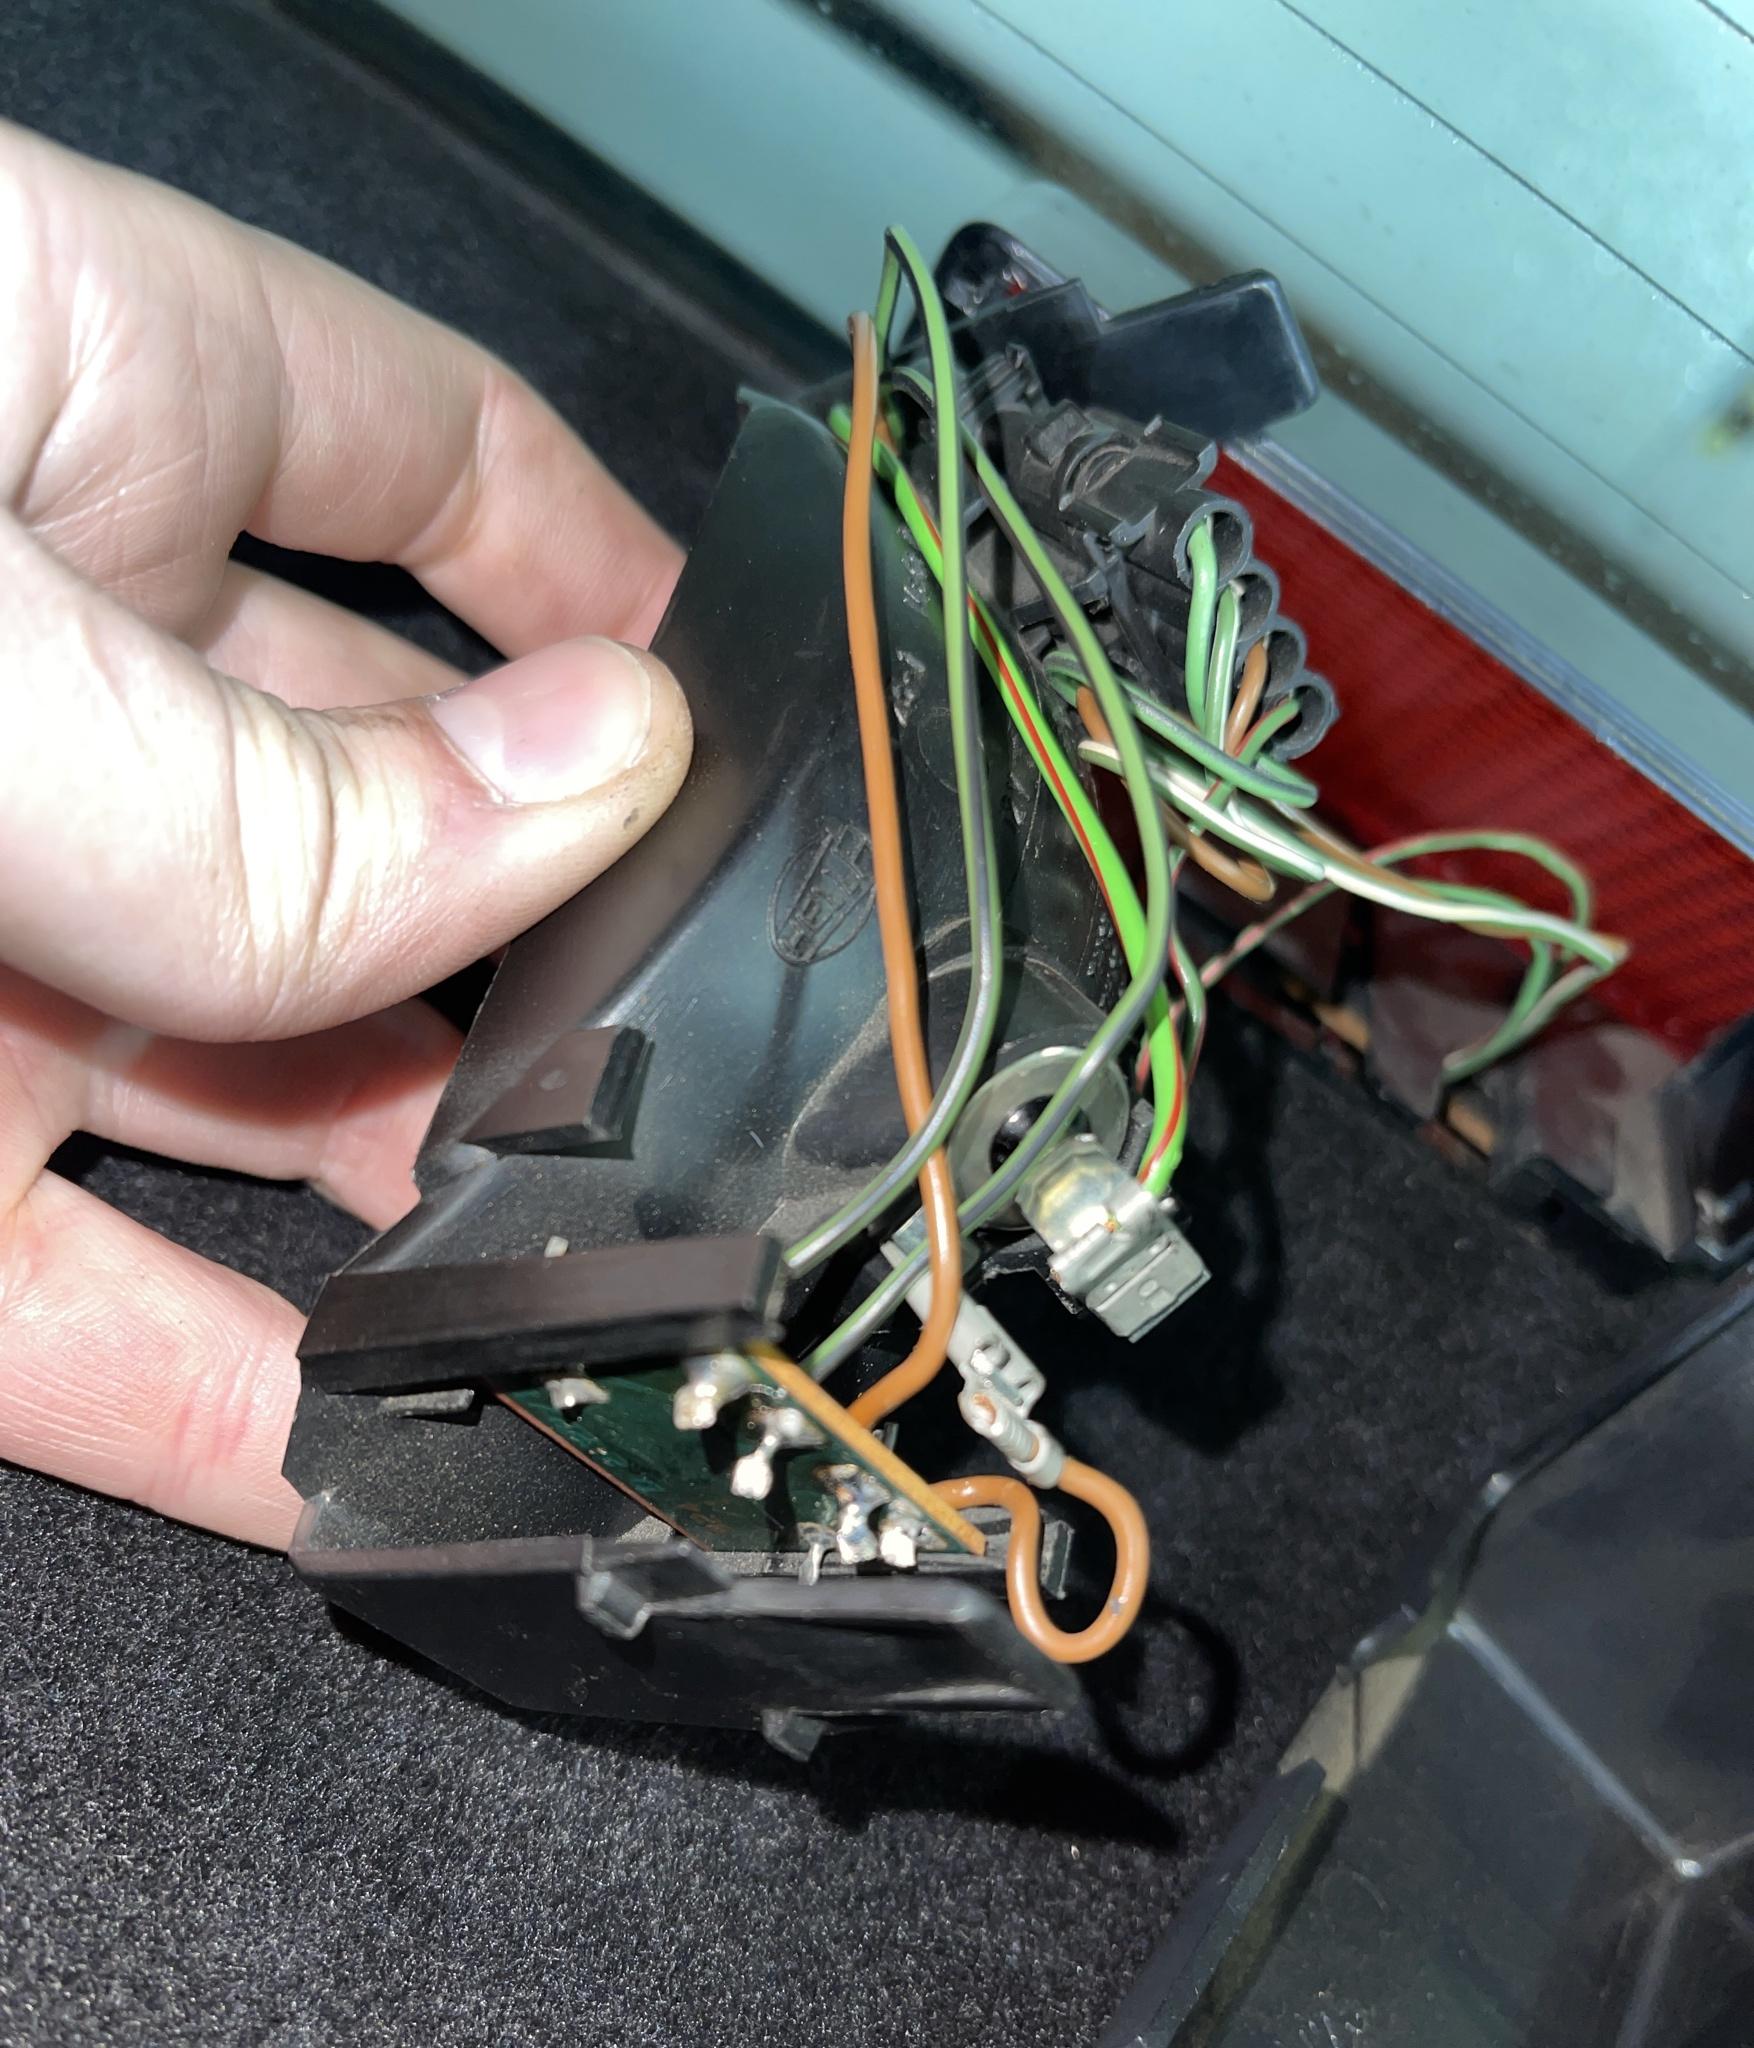
Image

Image

This fixed the problems with the brake light indicator showing up in the overhead panel and everything perfect on that end.
Image


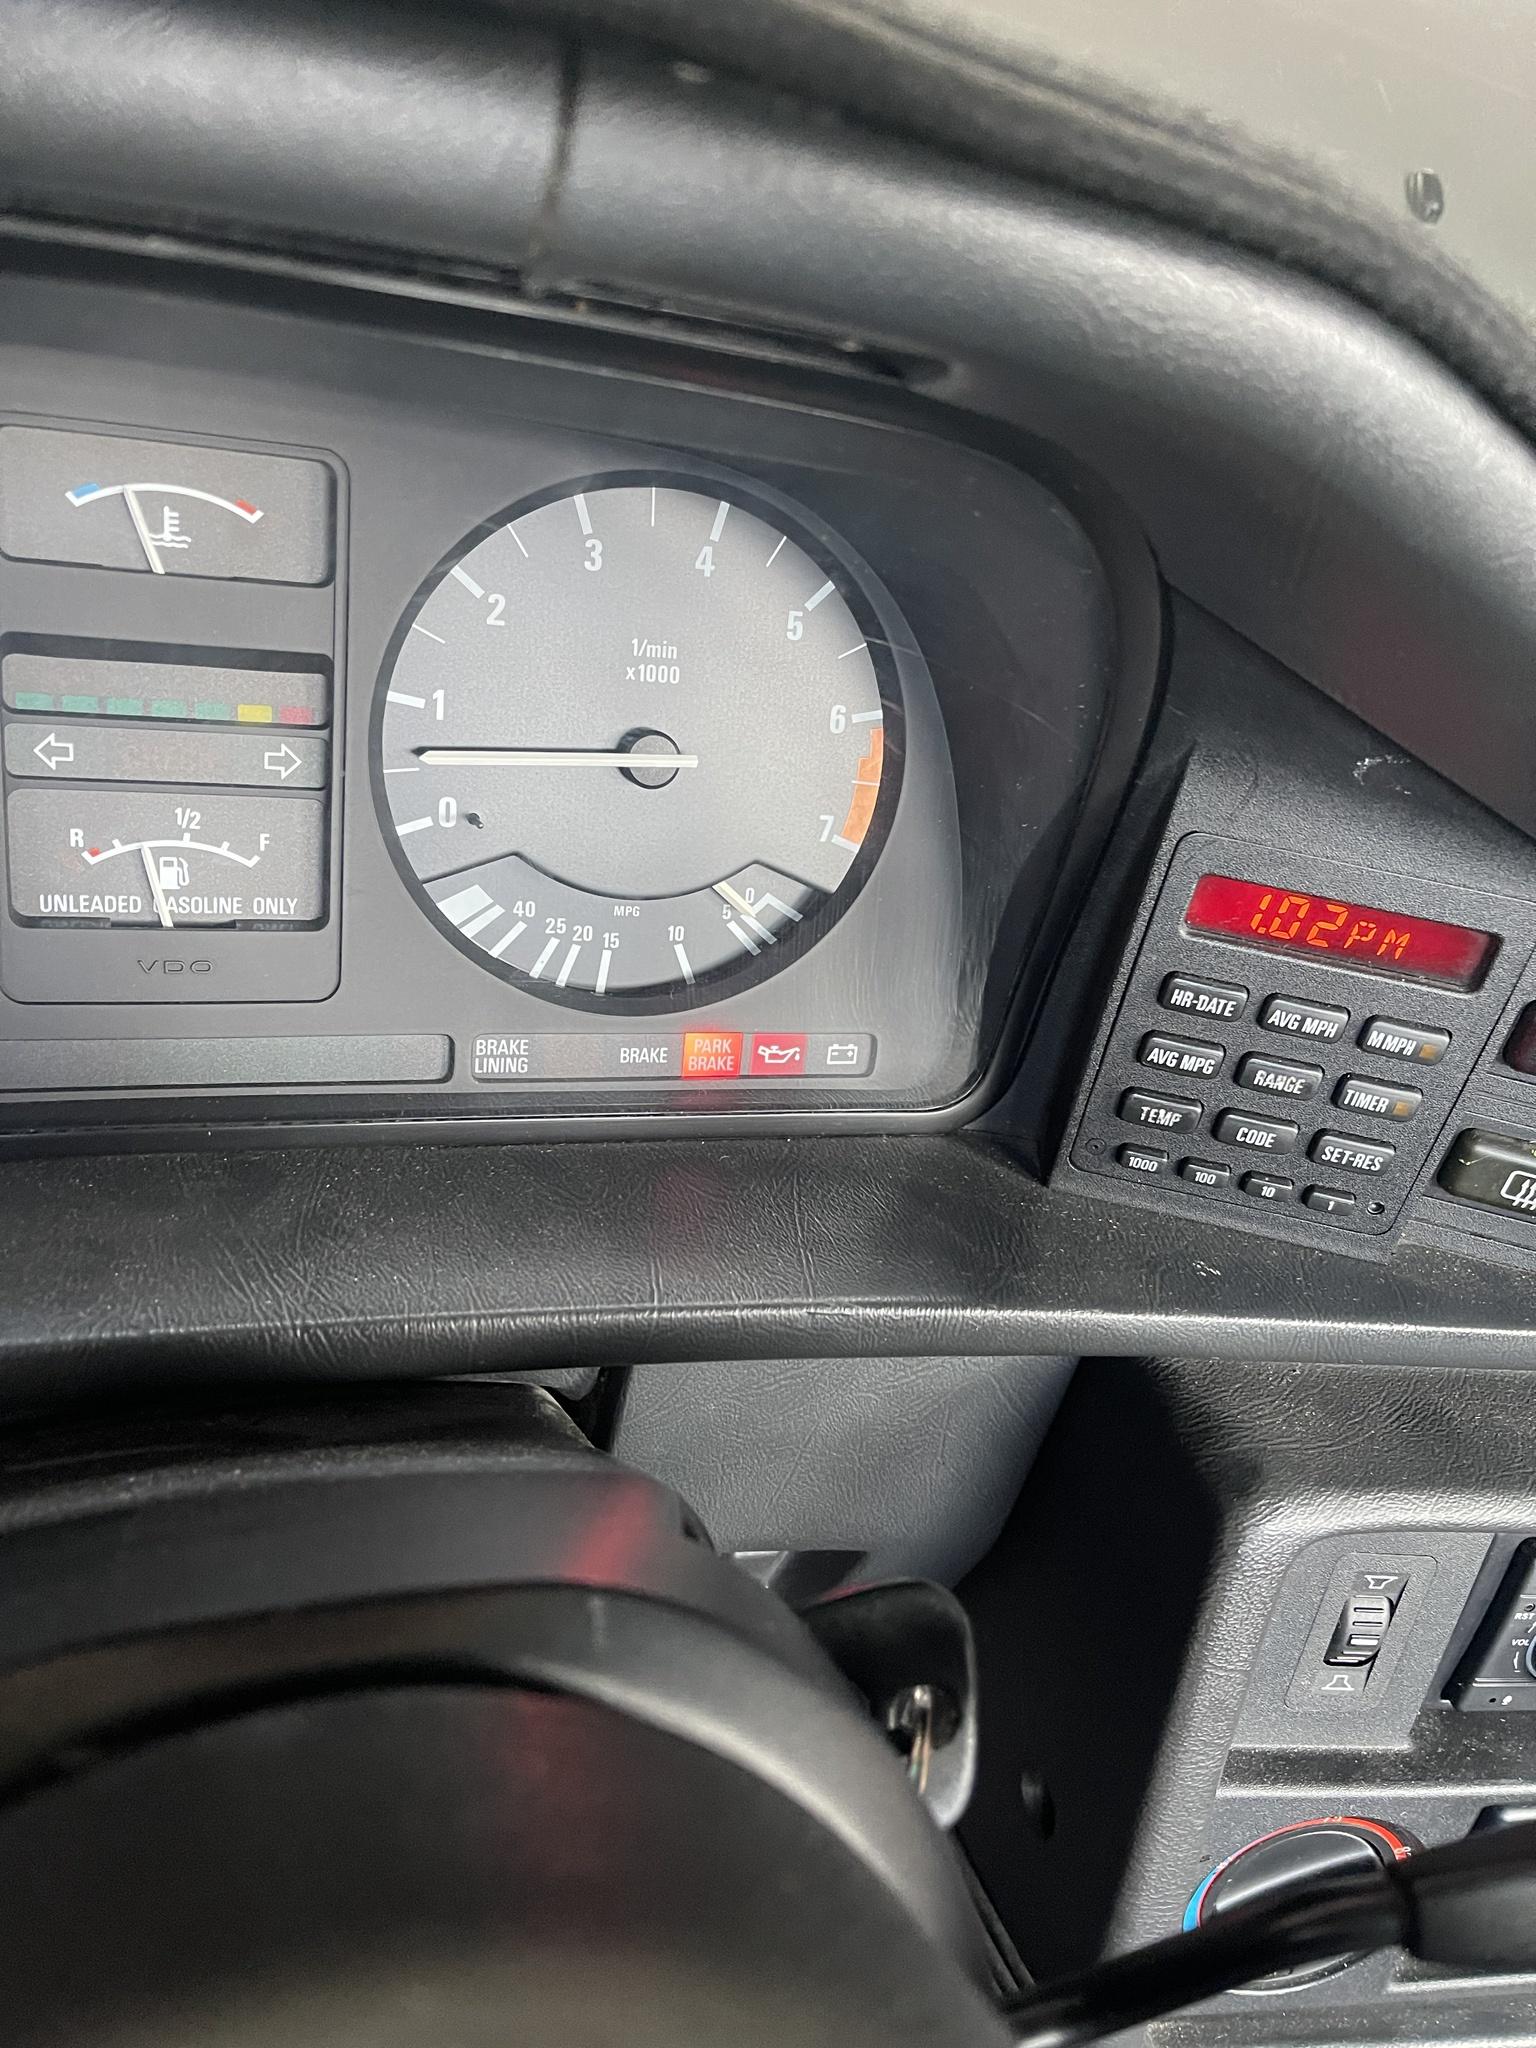
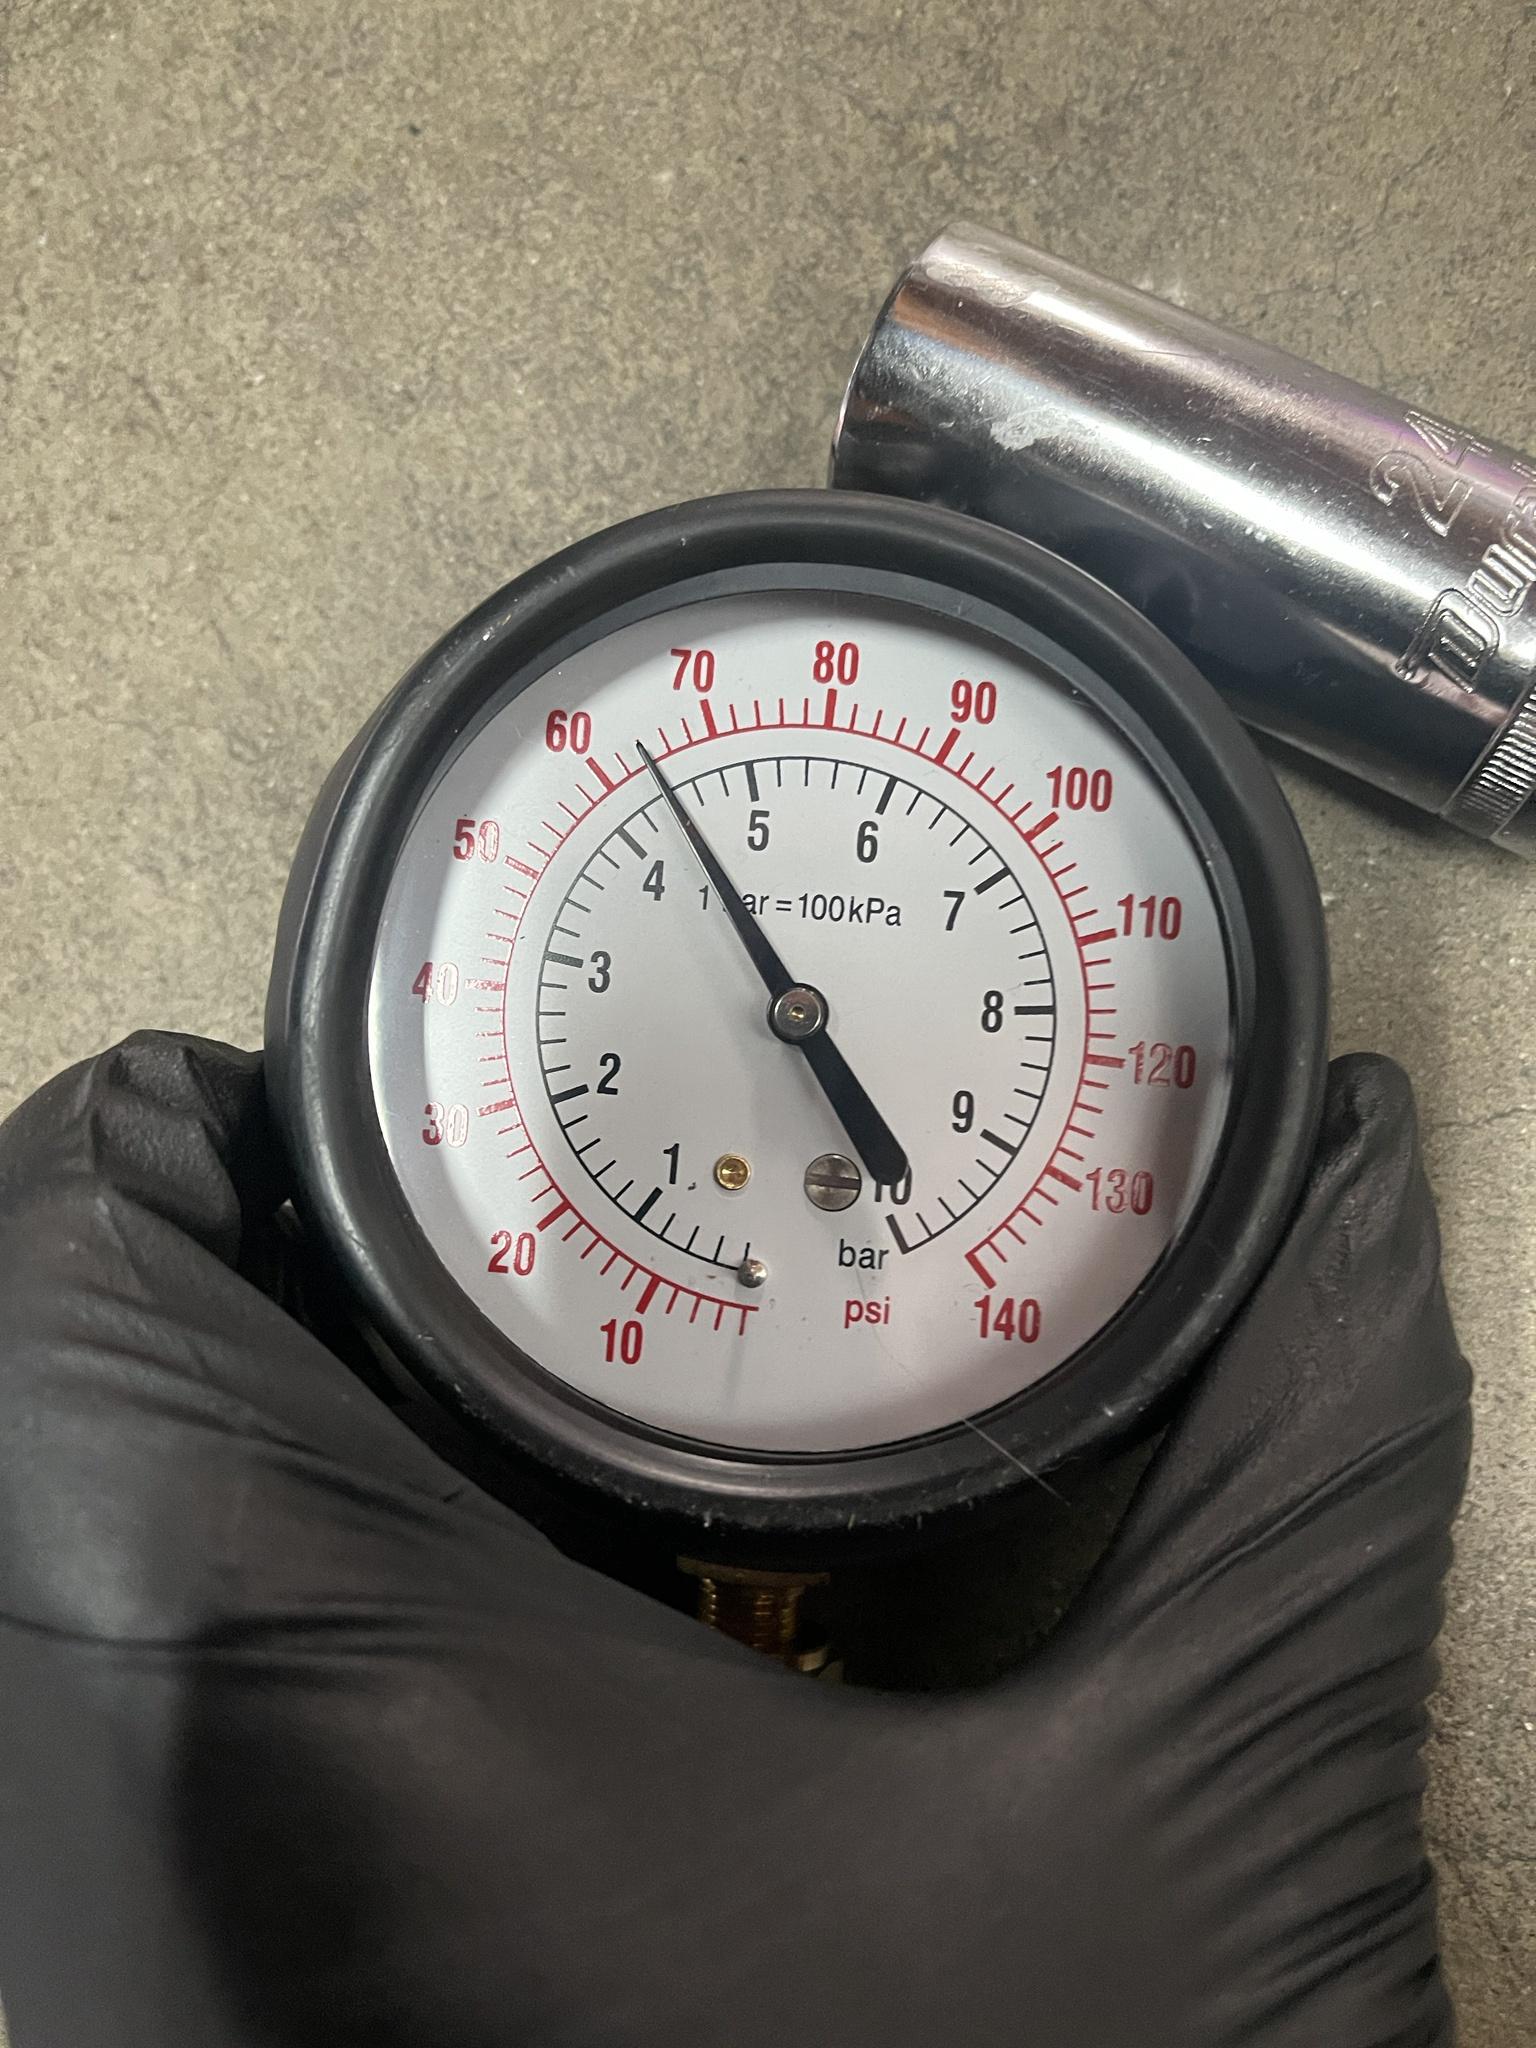
Now there was another problem that I had wanted to tackle. When the car was parked there were no problems. Once I started to get the car back up and driving again I noticed that the oil pressure light on the dash was illuminated. I immediately stopped driving the car and ordered a replacement oil pressure switch but that did not fix the problem. I went ahead and tested the oil pressure on the car, and the readings were consistent with what is in the Bentley guide. I was getting 65psi at cold idle. But when testing the oil pressure with the cars switch disconnected I notice the light was Off at start and then began to flicker brighter and brighter as the car got warmer.
Image

Image

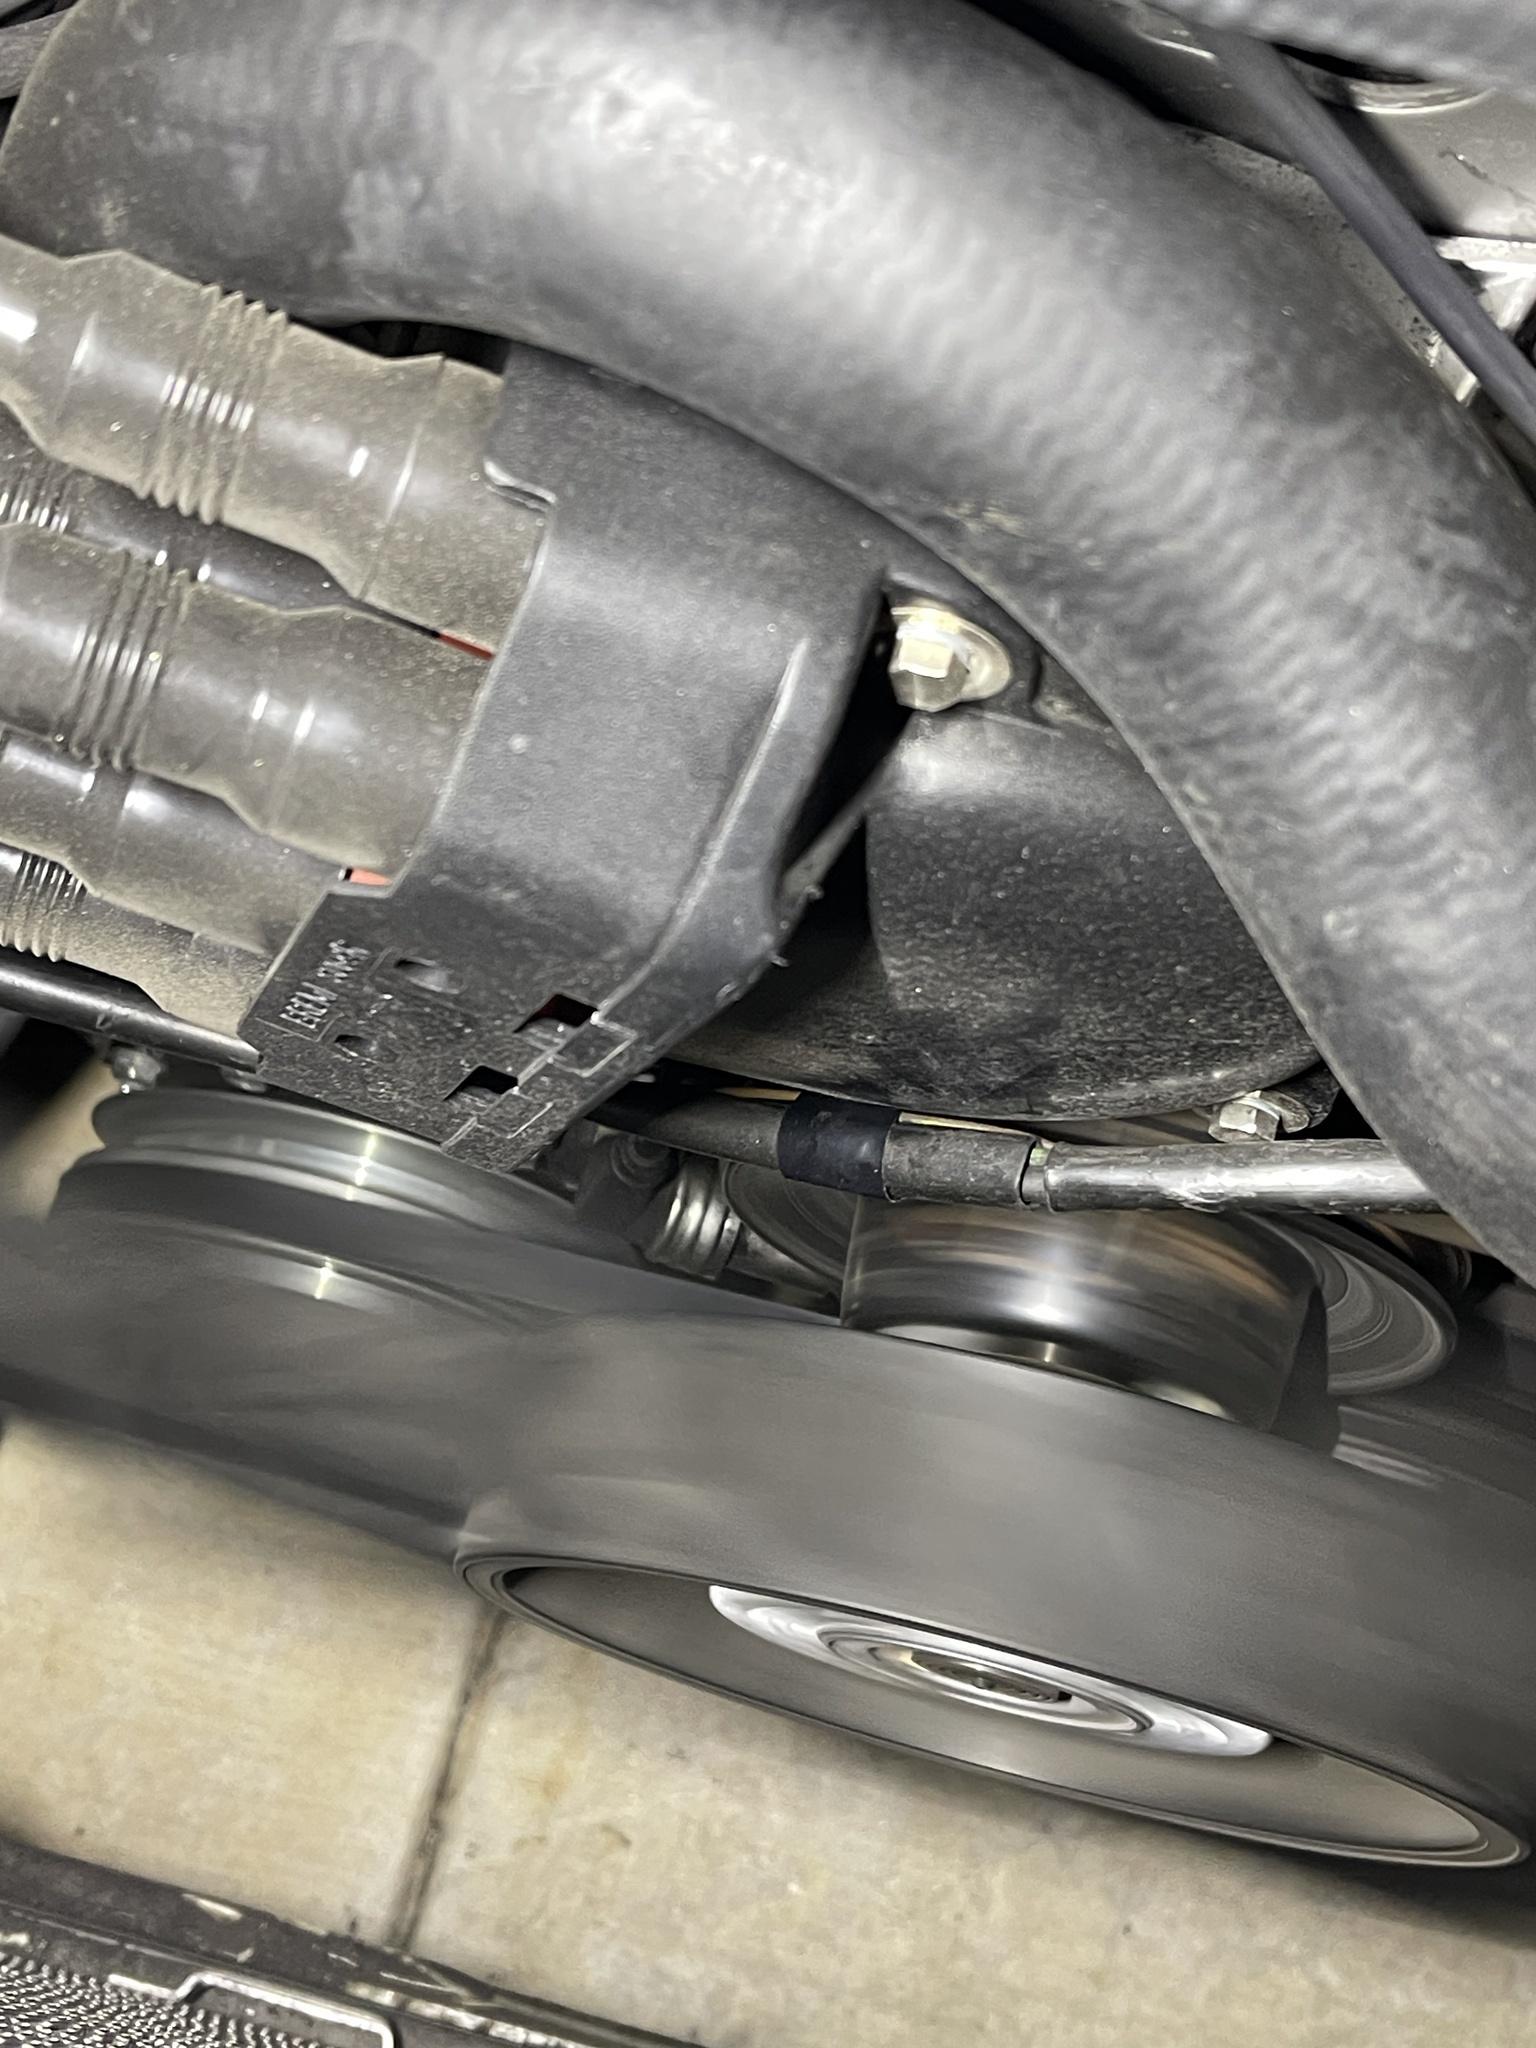
I believe the oil pressure light should not be on with the switch disconnected, but correct me if I am wrong. So this led me to think of something relating to the electrical system. I was right and found that the switch wire was rubbing on a pulley causing it to ground out. I adjusted the wire and tied it out of the way and the oil pressure light is now gone.
Image

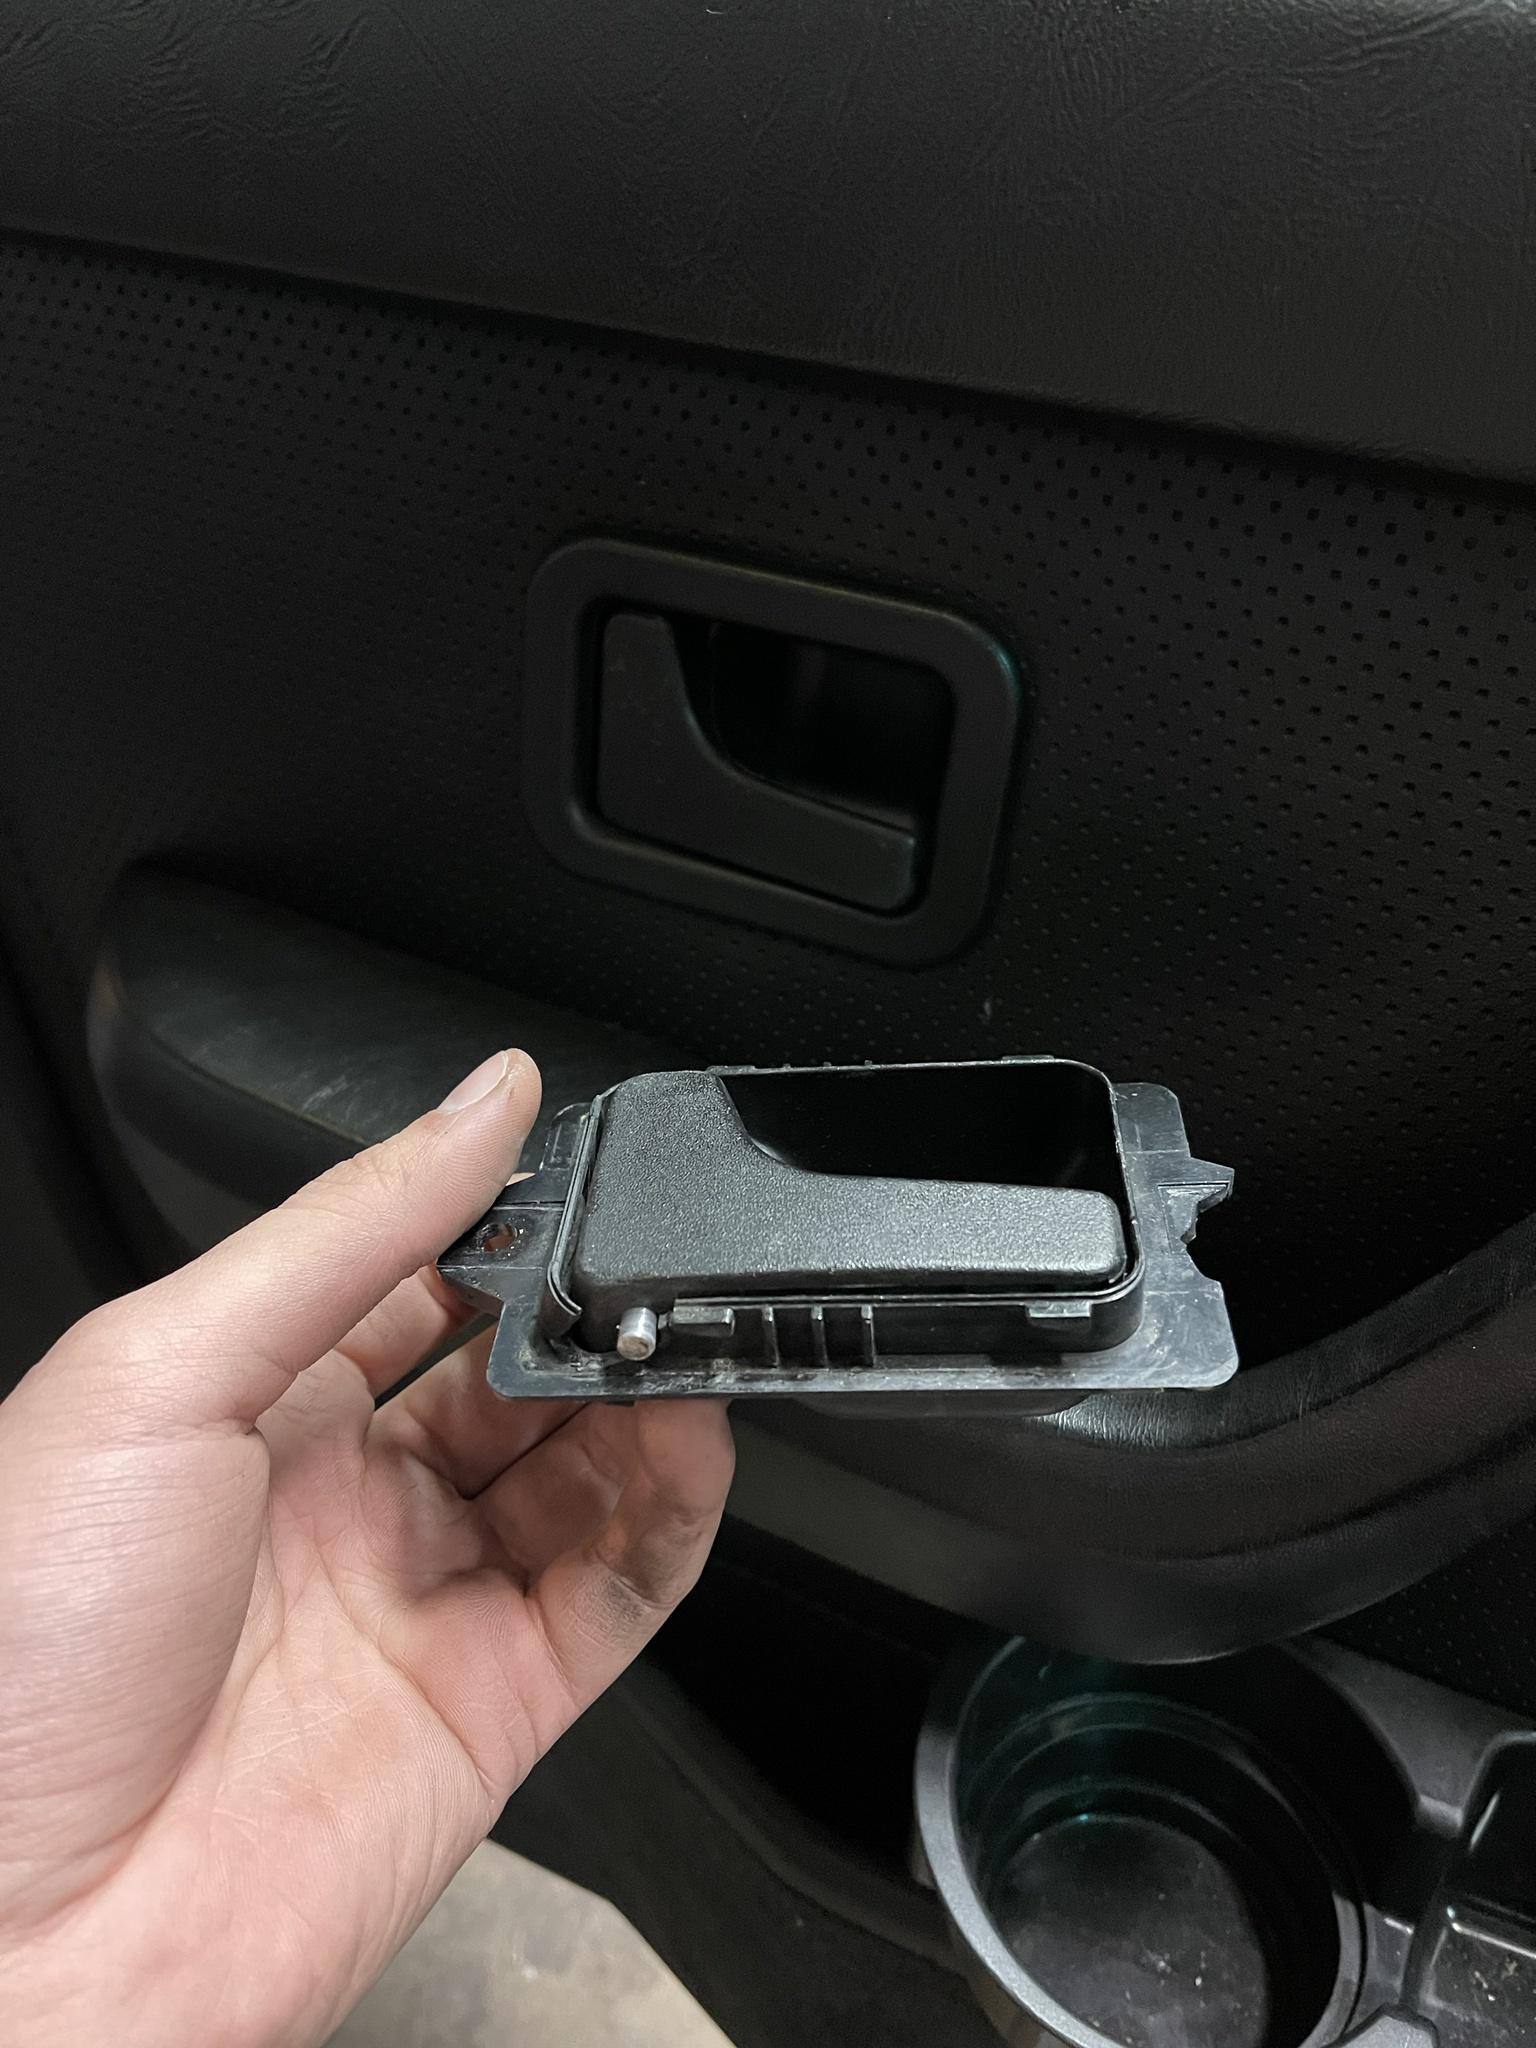
One other small thing I replaced was the driver door handle lever. The lever was always so loose feeling, and got a question about it from a friend so I decided to finally replace it. When I took it out of the door a whole piece of plastic fell out and no longer held in the pin. I replaced the handle and it now feels 100x better.
Image


Those are the current things that I have fixed on the car. The AC compressor is next to do on my list, but it is being reprioritized at least until it starts to warm up a little.

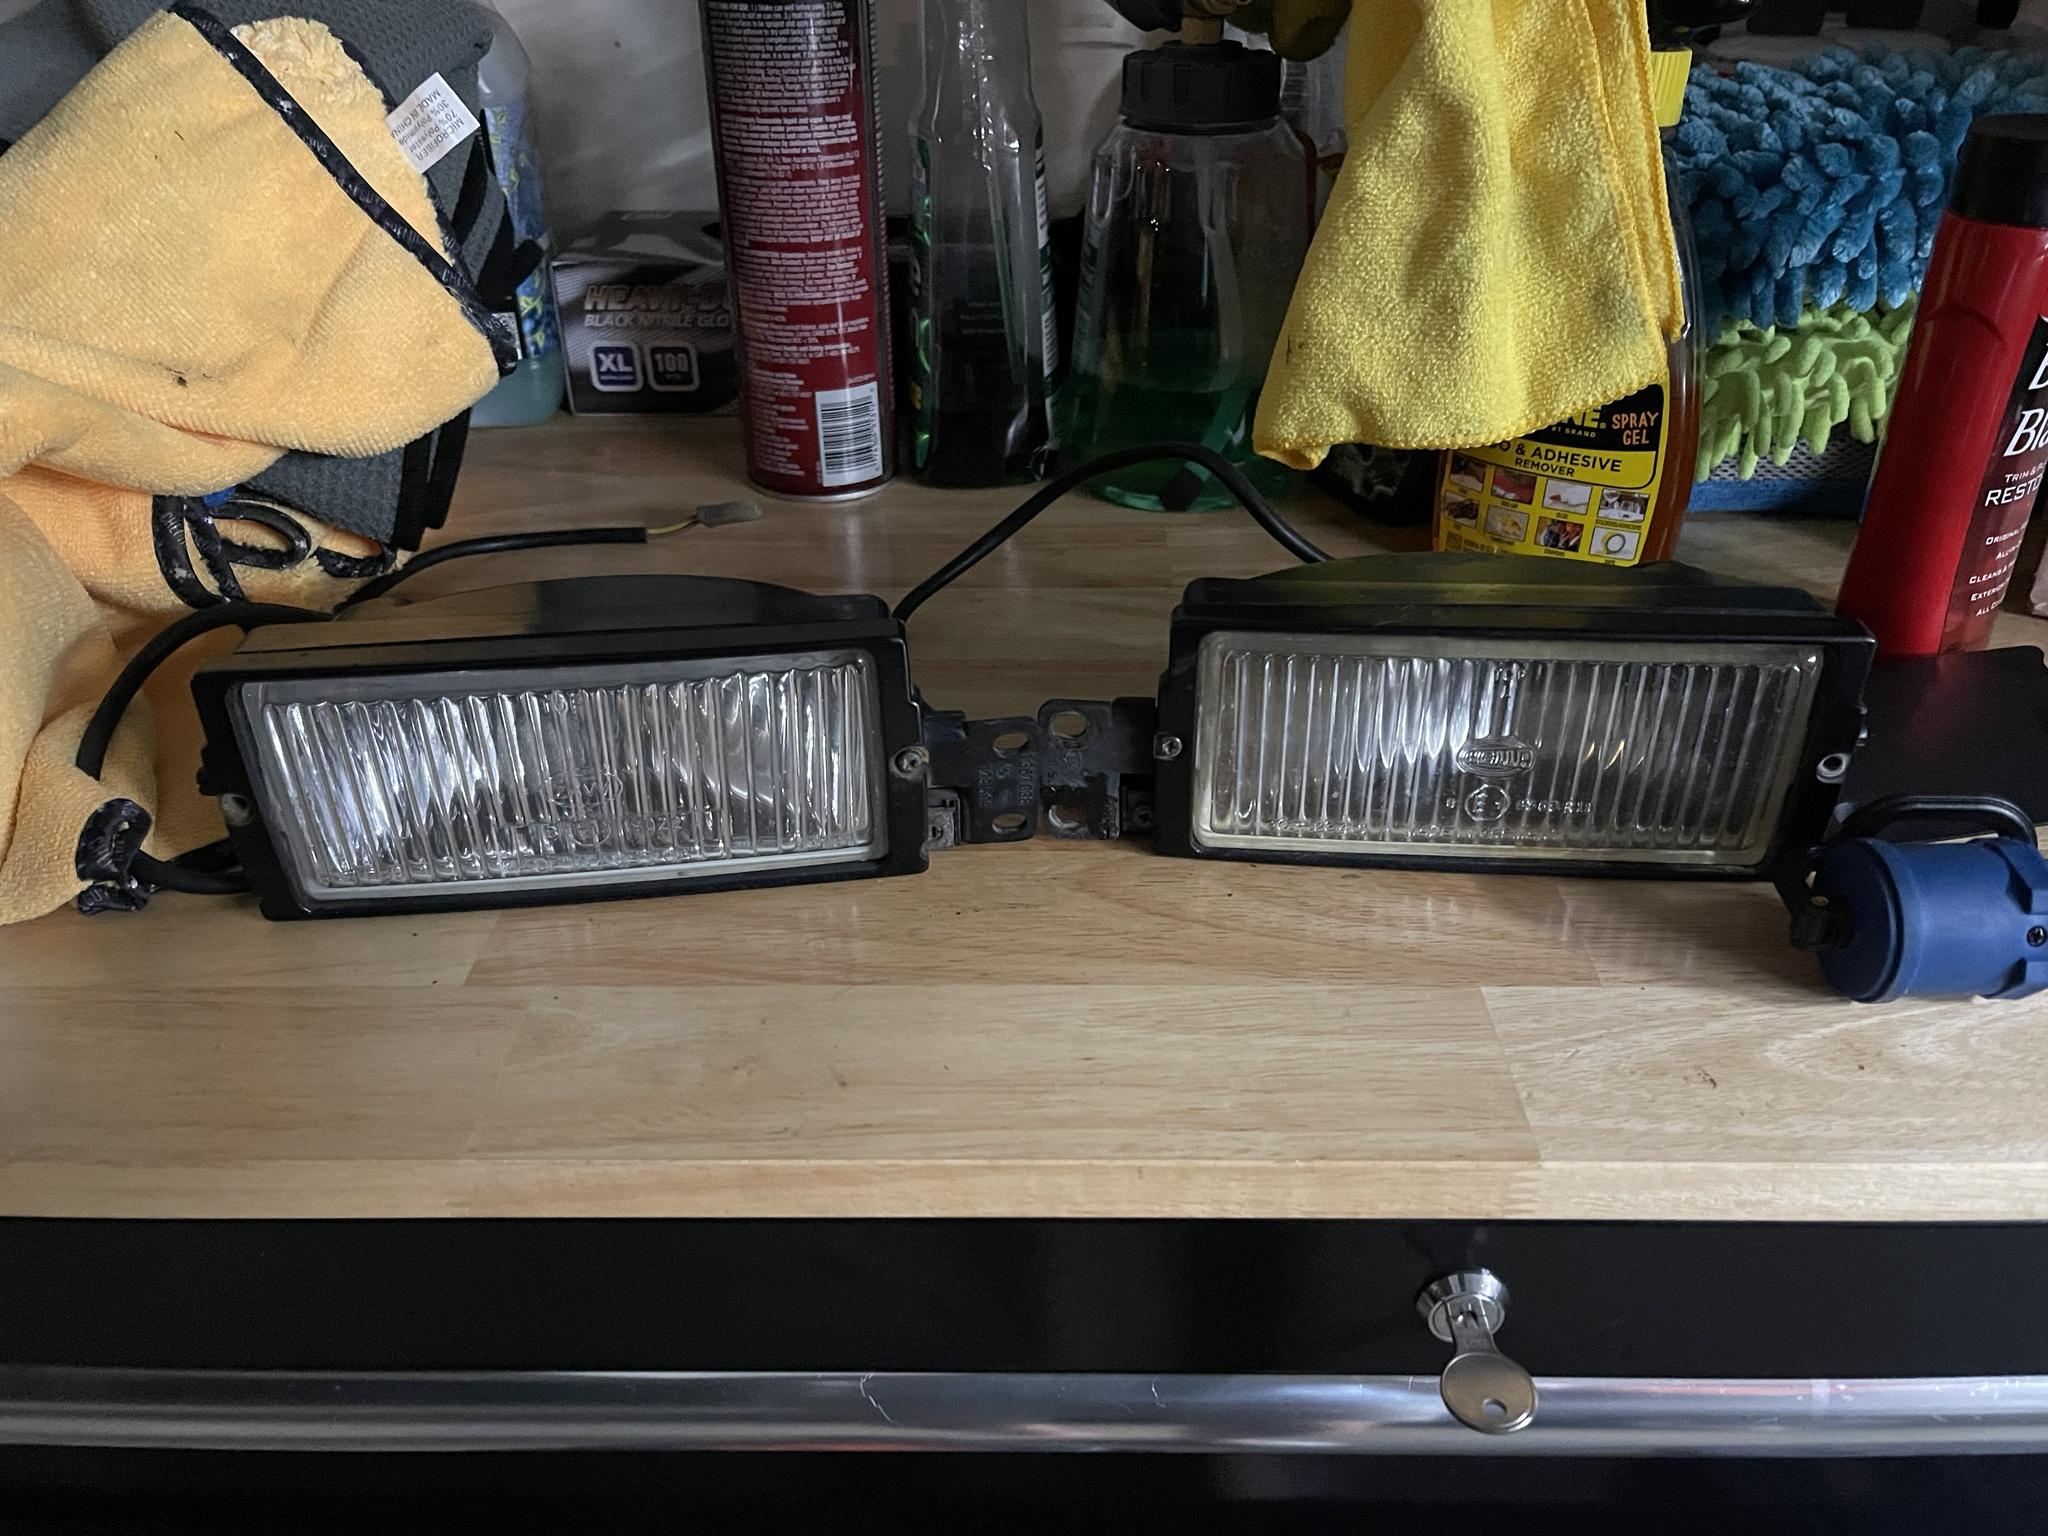
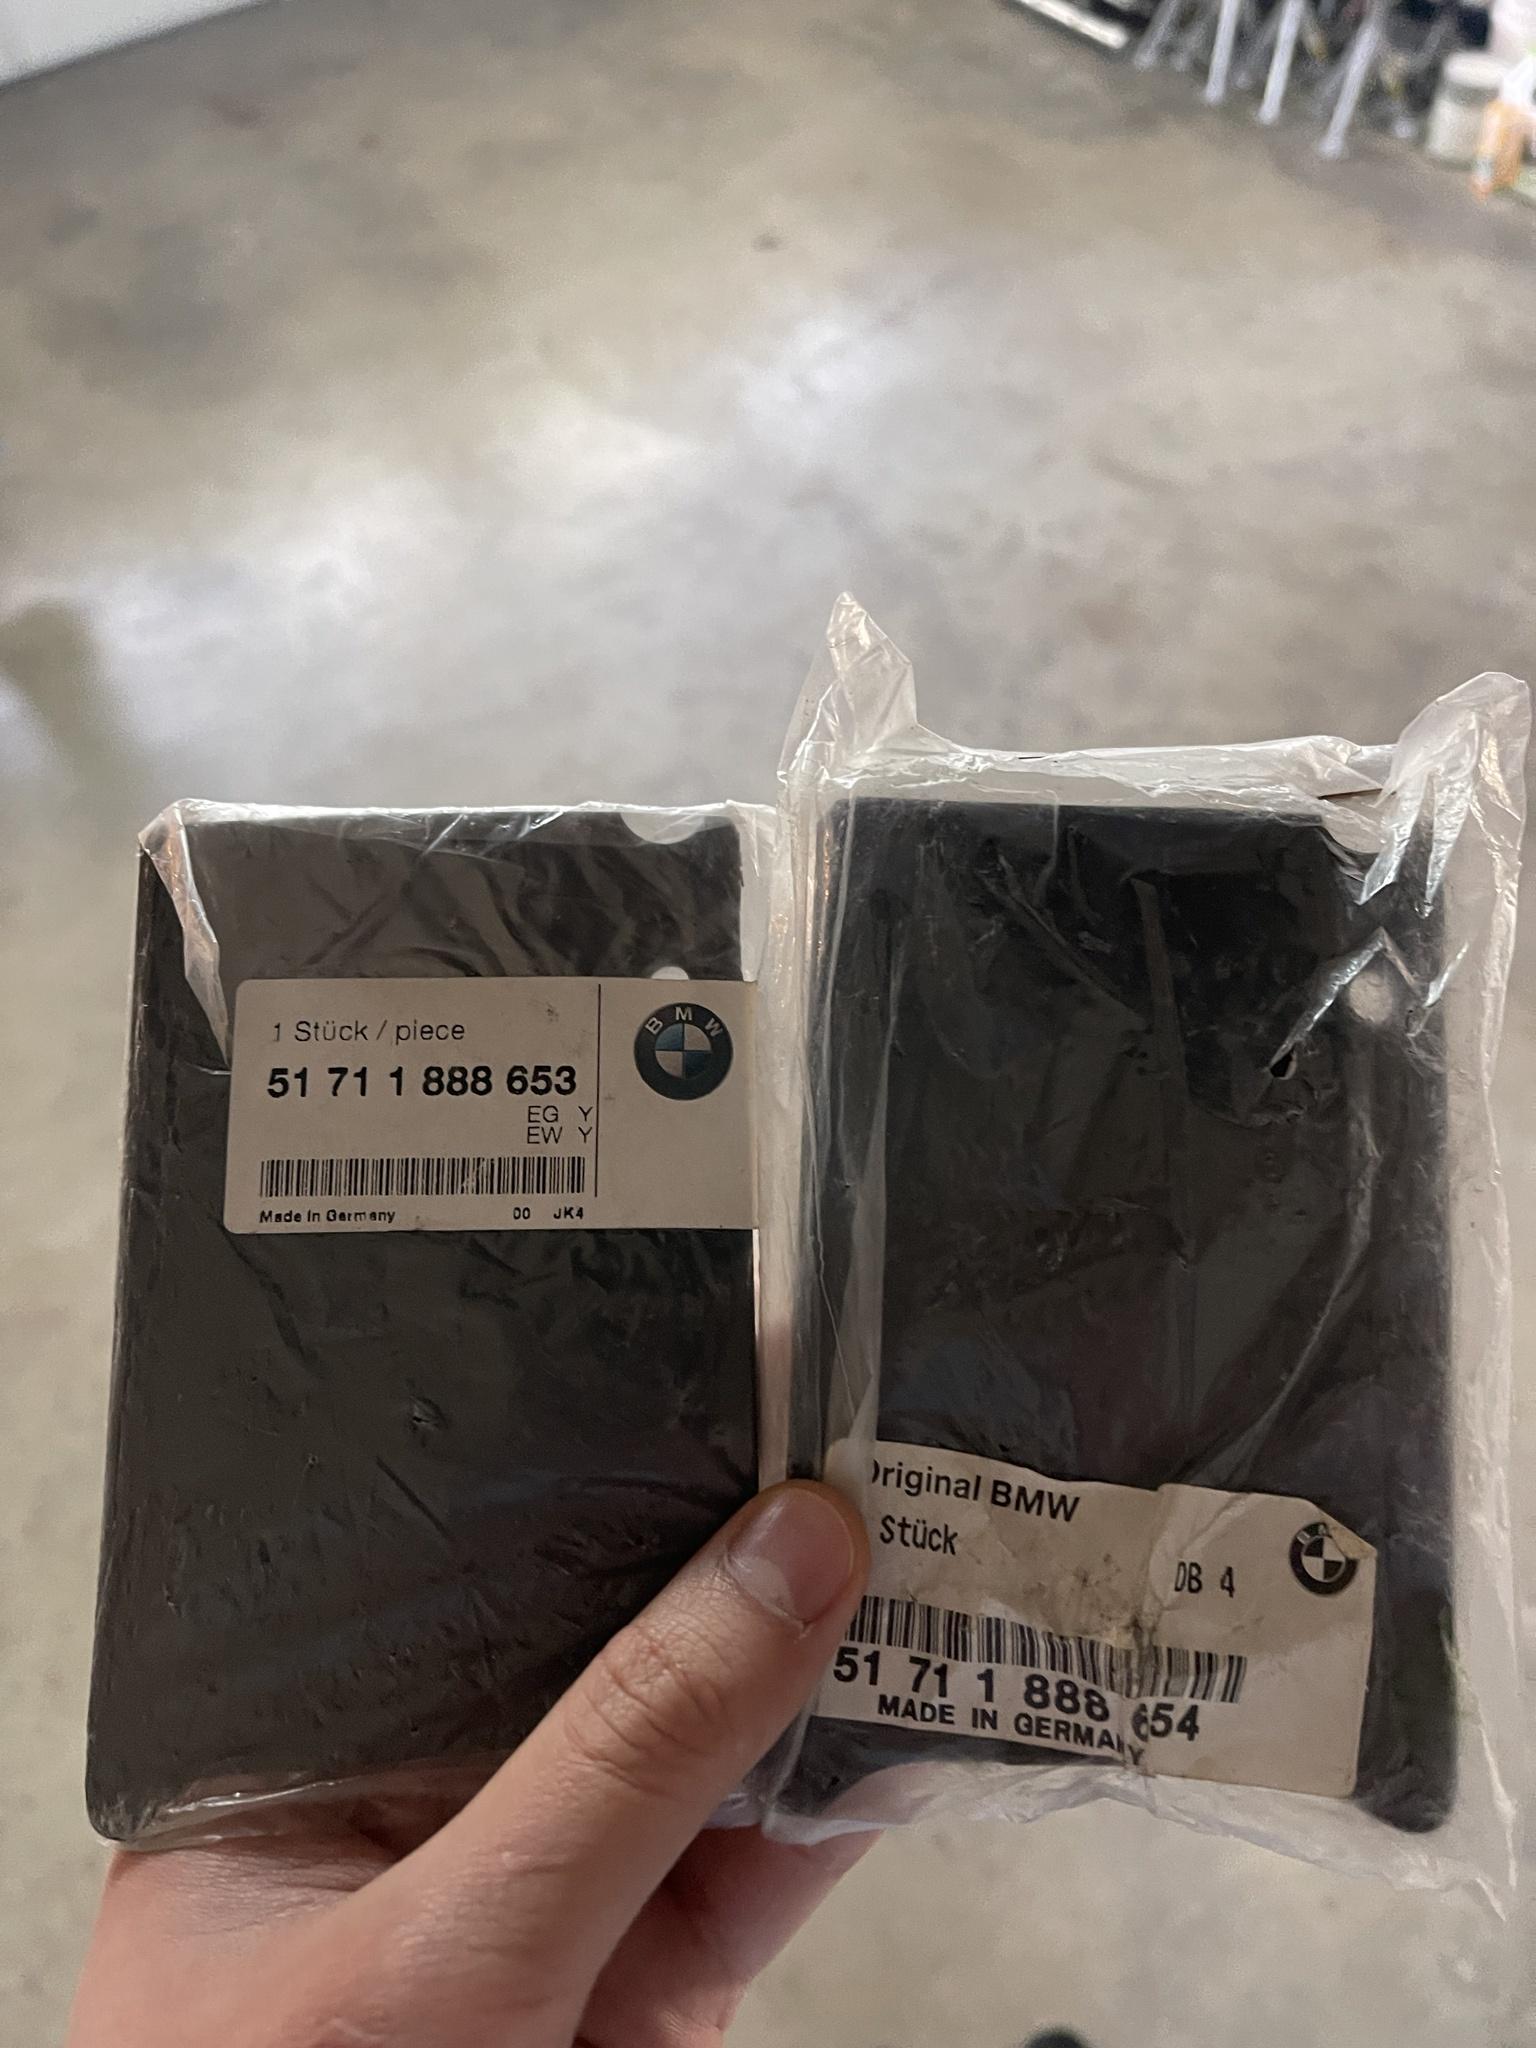
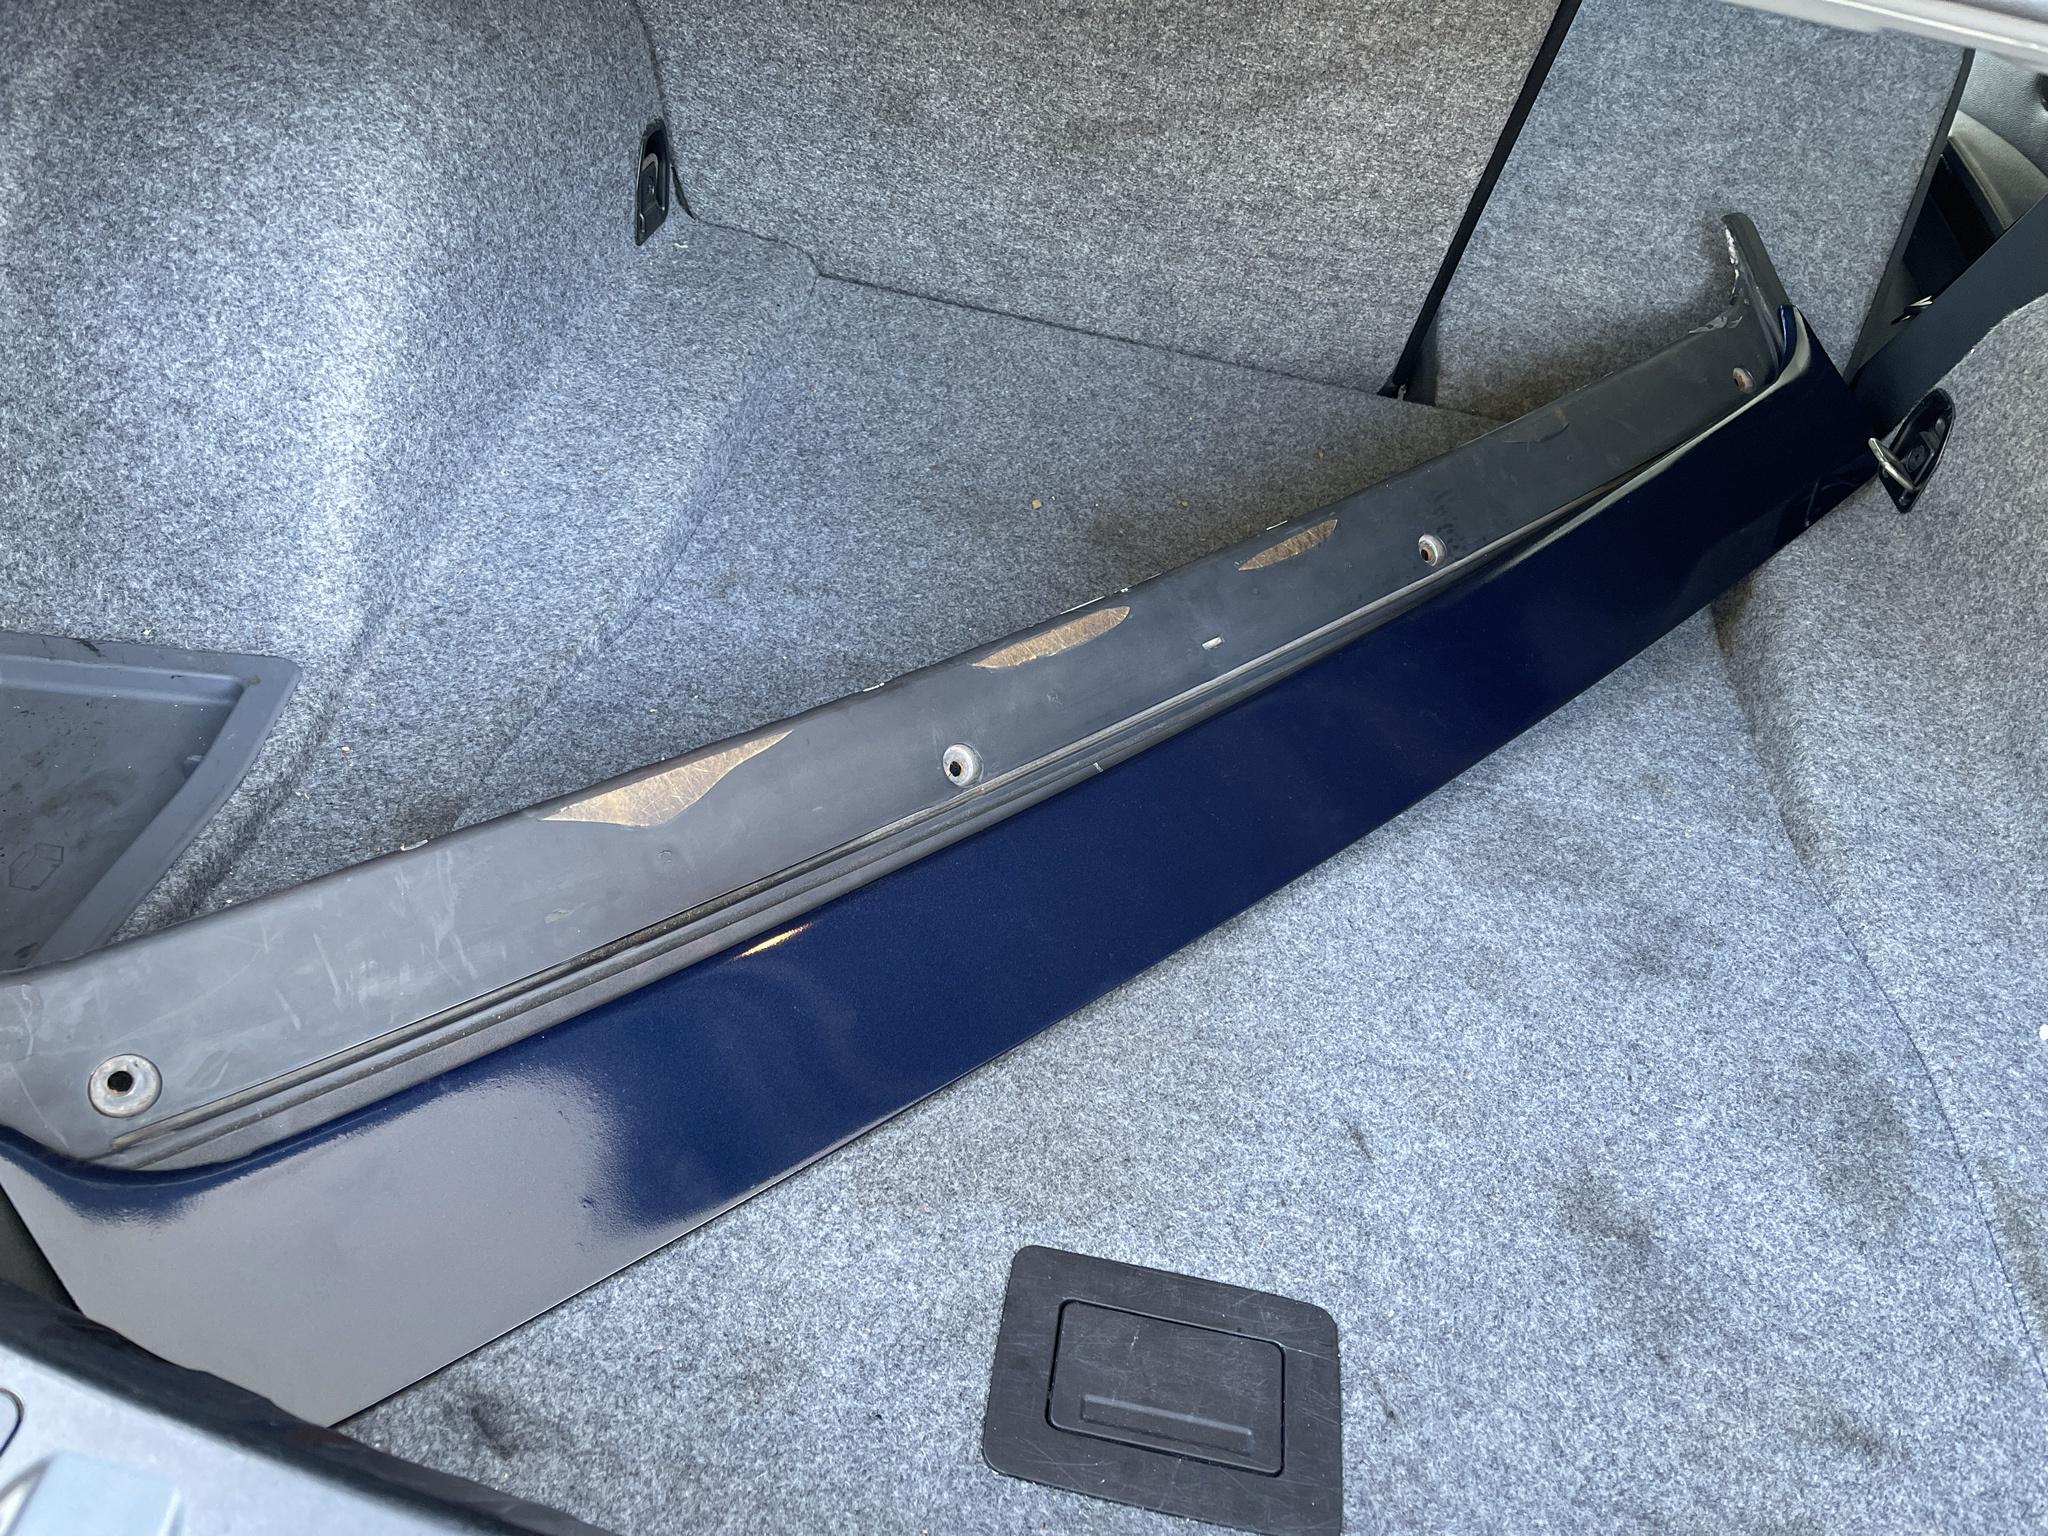
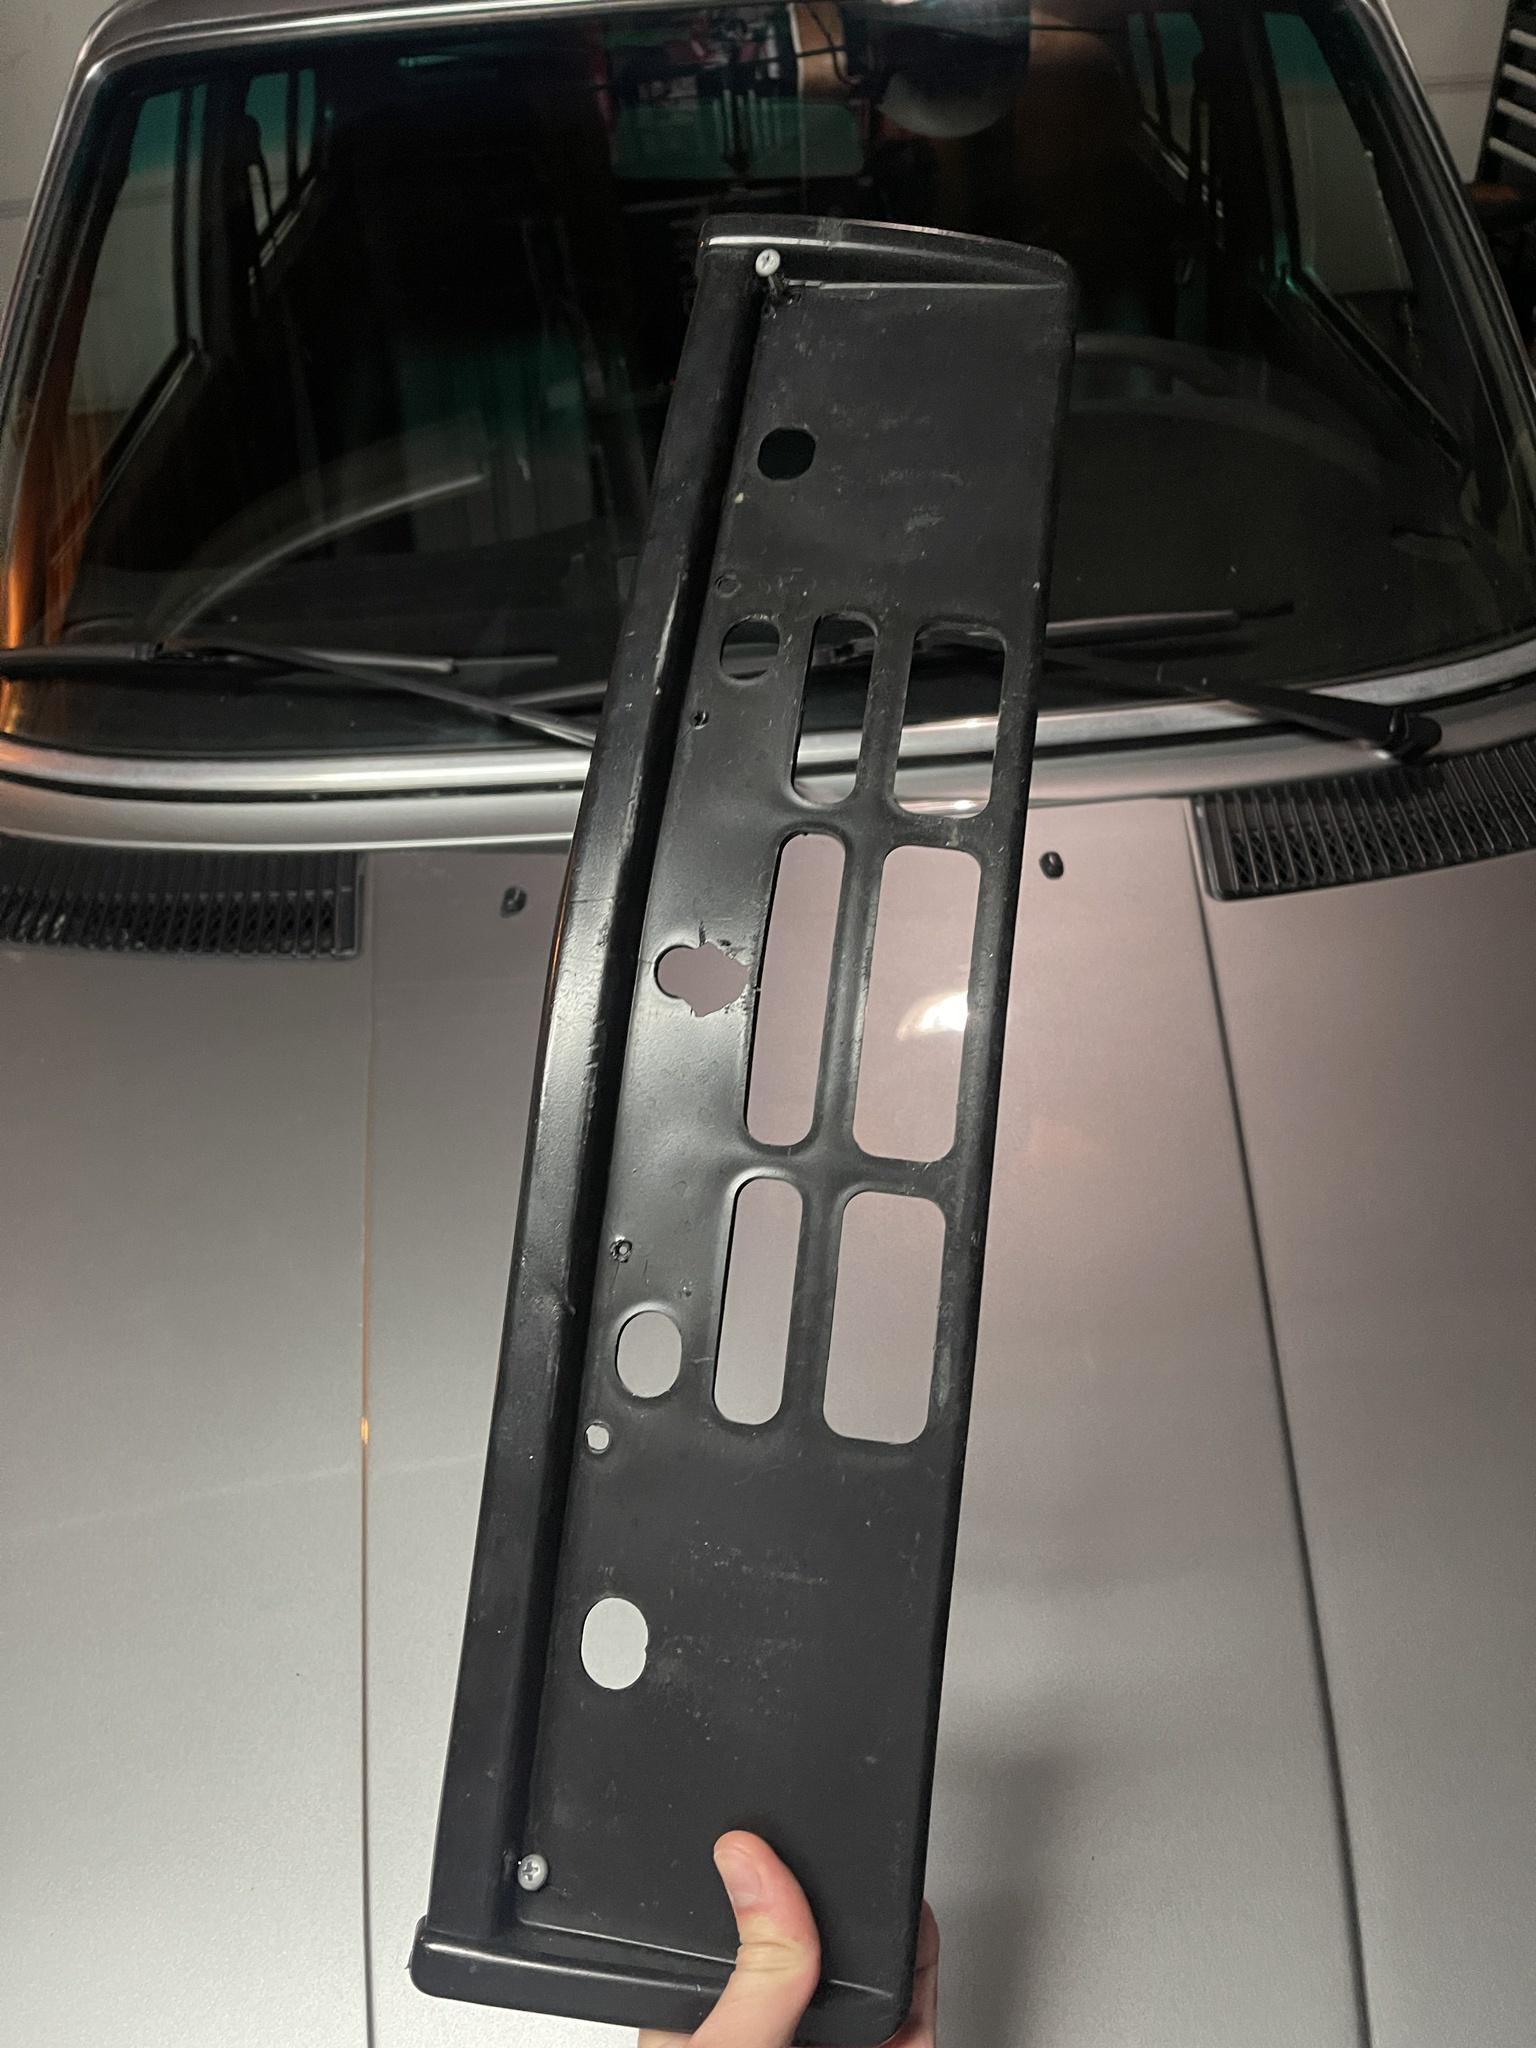
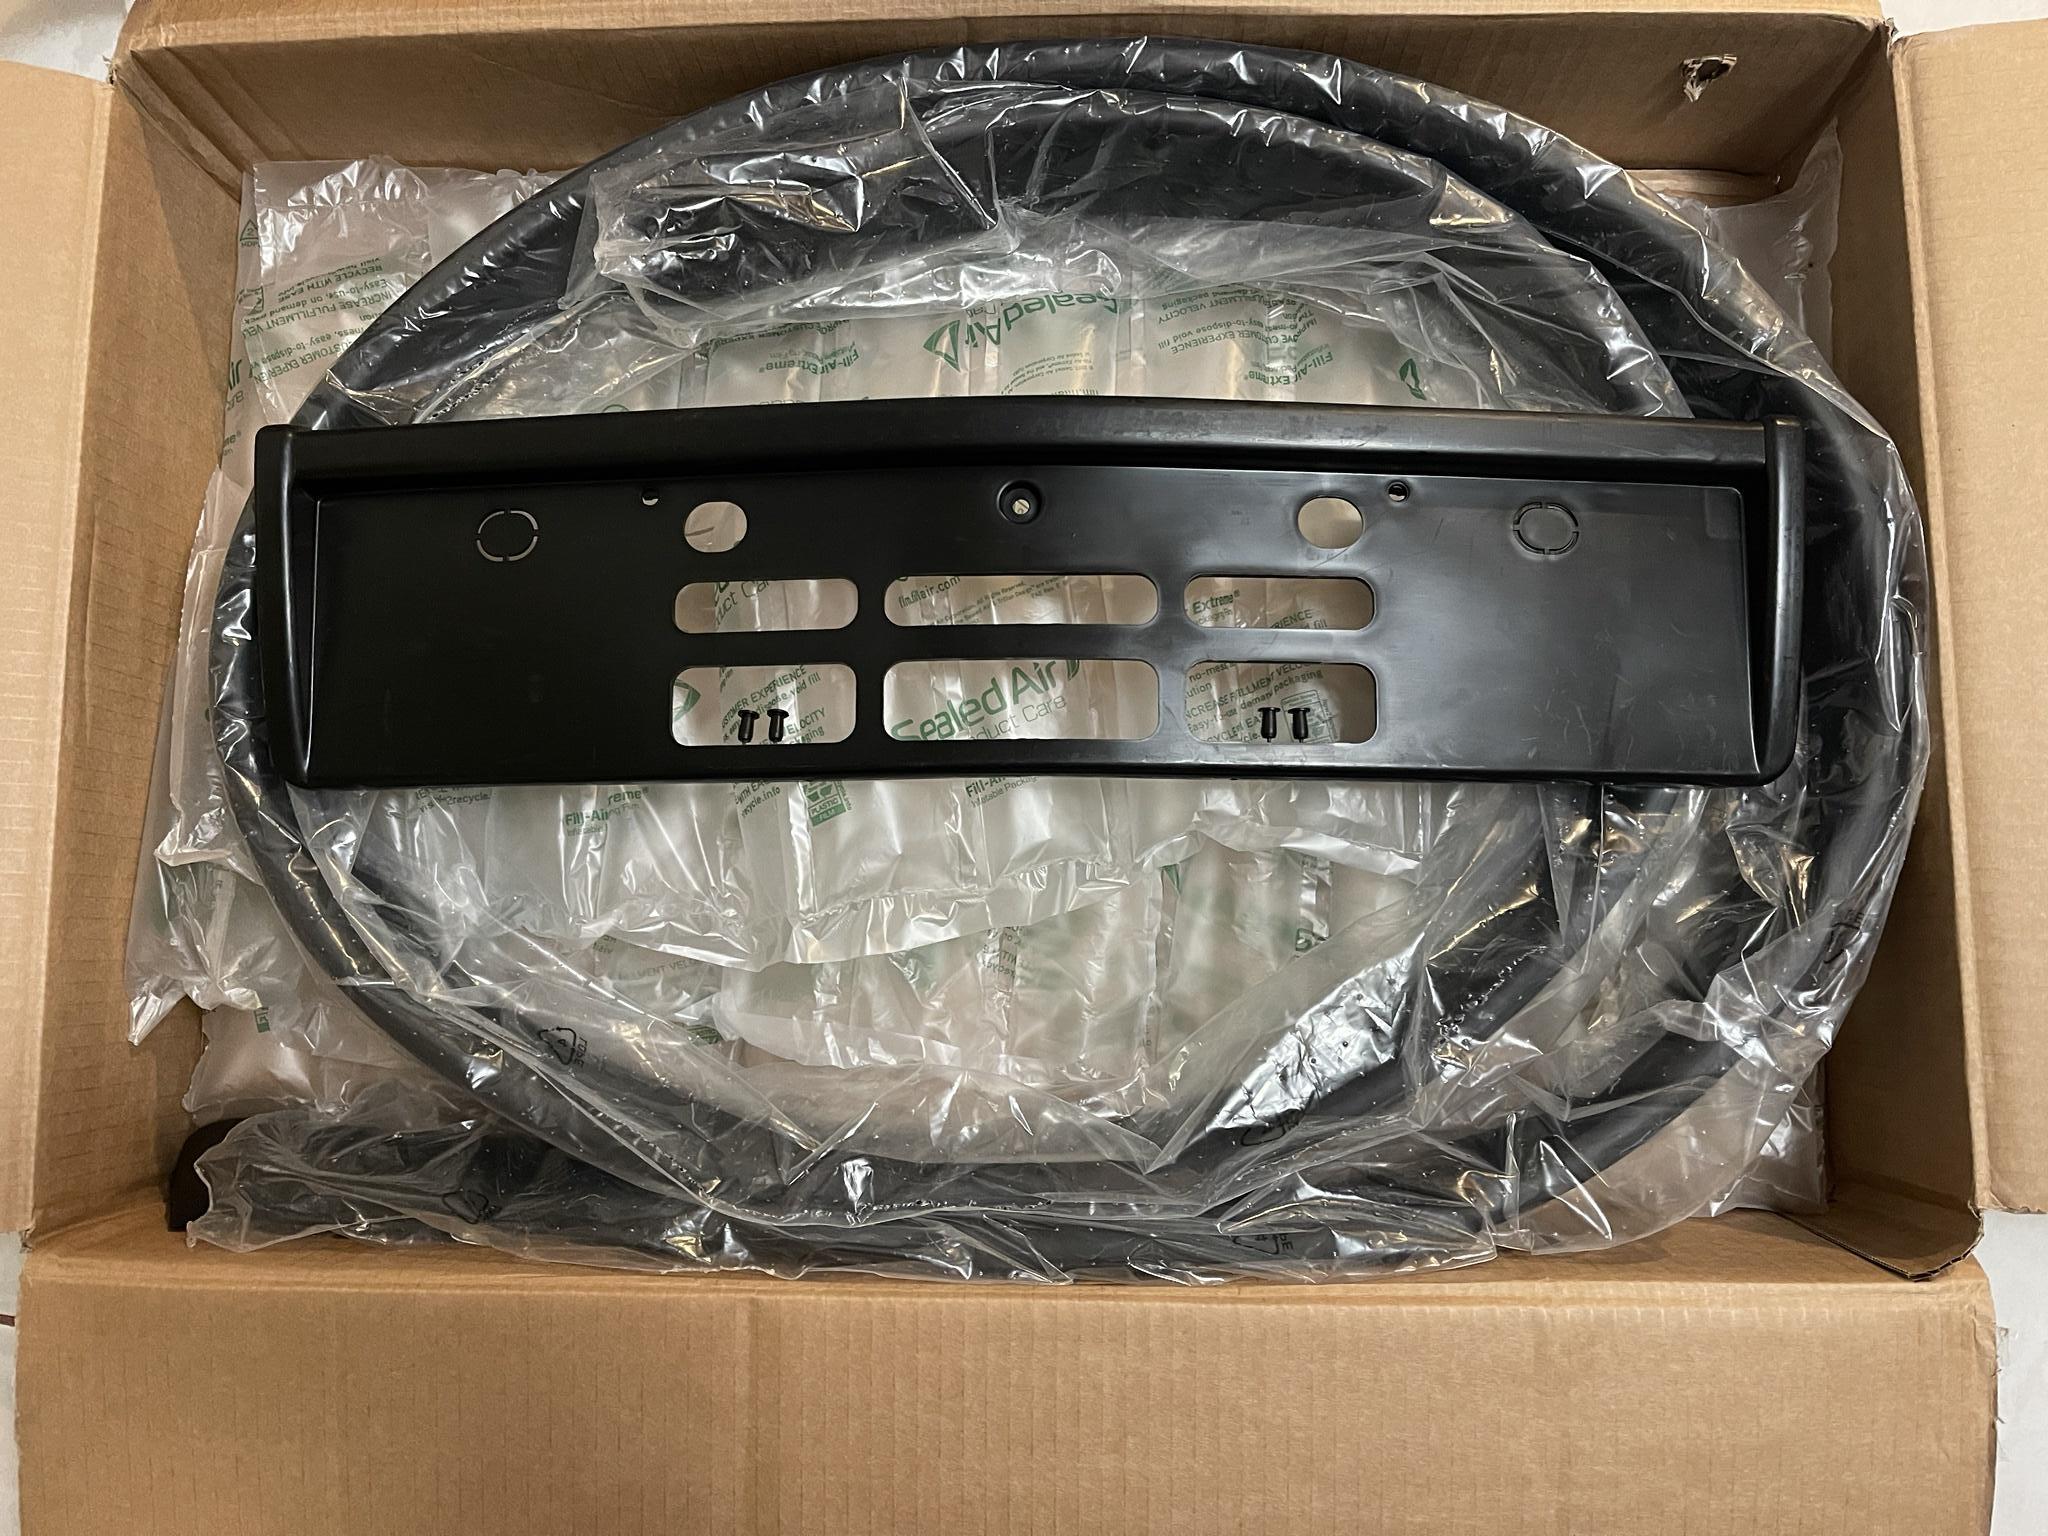
I am planning to revamp the entire body of the car. I found fog lights to install, replacing the plastic delete panels and have on order replacement lenses to make sure the front end looks clean. I purchased a new euro license plate holder and rear bumper trim for Schmiedmann as the ones on the car were hanging on by a thread. The rubber rear trim stud broke off years ago so I clearanced space in the inside rubber and glued a bolt to the inside. Now I have a new piece to replace it.
Image

Image

Image

Image

I'm also planning on changing the front end to the Euro m5 Lip I had found, and I having a euro valance from the "Taxi" model for cars with air-conditioning with the holes being delivered as I liked the look better and the aftermarket valance I had on the car does not fit the way that I like. Also with that I have purchased replacement front bumper rubber as well.

For the rear bumper/ metal body I am going to have the US Bumper holes all filled as the previous body shop did not fill them the way that I had wanted previously, and they were taking way longer than I was told so at the time I just wanted my car back. The rear mtech spoiler is also going to be installed at the same time.

I found a small company that has recreated the Door felt window guides for the e12 but are stated that those will also fit for the e28. Also from that company they sell reproduction rubber door seals for the e12 that match the e28 so I have ordered those and will see how they fit when I receive them from Europe.

If anyone knows where I would be able to find French Euro Fog light Lenses please let me know as i'd like to match the Headlights.
Last edited by mnnguy on Mar 19, 2024 3:17 PM, edited 2 times in total.
jayjaya29
Posts: 207
Joined: Jul 30, 2014 12:53 AM
Location: Atlanta, GA

Re: Never-Ending Project e28 528e

Post by jayjaya29 »

Did the dipstick orings help with the idle vibration at all?
Ordnator
Posts: 552
Joined: Aug 31, 2015 7:34 PM
Location: Halifax NS

Re: Never-Ending Project e28 528e

Post by Ordnator »

Hi,

I have obtained 2 sets of yellow euro fog lights from Felipe in Spain aka "dogabon" on this forum.

You could wait until he posts a set for sale or try messaging him and ask to source you a set.

Felipe is a straight shooter and I recommend him without hesitation, purchase with confidence.

Yellow fogs have not been available from BMW for some time. I believe Felipe has connection within the supply chain and obtains new old stock as well as reconditioning used parts to a very high standard.

Best regards,

Mick
mnnguy
Posts: 57
Joined: Sep 07, 2016 1:34 AM
Location: Los Angeles

Re: Never-Ending Project e28 528e

Post by mnnguy »

jayjaya29 wrote: Jan 20, 2023 7:55 AM Did the dipstick orings help with the idle vibration at all?
After changing them I felt like the vibration was reduced a slight amount because before the car would vibrate and cause an interior piece to make a slight rattle noise but now thats gone.

The vibration is weird because I when the car is in park, there is no vibration at all and the car idles perfectly.
But, when the car is shifted into drive or reverse the rpm drops by about 100 and the vibration starts. Also, there is no hesitation when driving and once the car starts to move the vibration is gone and there is also no rough running at all.

Ordnator wrote: Jan 20, 2023 8:32 AM Hi,

I have obtained 2 sets of yellow euro fog lights from Felipe in Spain aka "dogabon" on this forum.

You could wait until he posts a set for sale or try messaging him and ask to source you a set.

Felipe is a straight shooter and I recommend him without hesitation, purchase with confidence.

Yellow fogs have not been available from BMW for some time. I believe Felipe has connection within the supply chain and obtains new old stock as well as reconditioning used parts to a very high standard.

Best regards,

Mick
Thanks! Yep I have purchased some parts from him before and everything went smoothly.

I havent seen a set posted up for a while so I will keep an eye out for them.
Galahad
Posts: 540
Joined: Sep 06, 2016 9:08 PM
Location: Beverly/Worcester, MA
Contact:

Re: Never-Ending Project e28 528e

Post by Galahad »

mnnguy wrote: Jan 20, 2023 2:22 PM ...

The vibration is weird because I when the car is in park, there is no vibration at all and the car idles perfectly.
But, when the car is shifted into drive or reverse the rpm drops by about 100 and the vibration starts. Also, there is no hesitation when driving and once the car starts to move the vibration is gone and there is also no rough running at all.

...
Good looking car! My auto did this, might be normal. Or I keep buying cars that vibrate too much and I'm used to it
mnnguy
Posts: 57
Joined: Sep 07, 2016 1:34 AM
Location: Los Angeles

Re: Never-Ending Project e28 528e

Post by mnnguy »


Good looking car! My auto did this, might be normal. Or I keep buying cars that vibrate too much and I'm used to it
Thanks! Well atleast I know now that another car had the same problem :laugh:

I guess thats more of a reason for me to be able to source a manual swap kit hahaha
Post Reply