What did you do to your E28 today?
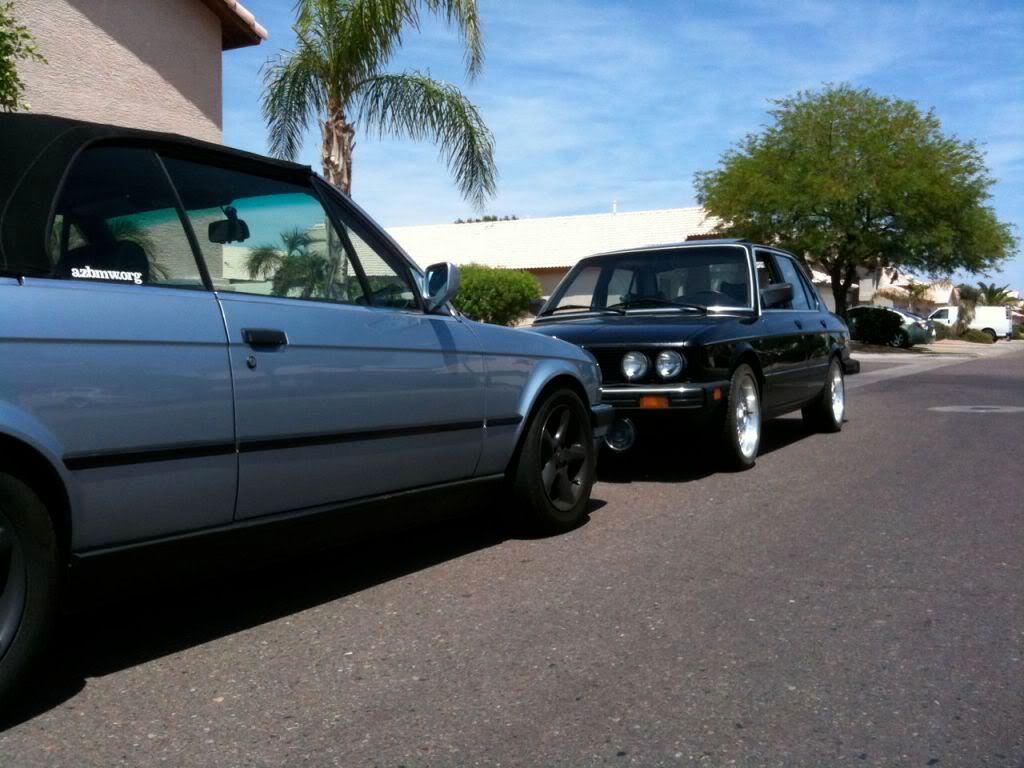
Where to start. As my dad mentioned earlier in another thread, we got the 533i ready for the 12 hour run to V@V at the end of the month.
Work on my car included tightening the steering box mounts and the upper timing cover plug, re-adjusting the rear sunroof height, and windshield washer nozzles, fixing a small exhaust rattle, checking and topping off all vital fluids, and confirming that in the 256 miles I've been keeping track of my mileage, it is at 22.4 mpg. since the S3.46 swap.
Additionally I replaced the H4 low-beam on my mom's SuperEta and cleaned my Style 32s for their pending relocation south.
All in all, twas a good day for some e28s.
-
slammin_e28
- Posts: 6135
- Joined: Aug 05, 2007 4:57 PM
- Location: 24477
-
slammin_e28
- Posts: 6135
- Joined: Aug 05, 2007 4:57 PM
- Location: 24477
-
John in VA
- Posts: 5297
- Joined: Feb 12, 2006 12:00 PM
- Location: Leesburg, VA
-
Das_Prachtstrasse
- Posts: 5616
- Joined: Sep 10, 2006 7:06 AM
- Location: Melbourne, Doooown Under
New slippers!
Before: 17 x 7.5 masiltaly cast iron monsters with Gyear eagle 235/45/17's. 50.1 lbs with NO tread left and steel belts showing:
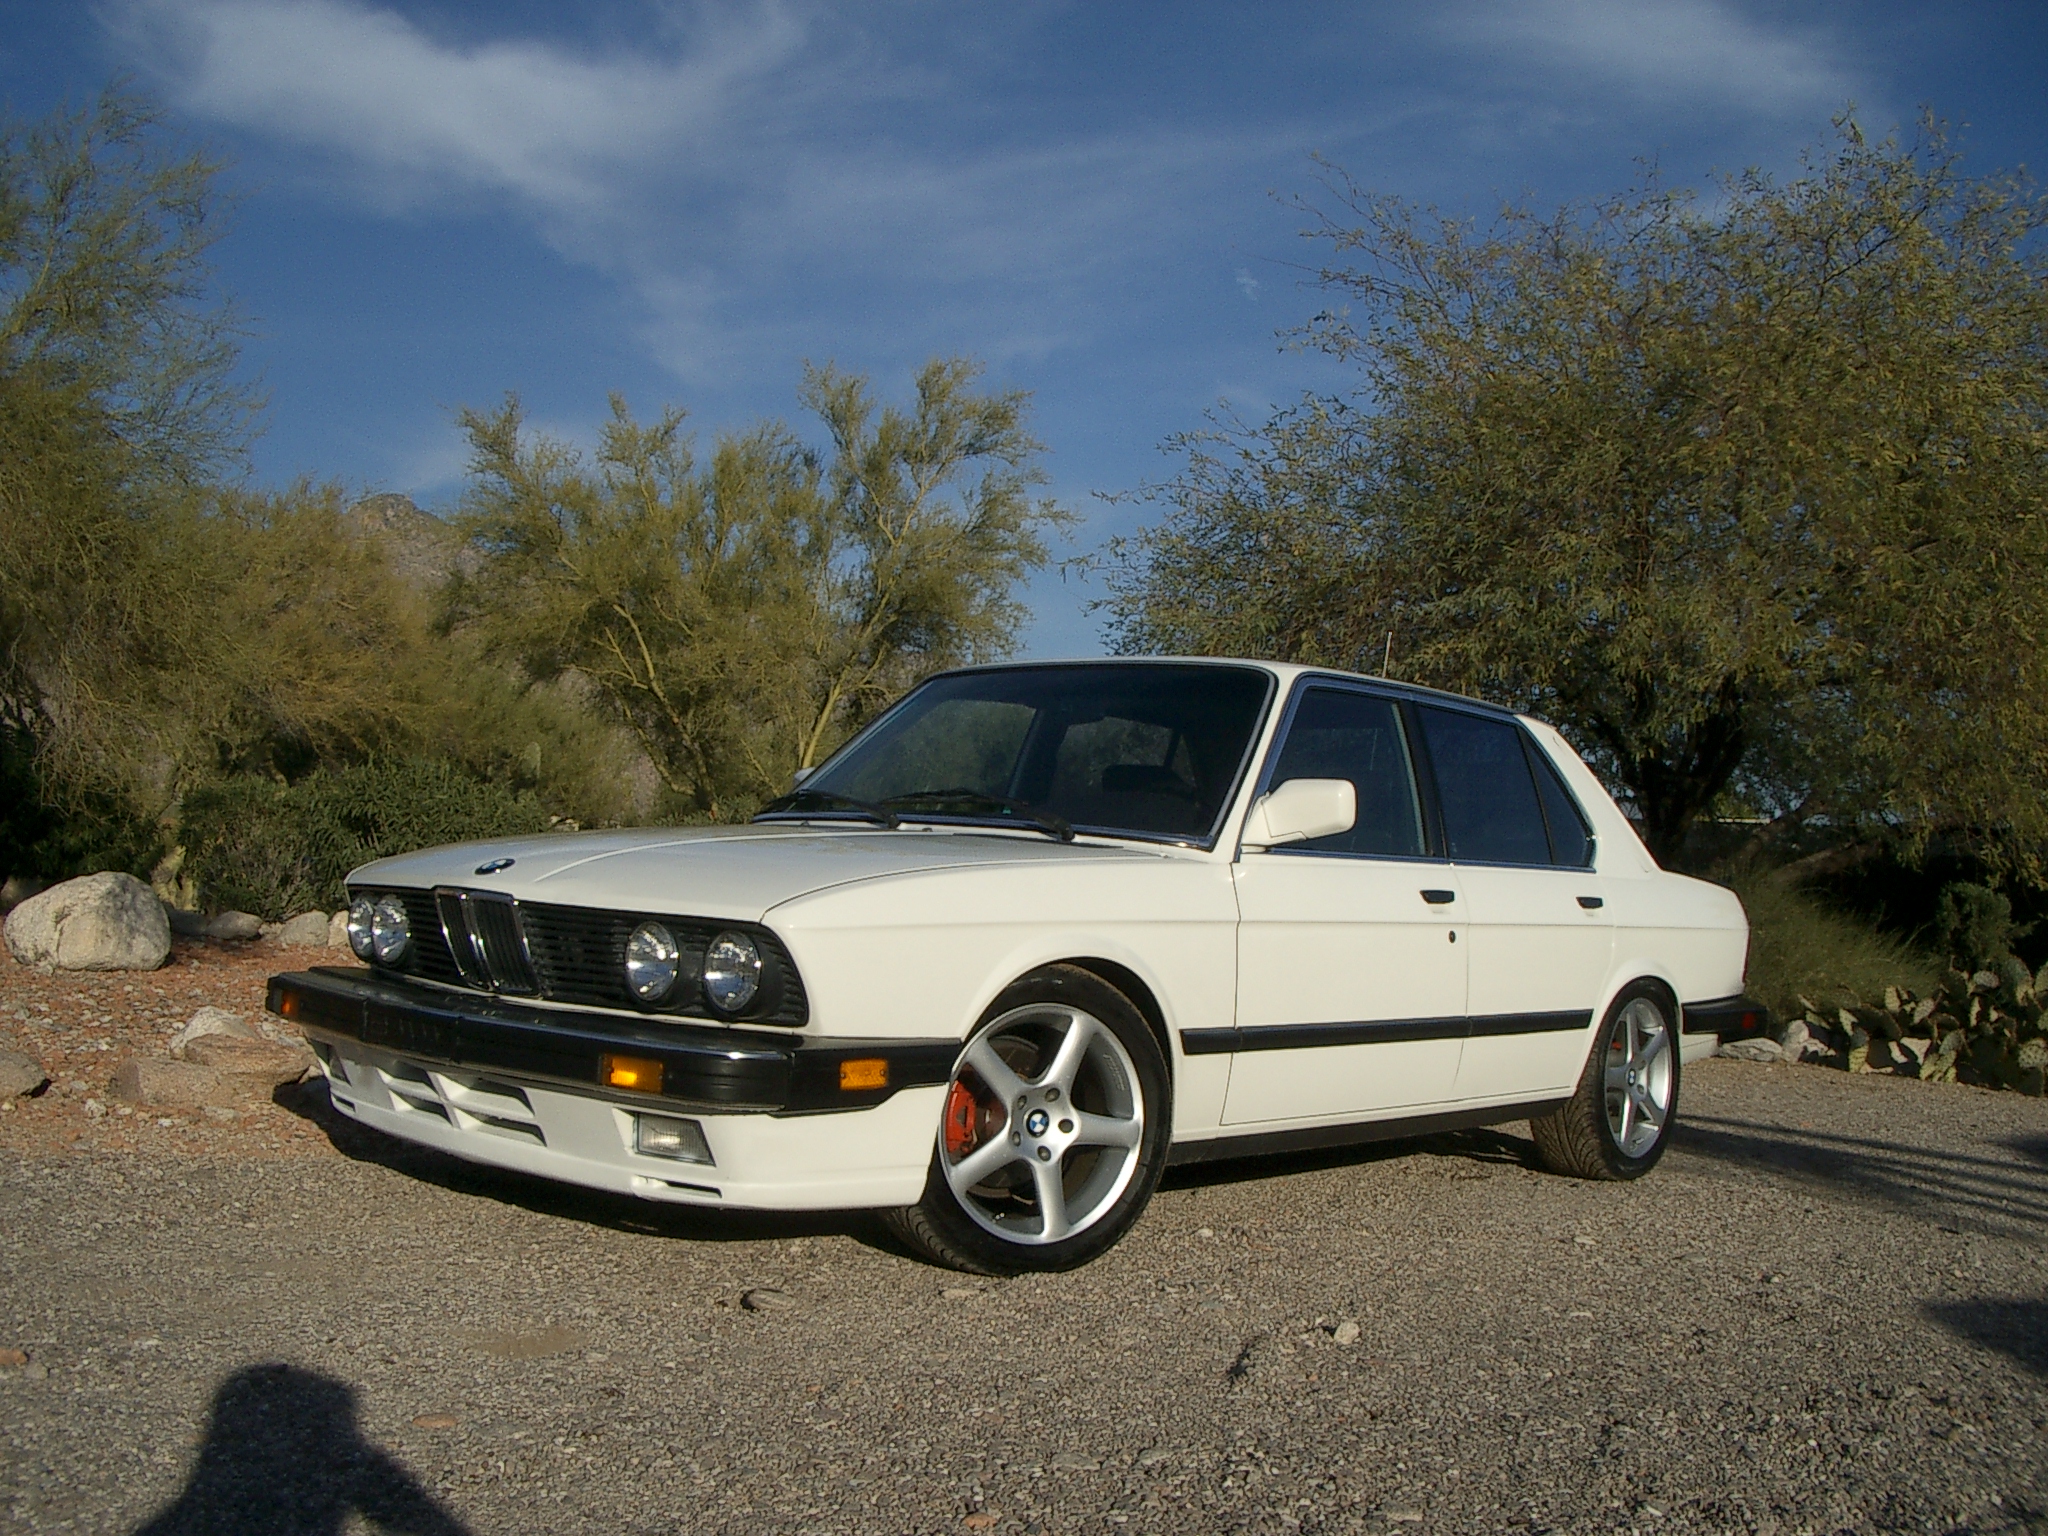
After: Style 29's 16 x 7 (thanks to Phyver Industrial and Tamale Company). 40.6 lbs with brand new Kumho Solus 205/60/16's. What a difference in ride quality! I feel like I'm ridin' in a '67 Continental in comparison!
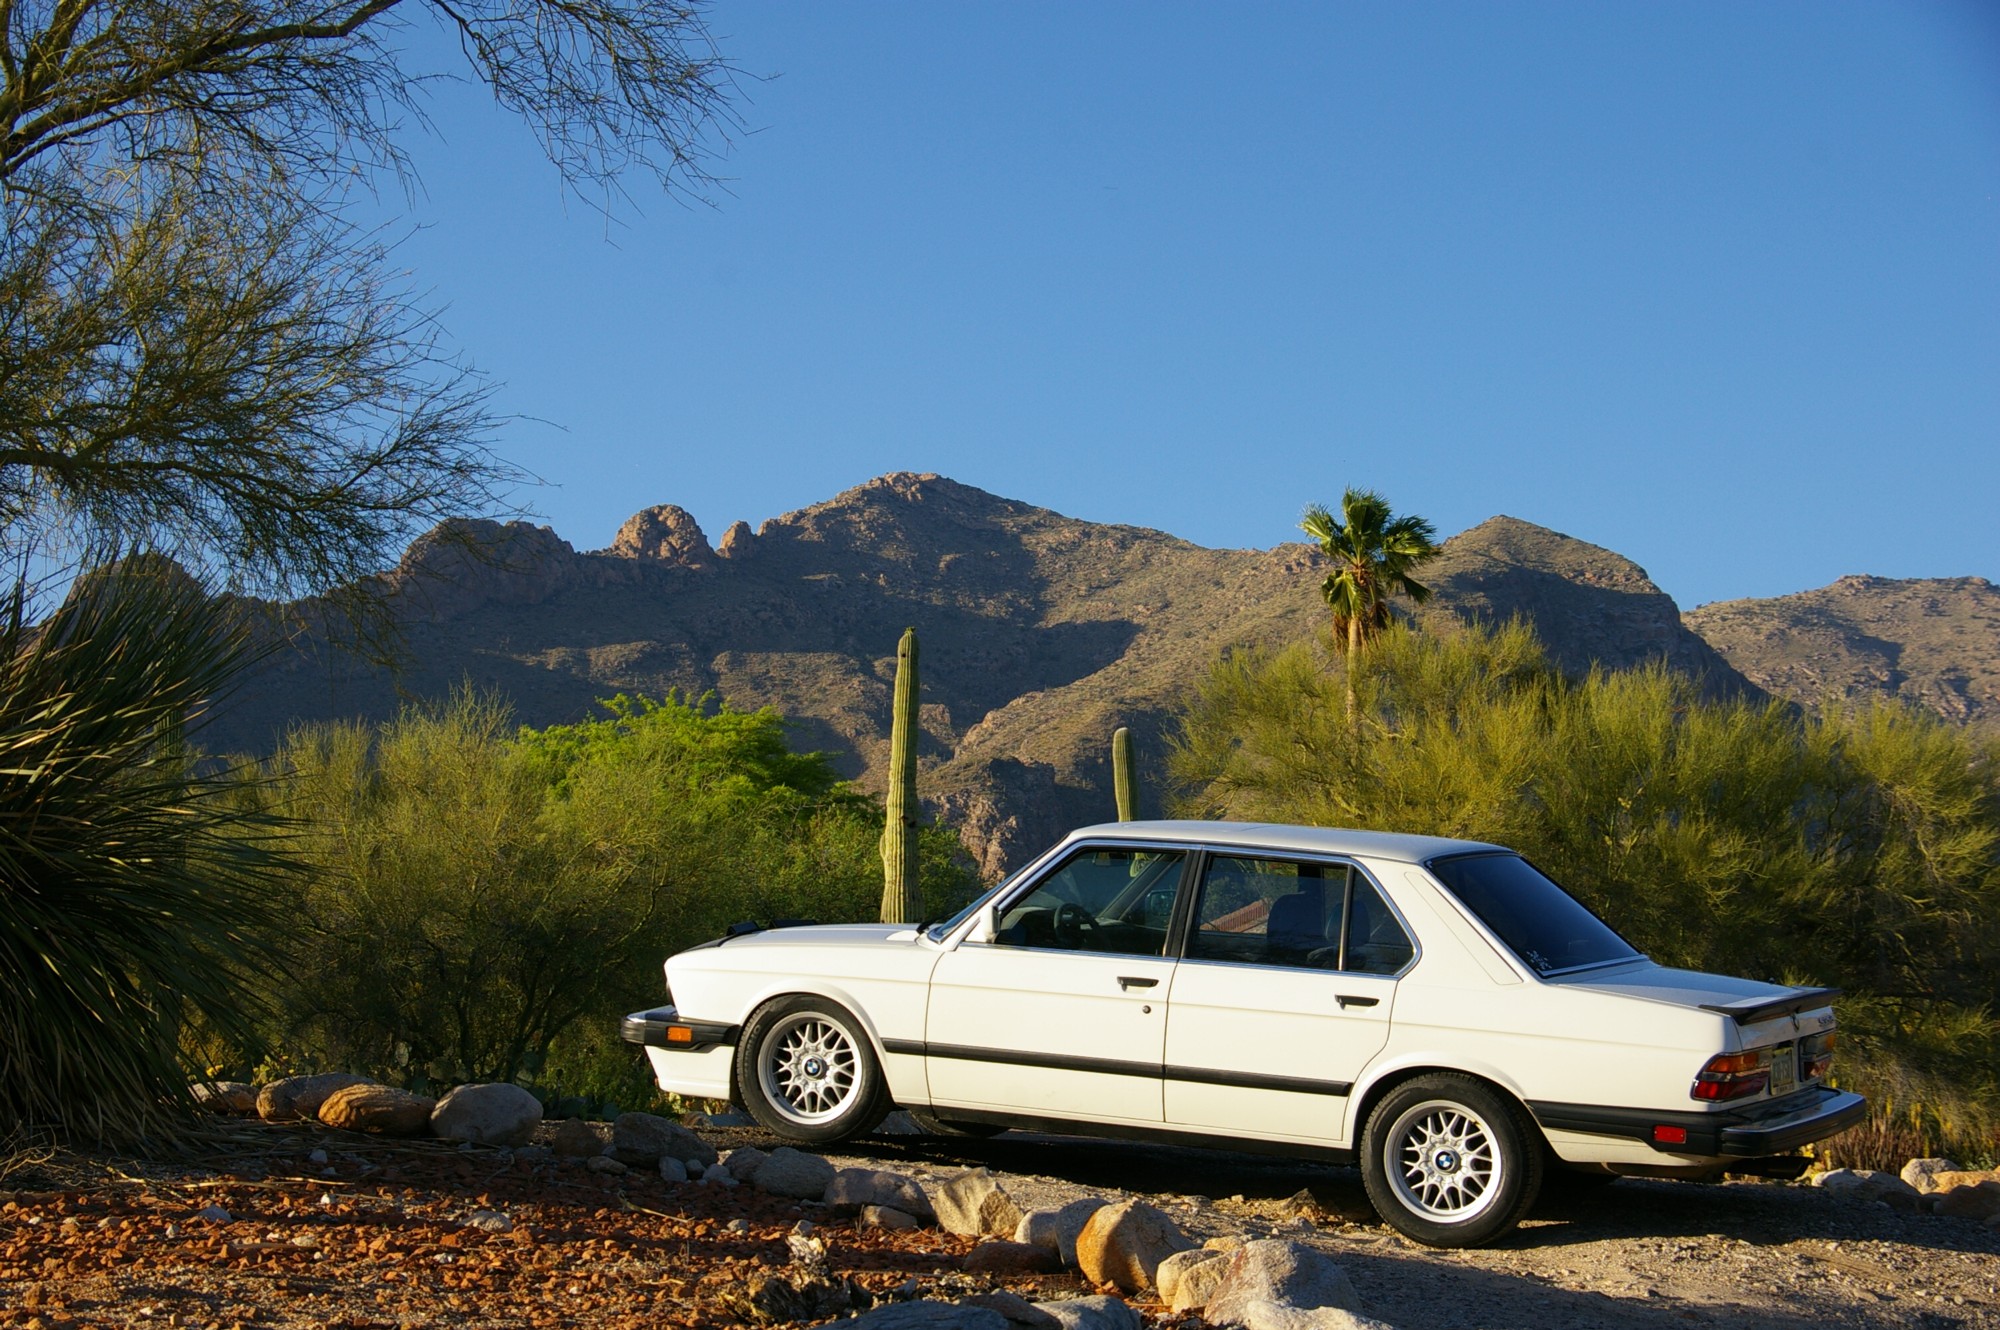

After: Style 29's 16 x 7 (thanks to Phyver Industrial and Tamale Company). 40.6 lbs with brand new Kumho Solus 205/60/16's. What a difference in ride quality! I feel like I'm ridin' in a '67 Continental in comparison!

-
runningpanda
- Posts: 2629
- Joined: Jul 18, 2007 9:52 PM
- Location: frederick maryland
-
Das_Prachtstrasse
- Posts: 5616
- Joined: Sep 10, 2006 7:06 AM
- Location: Melbourne, Doooown Under
-
Das_Prachtstrasse
- Posts: 5616
- Joined: Sep 10, 2006 7:06 AM
- Location: Melbourne, Doooown Under
Do you suddenly have something against hartge's do you matewkohler wrote:I ran out of ideas for what wheels to put on, so I just put the Hartges on the 535. I don't know if I made the right choice.Not like the other options are any better.
I'm just kinda tired of everything. I like the Hartges, etc, but I'm kinda bored. Of course, I just look back at this picture and it reminds me of how cool they look. I guess just sitting in the garage, they don't look that awesome.Das_Prachtstraße wrote:Do you suddenly have something against hartge's do you matewkohler wrote:I ran out of ideas for what wheels to put on, so I just put the Hartges on the 535. I don't know if I made the right choice.Not like the other options are any better.
Or is your wheel fort simply due for some re-decoration..?
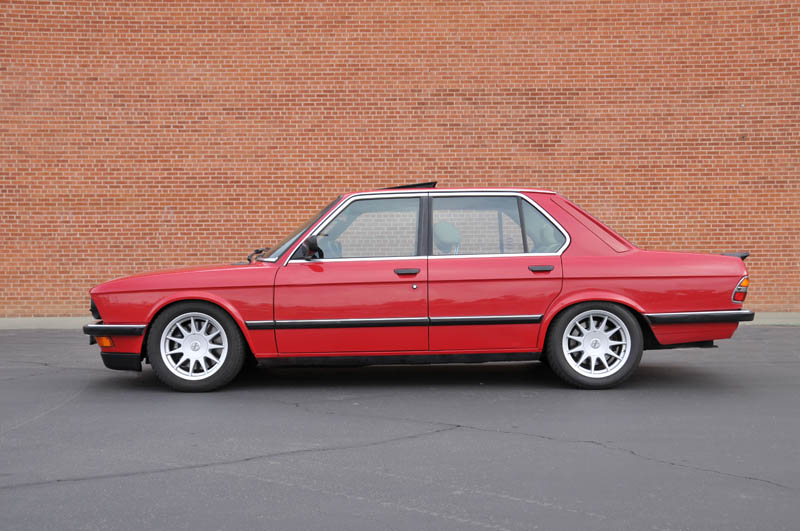
HOLY CRAP THAT'S A SEXY CAR. The E12 has nothing on the E28 - well my E28.
Finally dropped the oilpan to replace the leaking gasket.......what a royal pain-in-the-ass job that was!!!!! 
Drumroll please:
1-Get car to operating temperature
2-Drain oil
3-Disconnect battery
4-Remove upper stressbar
5-Jack/support car on 4 liftpoints
6-Remove trans mount nuts
7-Remove crossmember bar
8-Remove trans/engine coverplate
9-Remove top engine mount nuts (and ground strap)
10-Loosen lower engine mount nuts
11-Remove lowermost A/C bracket blocking pan
12-Remove alternator/push up onto intake manifold/secure with wire
13-Remove powersteering pump/suspend from bracket under expansion tank with wire
14-Remove alternator/powersteering bracket blocking pan
15-Cut deep "V" into two pieces of 2x4 wood appx 4" long, to clear engine mount bolt
16-Lift engine appx 2" via harmonic balancer using 2x4 on jack
17-Slide/insert the "V" pieces into the gap on engine mounts
18-Lower engine onto the "V" pieces
19-Check lowermost/passengerside coolant hose is still on tight (THANKS DJM-1985!)
20-Loosen all 30+ bolts with 10mm socket/extensions/wobble
21-If not separated yet, lightly wack oilpan with rubber mallet to loosen from old gasket
22-Finagle/coerce/cajole oilpan down/forward/right/left until it clears subframe/oil pickup/everything else
23-Carefully scrape away any remnants of old gasket from all mating surfaces
24-Prep both sides of new gasket with a light coating of Hylomar Racing Blue spray-on gasket dressing (THANKS BRRV!)
25-Affix the gasket PRECISELY over the corresponding 30+ holes in the oilpan
26-Do the reverse of #22 above
27-Use a 2x4 and jack to hold oilpan stationary against engineblock, while using shoplight to PRECISELY align the oilpan holes to the engineblock holes
28-Start with easiest front corner bolt and screw in fingertight
29-Then go to opposite corner on rear of engine and screw that in fingertight
30-Keep alternating opposite sides until all bolts are finger-tight
31-Set your 1/4" drive torque wrench to Bentley specs and start the same opposite/alternating tightening sequence
32-Reversal procedure, starts with lifting engine to remove wood blocks from engine mounts, etc.....
33-WARNING: The lower alternator mounting bolt/nut will cause highly-inflammatory expletives to involuntarily shoot-out of otherwise calm/sane individuals
I'm sure I missed a few things, but the greatest feeling around (so far) is when you keep checking (1st thing in the morning, during lunchbreaks, before going to bed) and there is still NO OIL LEAK!!!!!
A big THANKS to everyone who has contributed to the general betterment of this website; it truly is the BEST resource out there to allow grown-up boys like us to continue to play with our grown-up toys.
Cheers!
Ed
Installed E36 speedometer and tachometer needles after seeing this thread - http://r3vlimited.com/board/showthread.php?t=149090
Didn't work very well. Maybe I'll pick up a cluster at the yard and figure out how to get some light behind the needles.
Didn't work very well. Maybe I'll pick up a cluster at the yard and figure out how to get some light behind the needles.
My day to drive...
Yes sir, got the 528e out and drove it like I stole it. Ran very well in fact. After adjusting that kickdown cable, the results made me happy.  I don't see any "real" issues now after the motor swap w/3.46 diff too. It still will not cold idle and I've tried everything everyone has told me to try. Once warm, she purrs reeeeeeeeeal nice.WooHoo.
Embiggened some things
Replaced the central door lock brain, so now that works. Mounted up the new Style 5s - huge compared to the ghetto fabulous 15" the previous owner put on there. Bigger isn't better for everything, but hard to say no to giant minty Hella rally lights for $5 at the salvage yard:
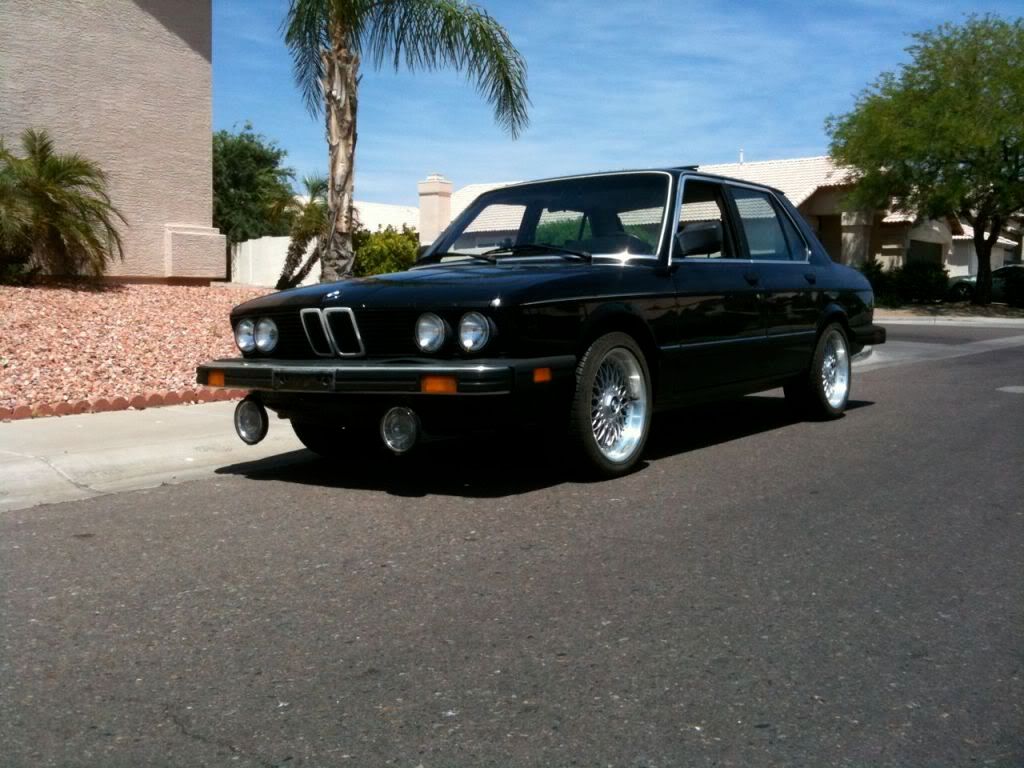
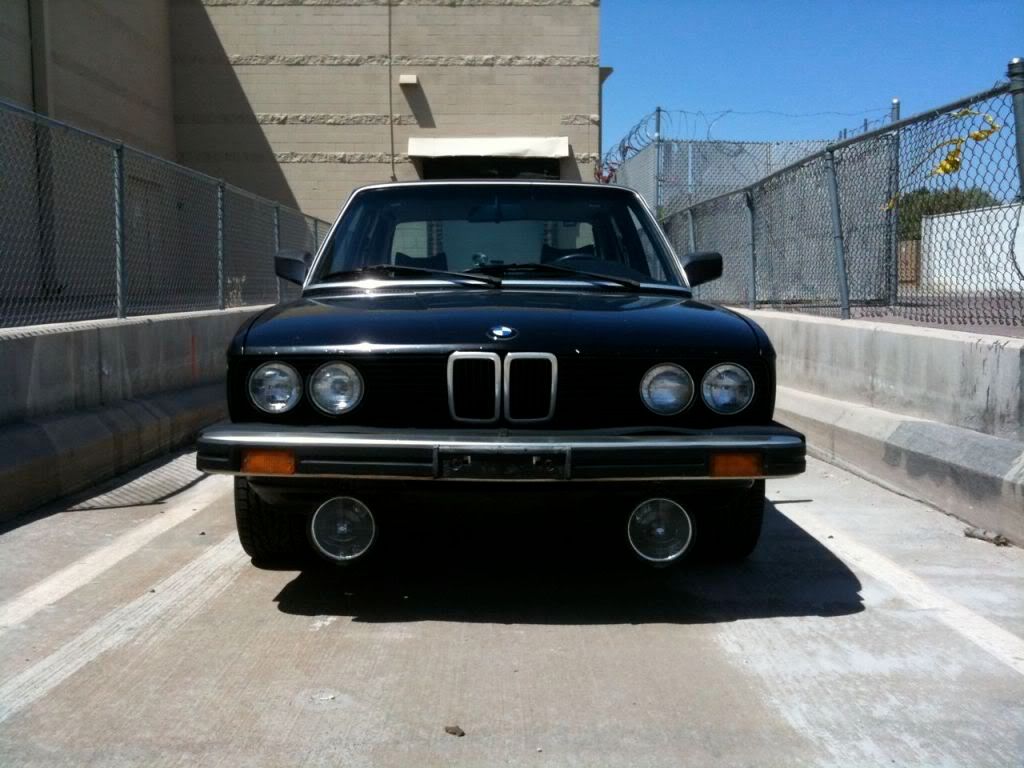
They would definitely fit better on top of the bumper than below it, but might as well run them there for a while so I don't have to drill any more holes.


They would definitely fit better on top of the bumper than below it, but might as well run them there for a while so I don't have to drill any more holes.
Put some new wheels on today, also replaced the guibo again, I bought one from bmw little more month ago
And it basically exploded on me the other day and was missing an entire chunk due to the reinforced area being with out the strands that stergthen it. I told bmw
About it over the phone they had me bring it in and they replaced it, that is they gave me a new one since they found it to look like a manufacturing defect...
Pics of the new wheels will be up tomorrow, also we will be attending the cars and coffee meet at panera bread this weekend and will be posting more pics then!
-
Coldswede
- Posts: 6859
- Joined: Oct 10, 2008 1:48 PM
- Location: Back U.P. North,. Where the water's blue, the wind is free and seasons four.
Swapped my front seats around!
And "while I was in there" (Oh Gawd not again!) :
Cleaned and generously treated the leather. Repaired one small split seam.
I gusseted the frame kink in the new drivers seat as the new passenger seat was cracked and repaired in that spot.
Cleaned the 24 year hard grease off the seat frames and cleaned, painted and re-greased them. Fixed one wire that was showing cracked insulation.
Doubled the three broken front springs on the ex-drivers with piano wire and wrapped them tightly with some stainless tie wire.
Shampooed the filthy carpet under the seats.
Drank a well earned Warstiener!


