Posted: Nov 25, 2013 3:56 AM
I had about 90 minutes or so Saturday where I could break away and I figured I should start getting that brake stuff out of there. I didn't own any flare wrenches and I figure they're something I need to own and Sears won't stop sending me emails telling me about all this money they're giving me to spend in their stores. I decide that I also need a turkey baster so I can suck the fluid out of the reservoirs. Been meaning to get one for a while. There's a Target next to the Sears on my way home. I go back to the tool section, which requires you walking through the women's and infant clothing sections (and people wonder why they're going bankrupt). I find the flare wrenches. $40. Fine. I look at the package and see it says Made in China. Well, forget that. I'm not buying them. I will find some NOS or used ones on eBay. I looked at some other stuff and it's all off shore. Not a single thing there except for the $90 ratchets were USA. The lifetime warranty is useless now. So, I left. I was so disgusted, I didn't even bother to get the turkey baster.
Back home, I got started by pulling out the reservoir from the master cylinder and just draining it into a cottage cheese container (I use lots and lots of these things). I had left the clutch slave attached when I pulled the tranny, so it was just hanging there. Removed the brake master cylinder. I used my 11mm open end wrench for the lines. Everything came undone easily. Nothing slipped. I was very careful. Removed the master from the booster. Master was replaced when I got the car up and running, so it will be reused. The booster looks like it's trash, unfortunately. A $4 repair could have prevented lots of damage. For less than the cost of a quart of brake fluid the PO was dumping in the reservoir, he could have fixed it. All that was wrong was the grommets on the master cylinder were bad. Instead, he practically ruined the car with all the fucking brake fluid. Ugh.
Unbolting the booster was easy. Probably not as easy with the engine in the car, but guess what? It's not there. It's like "She's Not There," but not quite as good of a song (I love that song). I found that the inside of the booster was full of brake fluid, so that was less positive. I wasn't a fan of having to drop the steering column to remove the pin though. I only say that from the perspective that if it was totally put together, it would suck, but it wasn't terrible since I only had the bolts in finger tight. Booster out, next was the clutch master. Unbolted it from the pedal, undid the bolts and then bam. Out it came.
Figured it would be nice to get the fuse box out of the way, but I was disappointed to see that while there were some power distribution plugs, several pieces of the harness extended throughout the dashboard, and individual wires were spliced off and run into connectors. I was really hoping to clean this stuff up and re-wrap the harness. That said, I also want the car to work when it goes back together, so for now, I put it inside the car through the big hole where the heater went. Power steering canister is laying down on the subframe with the pump.
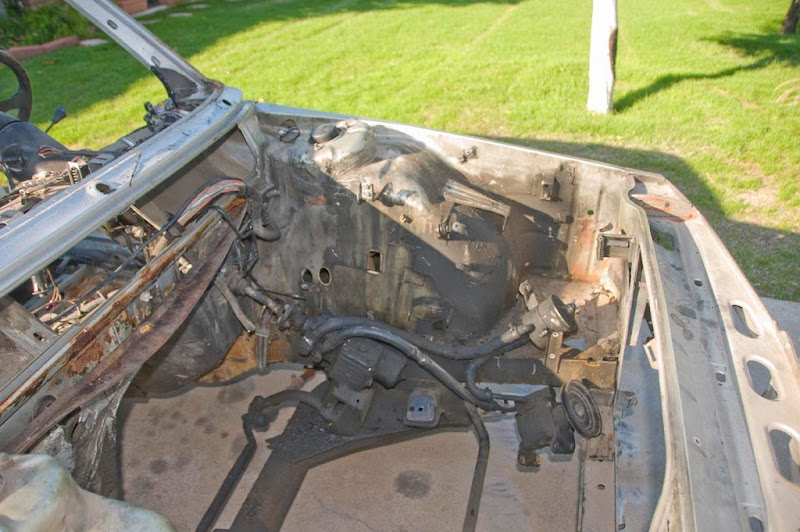
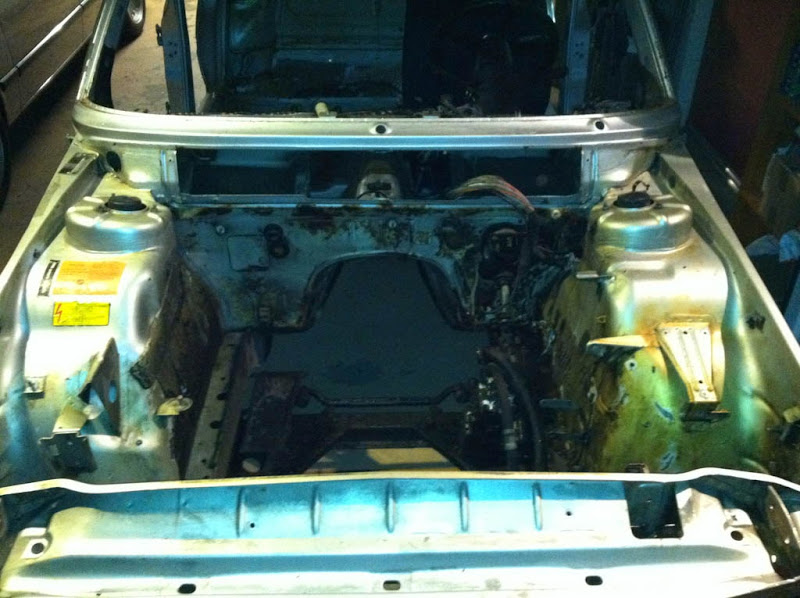
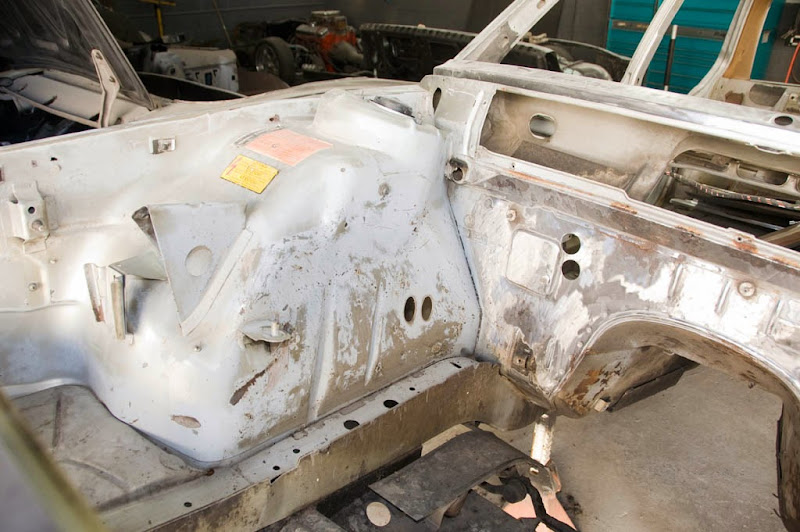
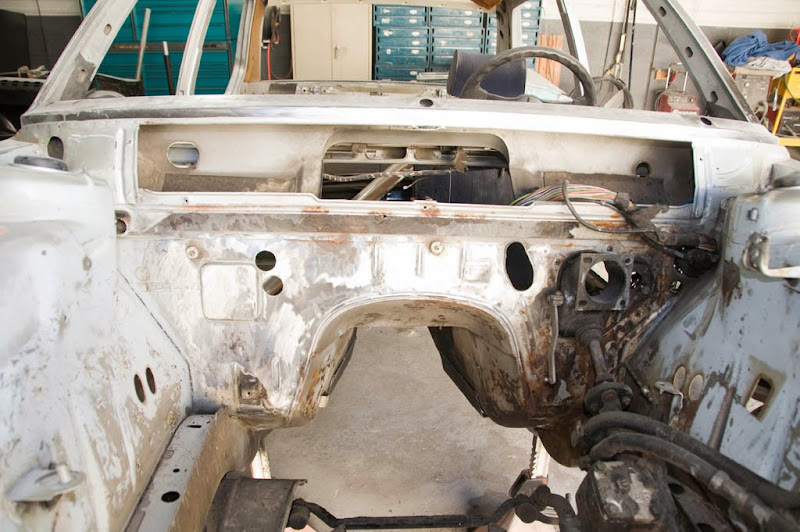
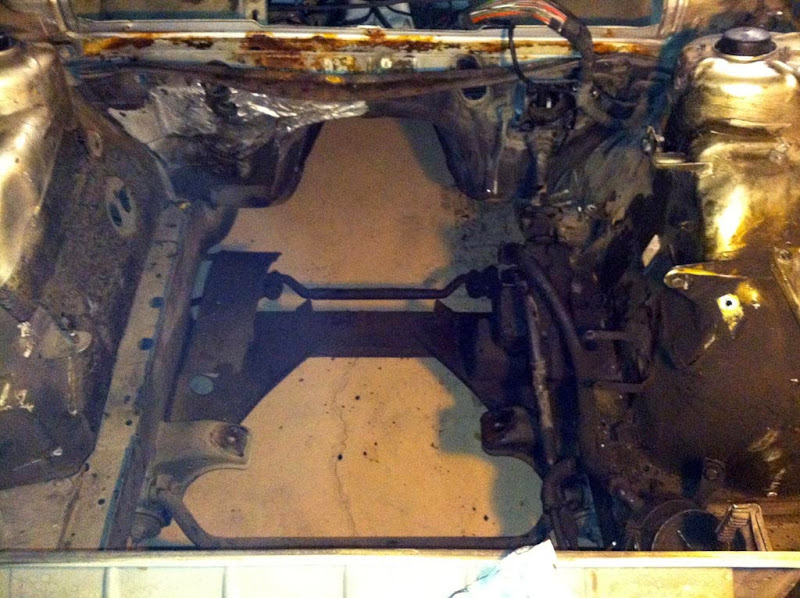
I then decided to get these brake lines out. So, I undid all of them, and even removed the front calipers. No brakes. Yay. There's one line sitting there next to the fuel lines attached to the frame rail. With all of that done, I took a photo.
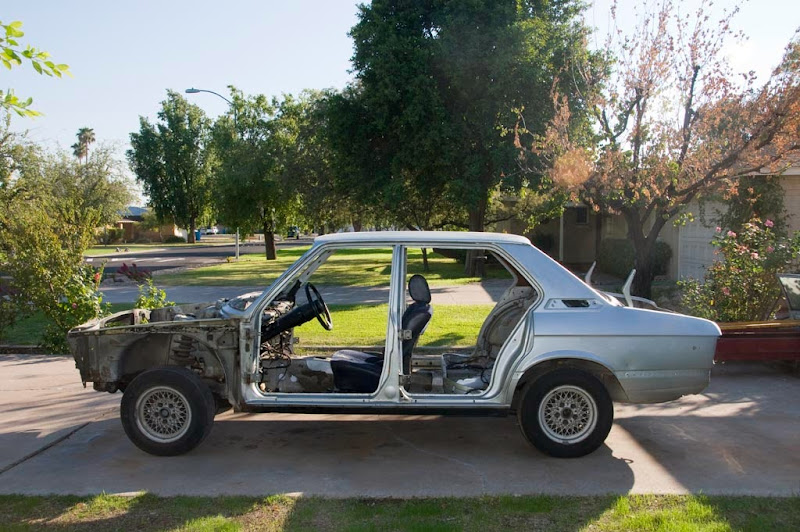
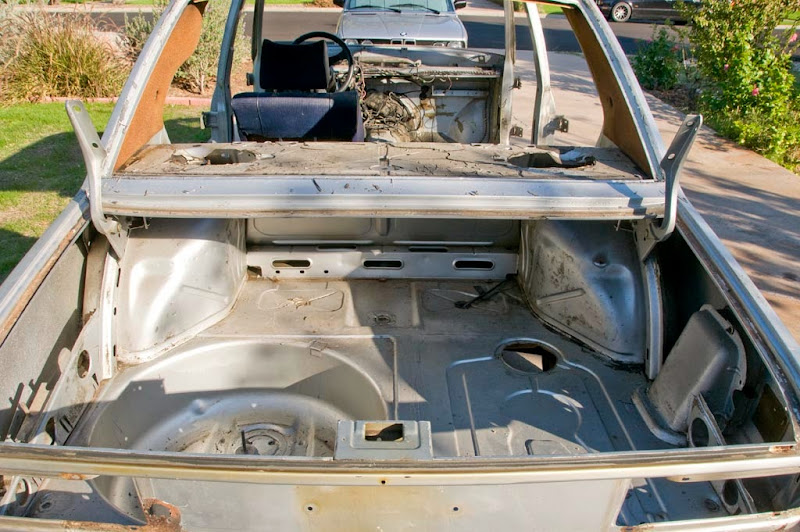
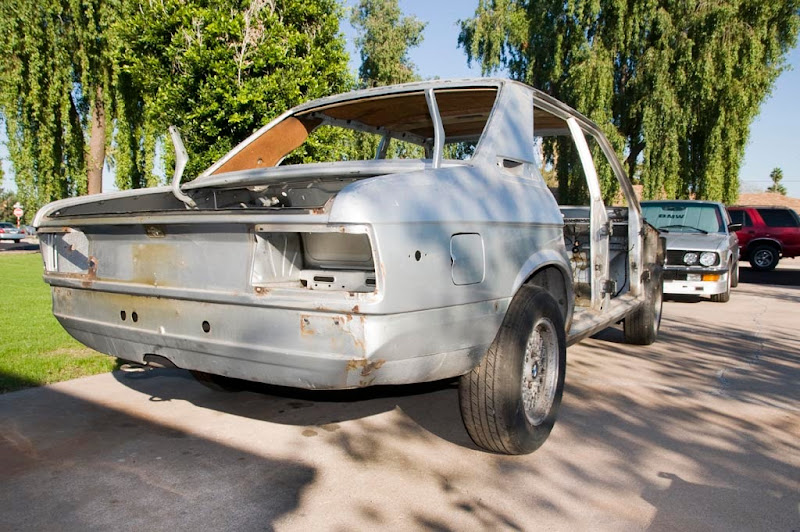
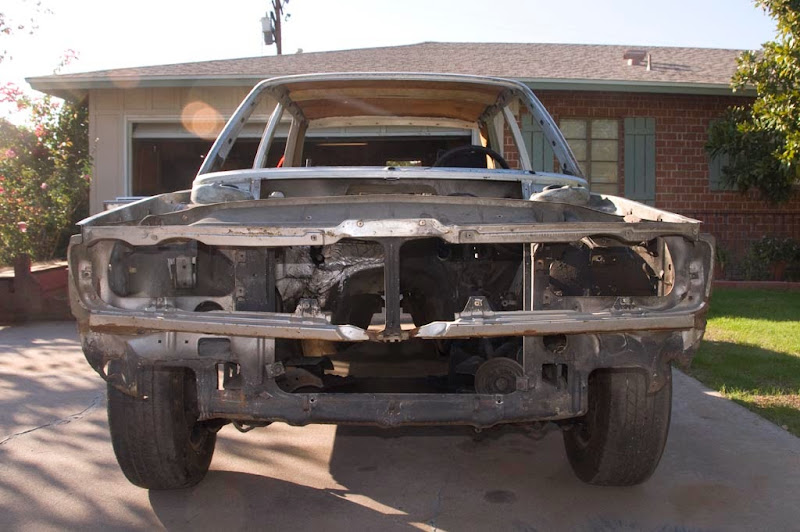
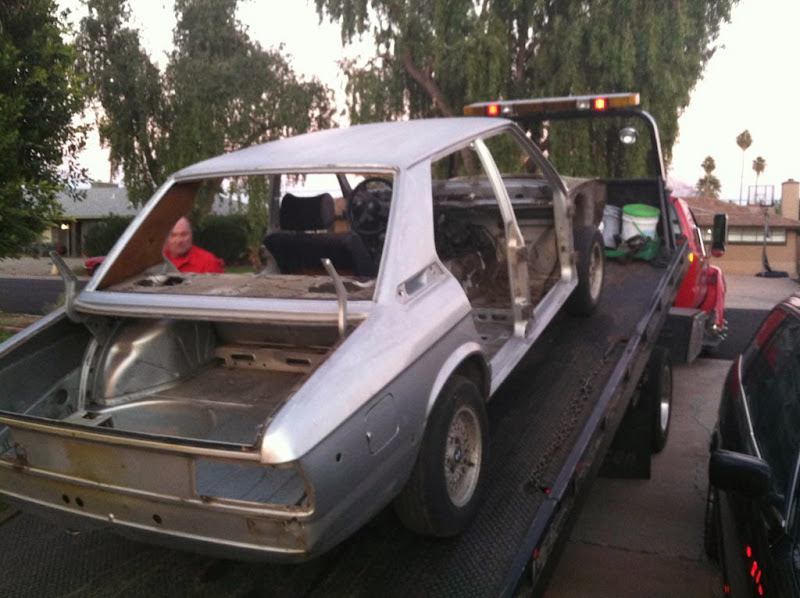
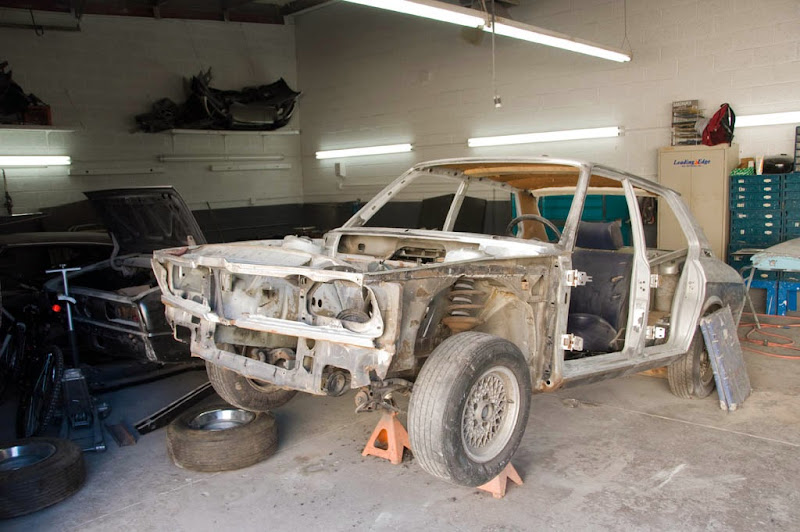
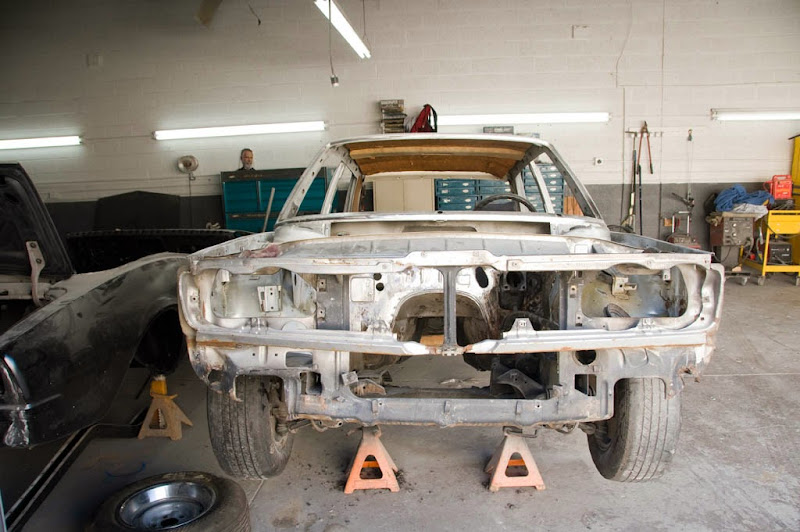
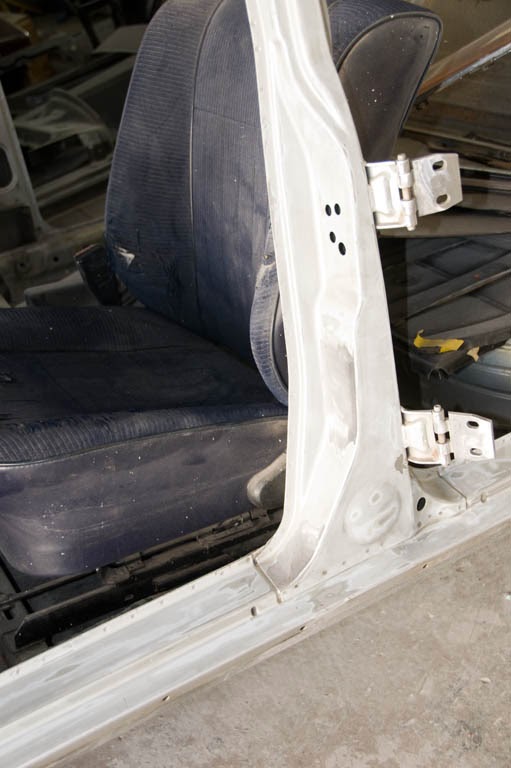
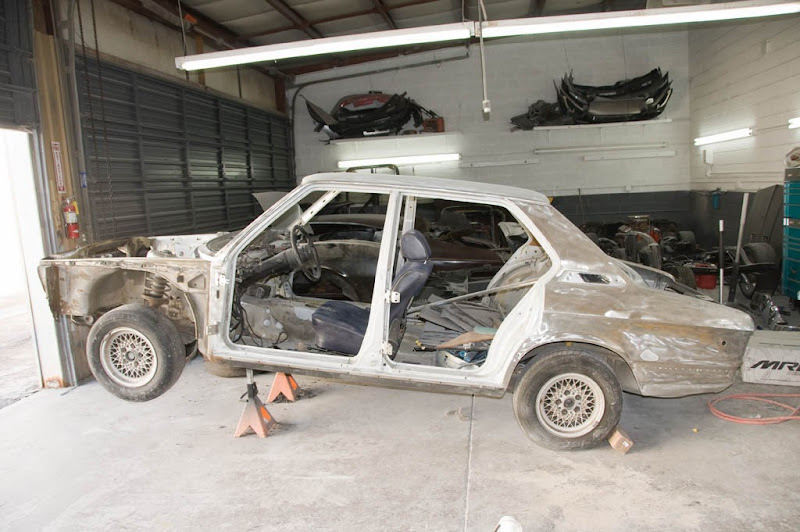
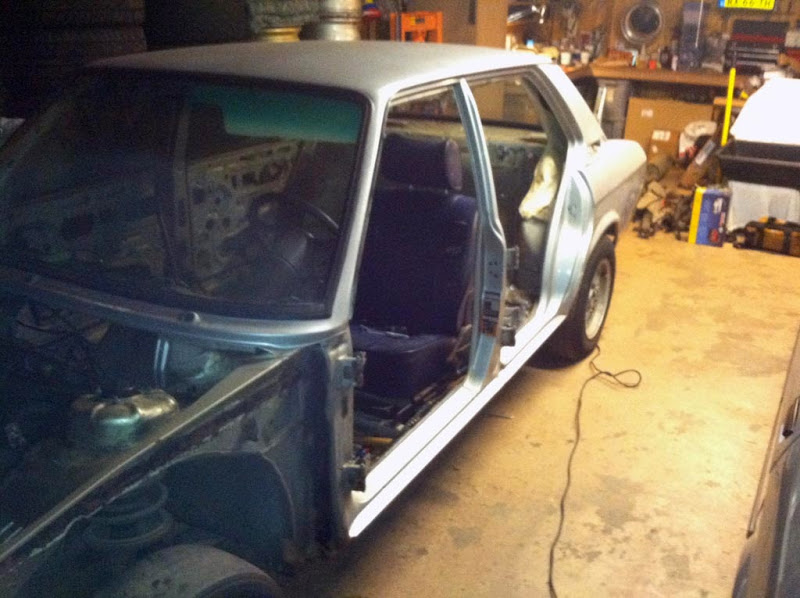
I had to help my dad with a bunch of stuff after I was done with that, so I didn't get a chance to put my tools away. I came home later to do that and then decided that more stuff needed removing from the car. It was raining outside, though, so I couldn't move the B7 outside. I removed the left doors and the trunklid, then the door catches. With the rear, you have to be careful to remove the three screws, loosen the big cad plated screw, rotate the catch and put a screw back in with a washer to hold the threaded plate, as there's no way to get it in and out without cutting spot welds and removing pieces. That left us with this:
You may remember that I left the differential (or final drive if you want to get all official) in the car. I was hoping to get a hold of a cart of sorts to just bolt the shell to, left over from a local member's E24 restoration. This would allow me to drop both subframes and have just the shell rolling around on casters. At that point, I could refresh everything out of the car and maybe get something accomplished while the car is away. Well, I inquired about it and found that it had been cut up. Bummer.
So, I decided that I have to get the diff out of the car. It is icky. It's been leaking for who knows how long. I decided that tonight was the night for that after I got home from work. 635s and the M535s have this fluid expansion/vapor reservoir attached to the upper right of the differential. I looked in the factory manual and the procedure seemed straight forward, but the problem is that I could not find any information about how to remove this piece. It obscures the top bolts on the right side of the subframe.
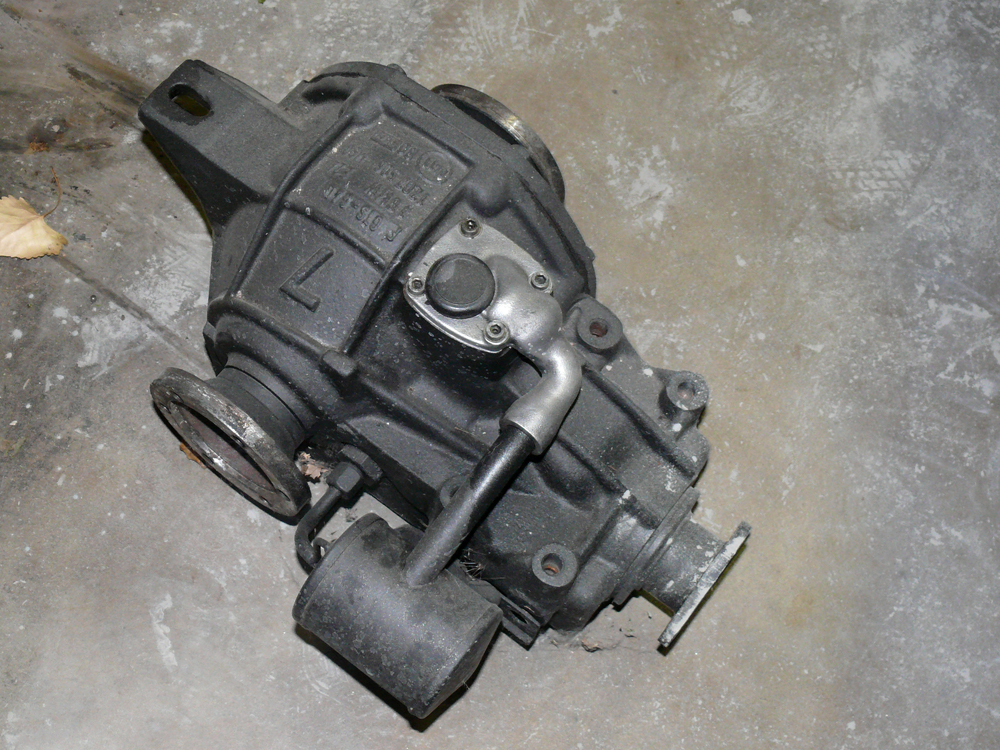
If the subframe was out of the car, not a problem, but I had a hard time getting a wrench on the bolts and even then I couldn't get any leverage on it. I decided to remove the side bolts and undo the fitting on the side of the diff (there's a line that is essentially a return of any fluid that makes it into the reservoir). The top tube appeared to be a friction fit, so maybe it would pop out. With some persuasion, it did! The top bolts were still tough to remove, but they came out and I ended up with this:
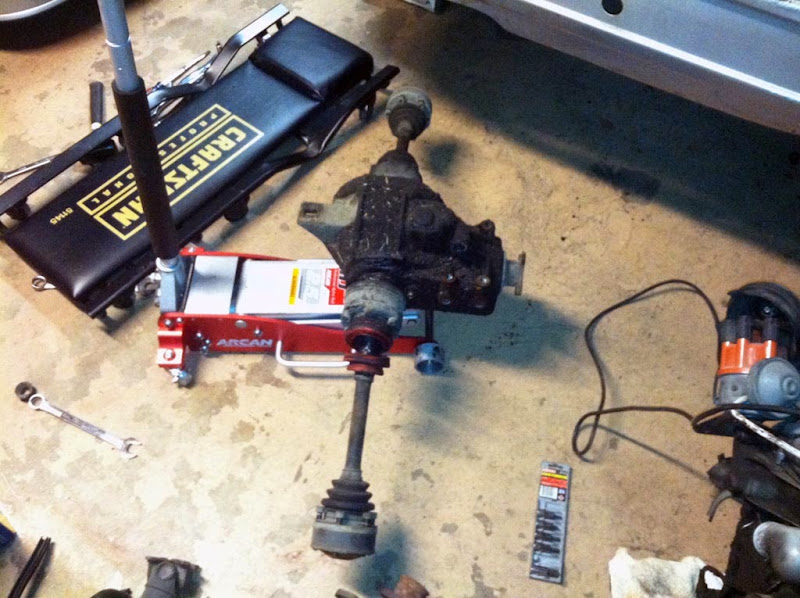
I replaced the reservoir on the diff.
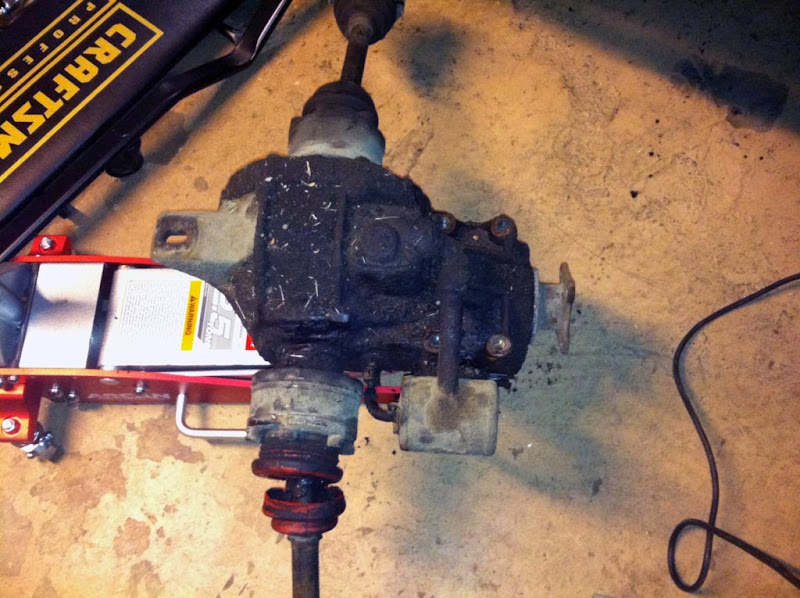
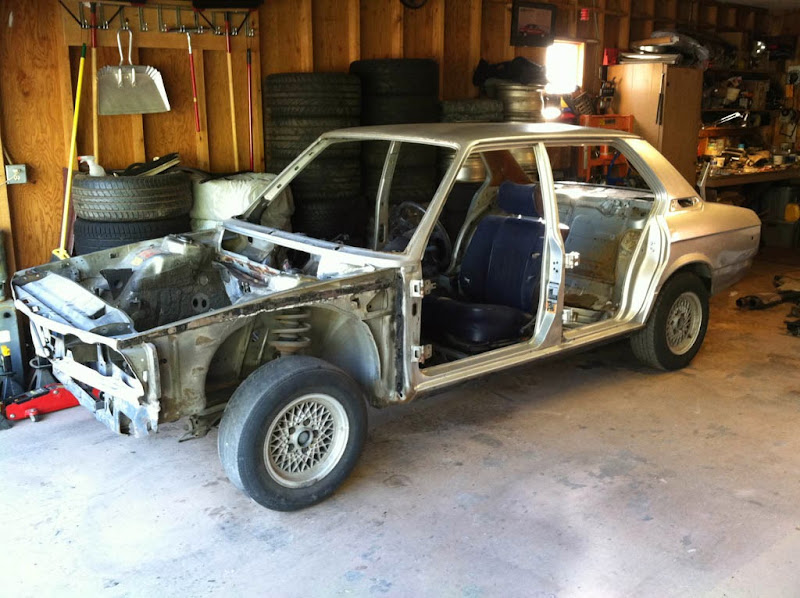
And here's what things look like now.
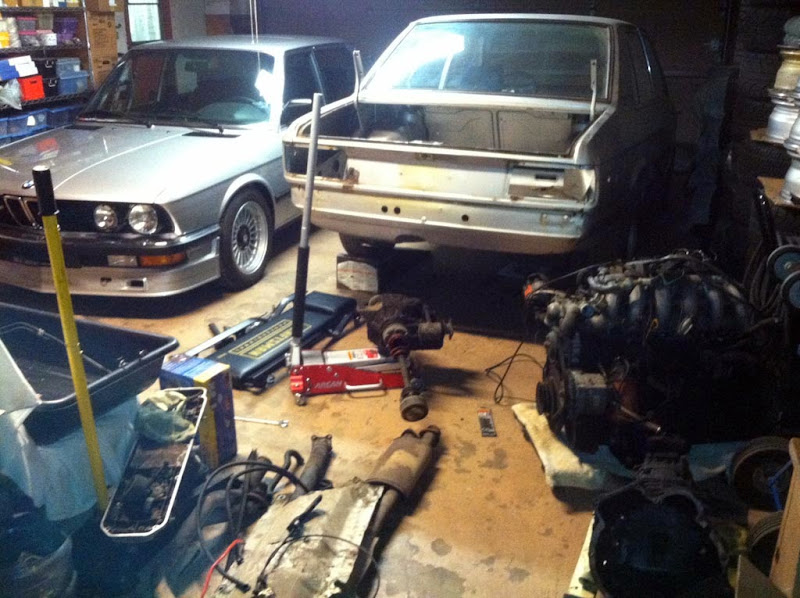
I did cheat and undid one of the brake lines at that rear subframe to gain some headspace over one of the bolts, so I will probably remove all of that stuff anyway. I want to be sure I have no idea how to put all of this back together.
Yee-haw.
Back home, I got started by pulling out the reservoir from the master cylinder and just draining it into a cottage cheese container (I use lots and lots of these things). I had left the clutch slave attached when I pulled the tranny, so it was just hanging there. Removed the brake master cylinder. I used my 11mm open end wrench for the lines. Everything came undone easily. Nothing slipped. I was very careful. Removed the master from the booster. Master was replaced when I got the car up and running, so it will be reused. The booster looks like it's trash, unfortunately. A $4 repair could have prevented lots of damage. For less than the cost of a quart of brake fluid the PO was dumping in the reservoir, he could have fixed it. All that was wrong was the grommets on the master cylinder were bad. Instead, he practically ruined the car with all the fucking brake fluid. Ugh.
Unbolting the booster was easy. Probably not as easy with the engine in the car, but guess what? It's not there. It's like "She's Not There," but not quite as good of a song (I love that song). I found that the inside of the booster was full of brake fluid, so that was less positive. I wasn't a fan of having to drop the steering column to remove the pin though. I only say that from the perspective that if it was totally put together, it would suck, but it wasn't terrible since I only had the bolts in finger tight. Booster out, next was the clutch master. Unbolted it from the pedal, undid the bolts and then bam. Out it came.
Figured it would be nice to get the fuse box out of the way, but I was disappointed to see that while there were some power distribution plugs, several pieces of the harness extended throughout the dashboard, and individual wires were spliced off and run into connectors. I was really hoping to clean this stuff up and re-wrap the harness. That said, I also want the car to work when it goes back together, so for now, I put it inside the car through the big hole where the heater went. Power steering canister is laying down on the subframe with the pump.
I then decided to get these brake lines out. So, I undid all of them, and even removed the front calipers. No brakes. Yay. There's one line sitting there next to the fuel lines attached to the frame rail. With all of that done, I took a photo.

I had to help my dad with a bunch of stuff after I was done with that, so I didn't get a chance to put my tools away. I came home later to do that and then decided that more stuff needed removing from the car. It was raining outside, though, so I couldn't move the B7 outside. I removed the left doors and the trunklid, then the door catches. With the rear, you have to be careful to remove the three screws, loosen the big cad plated screw, rotate the catch and put a screw back in with a washer to hold the threaded plate, as there's no way to get it in and out without cutting spot welds and removing pieces. That left us with this:

You may remember that I left the differential (or final drive if you want to get all official) in the car. I was hoping to get a hold of a cart of sorts to just bolt the shell to, left over from a local member's E24 restoration. This would allow me to drop both subframes and have just the shell rolling around on casters. At that point, I could refresh everything out of the car and maybe get something accomplished while the car is away. Well, I inquired about it and found that it had been cut up. Bummer.
So, I decided that I have to get the diff out of the car. It is icky. It's been leaking for who knows how long. I decided that tonight was the night for that after I got home from work. 635s and the M535s have this fluid expansion/vapor reservoir attached to the upper right of the differential. I looked in the factory manual and the procedure seemed straight forward, but the problem is that I could not find any information about how to remove this piece. It obscures the top bolts on the right side of the subframe.

If the subframe was out of the car, not a problem, but I had a hard time getting a wrench on the bolts and even then I couldn't get any leverage on it. I decided to remove the side bolts and undo the fitting on the side of the diff (there's a line that is essentially a return of any fluid that makes it into the reservoir). The top tube appeared to be a friction fit, so maybe it would pop out. With some persuasion, it did! The top bolts were still tough to remove, but they came out and I ended up with this:

I replaced the reservoir on the diff.

And here's what things look like now.

I did cheat and undid one of the brake lines at that rear subframe to gain some headspace over one of the bolts, so I will probably remove all of that stuff anyway. I want to be sure I have no idea how to put all of this back together.
Yee-haw.
