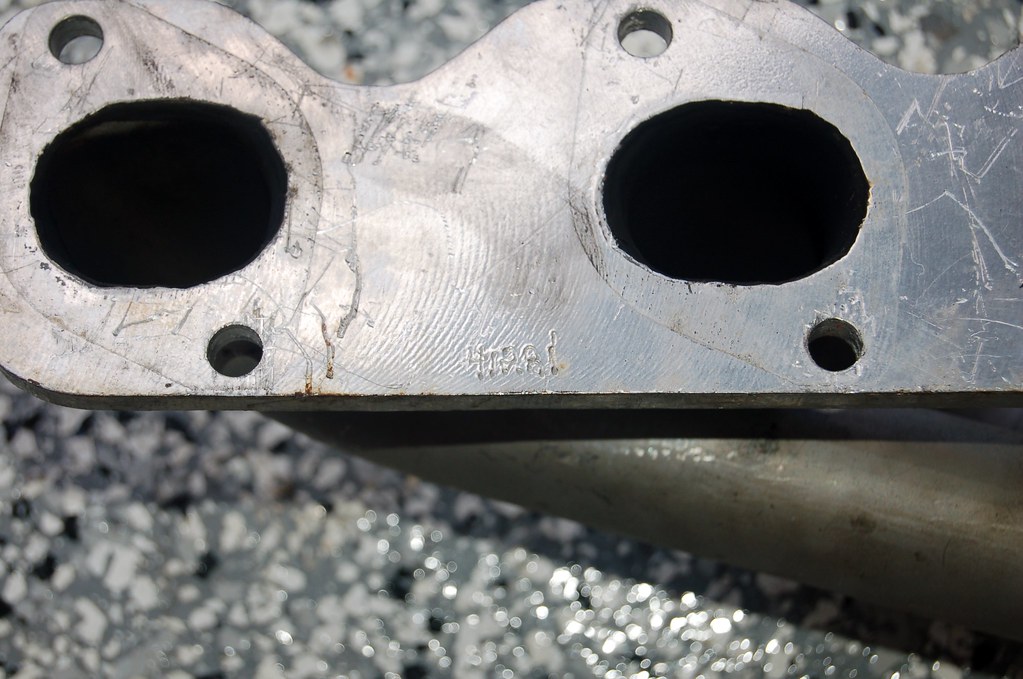
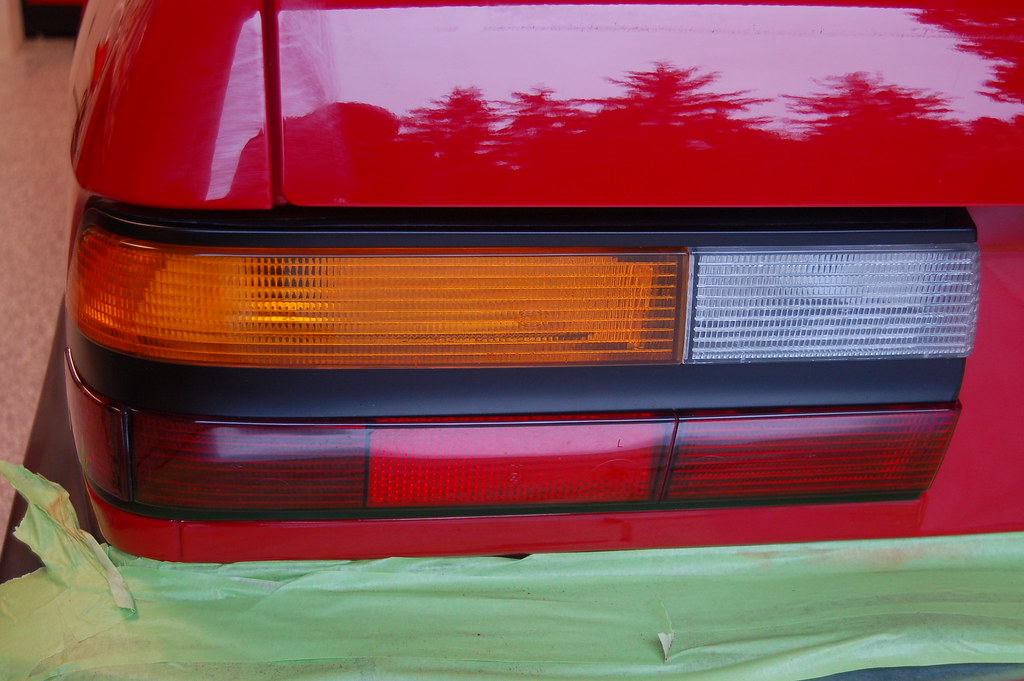
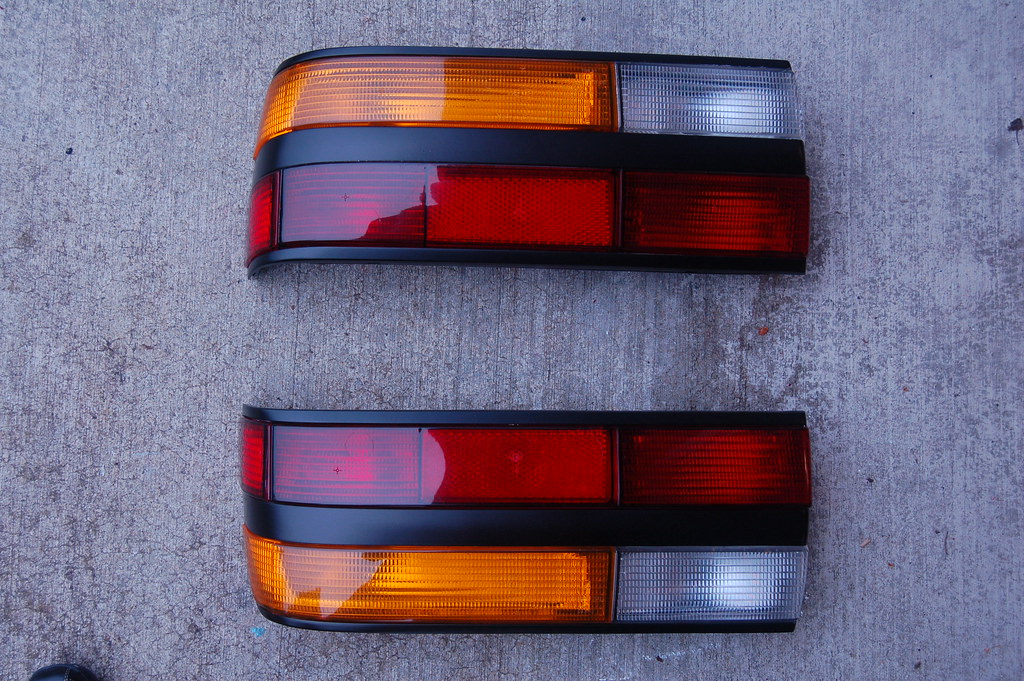
Test fitted.
Primary reason: Microfiber towels seem to hold specks of dirt even after cleaning. With cotton, after washing I can be confident there is no abrasive crap embedded in the towel.gray635 wrote:I'm kind of a OCD "waxer" myself and am interested in the fact that you use cotton towels for waxing/polishing, vs. microfiber. That runs counter to every instruction I've ever received on detailing. Any thoughts on this?
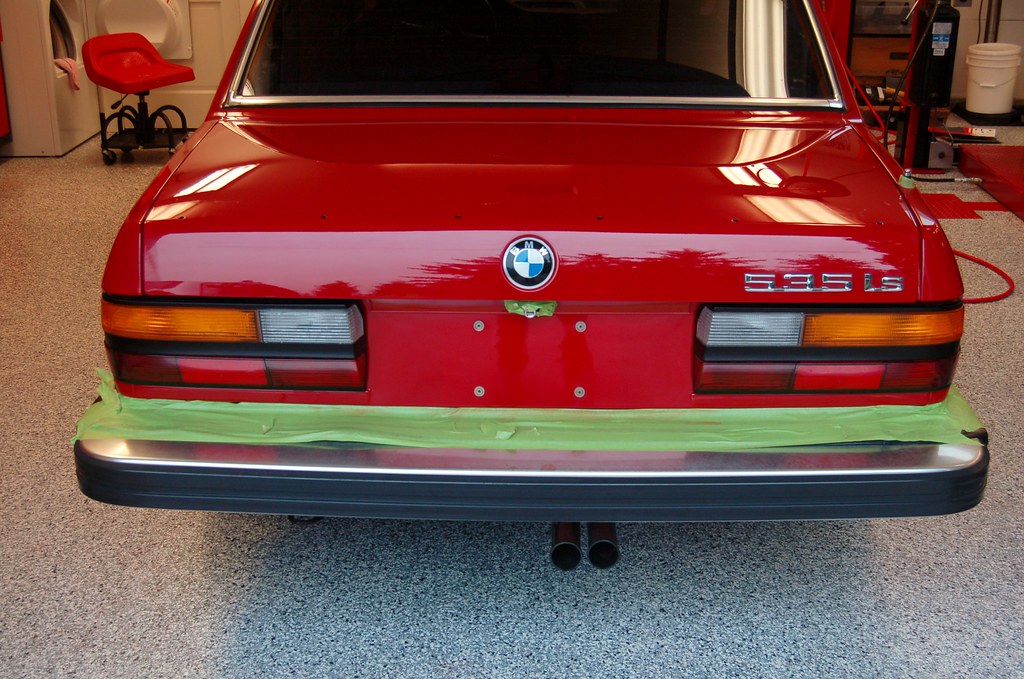
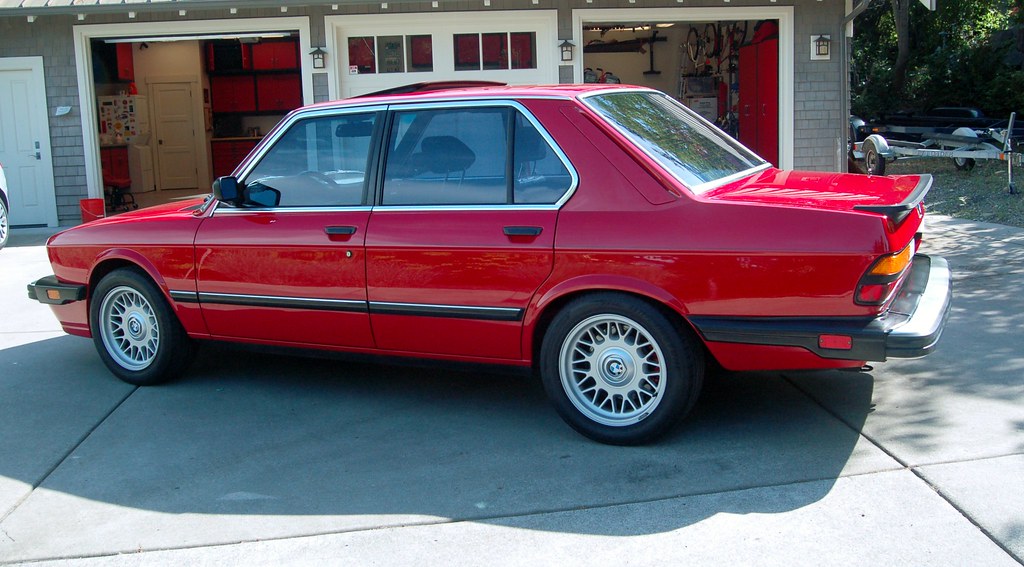
As soon as I find some euro bumpers these diving boards are gone anyway, so I don't want to put any effort into them.gray635 wrote: Please put a rear bumper filler strip on your list of parts to replace (if you haven't already done so). About $100 and simple to fit. Trim about 1/8" off each end to keep it from puckering in the middle again.
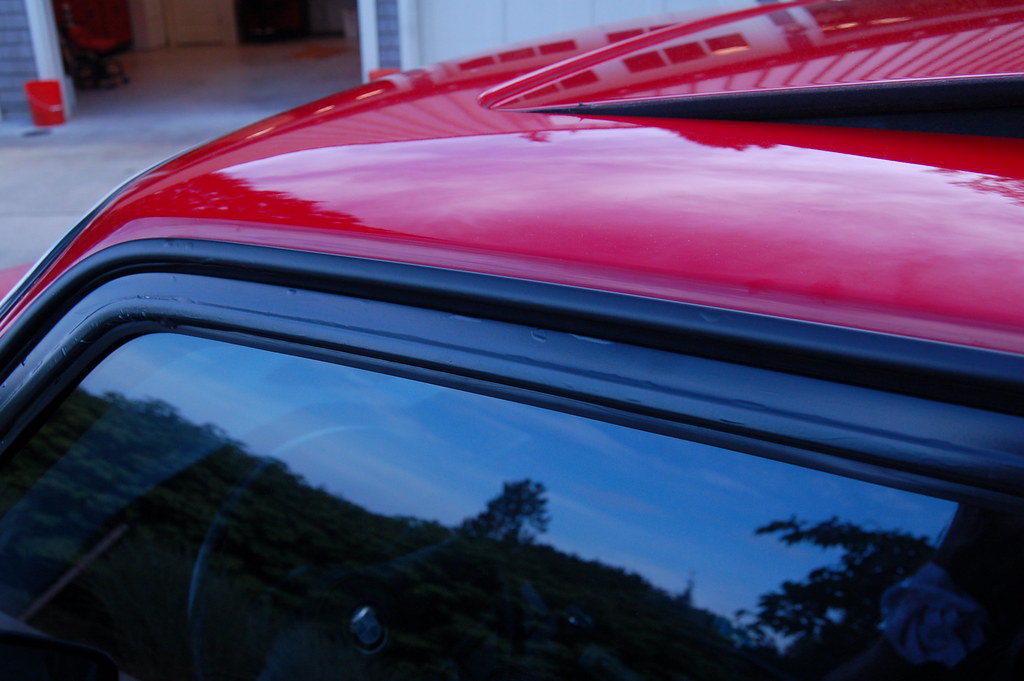
Thanks. My goal is to get it done Friday afternoon. I don't want to be needing to work on it over Mother's day weekend or there'll be hell to pay.unt0uchable wrote:Holy hell. I plan on picking up a zinno in the near future and I hope I can achieve even a fraction of the results you are getting here. Unfortunately, I only have a large, heavyweight Dewalt polisher. I'll have to buy some nice pads for it and I likely need to upgrade from my Meguiars 'off the shelf' compound and wax. I think I also have some Mothers products. I'll have to check out the products you've mentioned here.
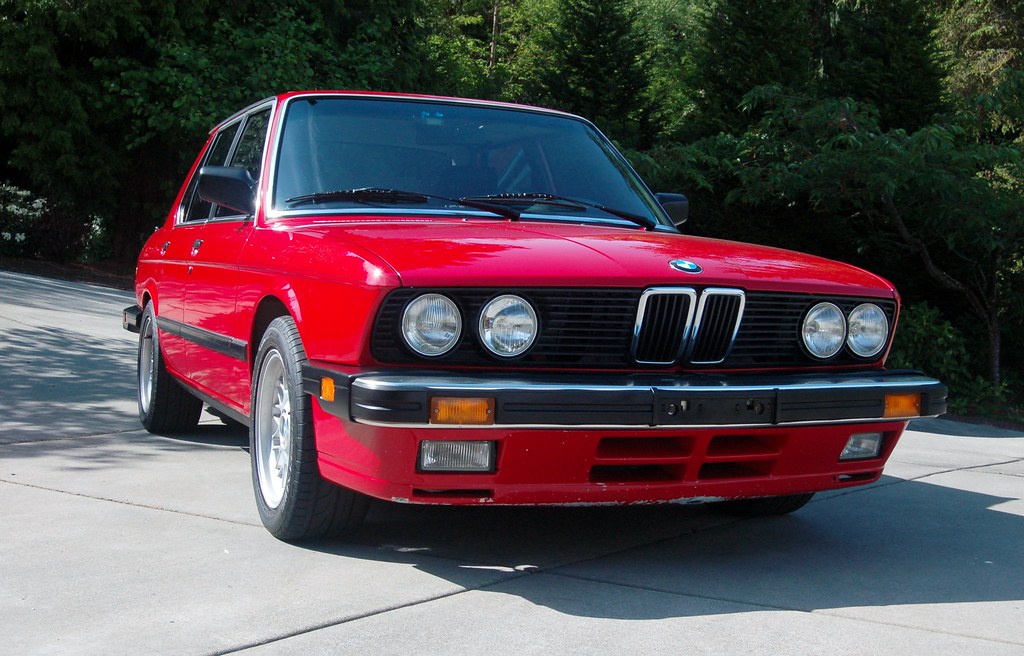
Looks AWESOME! Can't wait to see full light photos of the entire car.
Depends on what that lower end polish/wax is. Is it mild or aggressive? Is it optimized for clear coat or single stage?unt0uchable wrote:Thanks for the tisps. I'll be revisiting this thread before I jump in head first. Should I stick with my lower end polish/wax? It will only be my second time going at it with a power tool. I've always clayed and waxed by hand before...
my understanding was the earlier front valance was needed to avoid the exposed bolts that appear across the front after a euro conversion.wkohler wrote:?leadphut wrote:Subscribed for the bumper swap. I'm sure you'll use the early front valance to avoid the ugly visible-bolt version.cek wrote:As soon as I find some euro bumpers these diving boards are gone anyway, so I don't want to put any effort into them.

The only difference between an early and late valance is below the turns and fogs.leadphut wrote:my understanding was the earlier front valance was needed to avoid the exposed bolts that appear across the front after a euro conversion.wkohler wrote:?leadphut wrote:Subscribed for the bumper swap. I'm sure you'll use the early front valance to avoid the ugly visible-bolt version.cek wrote:As soon as I find some euro bumpers these diving boards are gone anyway, so I don't want to put any effort into them.
Ah, so! An excellent decision! This car will look fabulous euro-converted. Headlights, too, please!cek wrote:As soon as I find some euro bumpers these diving boards are gone anyway, so I don't want to put any effort into them.gray635 wrote: Please put a rear bumper filler strip on your list of parts to replace (if you haven't already done so). About $100 and simple to fit. Trim about 1/8" off each end to keep it from puckering in the middle again.


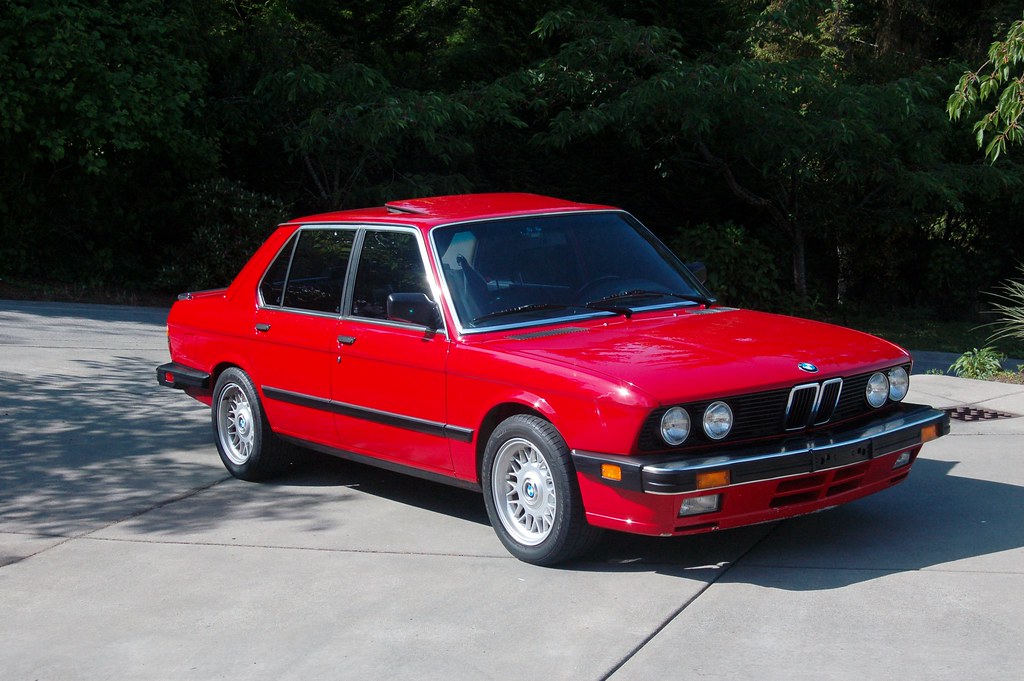

Maybe that's what I was thinking. Use the euro nose panel!87royal wrote:Oops, yeah, the only thing that's gonna cover up those exposed holes from the US bumper trim is filling and re-painting, or welding in a Euro nose panel.