Page 6 of 57
Posted: May 09, 2013 10:53 AM
by tig
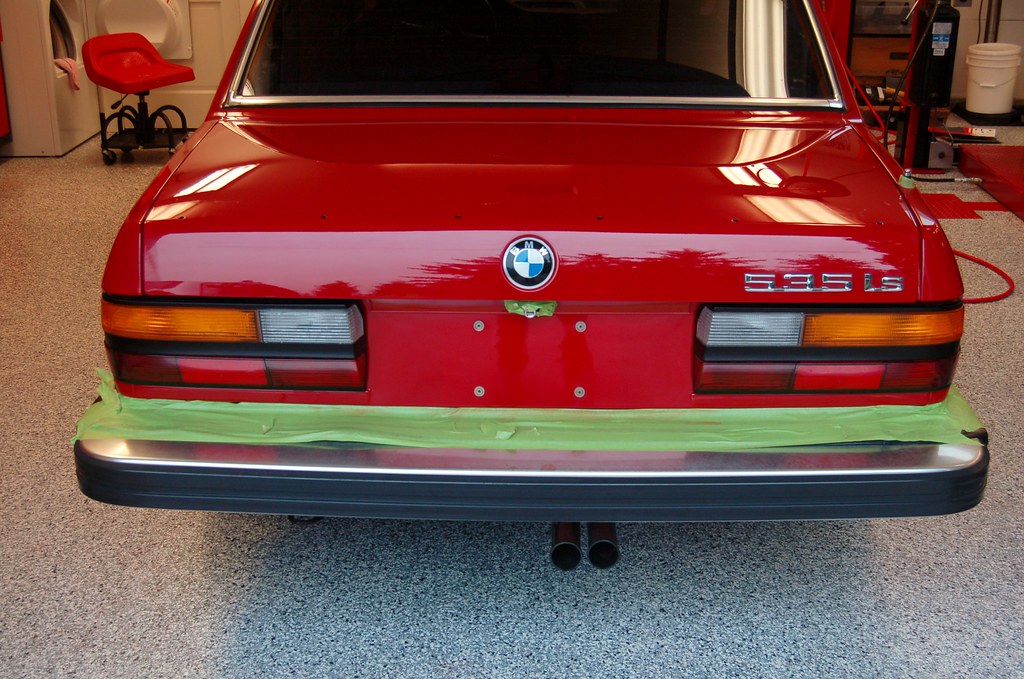
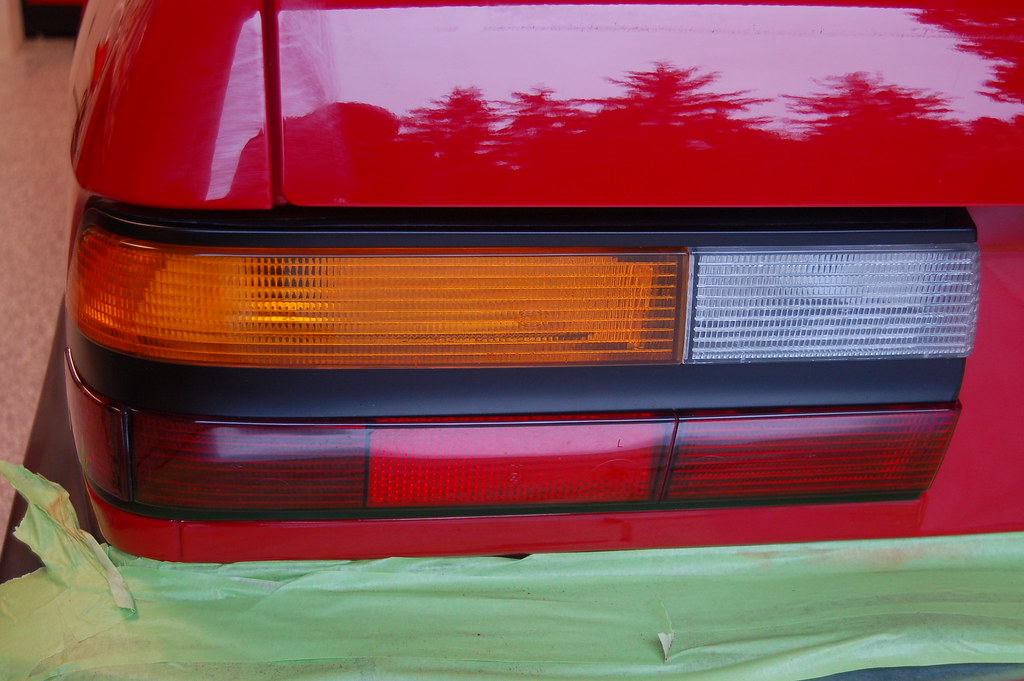
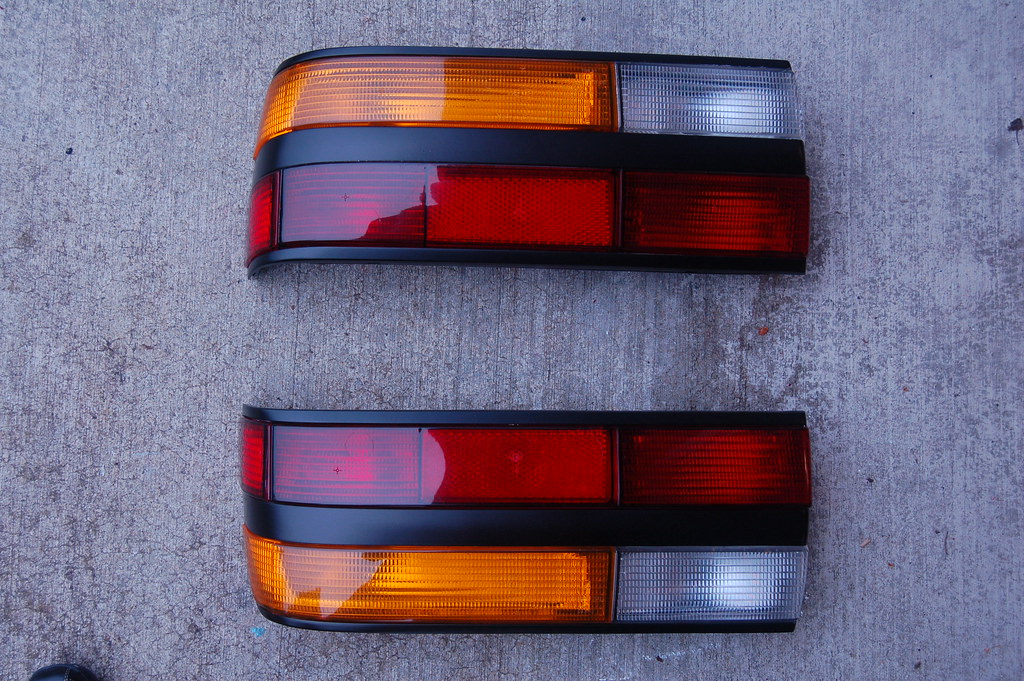
Step one of Shadowline done: Taillights.
Test fitted.
Posted: May 09, 2013 4:56 PM
by gray635
Great stuff. You may come over to my house and work on my cars anytime you like.

I'm kind of a OCD "waxer" myself and am interested in the fact that you use cotton towels for waxing/polishing, vs. microfiber. That runs counter to every instruction I've ever received on detailing. Any thoughts on this?
Please put a rear bumper filler strip on your list of parts to replace (if you haven't already done so). About $100 and simple to fit. Trim about 1/8" off each end to keep it from puckering in the middle again. Check out cactusjack's post re: the use of Meguiar's headlight restoration kit and Mother's Black Again or Back to Black on refinishing the black plastic bumper ends - works amazingly well and kept me from having to replace the rear bumper ends on my M5.
Looks like the E28 has some nice 911 company in the garage as well.
Carry on....
Regards,
Mike
Posted: May 09, 2013 5:03 PM
by tig
gray635 wrote:I'm kind of a OCD "waxer" myself and am interested in the fact that you use cotton towels for waxing/polishing, vs. microfiber. That runs counter to every instruction I've ever received on detailing. Any thoughts on this?
Primary reason: Microfiber towels seem to hold specks of dirt even after cleaning. With cotton, after washing I can be confident there is no abrasive crap embedded in the towel.
I also think microfiber towels tend to be slightly abrasive.
Posted: May 09, 2013 5:03 PM
by tig
gray635 wrote:
Please put a rear bumper filler strip on your list of parts to replace (if you haven't already done so). About $100 and simple to fit. Trim about 1/8" off each end to keep it from puckering in the middle again.
As soon as I find some euro bumpers these diving boards are gone anyway, so I don't want to put any effort into them.
Posted: May 09, 2013 5:15 PM
by unt0uchable
Holy hell. I plan on picking up a
zinno in the near future and I hope I can achieve even a fraction of the results you are getting here. Unfortunately, I only have a large, heavyweight Dewalt polisher. I'll have to buy some nice pads for it and I likely need to upgrade from my Meguiars 'off the shelf' compound and wax. I think I also have some Mothers products. I'll have to check out the products you've mentioned here.
Looks AWESOME! Can't wait to see full light photos of the entire car.
Posted: May 09, 2013 5:21 PM
by tig
unt0uchable wrote:Holy hell. I plan on picking up a
zinno in the near future and I hope I can achieve even a fraction of the results you are getting here. Unfortunately, I only have a large, heavyweight Dewalt polisher. I'll have to buy some nice pads for it and I likely need to upgrade from my Meguiars 'off the shelf' compound and wax. I think I also have some Mothers products. I'll have to check out the products you've mentioned here.
Looks AWESOME! Can't wait to see full light photos of the entire car.
Thanks. My goal is to get it done Friday afternoon. I don't want to be needing to work on it over Mother's day weekend or there'll be hell to pay.

Nothing wrong with a heavyweigth polisher. Go with mild pads and a mild compound to start. If you don't see the difference you want then get more aggressive...but NOT with elbow grease or speed.
Keep your pads clean. I had a set of about 6 pads I rotated through, cleaning each after each 2'x2' spot... for cars that have not been polished in ages you'll be pulling up quite a bit of paint and clogging the pads. (This is why polishing cars should be done very infrequently).
Also, be very, very careful to watch for thin paint. On my first pass i was carefully checking on typical trouble spots (leading edge of trunk, other ridge lines) for signs of thin paint. The tip of the hood, below the emblem is thin on my car for example.
Also if you have pin-stripes make sure you mask them off for everything but your final light polish or you'll take 'em right off (I almost forgot to do so).
Posted: May 09, 2013 5:28 PM
by unt0uchable
Thanks for the tisps. I'll be revisiting this thread before I jump in head first. Should I stick with my lower end polish/wax? It will only be my second time going at it with a power tool. I've always clayed and waxed by hand before...
Posted: May 09, 2013 5:32 PM
by tig
unt0uchable wrote:Thanks for the tisps. I'll be revisiting this thread before I jump in head first. Should I stick with my lower end polish/wax? It will only be my second time going at it with a power tool. I've always clayed and waxed by hand before...
Depends on what that lower end polish/wax is. Is it mild or aggressive? Is it optimized for clear coat or single stage?
You want something mild and not meant for clear coat to start. There's no problem with having to polish repeatedly if you don't get all the swirl marks out... But there IS a problem with being too aggressive to start, because you can't put paint back on the car.
FWIW, I learned through a detailer friend of mine and the Autopia forums:
http://www.autopia.org/forum/forum.php
My threads there:
http://www.autopia.org/forum/search.php ... id=2476302
Posted: May 10, 2013 7:54 PM
by leadphut
cek wrote:As soon as I find some euro bumpers these diving boards are gone anyway, so I don't want to put any effort into them.
Subscribed for the bumper swap. I'm sure you'll use the early front valance to avoid the ugly visible-bolt version.
Posted: May 10, 2013 7:59 PM
by wkohler
leadphut wrote:cek wrote:As soon as I find some euro bumpers these diving boards are gone anyway, so I don't want to put any effort into them.
Subscribed for the bumper swap. I'm sure you'll use the early front valance to avoid the ugly visible-bolt version.
?
Posted: May 10, 2013 11:14 PM
by tig
Sad face.
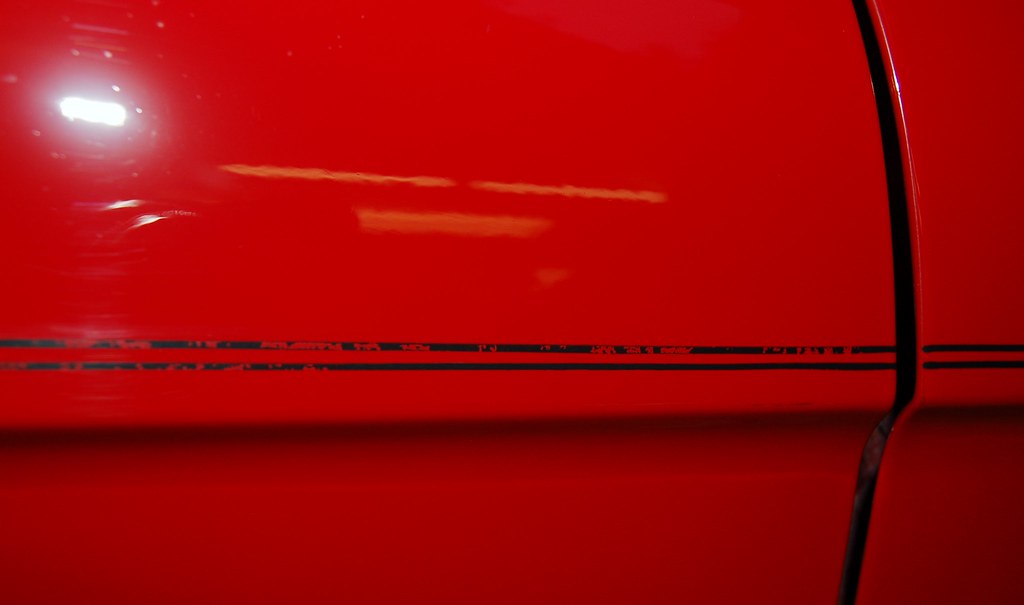
On the passenger side, my masking tape pulled up the pinstripe! On the driver's side, I'm guessing that when the driver's door was painted about 4 years ago they re-did the pinstripe on that whole side. But on the passenger side, the stripe is from 1986...
I guess I get to find someone to put a new stripe on for me, because this is unacceptable.
Posted: May 11, 2013 1:10 AM
by leadphut
wkohler wrote:leadphut wrote:cek wrote:As soon as I find some euro bumpers these diving boards are gone anyway, so I don't want to put any effort into them.
Subscribed for the bumper swap. I'm sure you'll use the early front valance to avoid the ugly visible-bolt version.
?
my understanding was the earlier front valance was needed to avoid the exposed bolts that appear across the front after a euro conversion.


Posted: May 11, 2013 2:12 PM
by E30Pierre
Charlie,
So are you shadowlining the entire car?
Posted: May 11, 2013 2:45 PM
by tig
Yes, except the kidney.
Posted: May 11, 2013 3:02 PM
by wkohler
leadphut wrote:wkohler wrote:leadphut wrote:cek wrote:As soon as I find some euro bumpers these diving boards are gone anyway, so I don't want to put any effort into them.
Subscribed for the bumper swap. I'm sure you'll use the early front valance to avoid the ugly visible-bolt version.
?
my understanding was the earlier front valance was needed to avoid the exposed bolts that appear across the front after a euro conversion.
The only difference between an early and late valance is below the turns and fogs.
Posted: May 11, 2013 3:15 PM
by 87royal
Oops, yeah, the only thing that's gonna cover up those exposed holes from the US bumper trim is filling and re-painting, or welding in a Euro nose panel.
Posted: May 11, 2013 3:17 PM
by wkohler
The only early/late difference is the valance.
Posted: May 11, 2013 6:18 PM
by gray635
cek wrote:gray635 wrote:
Please put a rear bumper filler strip on your list of parts to replace (if you haven't already done so). About $100 and simple to fit. Trim about 1/8" off each end to keep it from puckering in the middle again.
As soon as I find some euro bumpers these diving boards are gone anyway, so I don't want to put any effort into them.
Ah, so! An excellent decision! This car will look fabulous euro-converted. Headlights, too, please!

Posted: May 11, 2013 6:43 PM
by tig
Negatory on headlights. I have Cibies and love them
.
Posted: May 11, 2013 7:18 PM
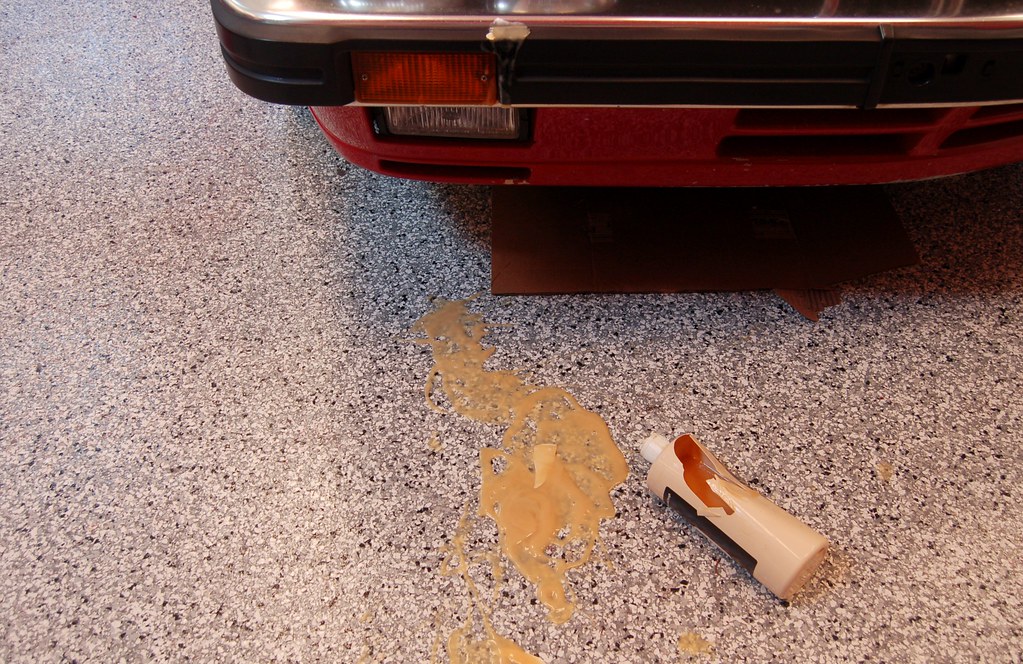
by tig
Pro tip:
When using a 10+ year-old bottle of Black Again, beware the plastic might be a bit brittle.
Posted: May 11, 2013 7:30 PM
by tig
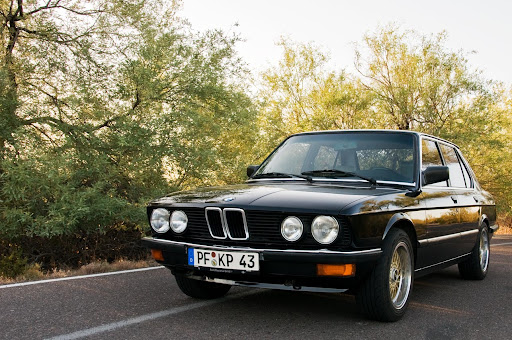
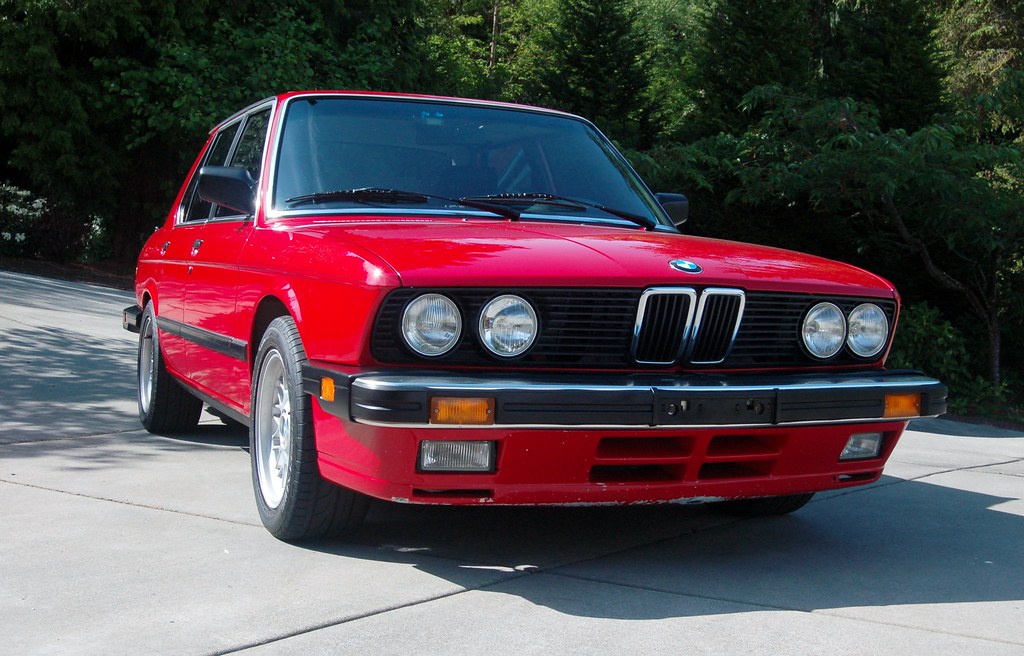
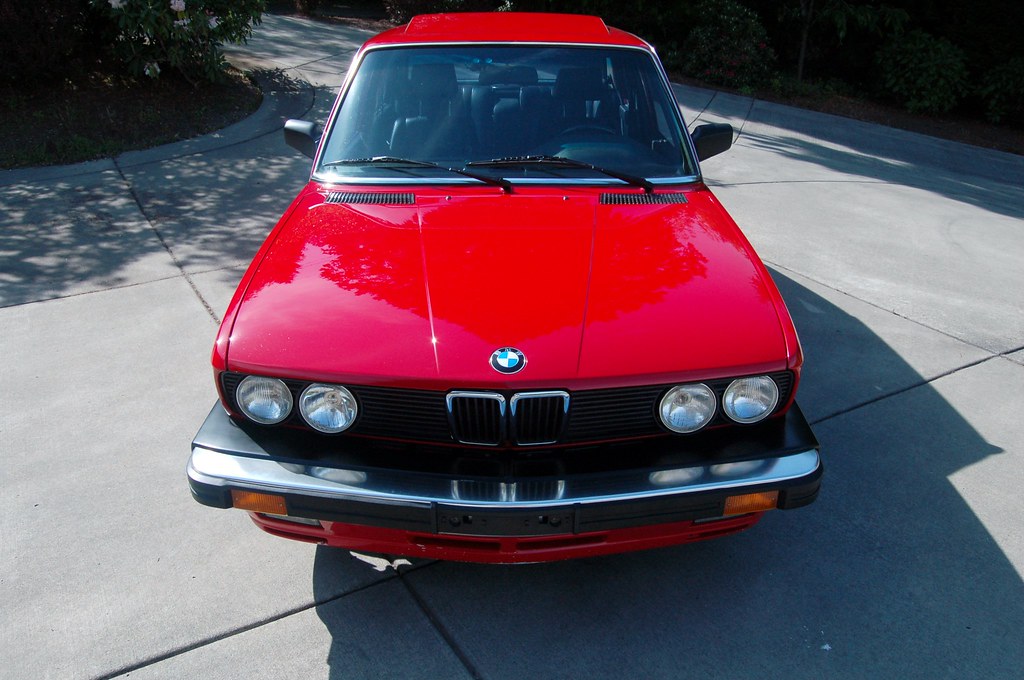
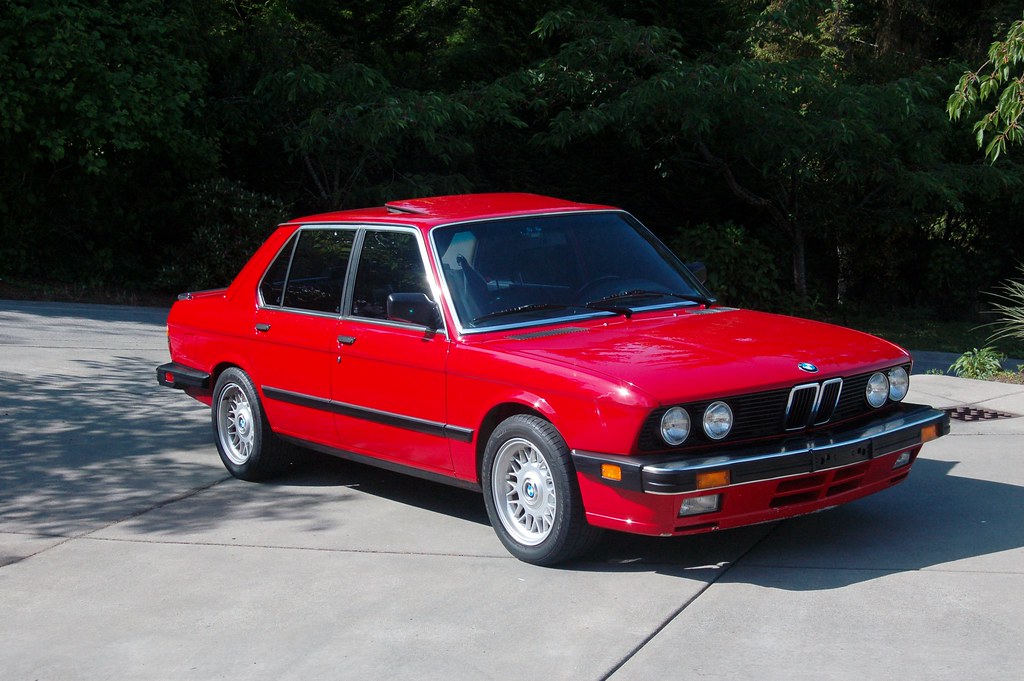
Detail is done.
Before:
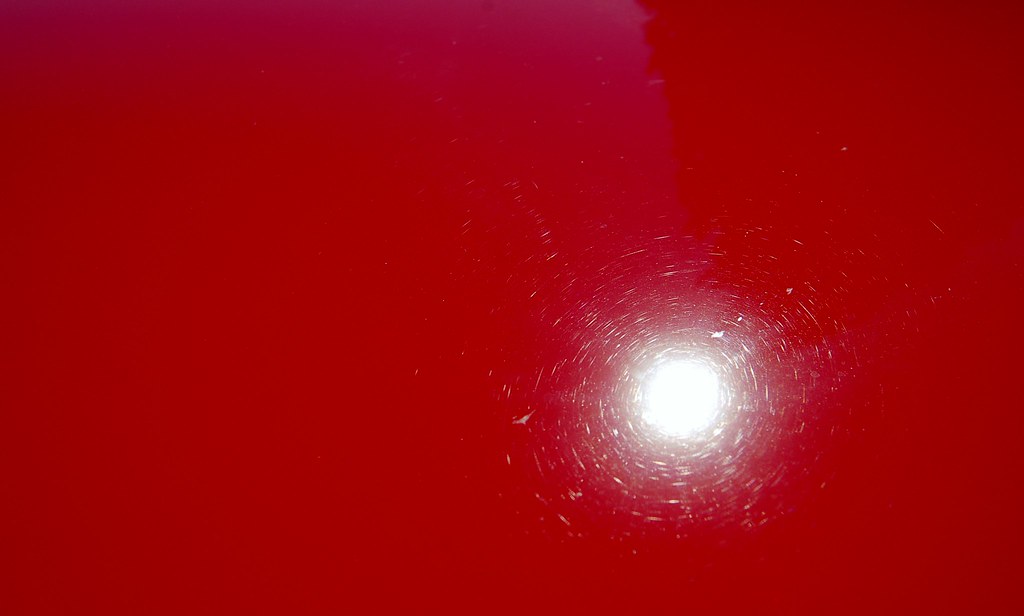
After:
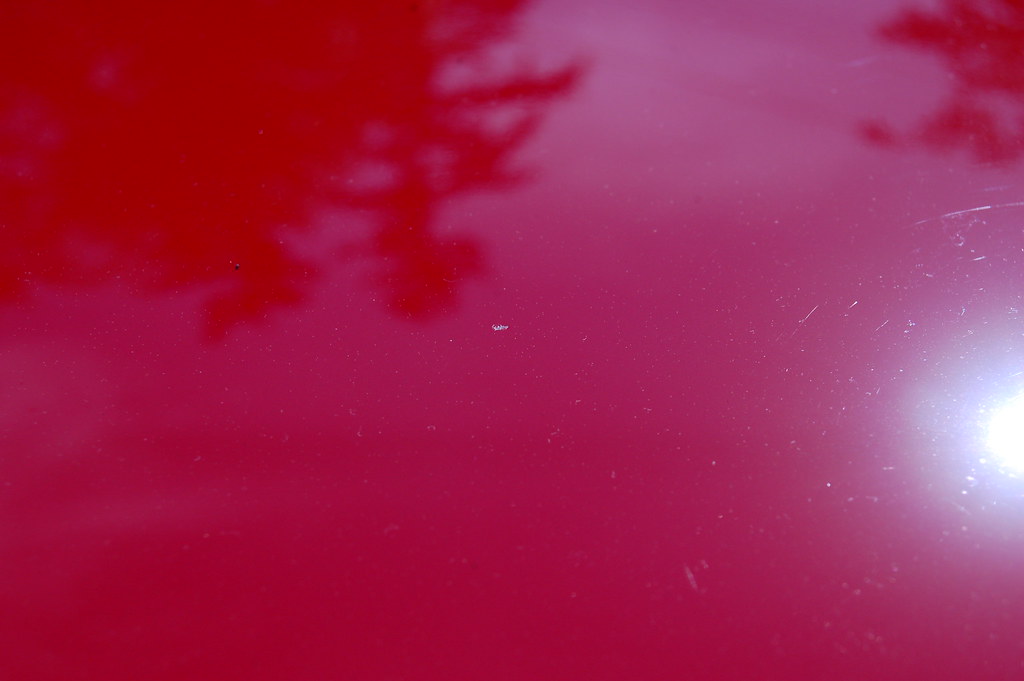
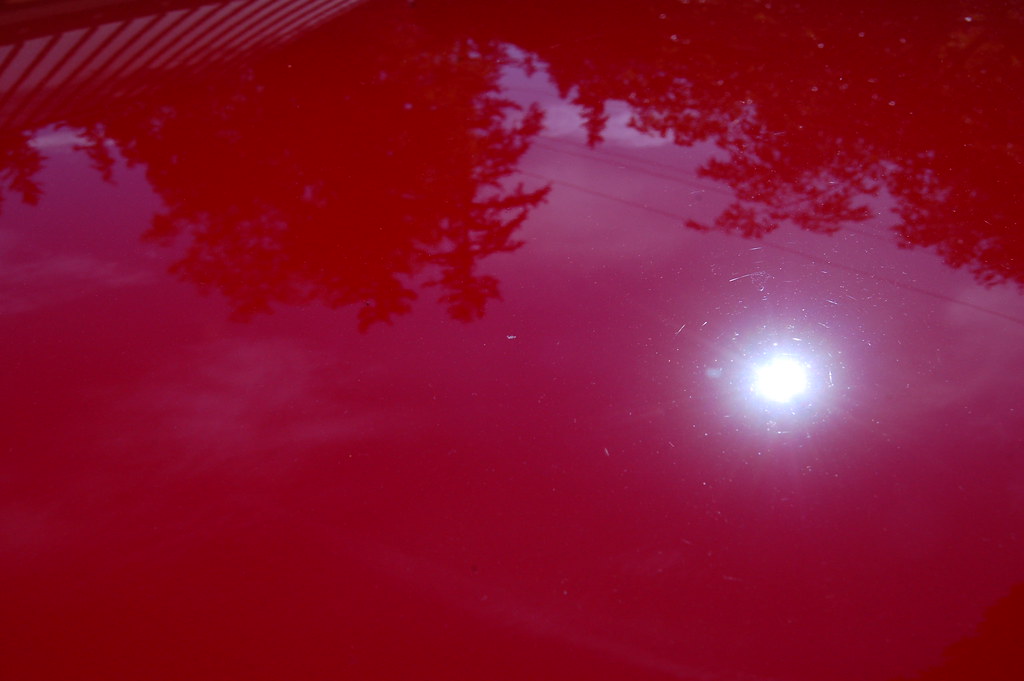
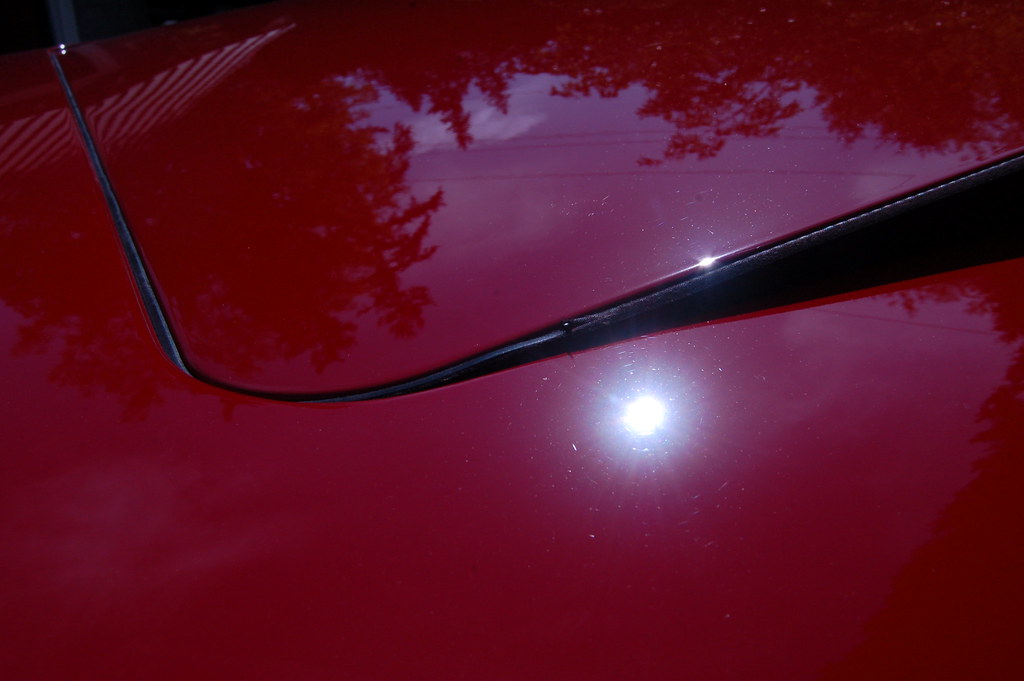
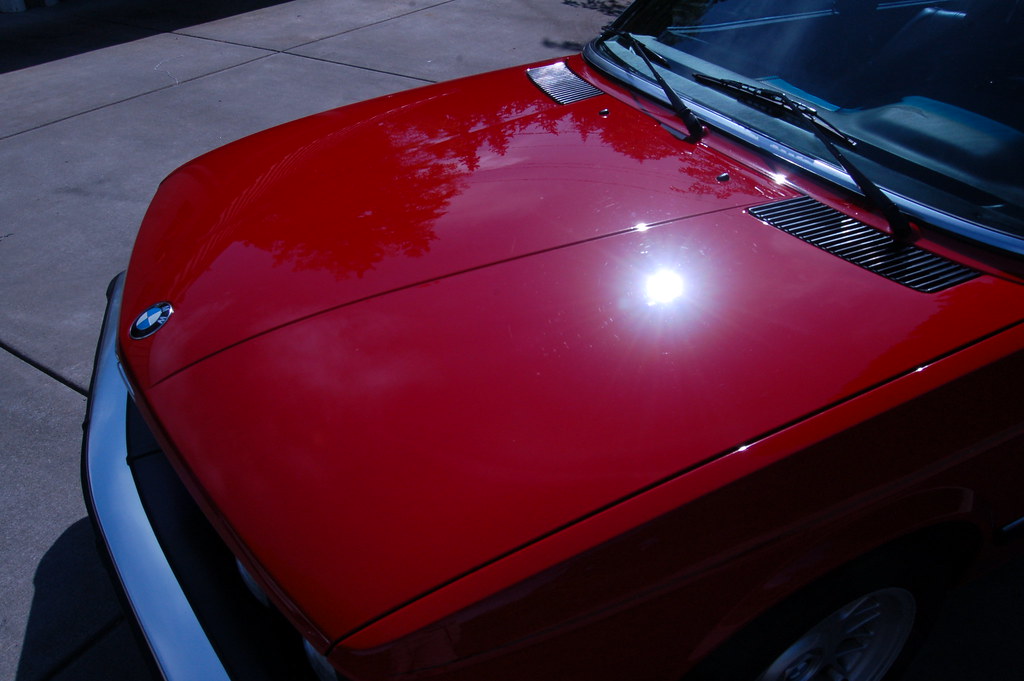
I could have gone deeper, but I'd much rather preserve the paint thickness than make it absolutely perfect and never be able to polish it again...
I prepped all the rubber with Black Again and she's looking quite nice. The biggest issues I have from an aesthetics perspective (besides the gawd awful bumpers) are the wheels and air dam.
While the Style 8's have grown on me, the PO really didn't take care of them. I need to pull them off and see if I can get the baked on brake dust off. If not, I may get them refinished.
I already have a few cans of Zinnoborrot rattle can and plan on repsraying the air dam when I get a chance. I don't care if it's done perfectly because it will get replaced when the new bumpers are installed, but it mars the car badly now.

Shadowliiiinnnneeeee....

Posted: May 11, 2013 8:38 PM
by tig
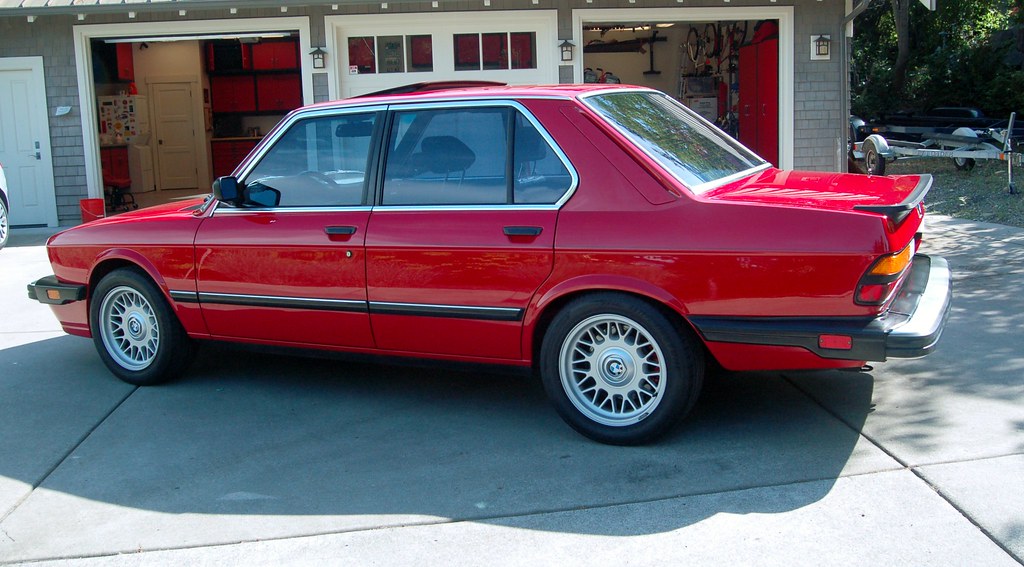
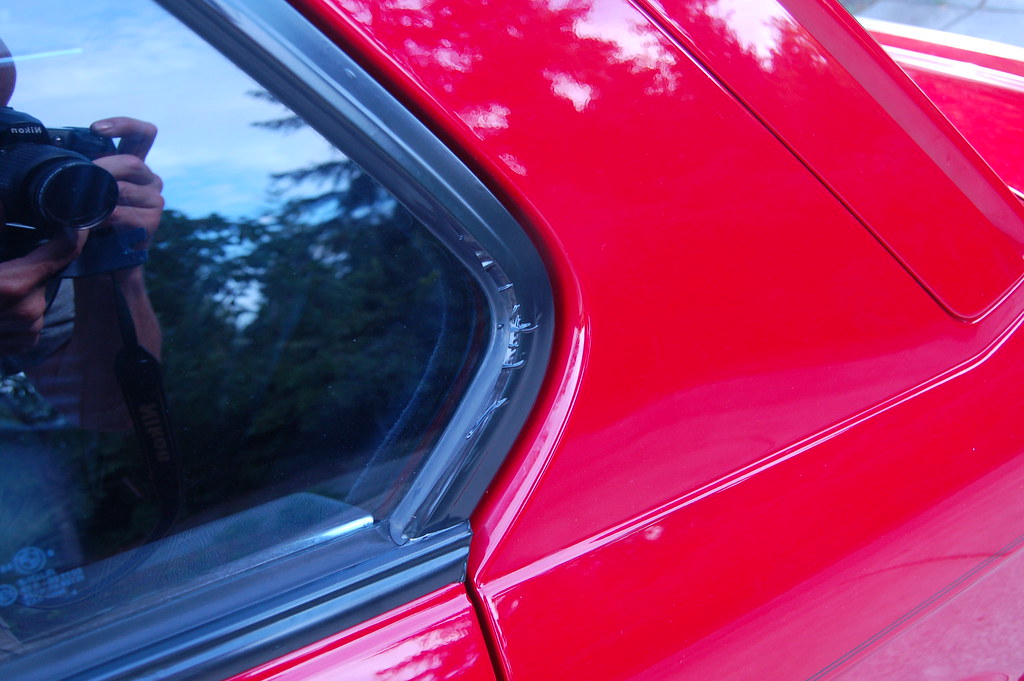
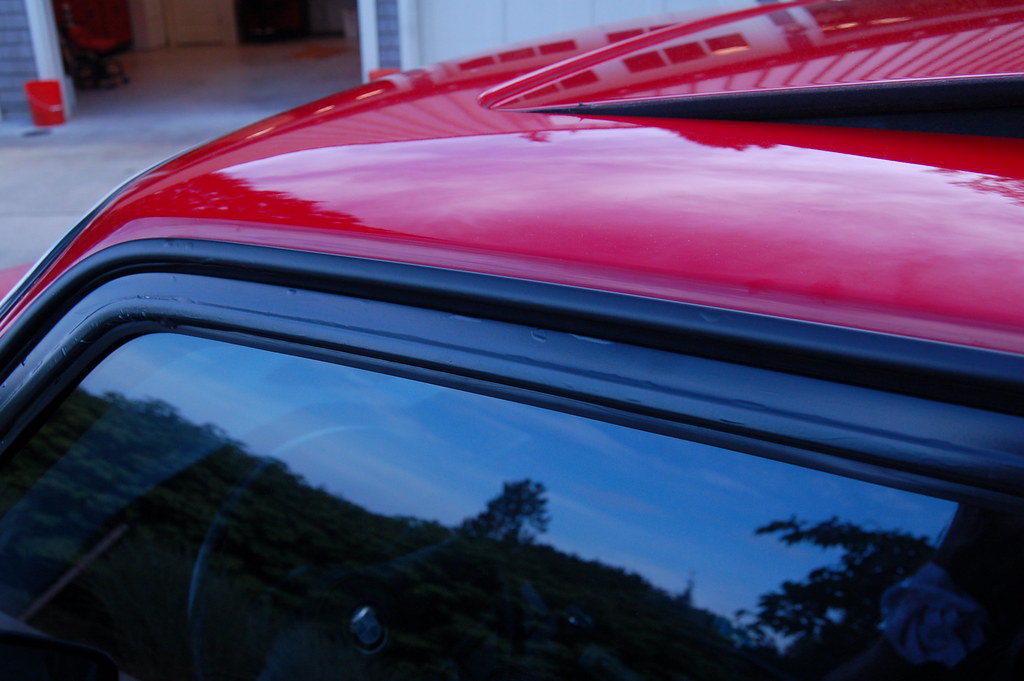
For shits & giggles, I decided to see how the 3M shadowline tape I had (I used it successfully on my AMG C63) would work on this car.
I rushed the job and so the fit and finish is not that great, but it works well enough that I think I may go this route, at least for the window trim instead of getting painted trim. I'll re-do it correctly.
I only did the driver's side...
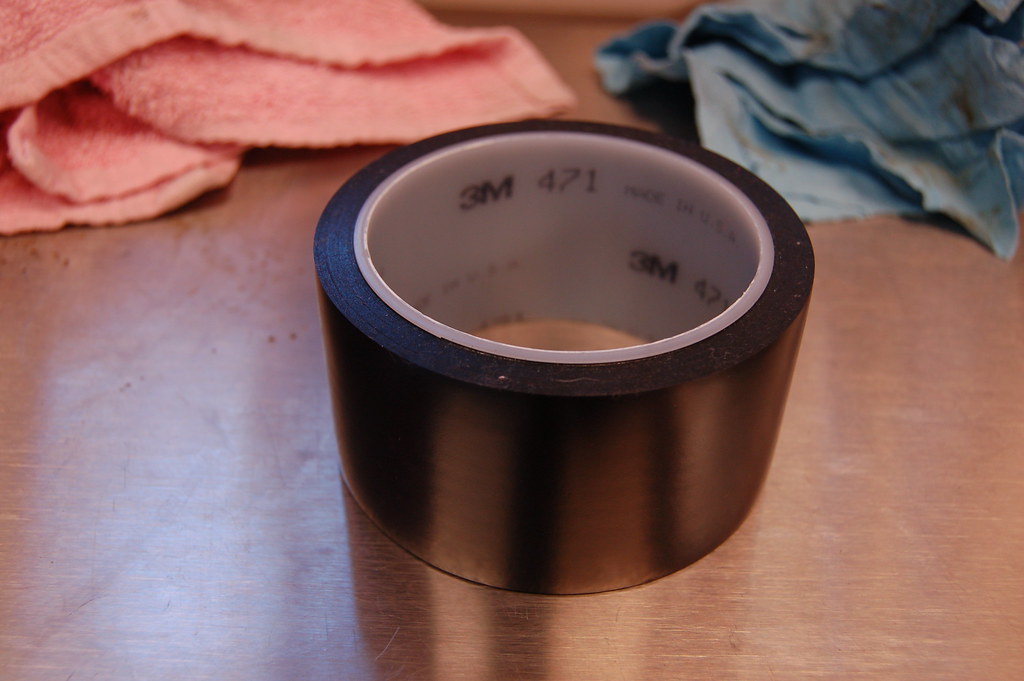

You can buy this tape on Amazon.
http://www.amazon.com/3M-Vinyl-2-Inch-- ... 000NG61TU/
I know if I took my time it would come out great. I dont' think it will work well for the windshield/rear window though.
Posted: May 11, 2013 11:43 PM
by leadphut
I think that's a yes. Looks sharp.
The M5 uses black molding for the front/rear windowshield. Takes patience but finishes the shadowline look and cleans the appearance - imho.
87royal wrote:Oops, yeah, the only thing that's gonna cover up those exposed holes from the US bumper trim is filling and re-painting, or welding in a Euro nose panel.
Maybe that's what I was thinking. Use the euro nose panel!
Posted: May 14, 2013 5:35 PM
by GaAlpinaOwner
I would suggest if you are going to shadowline the car as you have, consider painting the Euro bumpers Zinno to match as well. This really makes the car standout......I did this on my M5 and it looks awesome. It looks great other than those god awful US bumpers.
David
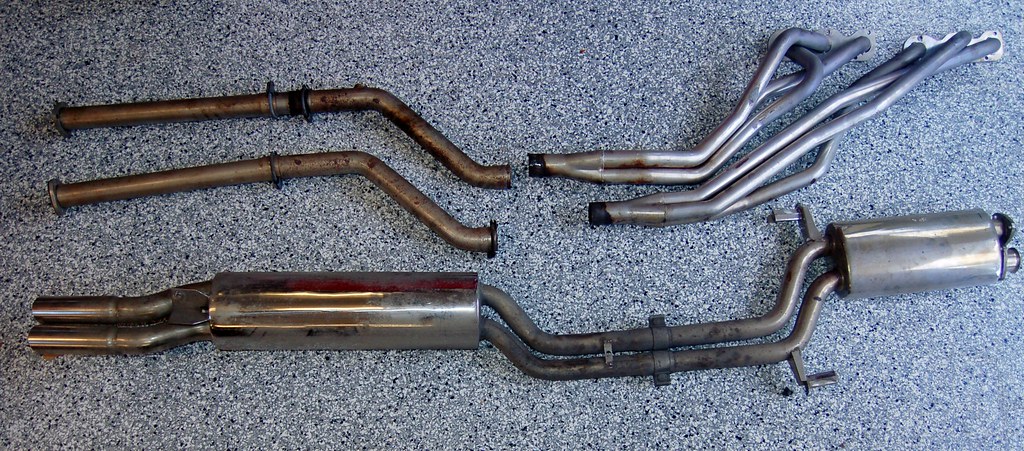
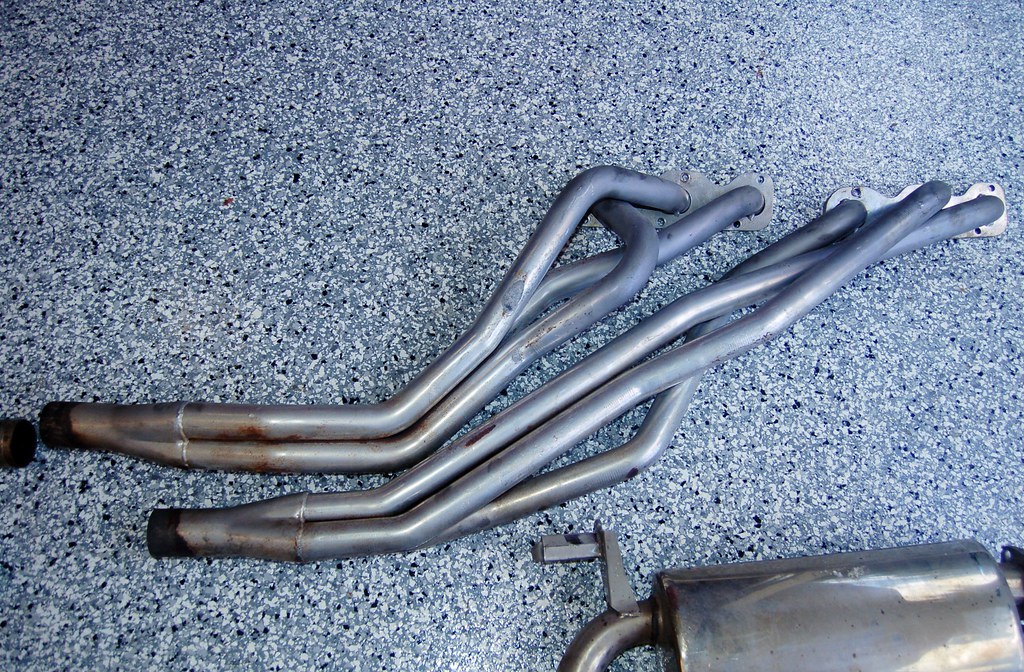
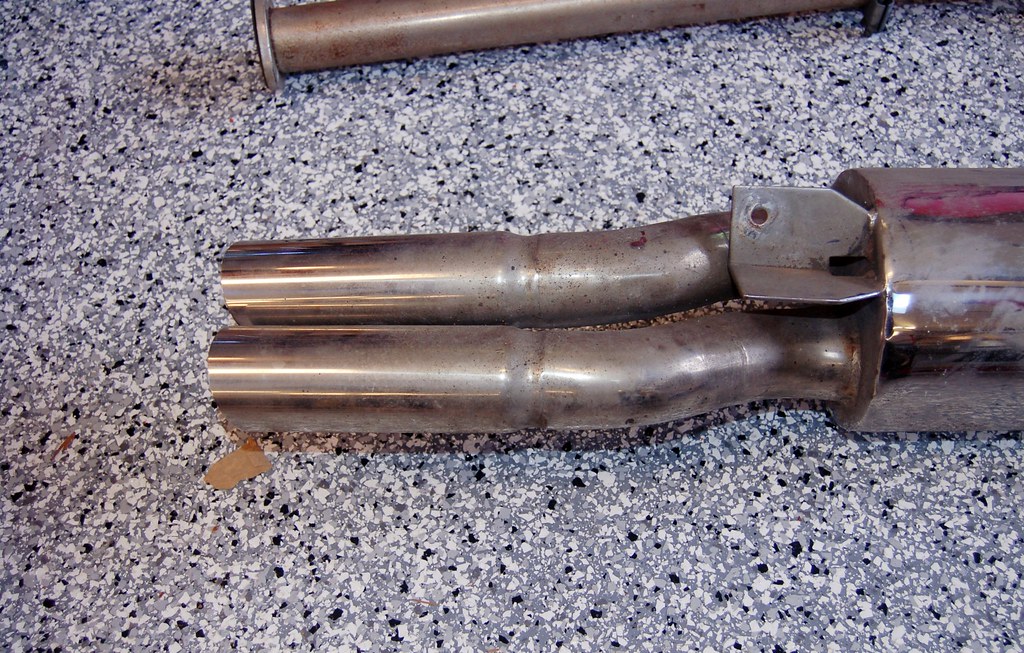
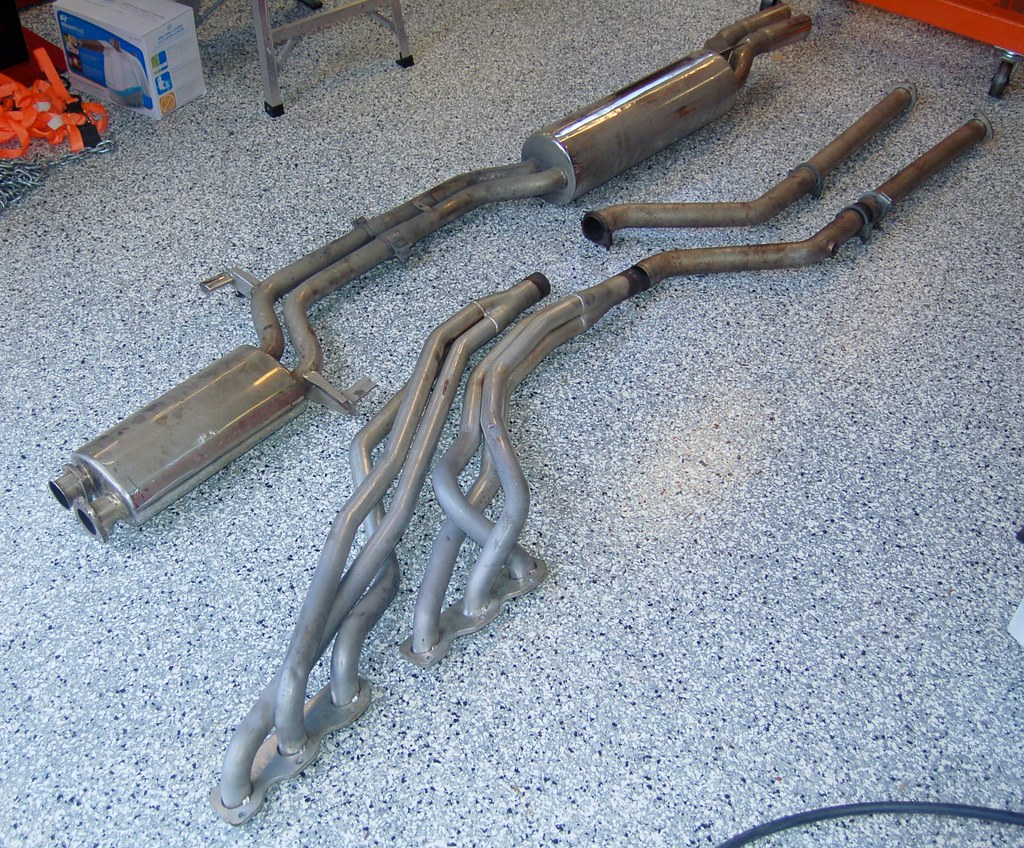
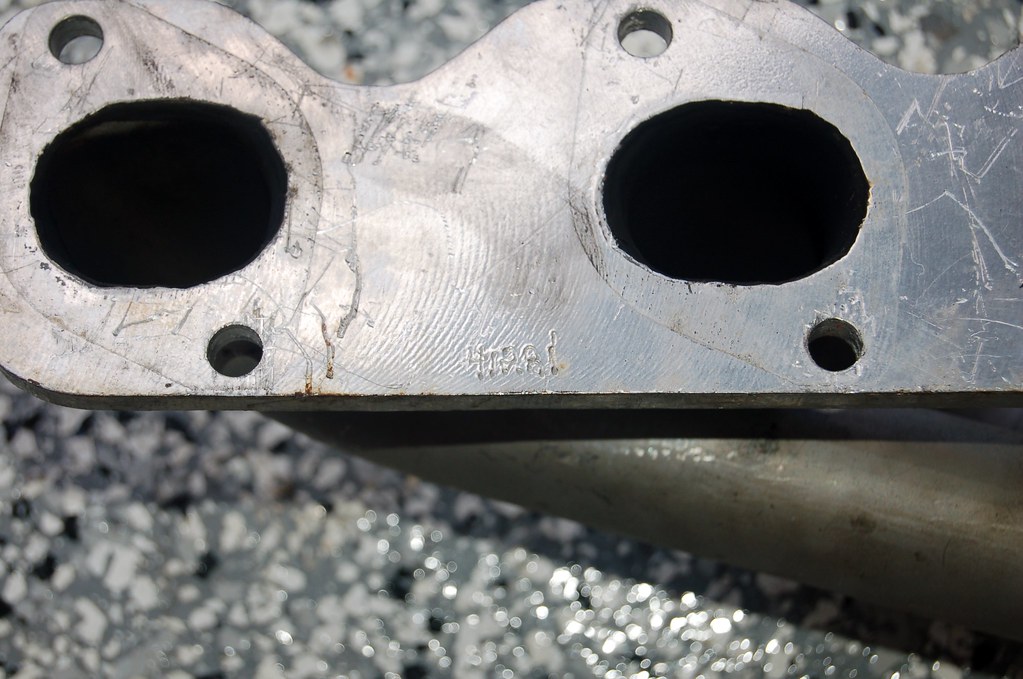
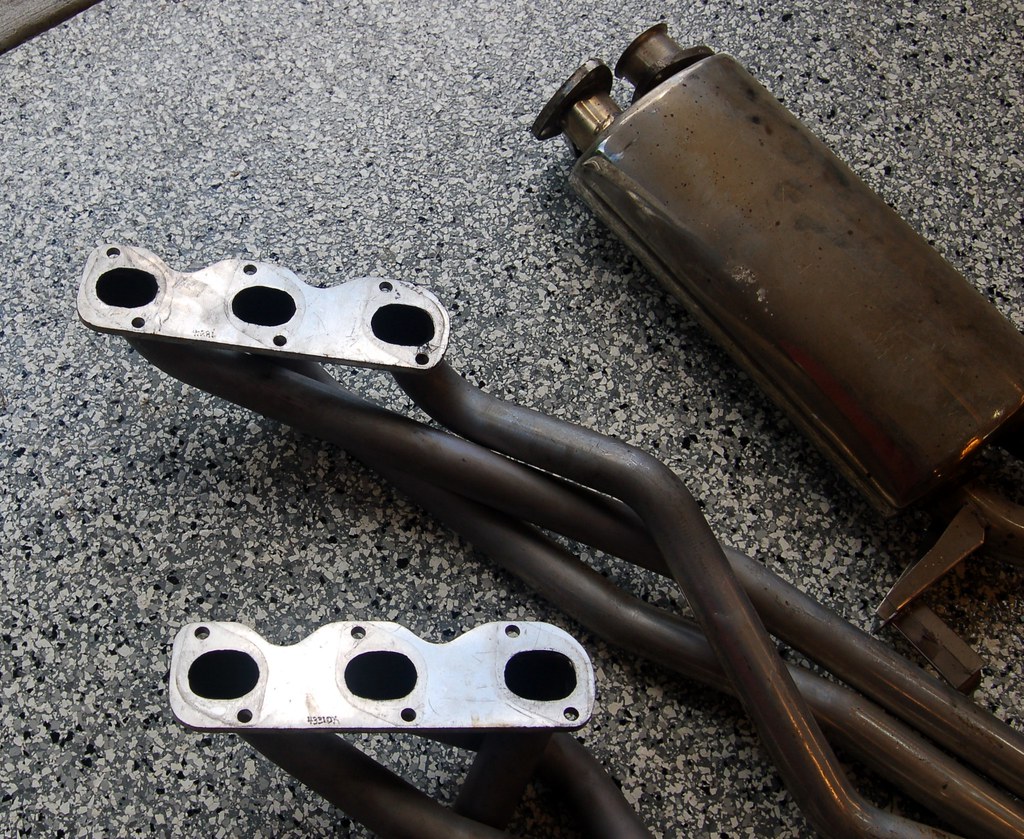
Posted: May 16, 2013 7:03 PM
by tig
Posted: May 16, 2013 7:43 PM
by Kyle in NO
Yes, they are coated.
Posted: May 16, 2013 7:47 PM
by tig
Kyle in NO wrote:Yes, they are coated.
Woo-hoo! I assumed there'd be more color if they were.
Thanks Kyle.
Posted: May 16, 2013 11:36 PM
by TheLazyDog
Spectac-upendo-ultr-awesome! Such a great thread to read. Keep em' coming!
Posted: May 17, 2013 8:17 AM
by shagrath
This thread just keeps getting better.
I need to replace all the bulbs in my dash again to brighten her back up.
Thanks for taking the time to go into such detail on this thread with pictures. It makes it easy for those of us who need to do the same things to our cars.
Posted: May 17, 2013 11:23 AM
by leadphut
Keep me in mind when you decide to sell the car. Looks great.