Re: Another restoration - 83' 528i
Posted: Sep 05, 2020 8:18 PM
Every post further establishes you as a hero I aspire to be. Wow.
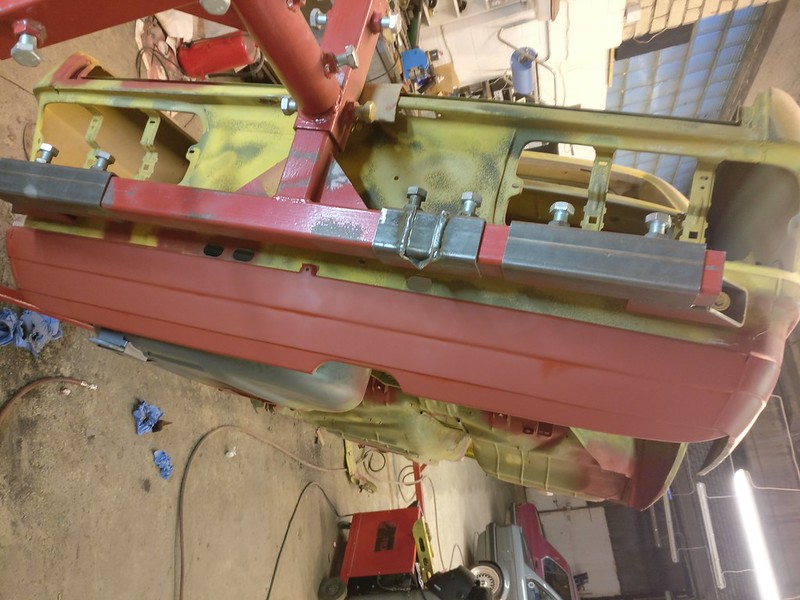
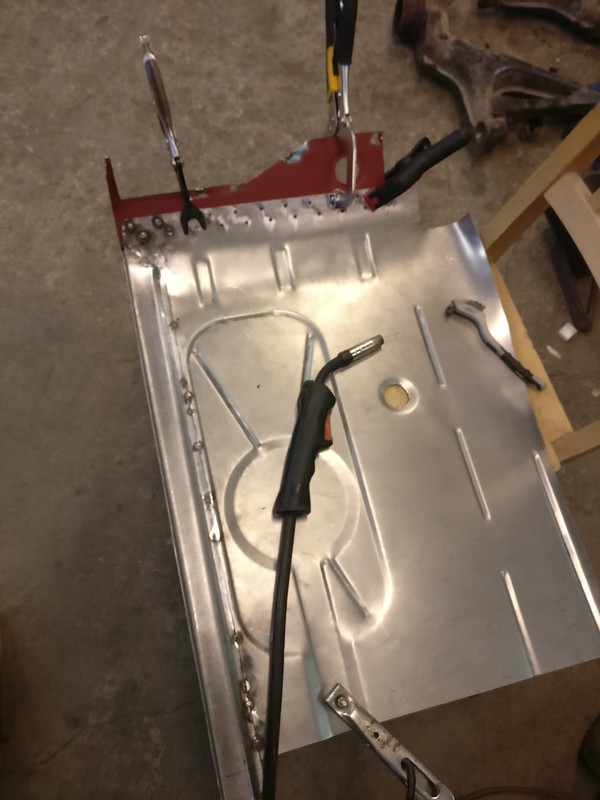
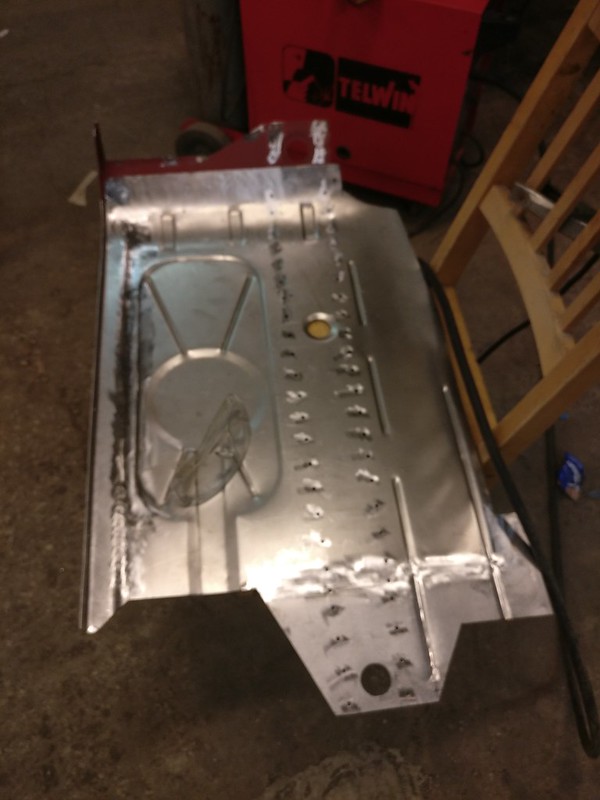
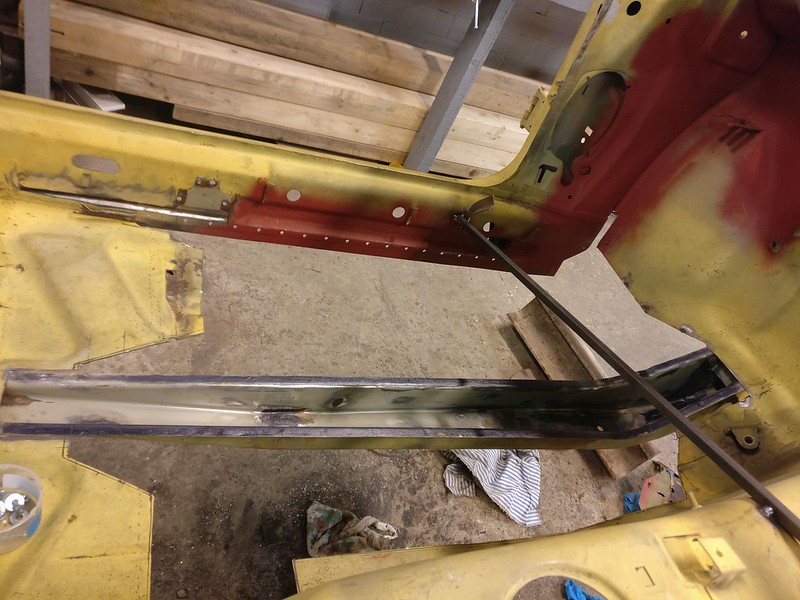
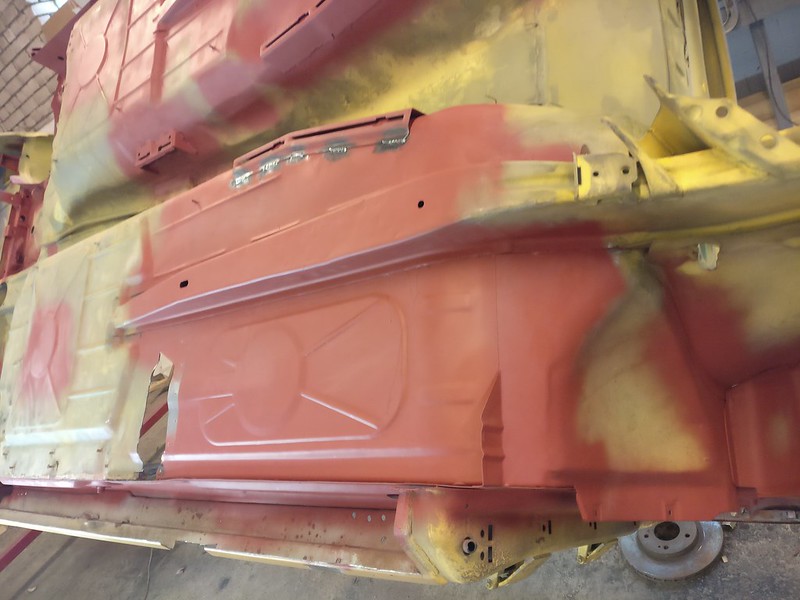
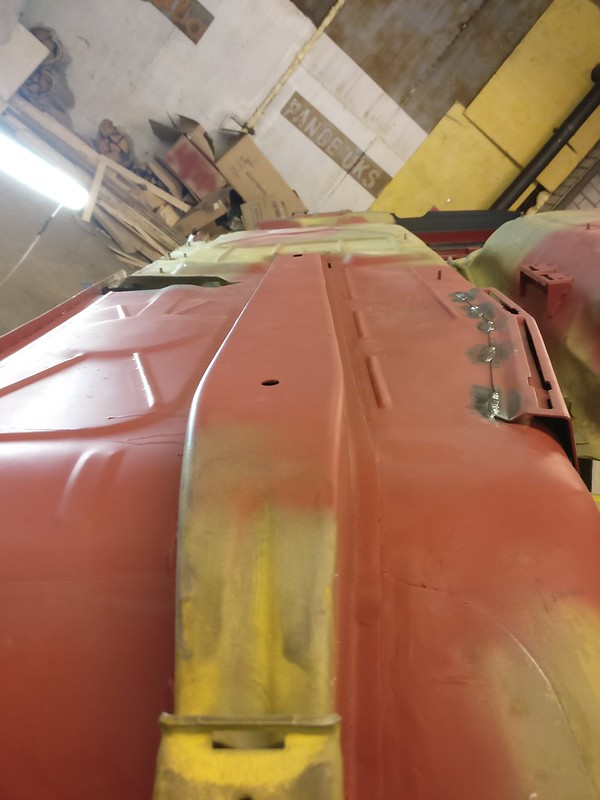
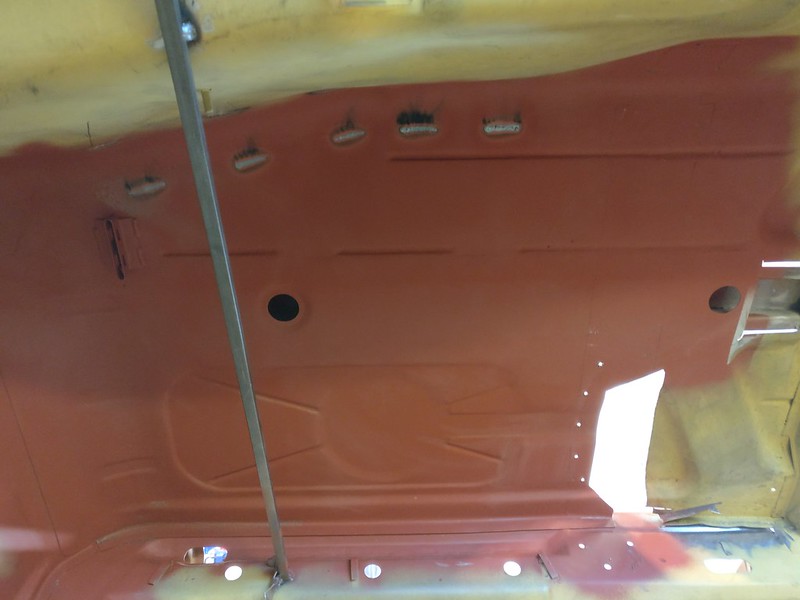
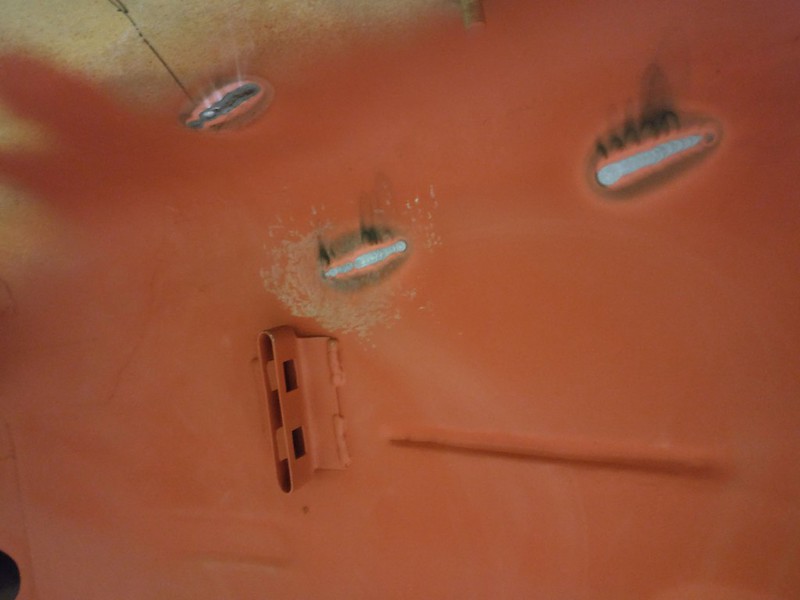
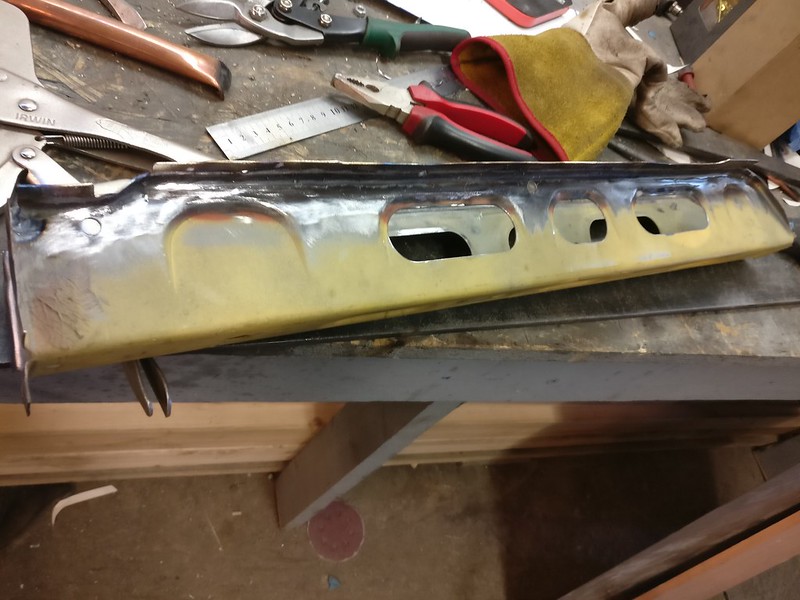
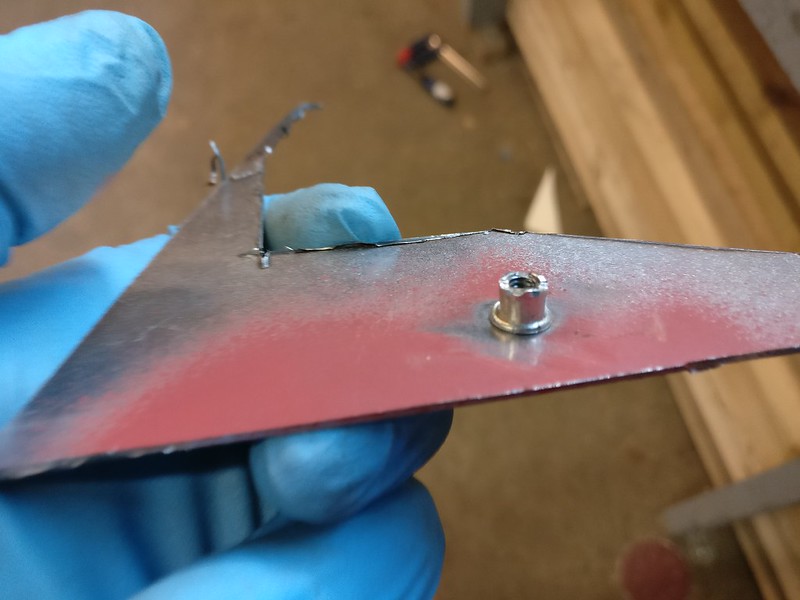
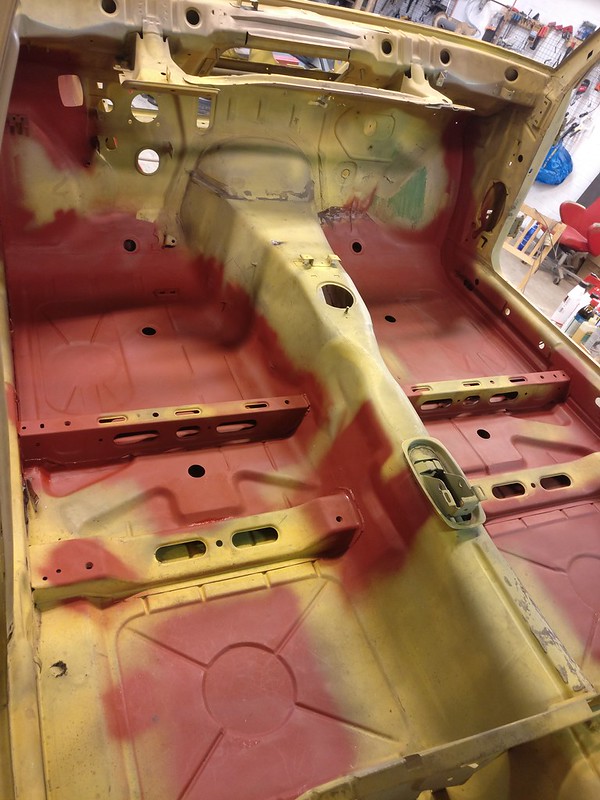
Not so long ago I was pretty sure I’ll never do any body/chassis work. Then this project came along, and it turns out to be a really enjoyable although time-consuming activity.Bonsaibacker wrote: Sep 13, 2020 8:32 AM Most (99%- dare I say 99.9%) of us will never get this deep into the chassis.
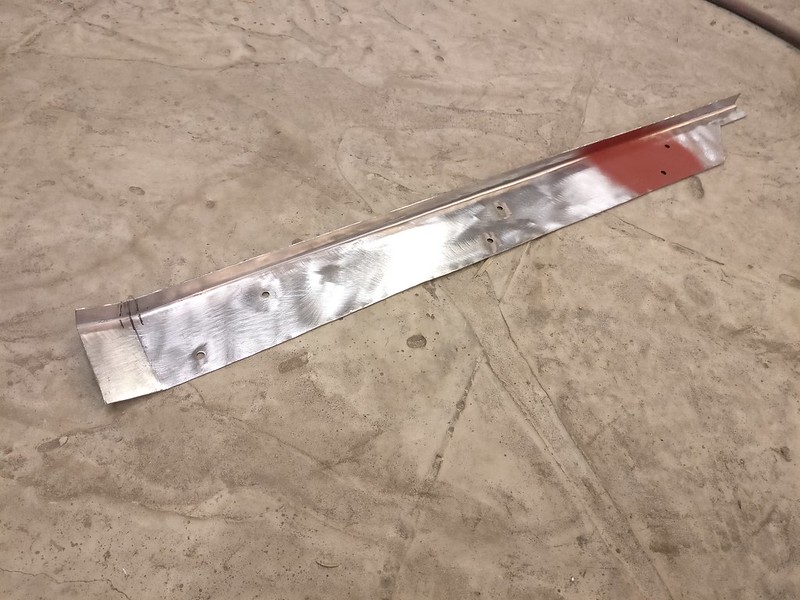
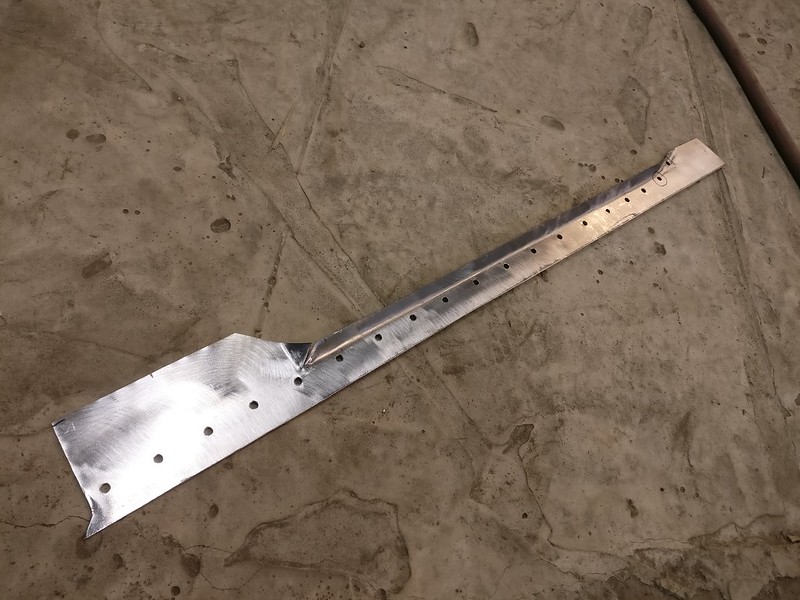
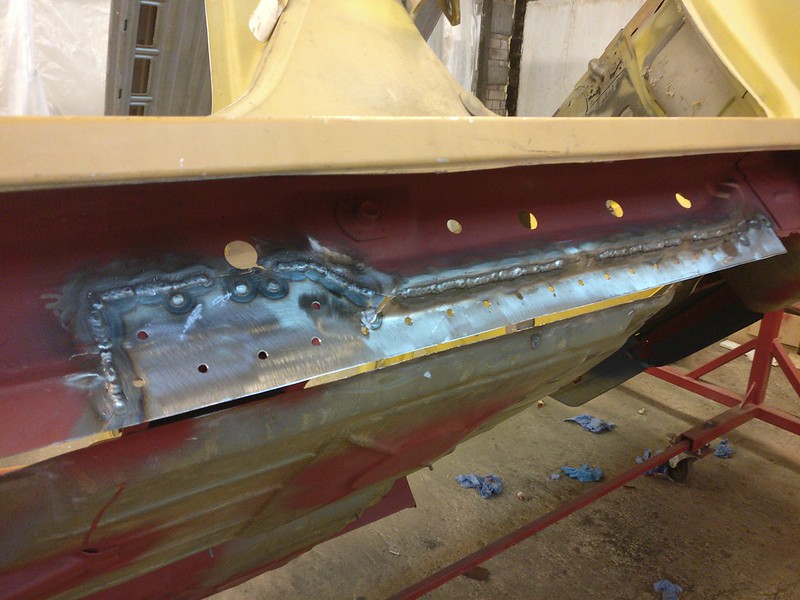
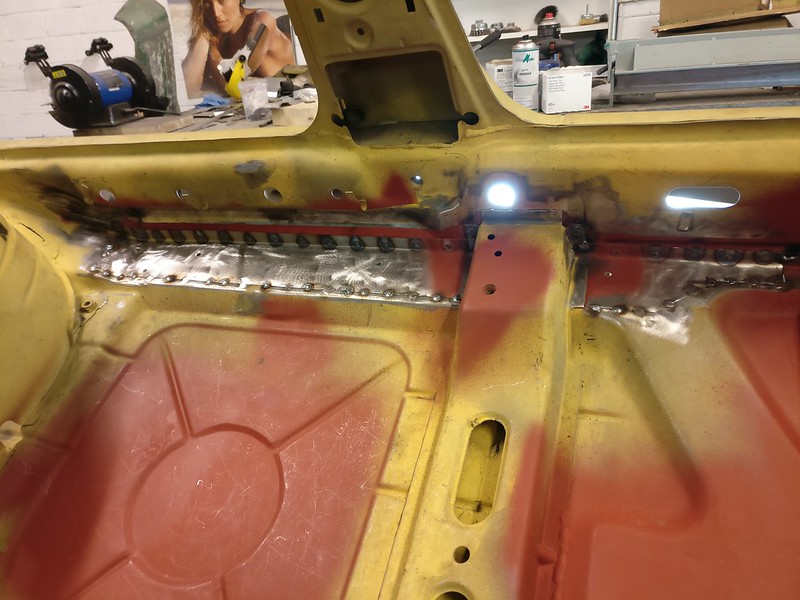
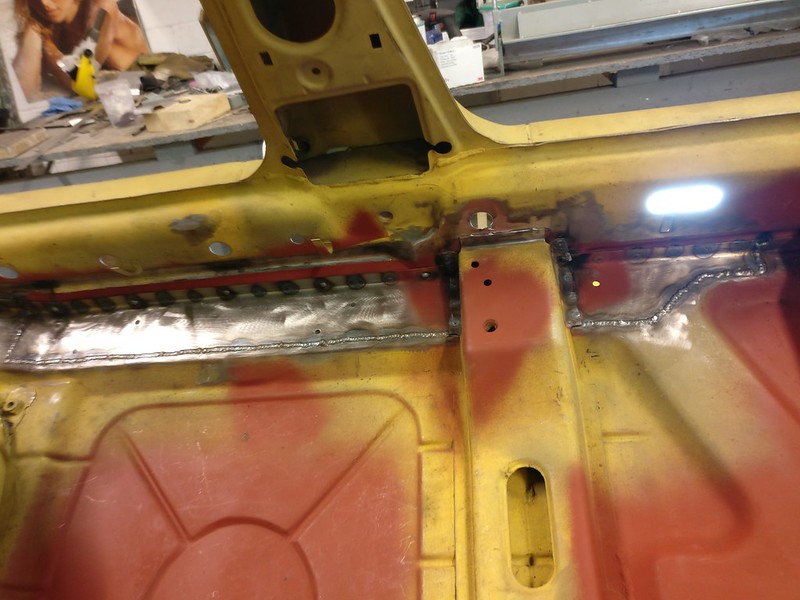
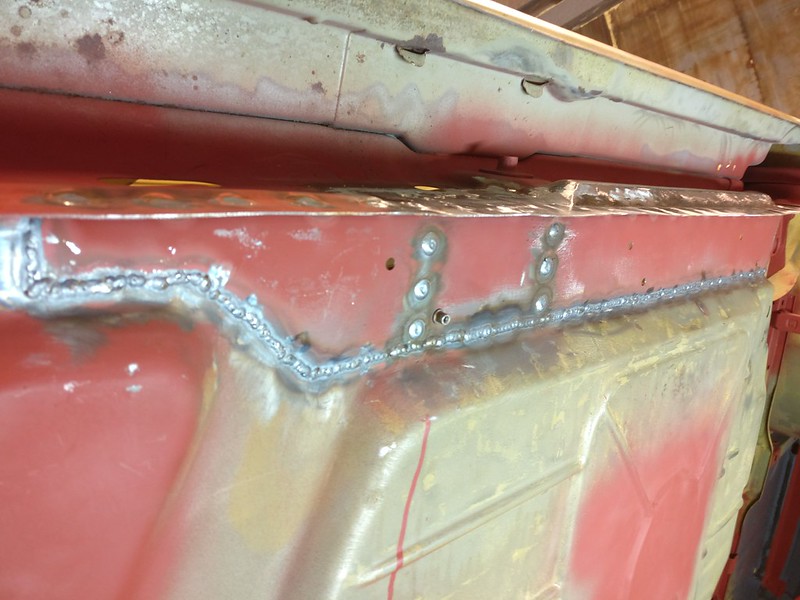
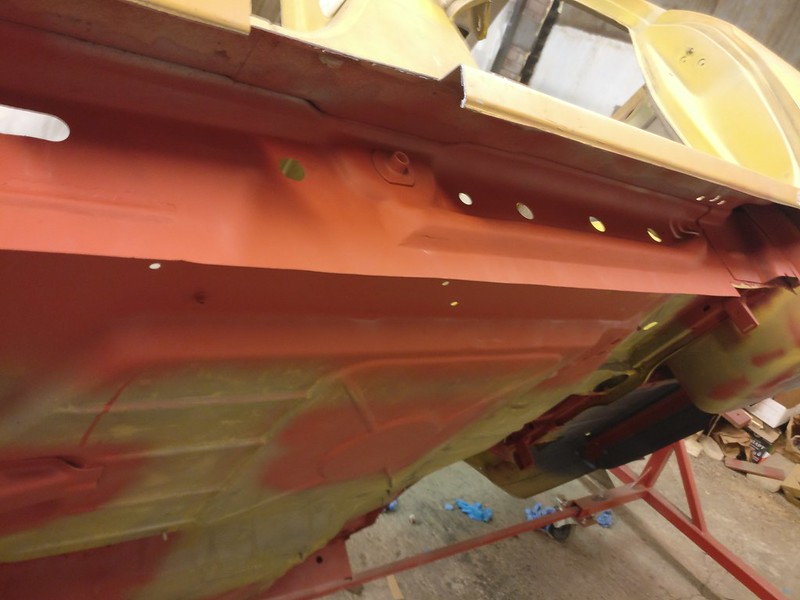
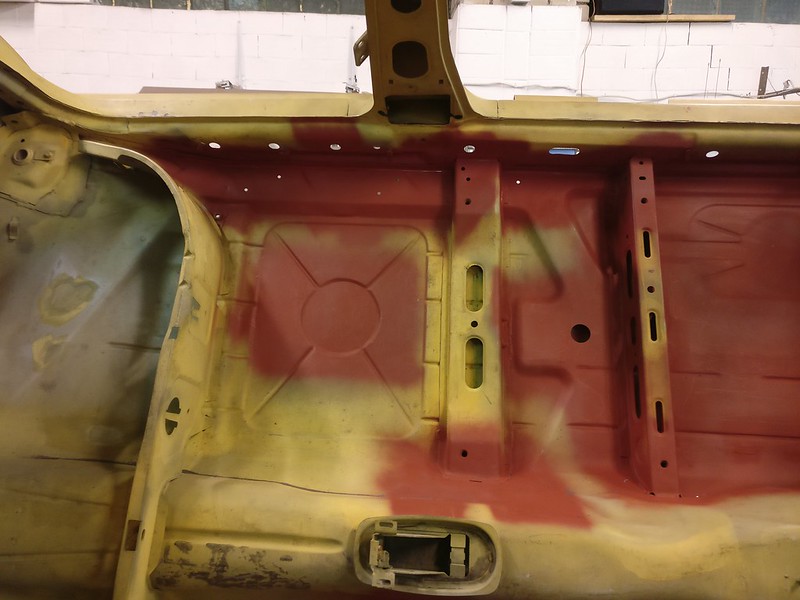
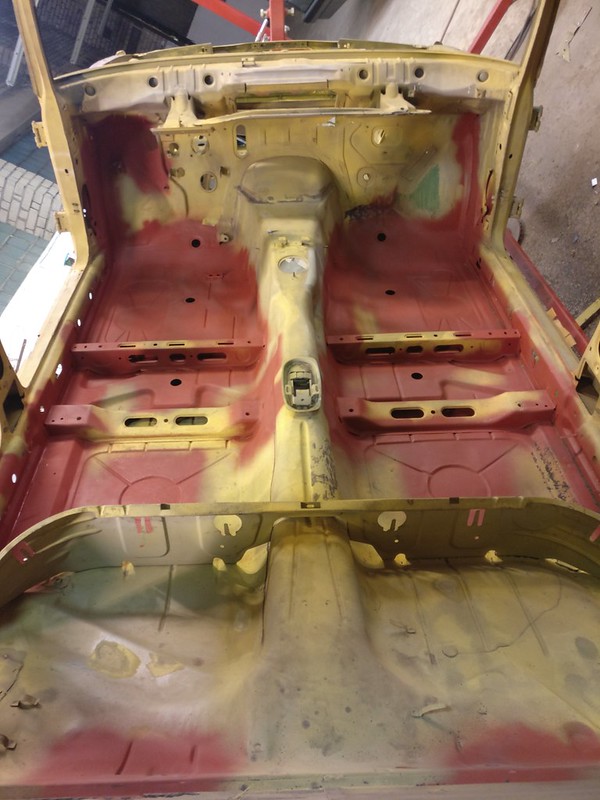
And the B-Pillar to roof joints.cek wrote: Sep 14, 2020 5:51 PM Curious about something: Are you making any "improvements" as you go? E.g. beefing up known weak spots like the sway bar mounts?
I wasn't aware cracking sway bar mounts is a thing.cek wrote: Sep 14, 2020 5:51 PM Curious about something: Are you making any "improvements" as you go? E.g. beefing up known weak spots like the sway bar mounts?
I have read about that but I wasn't able to find any pictures of the issue online. On my chassis those joints look good. Or maybe I am looking in the wrong place. Do you happen to have any photos of such cracks? I can take a few of mine in the upcoming days if anyone bothers to mark up the problematic spot.
It is very much a thing especially the rear mounts when larger bars are installed.taavipa wrote: Sep 15, 2020 4:39 AM I wasn't aware cracking sway bar mounts is a thing.
Did a quick search and it seems people were using M5 mounts for fronts but those are NLA now. Any other preferred method to reinforce those? Is it the slot for the tab that usually gives in?
I have old style mounts in the rear. Should be able to fabricate something for these if that's recommended.
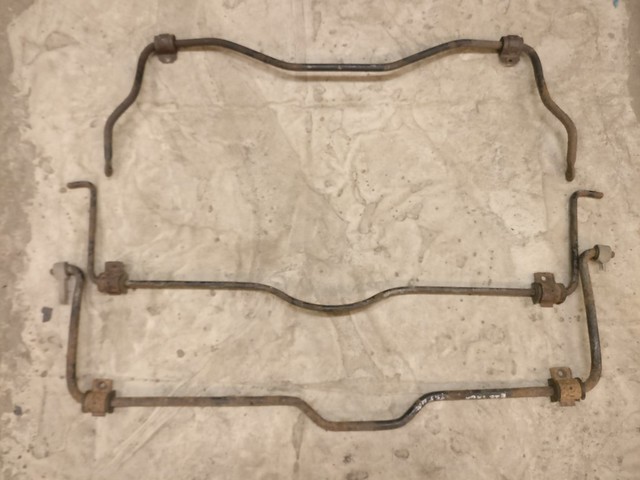
According to the bushings I have ordered my sway bars should be 17mm front and 15.5mm rear but I can remeasure to be sure. I have no plans to upgrade the sway bars in the near future but you'll never know and it would be nice to eliminate any possible issues now.
I have no photos (nor have seen any yet) but it was discussed in this thread recently, which is why it came to mind:taavipa wrote: Sep 15, 2020 4:39 AM I have read about that but I wasn't able to find any pictures of the issue online. On my chassis those joints look good. Or maybe I am looking in the wrong place. Do you happen to have any photos of such cracks? I can take a few of mine in the upcoming days if anyone bothers to mark up the problematic spot.
These mounts do look really nice!vinceg101 wrote: Sep 15, 2020 12:29 PM It is very much a thing especially the rear mounts when larger bars are installed.
There is guy here that starting fabricating new BMW M5 style 25/19mm mounts:
viewtopic.php?p=1480778#p1480778
I am not sure about using smaller bars with these (maybe with an oversized bushing?).
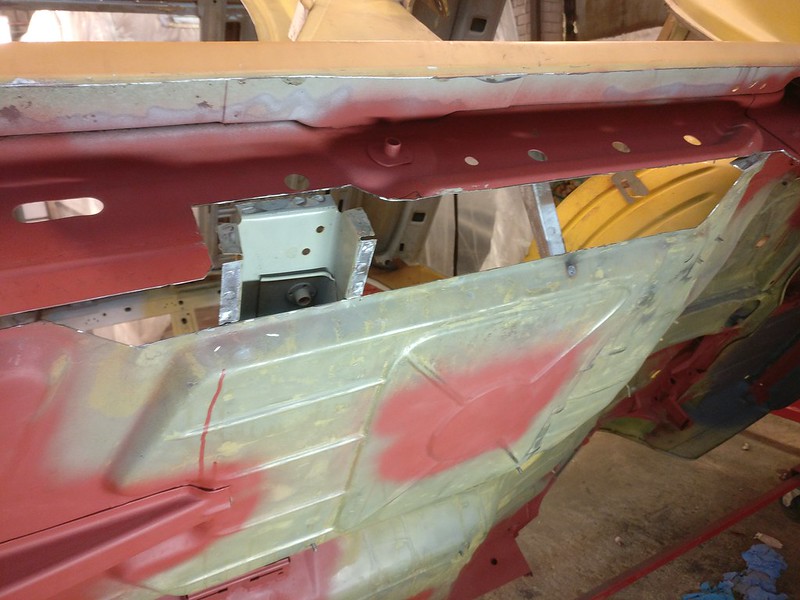
The larger bars do offer a noticeable handling improvement but do introduce increased stress on the known weak mounting method from BMW. There is no other method than welding the fronts on. For the rears you can box frame the factory mounts and do a full weld to the chassis; it is the best way.
I will go over the joints again and in the meantime let's hope somebody will post a picture in that thread. Bottoms of the B-pillars are fortunately in good condition, thanks for the tip.vinceg101 wrote: Sep 15, 2020 12:29 PM I have no photos (nor have seen any yet) but it was discussed in this thread recently, which is why it came to mind:
viewtopic.php?f=3&t=153387&p=1481140&hi ... r#p1481140
With all the work you're doing and you're evident welding skills, it would be easy enough to do a close exam of those joints and look very closely. It seems to me you could do some added plates over them just to be safe. With all the rot you have on the rockers, I would pay close attention to the bottoms of those B-Pillars as well. This joint is a main stress and transfer point on an E28 frame.
I was expecting this question to pop up sooner or later and I believe it deserves a thorough answer.vinceg101 wrote: Sep 15, 2020 12:29 PM I have been admiring your work as you are a skilled bodyman with welding prowess I can only aspire to, but, and don't take this the wrong way, wouldn't it have been easier to start with a better shell? The level of body rot on this one seems excessive and the amount of time and energy you're expending just to return it to baseline is equally as excessive. Did you consider stopping and finding one better at any point? I have to imagine that even importing a solid US shell would have been both quicker and cheaper in the long run than all the work you're pouring into this one. Again, I mean no disrespect as you're a great craftsman and wish you were close to me so I could avail of your skills for my own projects. I don't think I am alone in that I would have considered this body a loss once the extent of rot was discovered.
Interested in your thoughts on this now that you are into this far.
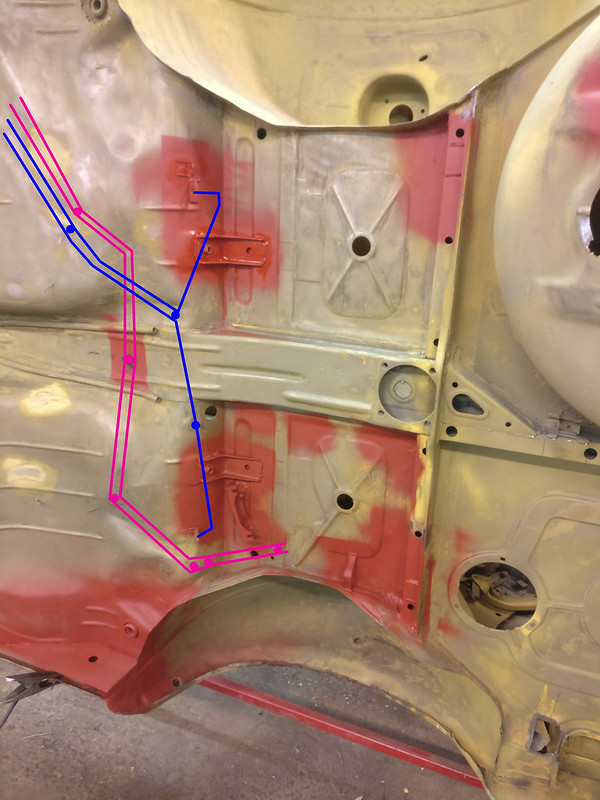
You are more or less correct in the general routing. I just scoured through my files and found these photos from Rear End Rebuild from 2014. I don't have specific final photos of the brake lines, but you get to see some of them in these photos:taavipa wrote: Sep 15, 2020 4:39 AM And since the Q&A rounds began, is this how the brake and fuel lines are routed in the rear? Blue for brake lines, pink for fuel lines and dots mark the mount points.
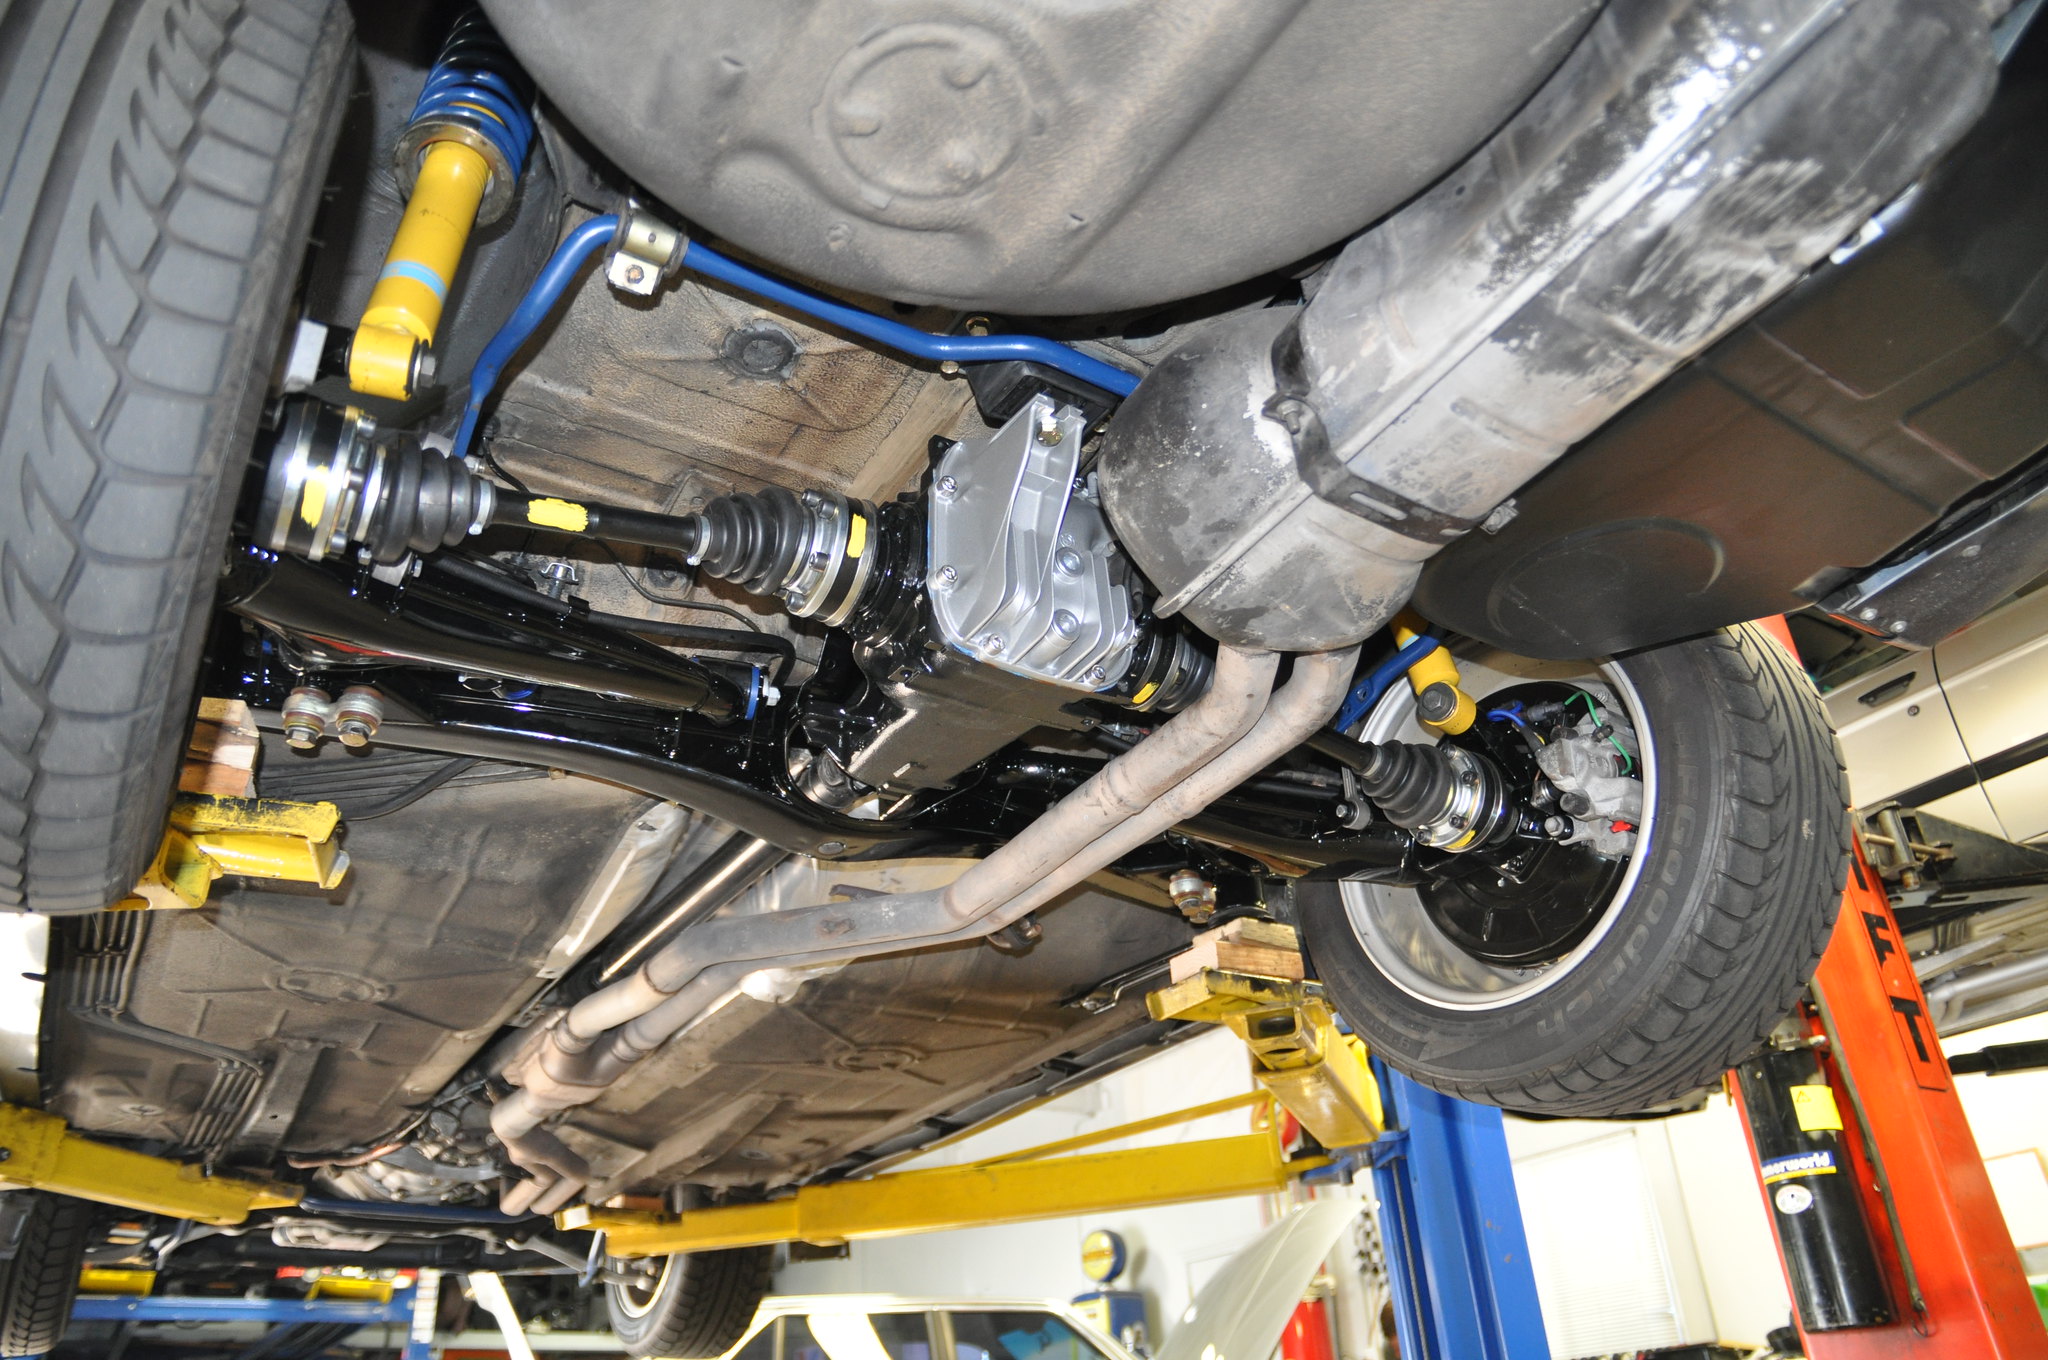
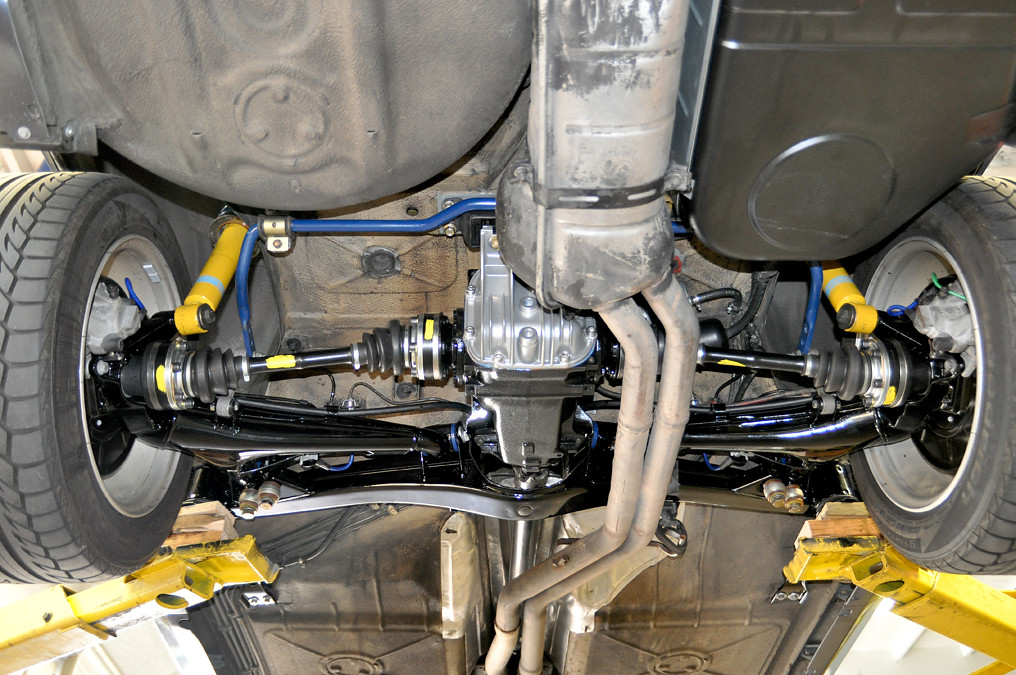
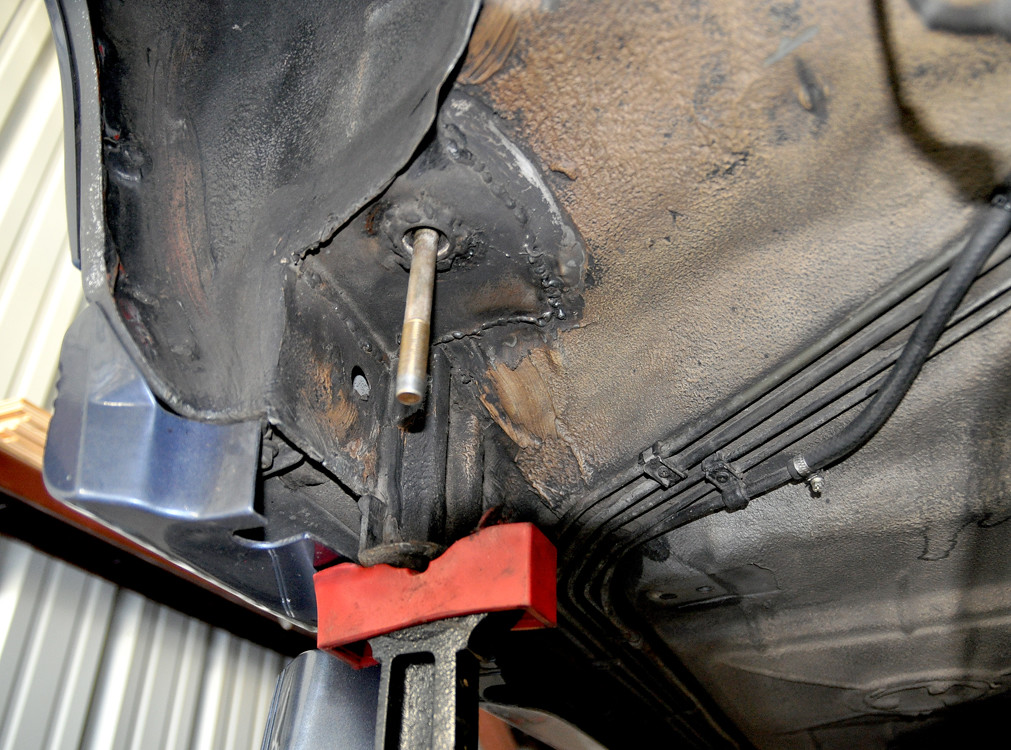
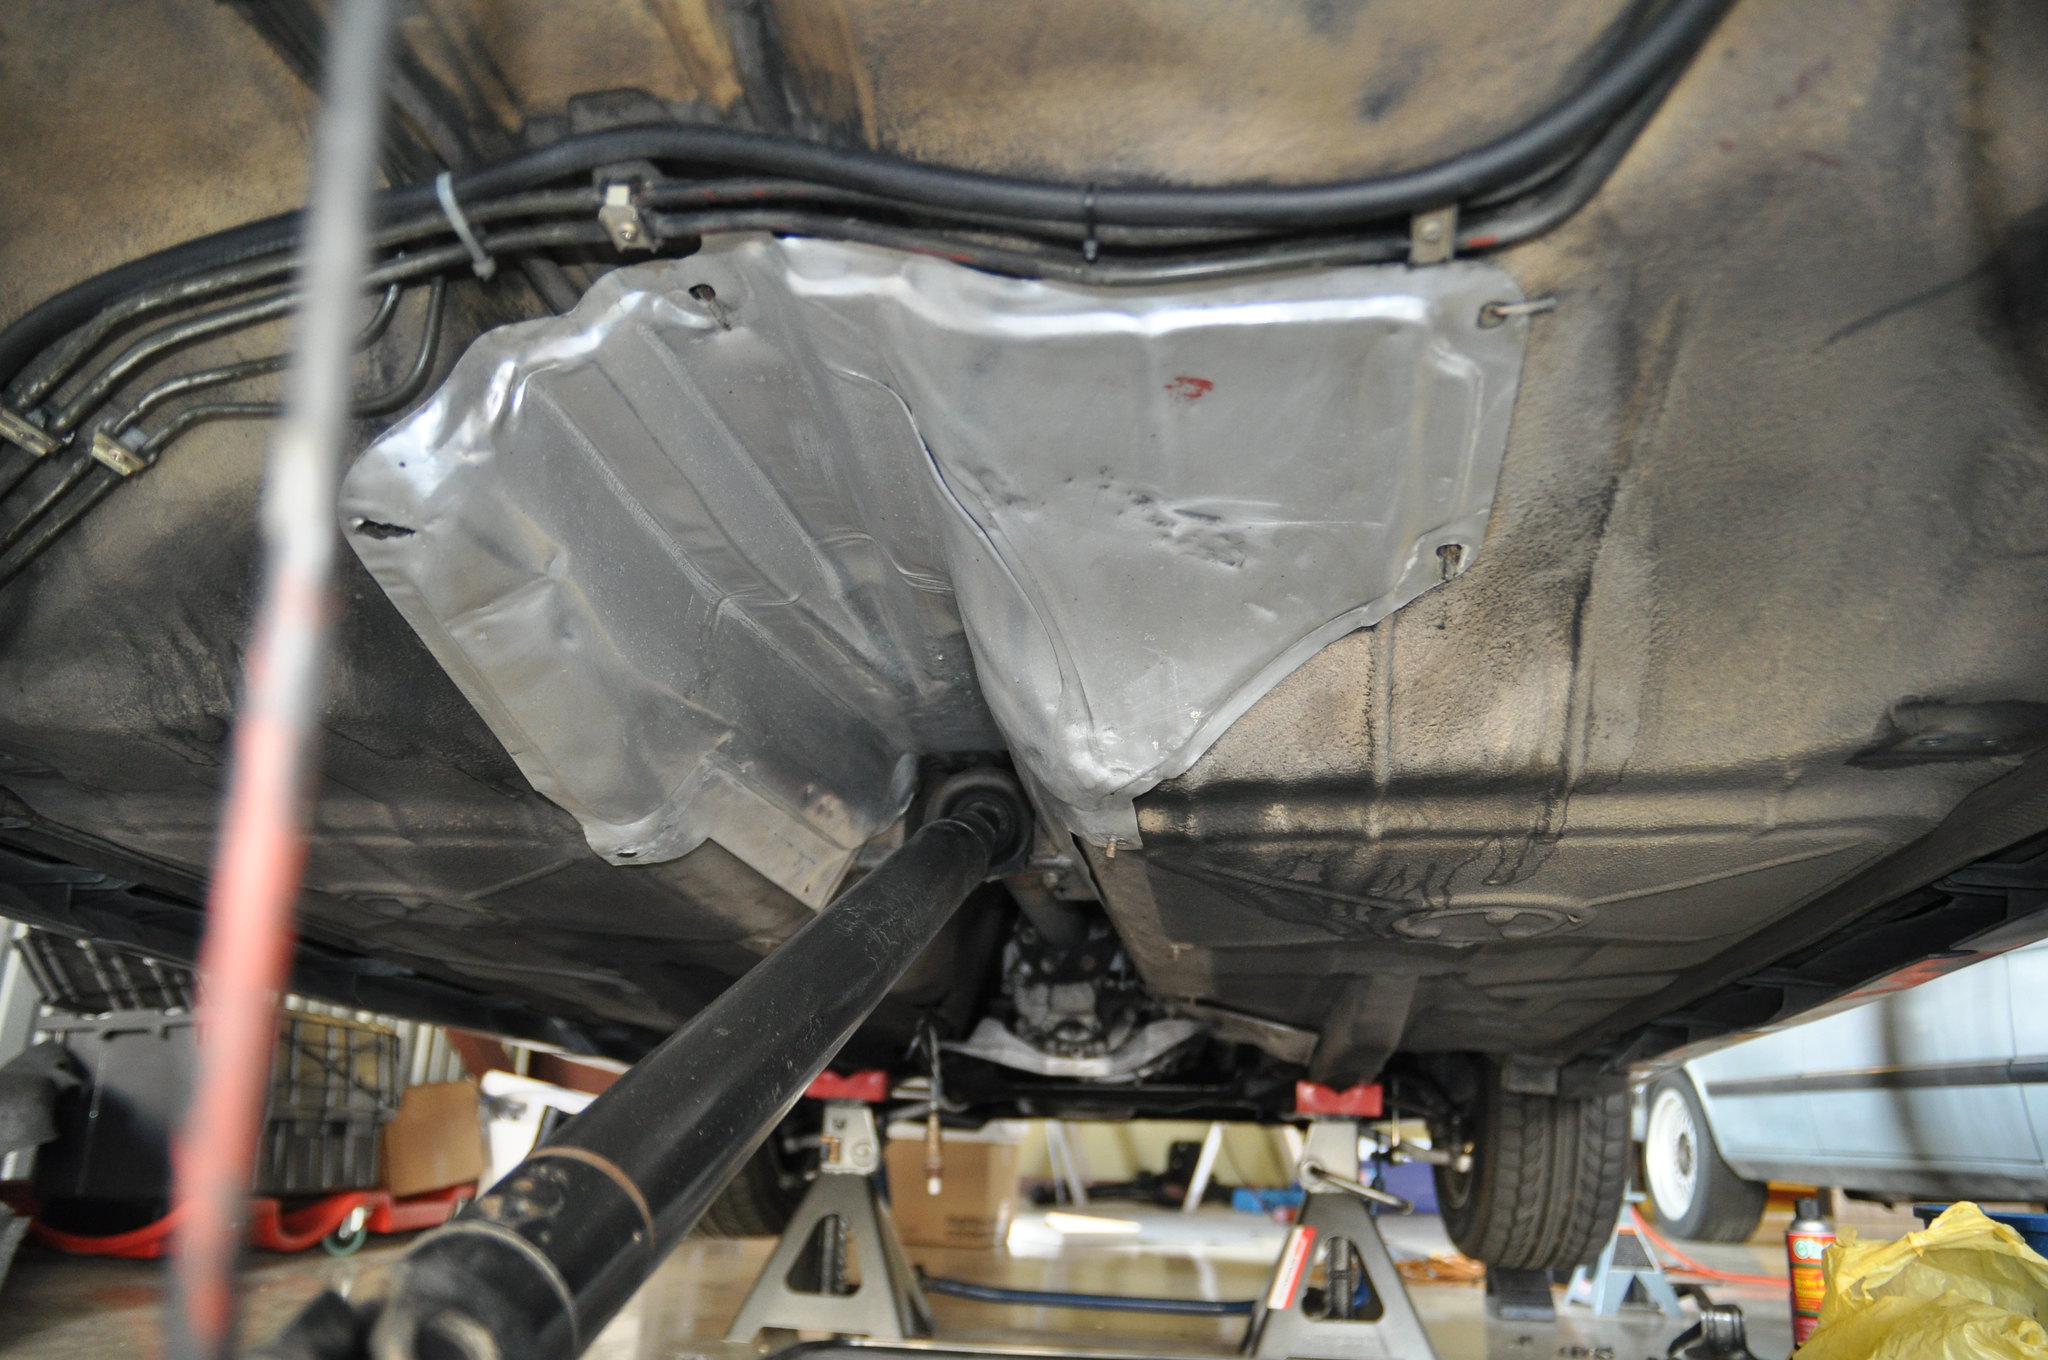
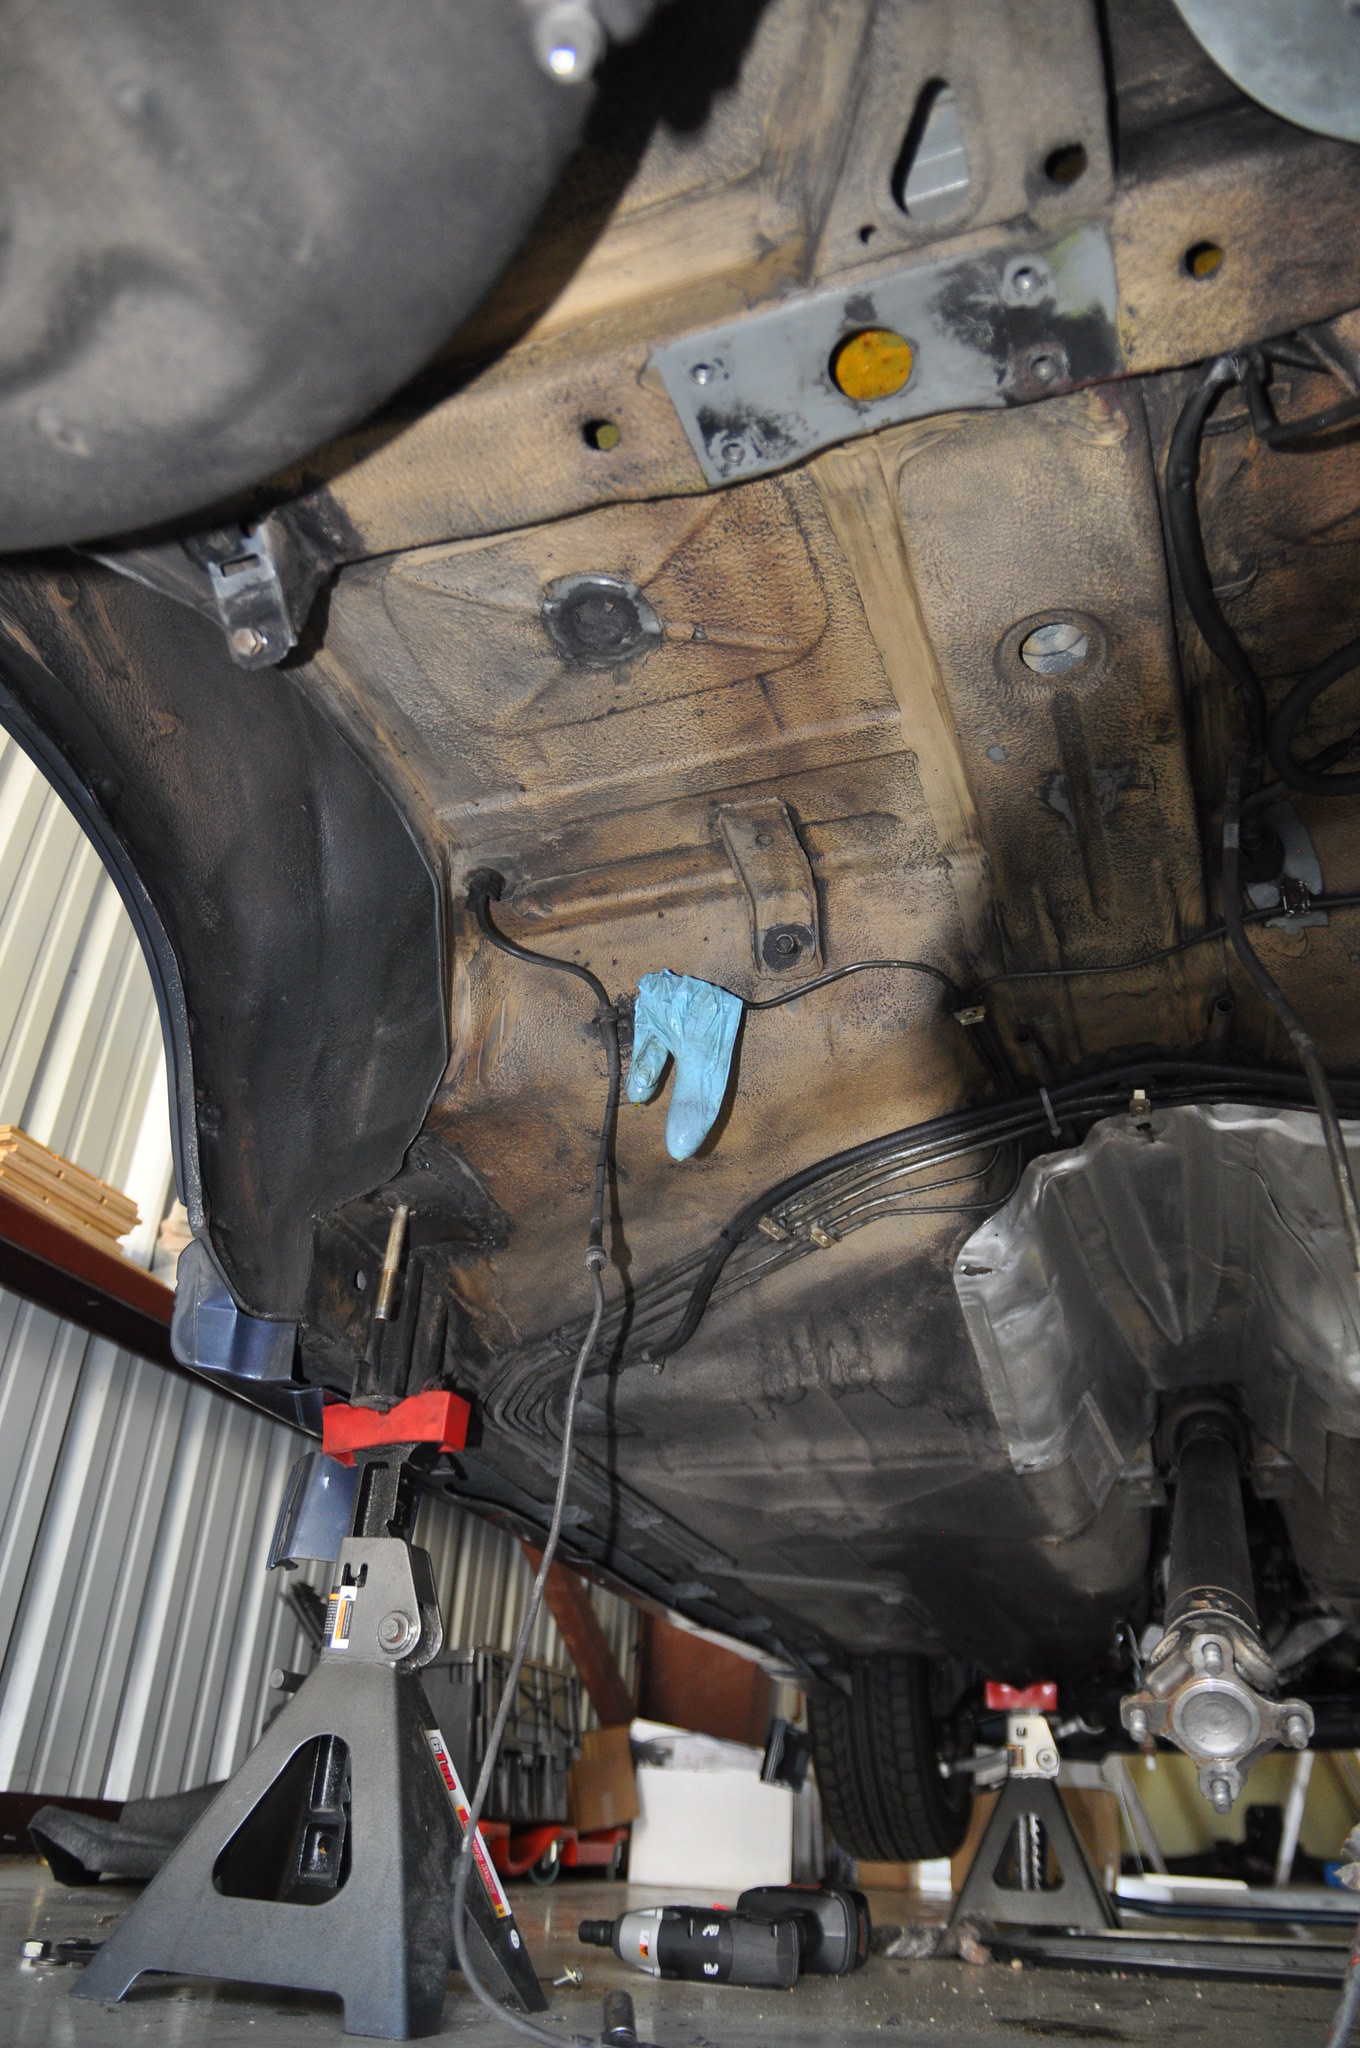
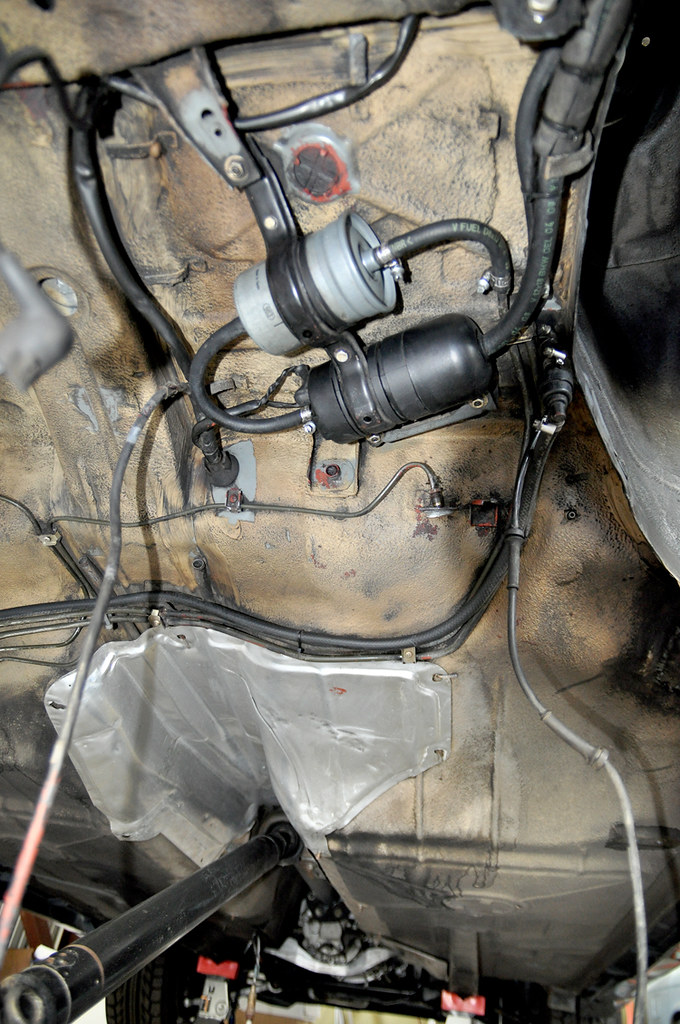
I couldn't agree more. Thanks for the thoughtful response and your reasoning; clear concise logic like this is rare these days.cek wrote: Sep 15, 2020 4:26 PM @taavipa, I love your attitude and am grateful that you are sharing your experience with us. Please carry on!
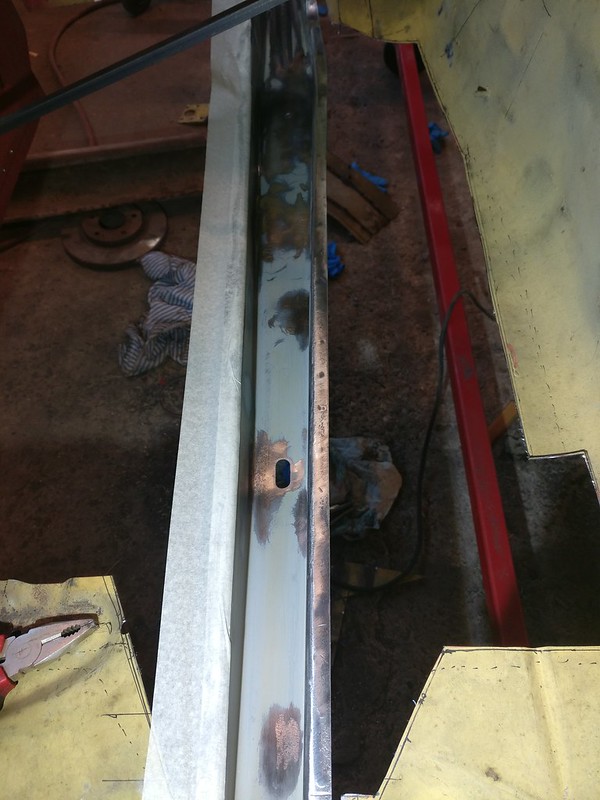
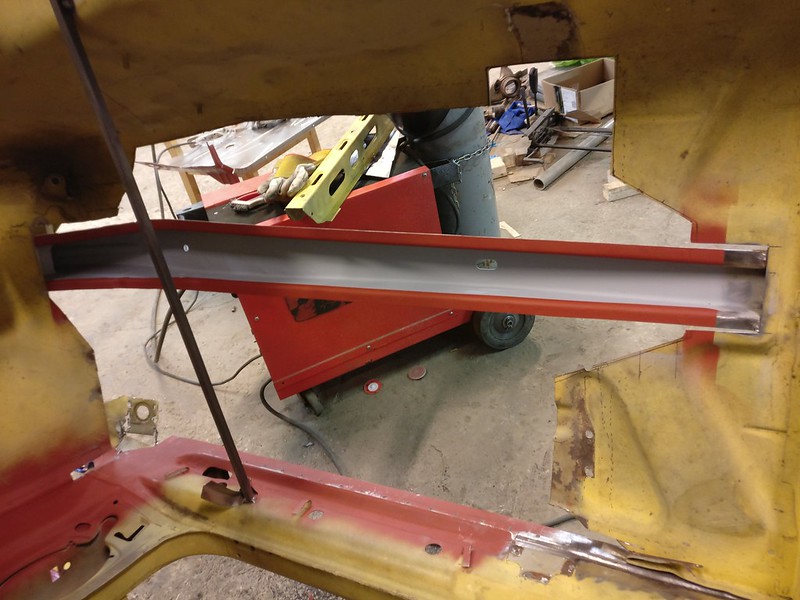
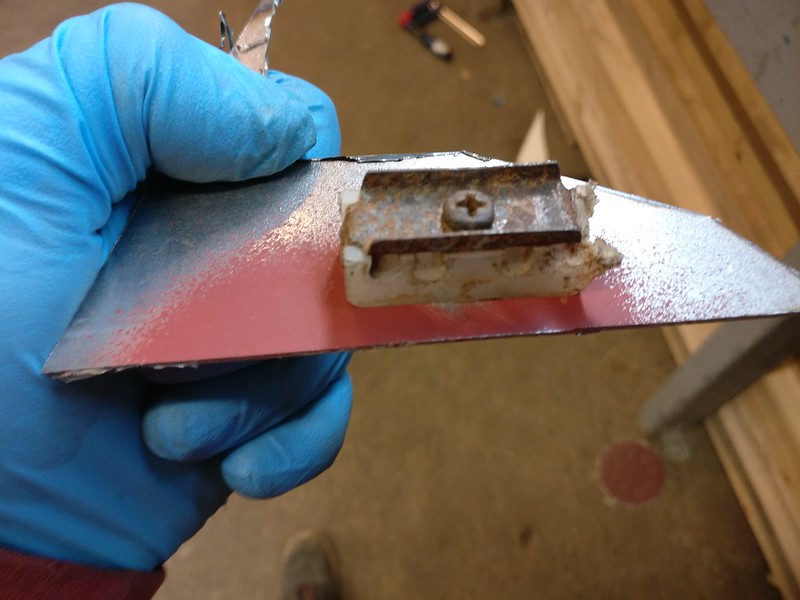
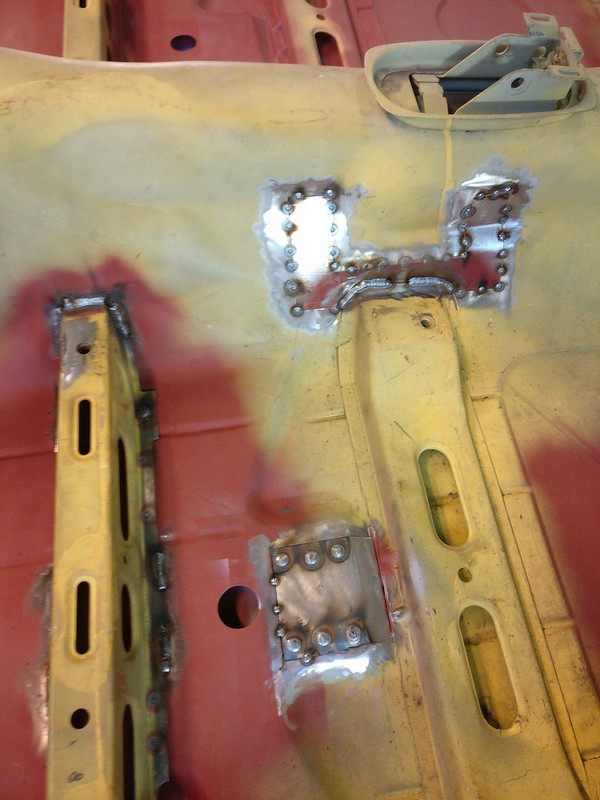
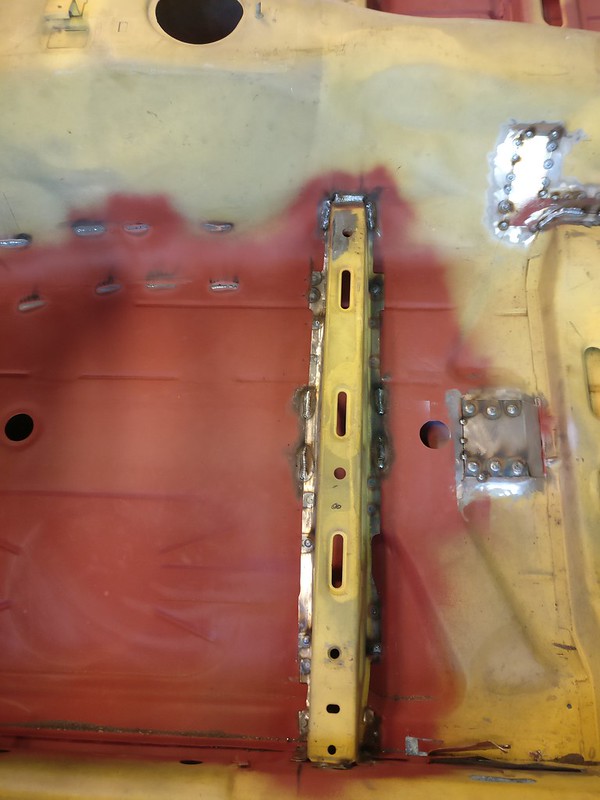
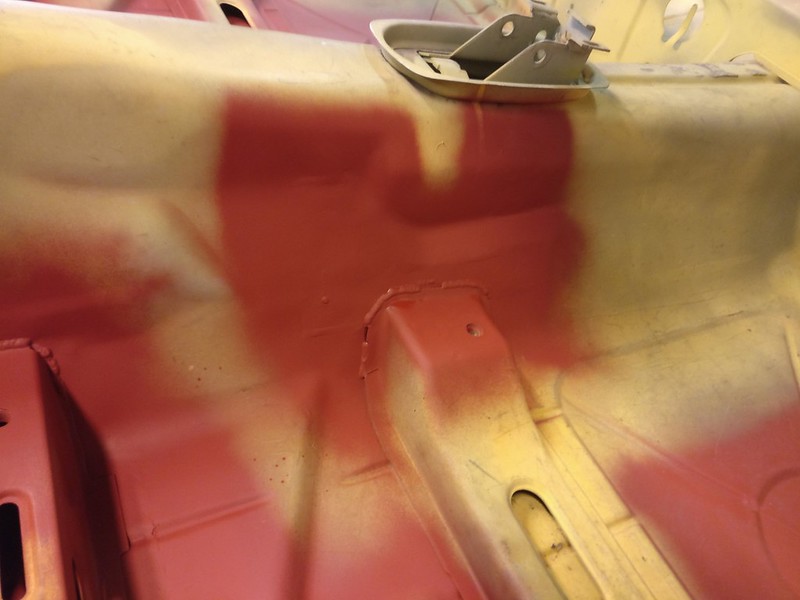
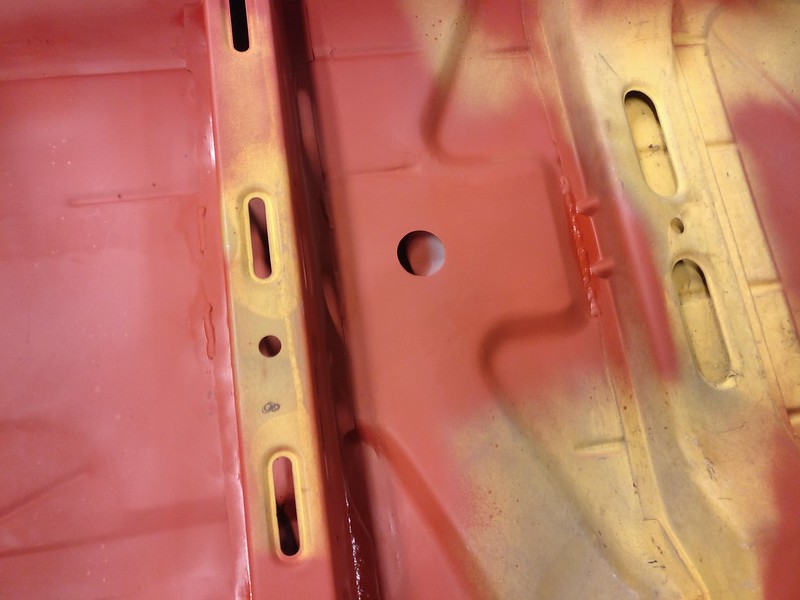
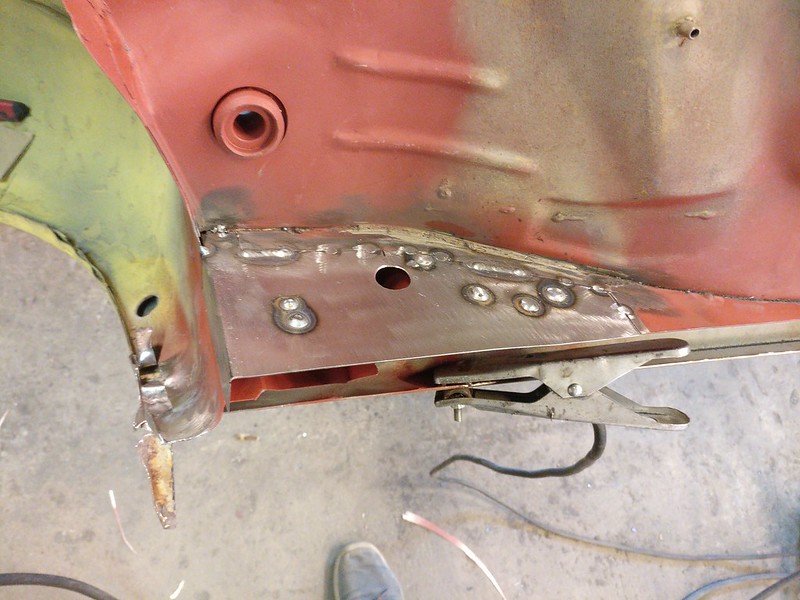
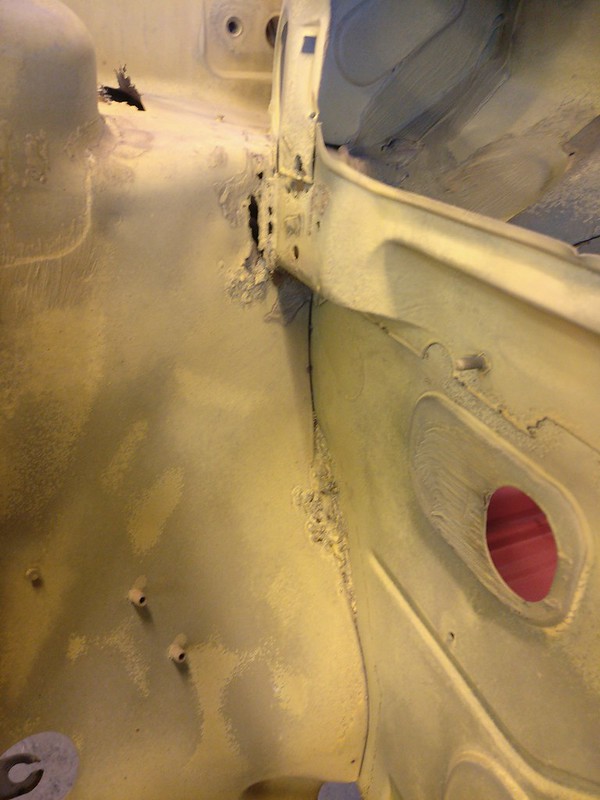
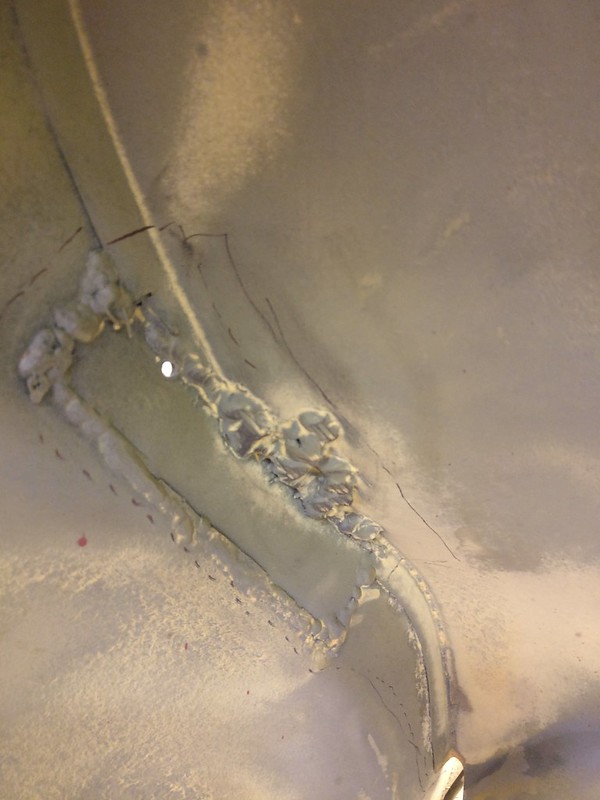
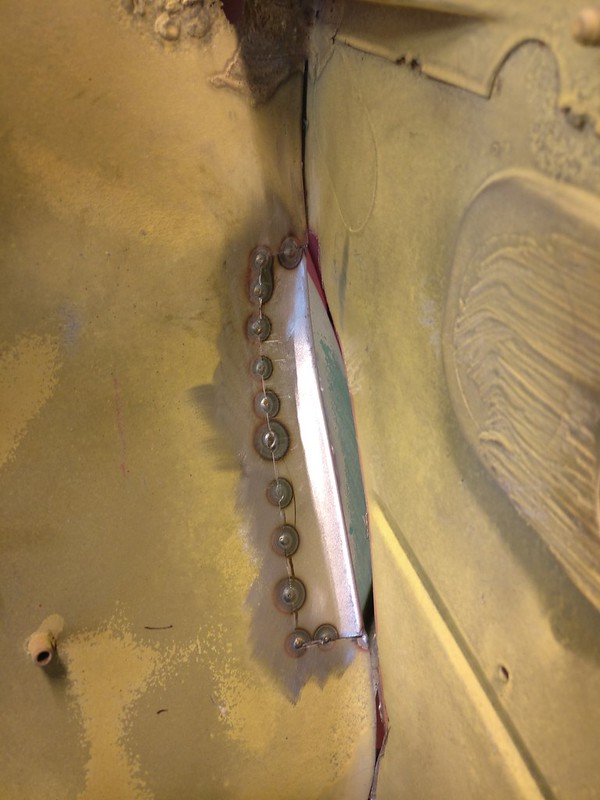
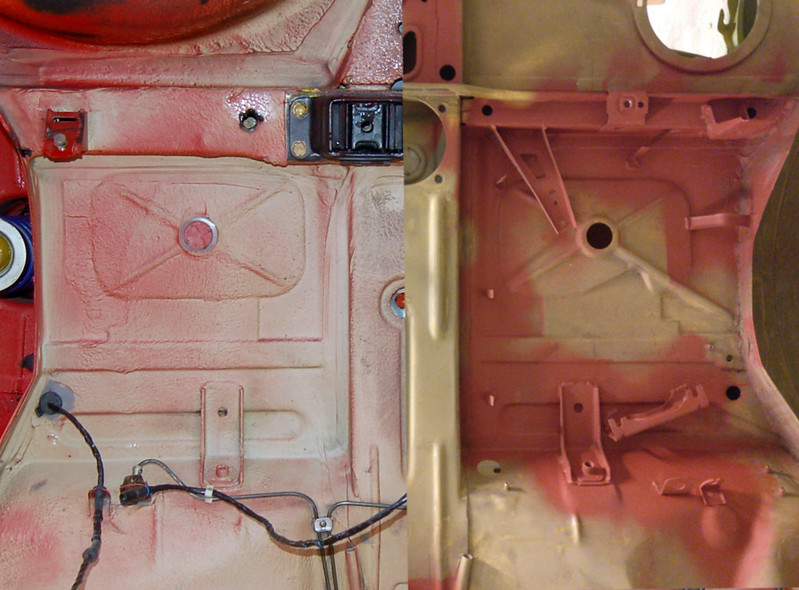
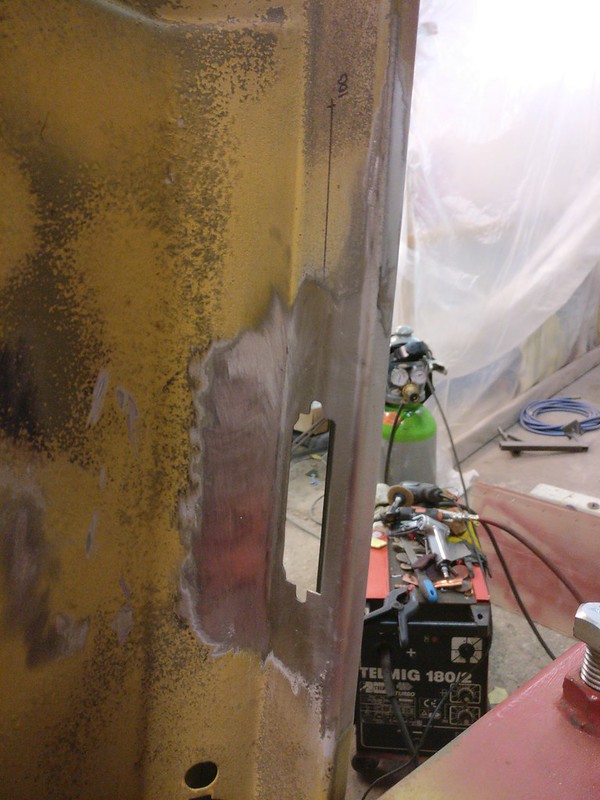
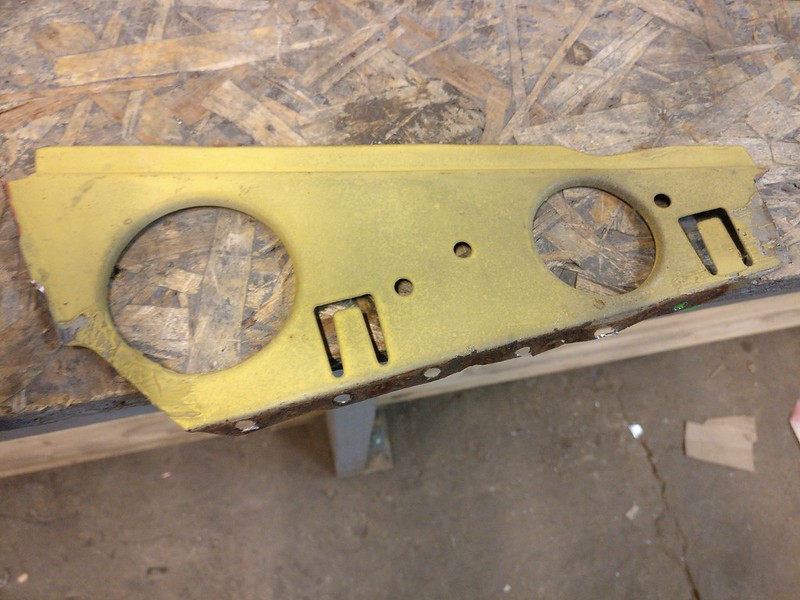
This is how I intended to weld them at first. But when I cut away the rotten bottom layer I discovered a drain hole (at least I think it's a drain hole) in the next layer. Take a look at that photo
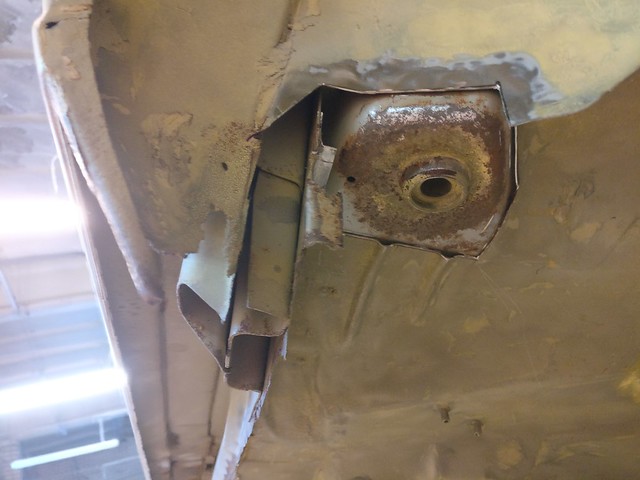
My take is that is not a drain hole, however I'm not sure what it would be. It would be located in the cabin, specifically in the rear seat well and kind of in the back corner against the wheel well bulkhead. I do not recall any hole in either of my cars back there nor underneath either car. Even if water were to accumulate in the rear seat well, there are holes in the vertical wall that would release water onto the rear seat floor (and then to the drains in the floor pan).taavipa wrote: Sep 16, 2020 6:00 AM This is how I intended to weld them at first. But when I cut away the rotten bottom layer I discovered a drain hole (at least I think it's a drain hole) in the next layer.
My conclusion at the time was that any condensate should be able to escape through the slot between mount and bottom panel.
I have once done the mistake to clog some drain holes on a car with sound insulation panels so now I am really careful with such things.
In addition, I didn't see any evidence that the bottom layer of sheet metal was actually attached to the mount from the factory.
You must be right. I took a look at the mount from cabin side today and the top layer has another hole in it. I can't see how this could possibly function as a drain. So I'll probably weld the floor panel to the mount and use the holes to spray some cavity wax between the layers after the car is painted.vinceg101 wrote: Sep 16, 2020 11:37 AM My take is that is not a drain hole, however I'm not sure what it would be. It would be located in the cabin, specifically in the rear seat well and kind of in the back corner against the wheel well bulkhead. I do not recall any hole in either of my cars back there nor underneath either car. Even if water were to accumulate in the rear seat well, there are holes in the vertical wall that would release water onto the rear seat floor (and then to the drains in the floor pan).
Don't worry about it is my opinion.
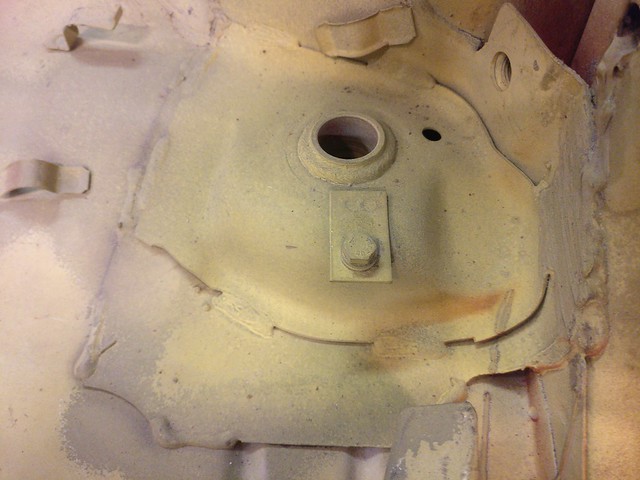
Could possibly be a locating hole for a pin in the production line assembly jig, allowing that piece to drop on the pin and to easily align before welding.vinceg101 wrote: Sep 16, 2020 11:37 AM My take is that is not a drain hole, however I'm not sure what it would be. It would be located in the cabin, specifically in the rear seat well and kind of in the back corner against the wheel well bulkhead. I do not recall any hole in either of my cars back there nor underneath either car. Even if water were to accumulate in the rear seat well, there are holes in the vertical wall that would release water onto the rear seat floor (and then to the drains in the floor pan).
Don't worry about it is my opinion.
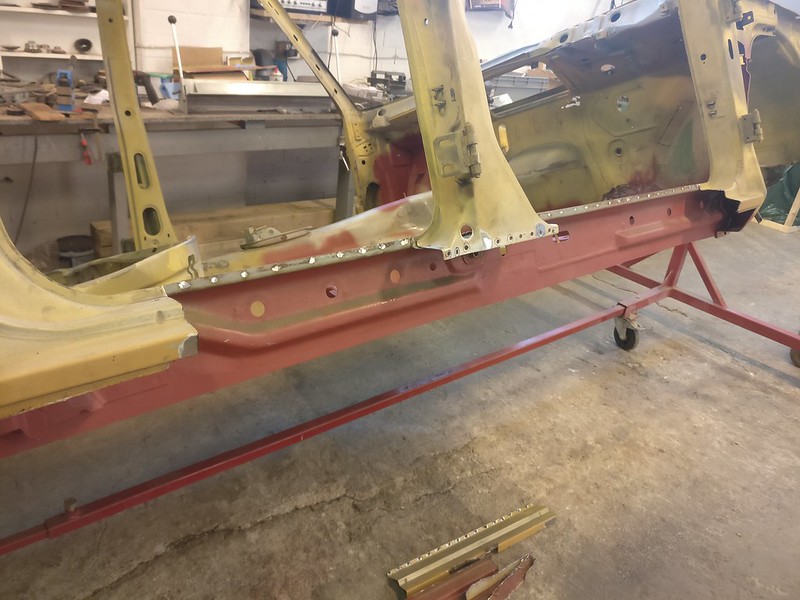
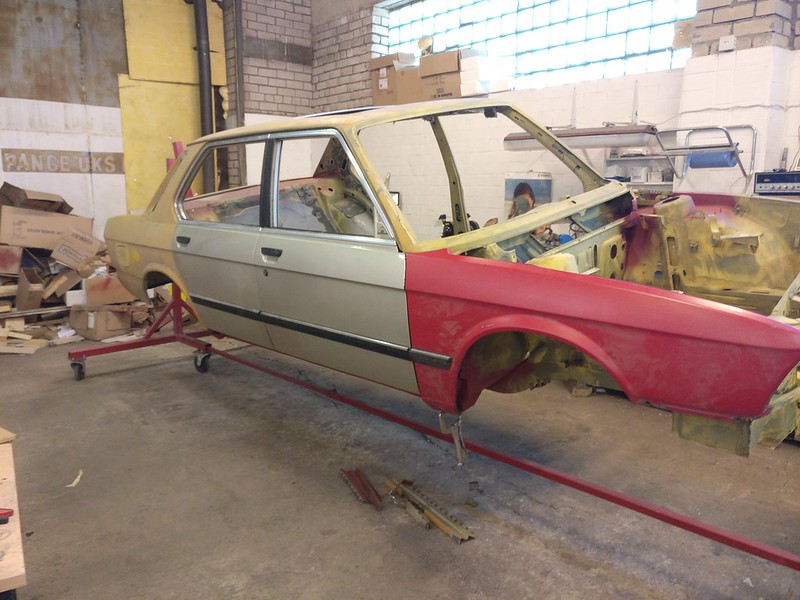
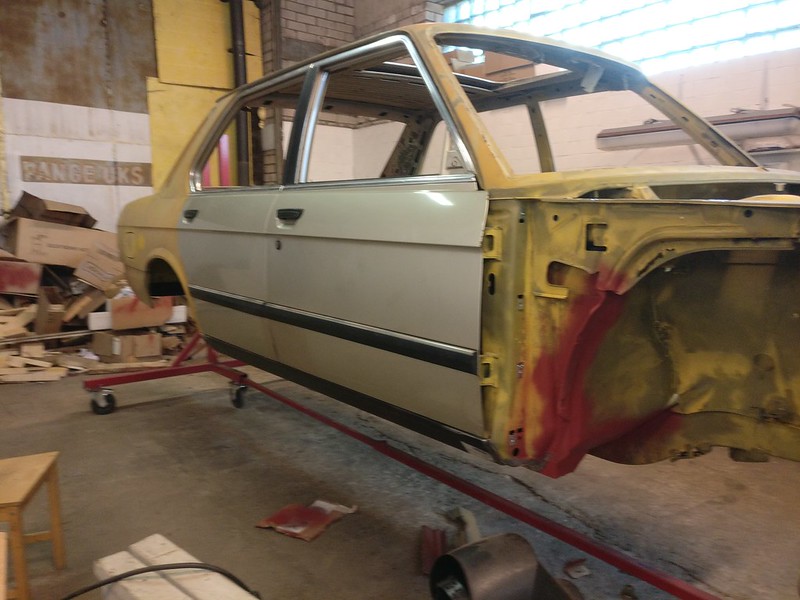
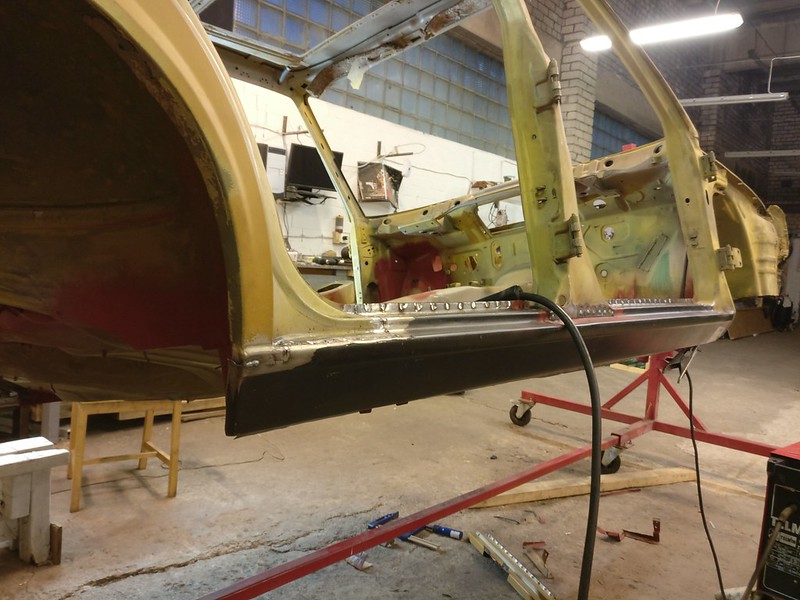
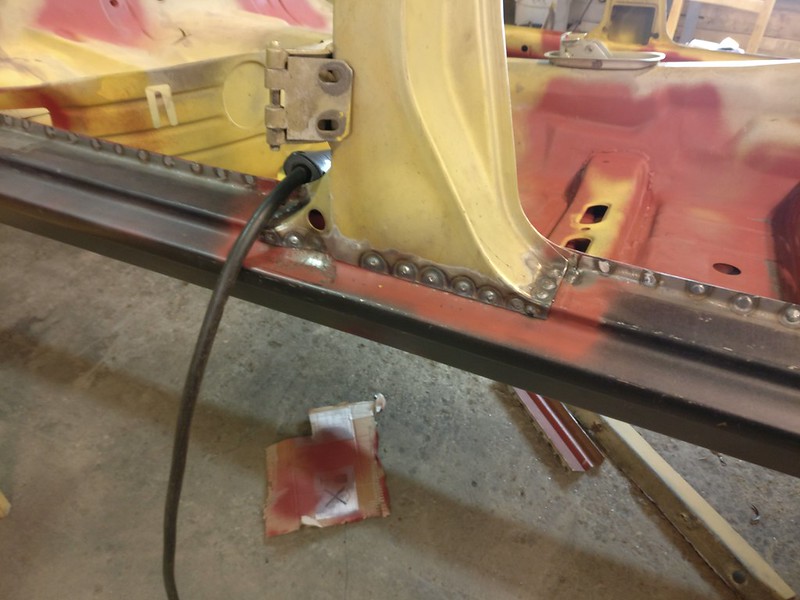
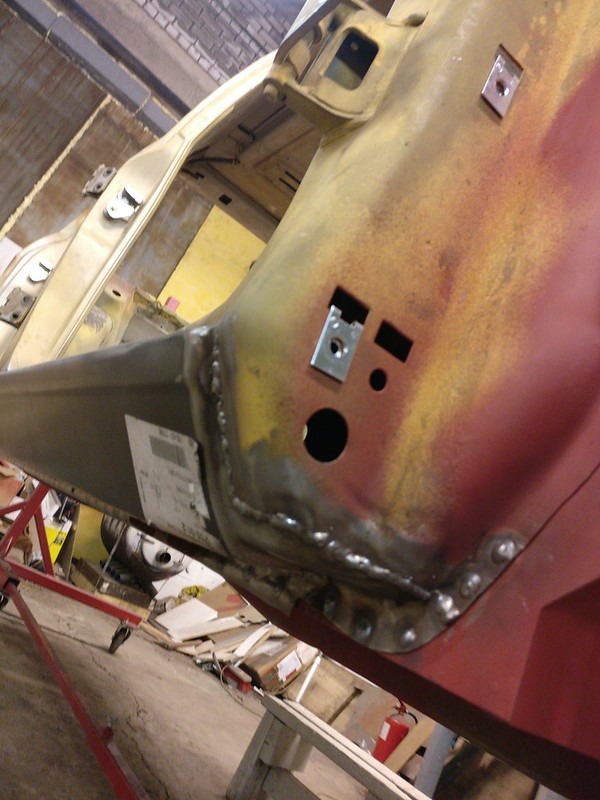
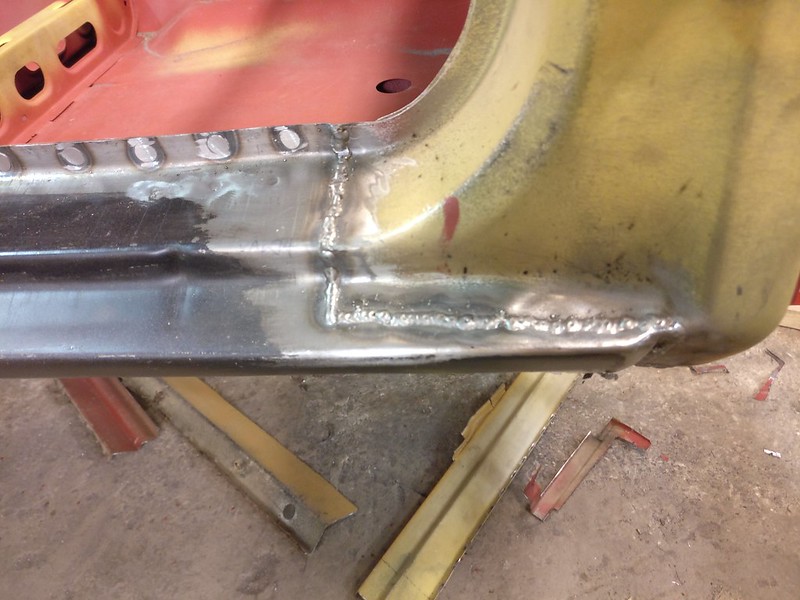
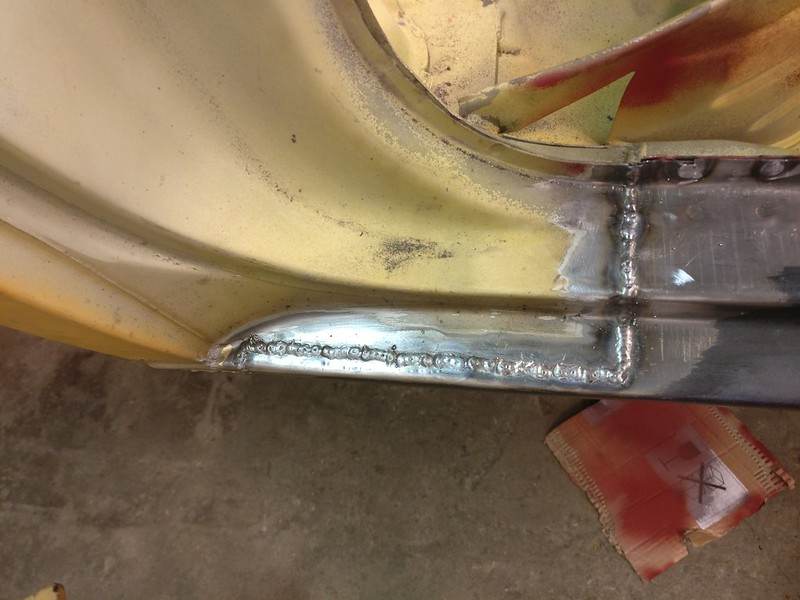
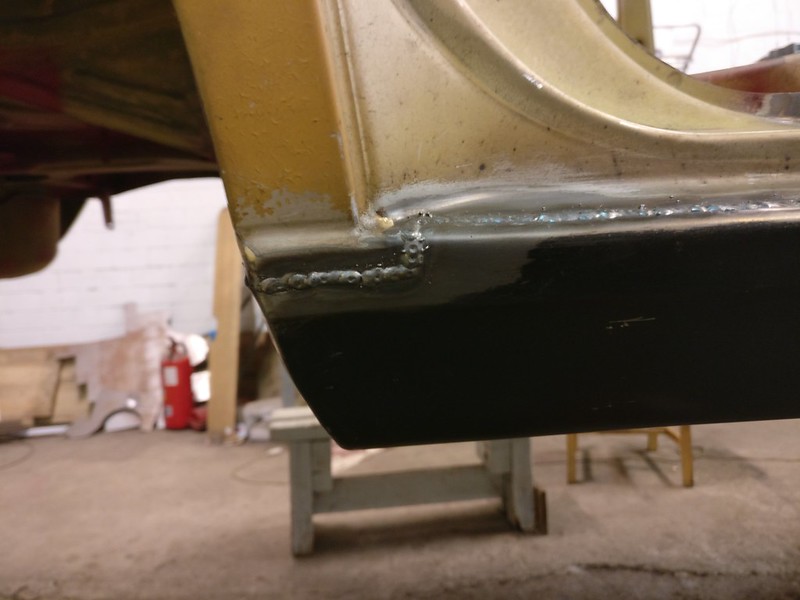
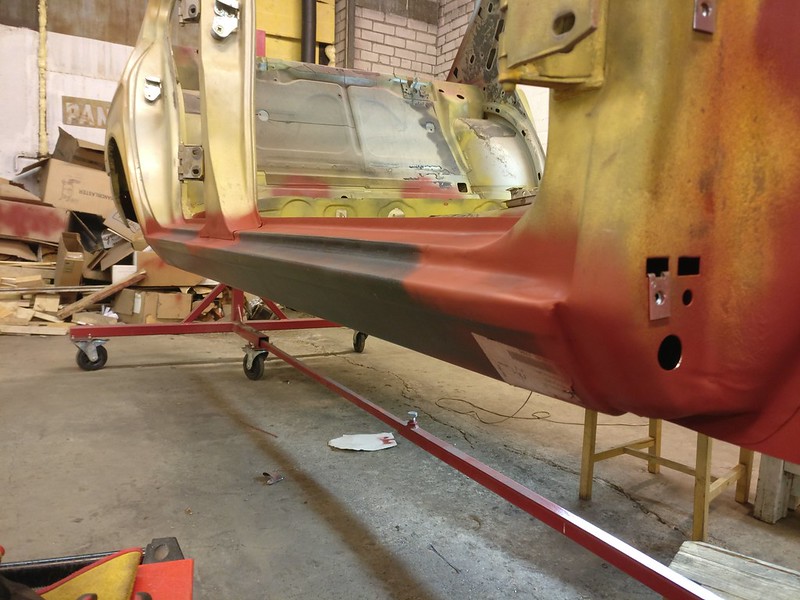
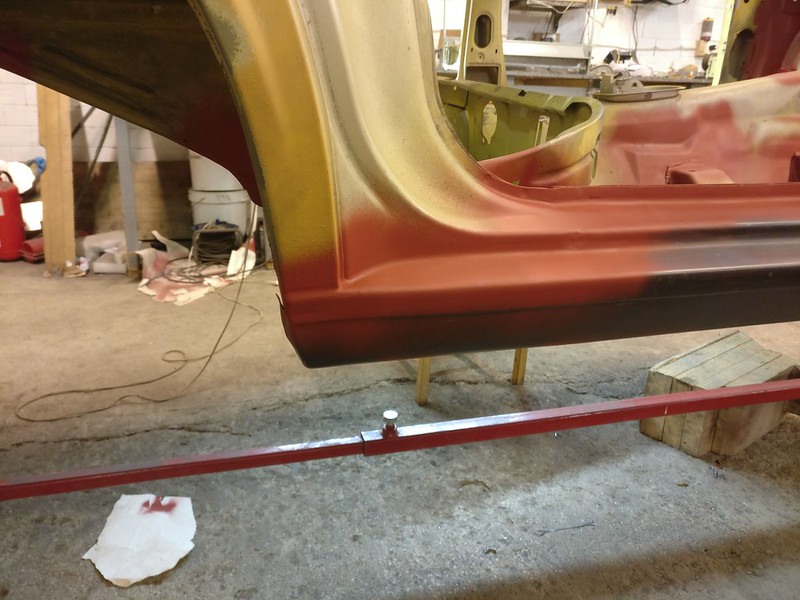
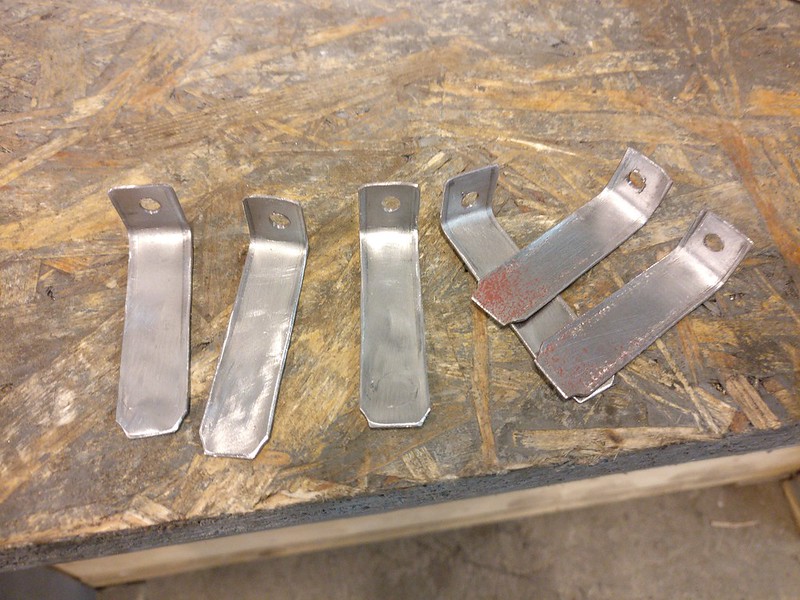
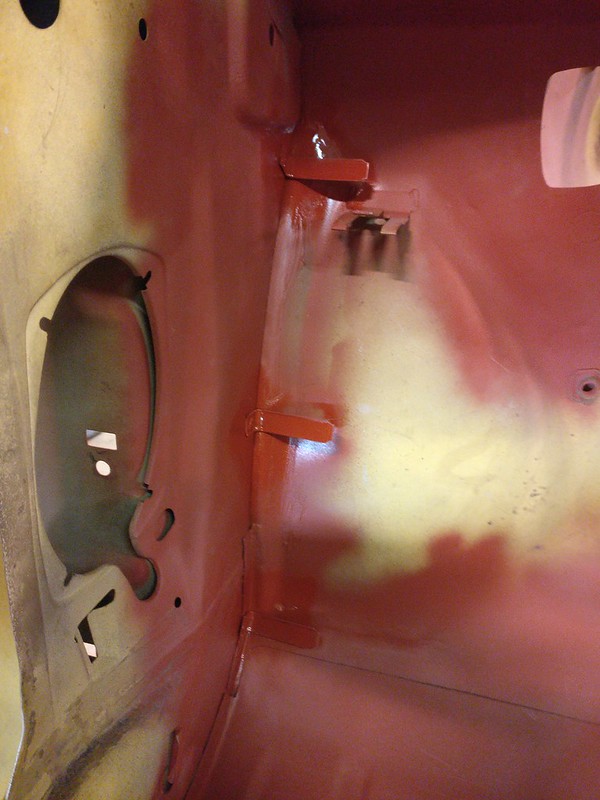
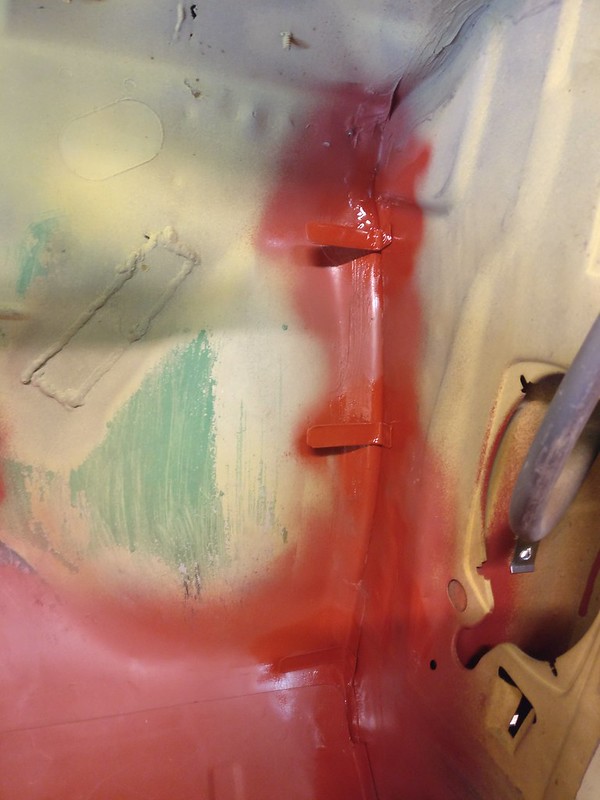
I do weld in temporary supports to keep eveything lined up whenever I cut out a larger section or when it might move otherwise.vinceg101 wrote: Sep 17, 2020 11:22 AM I was wondering about panel and body alignment/fitment with all that cutting and re-welding; looks like you're on top of it.
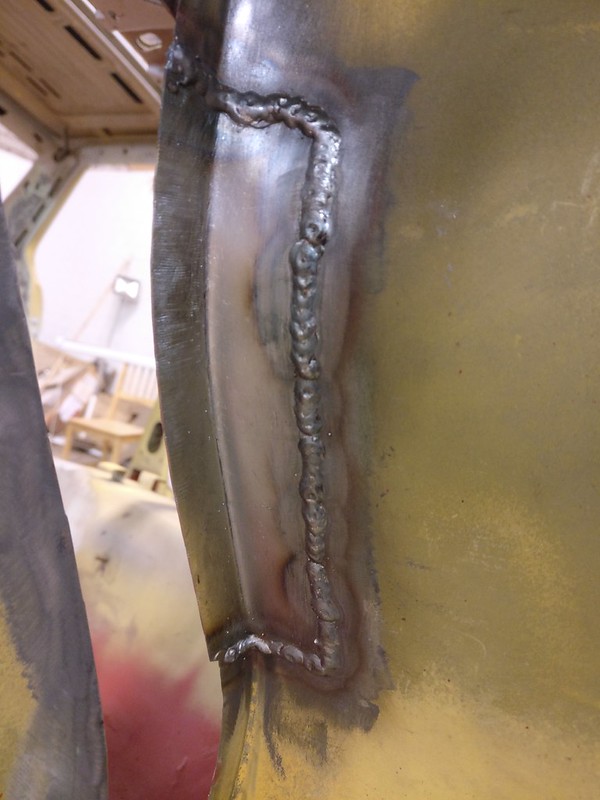
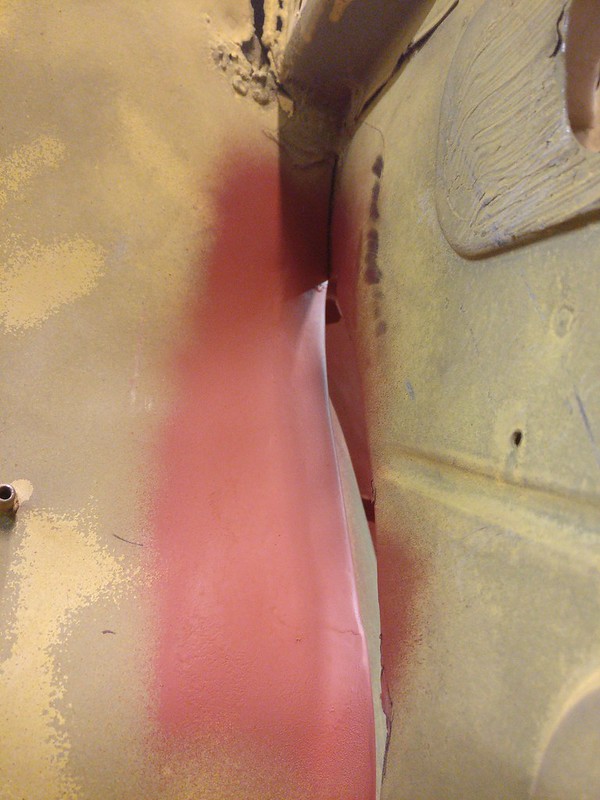
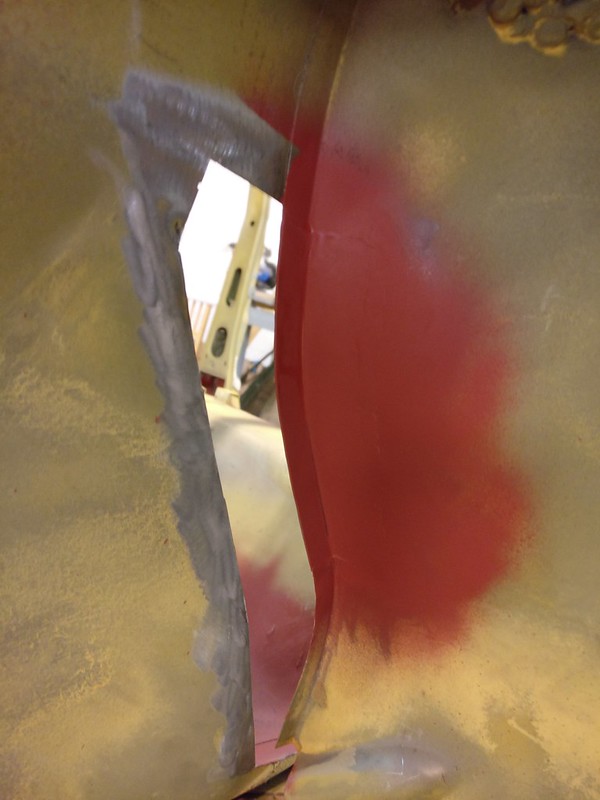
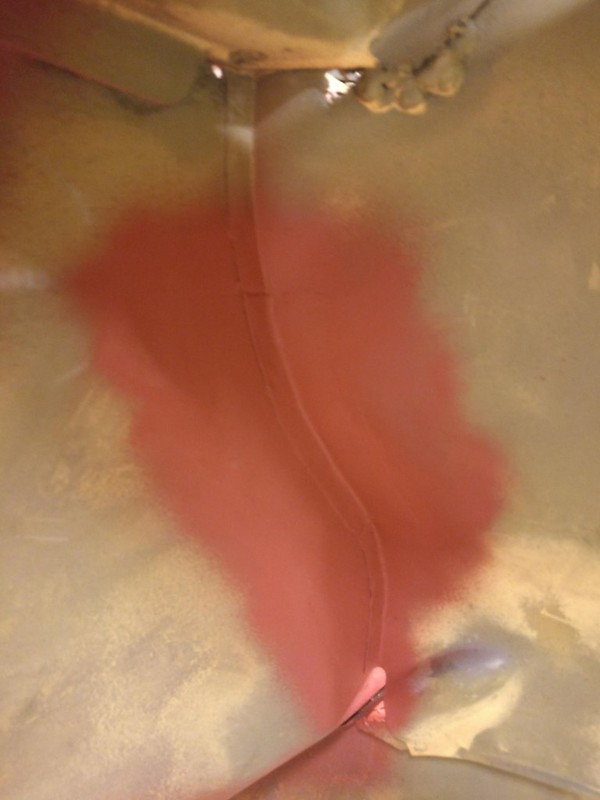
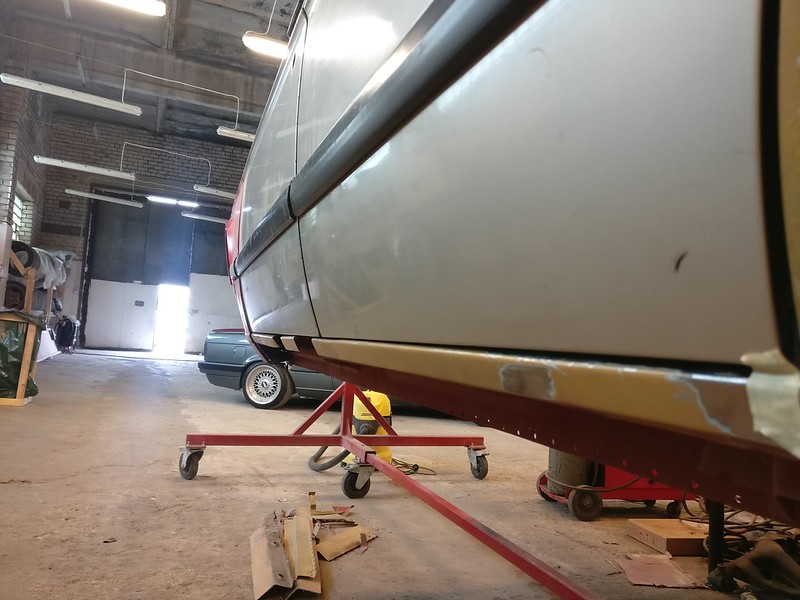
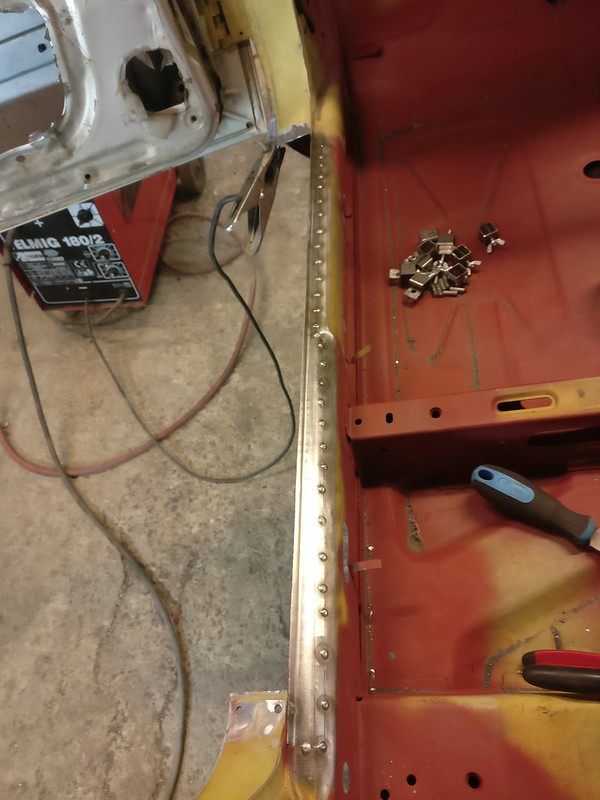
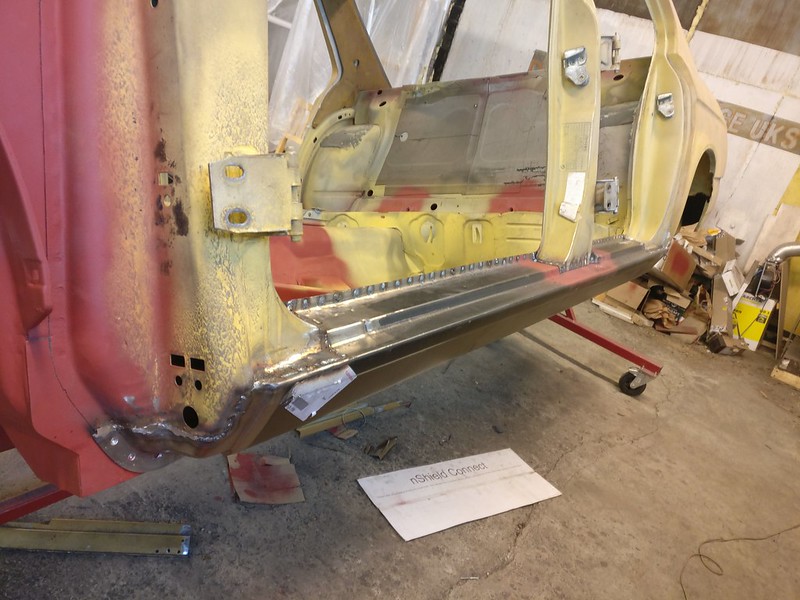
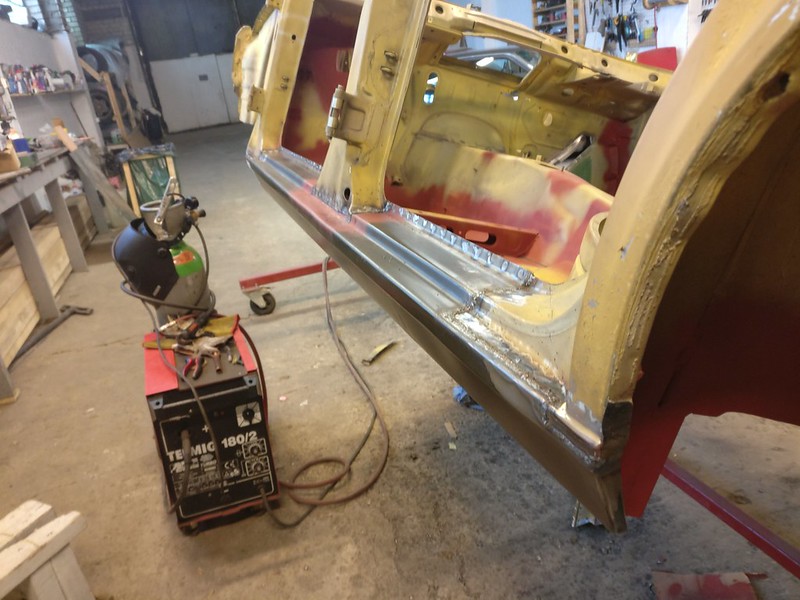
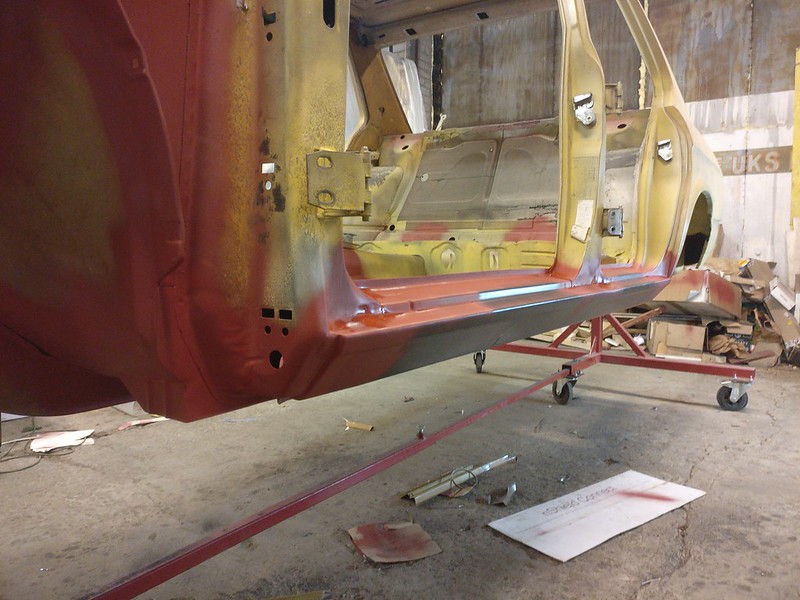
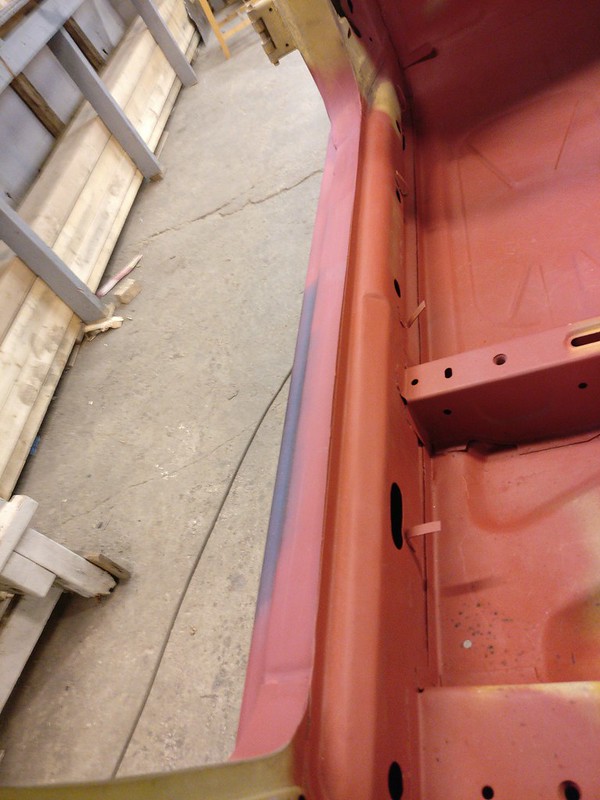
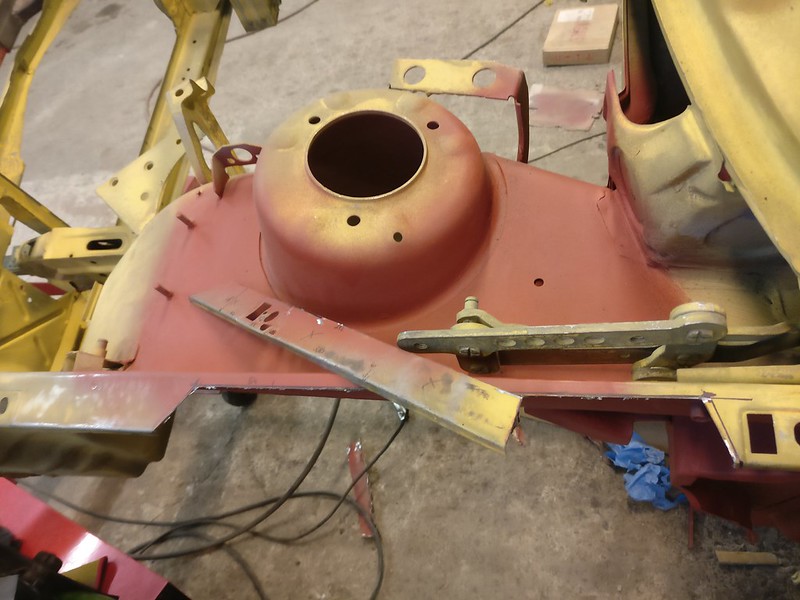
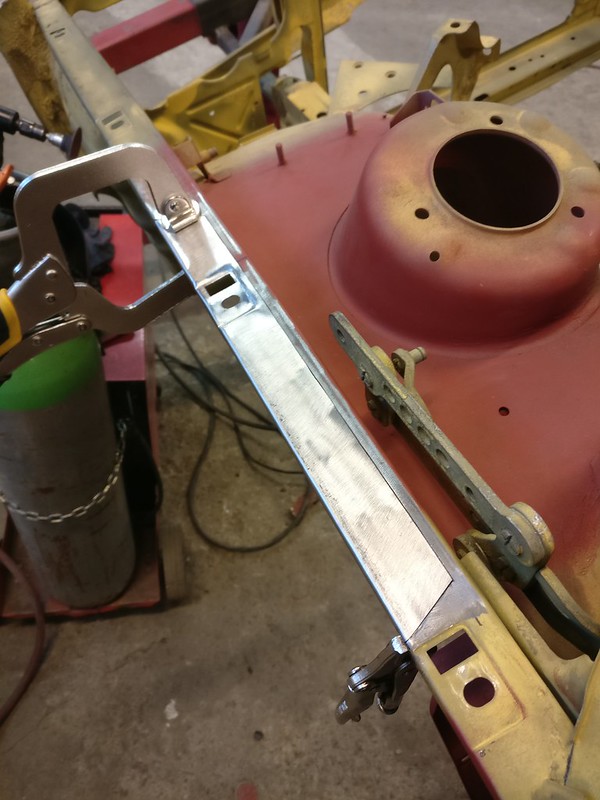
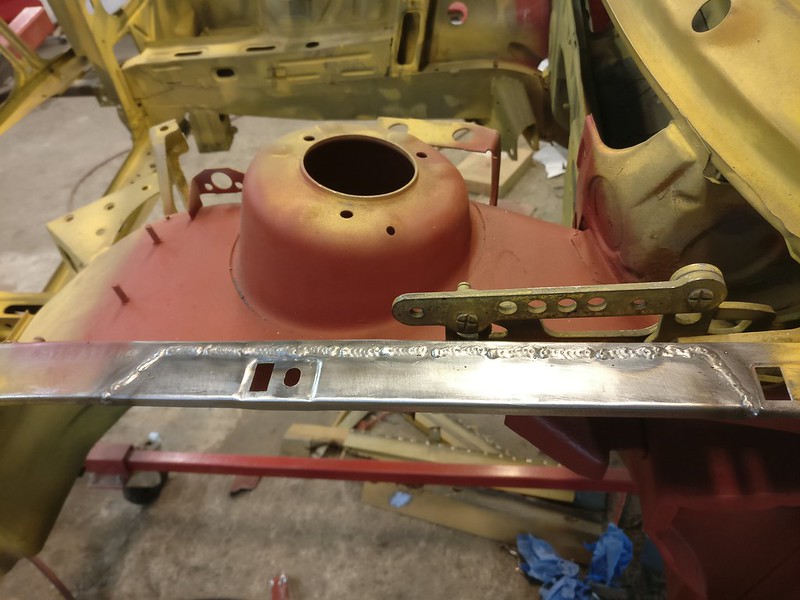
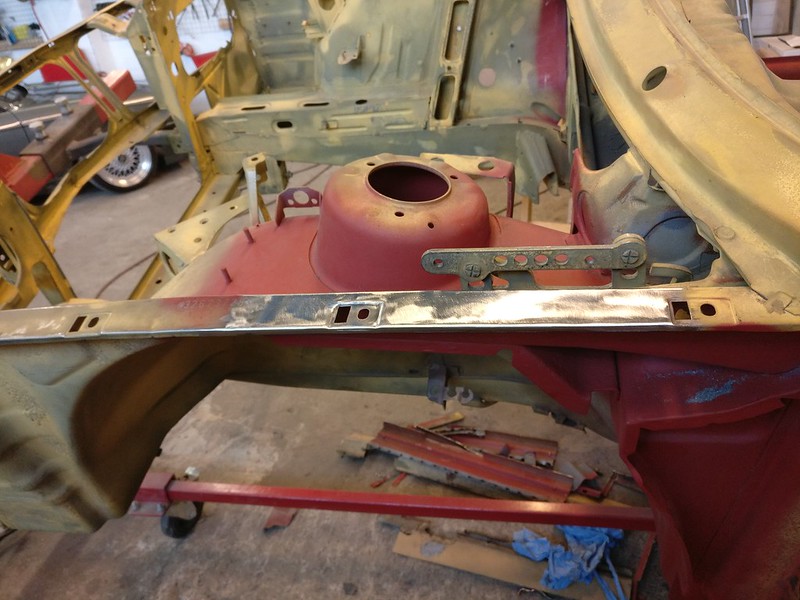
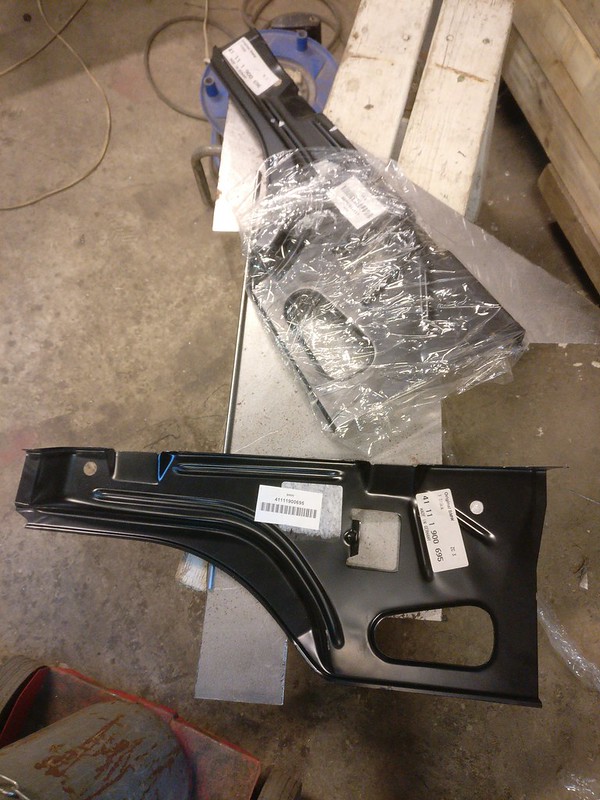
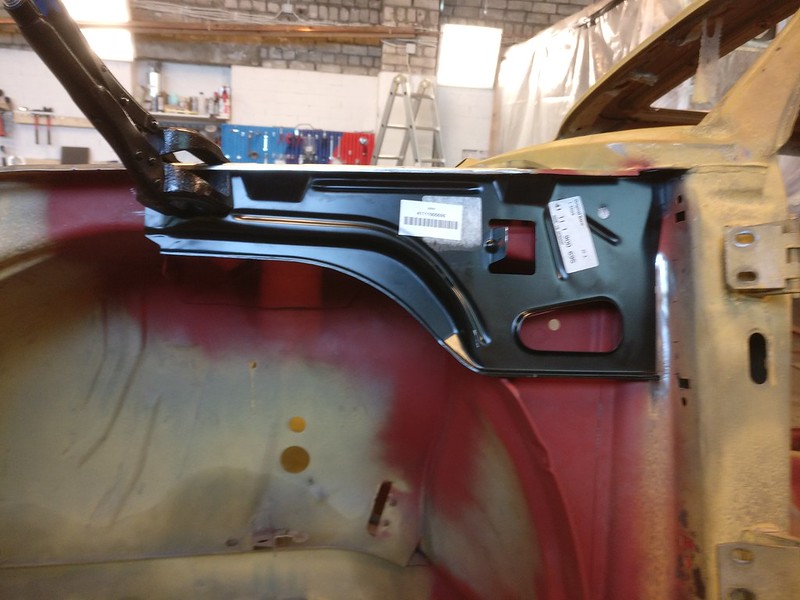
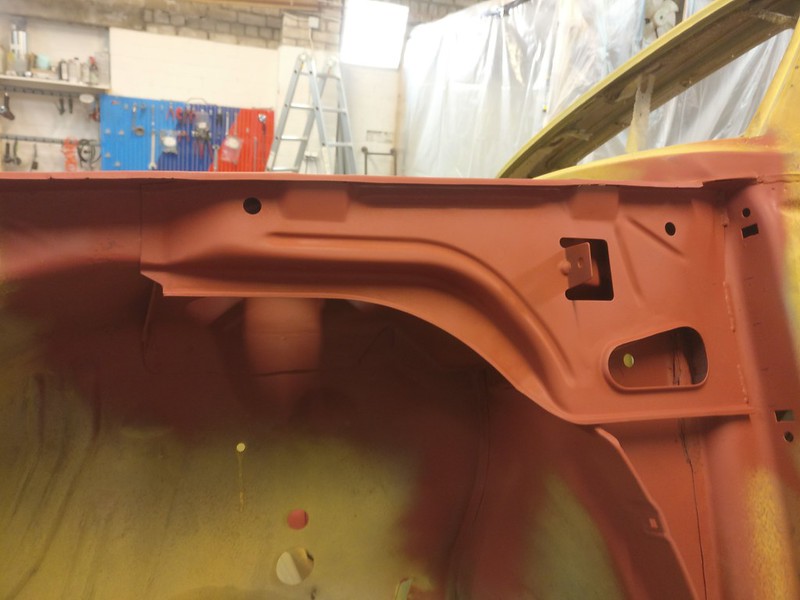
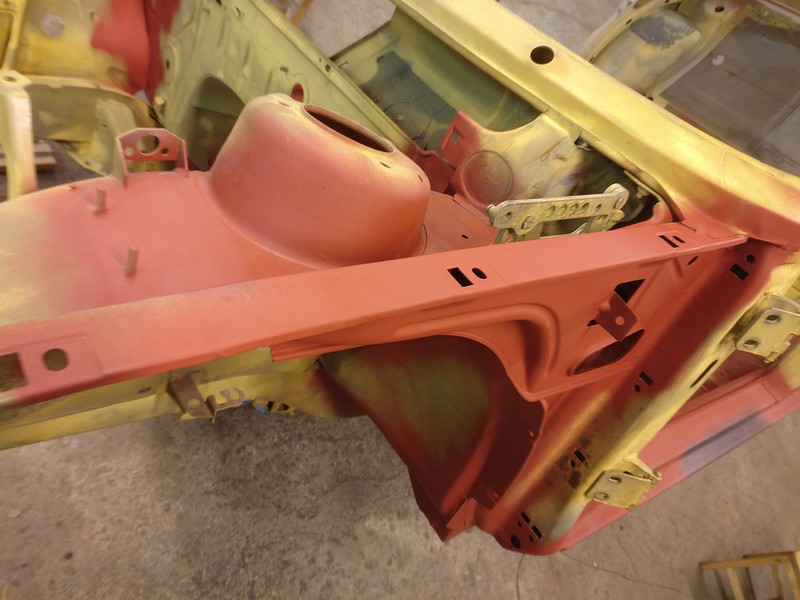
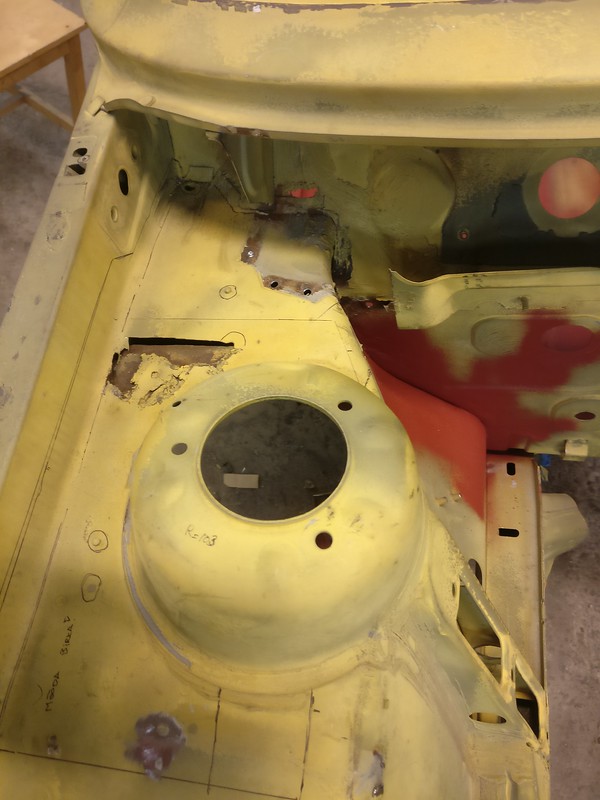
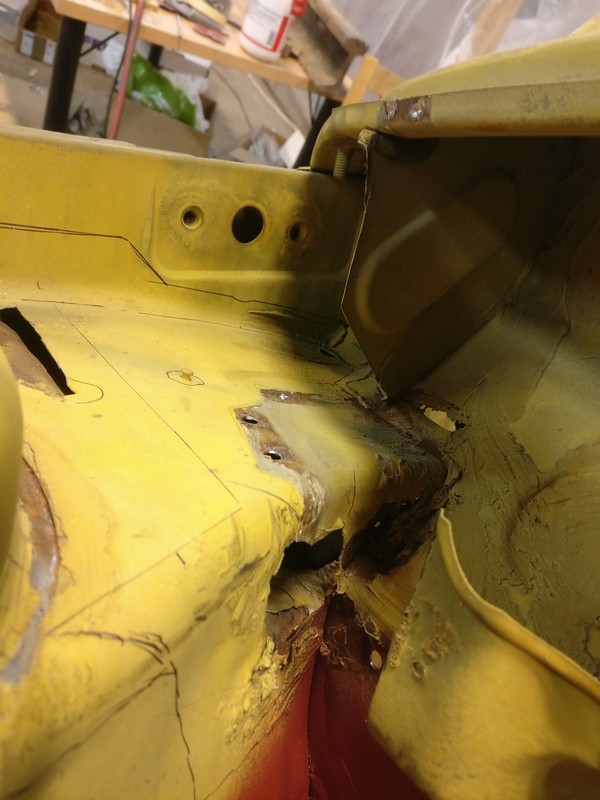
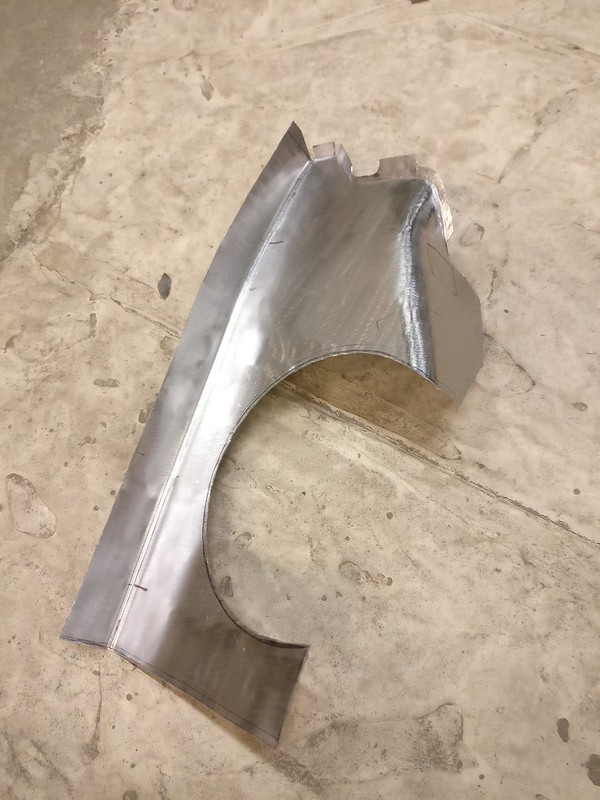
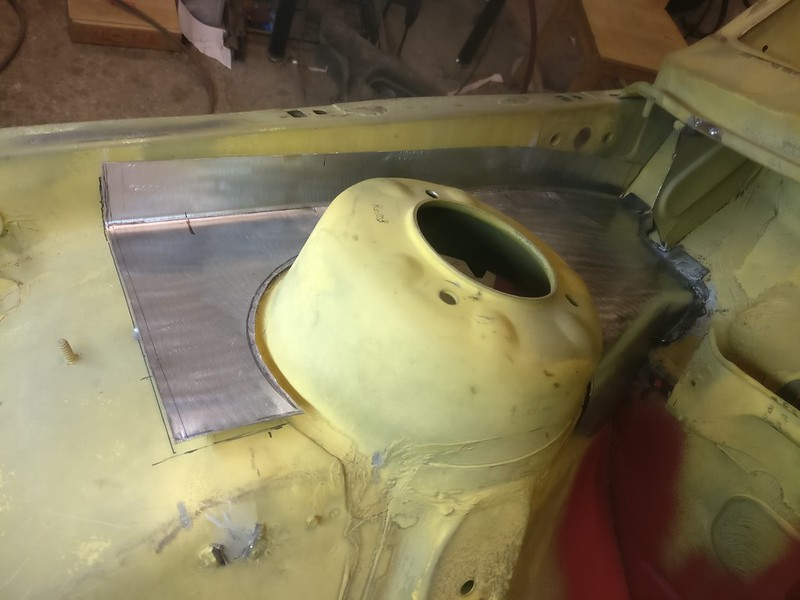
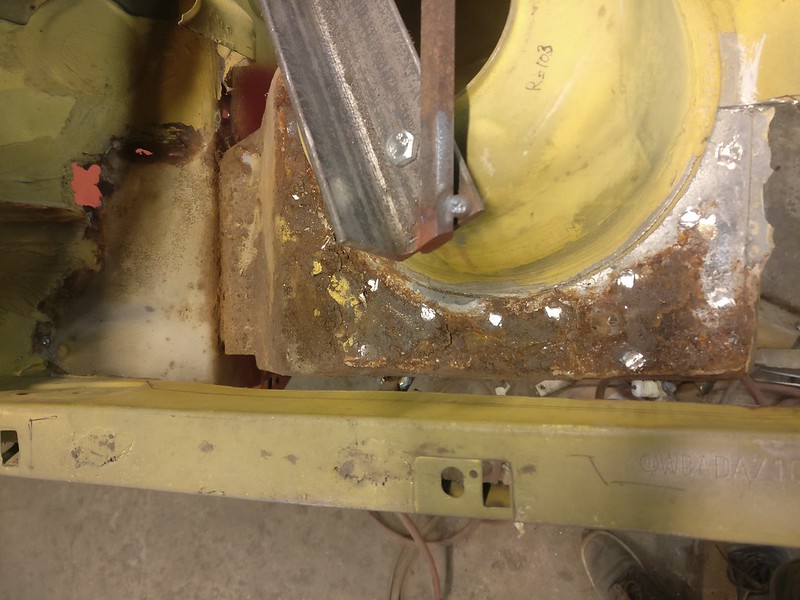
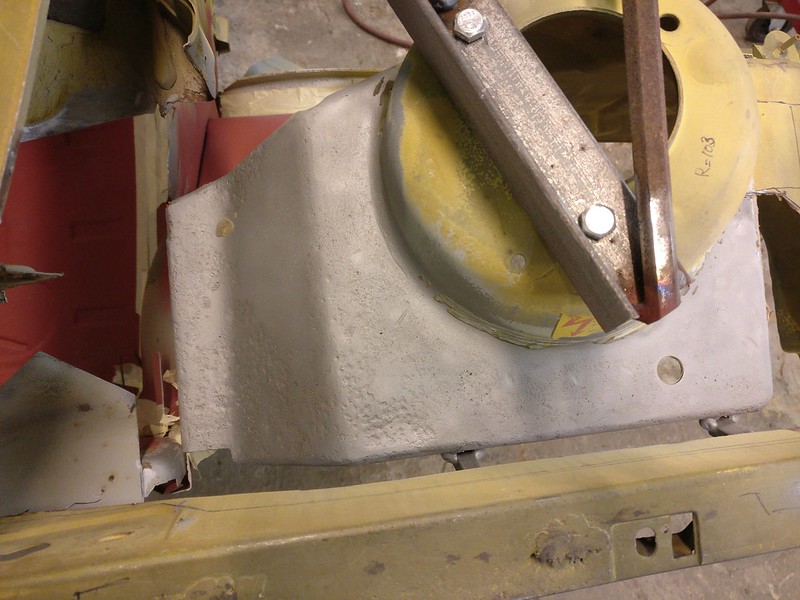
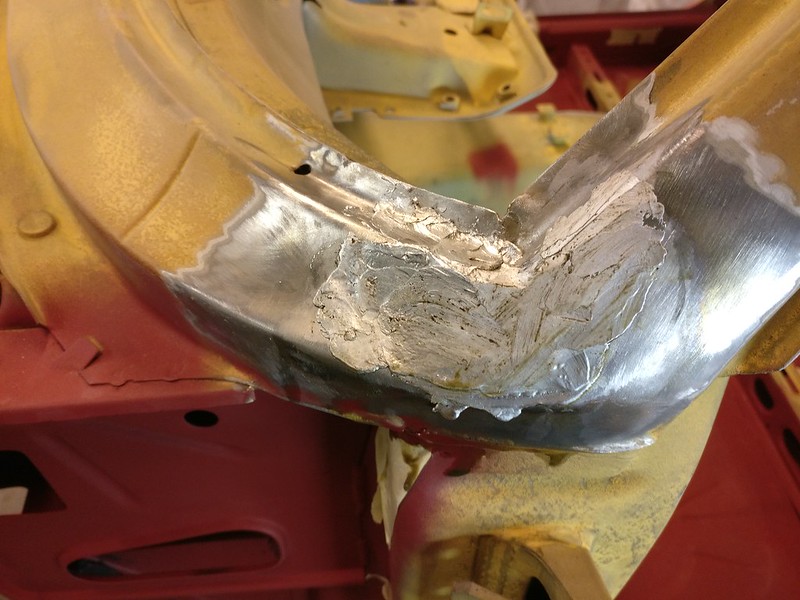
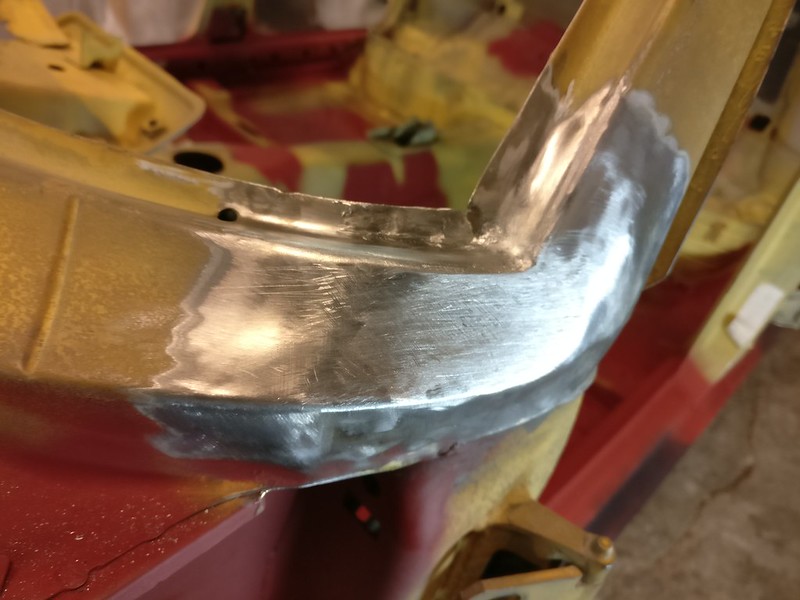
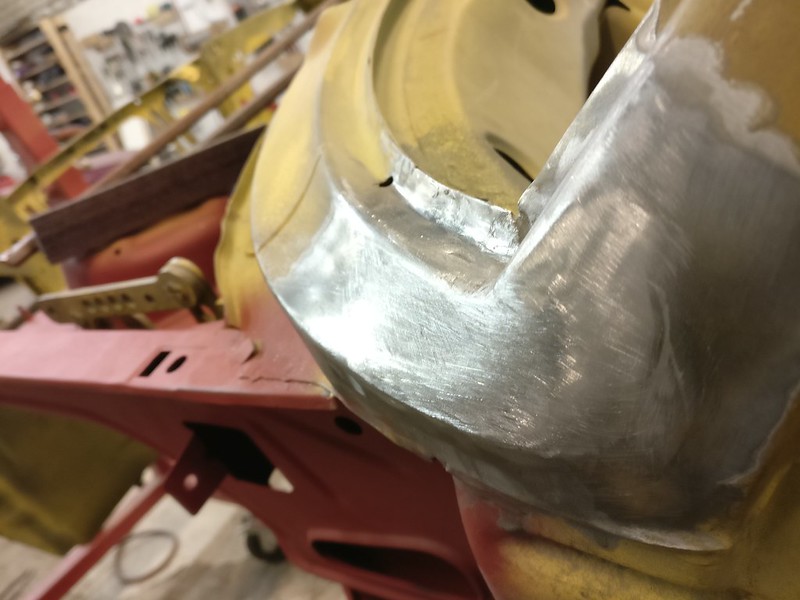
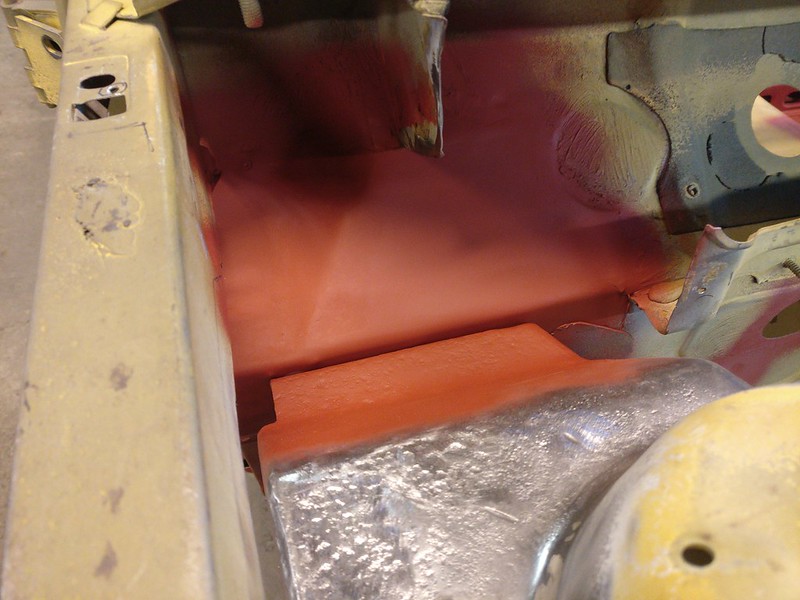
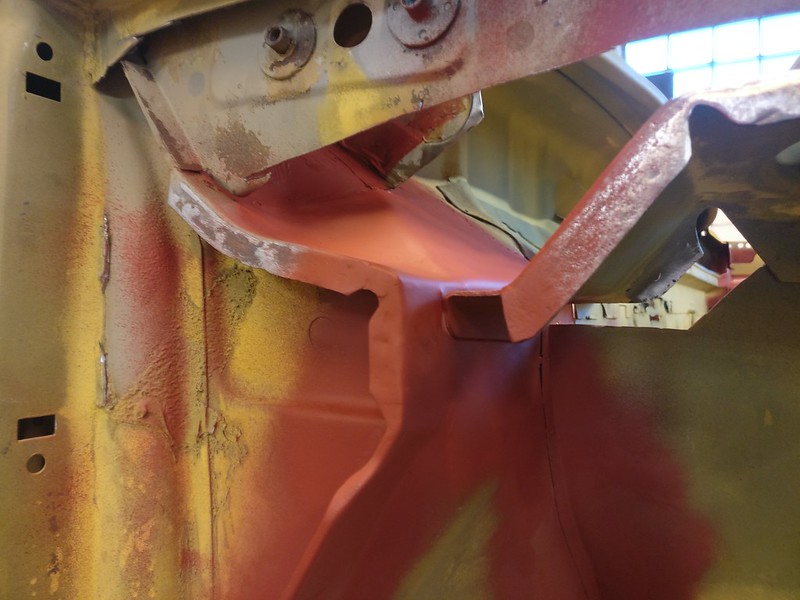
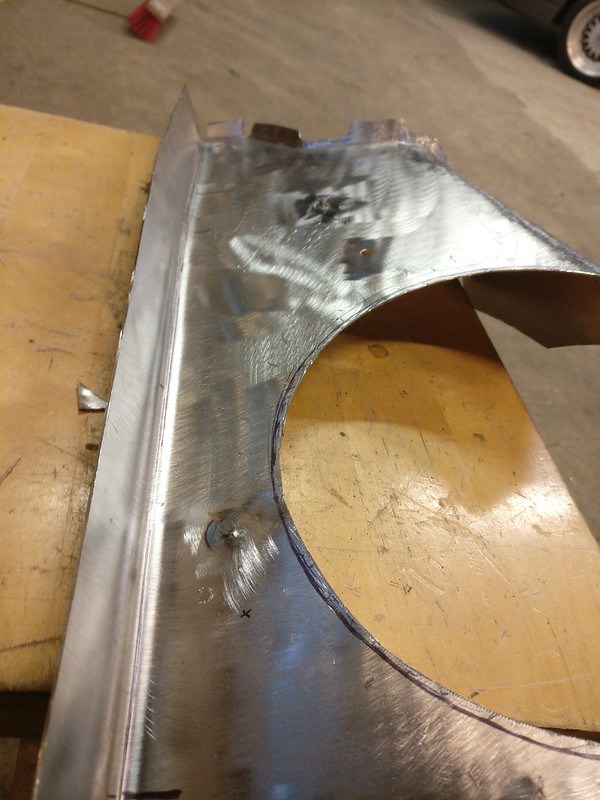
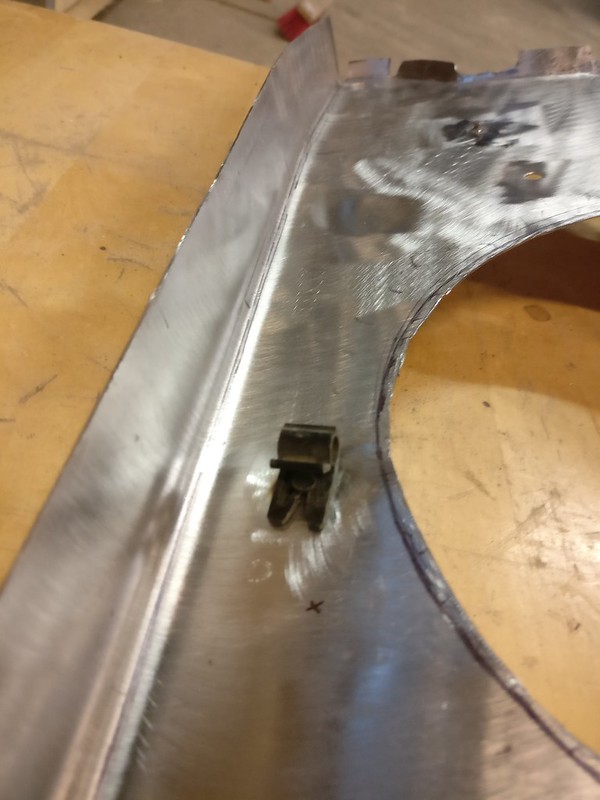
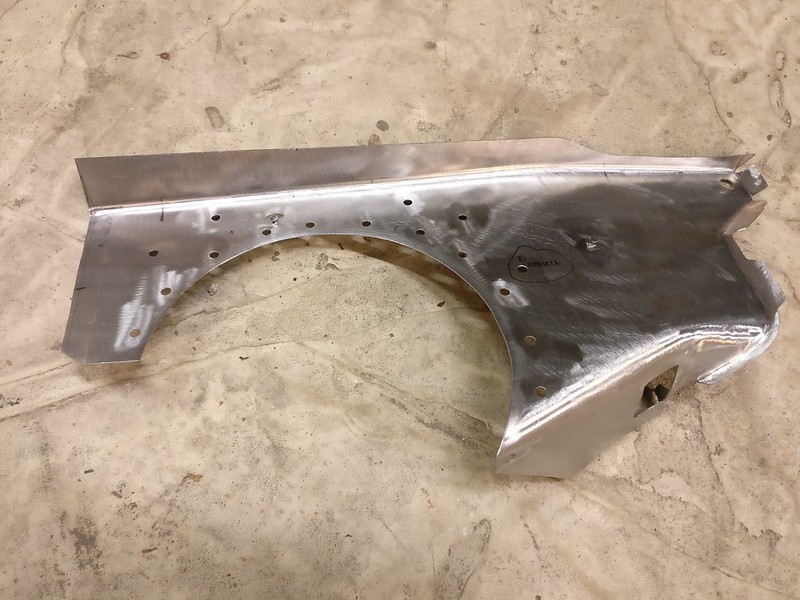
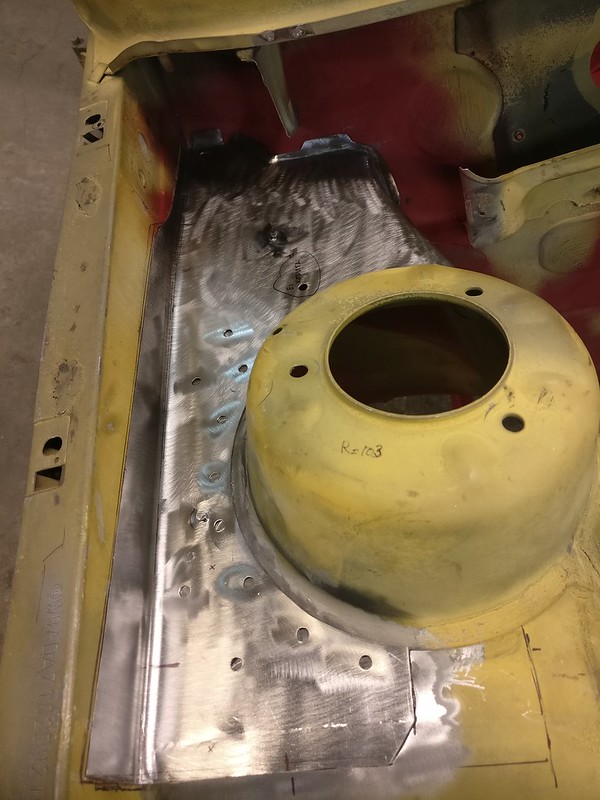
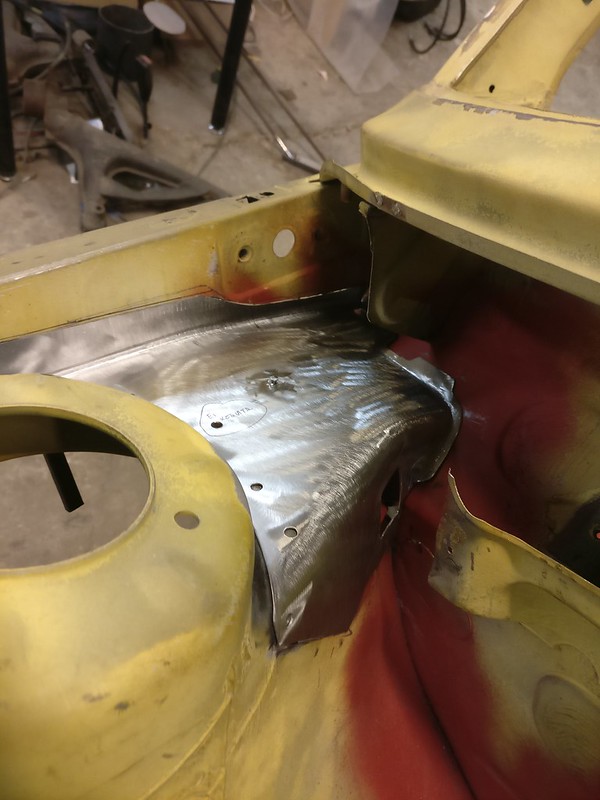
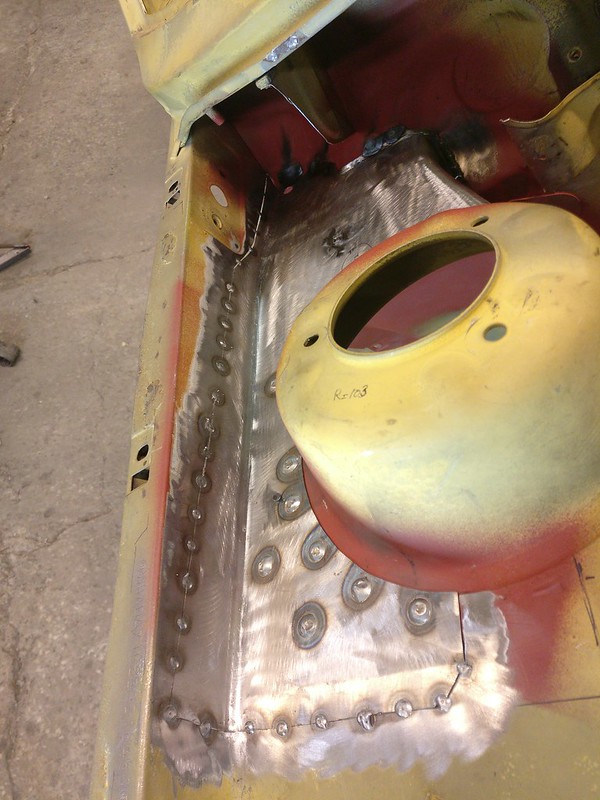
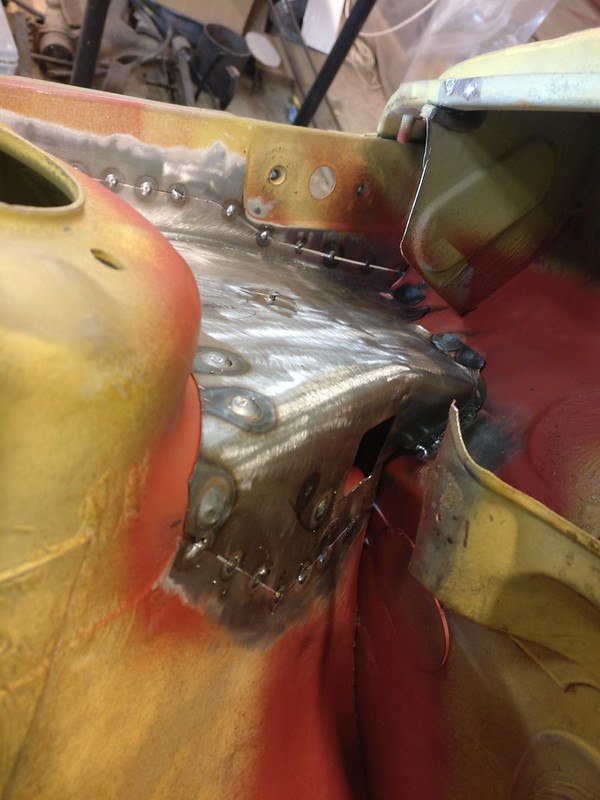
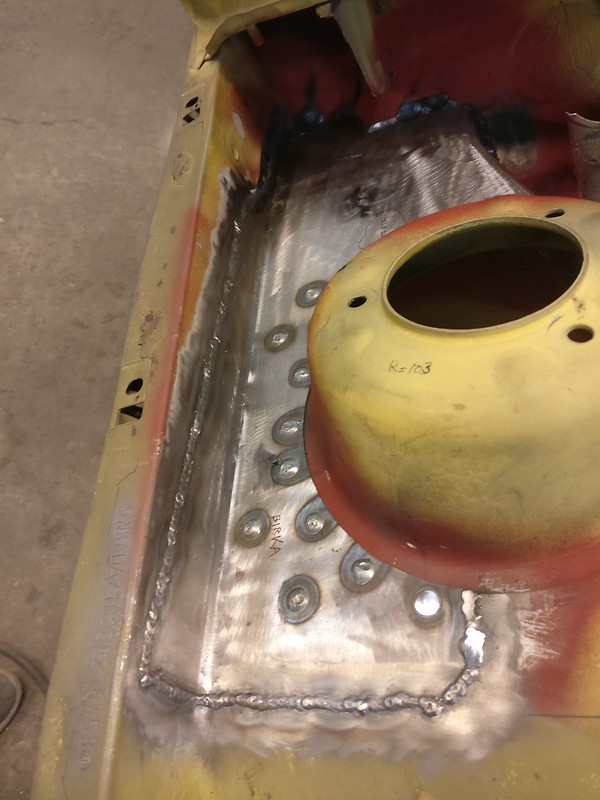
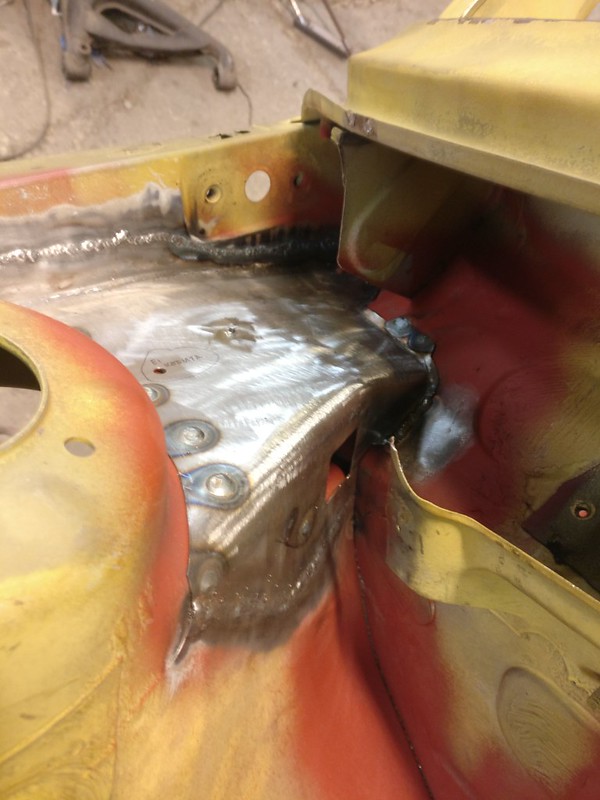
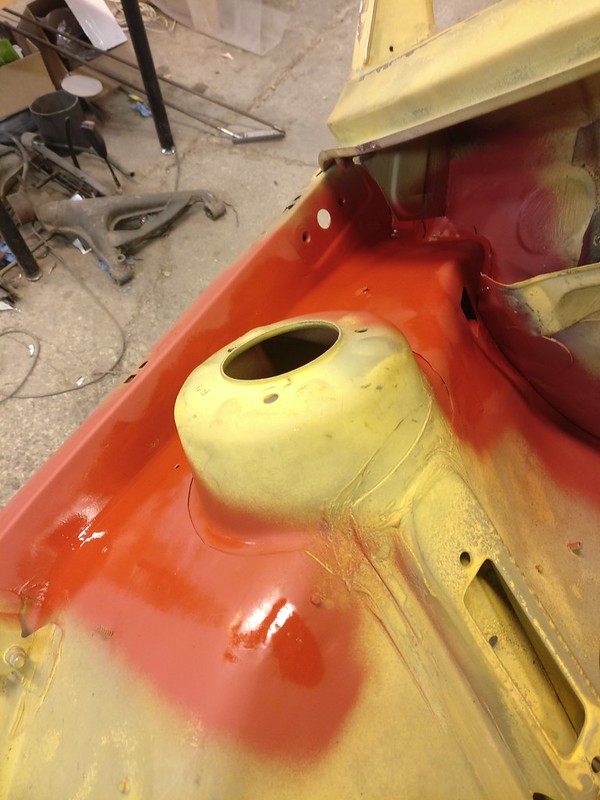
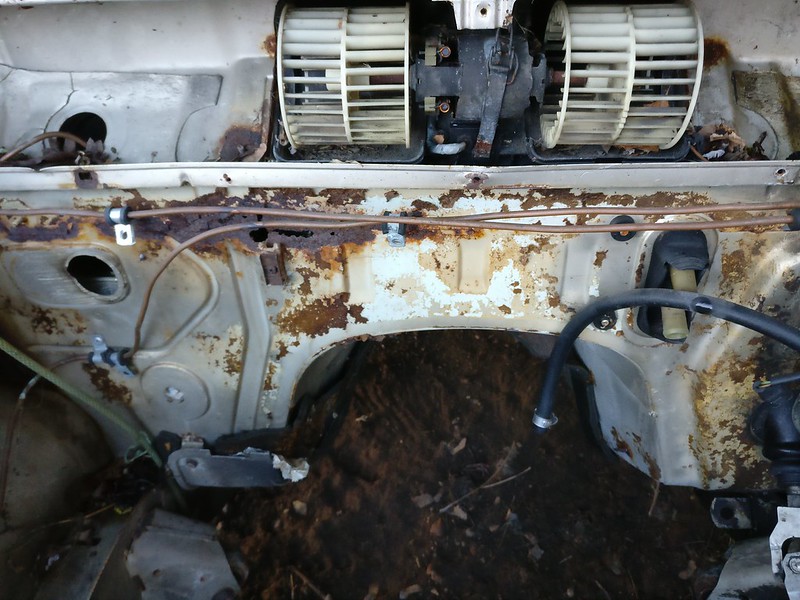
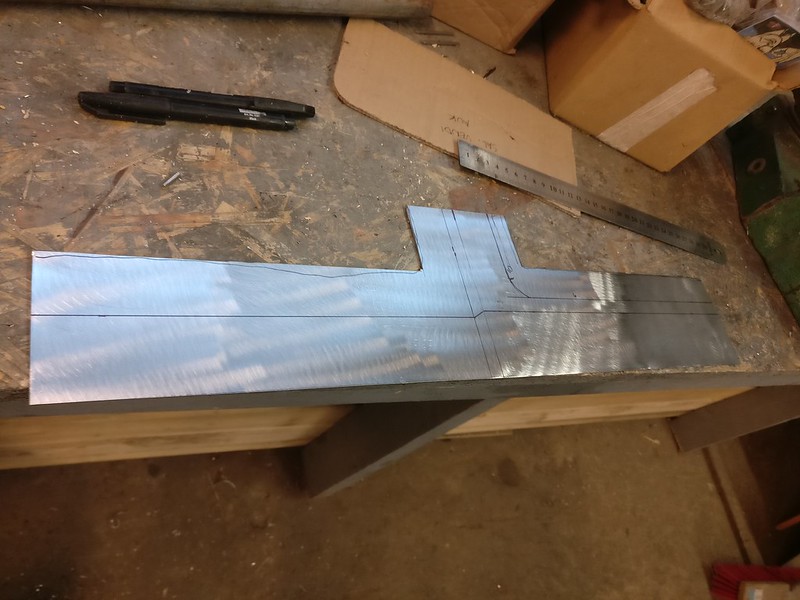
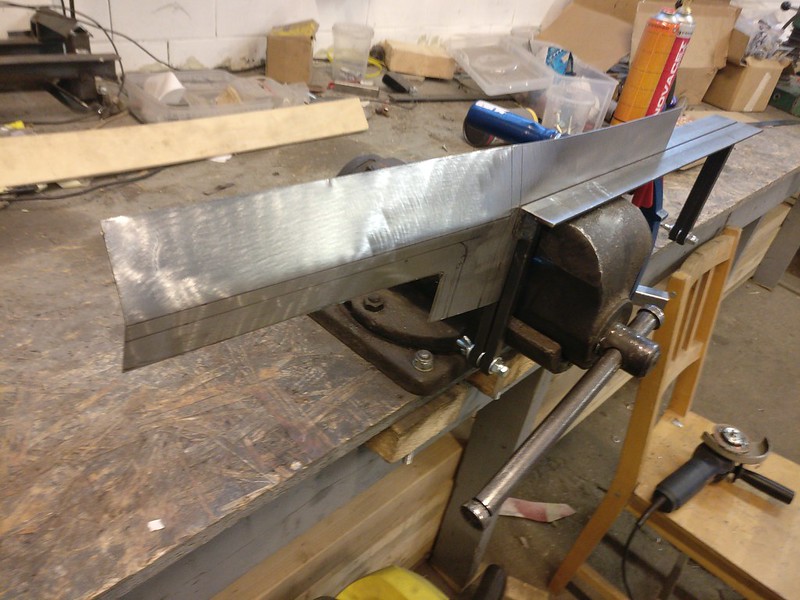
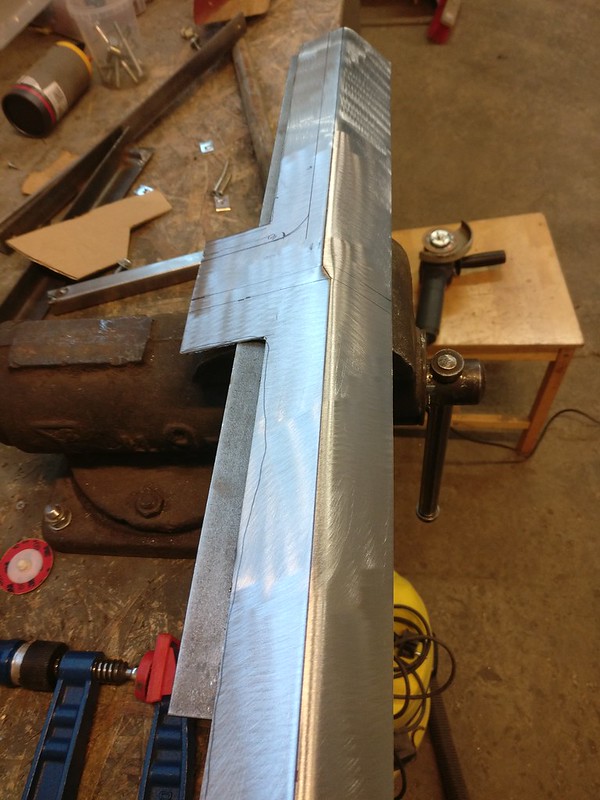
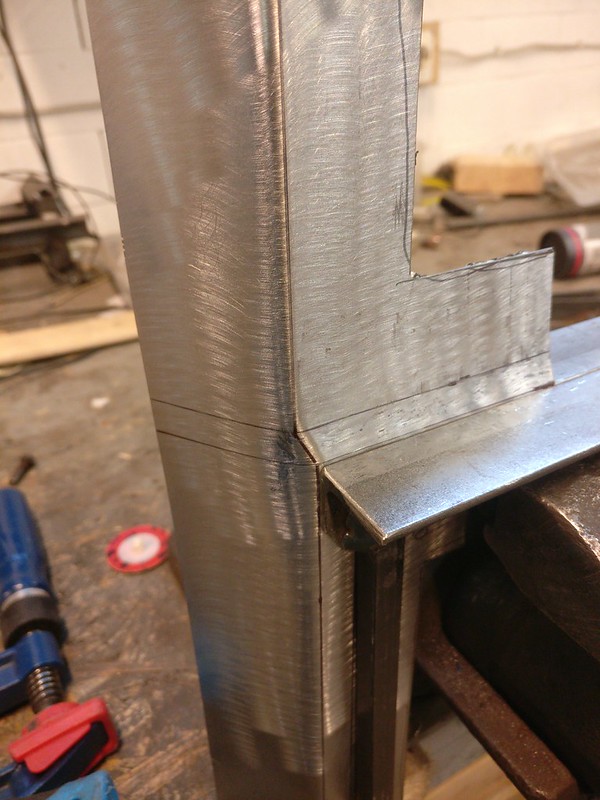
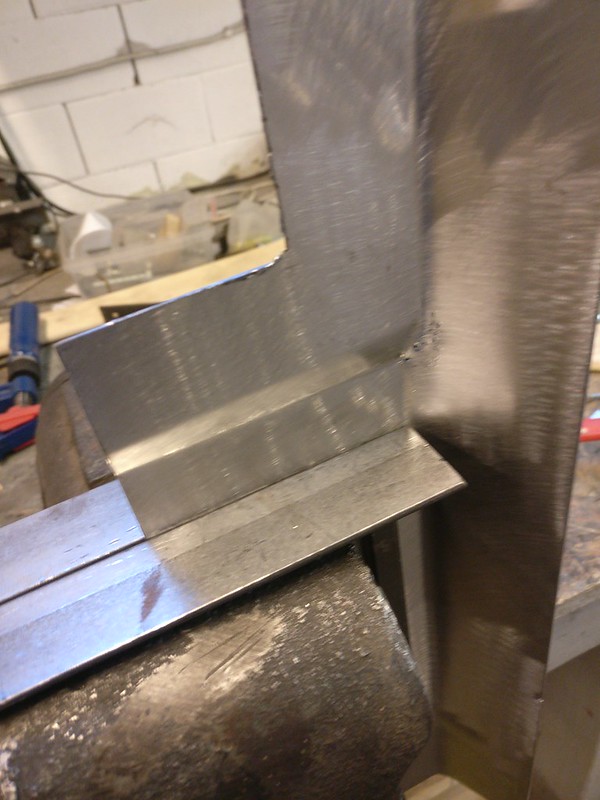
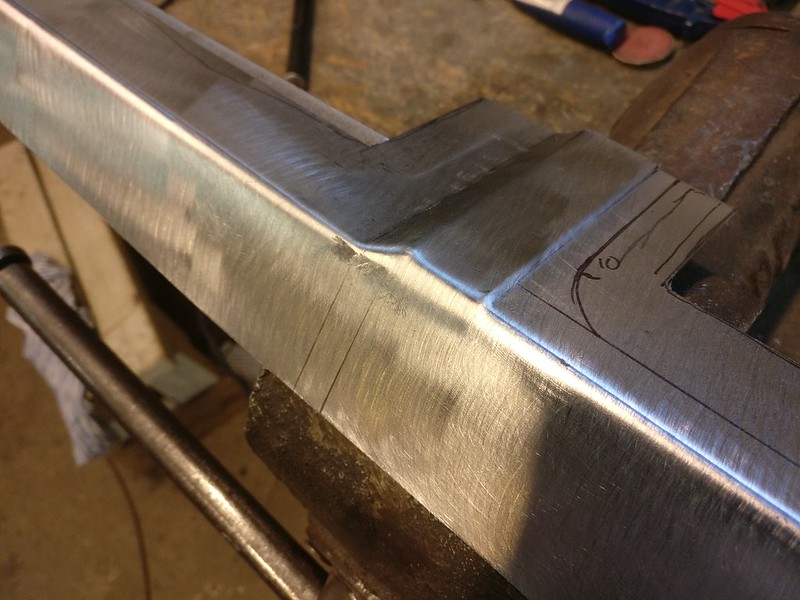
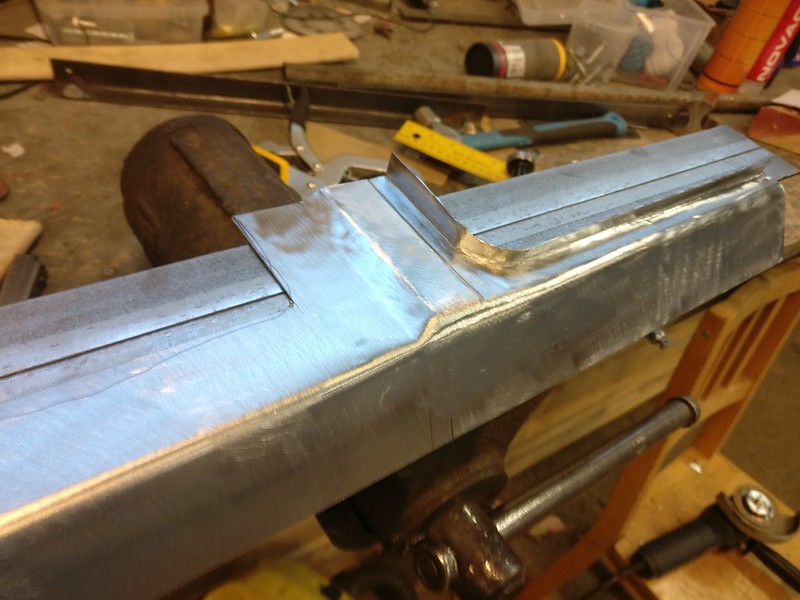
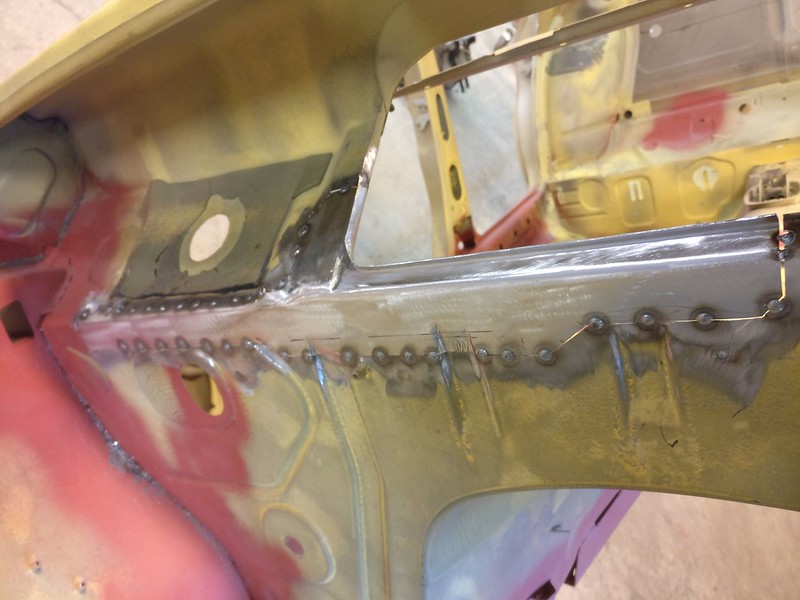
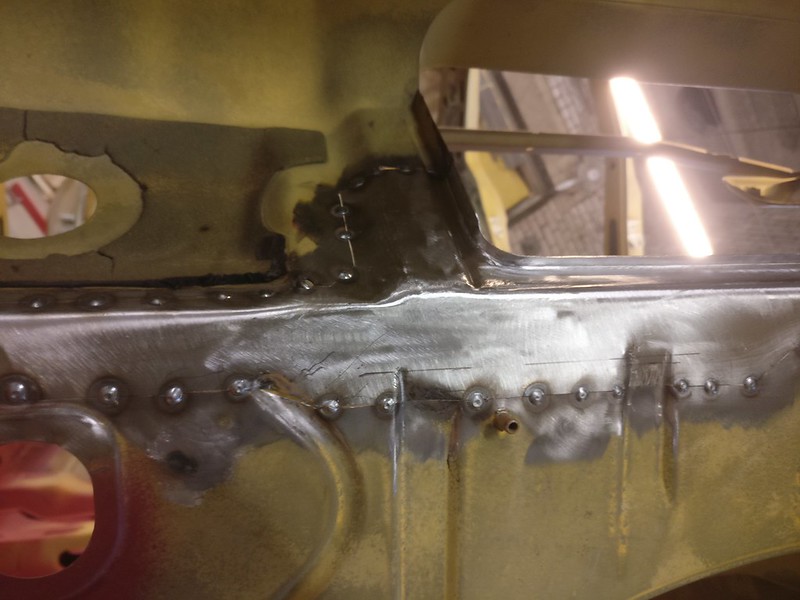
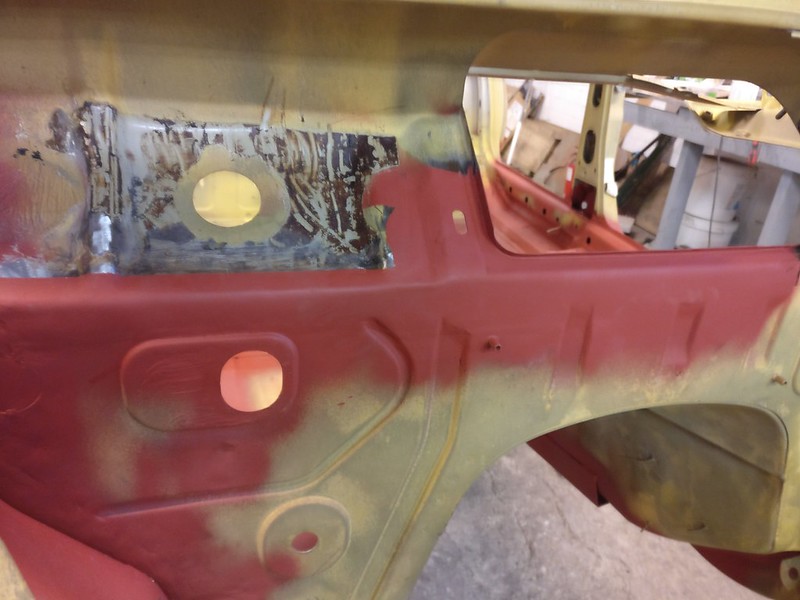
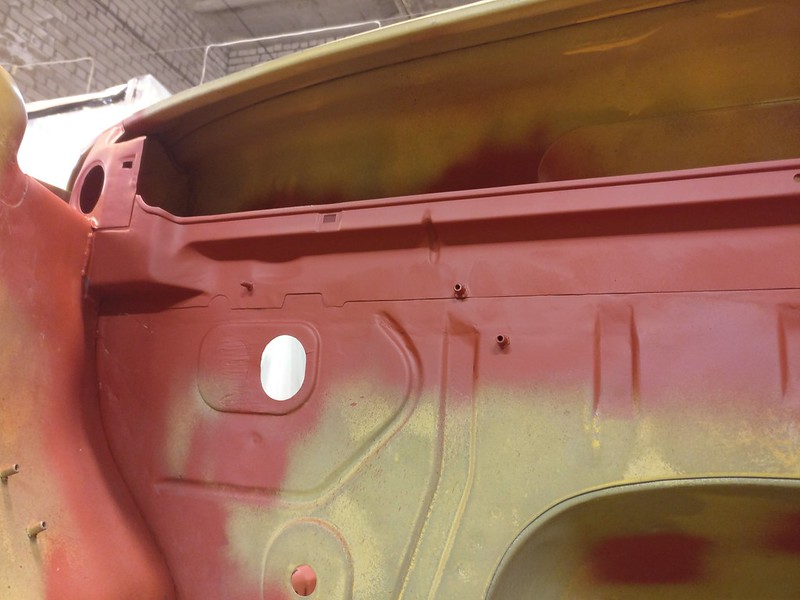
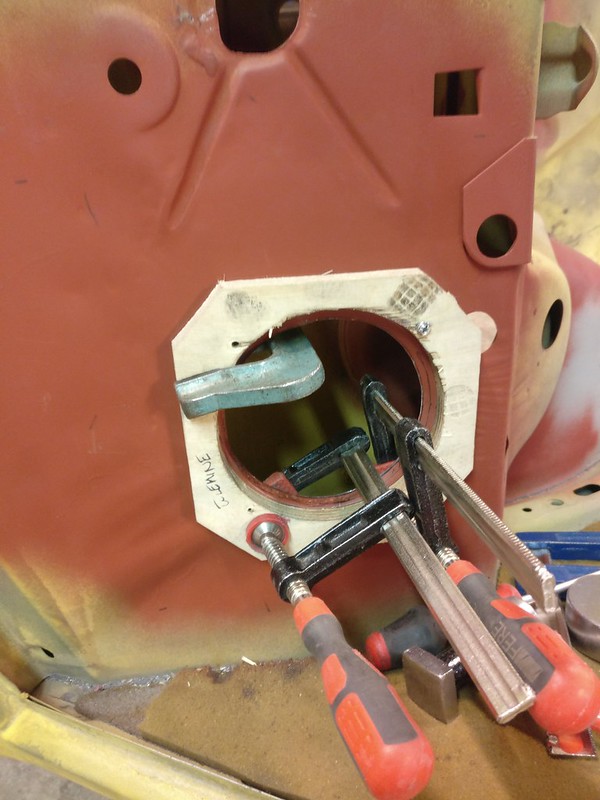
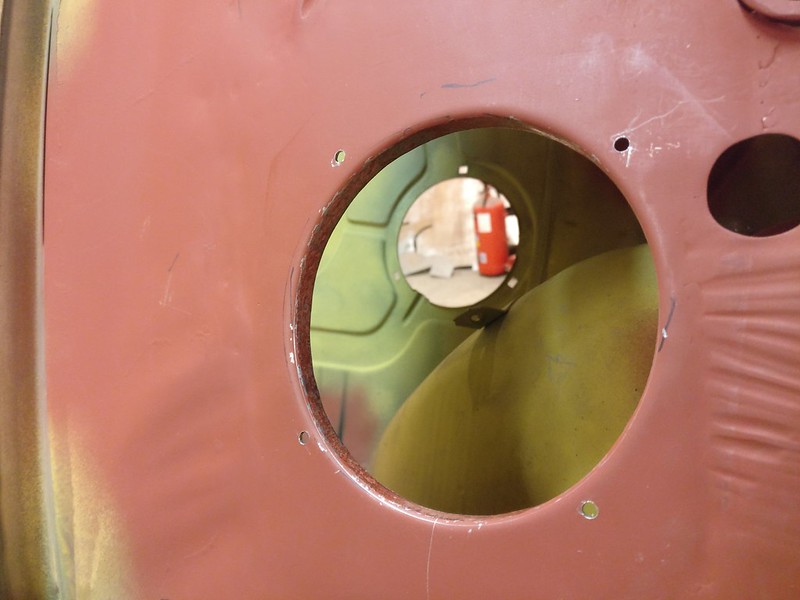
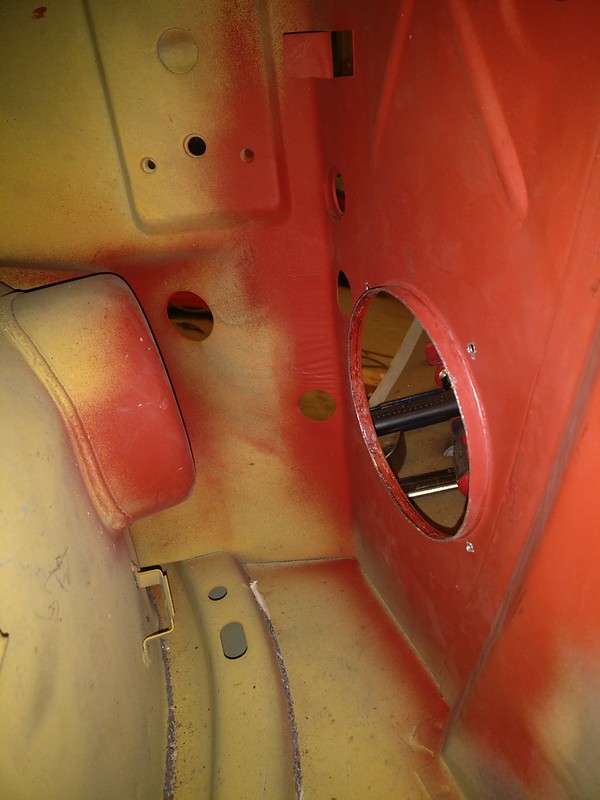
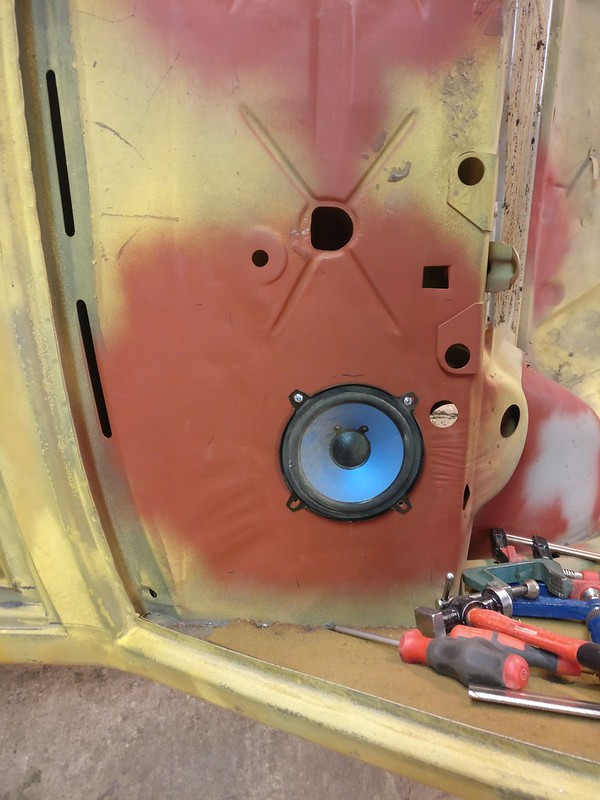
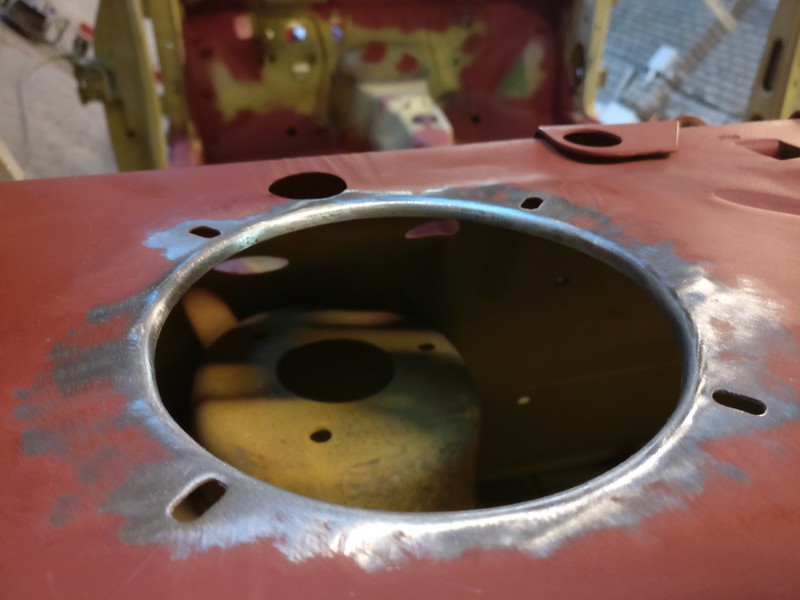
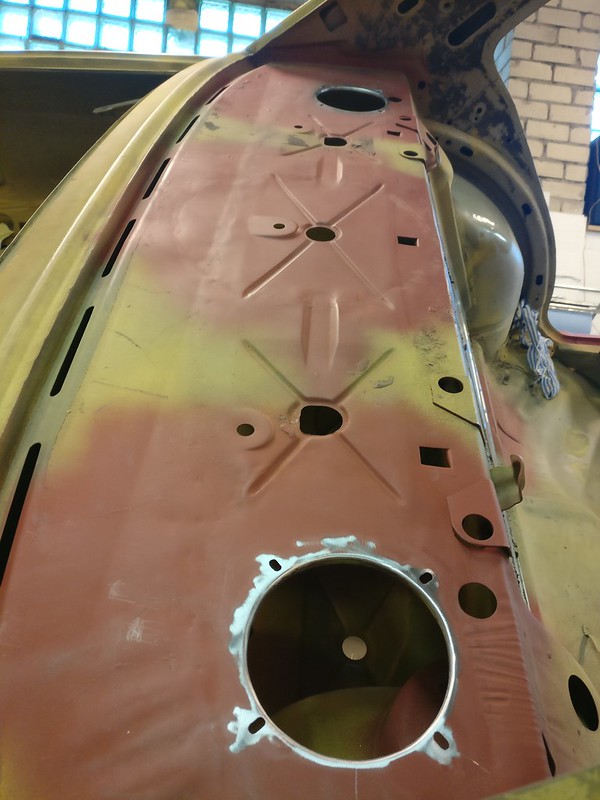
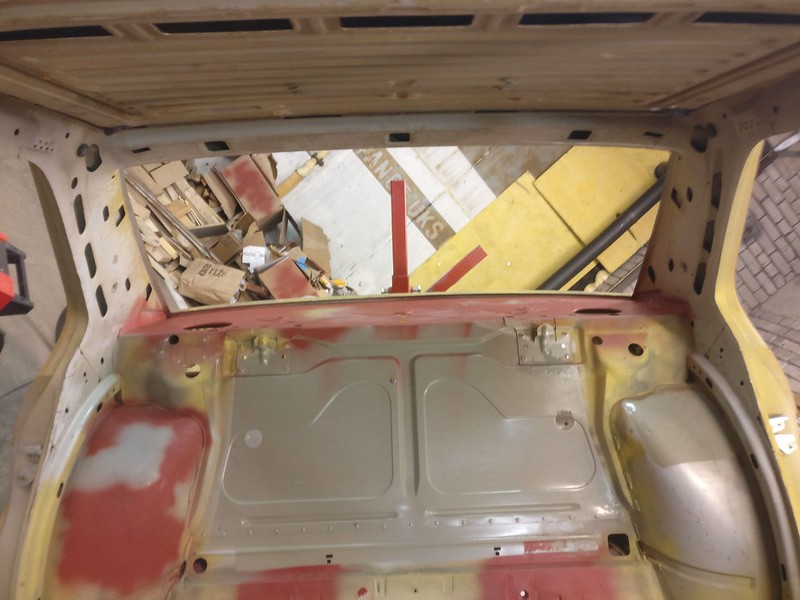
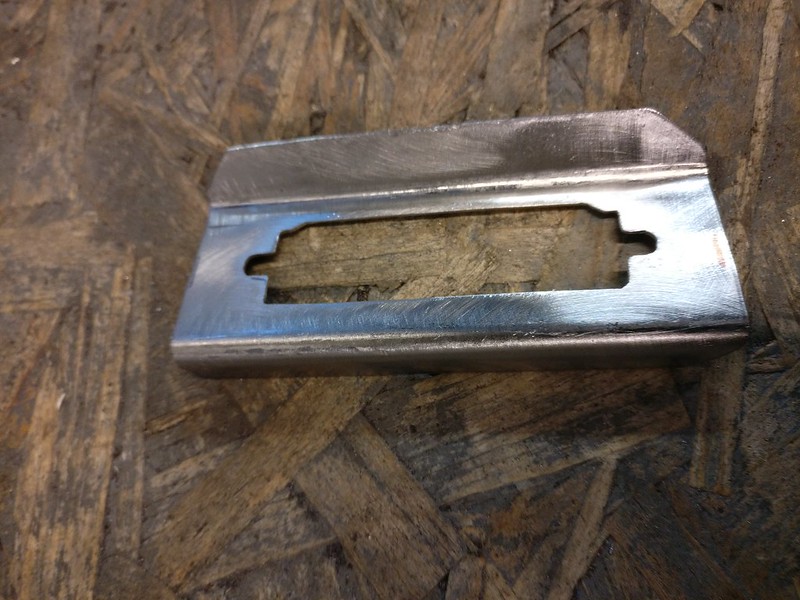
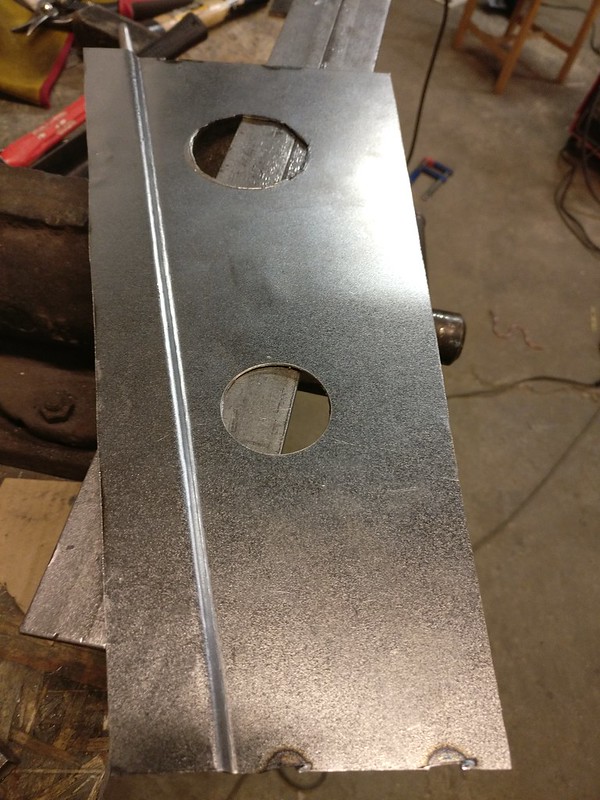
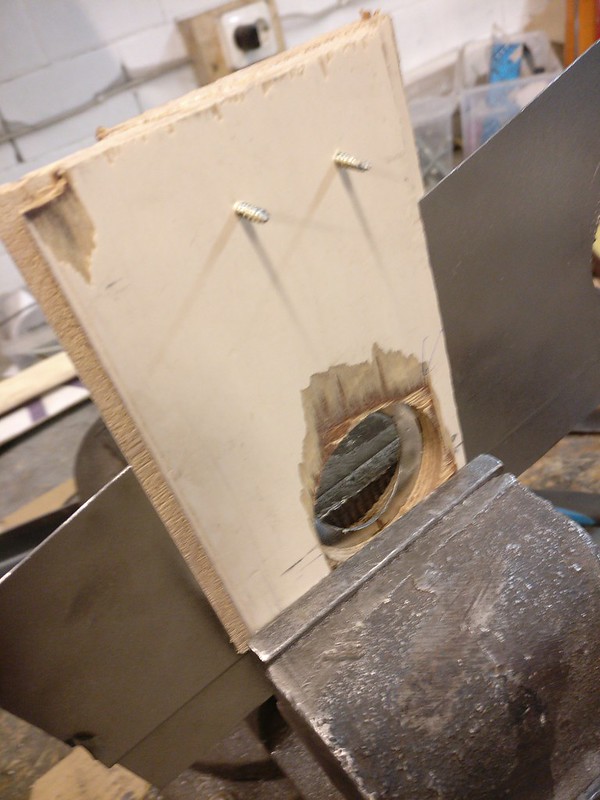
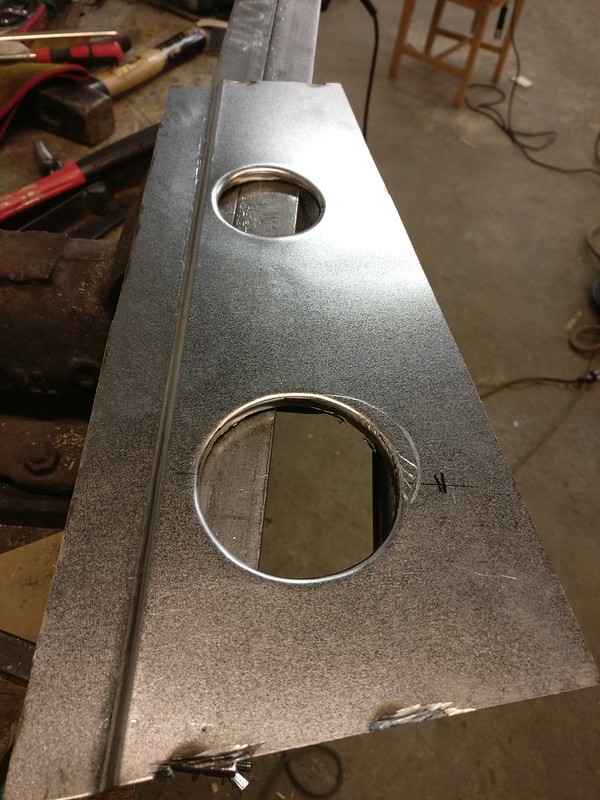
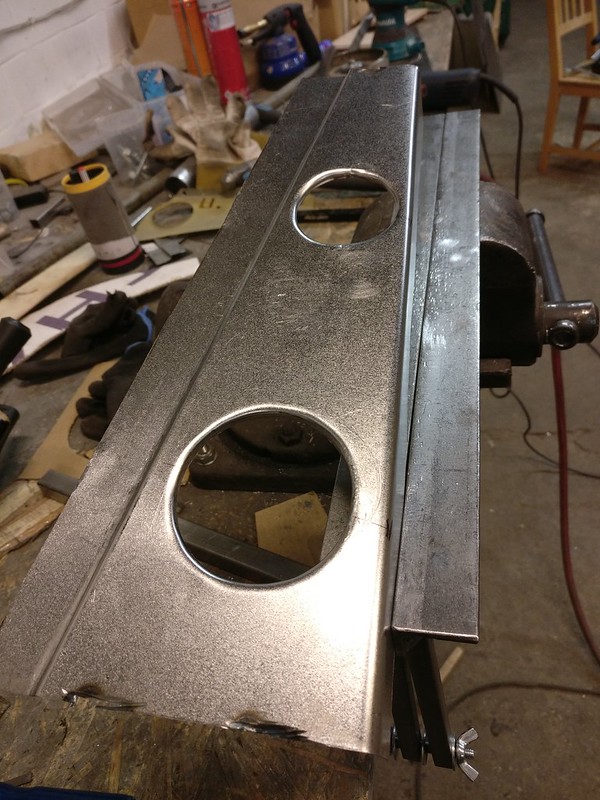
Thanks!JohnH wrote: Oct 08, 2020 9:45 PM Inspirational. I think your work is superb. Well done.
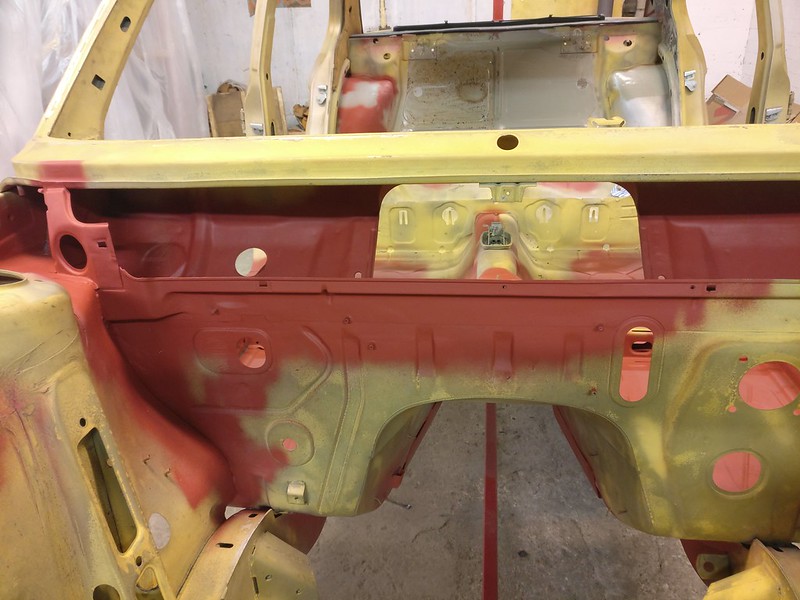
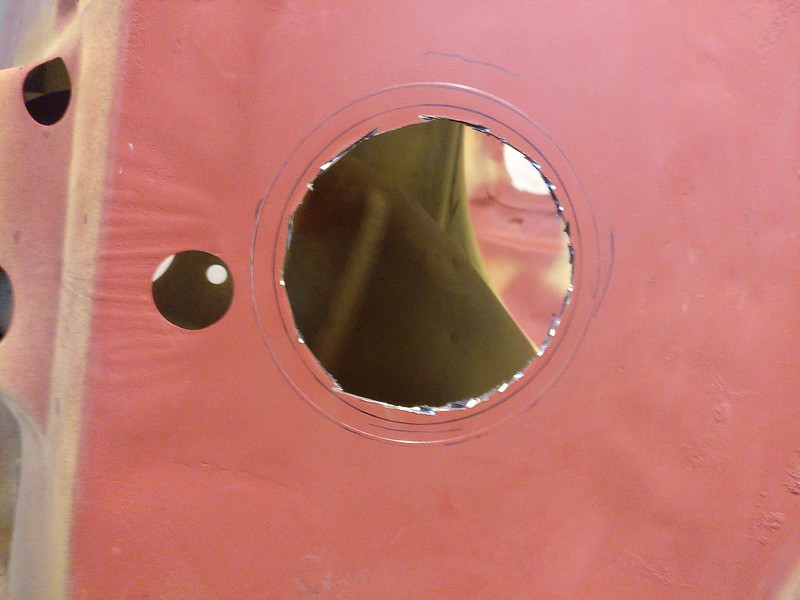
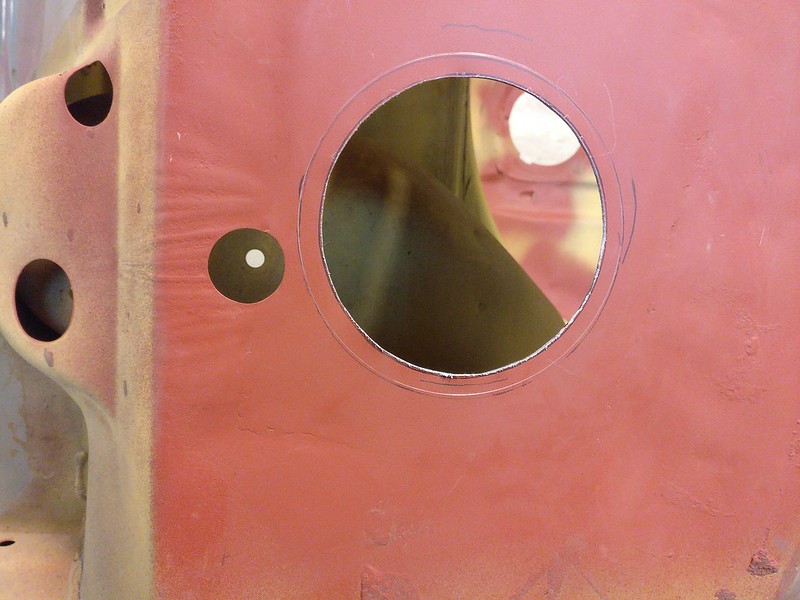
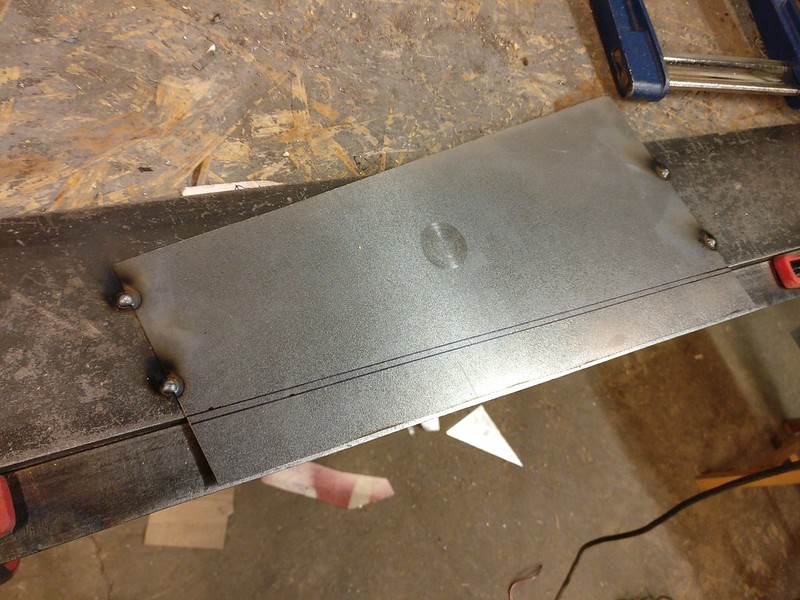
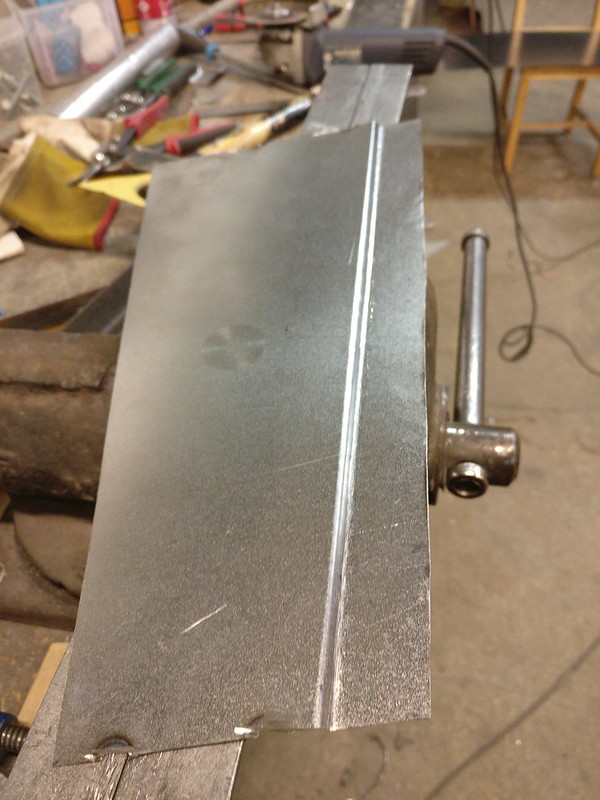
A question. What tools are you using to cut the bodywork and repair pieces, especially those around the strut towers. I'm looking to do the same task on mine and have been using a dremel with its 38mm cutting wheel which works quite well in the restricted spaces around the tower.