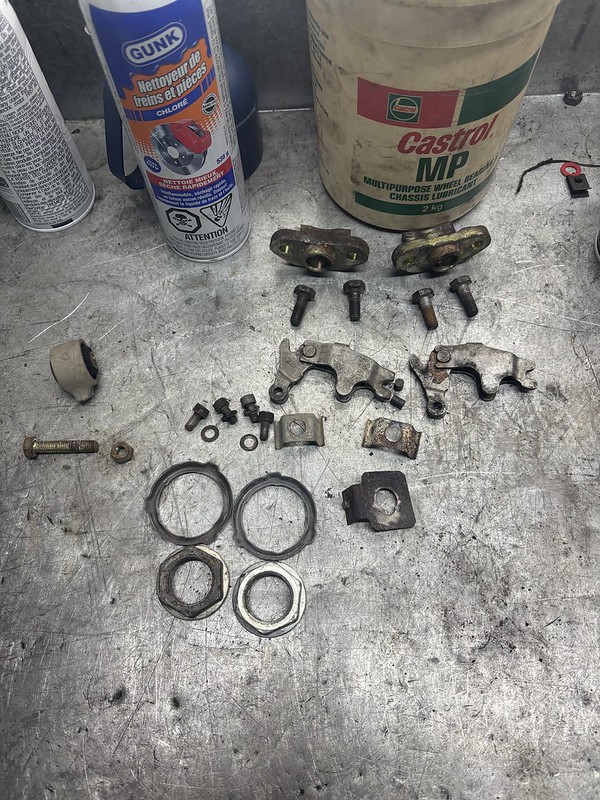
Re: Resurrection of my green BMW
Posted: Dec 31, 2023 3:49 PM
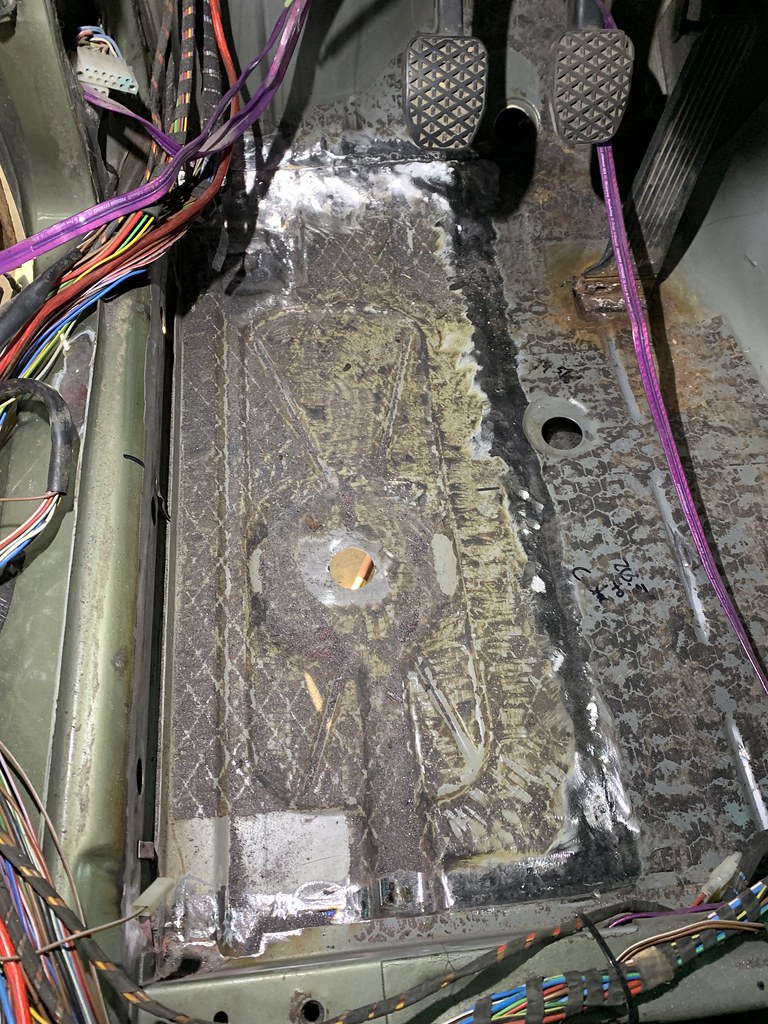
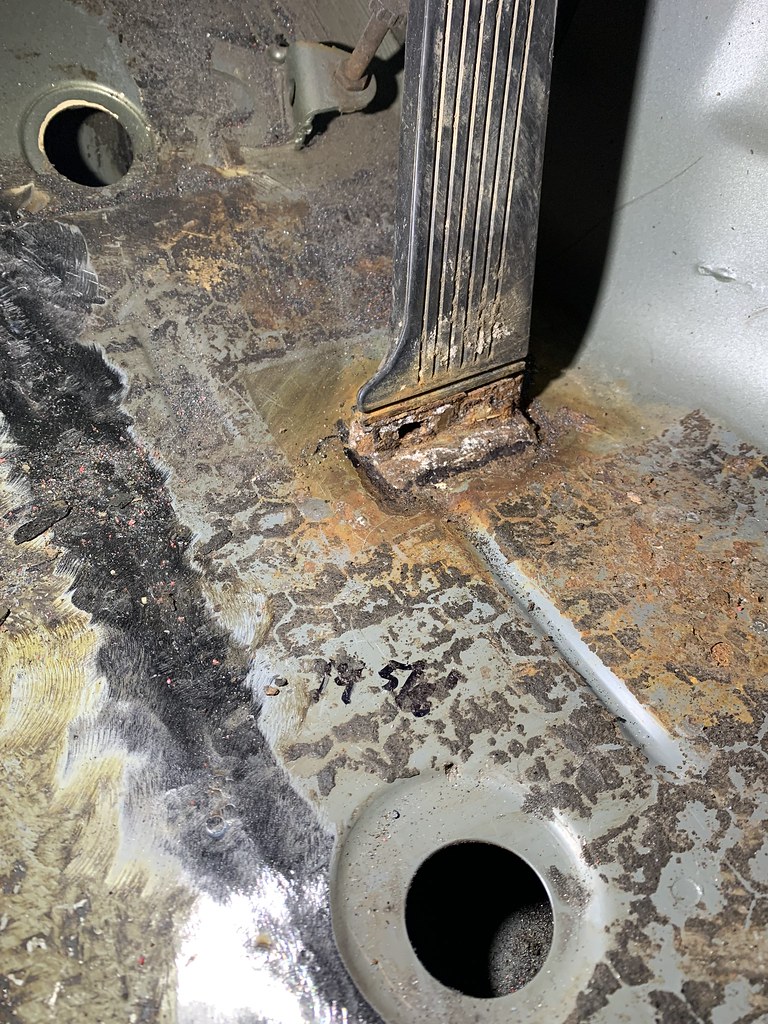
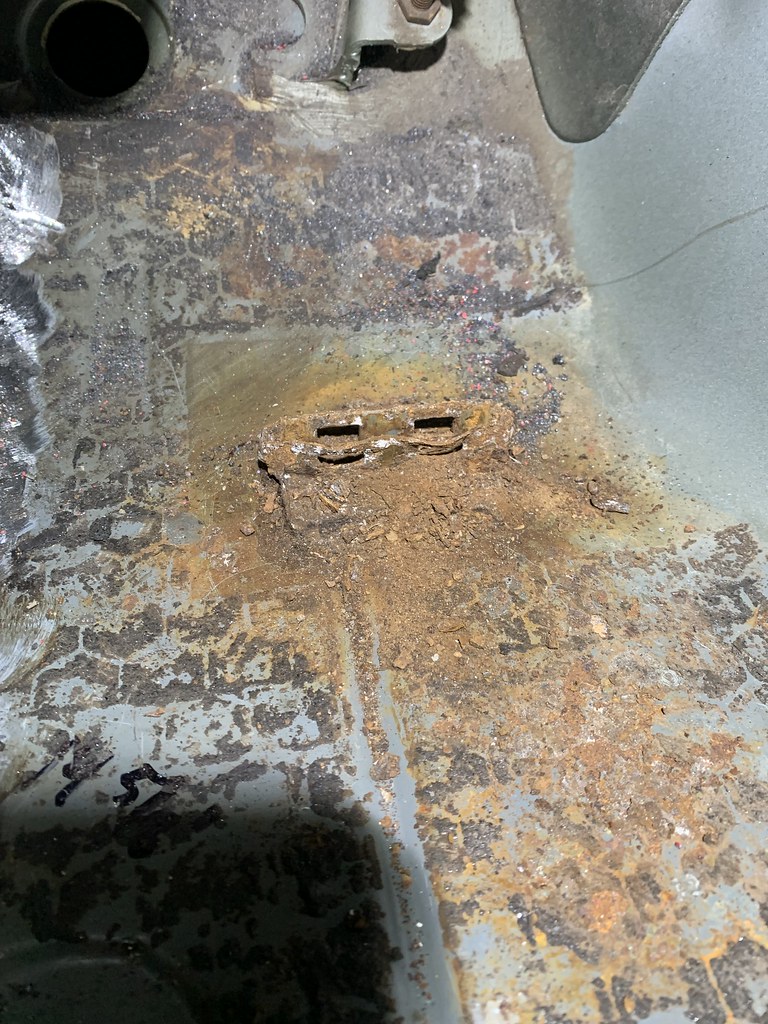
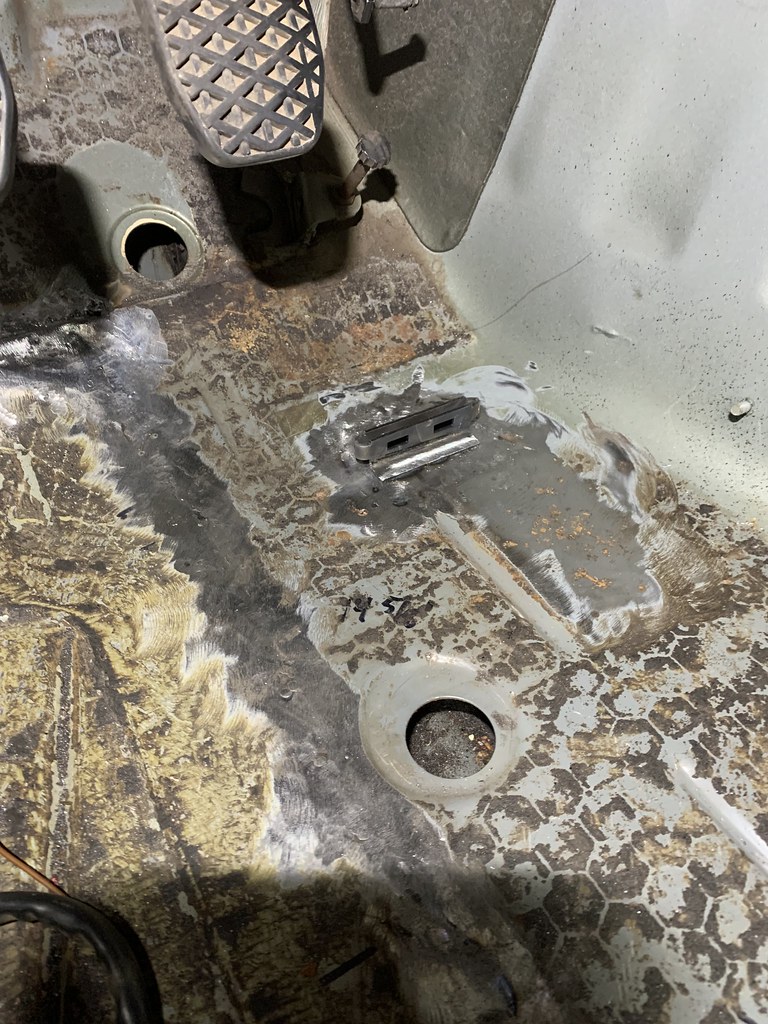
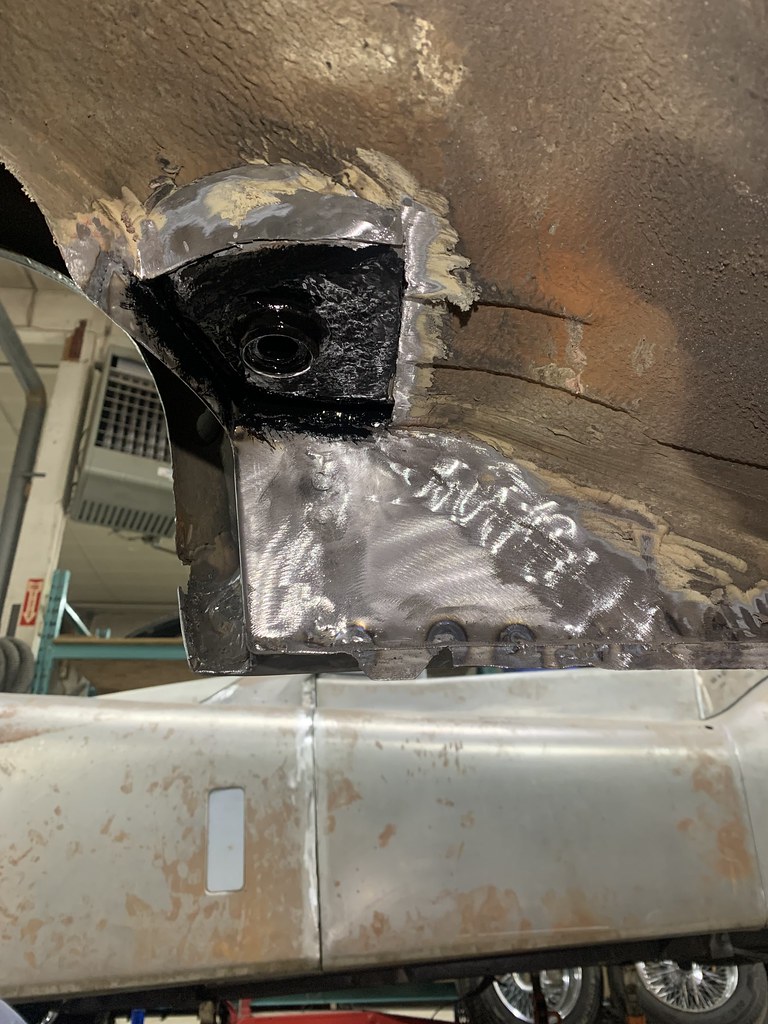
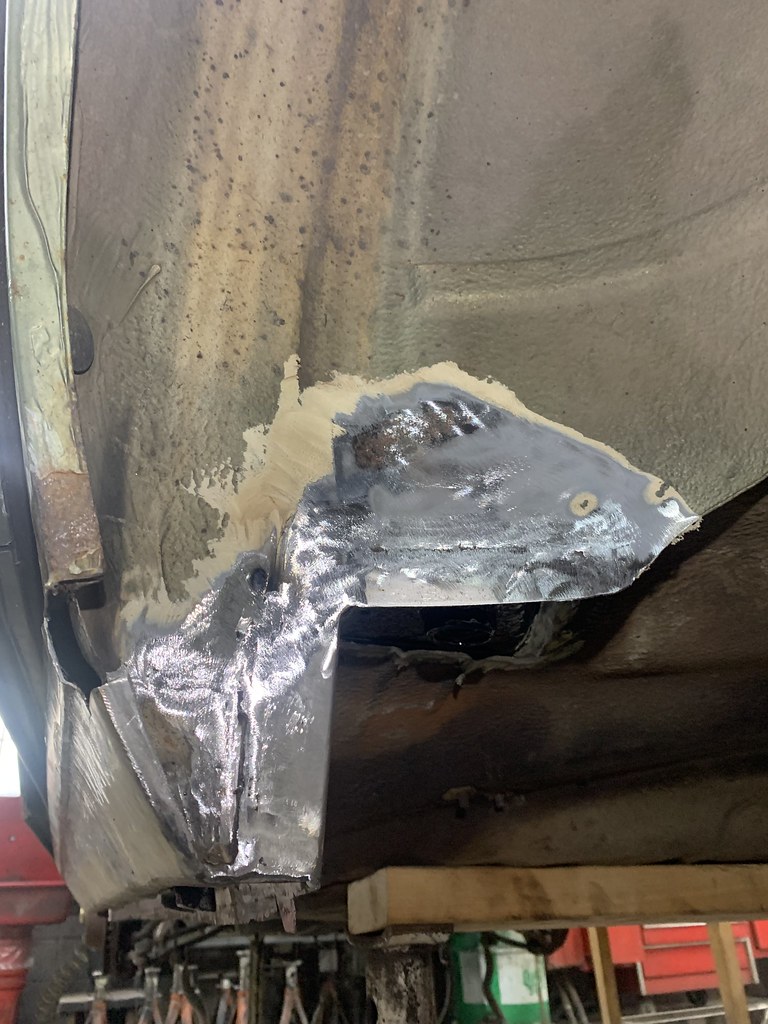
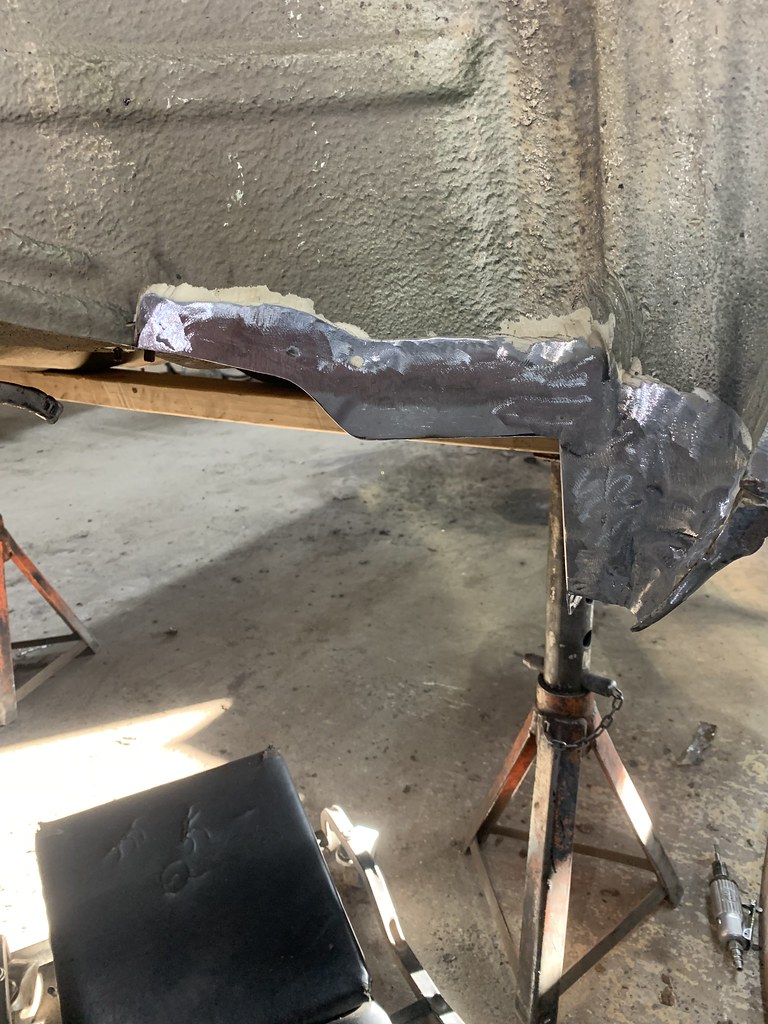
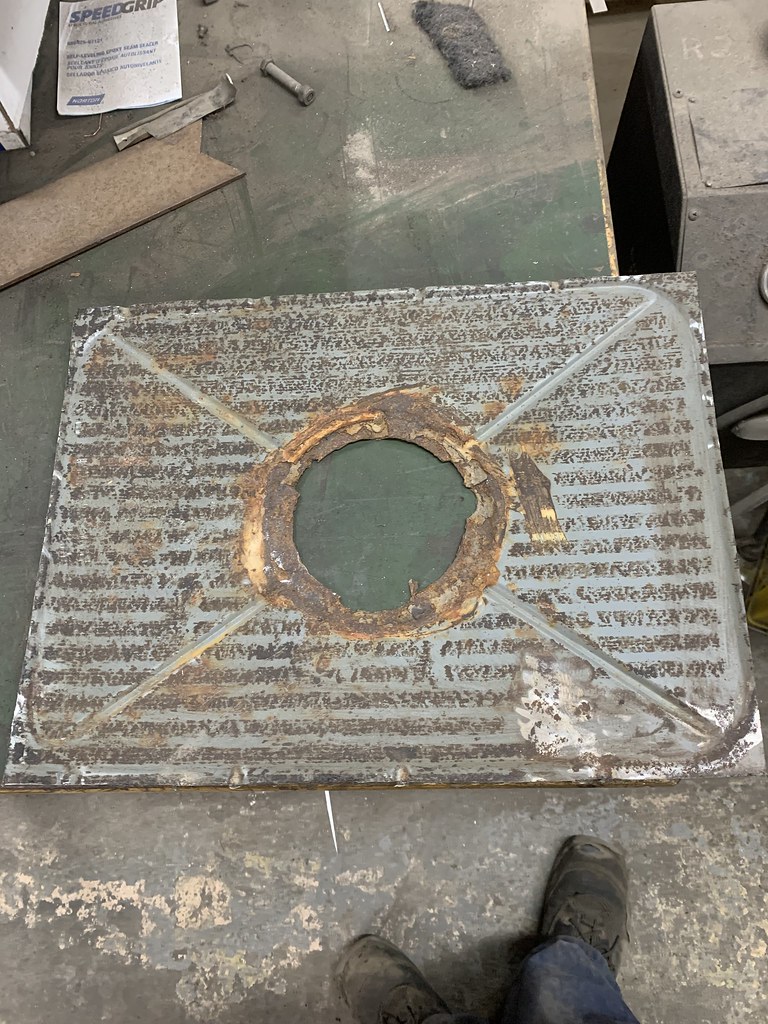
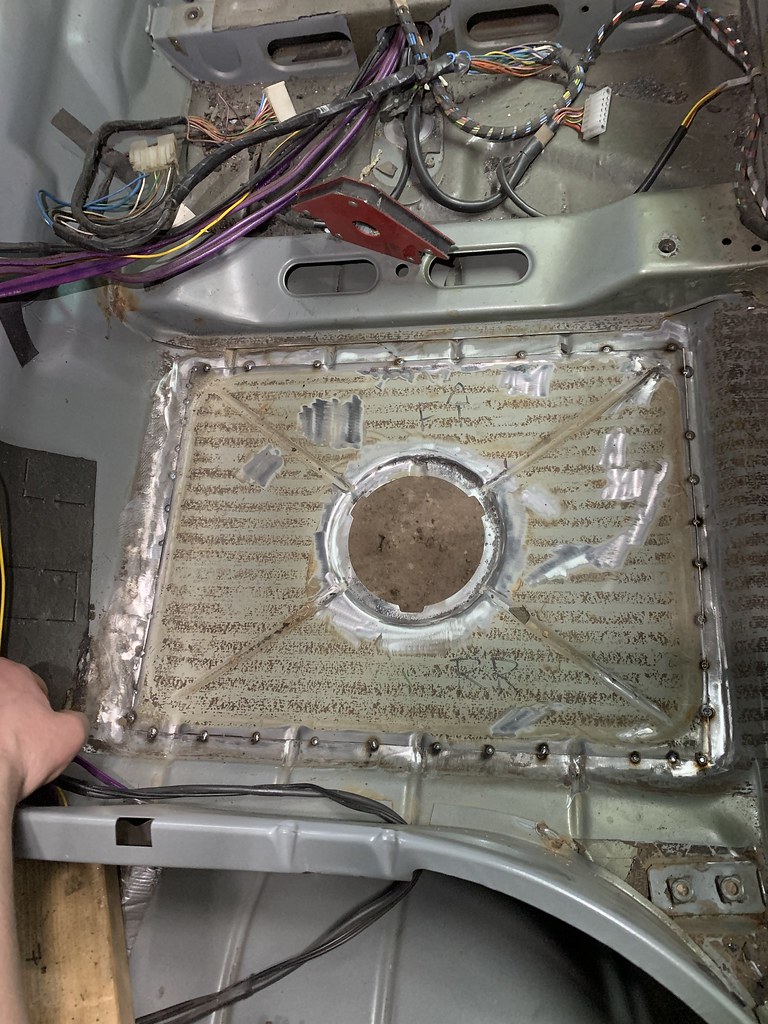
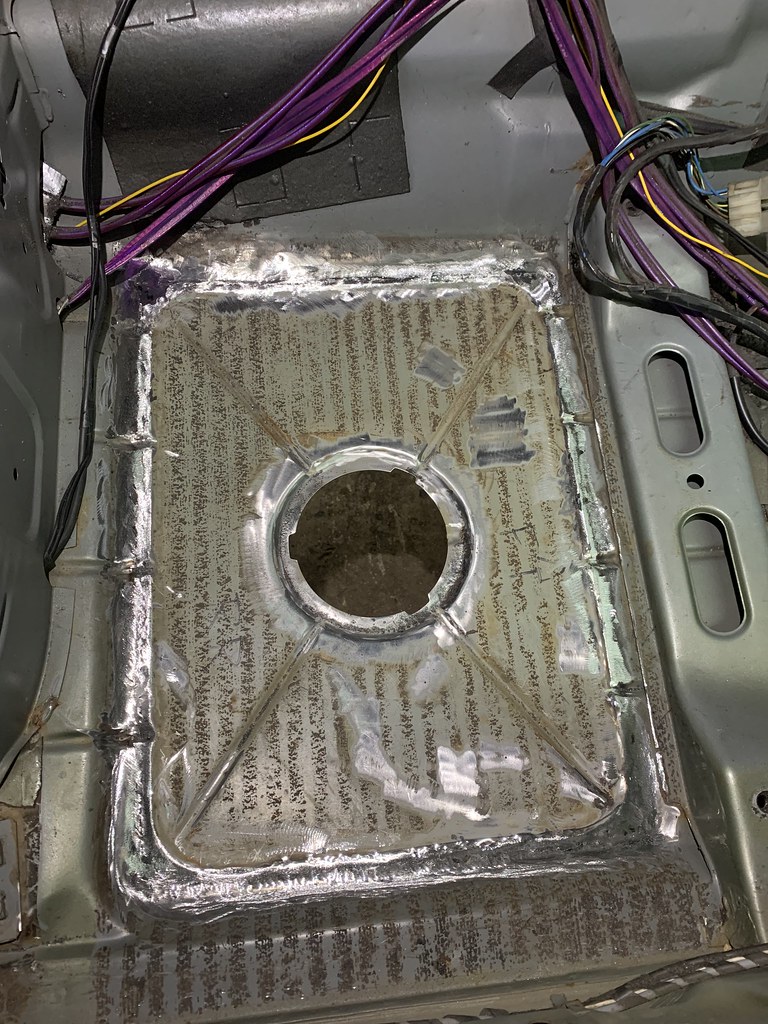
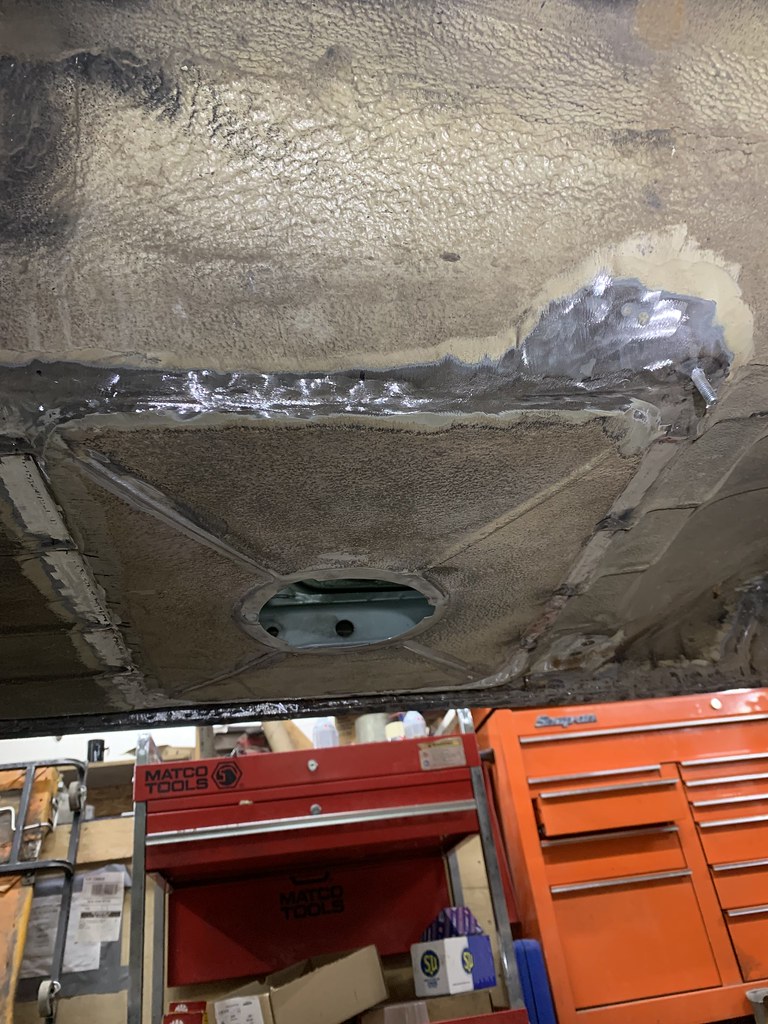
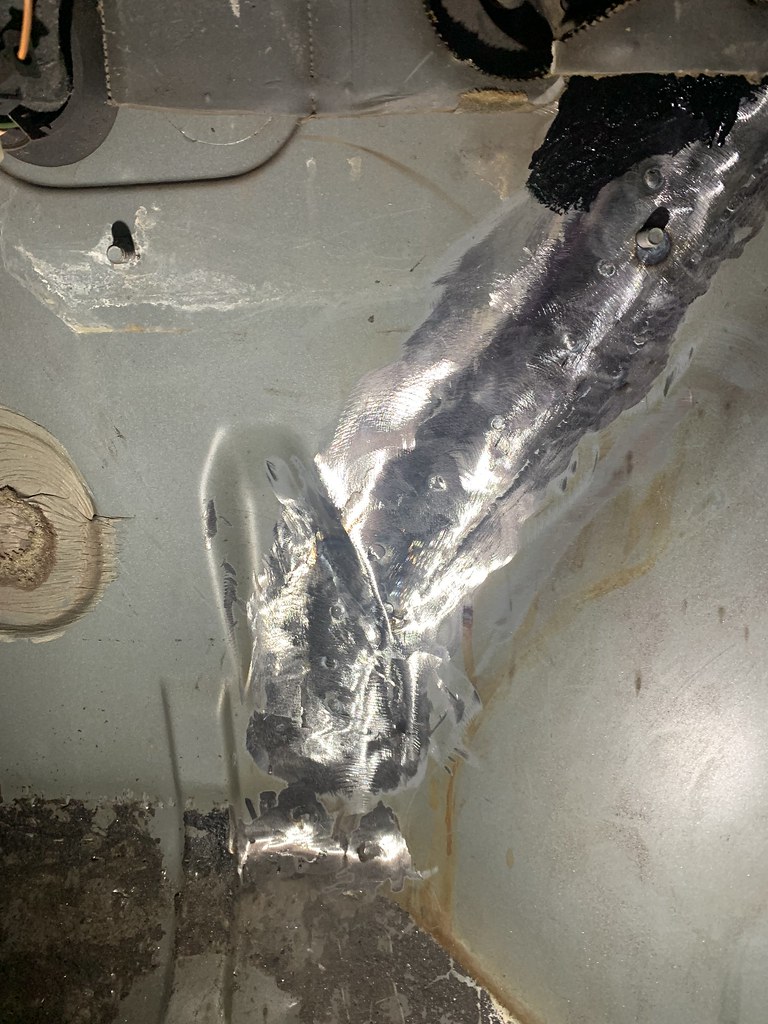
I've been plugging away on the car, discovering more rust every hour I work on it. Nothing about that surprises me, but I try to focus on an area at a time, and not get overwhelmed. Picking up from where I left off, I made a small extension of the floorpan where it meets the toeboard, finishing up the passenger floor repair.
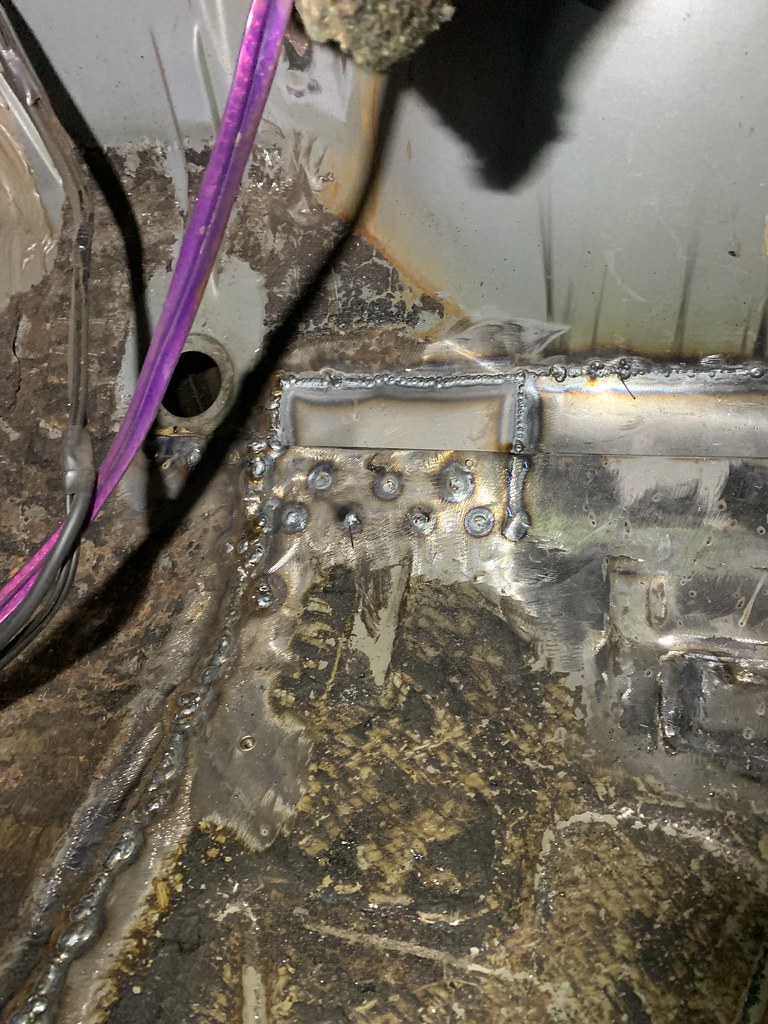 IMG_8317 by Warren Tomlinson, on Flickr
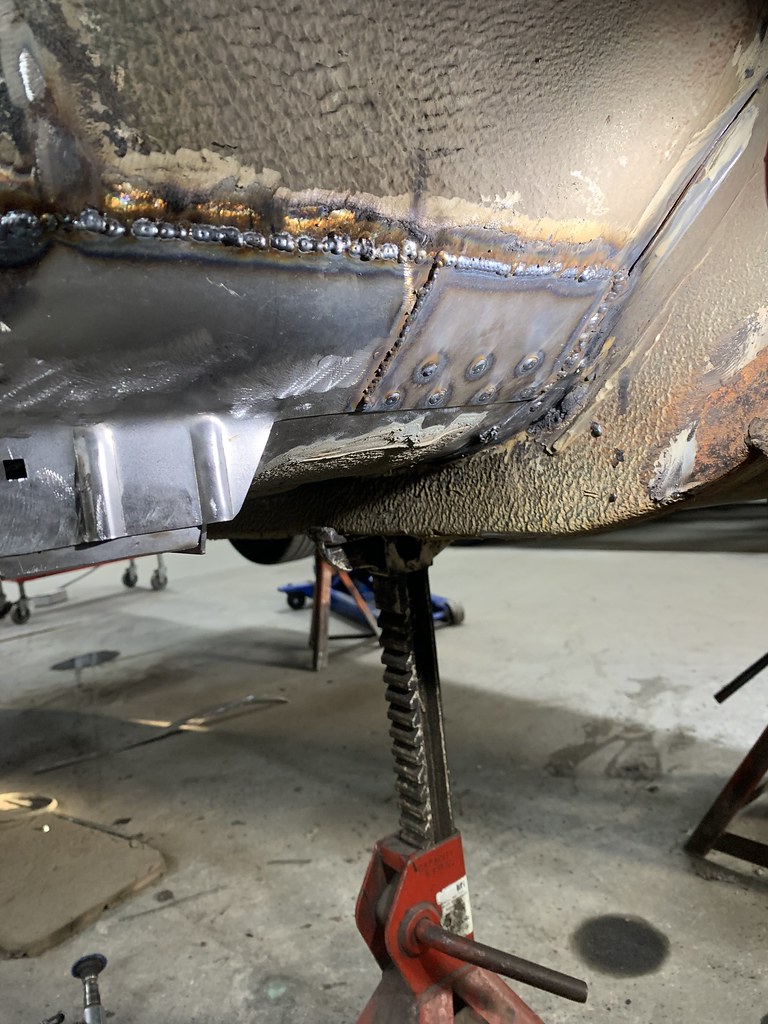 IMG_8318 by Warren Tomlinson, on Flickr
Forgot to take any photos of it ground down, but I promise you I did, and in general, I'm happy with the repairs.
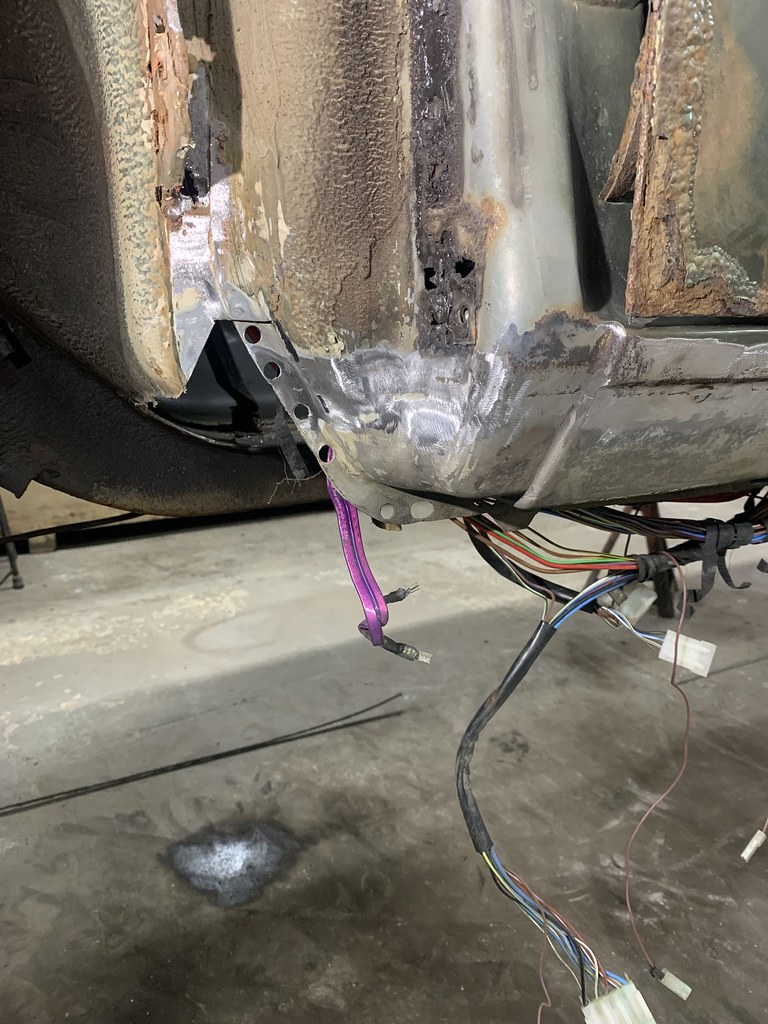
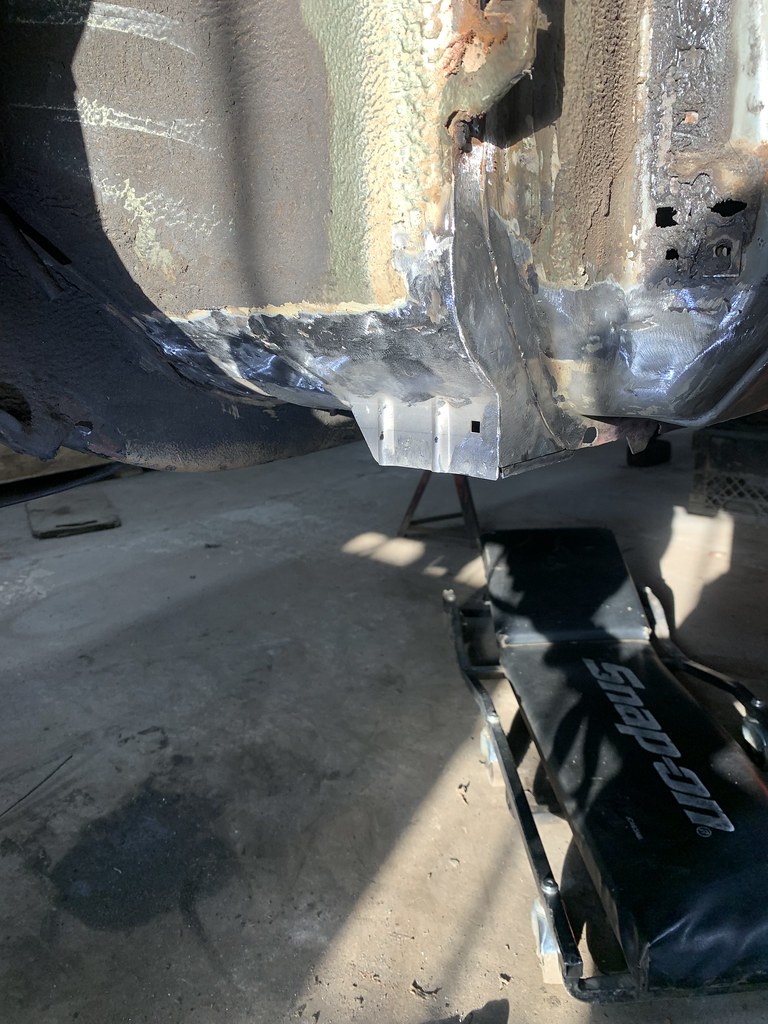
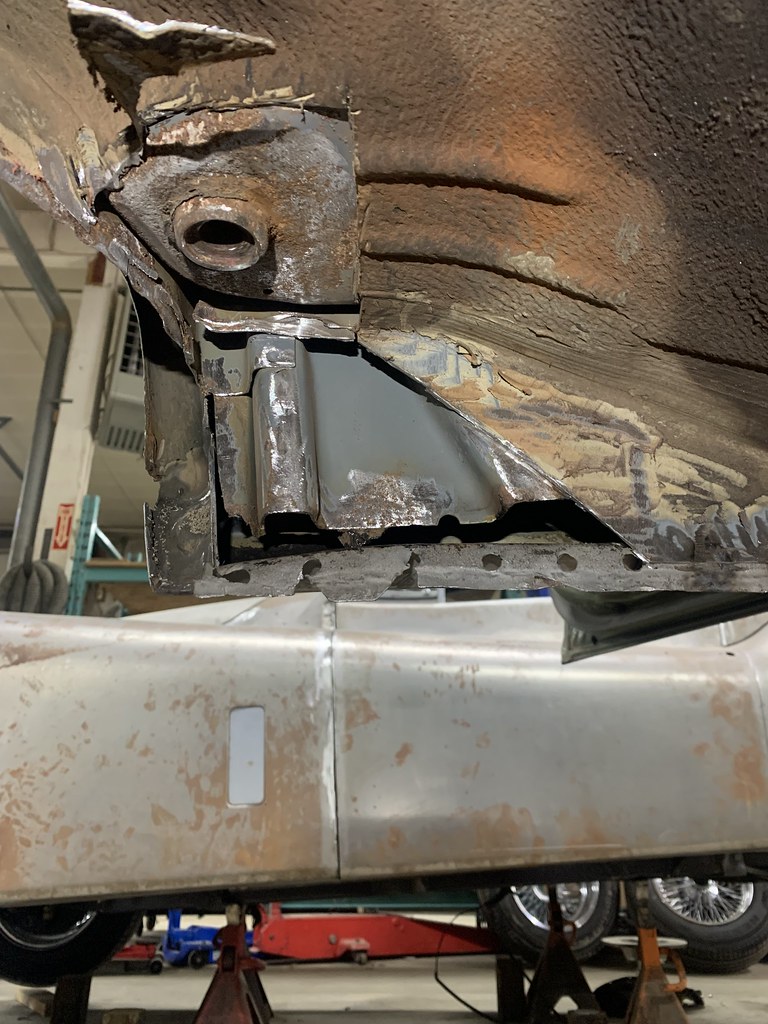
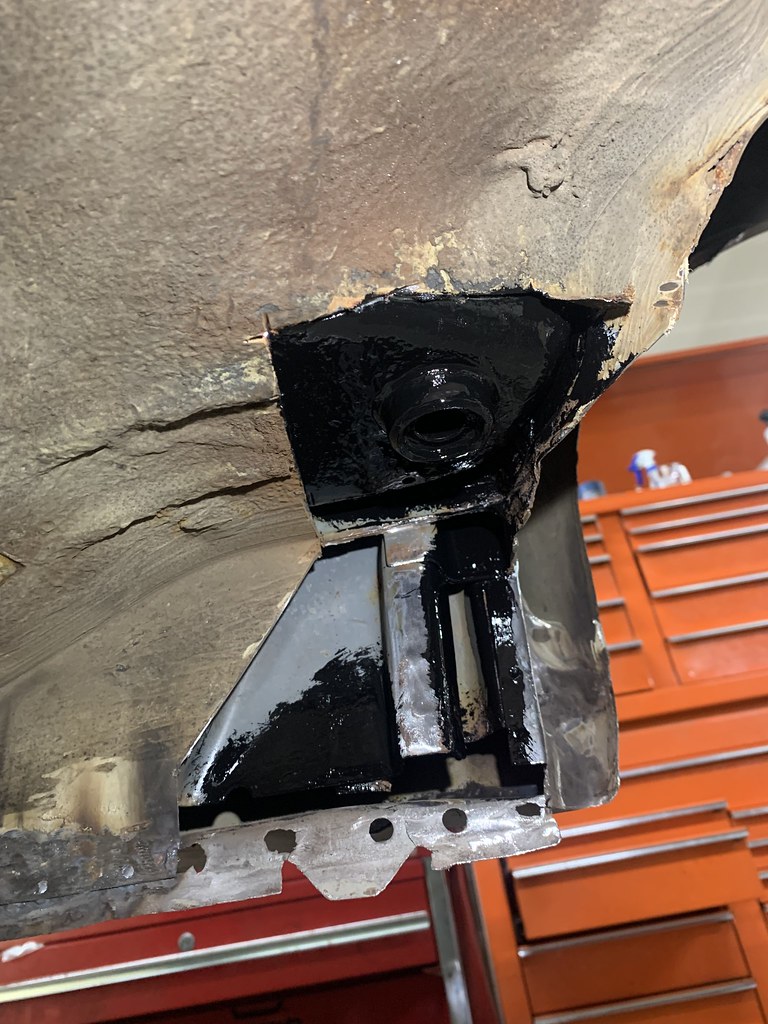
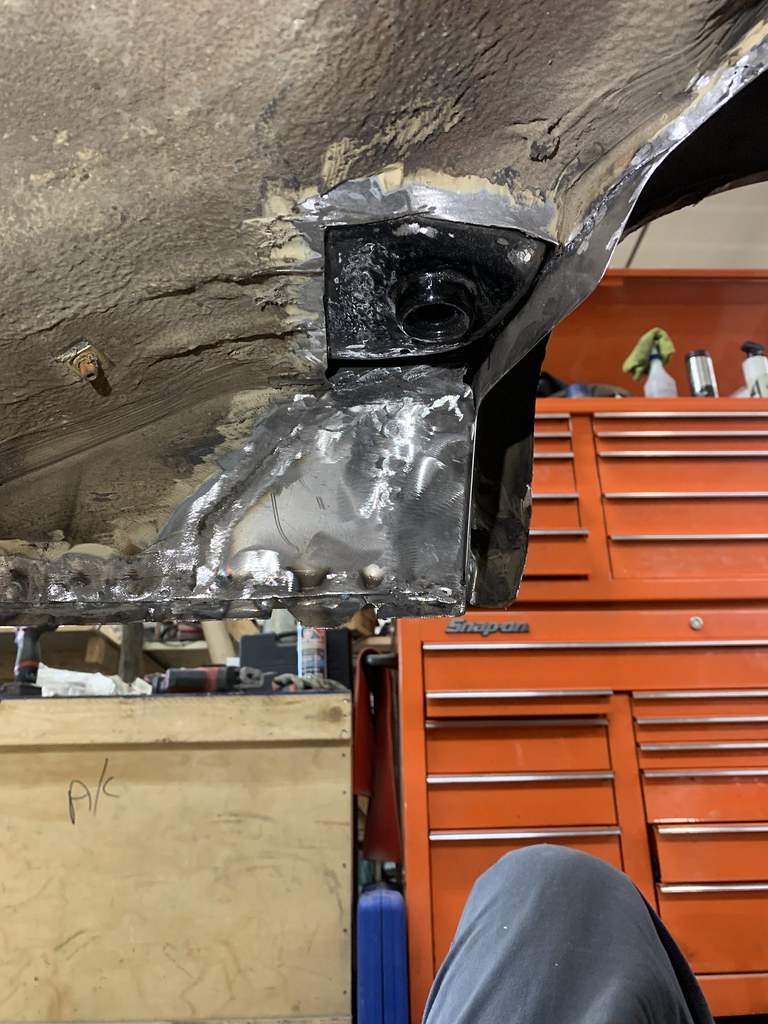
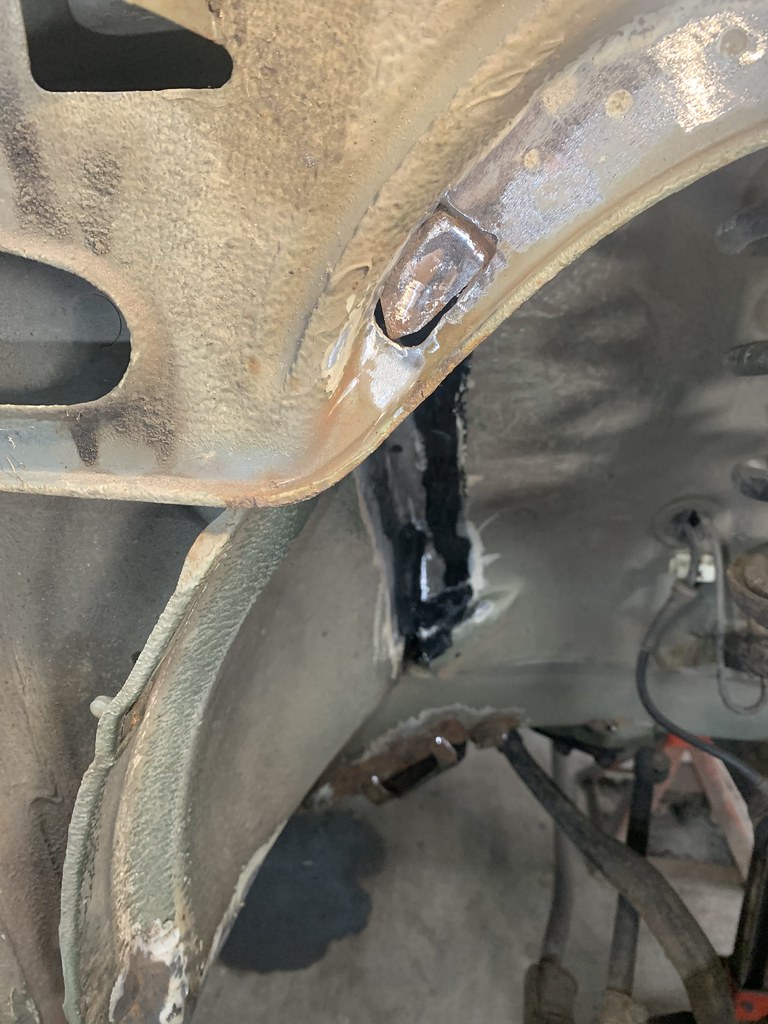
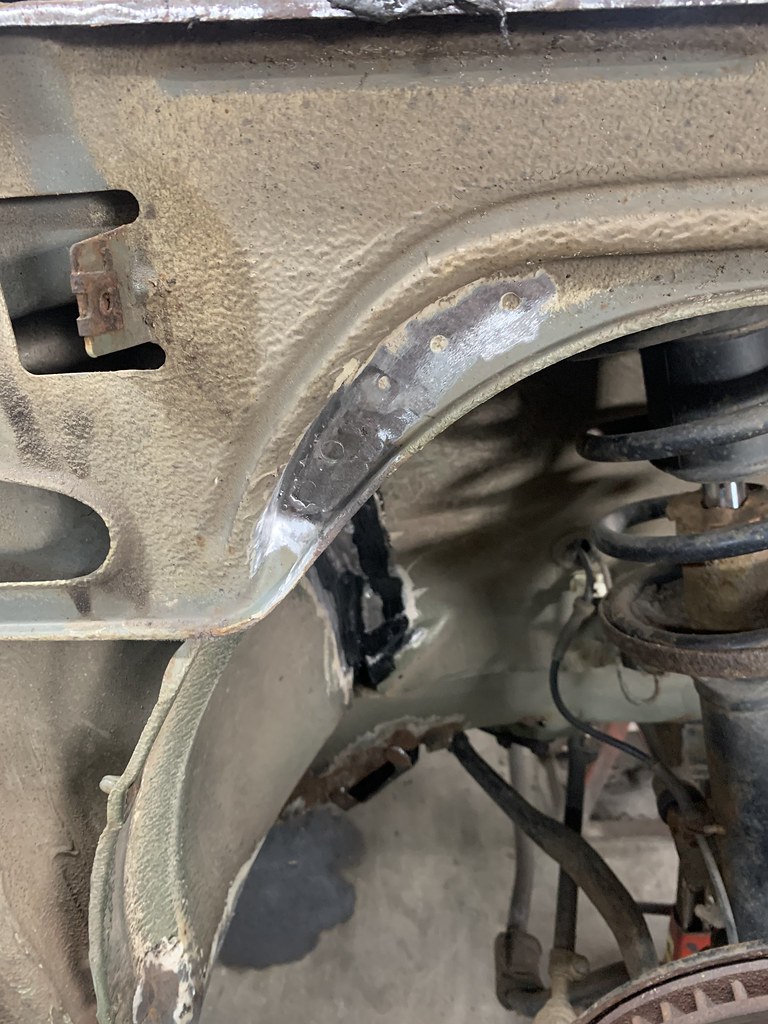
I moved on to the fussy area around the firewall. The inner fender flanges to the toeboard/firewall, and it had rusted between the layers, leaving a bit of a mess.
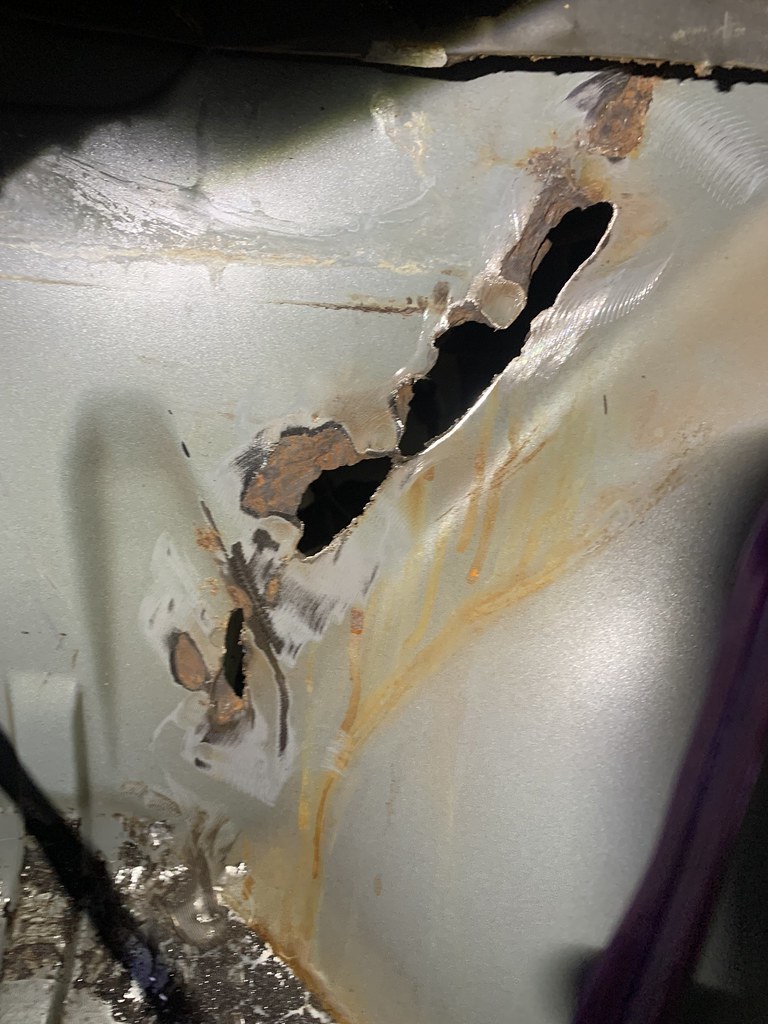 235BEA24-8A76-4EA6-8A68-F5CF12B3DD9A by Warren Tomlinson, on Flickr
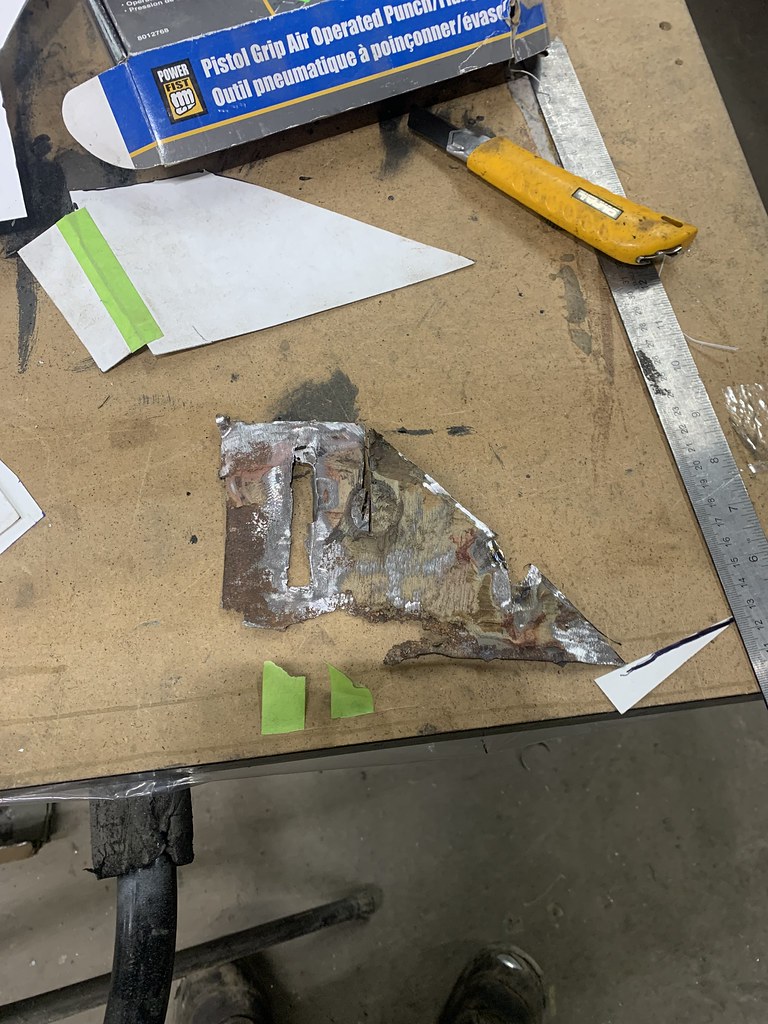
Chopped out the rot
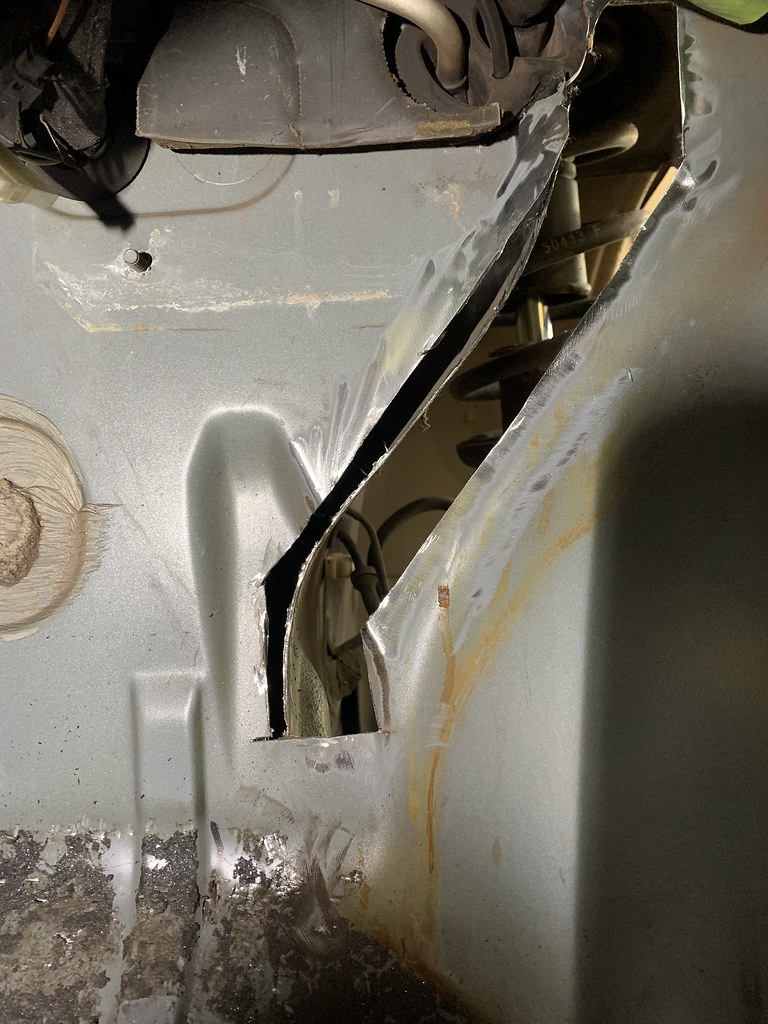 IMG_8319 by Warren Tomlinson, on Flickr
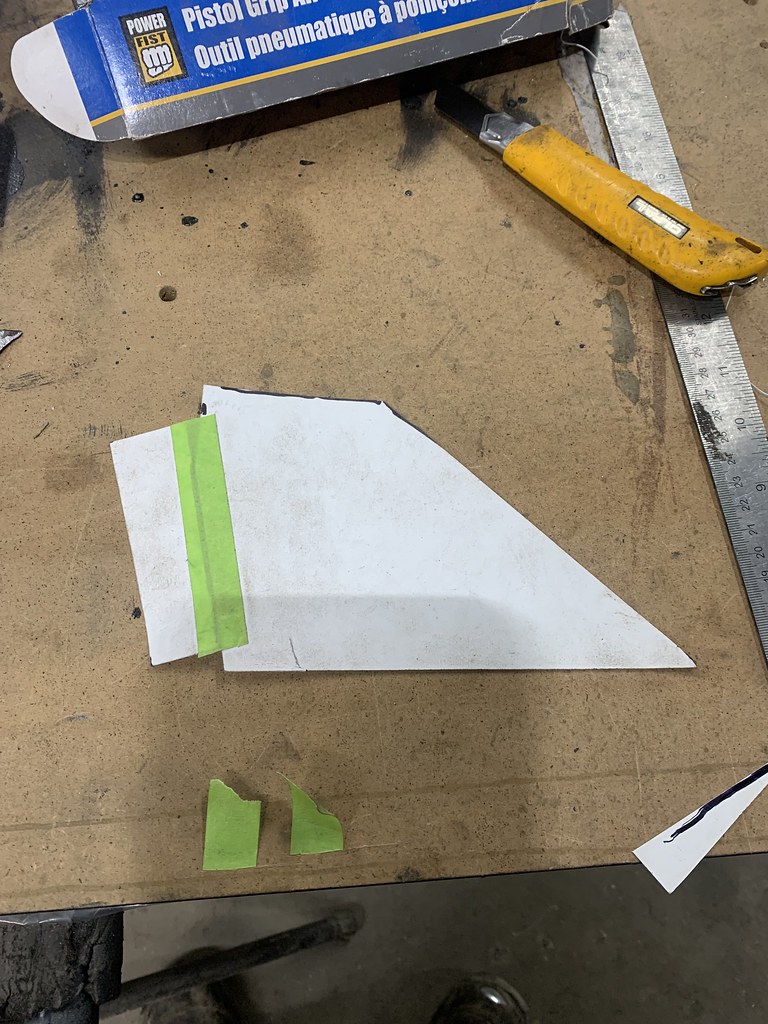
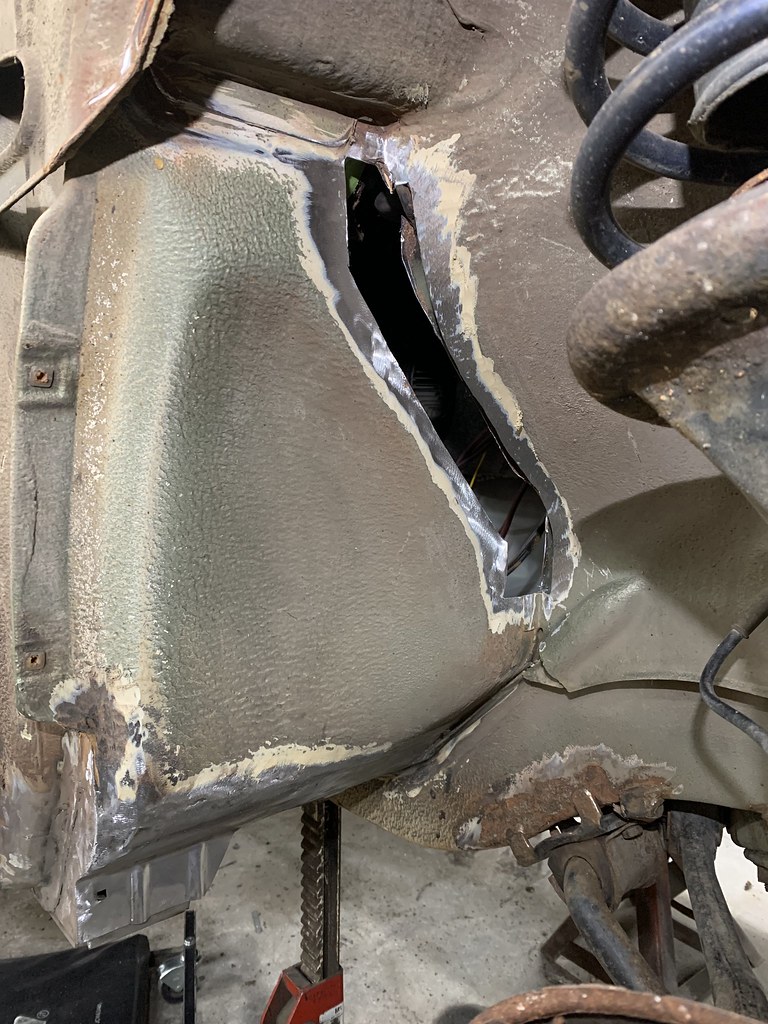 IMG_8320 by Warren Tomlinson, on Flickr
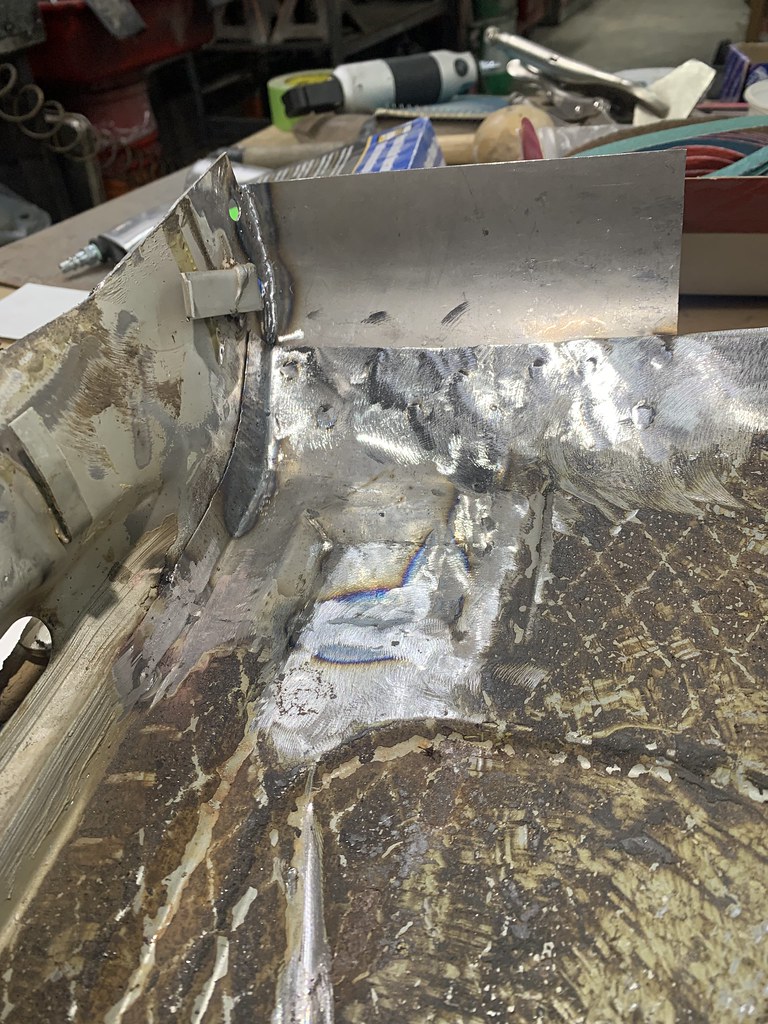
Nice flat piece to work with
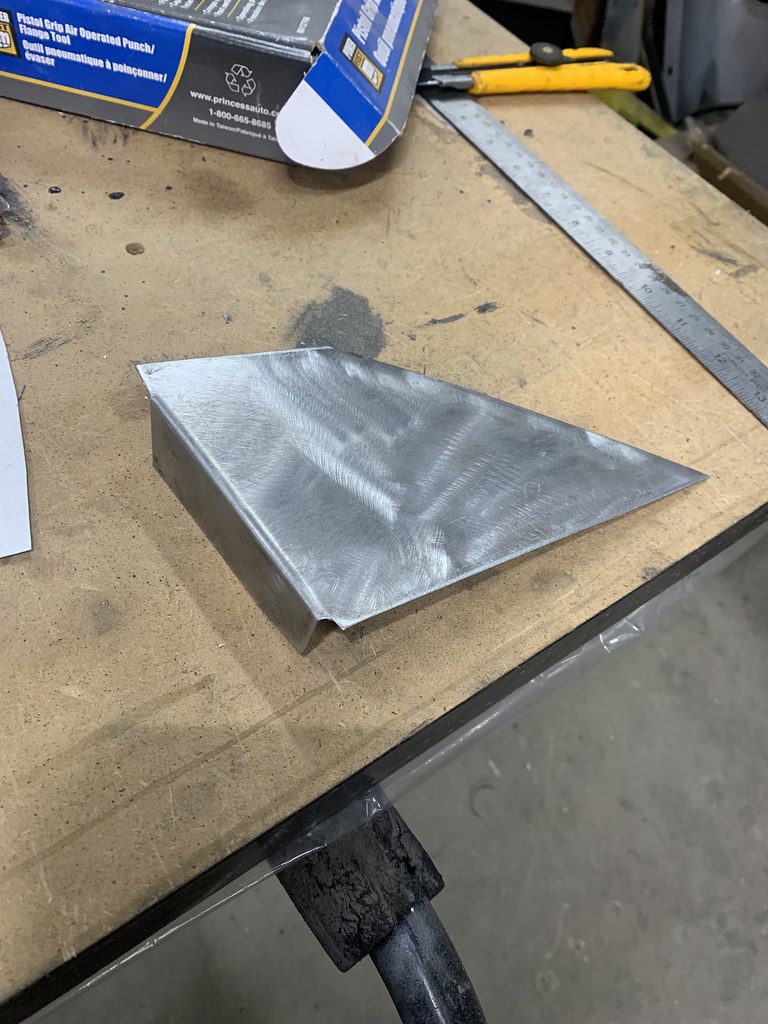
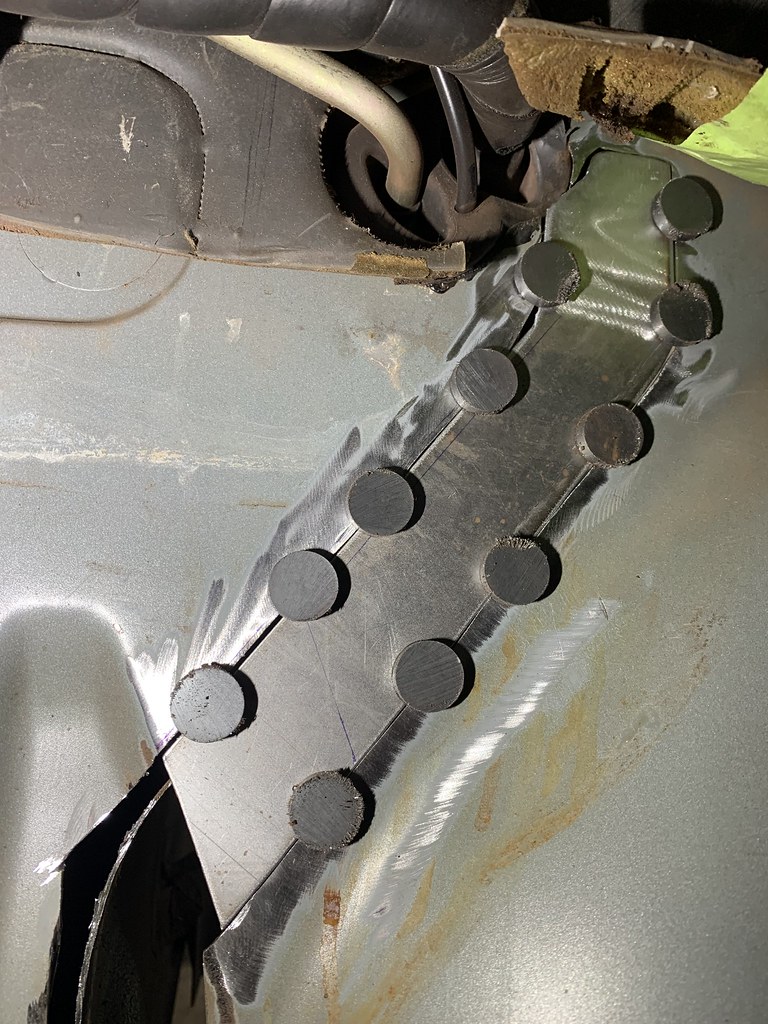 IMG_8321 by Warren Tomlinson, on Flickr
The step to form that recessed area was somewhat annoying but got there in the end.
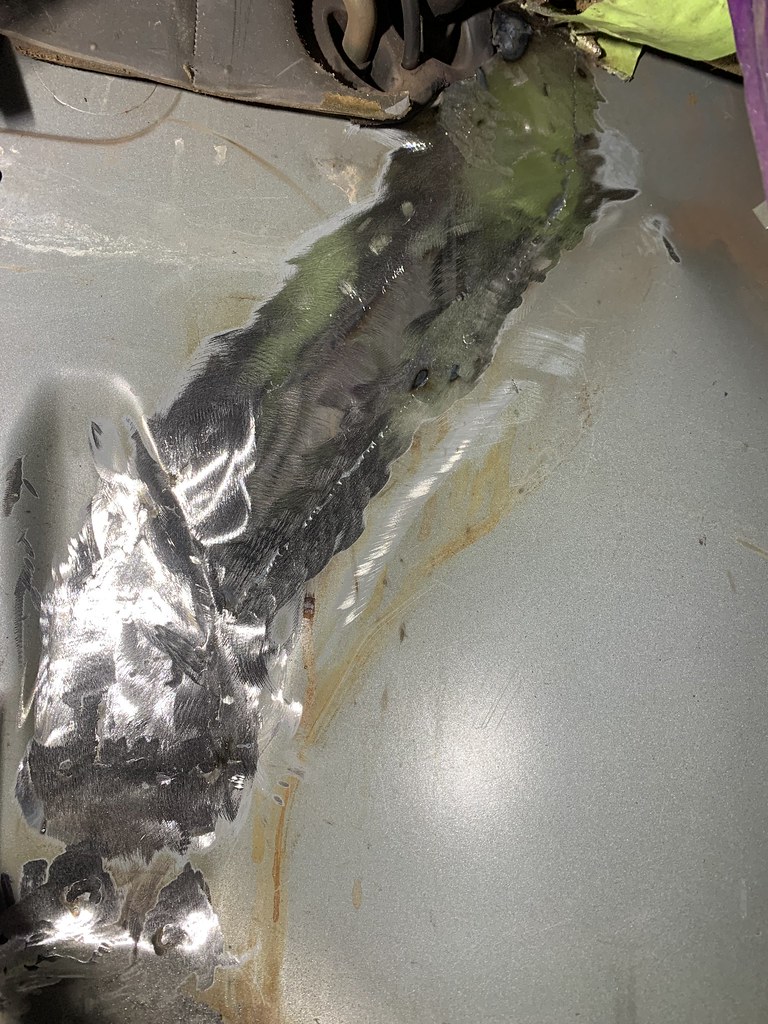 IMG_8324 by Warren Tomlinson, on Flickr
Leaving me with the inner fender flange to deal with
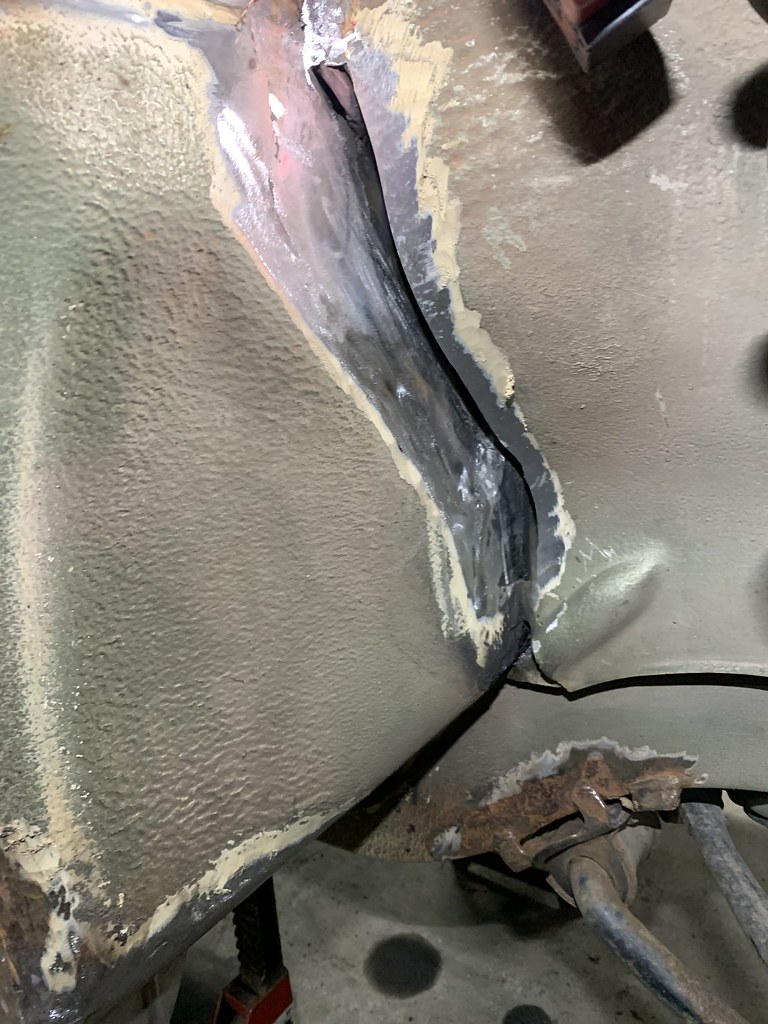 IMG_8325 by Warren Tomlinson, on Flickr
Bent up a 90 degree piece
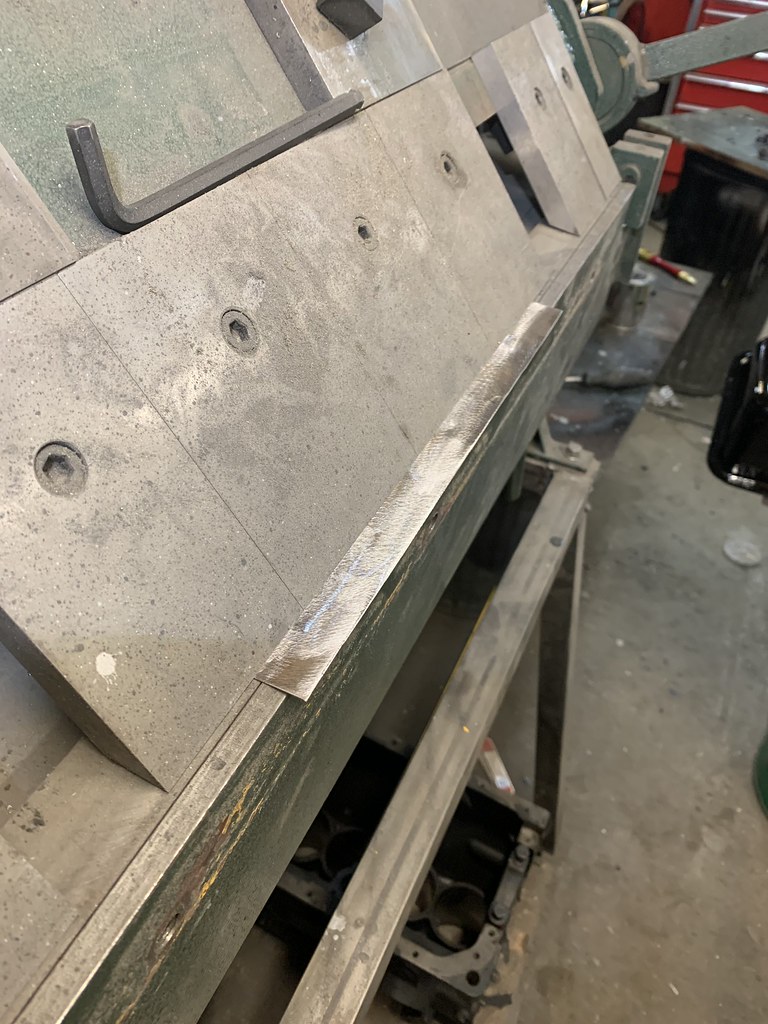 IMG_8329 by Warren Tomlinson, on Flickr
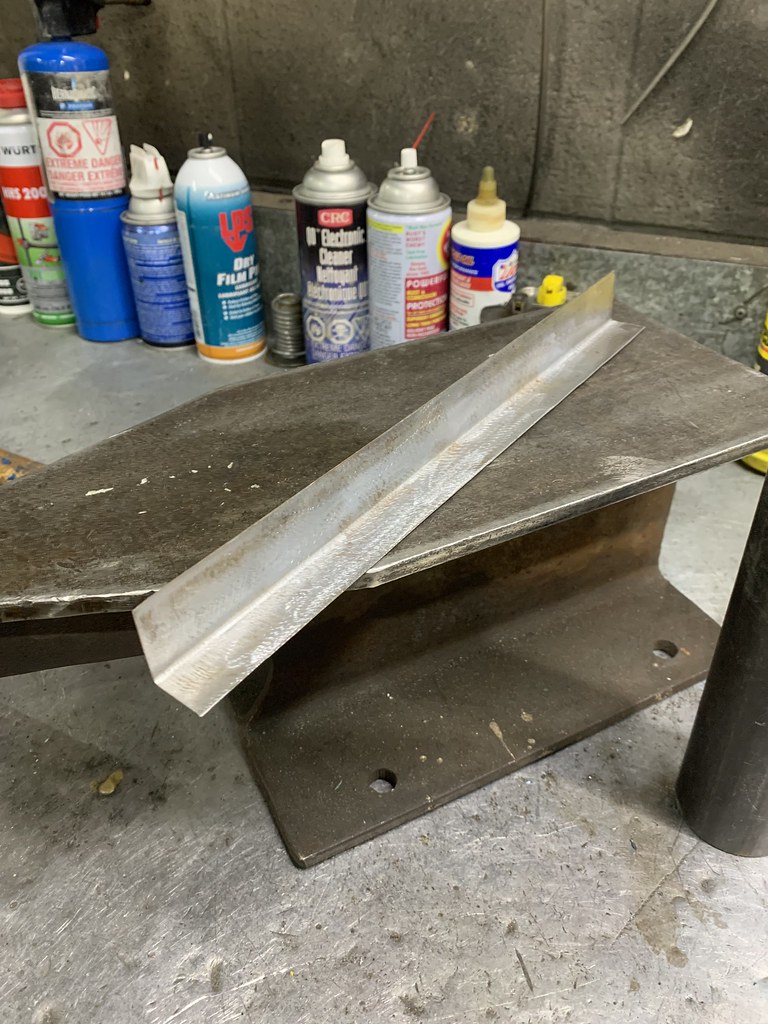 IMG_8331 by Warren Tomlinson, on Flickr
Getting the curve profile
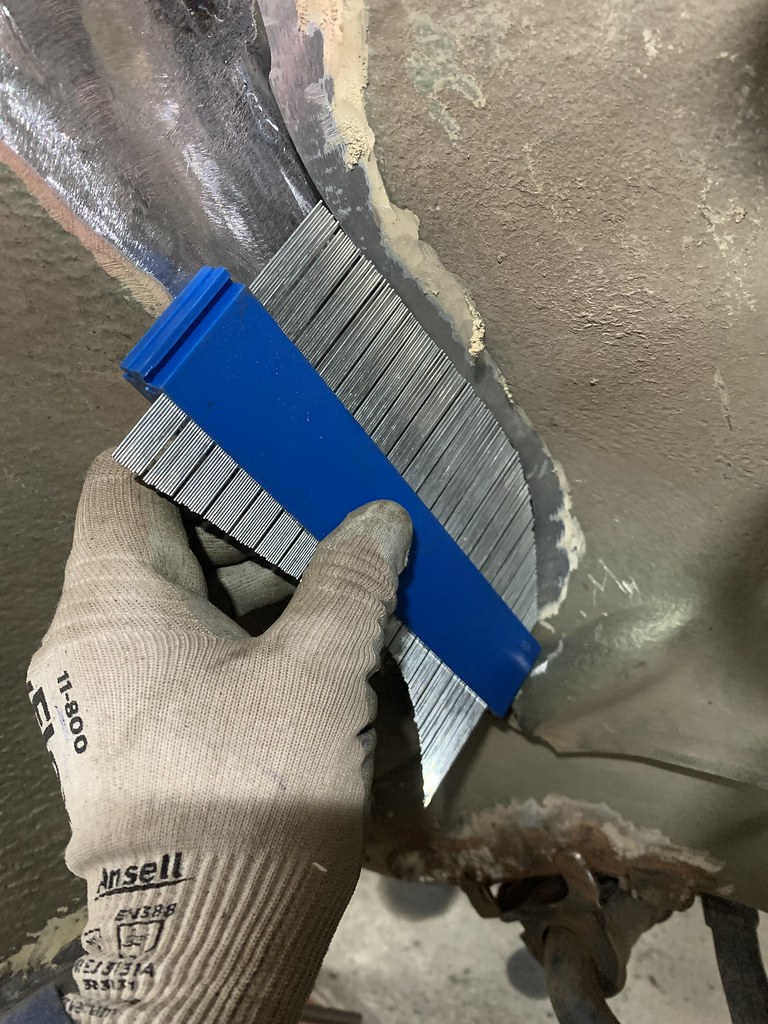 IMG_8332 by Warren Tomlinson, on Flickr
Start shrinking
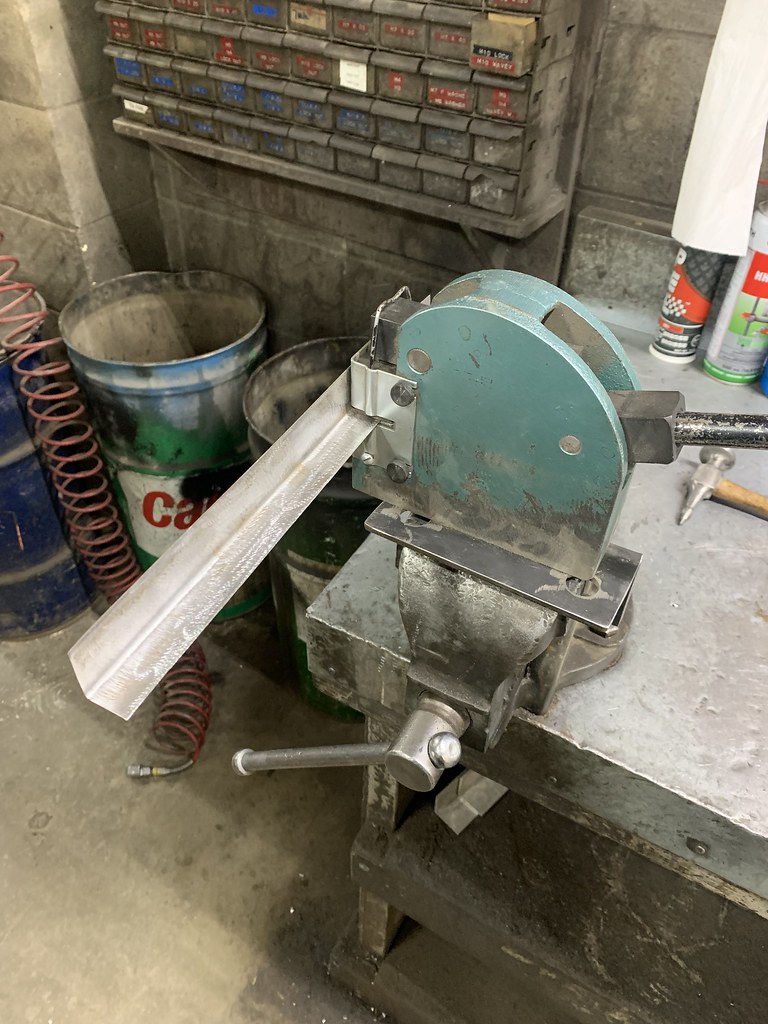 IMG_8333 by Warren Tomlinson, on Flickr
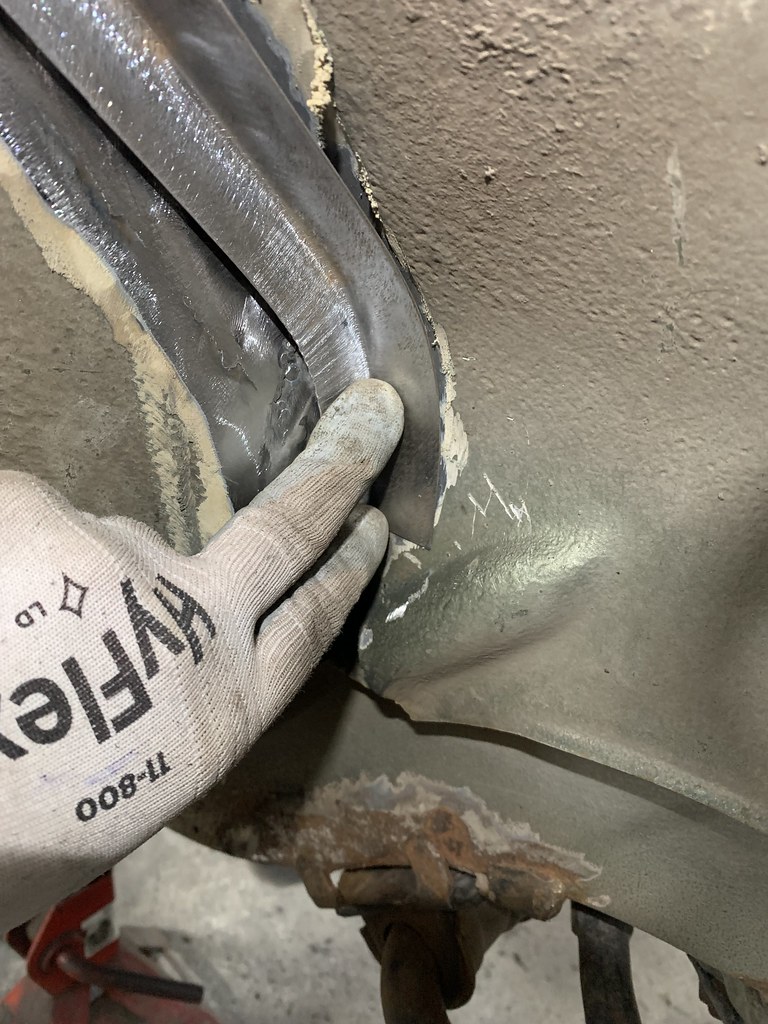 IMG_8335 by Warren Tomlinson, on Flickr
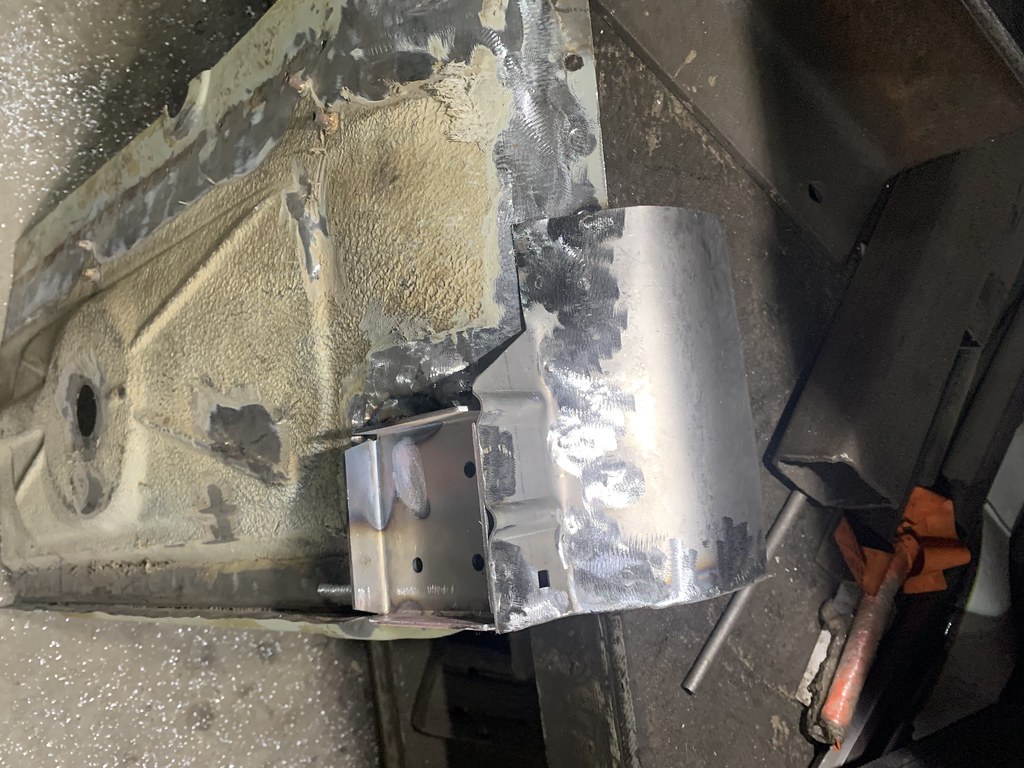
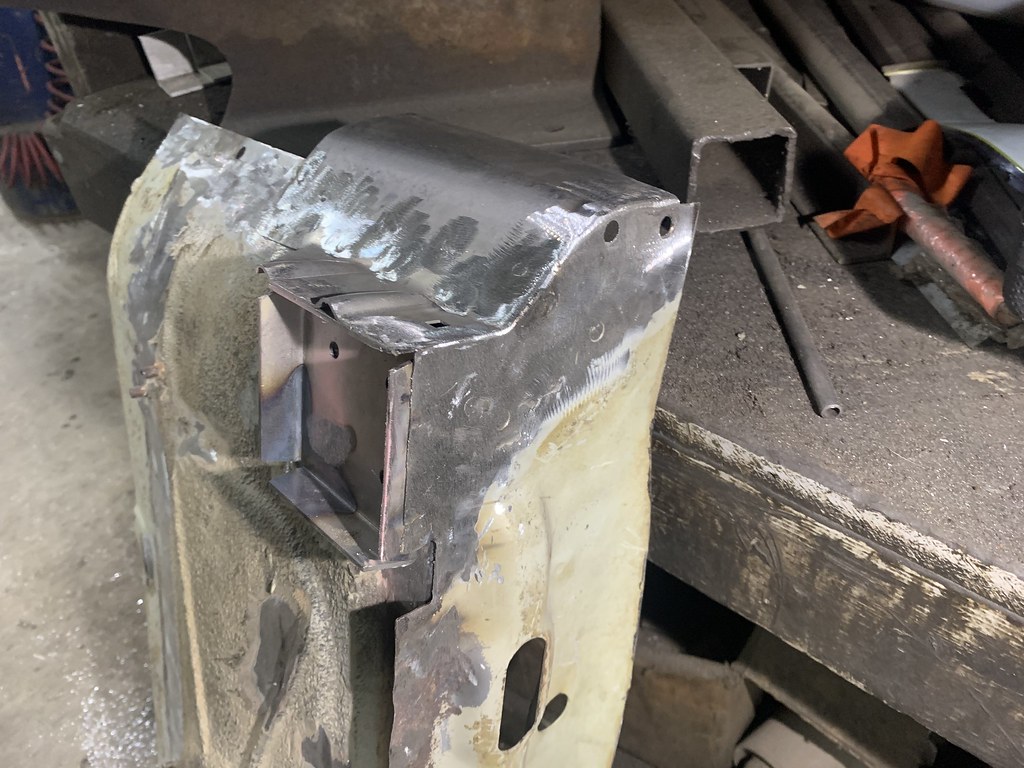
Made it in one piece, but since the toe board has that depression, it would be rather tricky to get the the curved piece to also step in that direction. Somebody with more talent probably could. I chose to cut it into two piece.
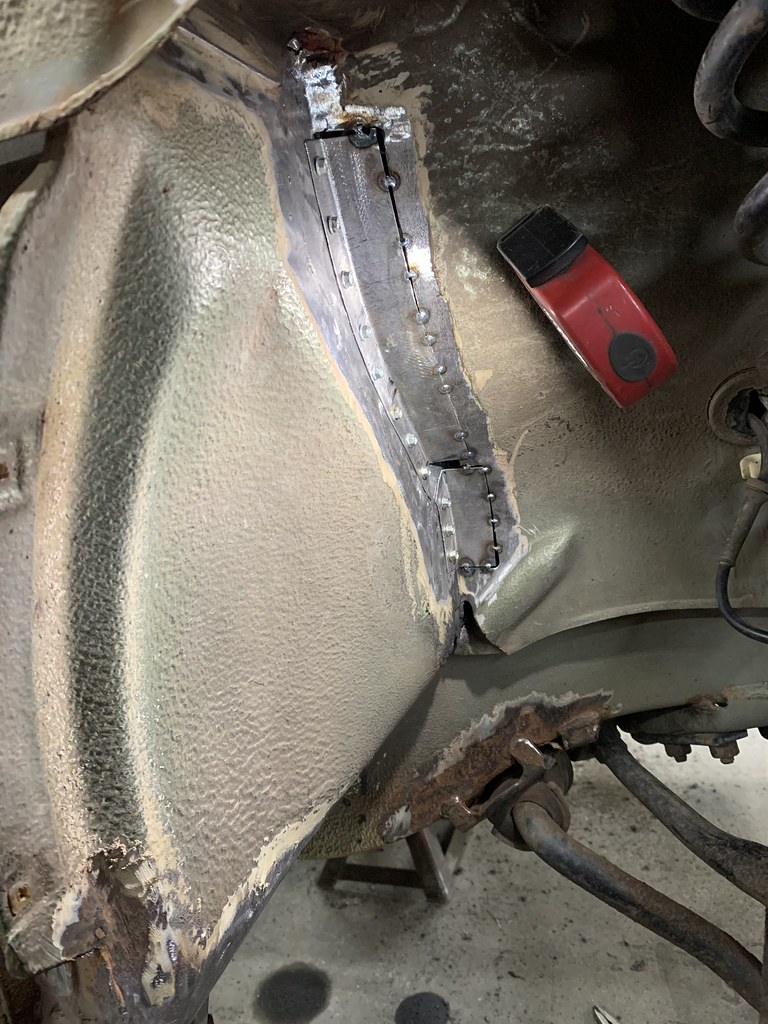 IMG_8338 by Warren Tomlinson, on Flickr
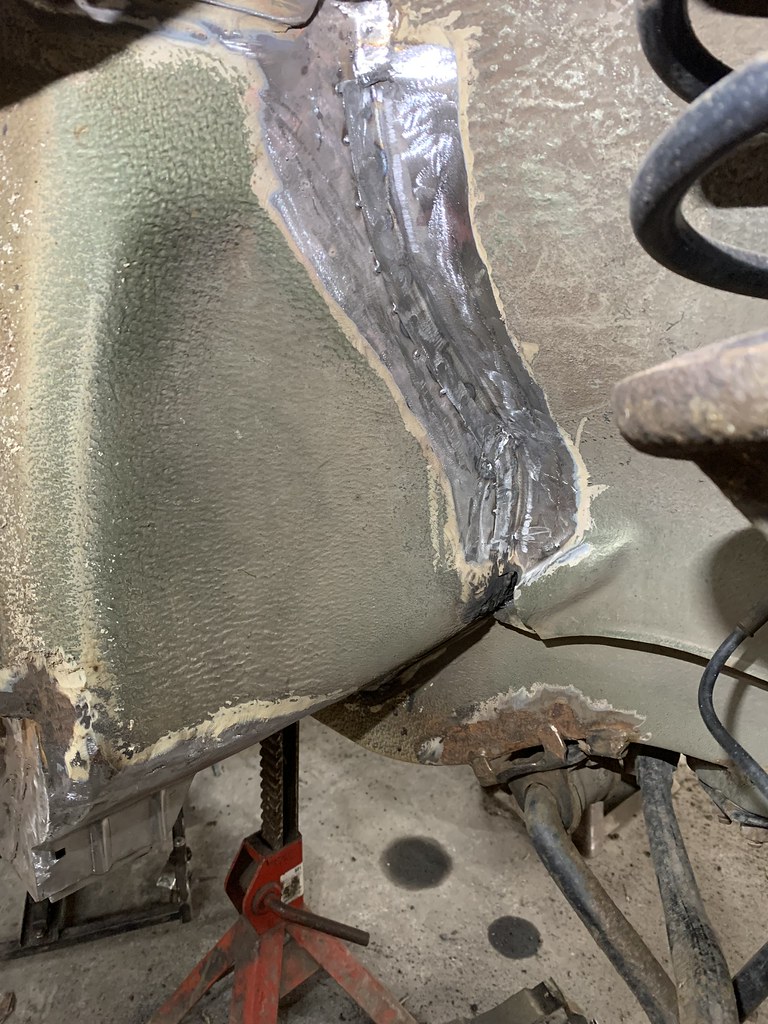 IMG_8339 by Warren Tomlinson, on Flickr
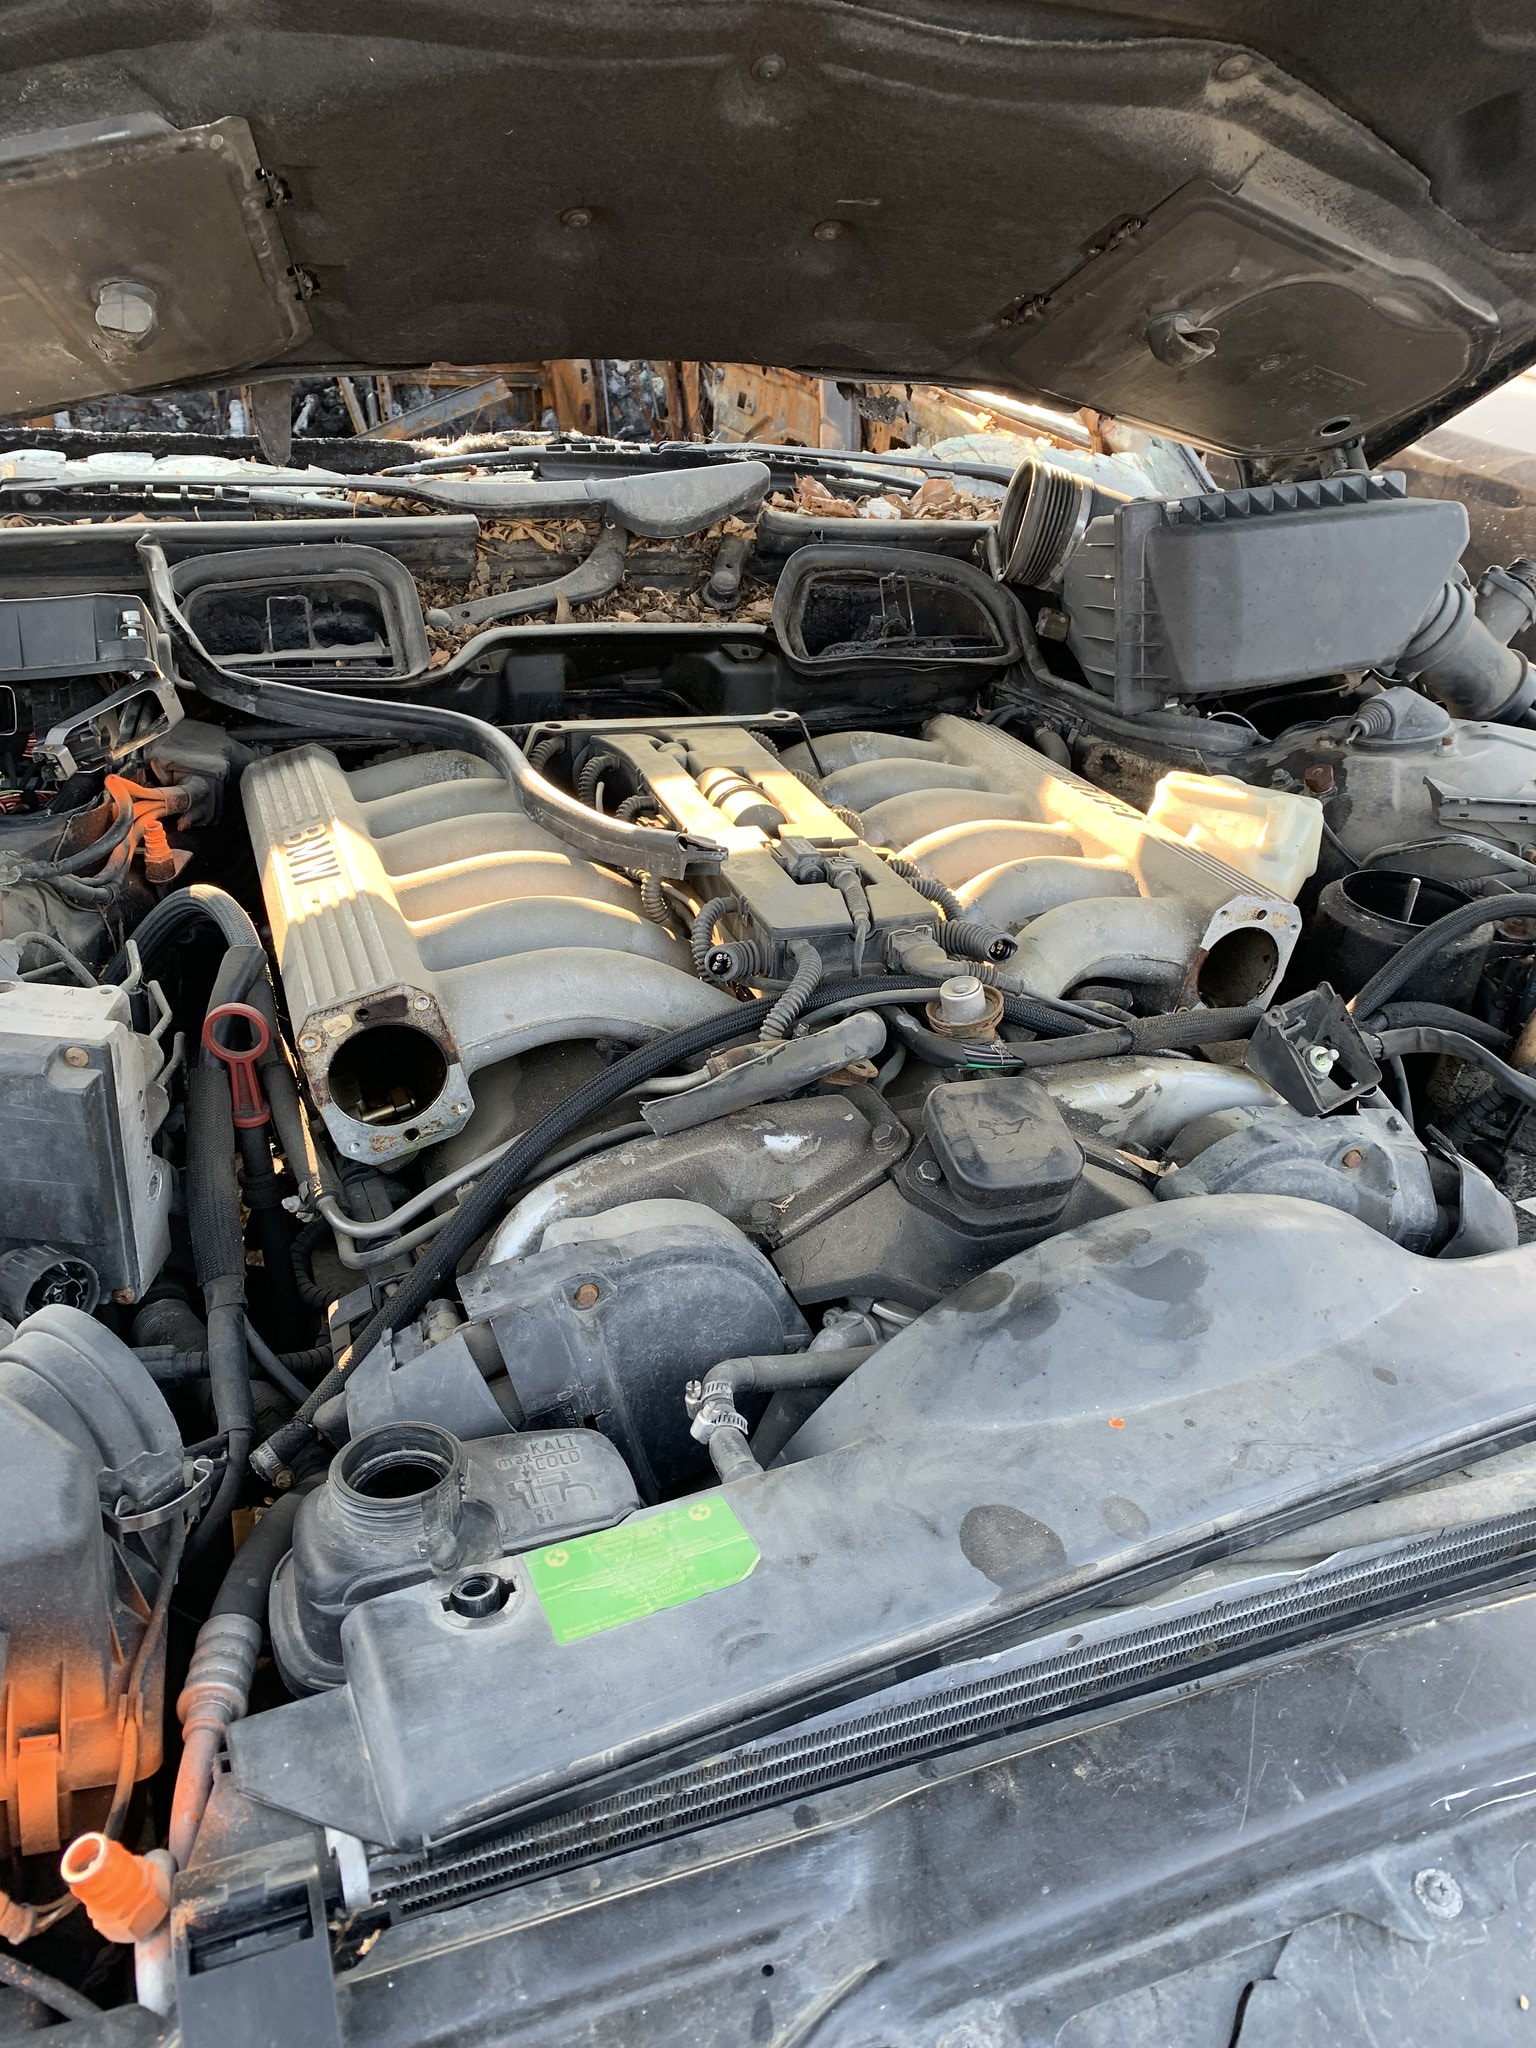
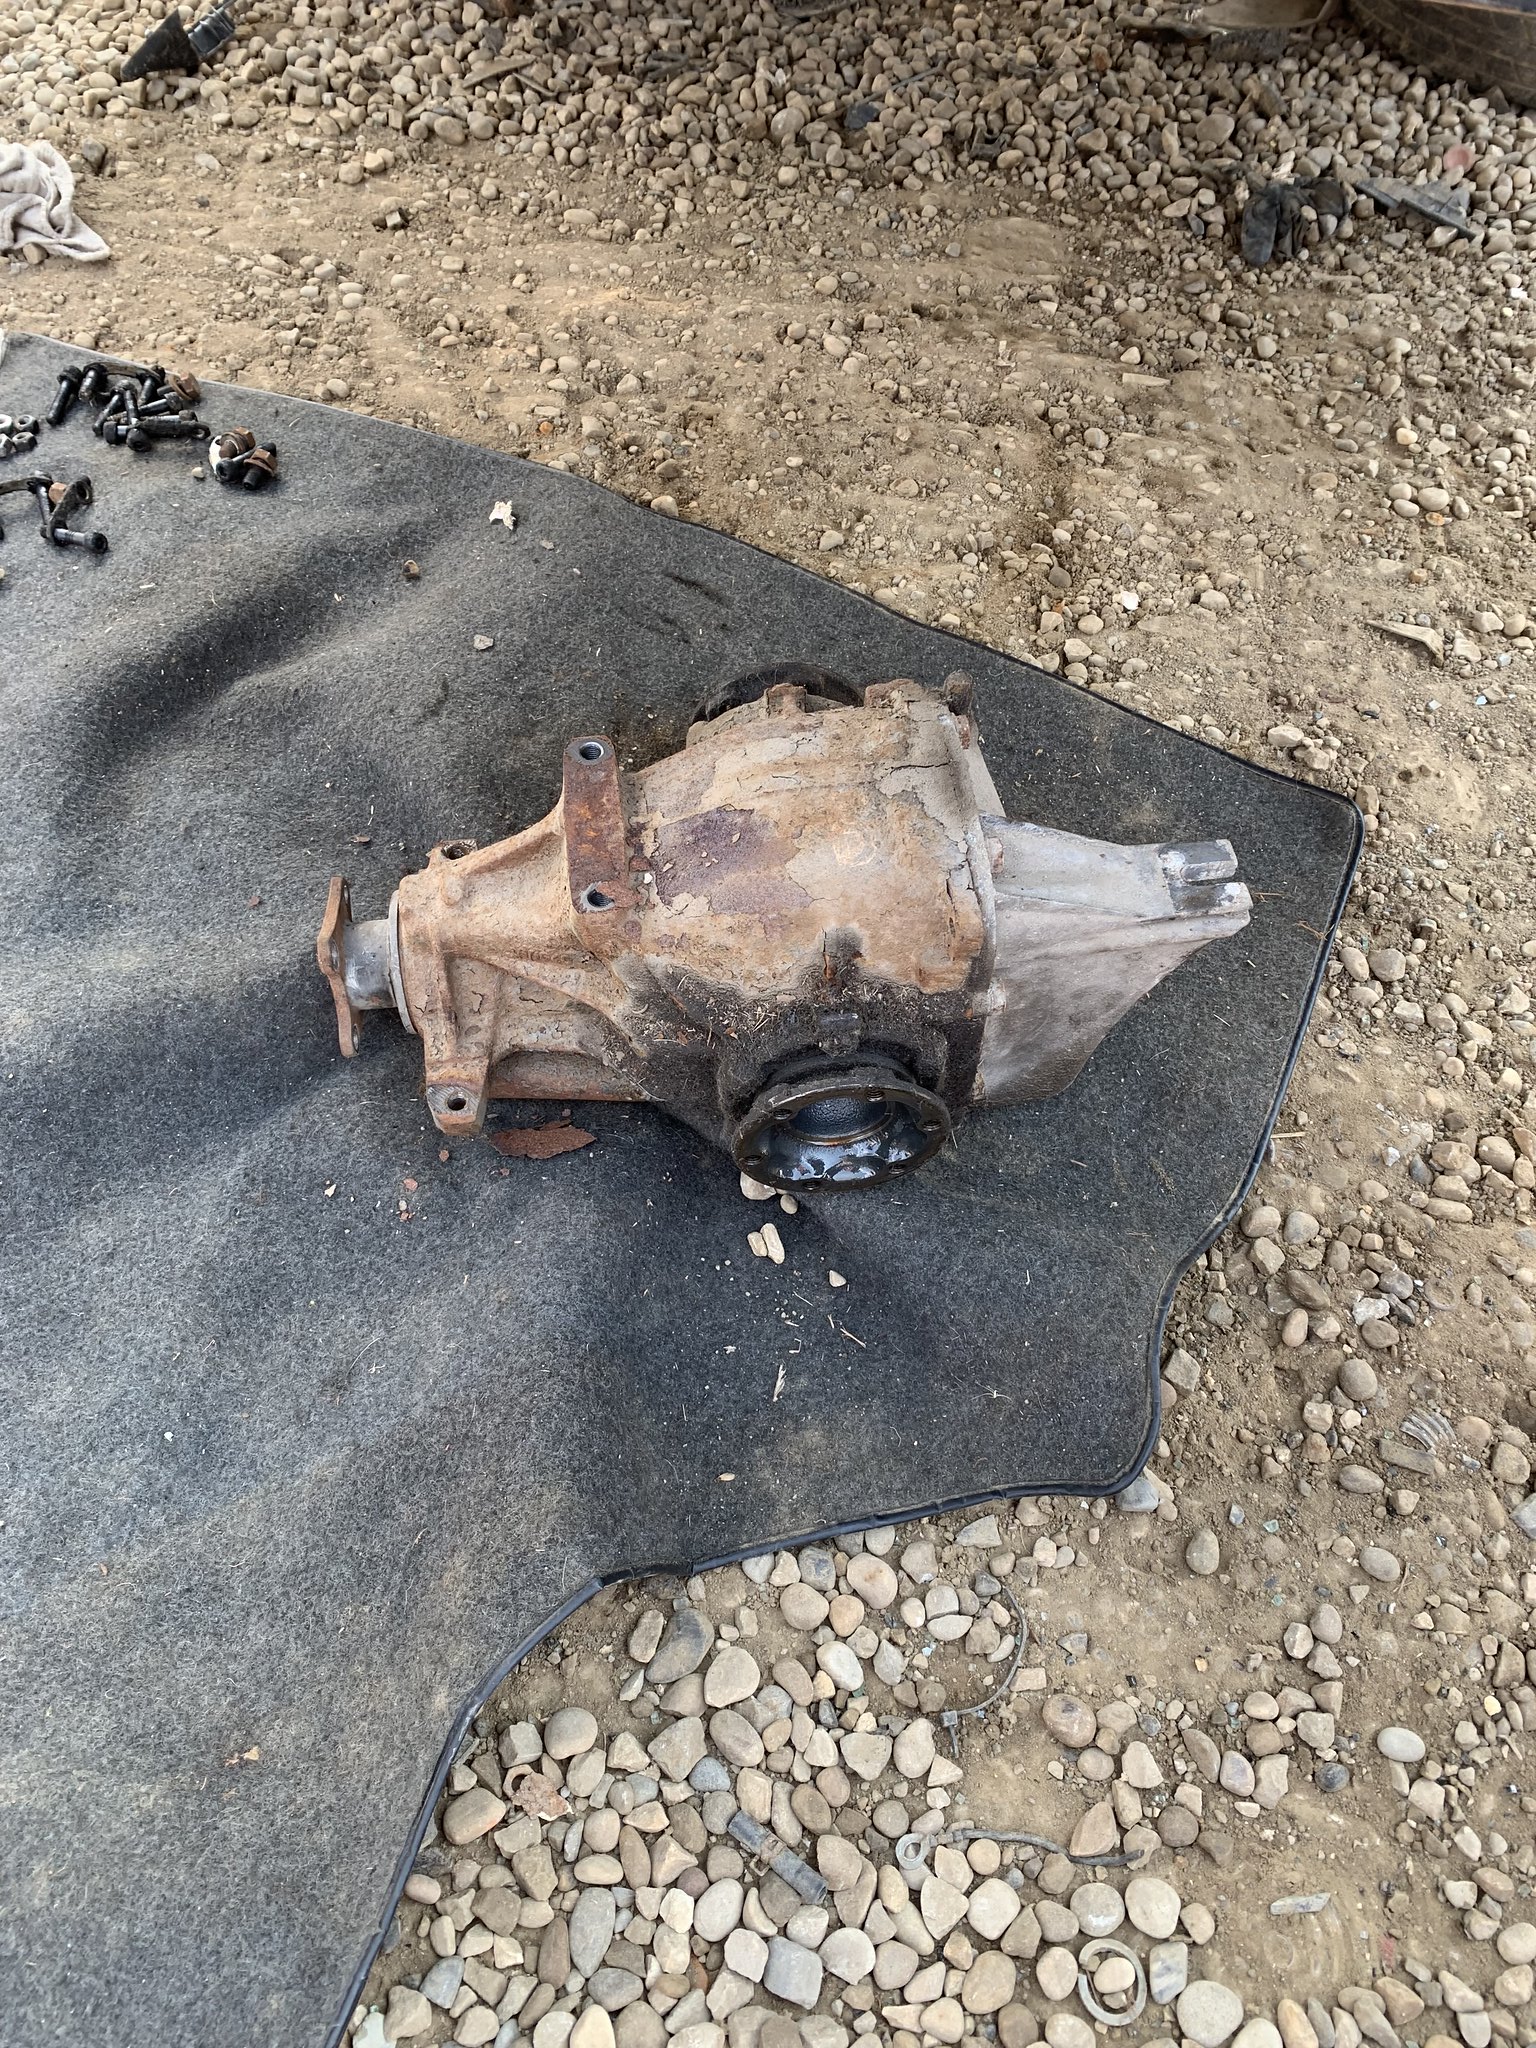
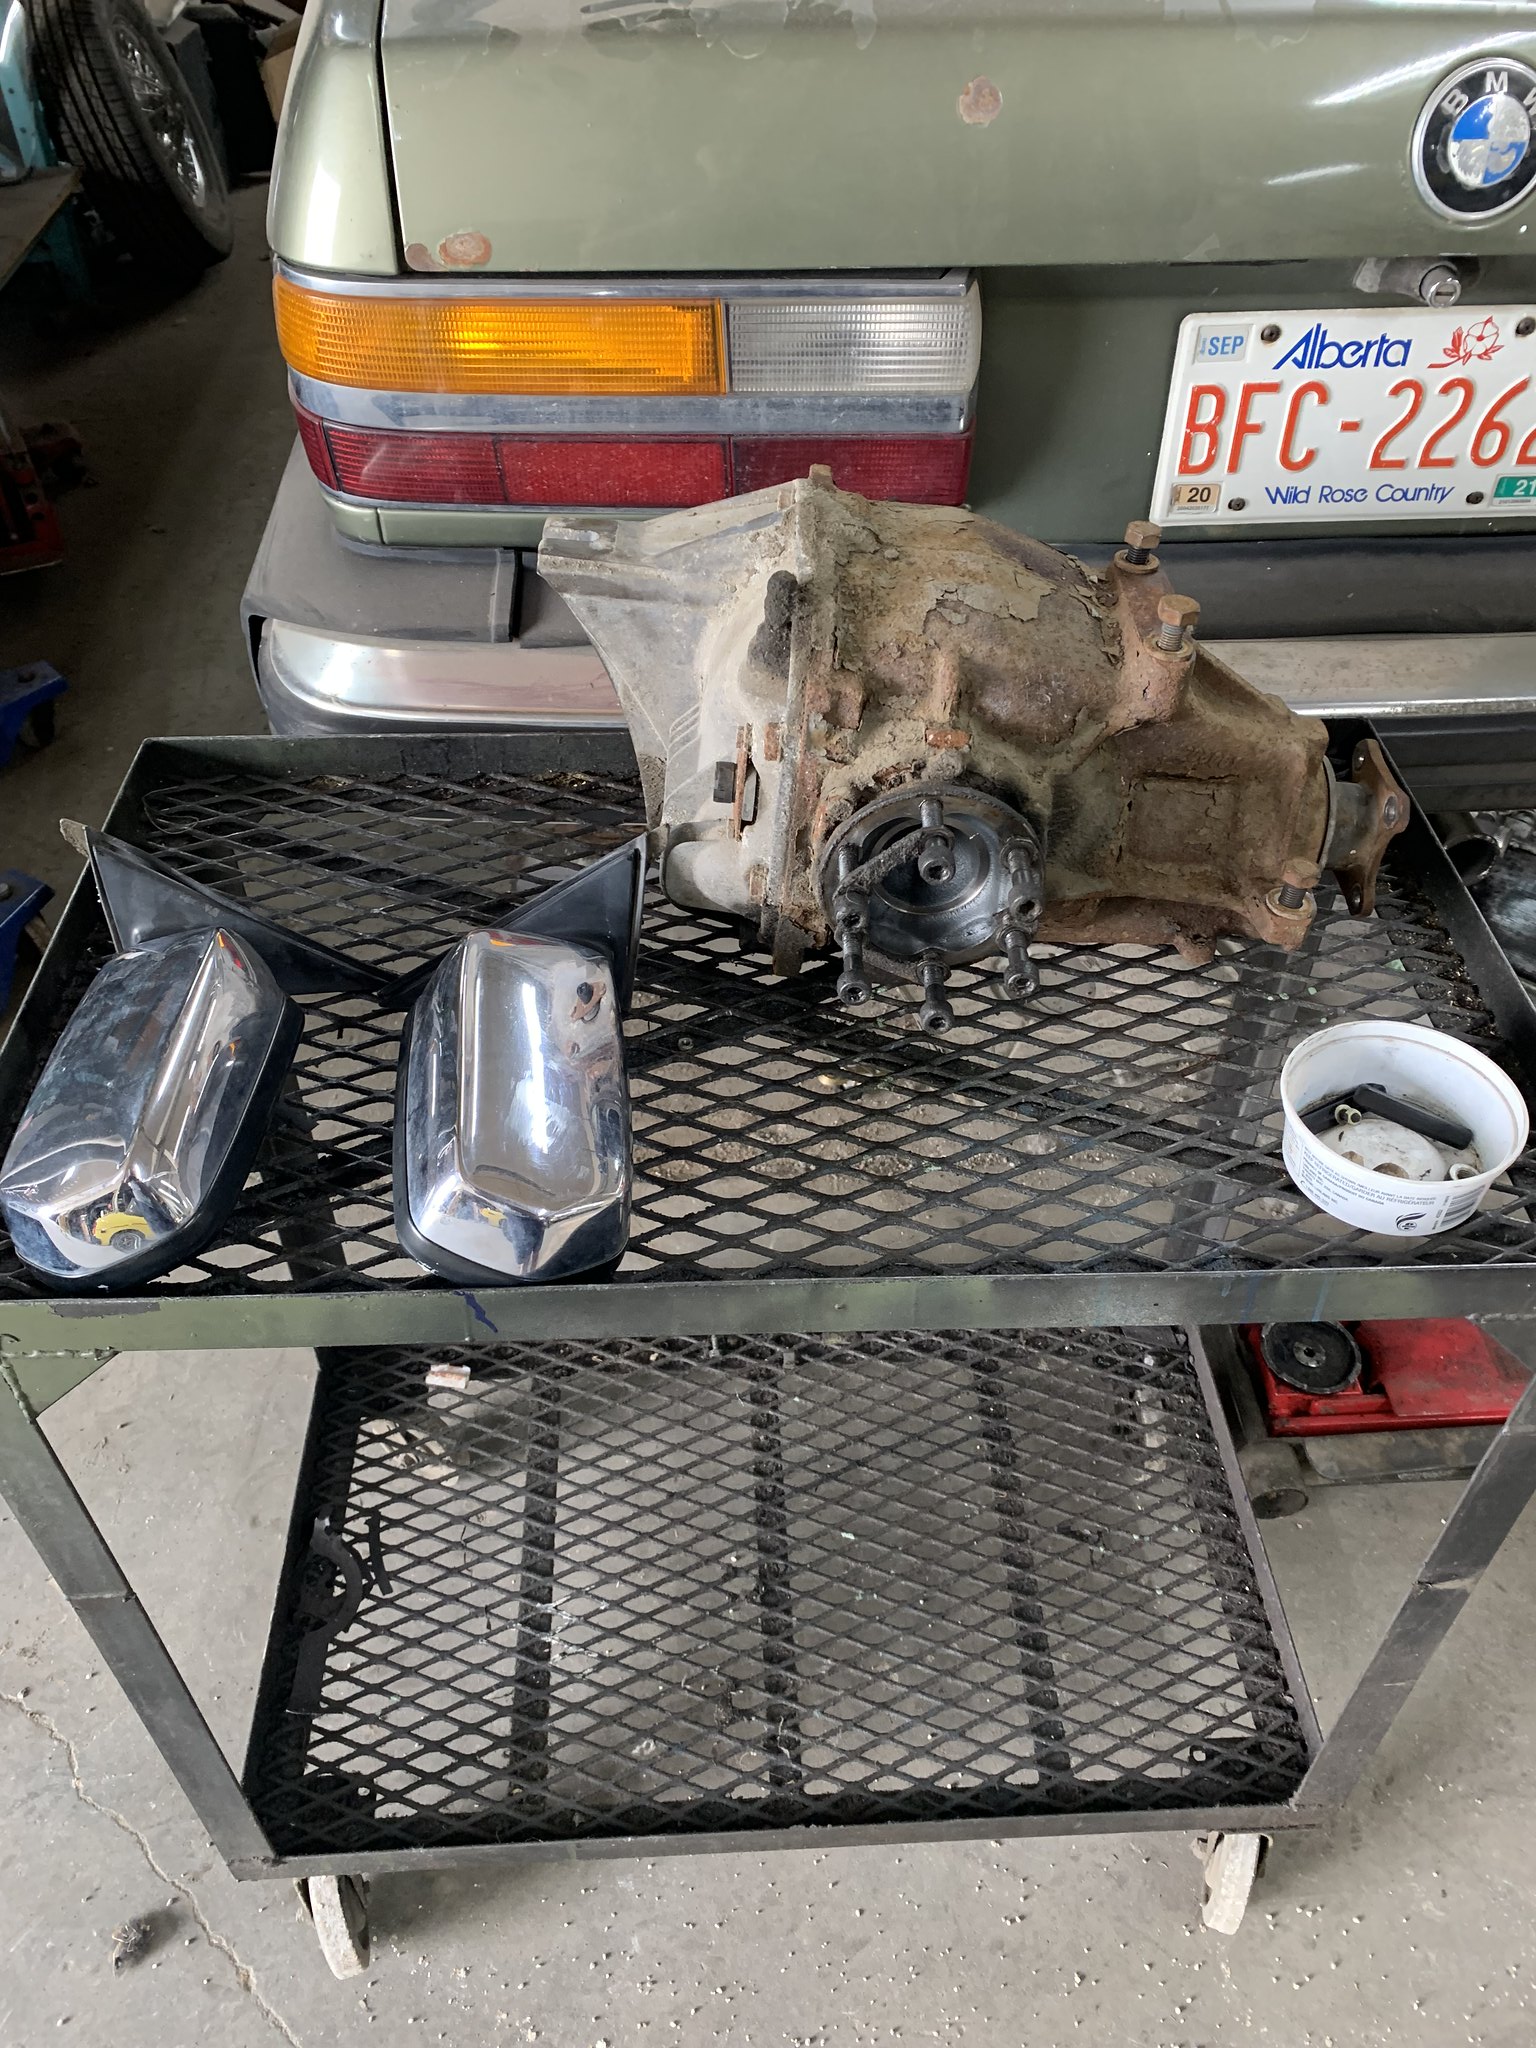
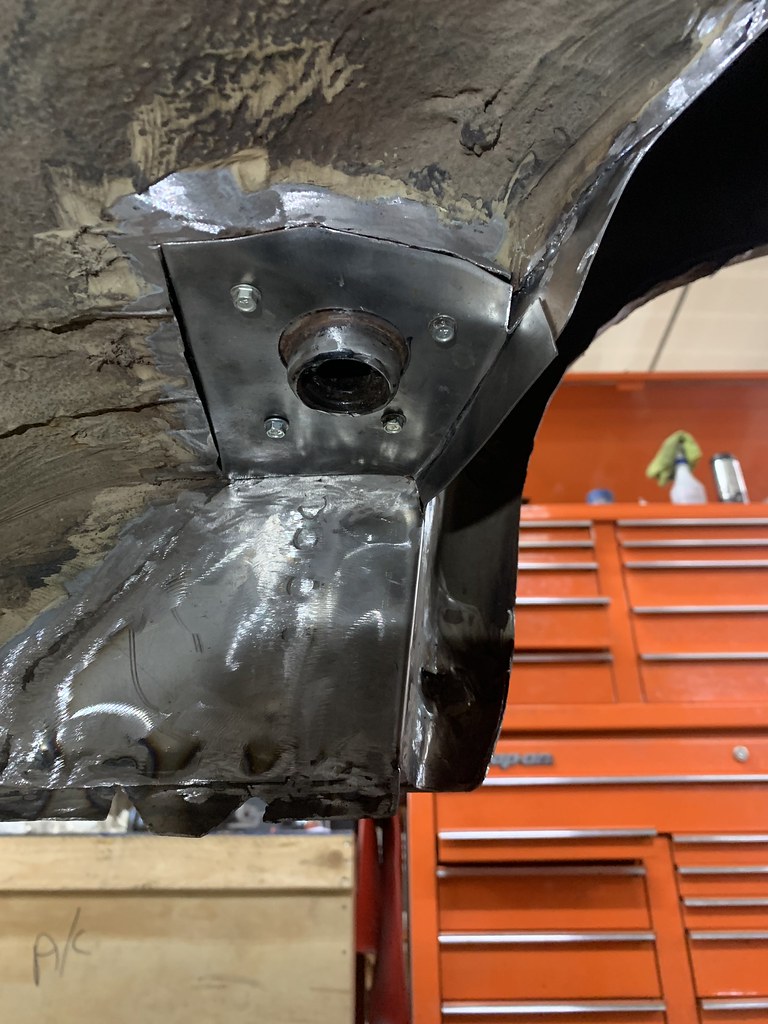
Pleased with the result. Next job was remove the rear subframe
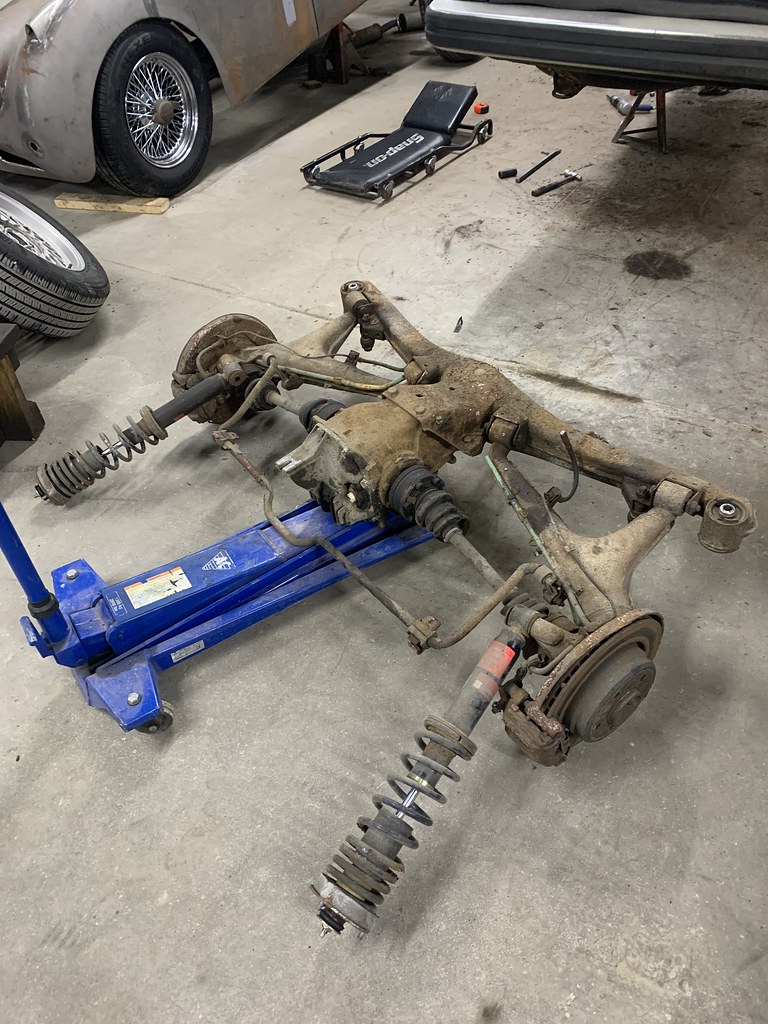 IMG_8340 by Warren Tomlinson, on Flickr
I had to remove the fuel and brake lines so I could cut out the driver's floor. The corroded lines were the main reason I stopped driving the car. The fuel pressure line rusted through, I patched it up, but seeing how rusty the brake lines were I thought, nah, this cant continue.
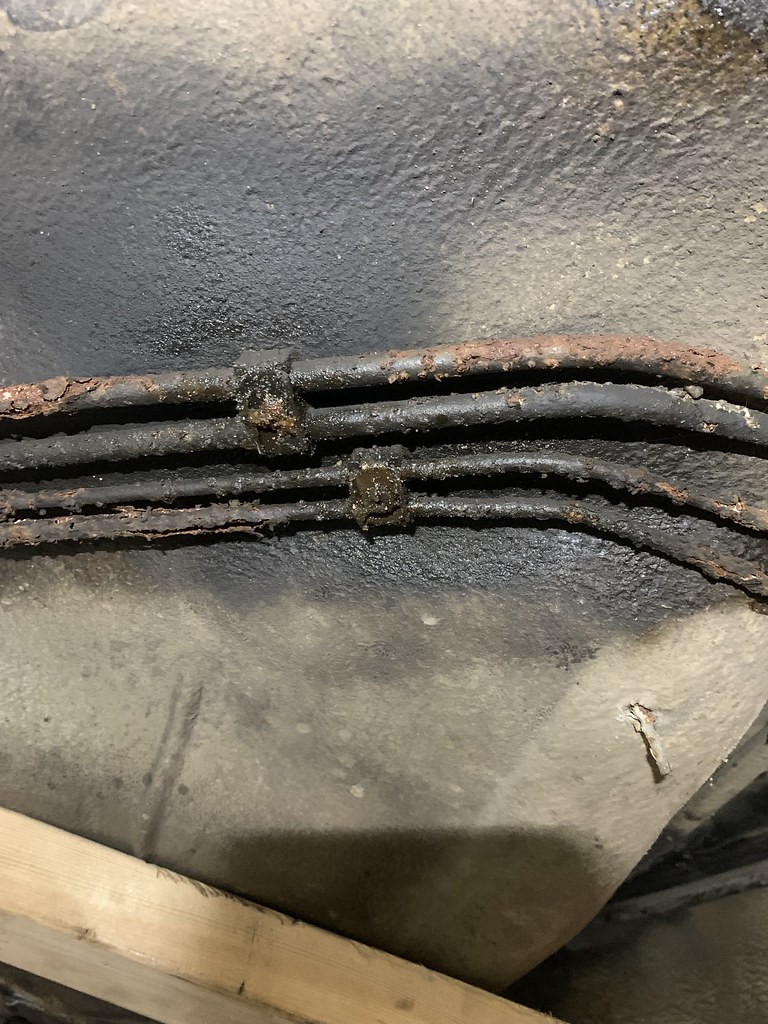 IMG_8347 by Warren Tomlinson, on Flickr
Then I cut off the driver's sill
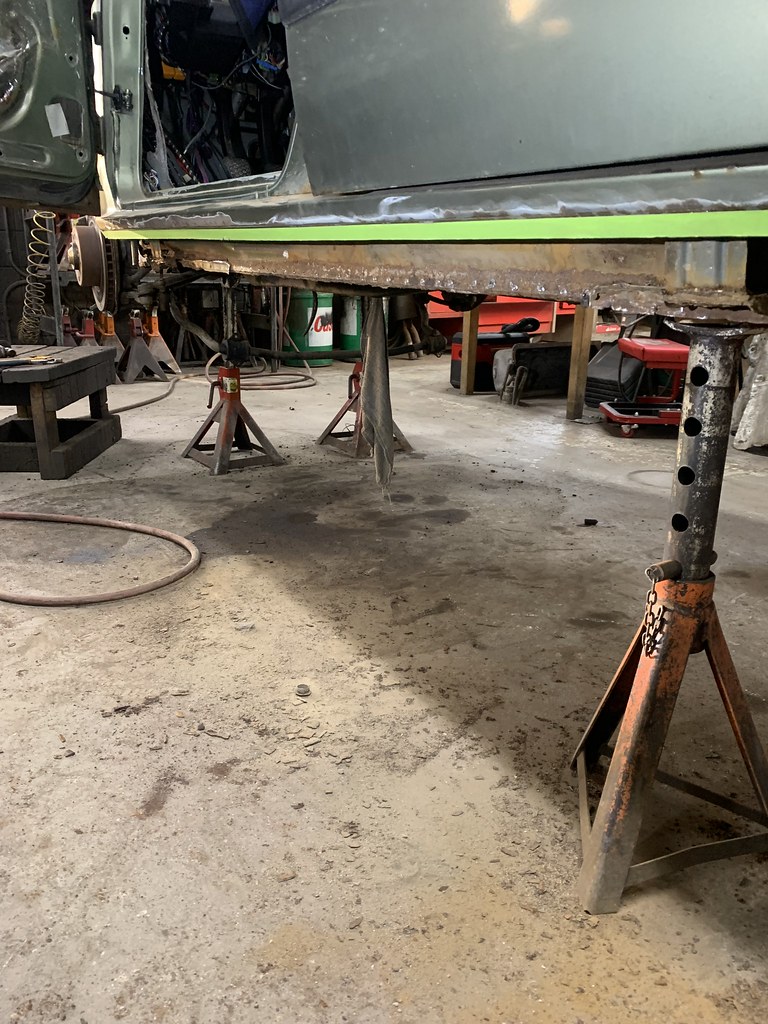 IMG_8352 by Warren Tomlinson, on Flickr
I blasted the door seal seam and some other crusty areas inside the sill box section. I didnt do this on the other side, and I'm unsure if its because it was cleaner or cause I was lazier, but either way i'm not cutting the other side back apart. Put some POR15 on the blasted areas.
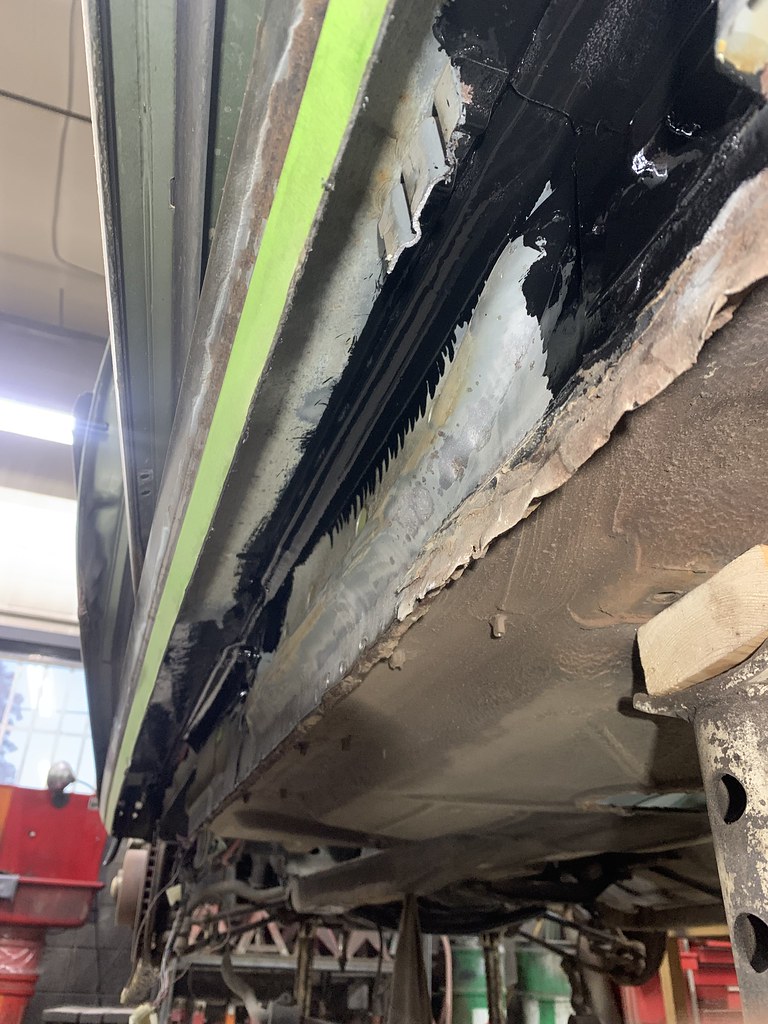 IMG_8353 by Warren Tomlinson, on Flickr
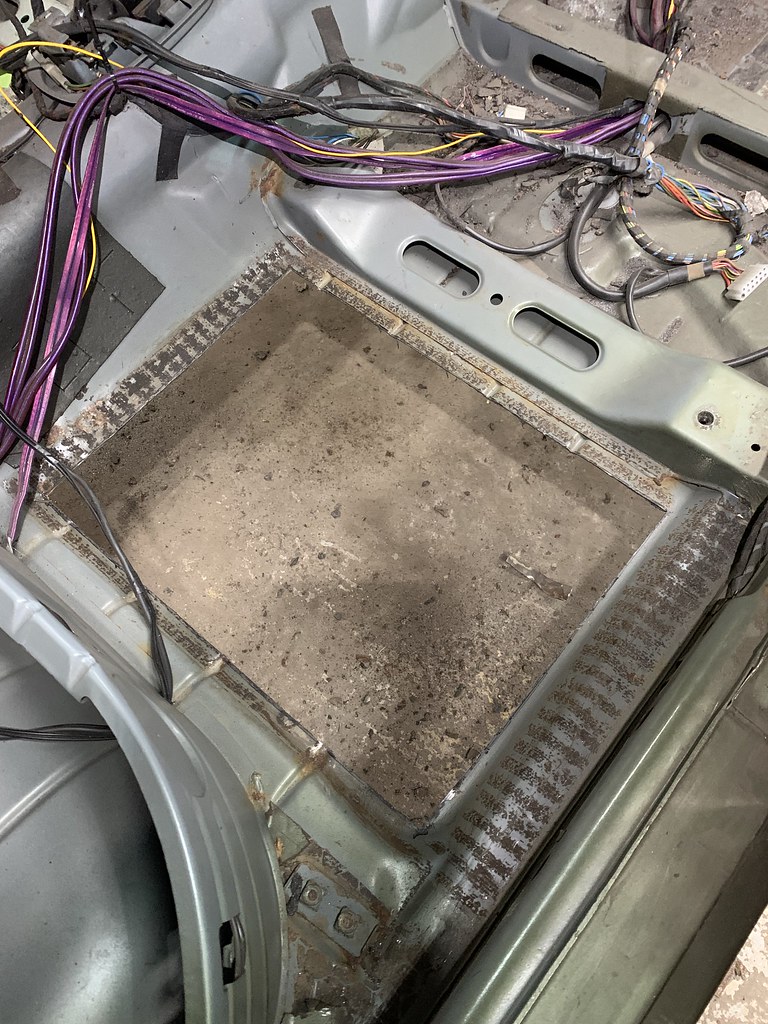
Got the driver's floor pan removed
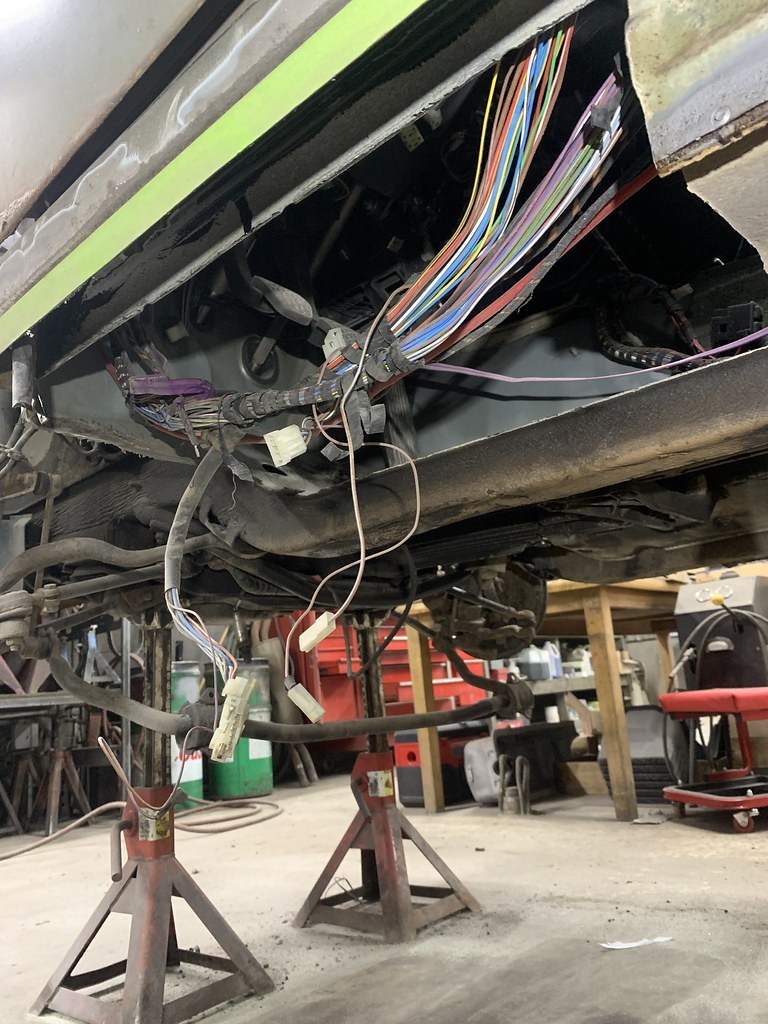 IMG_8354 by Warren Tomlinson, on Flickr
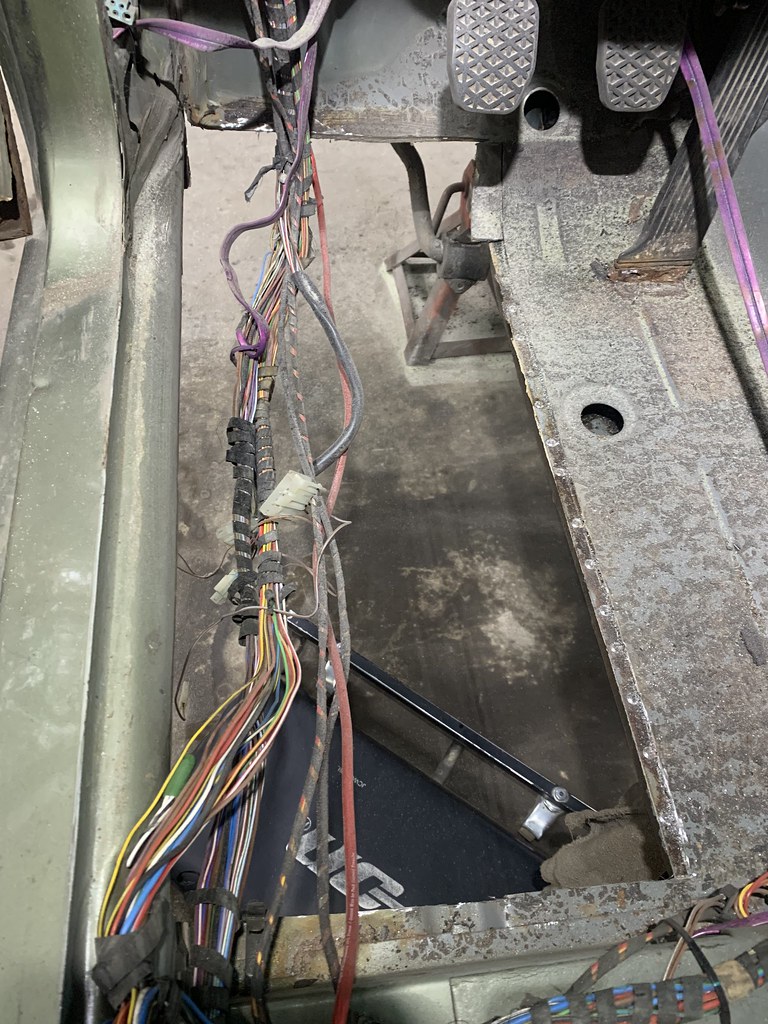 IMG_8355 by Warren Tomlinson, on Flickr
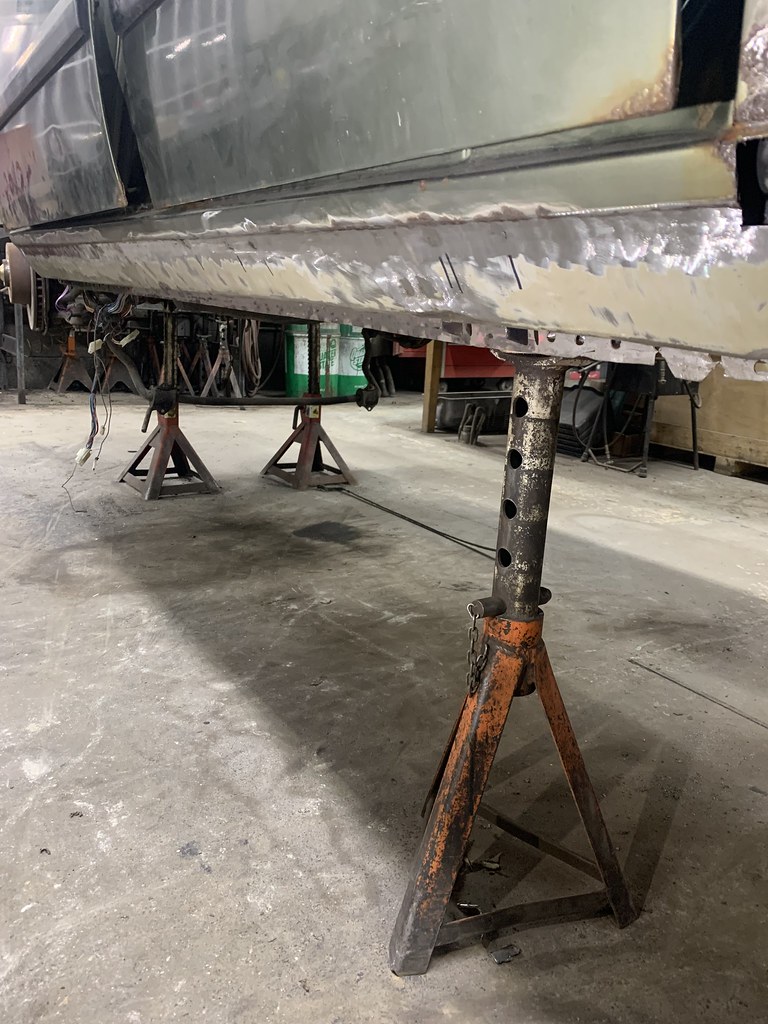
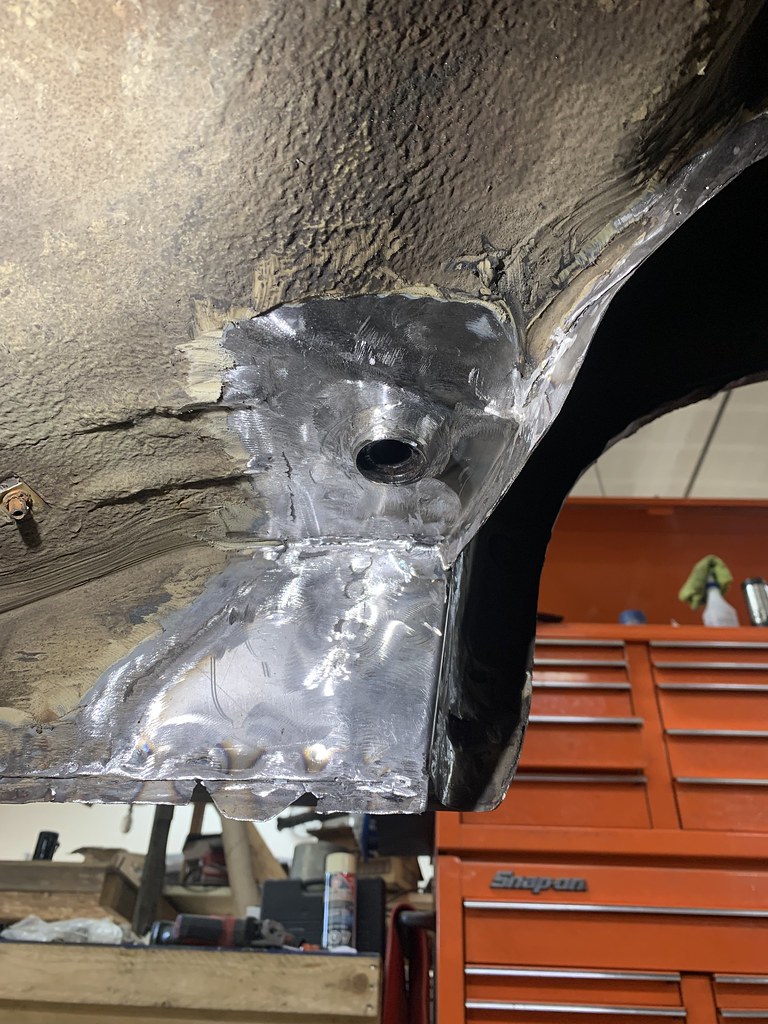
Went back in today but didnt have a lot of motivation. organized some parts, swept. Got the jacking points removed from the door step, pulled a dent in the donor sill. So the plan will be to do the sill, driver's floorpan, and then attack the rear floors, some little patches here and there underneath, and then the rear subframe mounts are rather crusty, so i'll have some work there. Once i've removed the rust underneath, I'll probably track down some SEM undercoat, I seem to remember somebody here found a product close to the right colour. Not going for concours but just black undercoat in spots would look a bit off.
 IMG_8317 by Warren Tomlinson, on Flickr
 IMG_8318 by Warren Tomlinson, on Flickr
Forgot to take any photos of it ground down, but I promise you I did, and in general, I'm happy with the repairs.
I moved on to the fussy area around the firewall. The inner fender flanges to the toeboard/firewall, and it had rusted between the layers, leaving a bit of a mess.
 235BEA24-8A76-4EA6-8A68-F5CF12B3DD9A by Warren Tomlinson, on Flickr
Chopped out the rot
 IMG_8319 by Warren Tomlinson, on Flickr
 IMG_8320 by Warren Tomlinson, on Flickr
Nice flat piece to work with
 IMG_8321 by Warren Tomlinson, on Flickr
The step to form that recessed area was somewhat annoying but got there in the end.
 IMG_8324 by Warren Tomlinson, on Flickr
Leaving me with the inner fender flange to deal with
 IMG_8325 by Warren Tomlinson, on Flickr
Bent up a 90 degree piece
 IMG_8329 by Warren Tomlinson, on Flickr
 IMG_8331 by Warren Tomlinson, on Flickr
Getting the curve profile
 IMG_8332 by Warren Tomlinson, on Flickr
Start shrinking
 IMG_8333 by Warren Tomlinson, on Flickr
 IMG_8335 by Warren Tomlinson, on Flickr
Made it in one piece, but since the toe board has that depression, it would be rather tricky to get the the curved piece to also step in that direction. Somebody with more talent probably could. I chose to cut it into two piece.
 IMG_8338 by Warren Tomlinson, on Flickr
 IMG_8339 by Warren Tomlinson, on Flickr
Pleased with the result. Next job was remove the rear subframe
 IMG_8340 by Warren Tomlinson, on Flickr
I had to remove the fuel and brake lines so I could cut out the driver's floor. The corroded lines were the main reason I stopped driving the car. The fuel pressure line rusted through, I patched it up, but seeing how rusty the brake lines were I thought, nah, this cant continue.
 IMG_8347 by Warren Tomlinson, on Flickr
Then I cut off the driver's sill
 IMG_8352 by Warren Tomlinson, on Flickr
I blasted the door seal seam and some other crusty areas inside the sill box section. I didnt do this on the other side, and I'm unsure if its because it was cleaner or cause I was lazier, but either way i'm not cutting the other side back apart. Put some POR15 on the blasted areas.
 IMG_8353 by Warren Tomlinson, on Flickr
Got the driver's floor pan removed
 IMG_8354 by Warren Tomlinson, on Flickr
 IMG_8355 by Warren Tomlinson, on Flickr
Went back in today but didnt have a lot of motivation. organized some parts, swept. Got the jacking points removed from the door step, pulled a dent in the donor sill. So the plan will be to do the sill, driver's floorpan, and then attack the rear floors, some little patches here and there underneath, and then the rear subframe mounts are rather crusty, so i'll have some work there. Once i've removed the rust underneath, I'll probably track down some SEM undercoat, I seem to remember somebody here found a product close to the right colour. Not going for concours but just black undercoat in spots would look a bit off.
