Page 13 of 15
Re: And so it starts, Maeve
Posted: Jul 07, 2024 7:17 PM
by gwb72tii
I believe the bottom of the car is complete other than motor/tranny suppports that will go in once I get my motor. The last thing really is to drain and replace the diff oil.
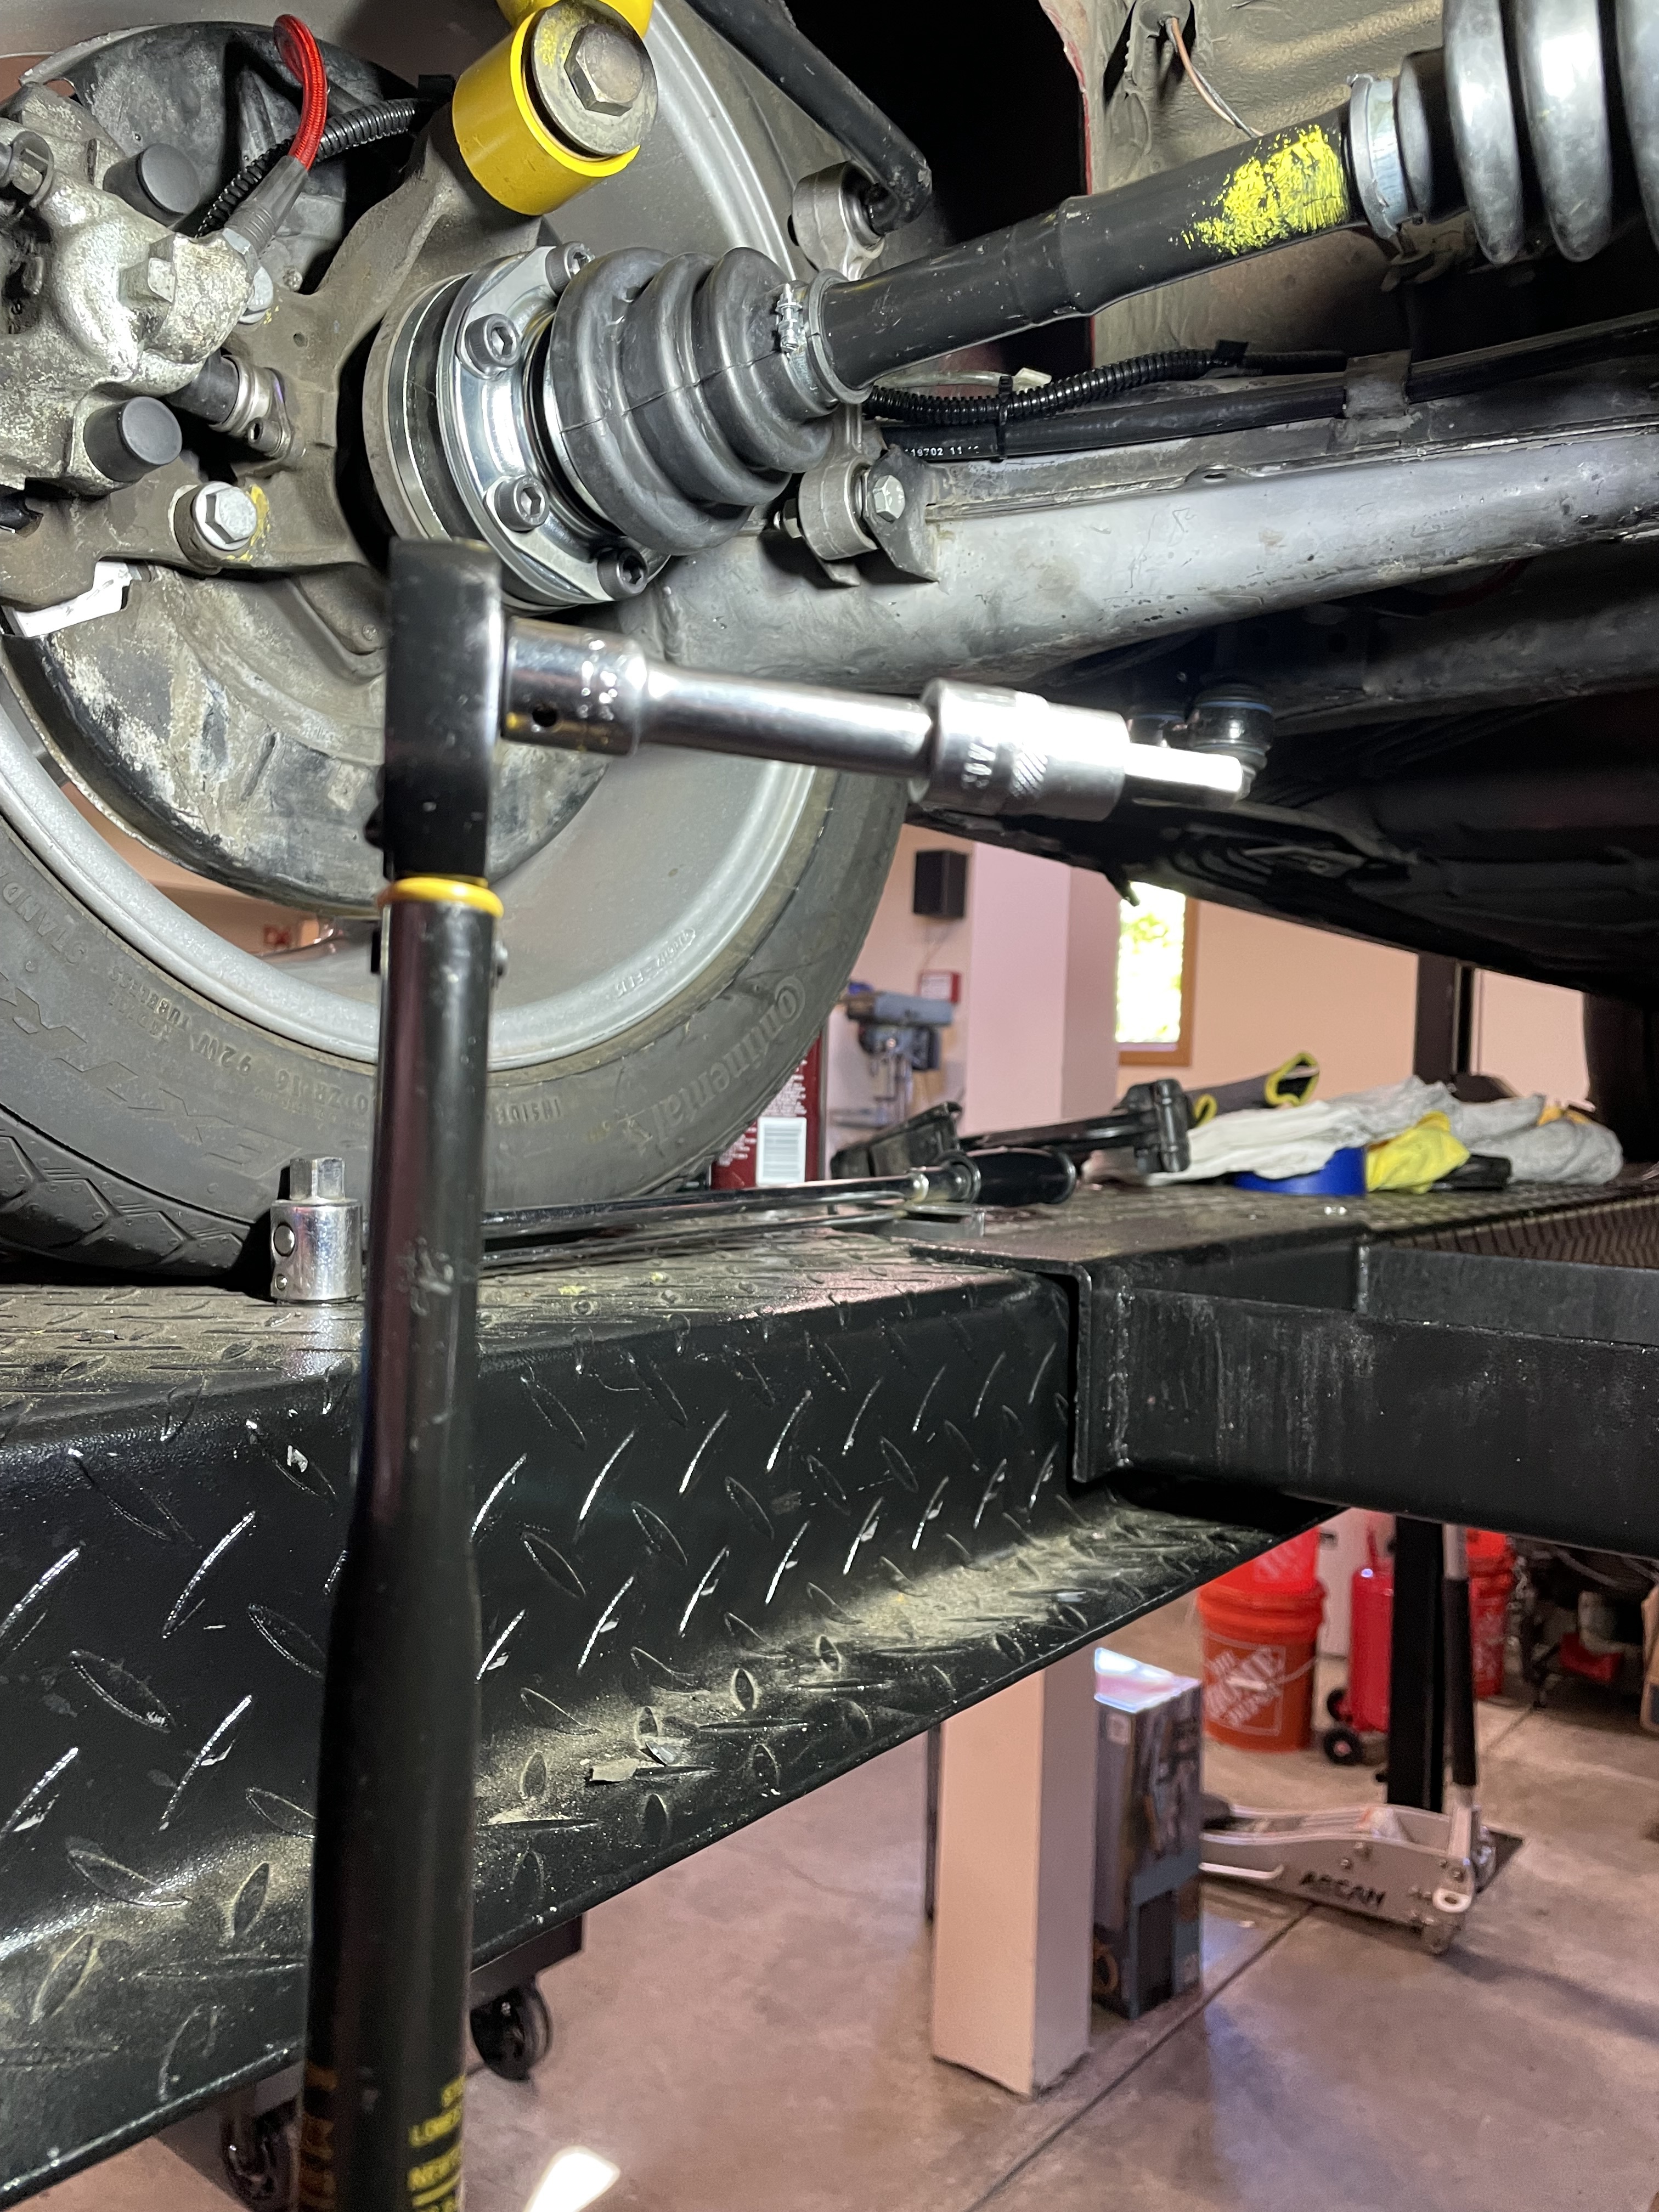
Intersting challenge today, getting the left CV shaft to fit. Did you know the distance between the wheel hub and diff hub is shorter on the left side? This is what I faced when trying to get it to fit:
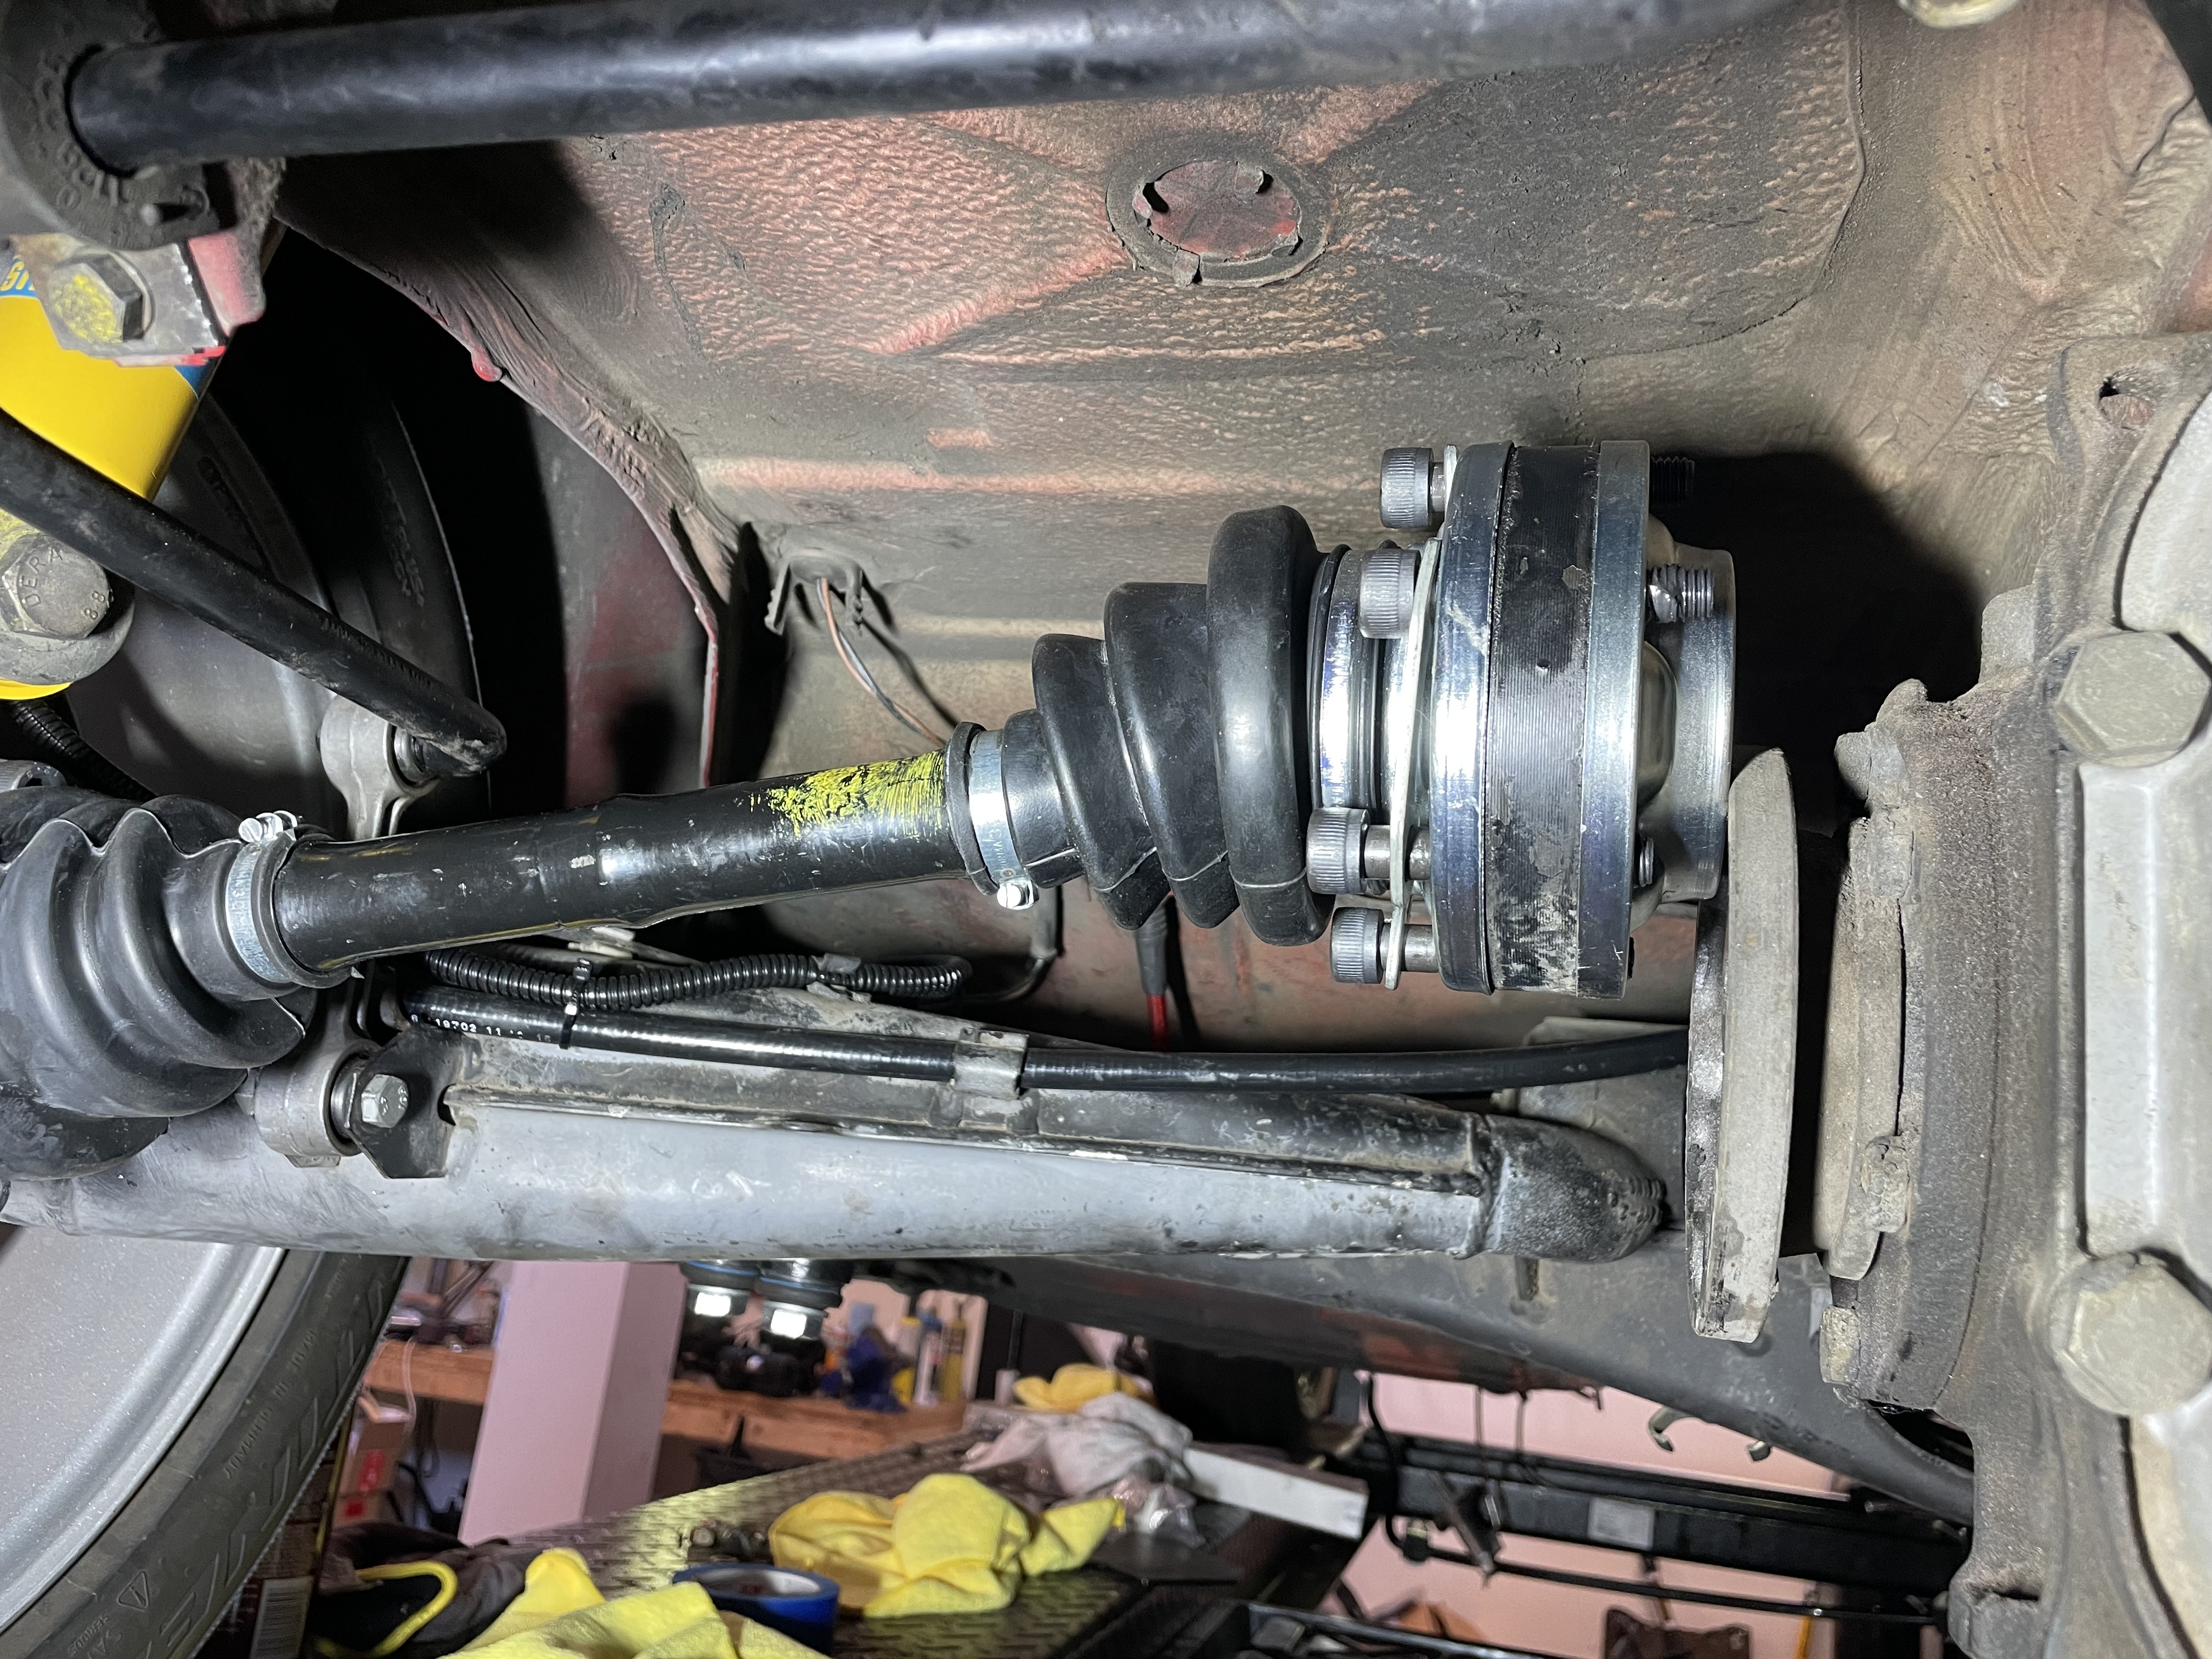
Part of the problem was when you rebuild the cv joints, the inner and outer cv joint covers are not fully seated as they are a loose press fit. I tried to squeeze them together with pump pliers, but the shaft was still too long. I thought I may have to drop the diff a little but while jacking up the driver side, it popped into place. Then while tightening the socket screws the two covers came closer together. Maeve came with triple square screws on the driver side cv joints, something, as far as I can determine, is peculiar to VW and Audi. Too bad because they are a superior design, harder to strip out the socket which is easy to do with the BMW screws. Screws are torqued to 60lb/ft which is close to the BMW spec.
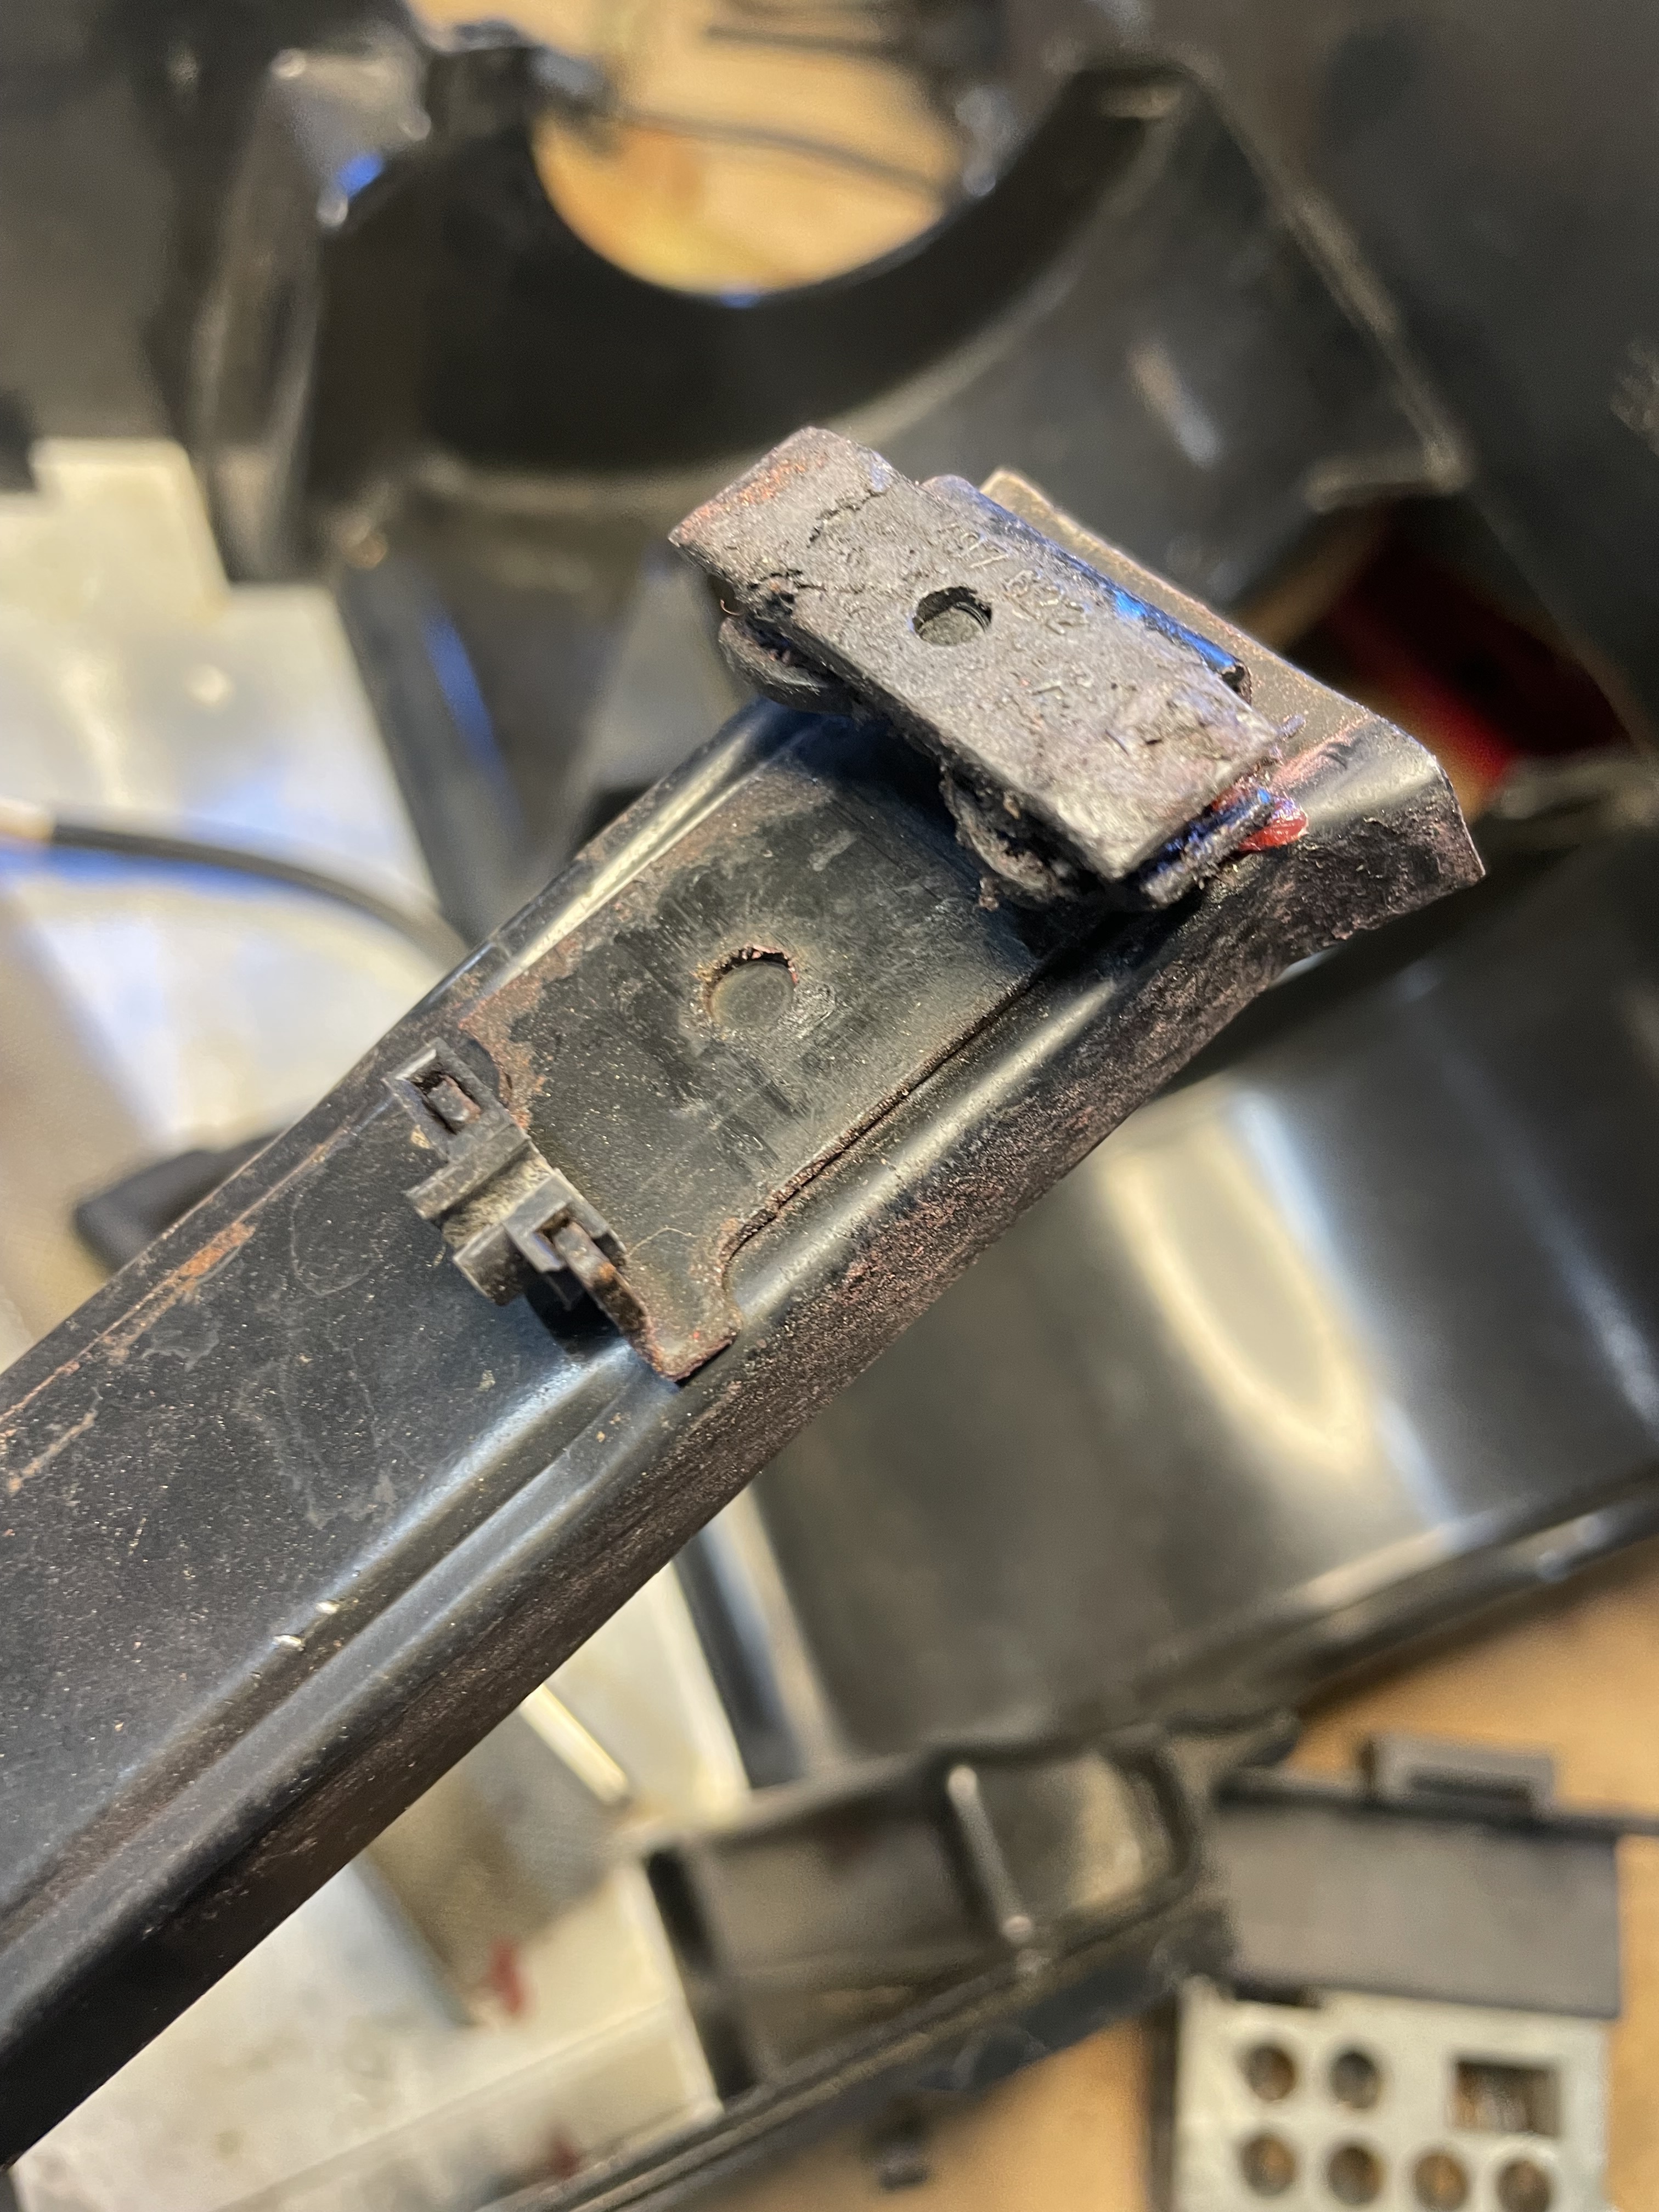
Then onto the sunroof bits and pieces. All the tracks and parts are removed, so today was clean the parts day. One thing I like about vintage BMW's is there are still factory parts available. The two plastic slide parts on this part can still be bought brand new:
Then the last thing today was installing the rain gutter trim. Actually went pretty easy as I've done this before when I reassembled my tii years ago. It is a job made for a rubber mallet. No pic today but another cosmetic part of Maeve is back on the car.
Re: And so it starts, Maeve
Posted: Jul 14, 2024 9:12 PM
by gwb72tii
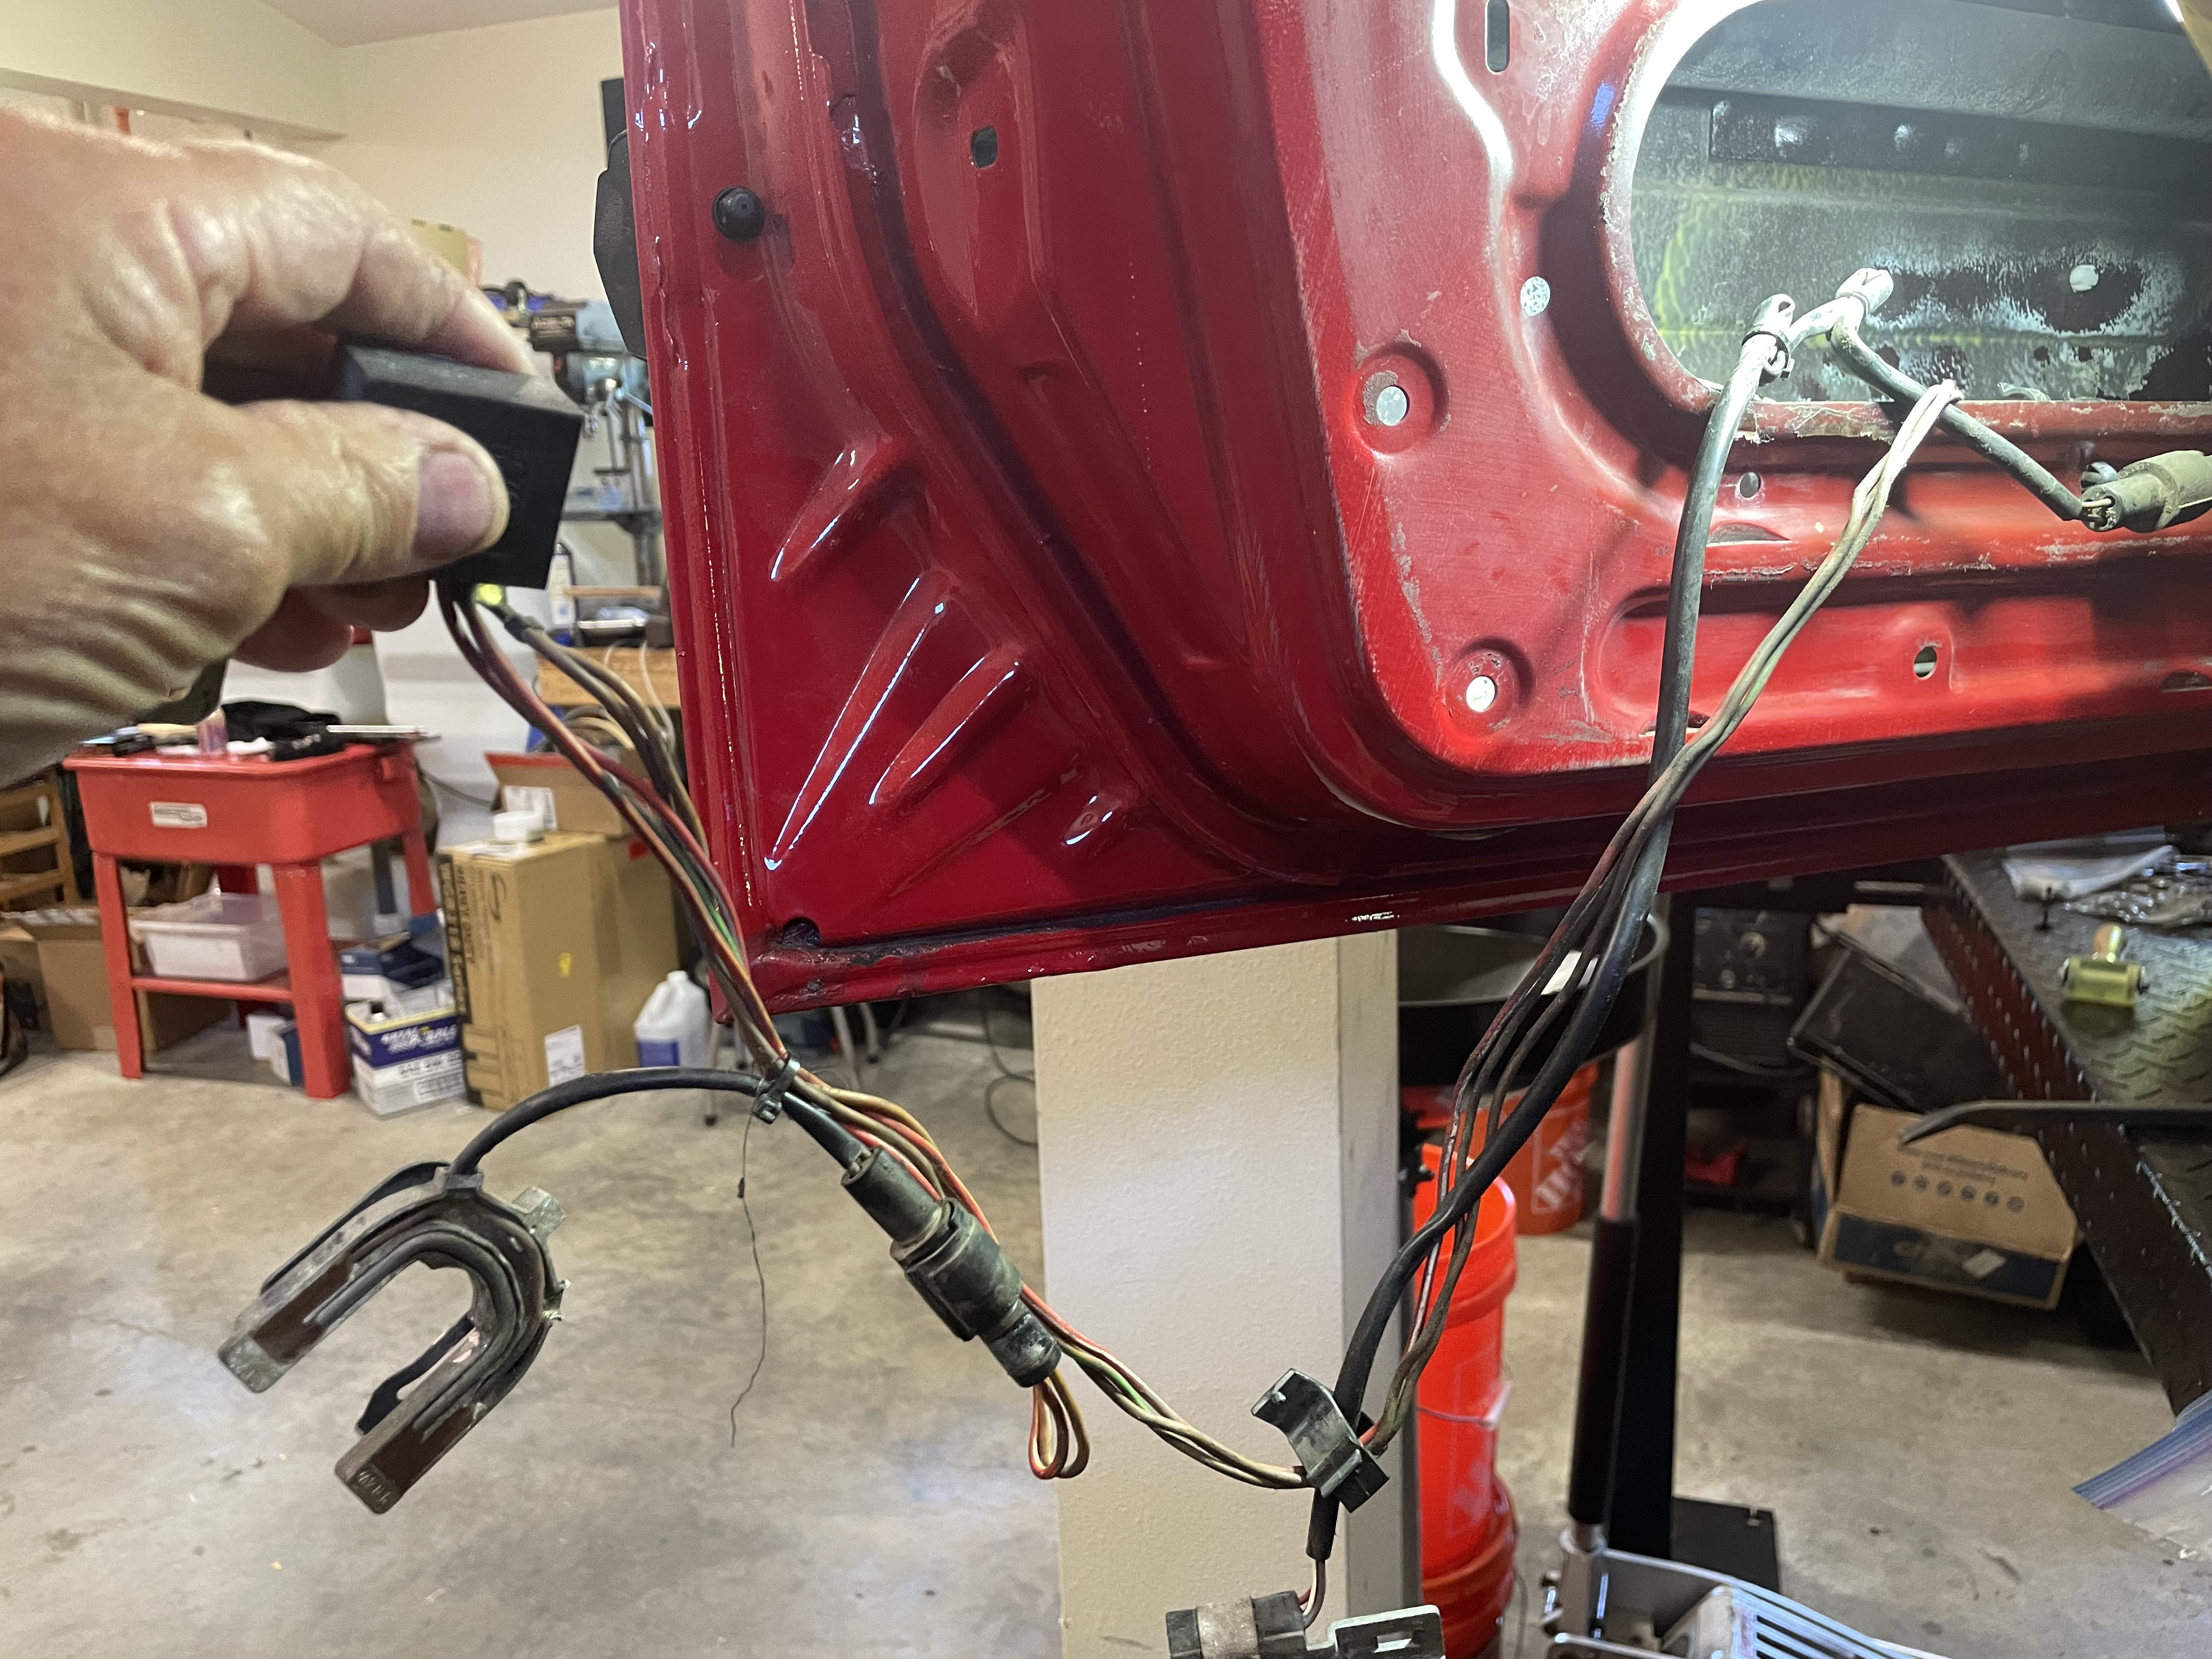
Just a small task checked off the still long list of things to do. Something many of you have run into, the OEM cloth tape around various wire bundles is completely dried out, This is a pic of the wire bundle in the driver's door with all the factory tape gone. I found some tape on Amazon I really like, soft cloth tape that sticks.
https://www.amazon.com/dp/B00EH6IZ6Y?ps ... ct_details
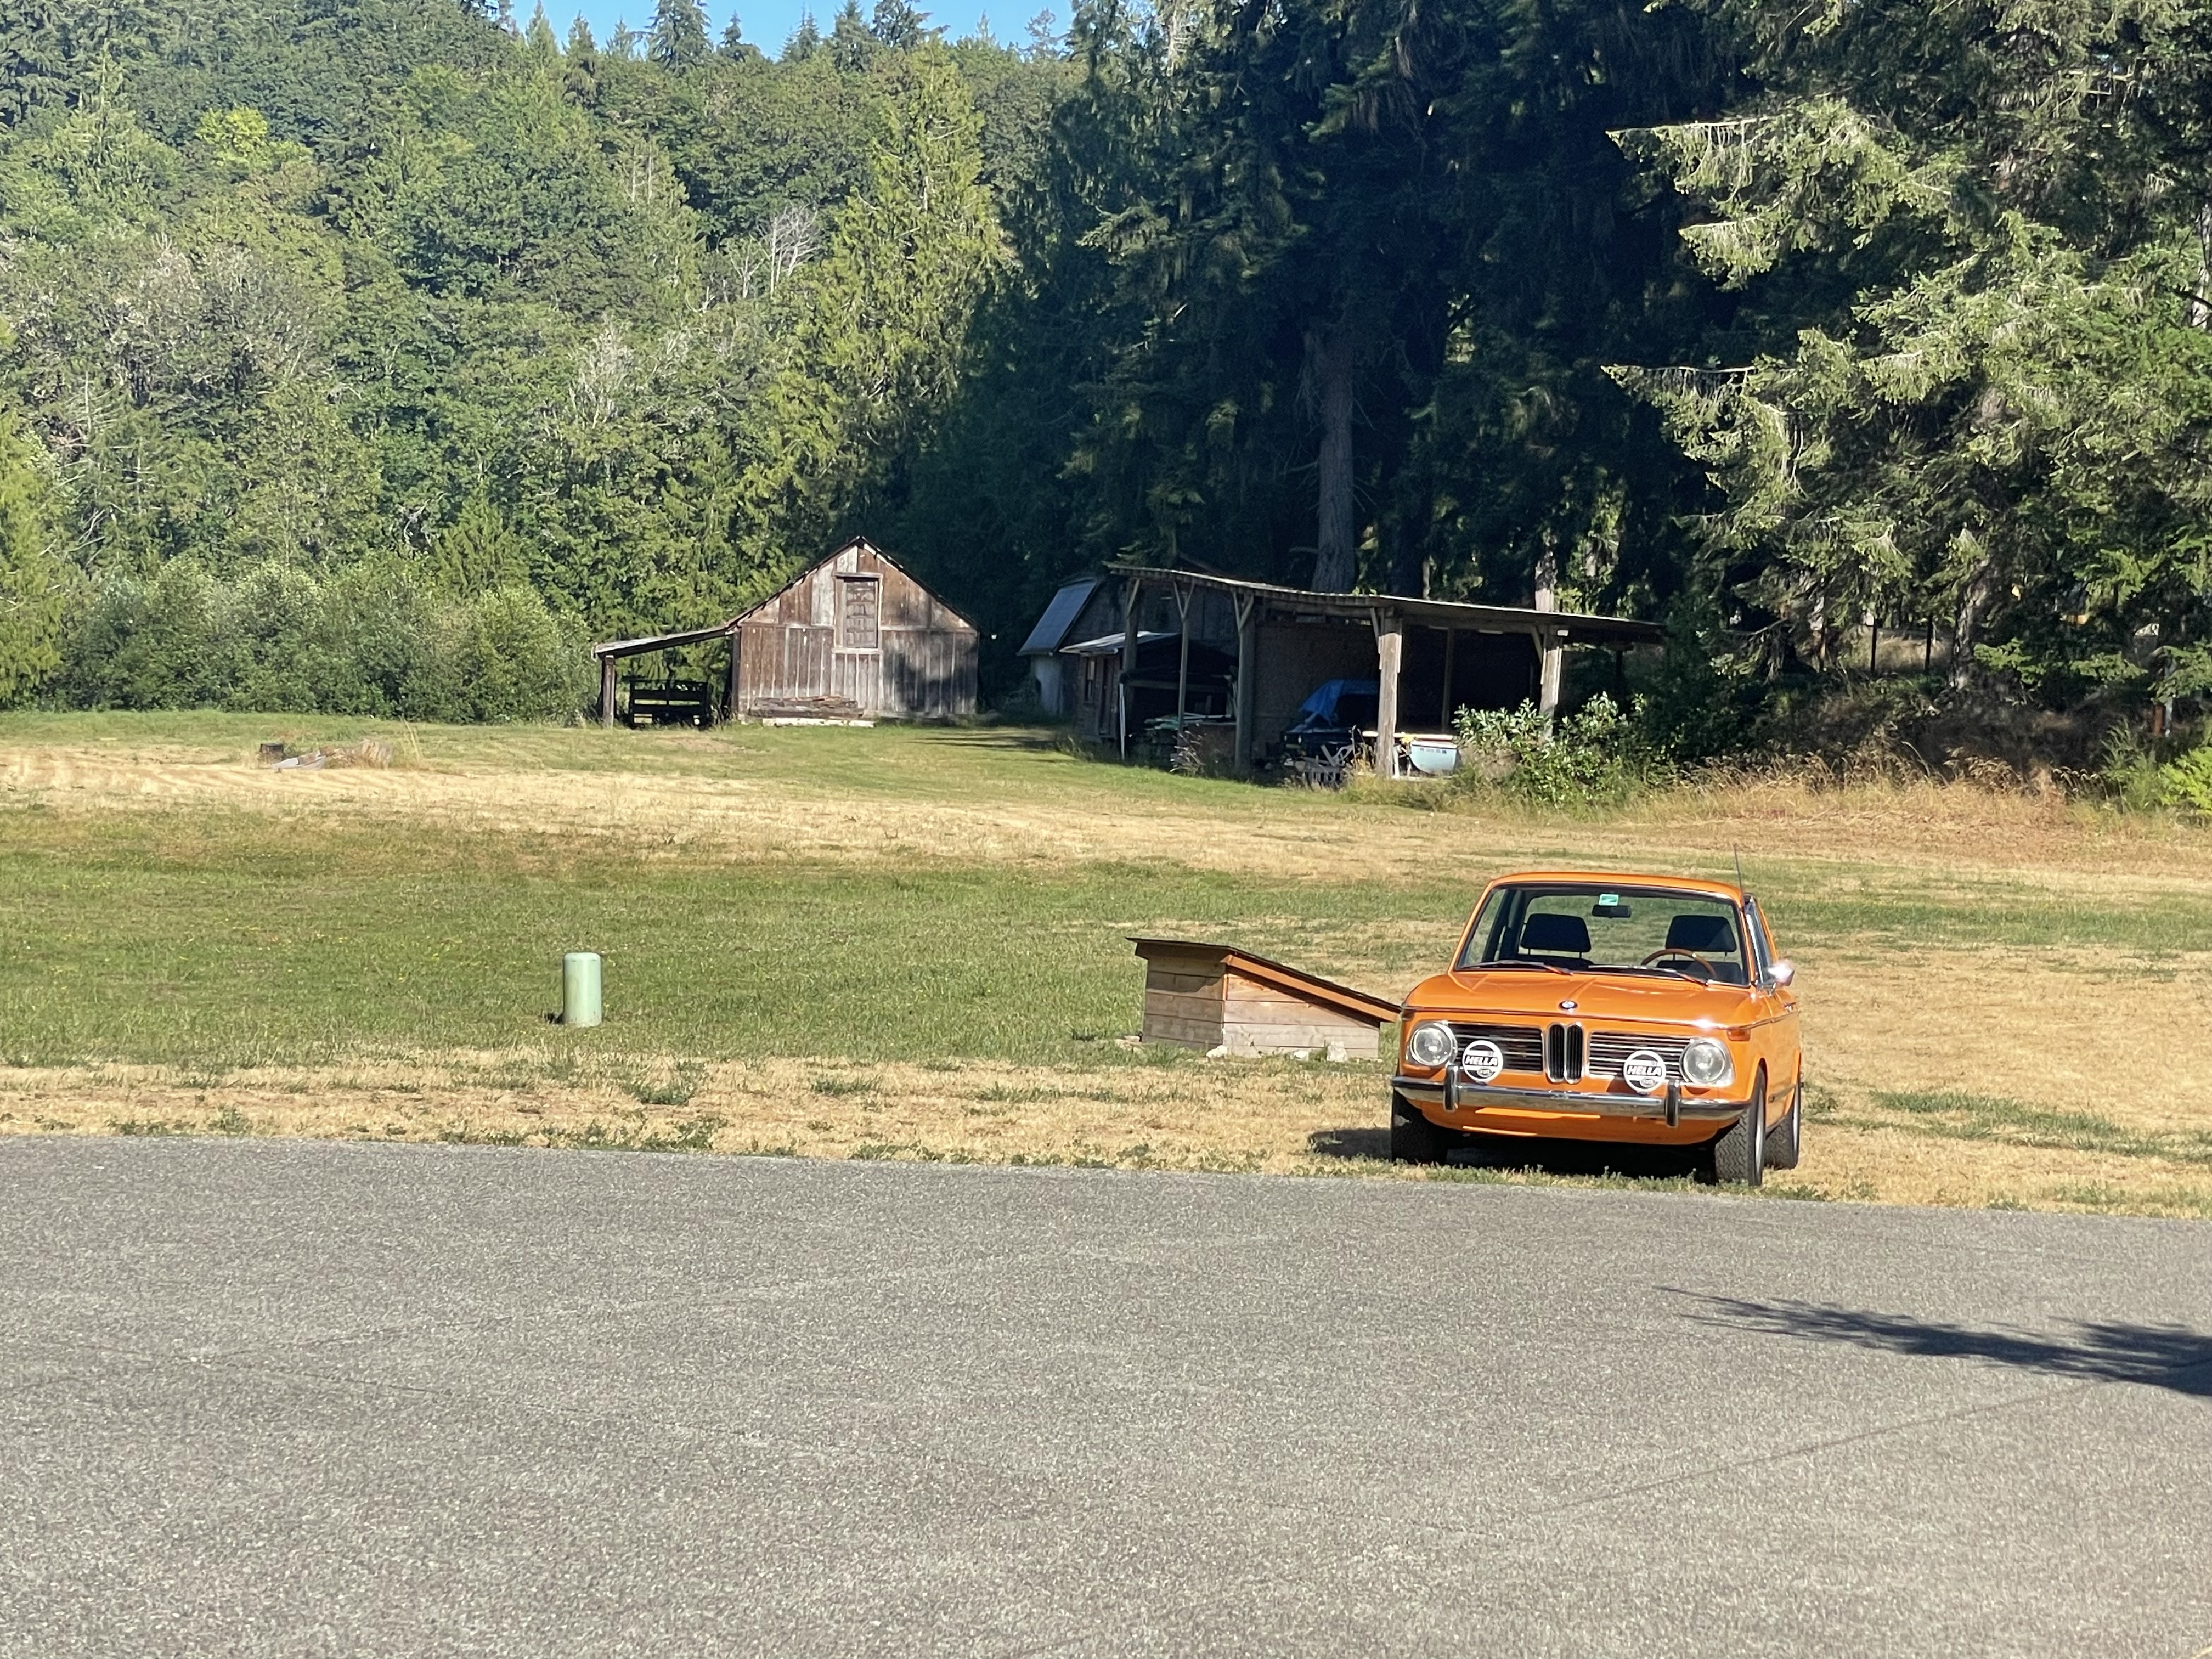
And because it's one of those epic days in the great Pacific Northwest, 80* and a slight breeze with no clouds, we drove this around for a while. Lots of smiles and thumbs up from people walking around.
Re: And so it starts, Maeve
Posted: Jul 26, 2024 8:15 PM
by gwb72tii
Lo and behold, Metric Mechanic called to tell me my motor is shipping out next week!
Now I am motivated to get Maeve ready! YAHOOOOOO!
Re: And so it starts, Maeve
Posted: Jul 28, 2024 8:56 AM
by 1st 5er
Re: And so it starts, Maeve
Posted: Aug 03, 2024 10:05 PM
by gwb72tii
Did a few things, but did this first:
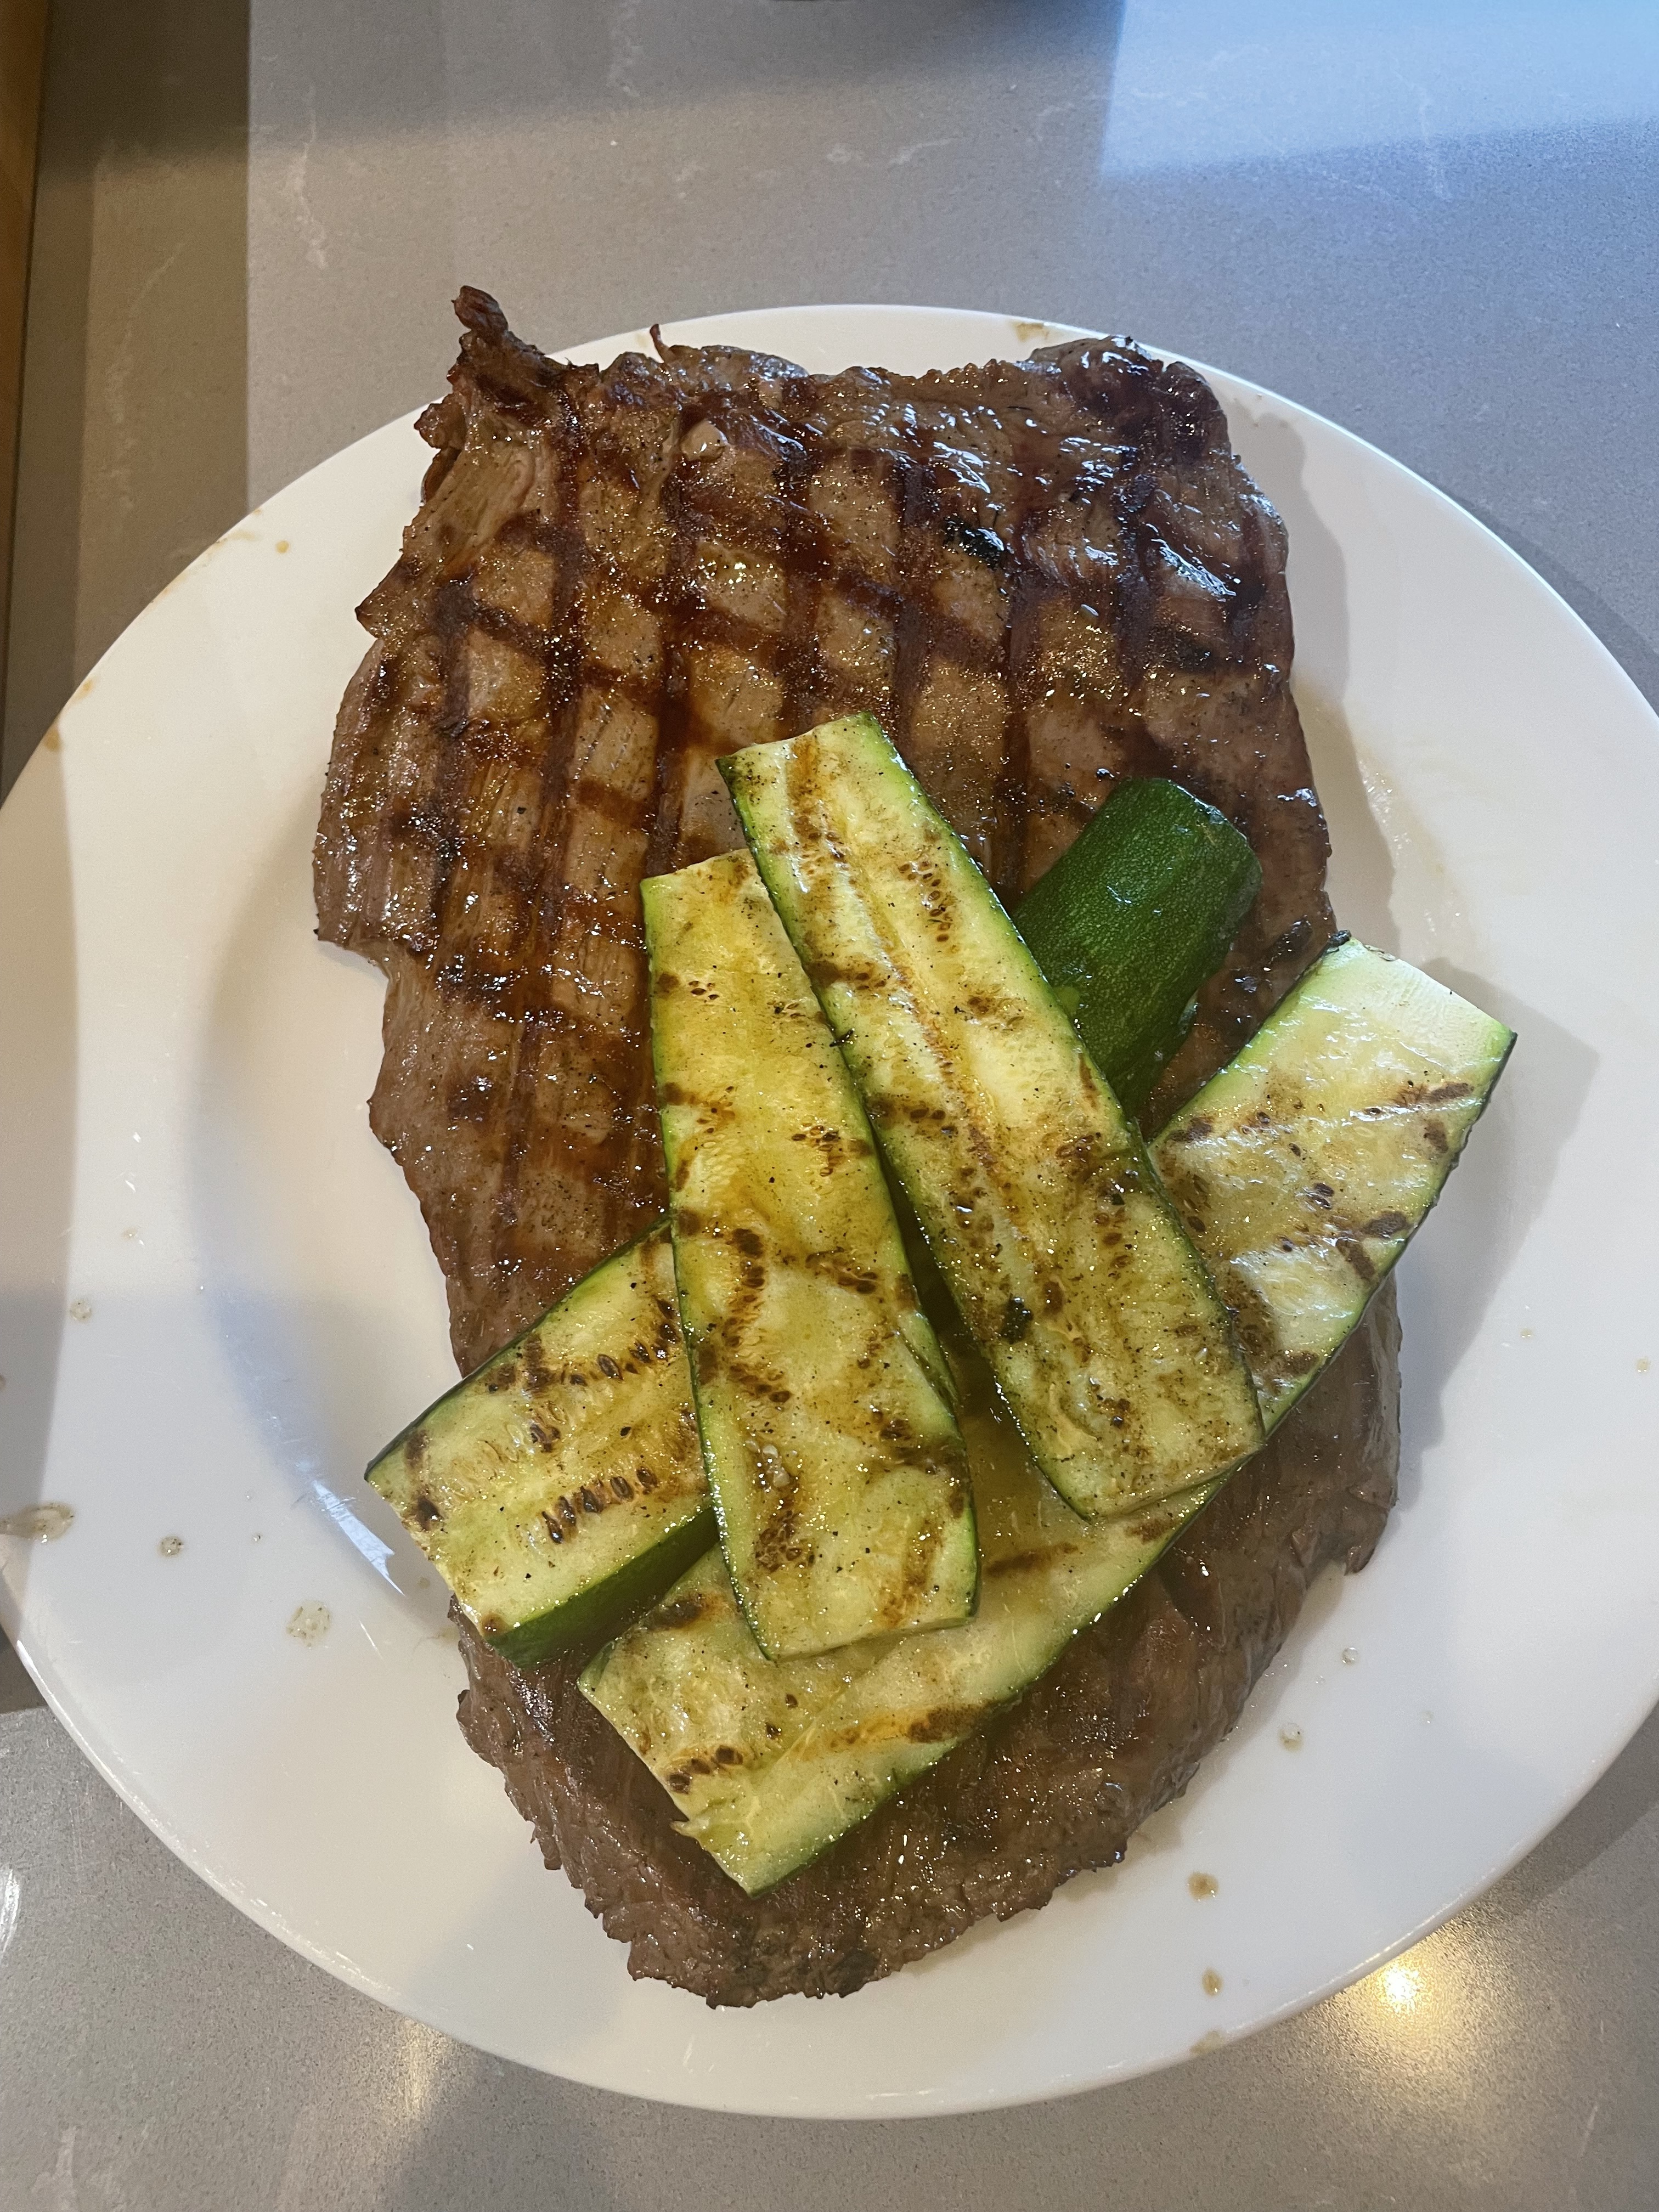
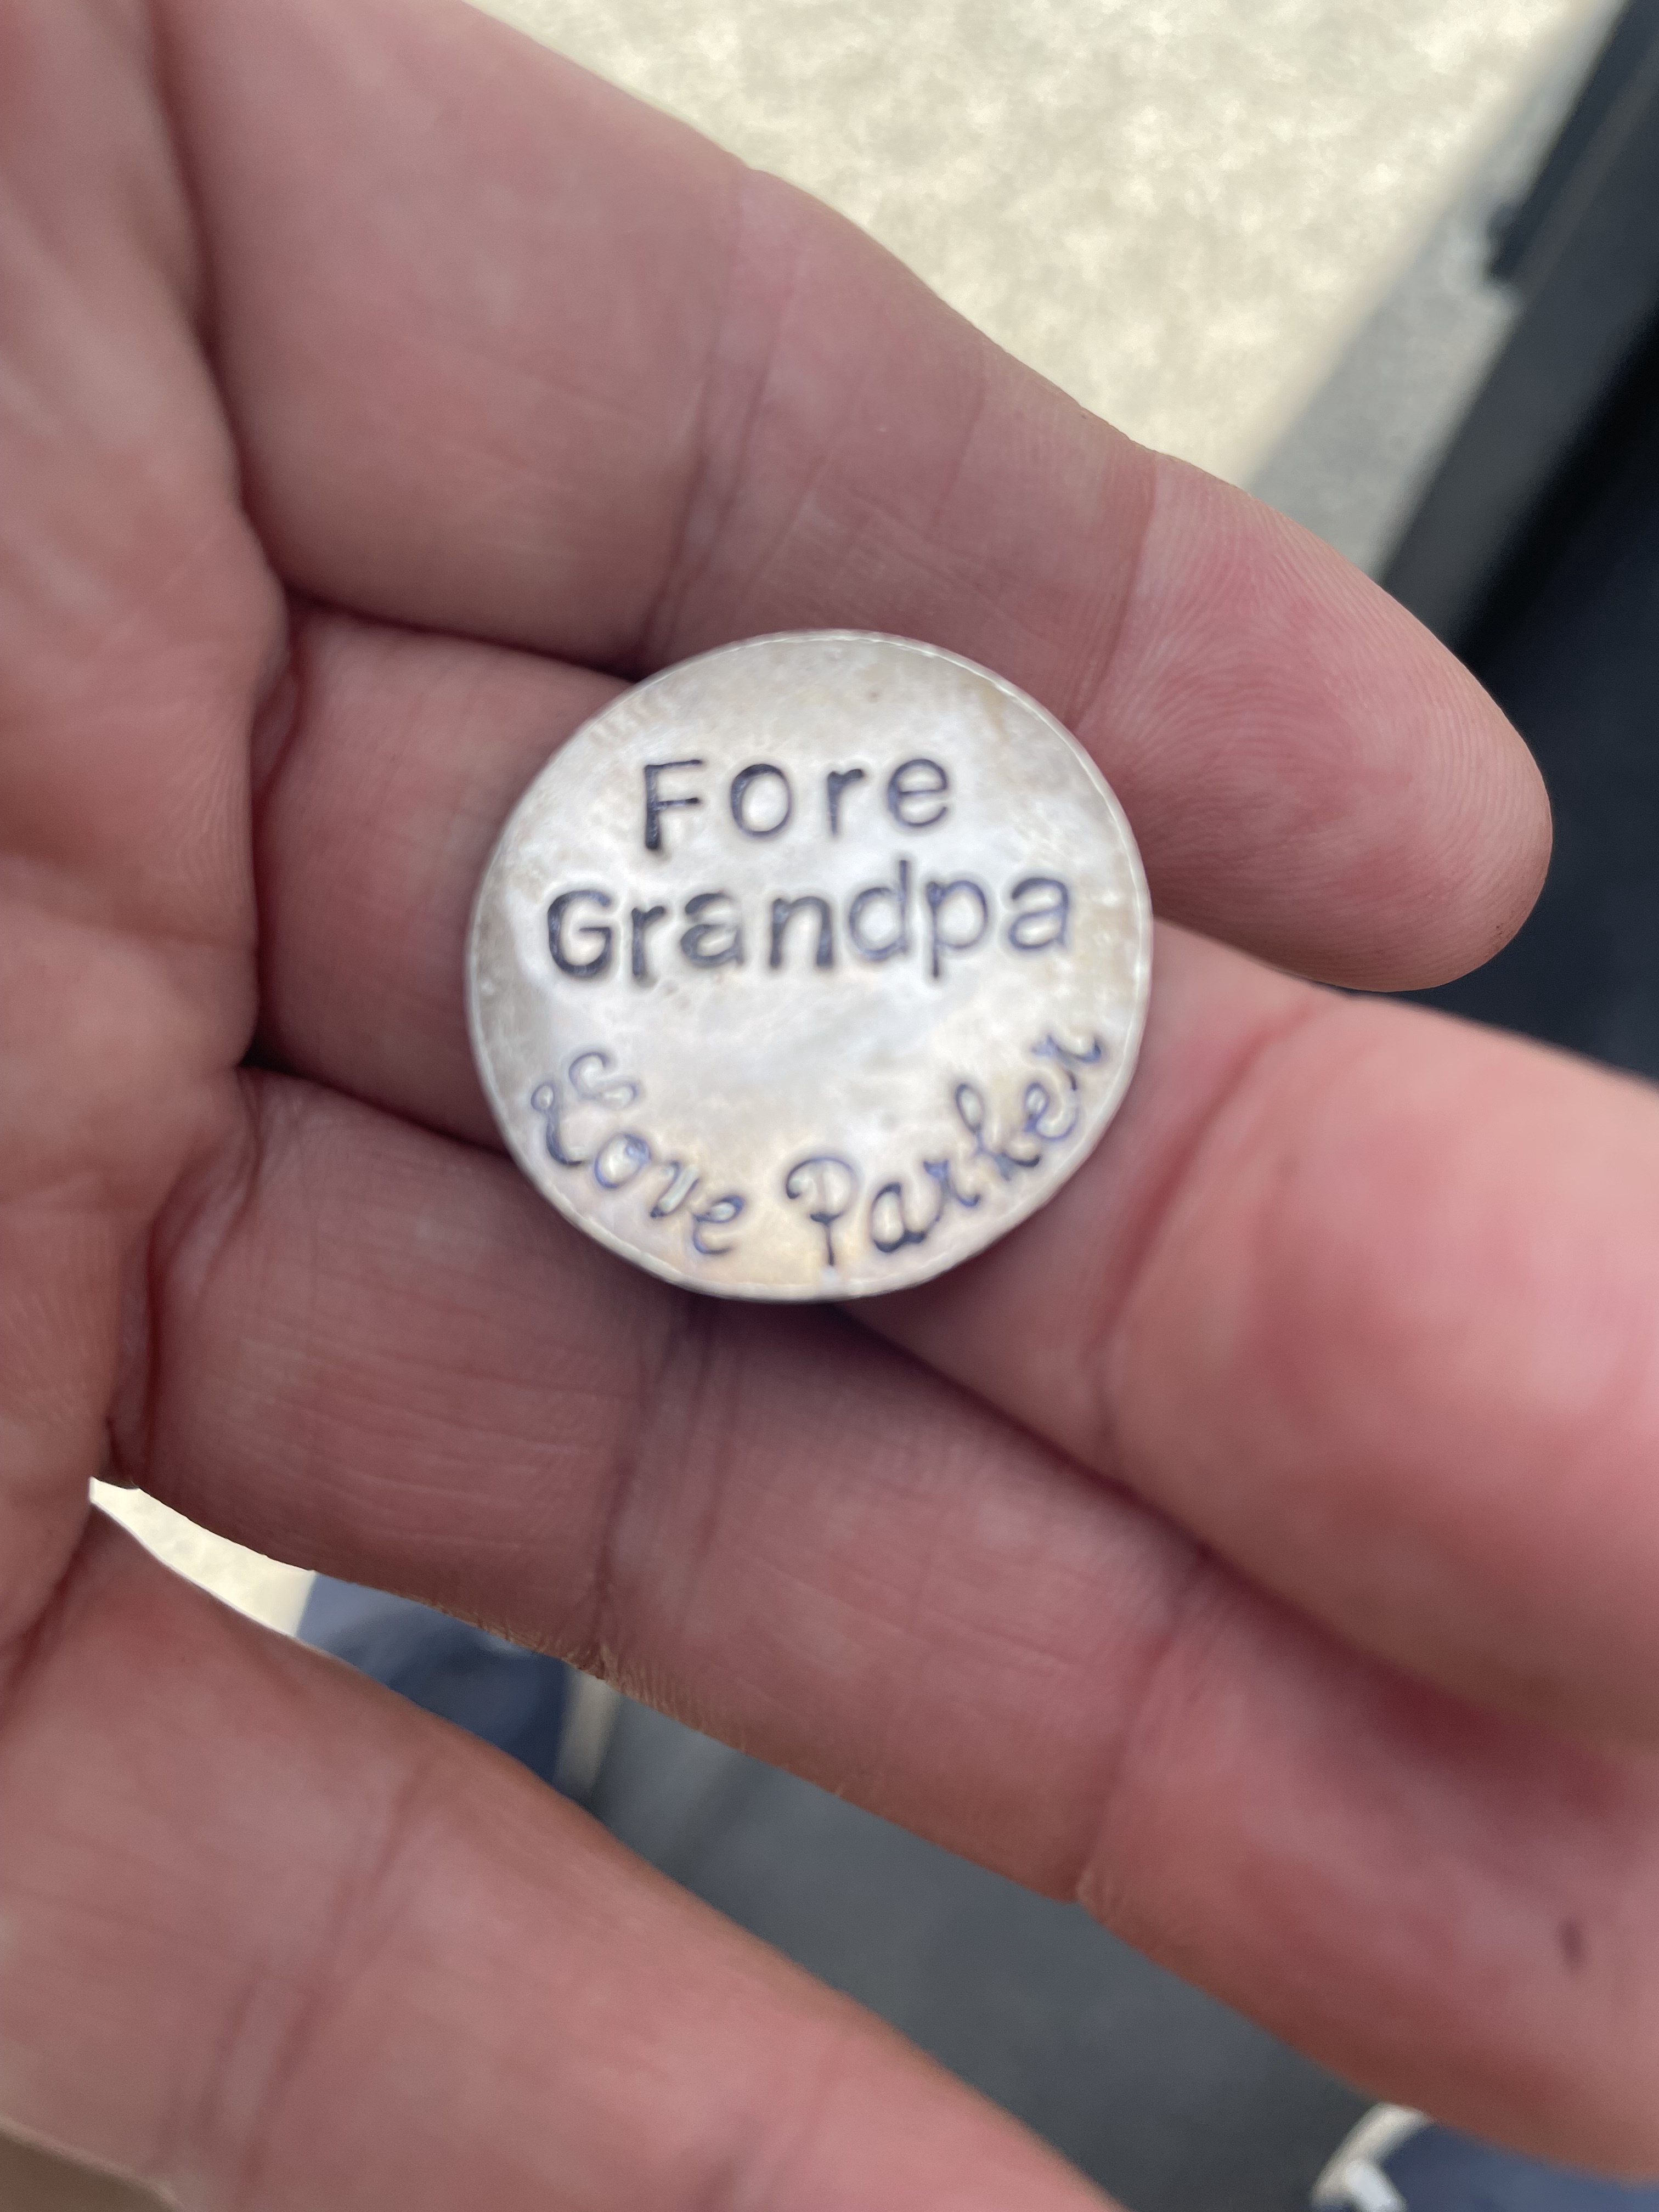
And then played golf, and found a ball mark my granddaughter had given me. Super awesome!
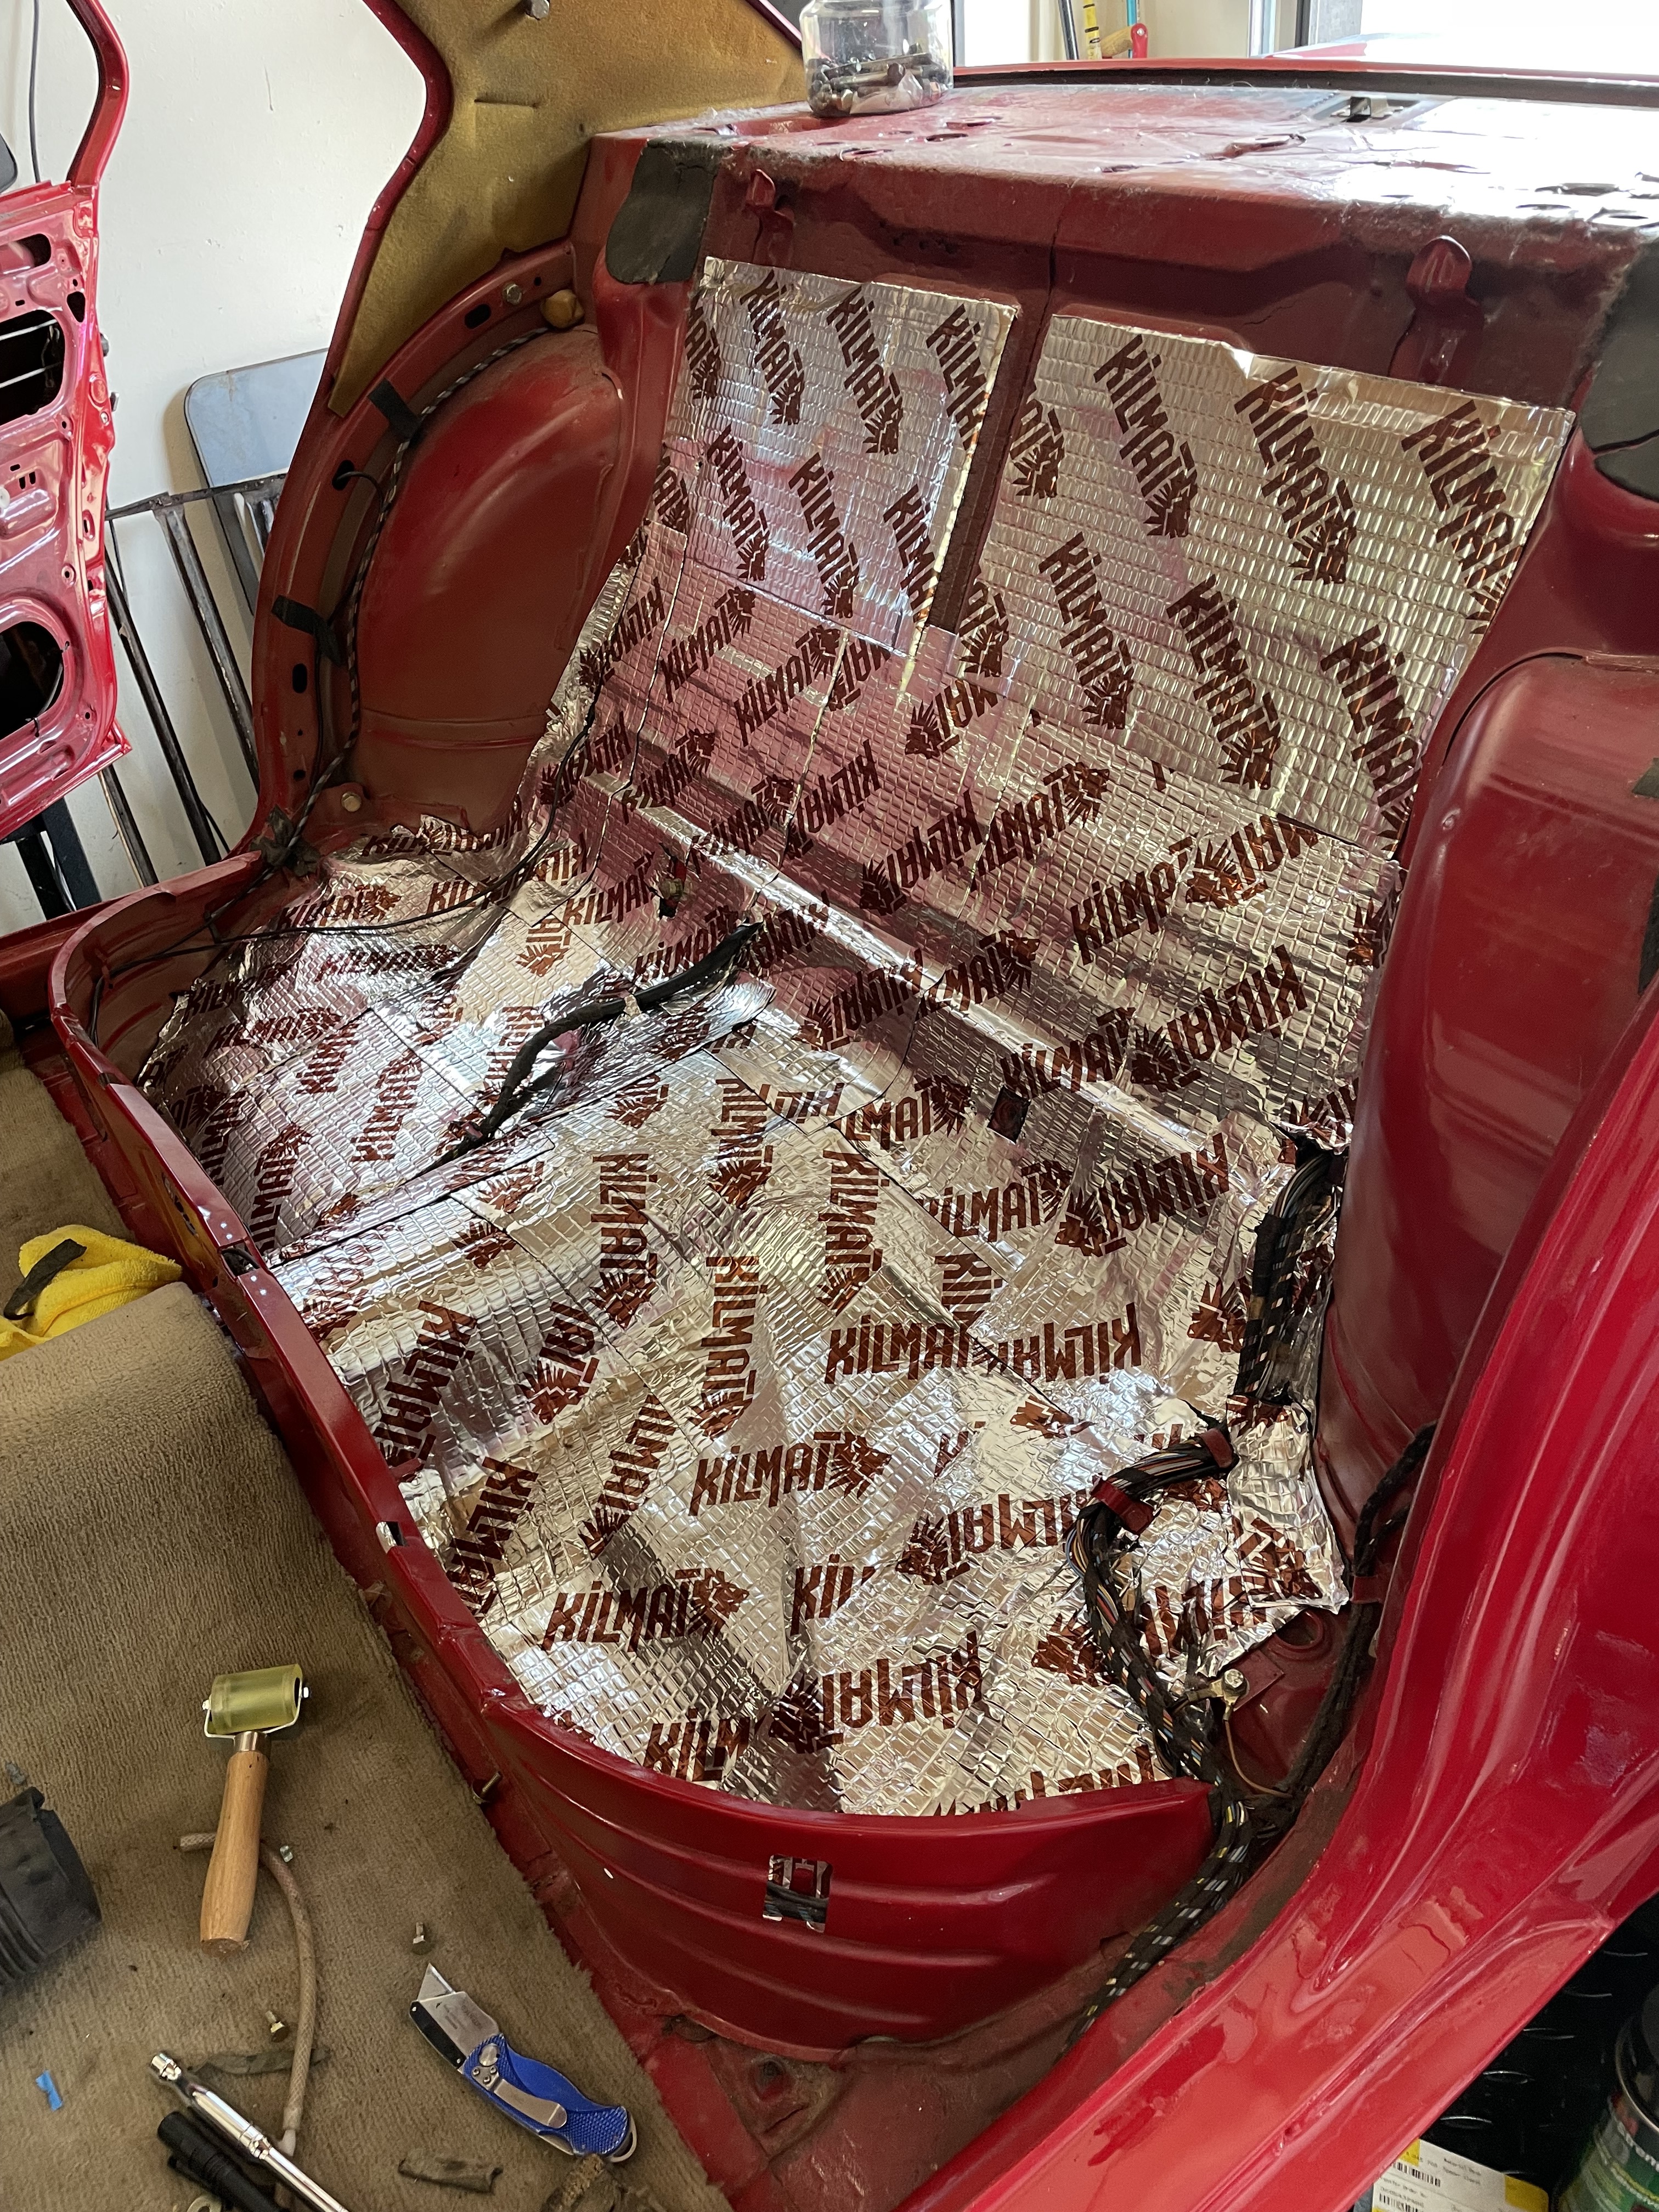
Started the inside of the car, and sound/vibration insulated under the back seat:
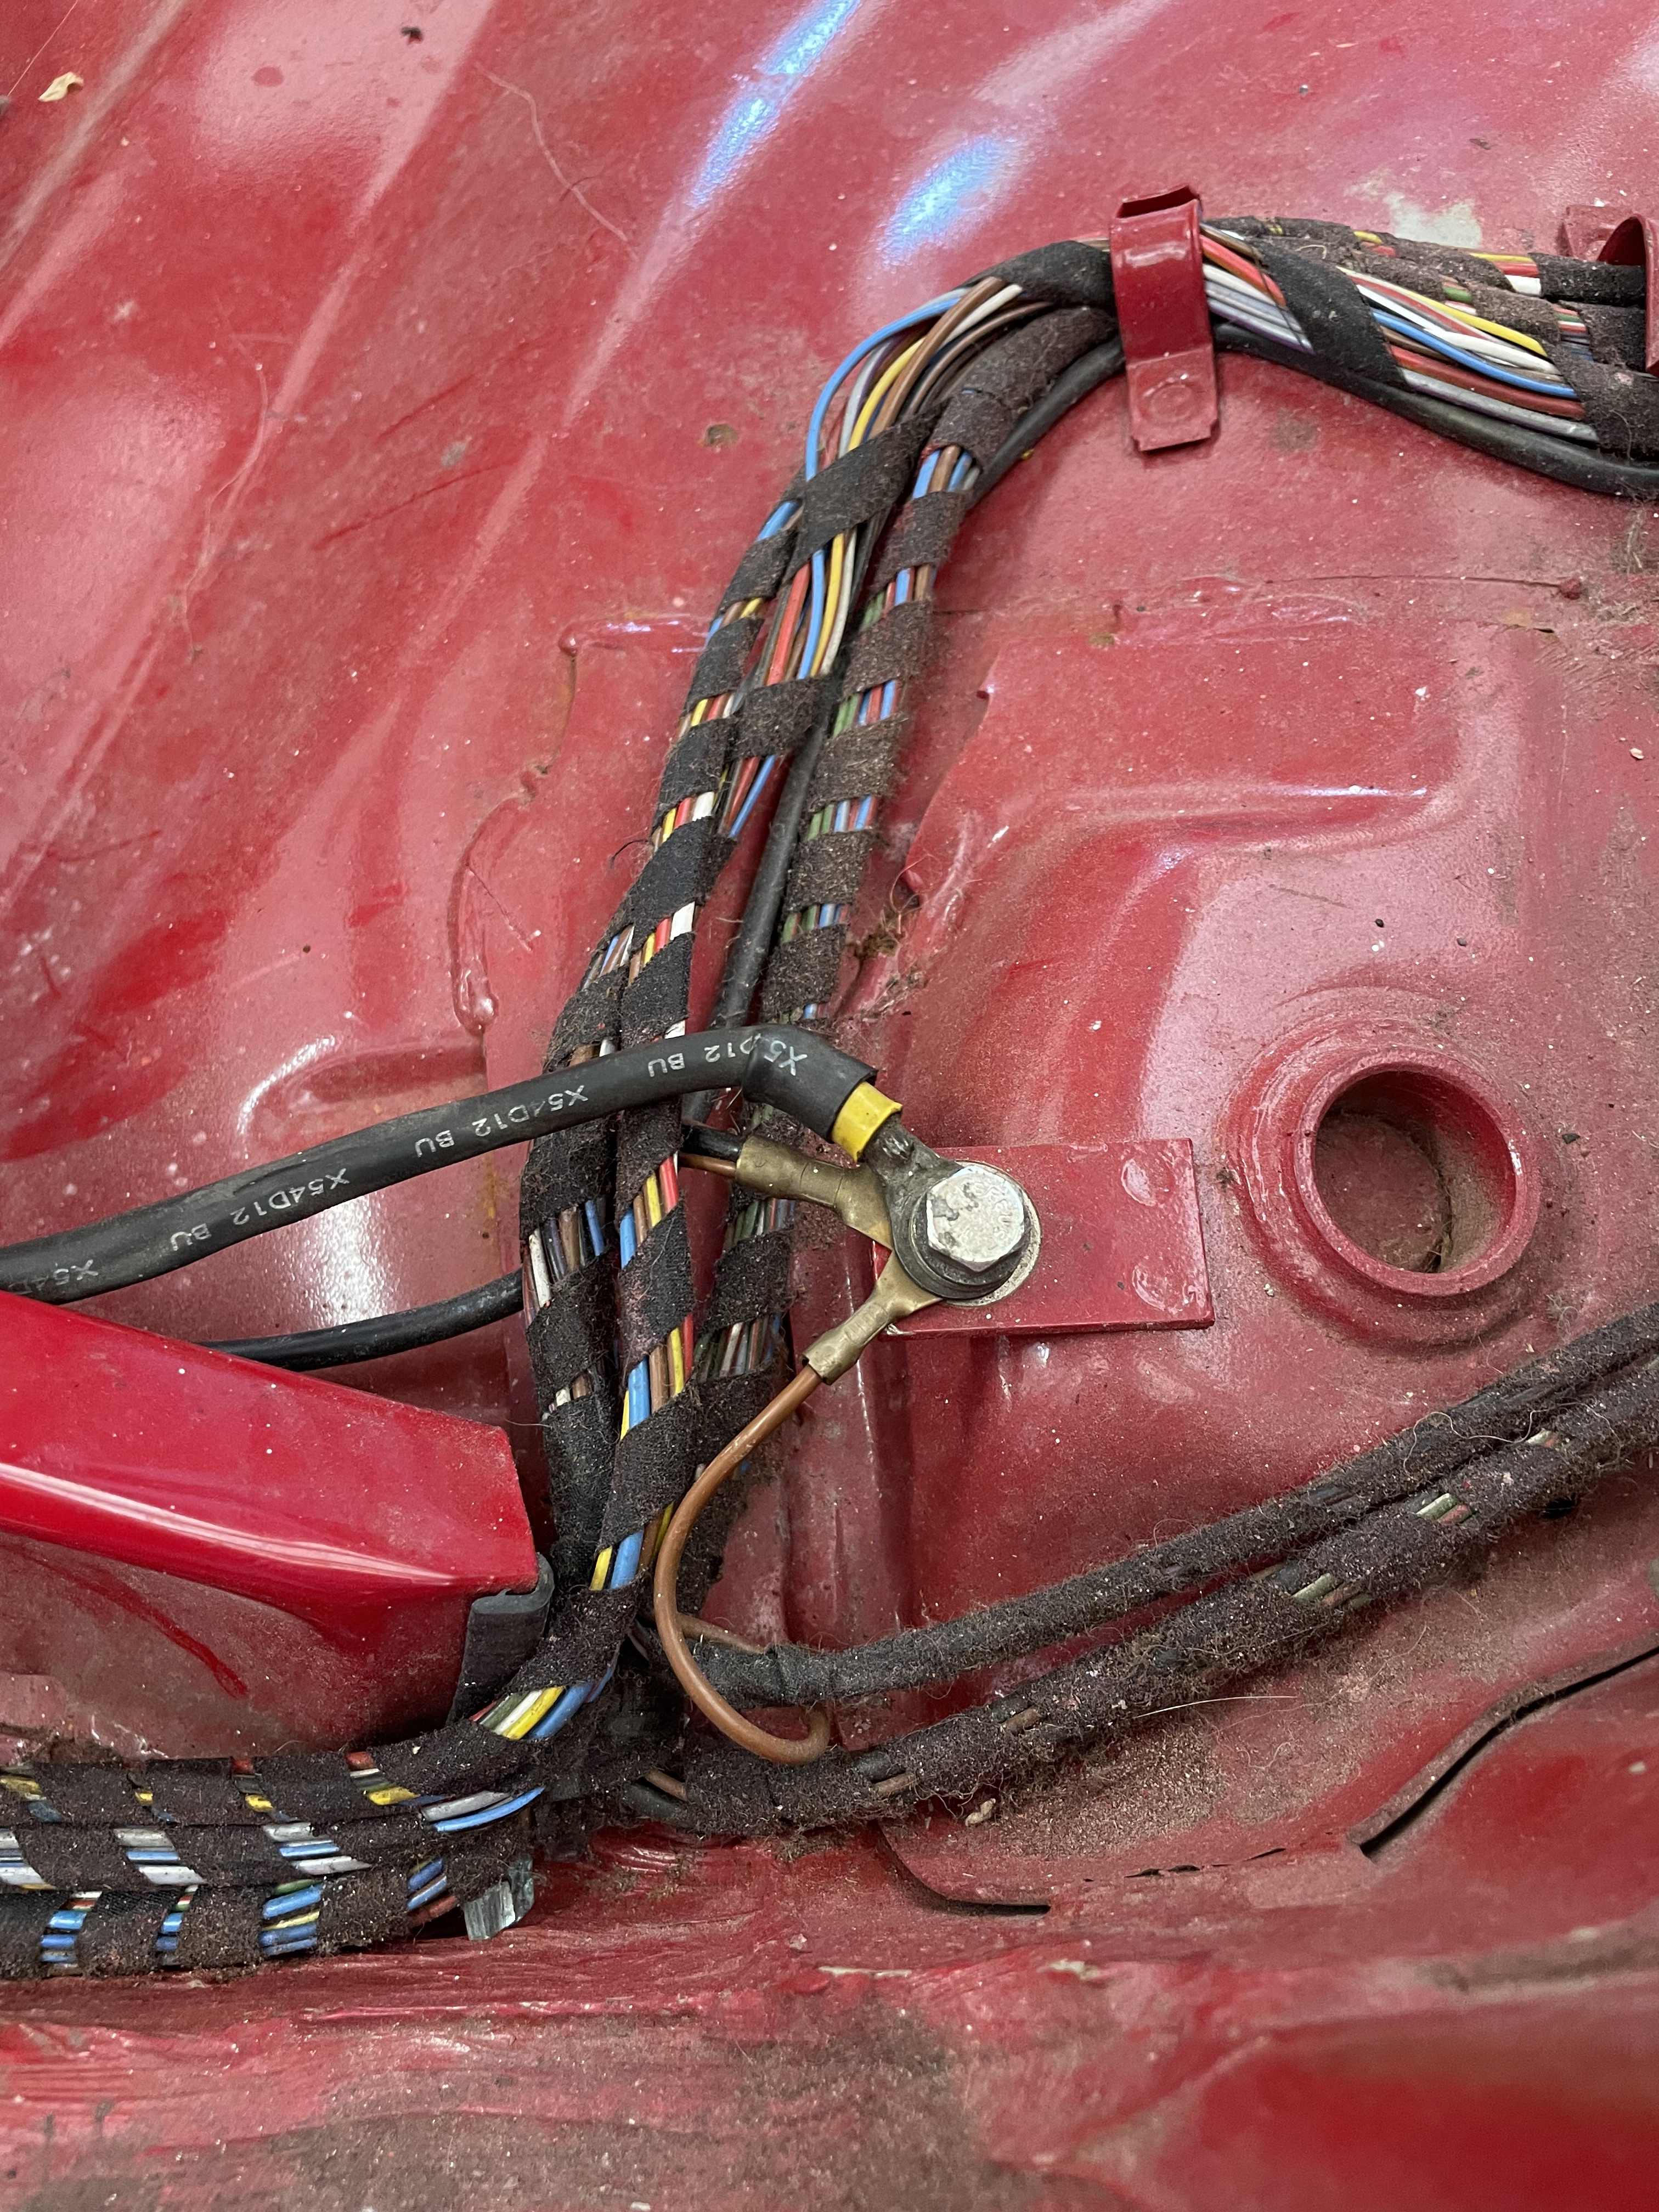
Seems to me the majority of electrical related problems I’ve had over the years have mostly been ground related, so I undid the fastening screw and lightly sanded the “O” connectors to insure they make good contact:
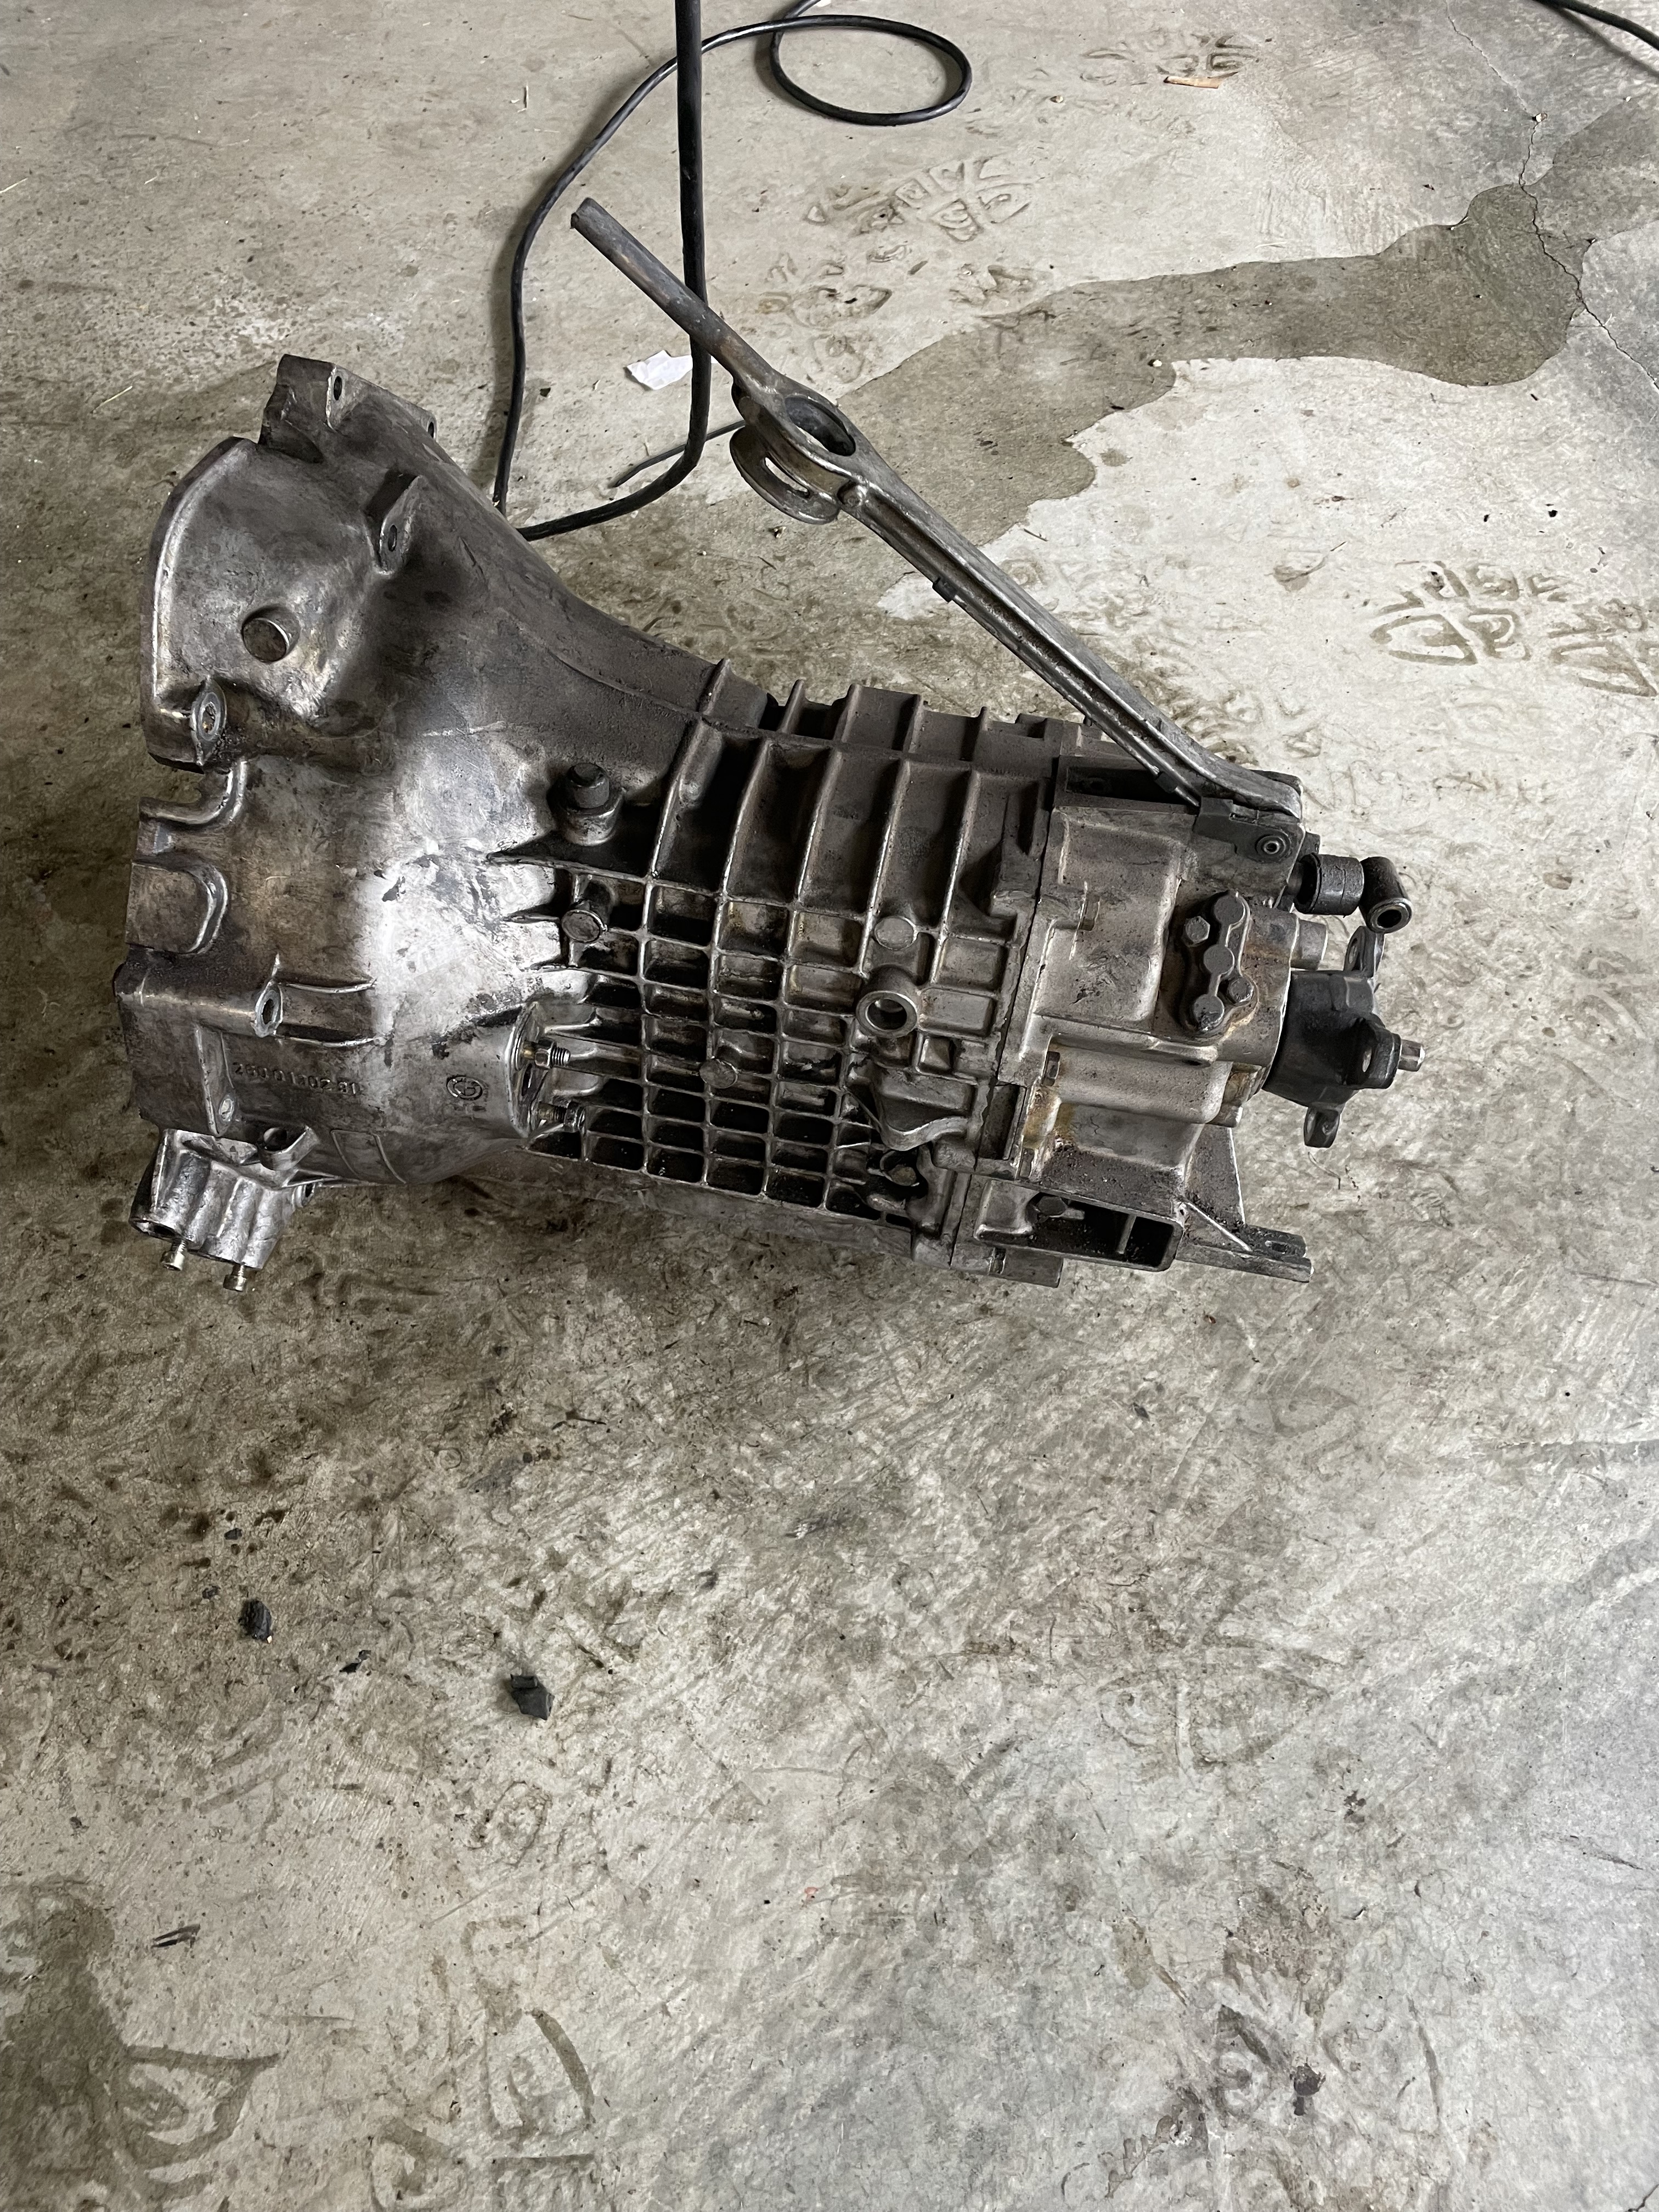
Then took out the tranny in anticipation of removing the motor next week hopefully. My new motor is supposed to arrive the 6th.
Re: And so it starts, Maeve
Posted: Aug 11, 2024 3:53 PM
by gwb72tii
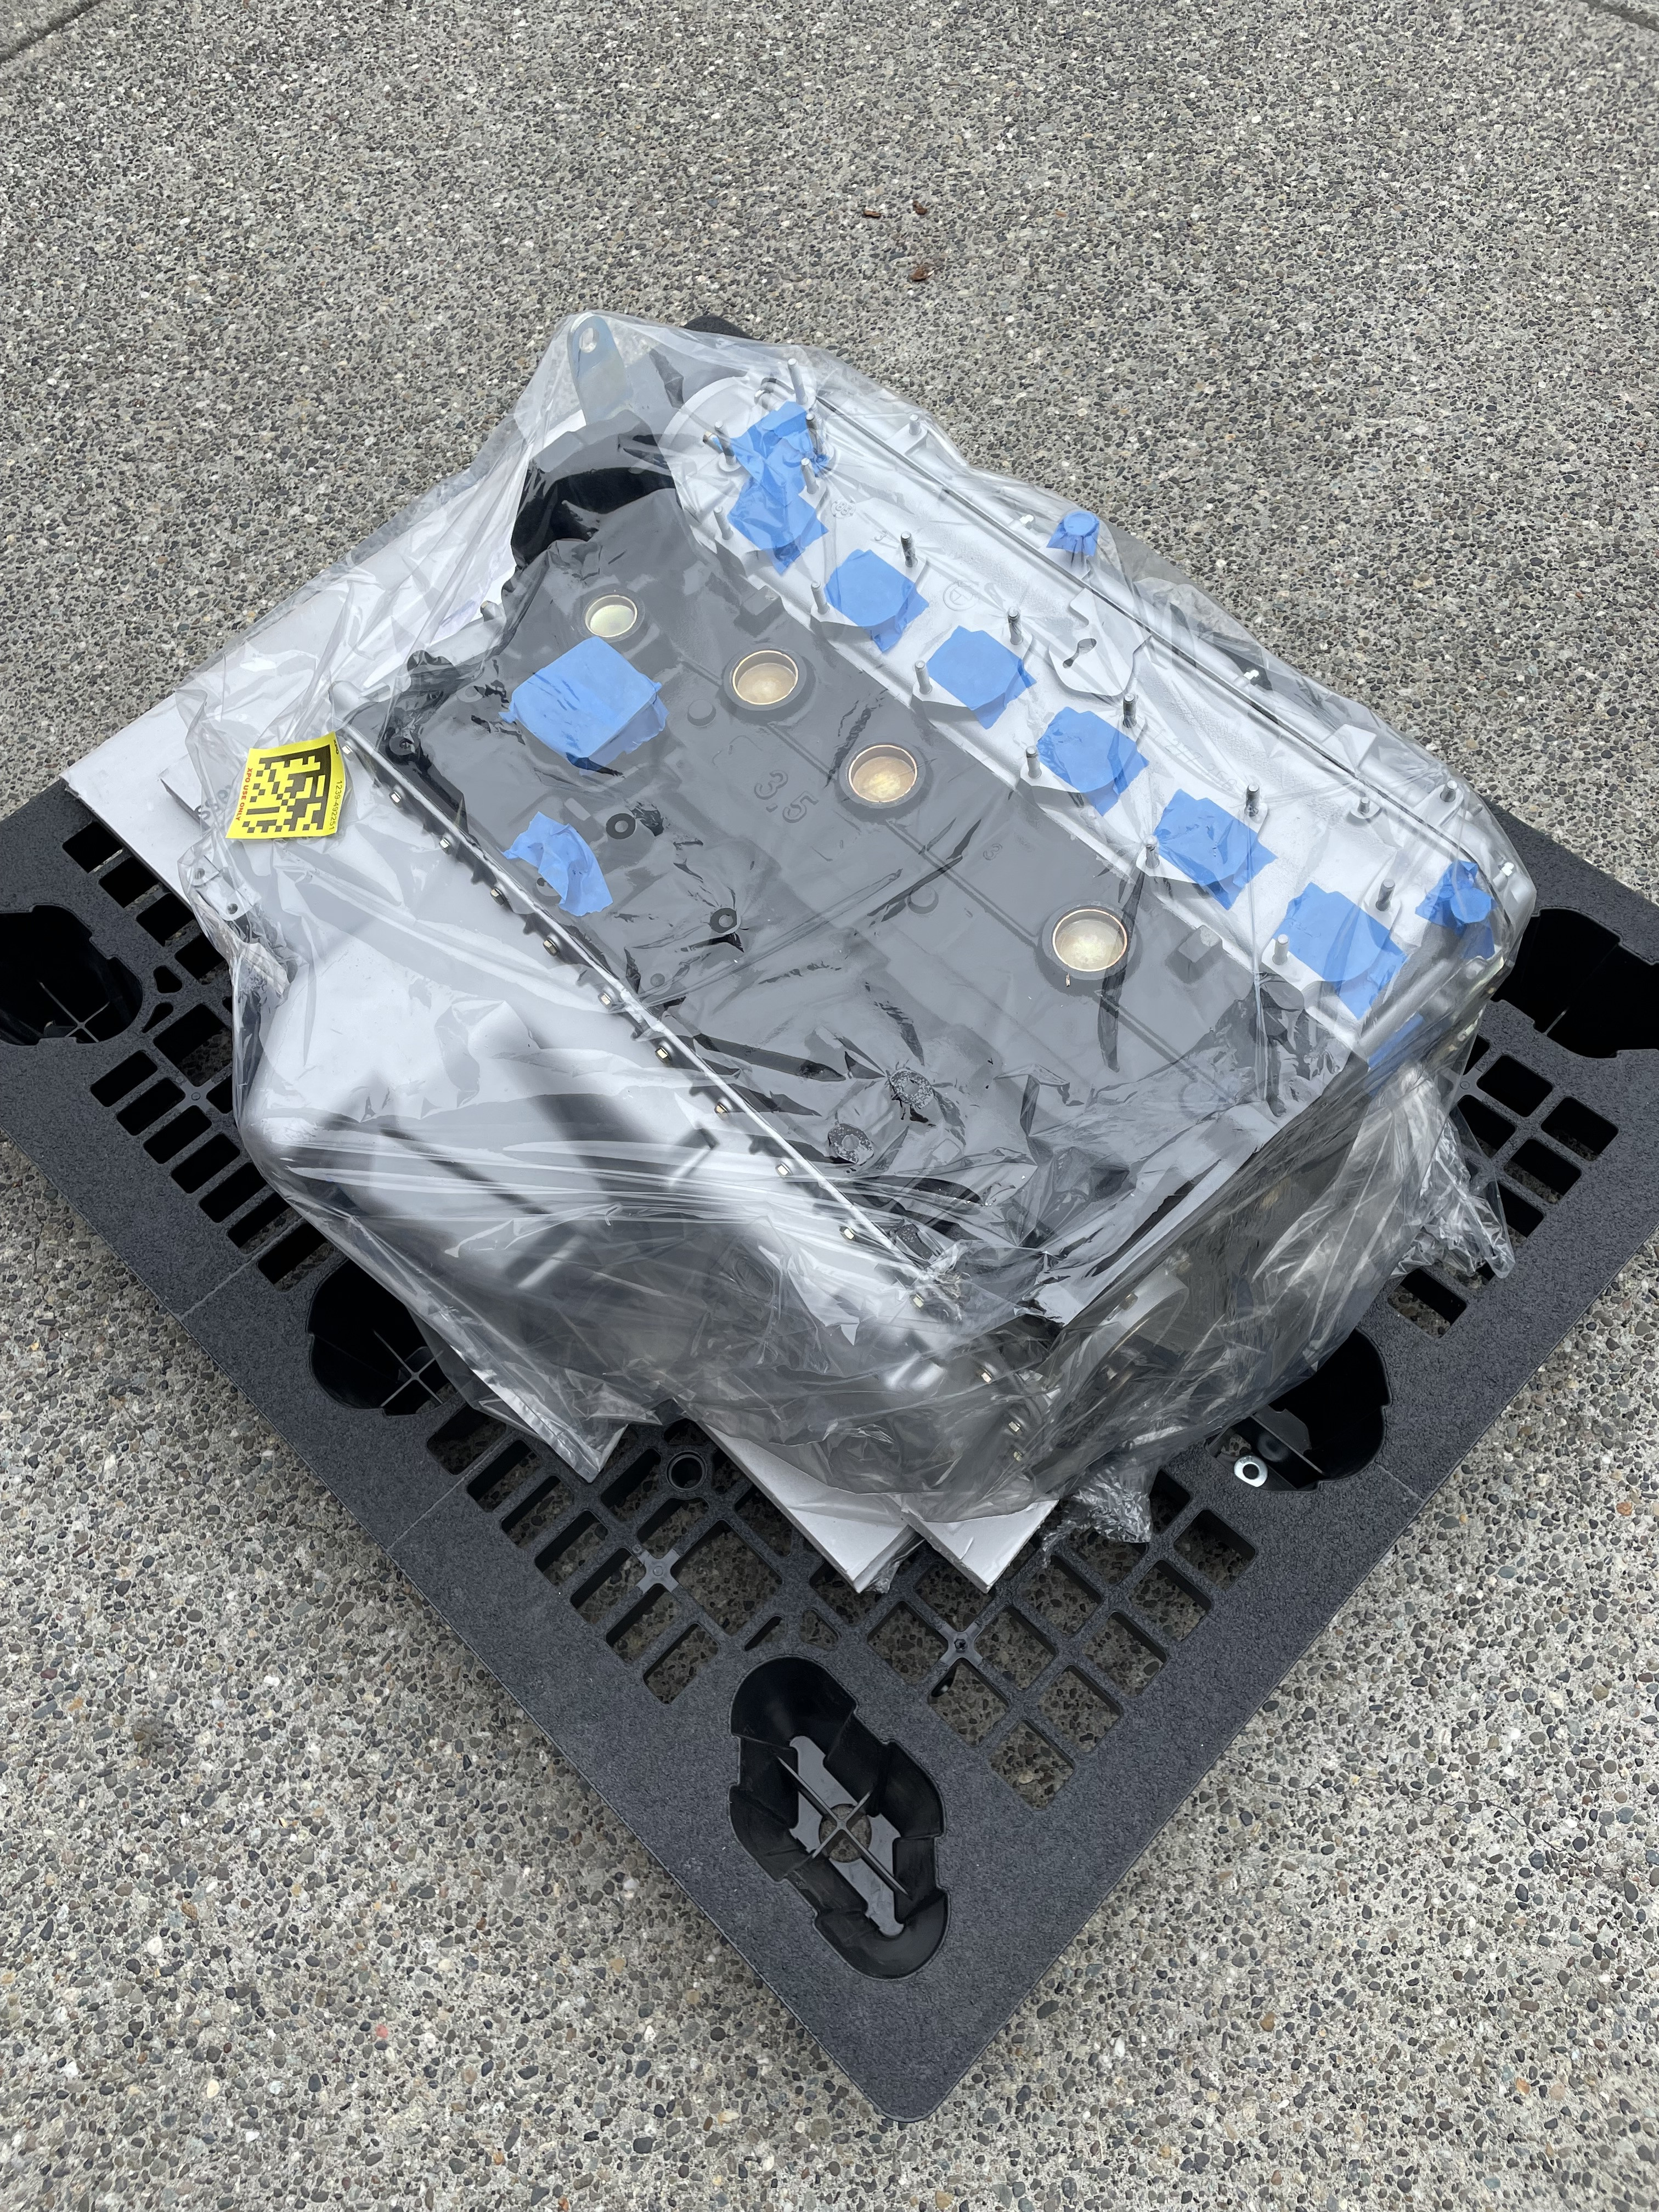
This came in the mail;
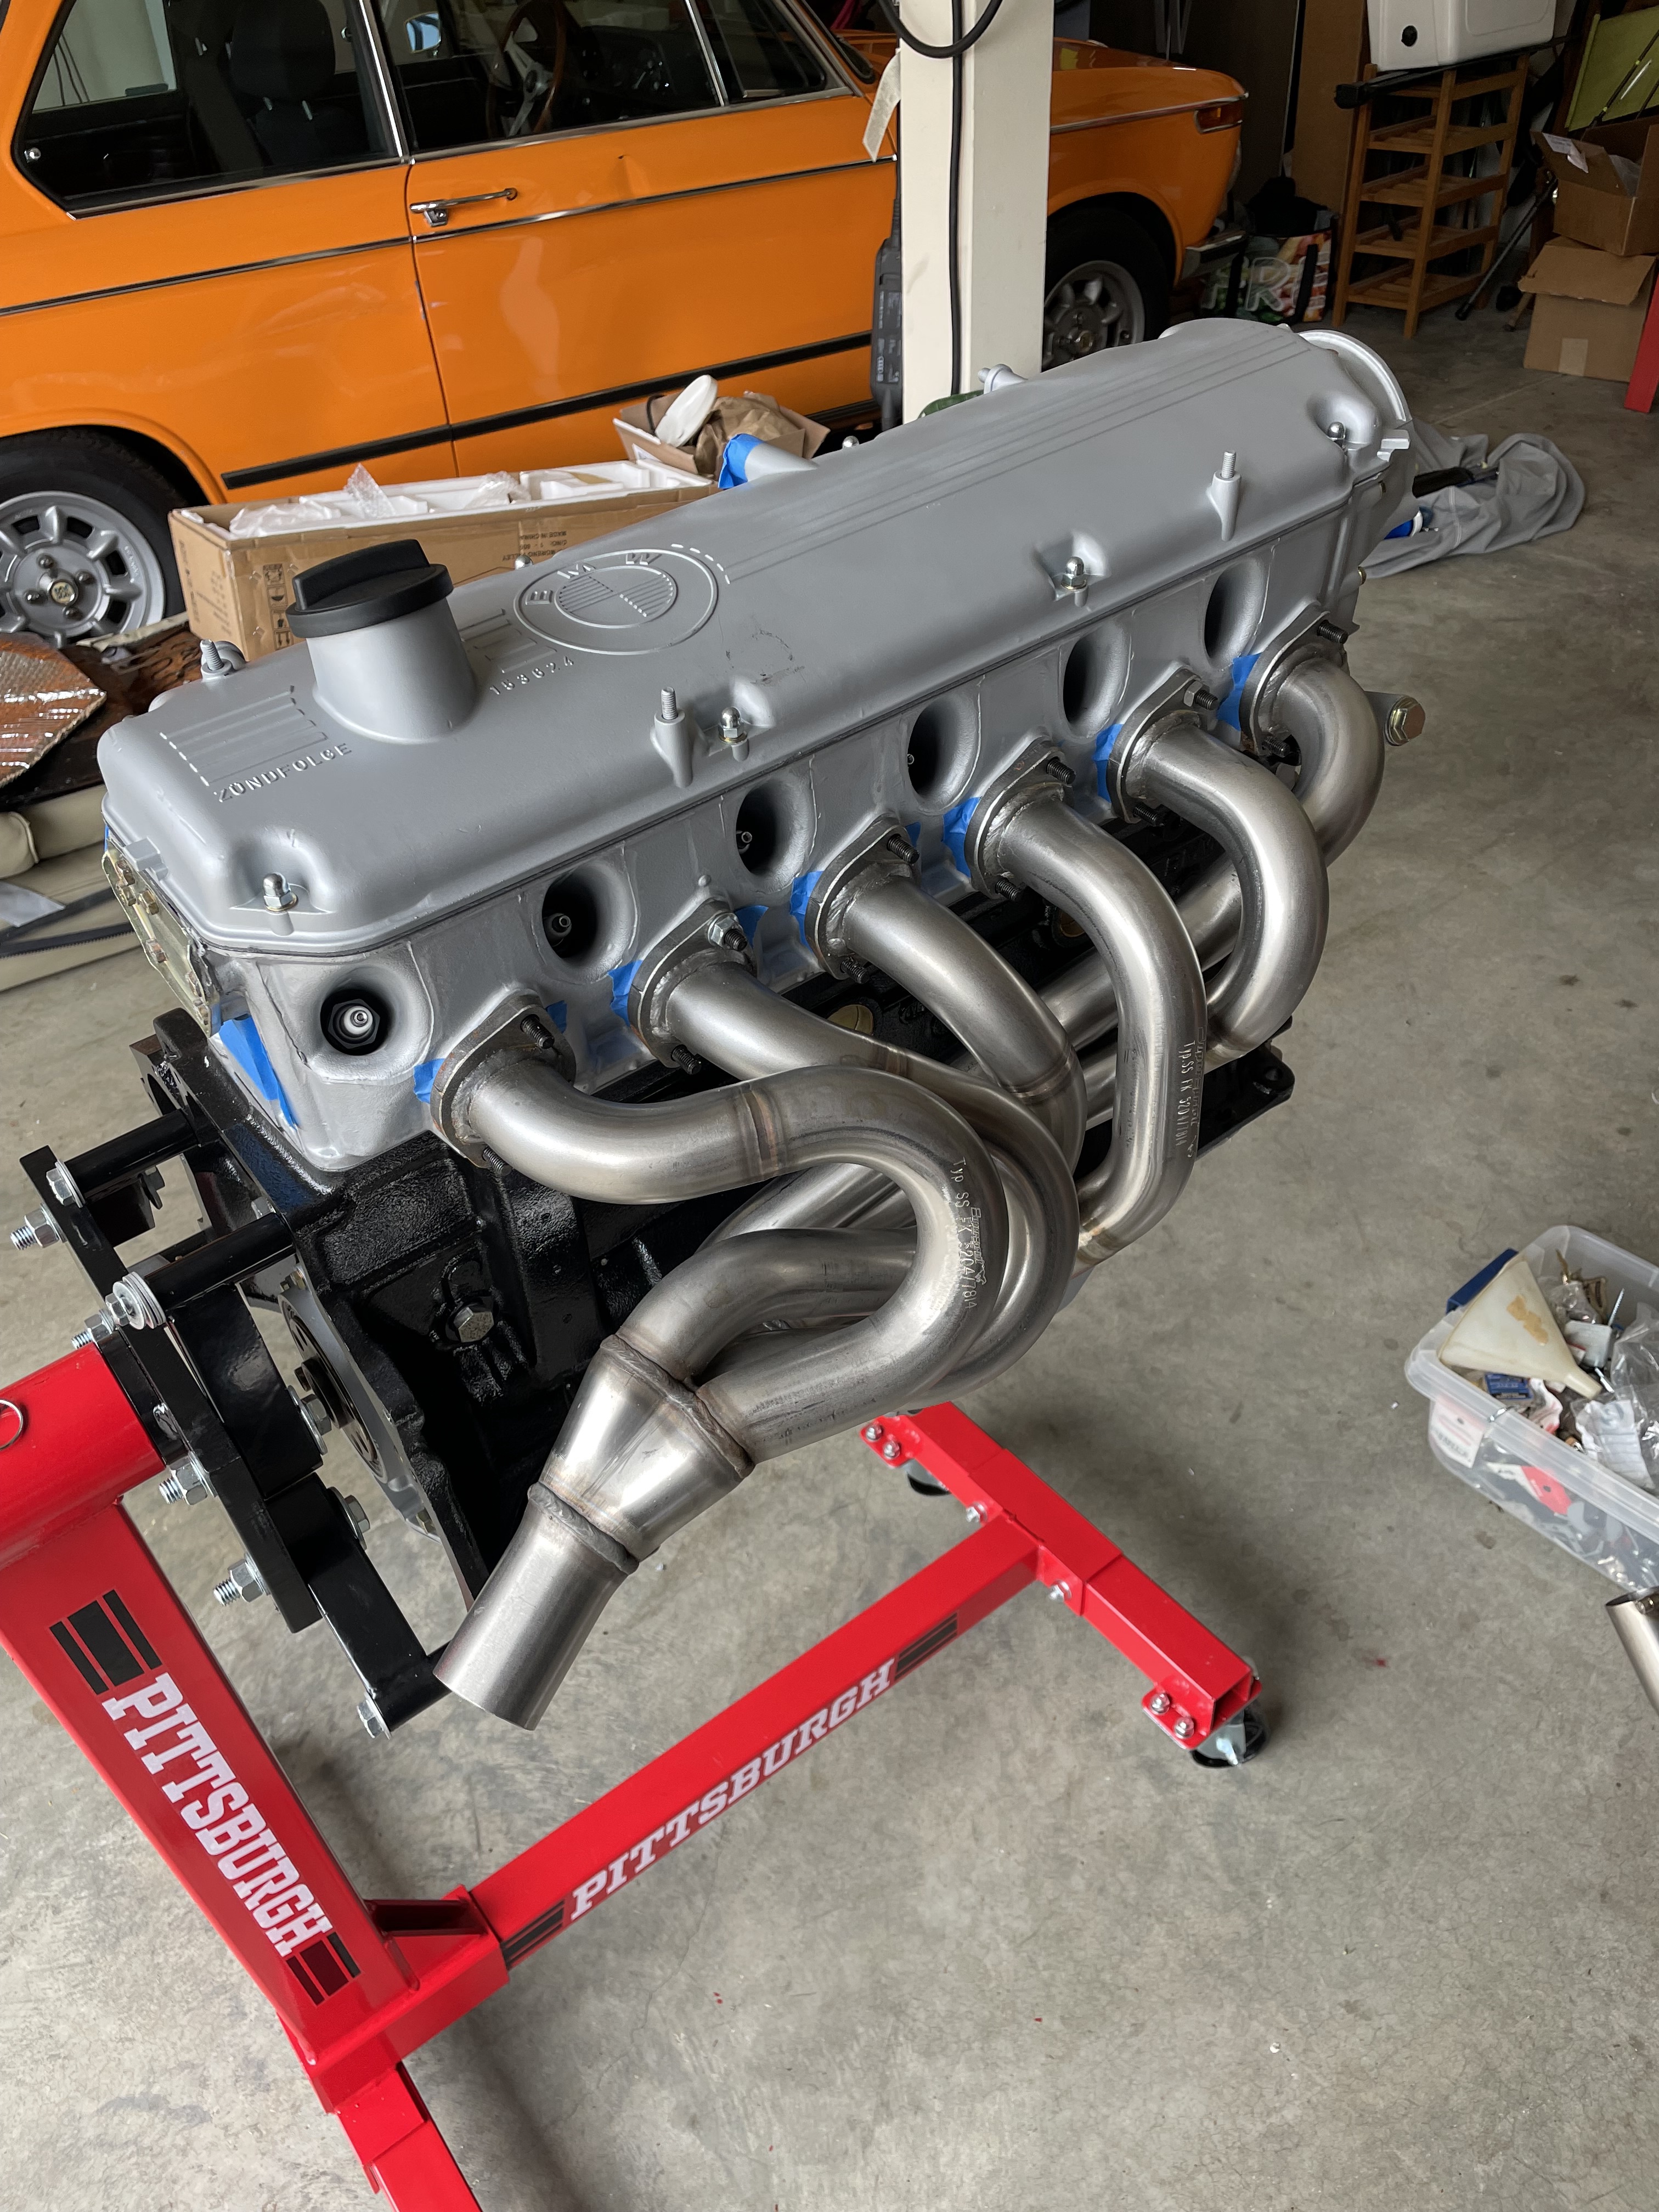
So I staged a "what it's going to look like", something I've wanted to do for the last year and a half:
Re: And so it starts, Maeve
Posted: Aug 11, 2024 4:07 PM
by 1st 5er
Who doesn't love an early Christmas.

Re: And so it starts, Maeve
Posted: Aug 13, 2024 3:16 PM
by gwb72tii
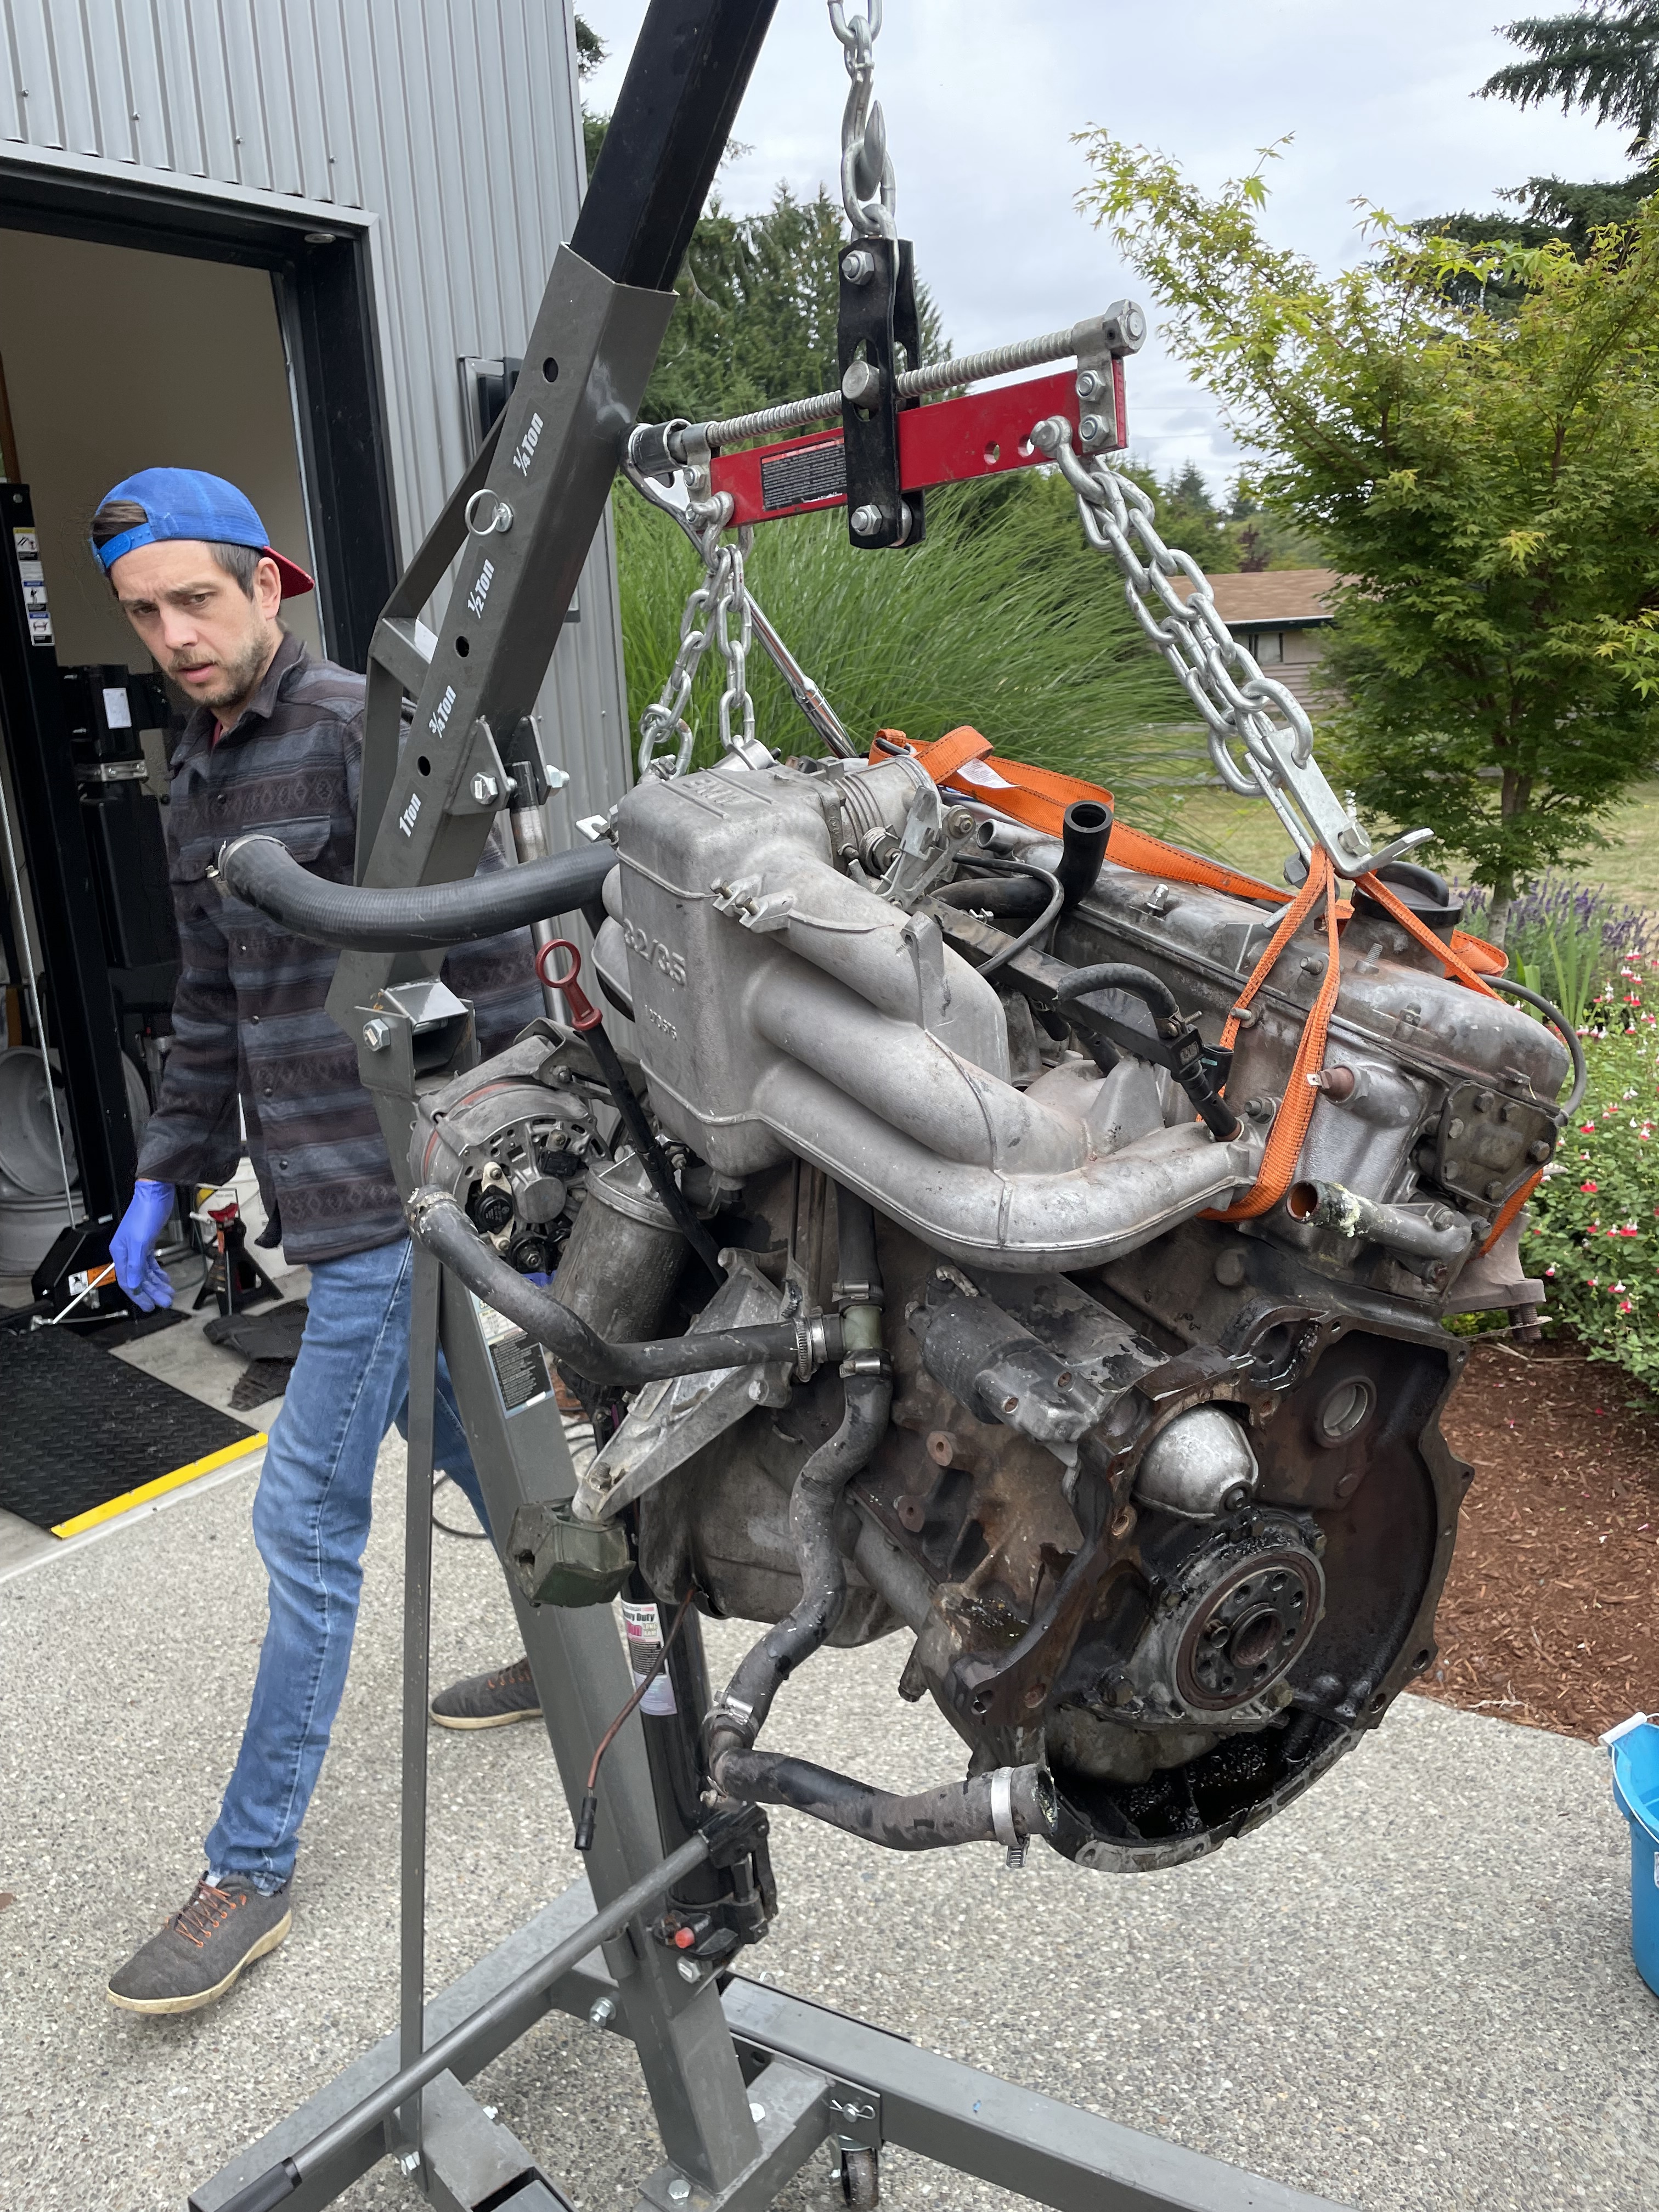
Progress. My son came down to help pull the motor. the adjustable harness lets you change the angle of the motor as you raise it:
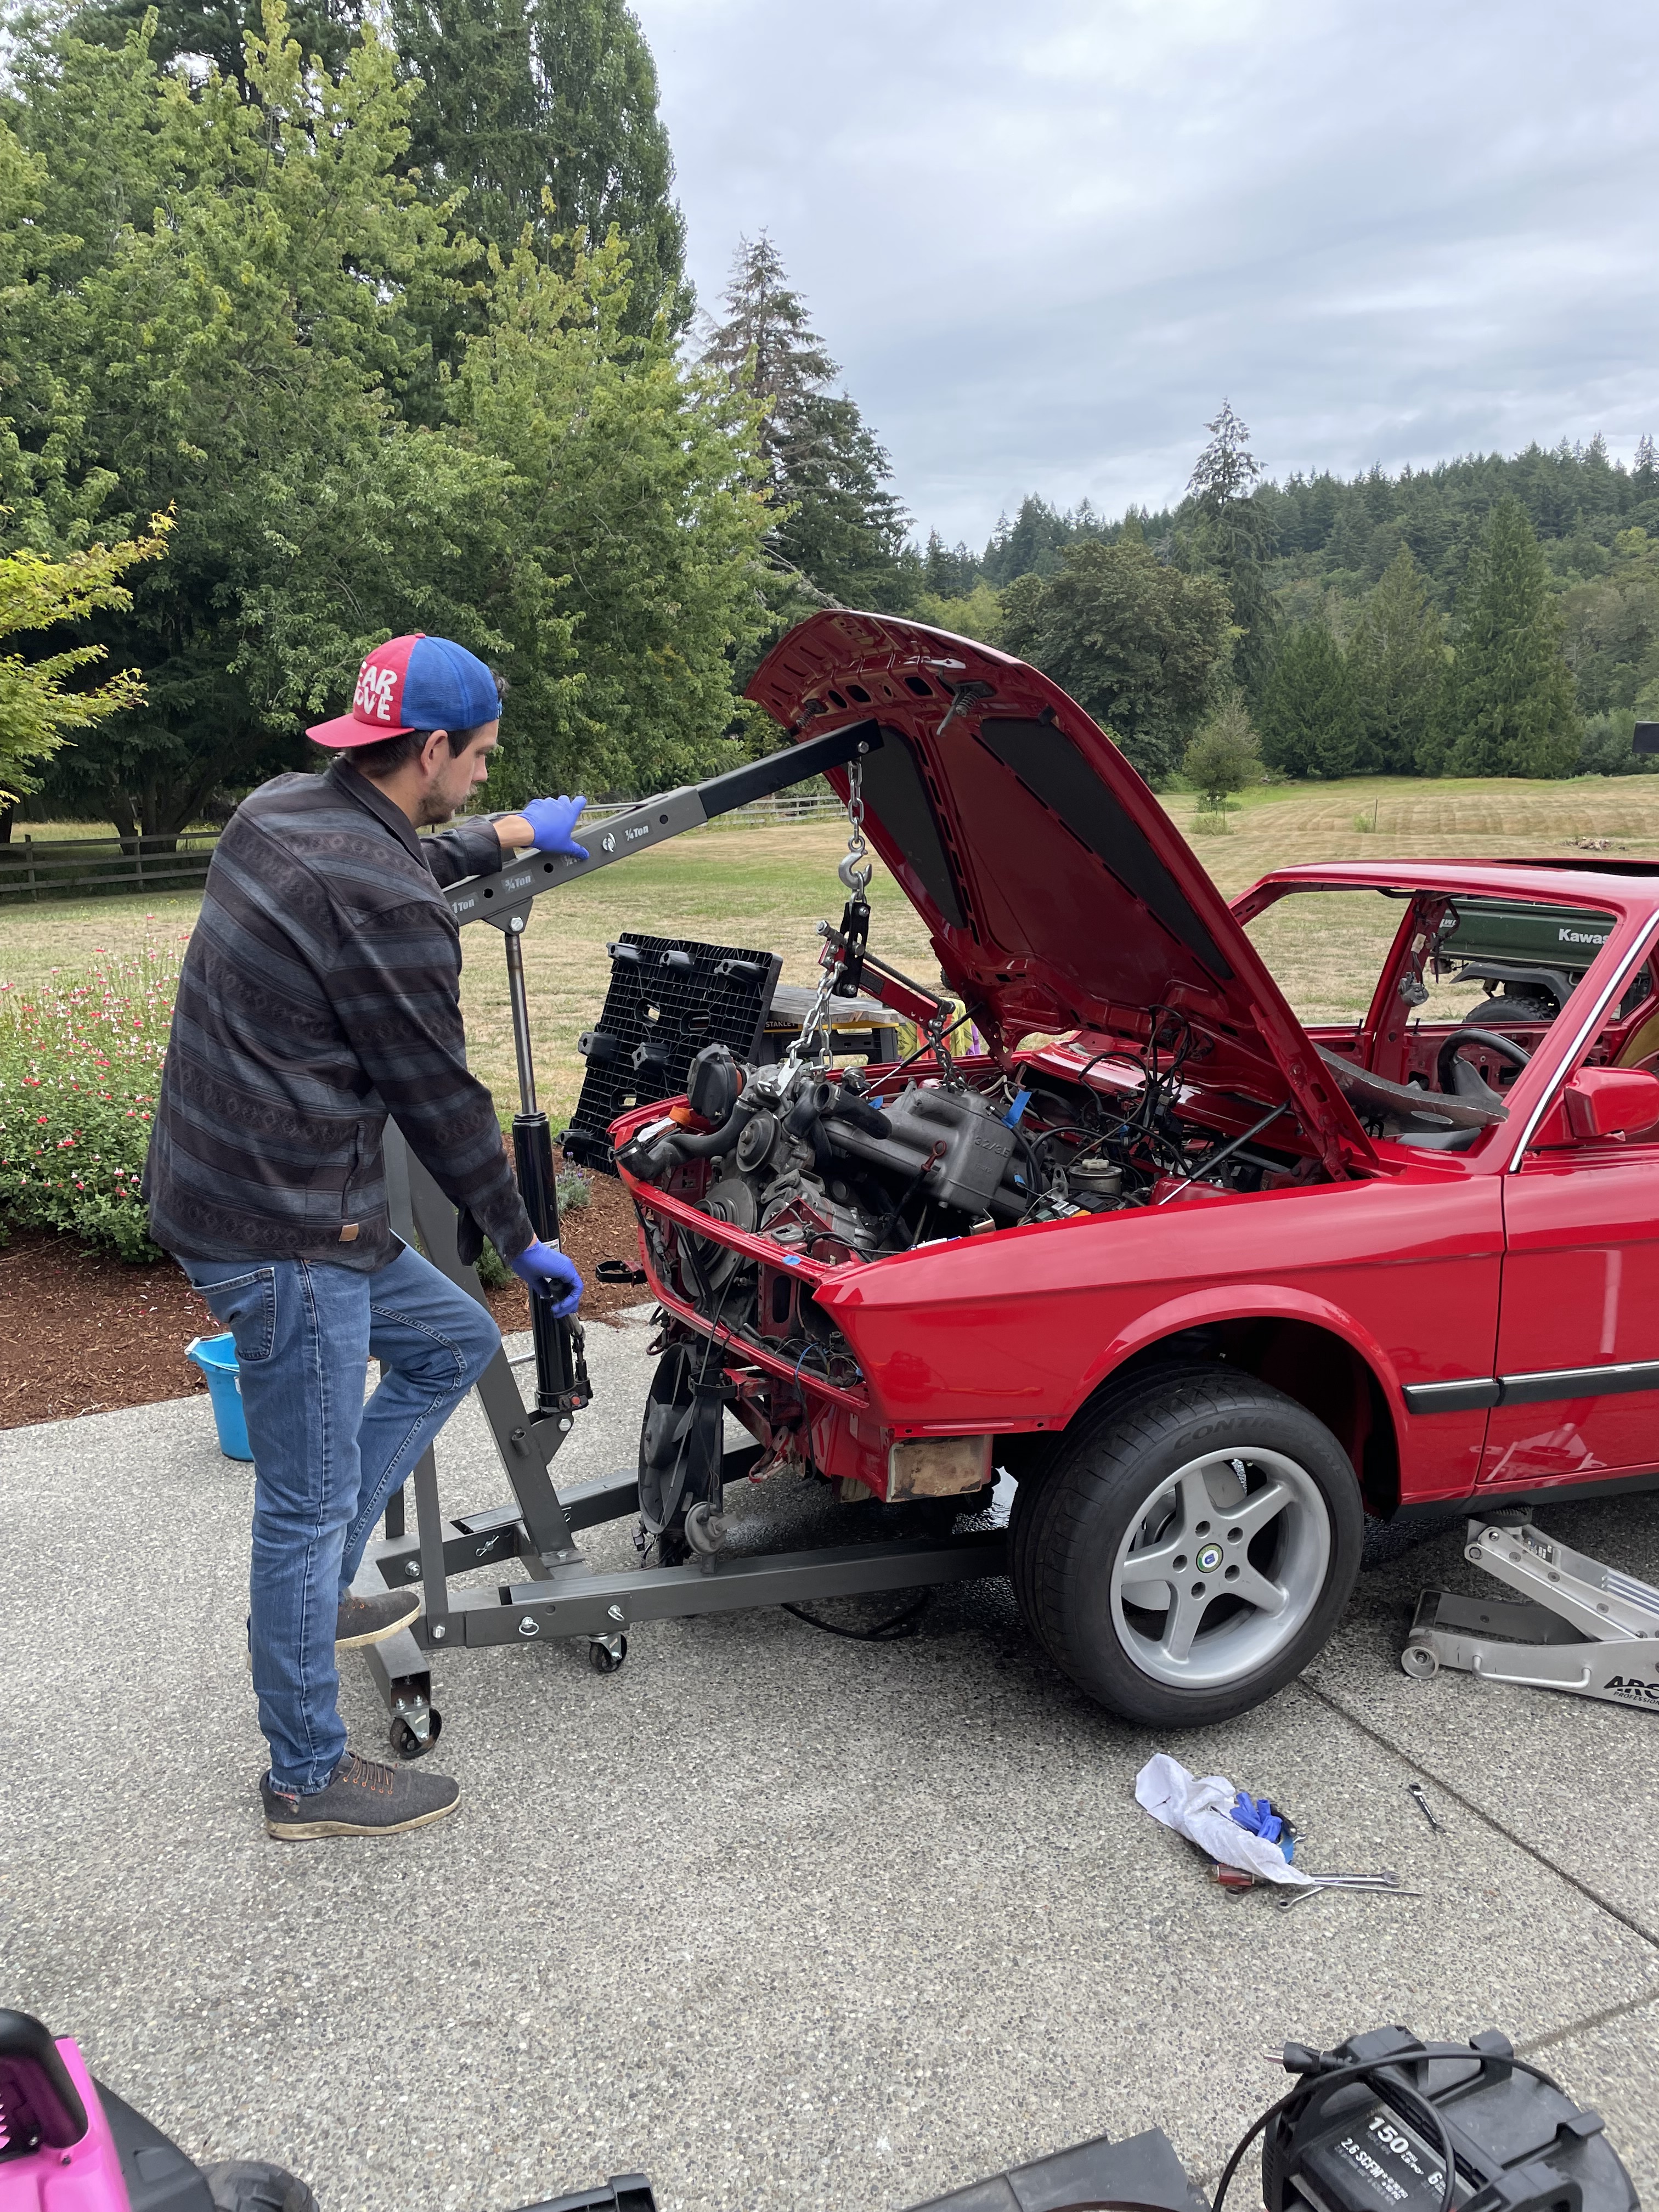
Success!
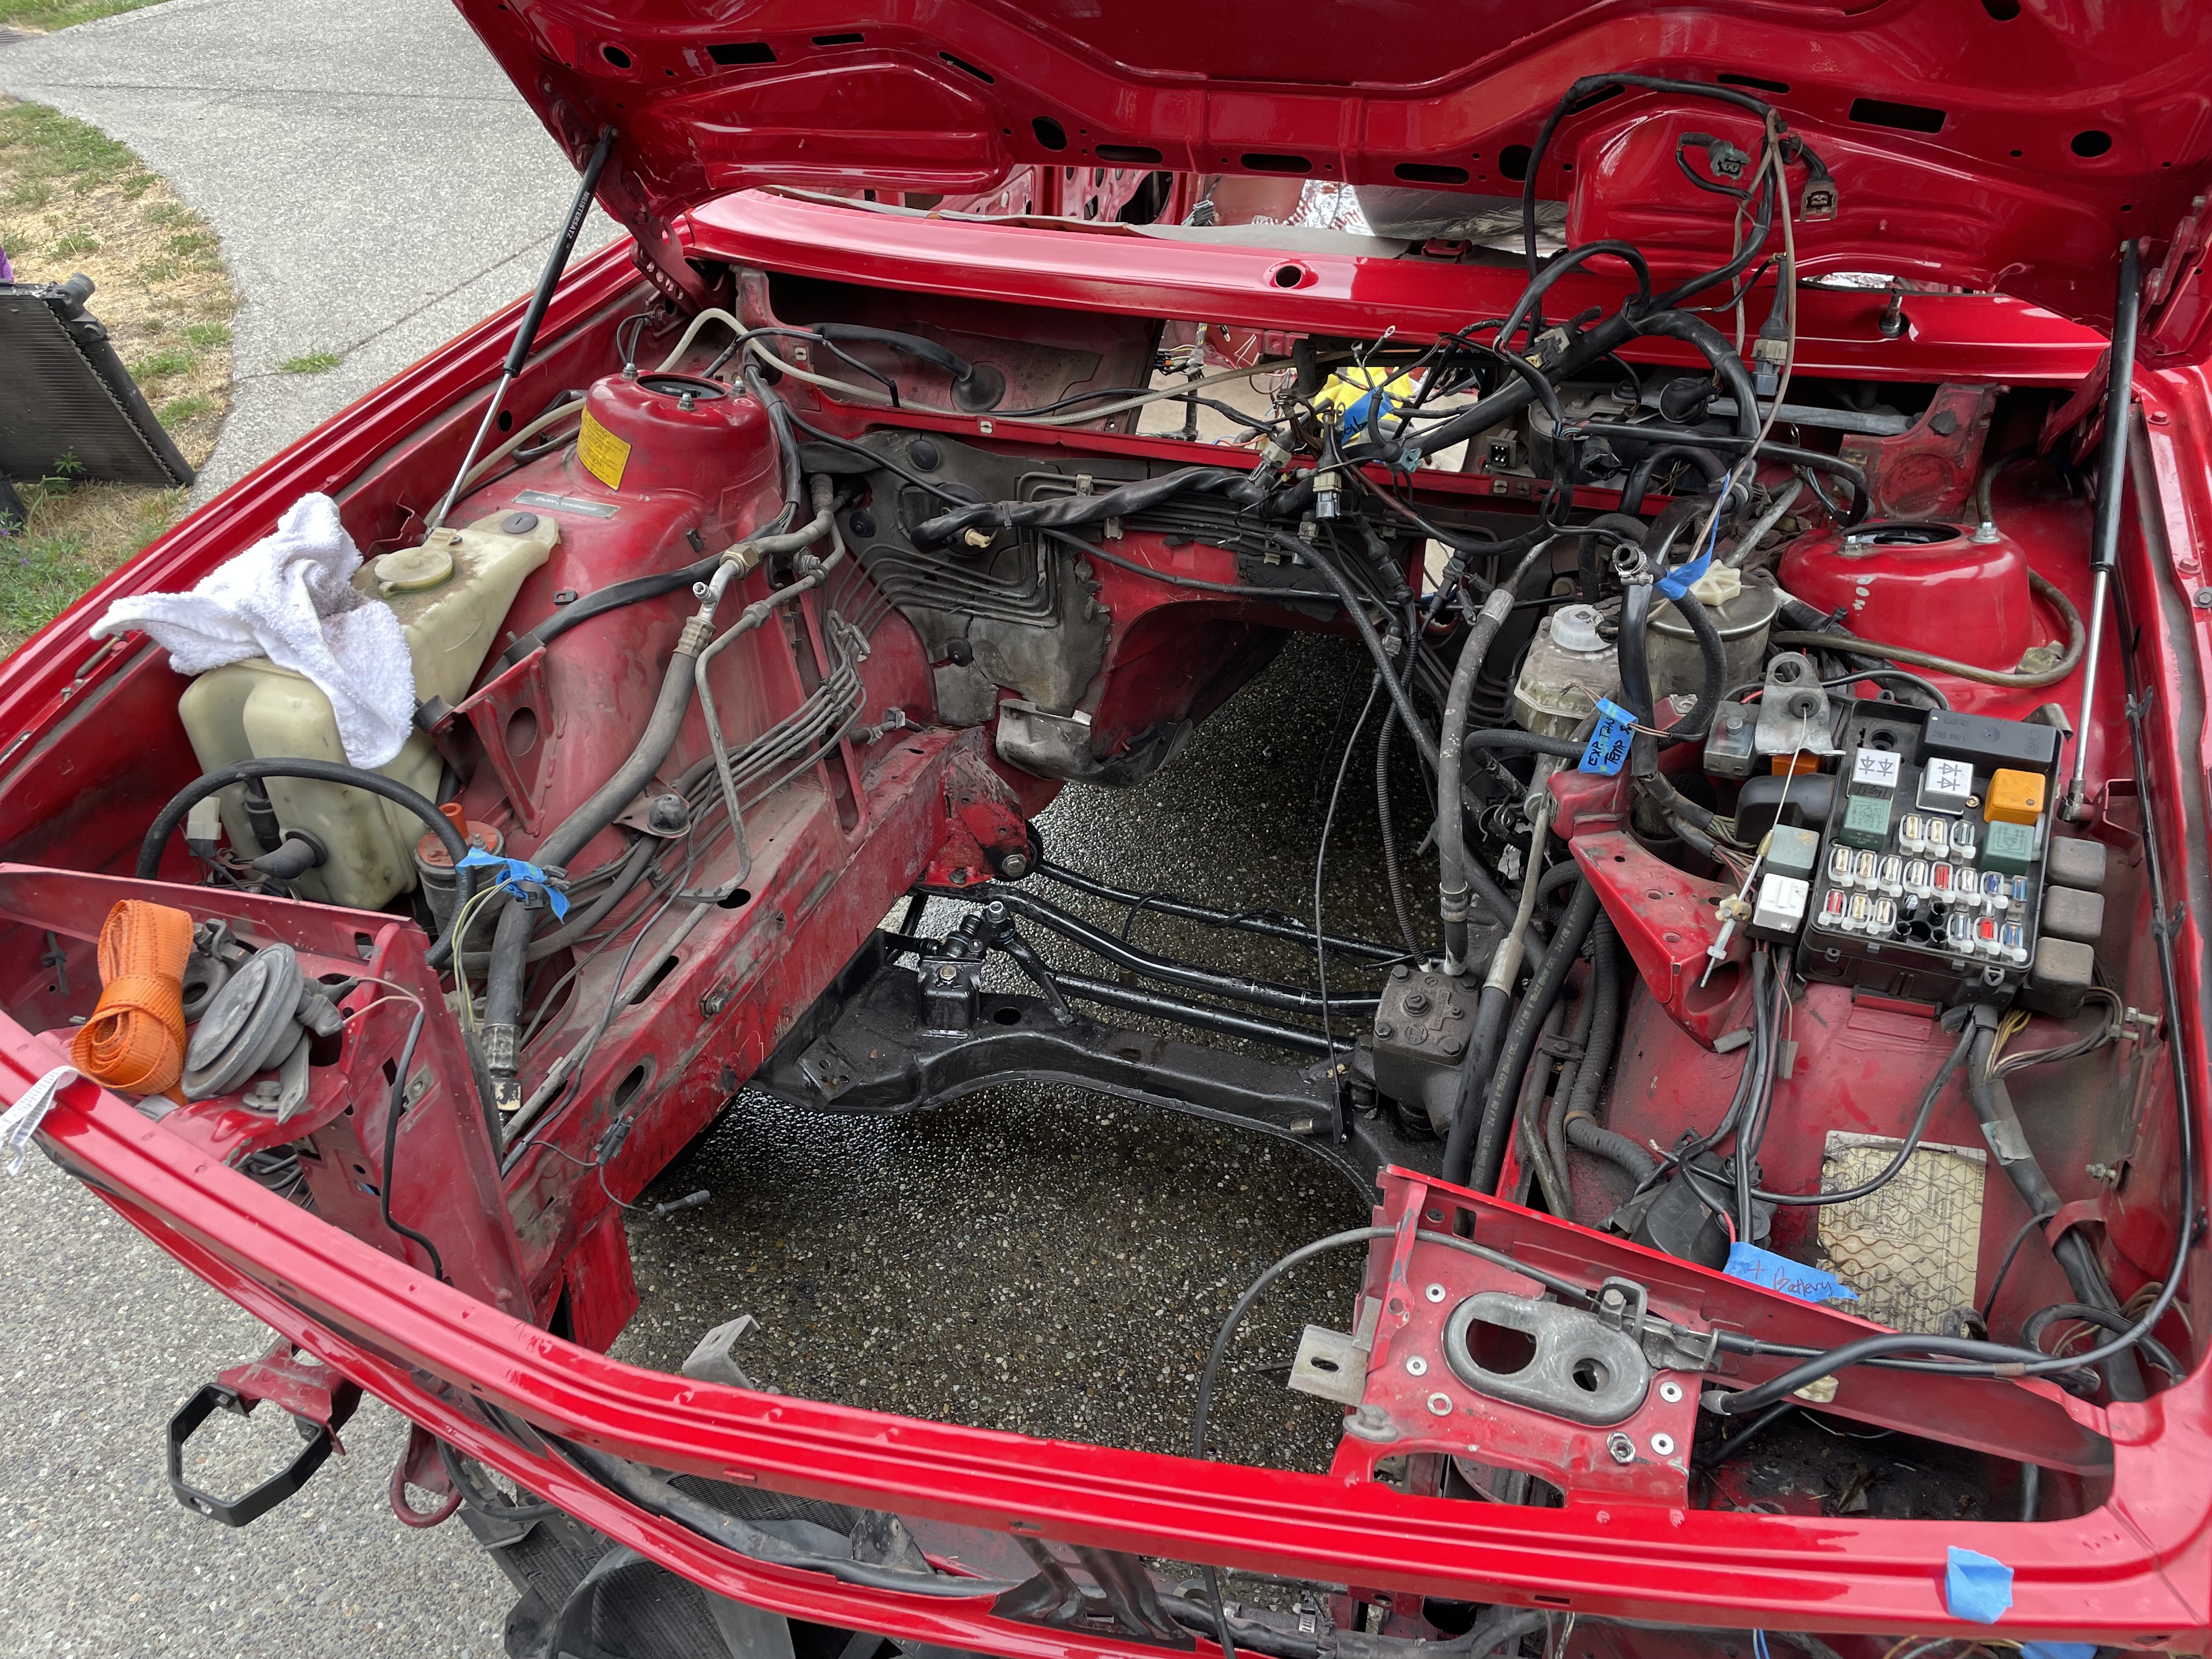
Next step is cleaning a very dirty engine bay before installing the new motor:
Re: And so it starts, Maeve
Posted: Aug 14, 2024 1:05 AM
by Galahad
gwb72tii wrote: Aug 13, 2024 3:16 PM
...
Next step is cleaning a very dirty engine bay before installing the new motor:

You're installing such a nice motor next to a fuse box with zip ties? When's that getting upgraded to match?

Project looks great, excited to see the engine go in.
Re: And so it starts, Maeve
Posted: Aug 14, 2024 9:53 AM
by gwb72tii
What’s wrong with zip ties?
And a big yes to upgrading the fuse box lol
Re: And so it starts, Maeve
Posted: Aug 15, 2024 10:55 AM
by John in VA
gwb72tii wrote: Aug 14, 2024 9:53 AMWhat’s wrong with zip ties?
And a big yes to upgrading the fuse box lol
You could go the Rod Paine-route & use O-rings to secure the fuses.
Re: And so it starts, Maeve
Posted: Aug 16, 2024 1:02 PM
by Galahad
gwb72tii wrote: Aug 14, 2024 9:53 AM
What’s wrong with zip ties?
And a big yes to upgrading the fuse box lol
Nothing is specifically wrong, it just looks kinda silly
Re: And so it starts, Maeve
Posted: Aug 16, 2024 3:14 PM
by gwb72tii
nah it's a Rube Goldberg fix really now that the Holy Grail Labs kit is available, which I bought some time ago but haven't taken the time to install.
Now that the motor is out, I'm on to cleaning the engine bay first and then the fuse box amount other things.
Re: And so it starts, Maeve
Posted: Aug 25, 2024 5:57 PM
by thrty8street
gwb72tii wrote: Feb 09, 2024 7:44 PM
Finished up installing the right rear trailing arm bushings. I figured out how to center the TA under the 12T press so this time the removal/install was way quicker. As usual the second time around, after all the trial and error of the first attempt, things go way easier. After sawing through the outer race of the bushing to make removal easy, I cleaned up the bore of the TA with a brake hone. Then a little grease on the bushing and bore and I was done in about an hour. The hardest part was centering the bushing under the press. The 12T Harbor Freight press is not a precision instrument so a little fudging enabled me to get the bushing started in the bore:
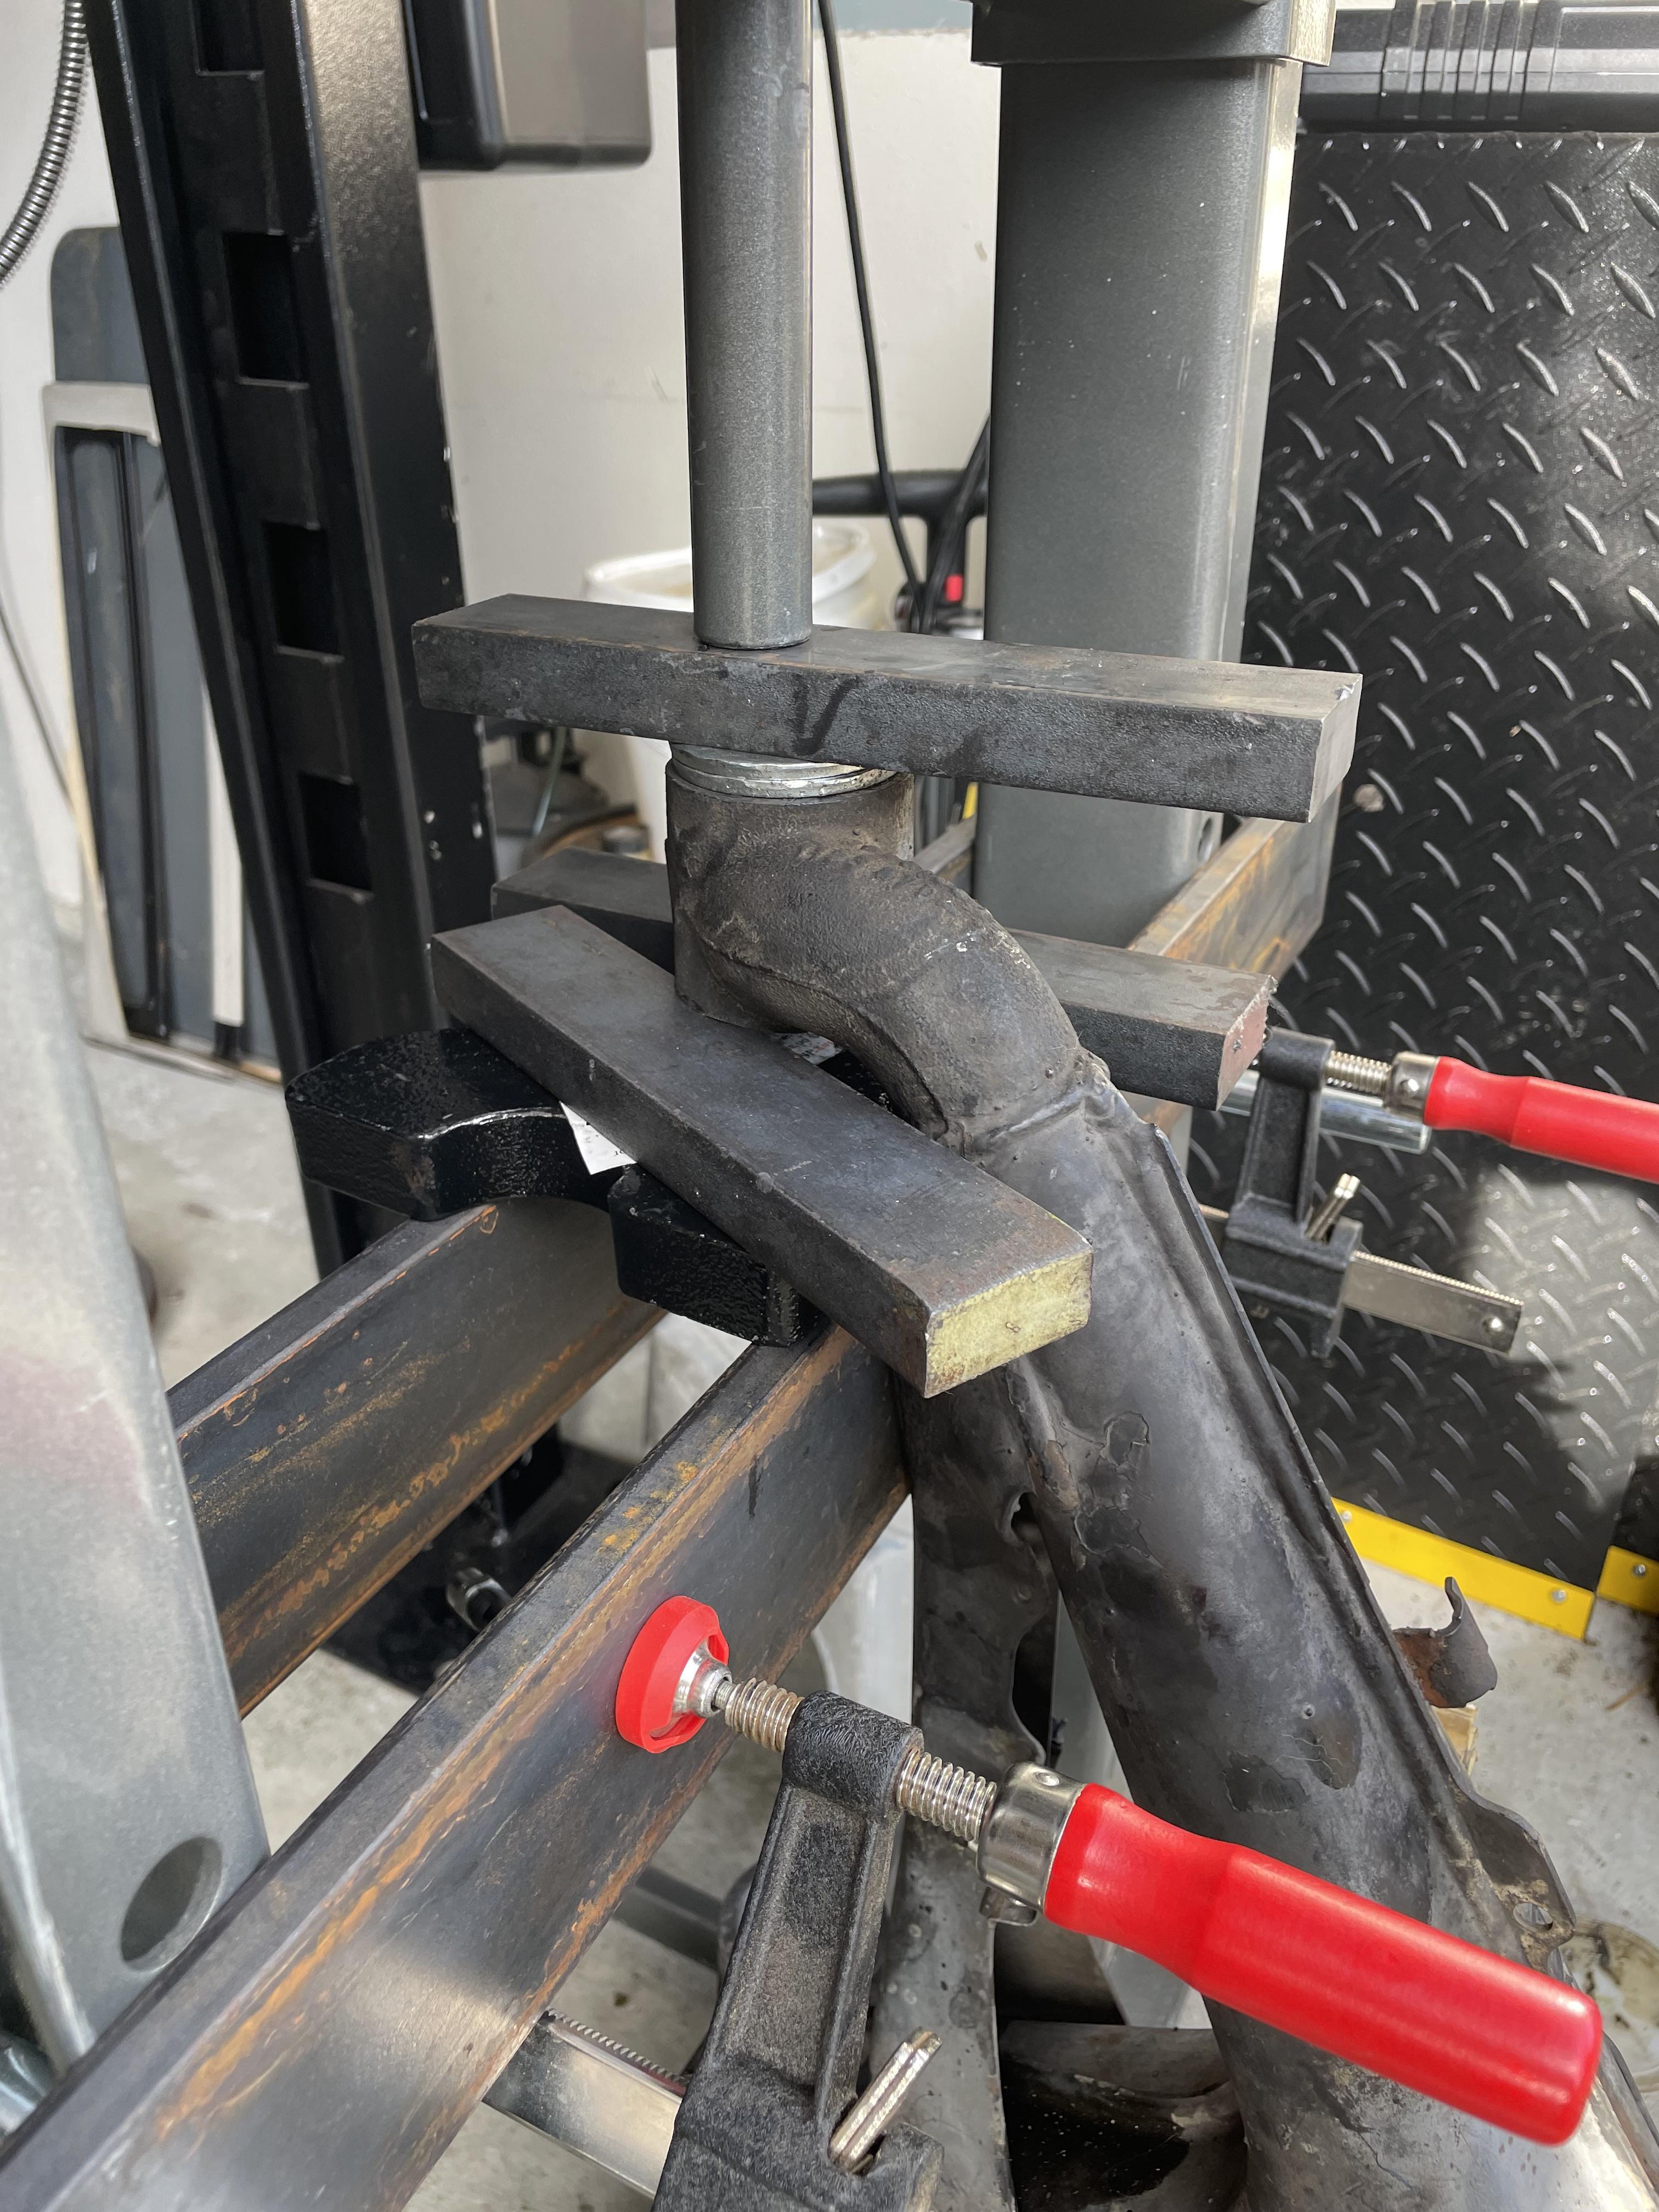
The TA bushing seems to be longer on one side than the other. Could you tell me which direction the long side should be facing, toward the inside of the car or the outside? I forgot to check this before I removed mine

Re: And so it starts, Maeve
Posted: Aug 25, 2024 8:19 PM
by Blue Shadow
Longer section of each inner sleeve faces center of car. From the BMW manual page 33-28
Re: And so it starts, Maeve
Posted: Aug 25, 2024 11:12 PM
by gwb72tii
Blue Shadow wrote: Aug 25, 2024 8:19 PM
Longer section of each inner sleeve faces center of car. From the BMW manual page 33-28
But wait BS, wouldn't it go from page 28 to 33 instead?
Re: And so it starts, Maeve
Posted: Aug 25, 2024 11:38 PM
by Blue Shadow
gwb72tii wrote: Aug 25, 2024 11:12 PM
Blue Shadow wrote: Aug 25, 2024 8:19 PM
Longer section of each inner sleeve faces center of car. From the BMW manual page 33-28
But wait BS, wouldn't it go from page 28 to 33 instead?
Well it would except the chapter starts on page 576 or something on the pdf as mentioned in the table of contents.
Dang Germans, can't try to figure em out. but I guess section 33 is the rear axle in all their manuals.
Re: And so it starts, Maeve
Posted: Aug 26, 2024 1:07 AM
by Mike W.
He said page, not pages...
Re: And so it starts, Maeve
Posted: Aug 26, 2024 10:38 AM
by gwb72tii
I know, I know, it's just that I was sitting here in Whistler, B.C, after a great dinner with nothing to do so I thought I'd try to keep BS honest, lol, and wound up stubbing my toe.
And if you've never been to Whistler in the summer its one of the great places to visit.
Re: And so it starts, Maeve
Posted: Aug 26, 2024 2:19 PM
by Blue Shadow
gwb72tii wrote: Aug 26, 2024 10:38 AM
And if you've never been to Whistler in the summer its one of the great places to visit.
I like the road sign on the way up 99 the coast road before going inland to Whistler that announced M Creek, one on each end of the bridge.
https://www.google.com/maps/place/Vanco ... FQAw%3D%3D
Re: And so it starts, Maeve
Posted: Aug 31, 2024 6:58 PM
by gwb72tii
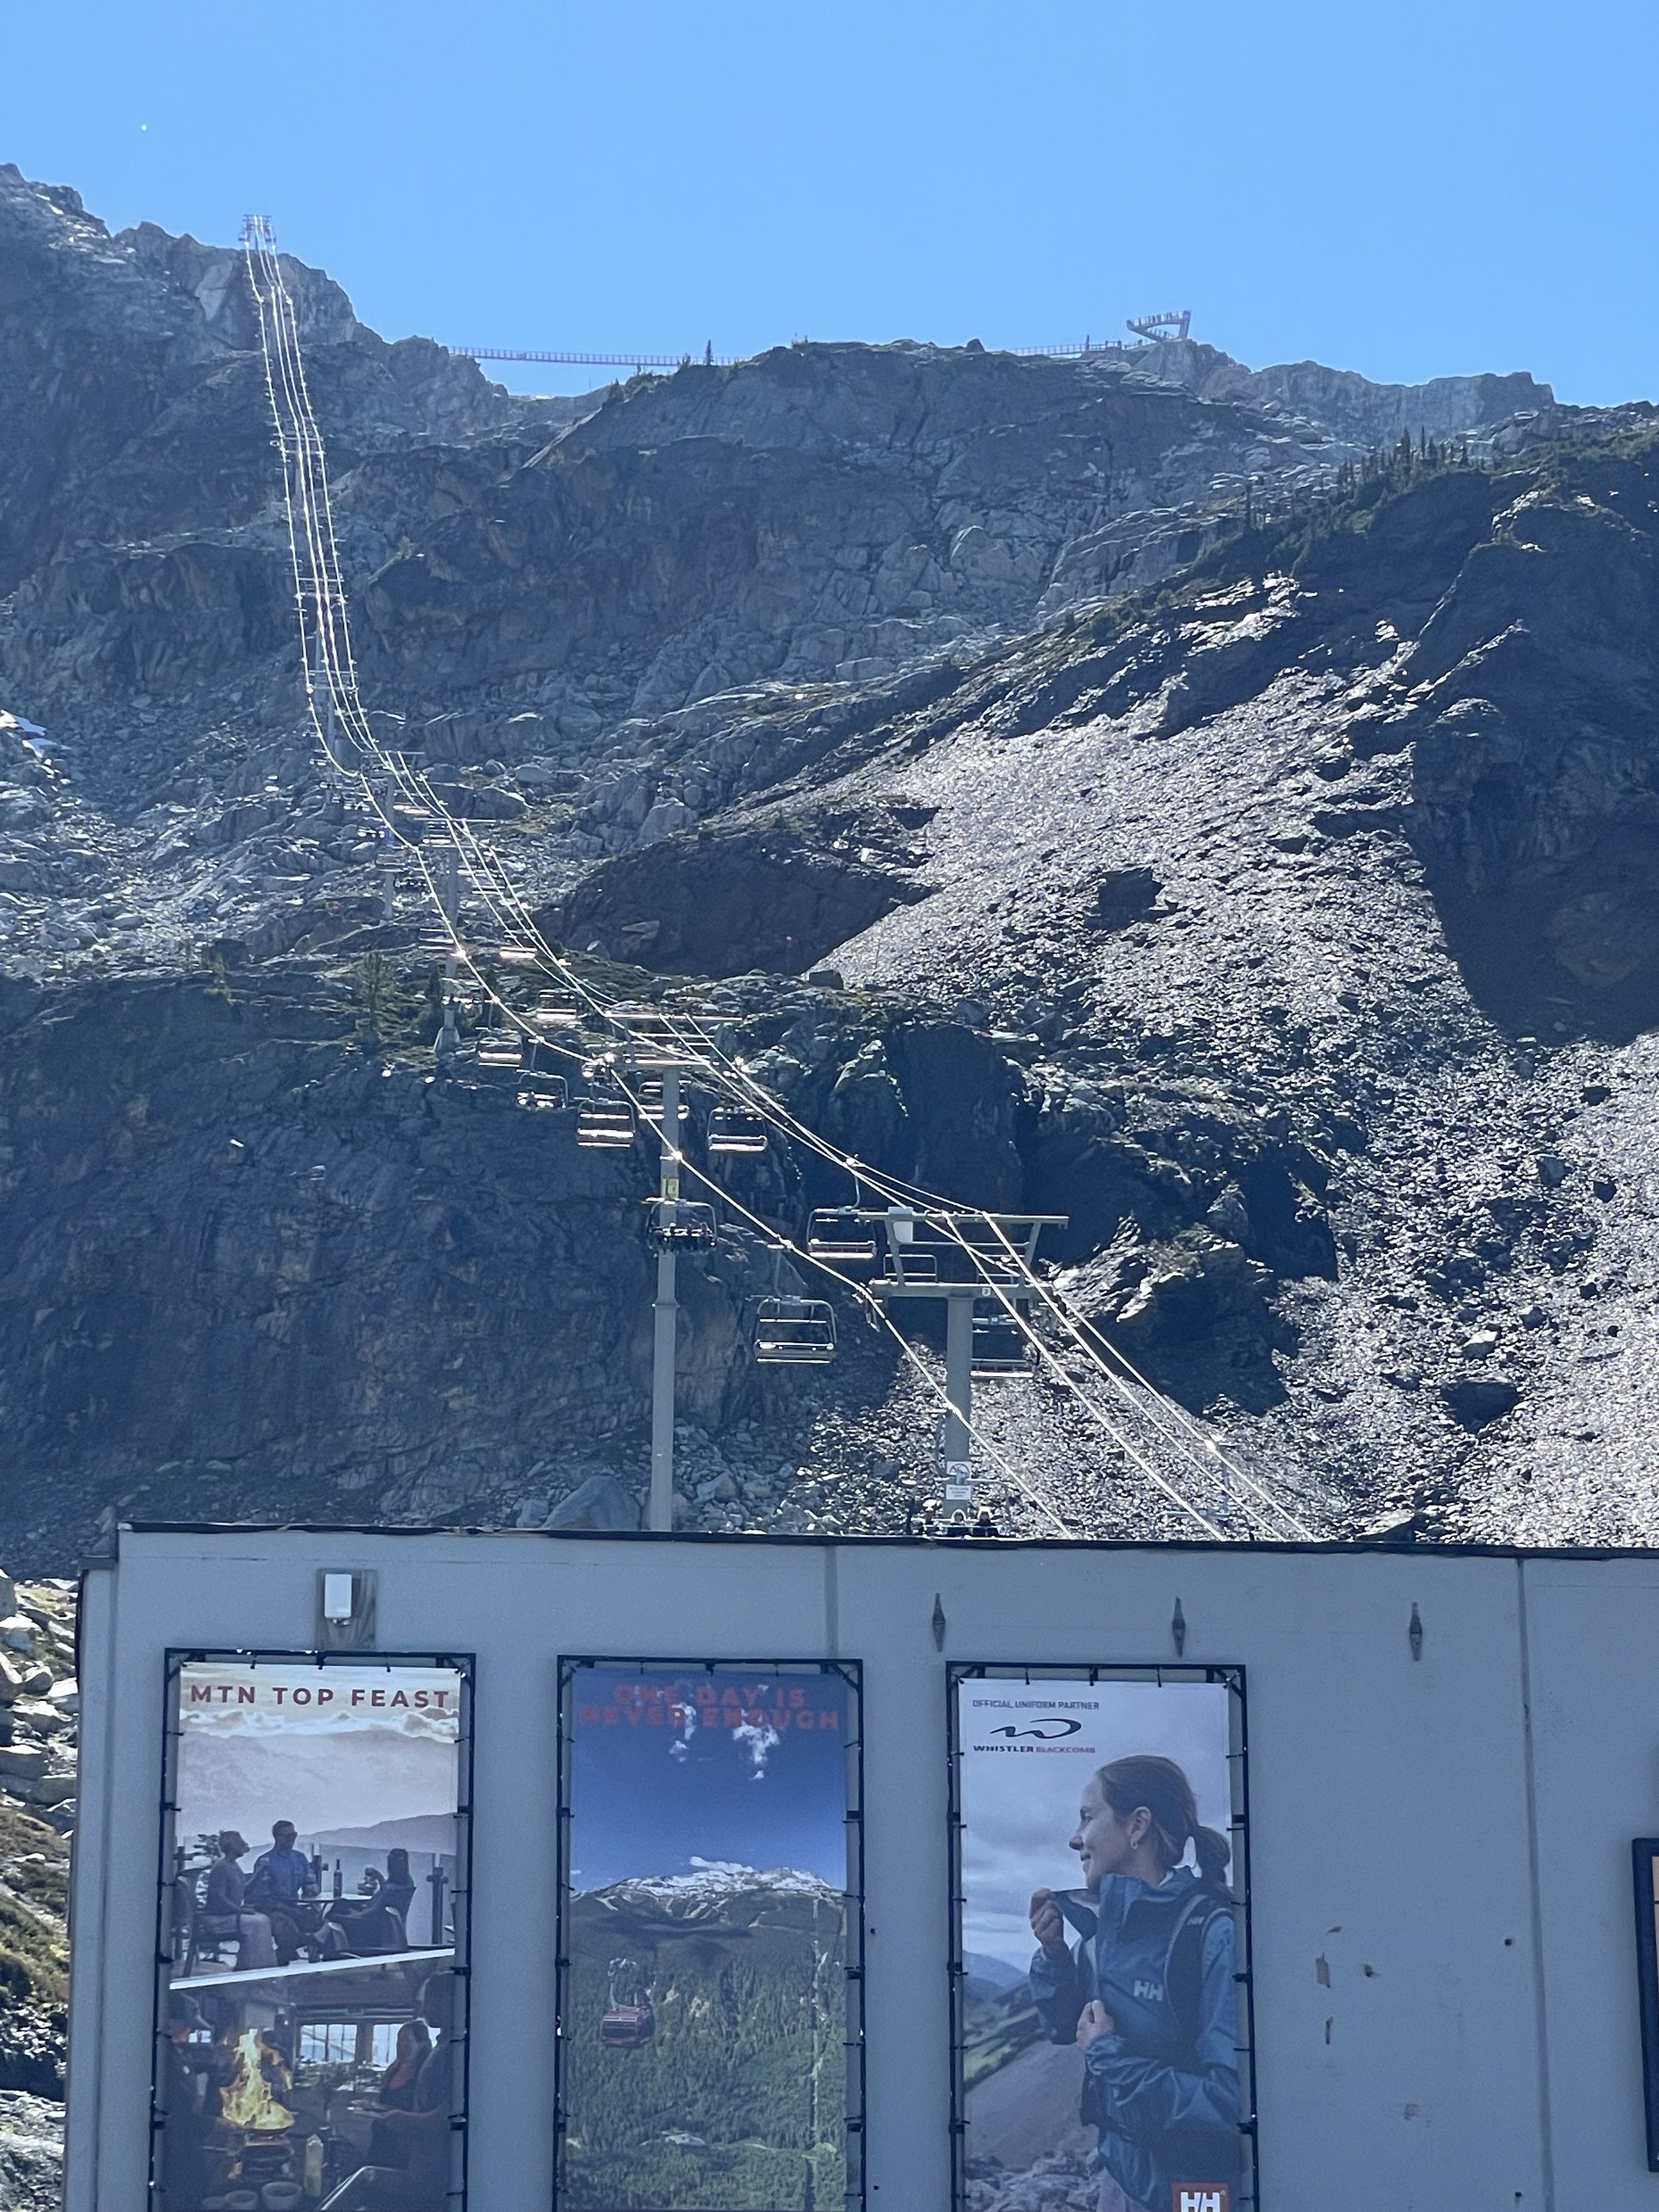
No progress the last week, we were in Whistler BC for fun. If you've never been, lot's to do if you like the outdoors. We e-biked for the first time, and went across the suspension bridge at the top of Whistler. Everyone is happy in Whistler, strangers will stop to assist you with a smile, could not be better. Great food, something we care aboot (see what I did there?). And then a free concert in Olympic Plaza. Good times.

Re: And so it starts, Maeve
Posted: Sep 15, 2024 7:48 PM
by thrty8street
Did you have to preload the suspension before torquing down the TA bushing bolts/nuts?
Re: And so it starts, Maeve
Posted: Sep 15, 2024 9:14 PM
by gwb72tii
Haven't gotten that far yet. My car has been on my lift for a long time as most of the time it would be my wife and I trying to push it back on if I rolled it off. Plus the old motor is out and the new one is not yet in.
edit: just re-read your post. Which trailing arm bushings do you mean? I know about the front suspension but have not read/heard about the rear?
Re: And so it starts, Maeve
Posted: Sep 16, 2024 6:46 PM
by thrty8street
I just meant the trailing arm itself -where it attaches to the subframe. I was not sure if the rear suspension needs to be preloaded before the bolts on the trailing arms are torqued down.
Re: And so it starts, Maeve
Posted: Sep 17, 2024 7:53 PM
by gwb72tii
I'm not aware of any loading necessary for the rear trailing arm bushings.
Maybe someone smarter than me can chime in and educate us.
Re: And so it starts, Maeve
Posted: Sep 27, 2024 3:13 PM
by gwb72tii
Re: And so it starts, Maeve
Posted: Sep 27, 2024 7:54 PM
by Fantastic28
Interesting thread!
Re: And so it starts, Maeve
Posted: Nov 01, 2024 8:34 PM
by gwb72tii
slow progress but going to work on the car all day tomorrow.
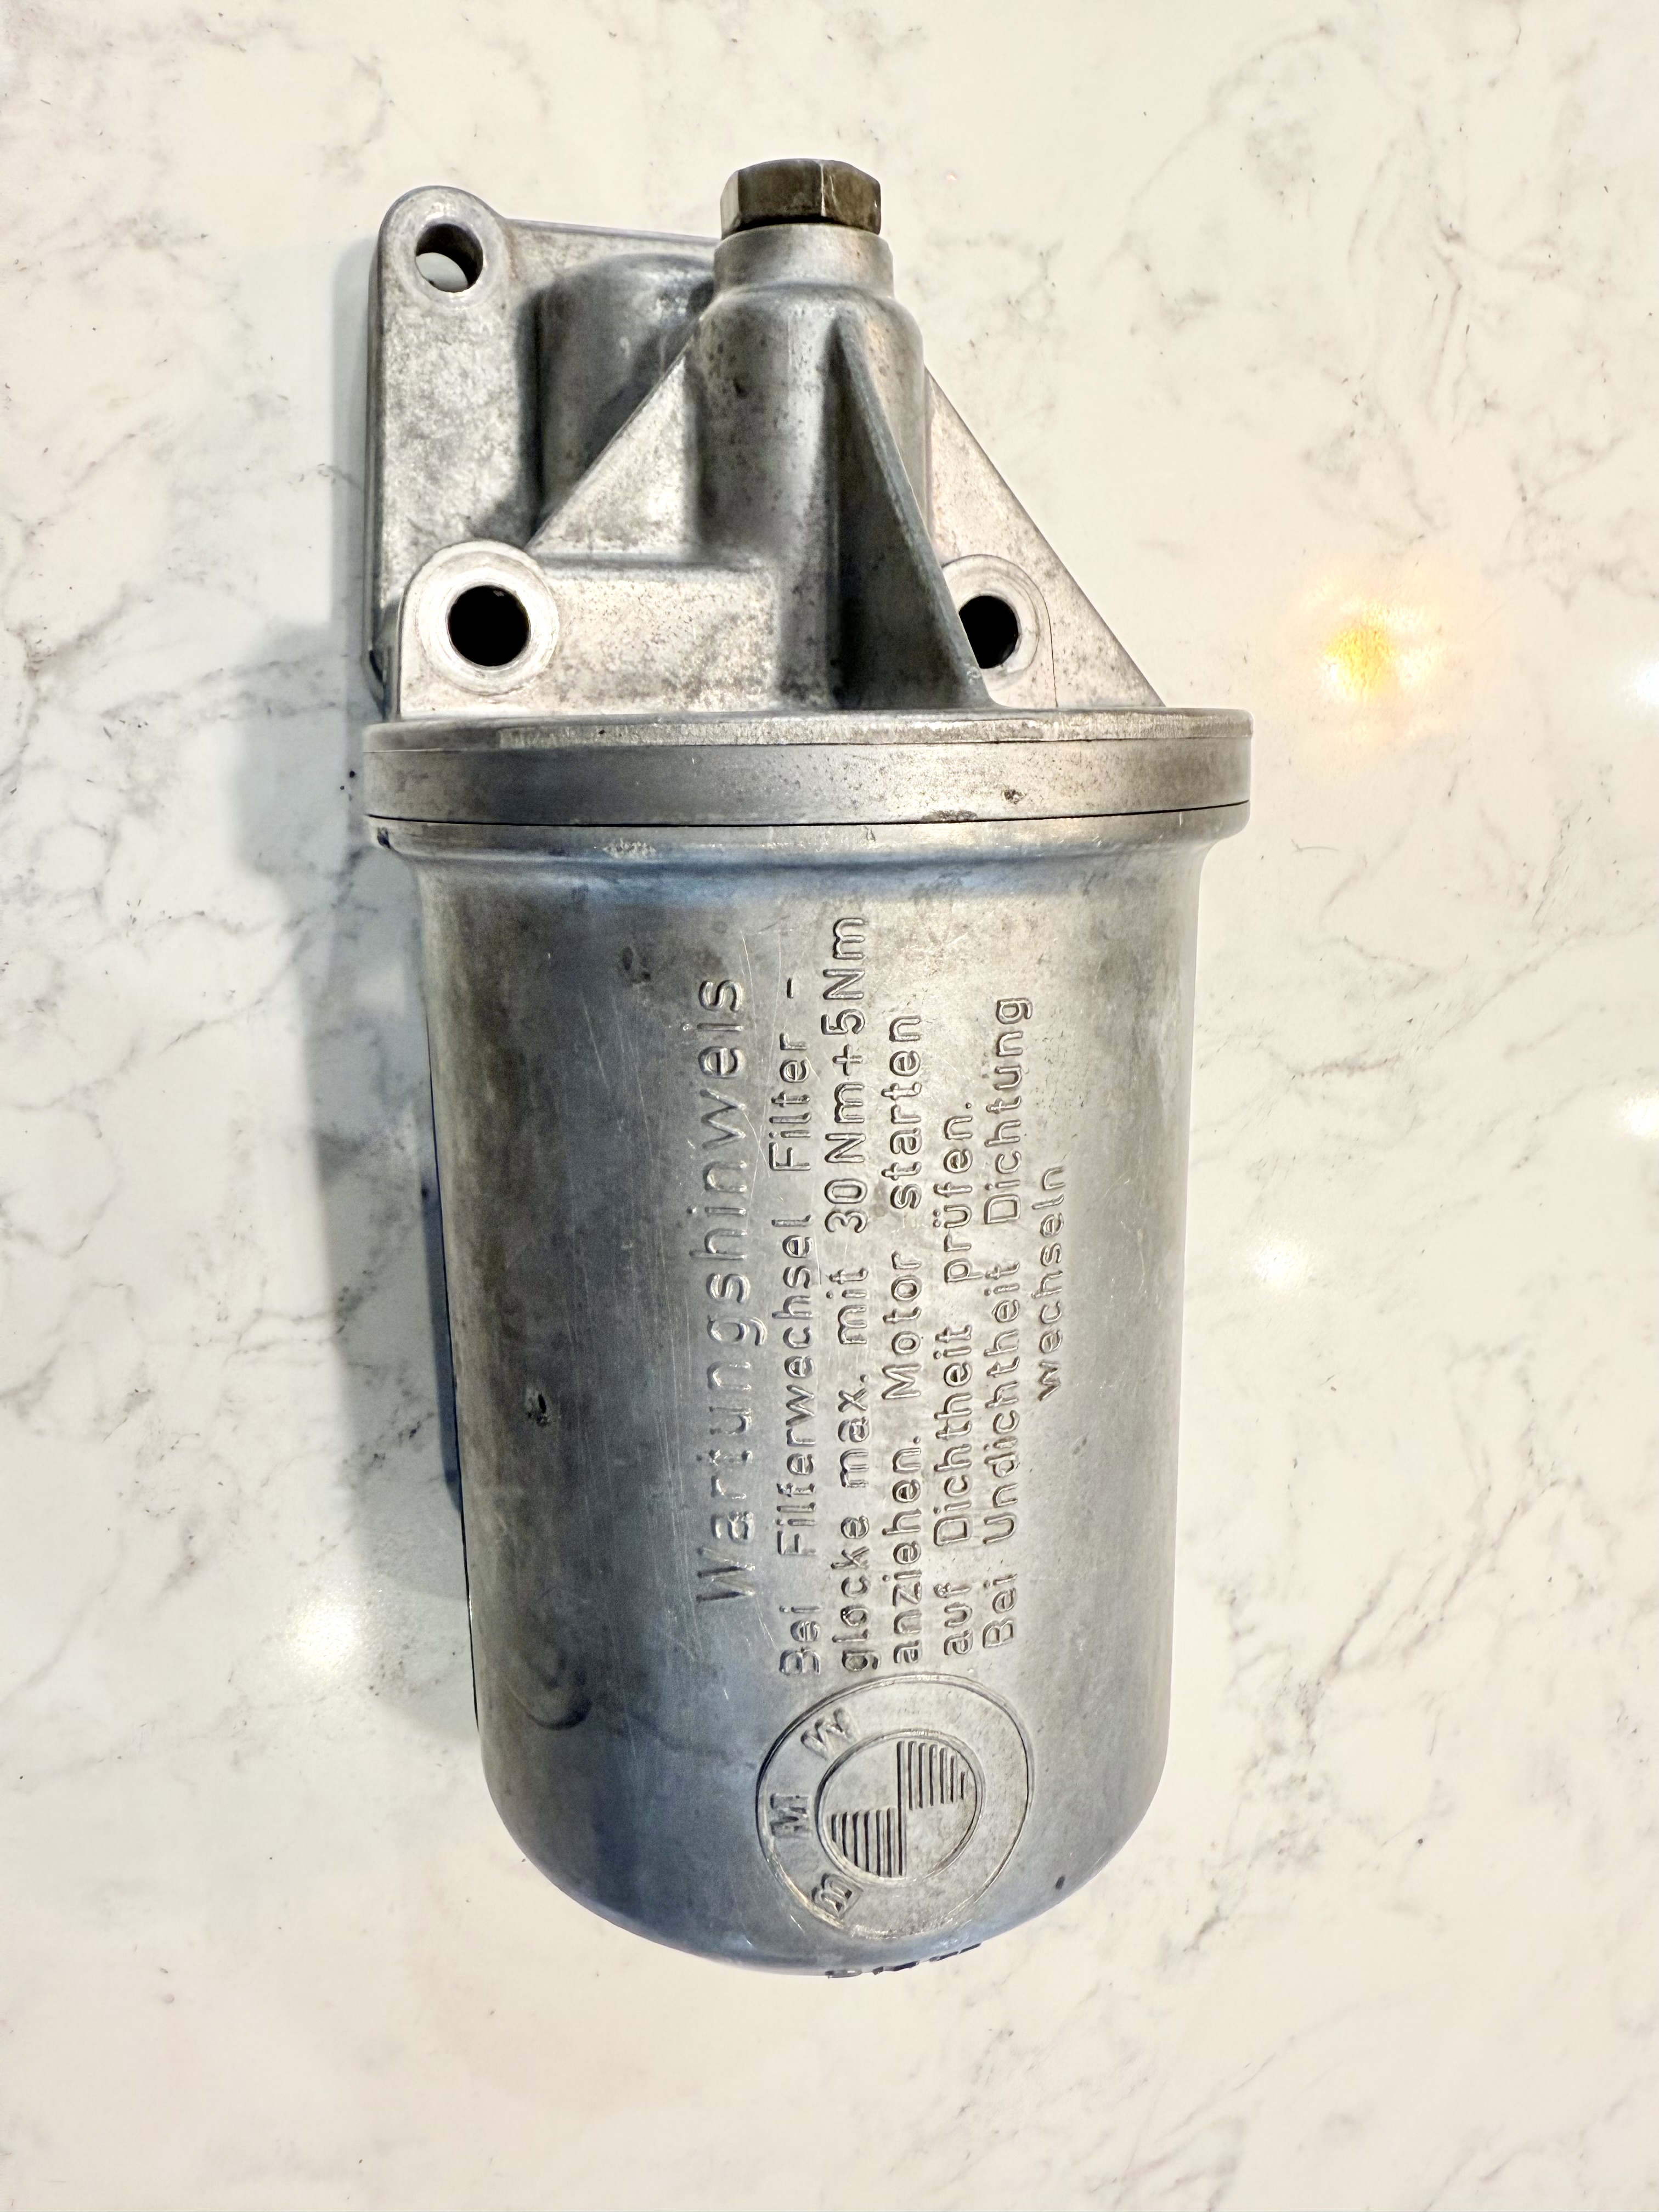
Cleaned up the oil filter assembly. It was caked in dried up oil and grease. Elbow grease, brake cleaner and aluminum alloy cleaner cleaned it pretty nicely. If Maeve was going to be concours I'd have the assembly bead or sand blasted back to new aluminum, but Maeve will be a daily driver.
More tomorrow.
Re: And so it starts, Maeve
Posted: Nov 03, 2024 7:52 PM
by gwb72tii
Kind of a long day cleaning aluminum bits like the intake manifold, alternator bracket, etc.
I went to Harbor Freight and bought soda for my cheap ass sand blaster. it's one of those hose end attachments with a smallish media reservoir on top, all of about $30 on Amazon. The soda does a nice job of cleaning all the assorted crap that found its way onto the manifold over the past 35 years. I'll post pics later, but the manifold looks great.
https://www.amazon.com/dp/B0CJNNJKFF?re ... asin_title
I'm thinking I should go buy a lotto ticket. We drove the car from Mesa, AZ to the great PNW, and then parked it and started the disassembly for paint and mechanical refresh. I have found numerous bits either worn out or damaged that, if they failed, they would have stranded us on the way north. The most recent is the gasket for the oil filter assembly. Interesting that BMW has 3 different designs due to updates on the block design over time (I assume). I took the oil filter assembly off the old motor, and it had the wrong gasket. Oh well, the new motor now has the correct gasket. Pretty lucky the motor didn't pack it in at some point when we were cruising along at 70mph.
Re: And so it starts, Maeve
Posted: Nov 13, 2024 11:10 PM
by gwb72tii
Gradual progress; removing, cleaning and installing old parts from the previous motor onto the new motor.
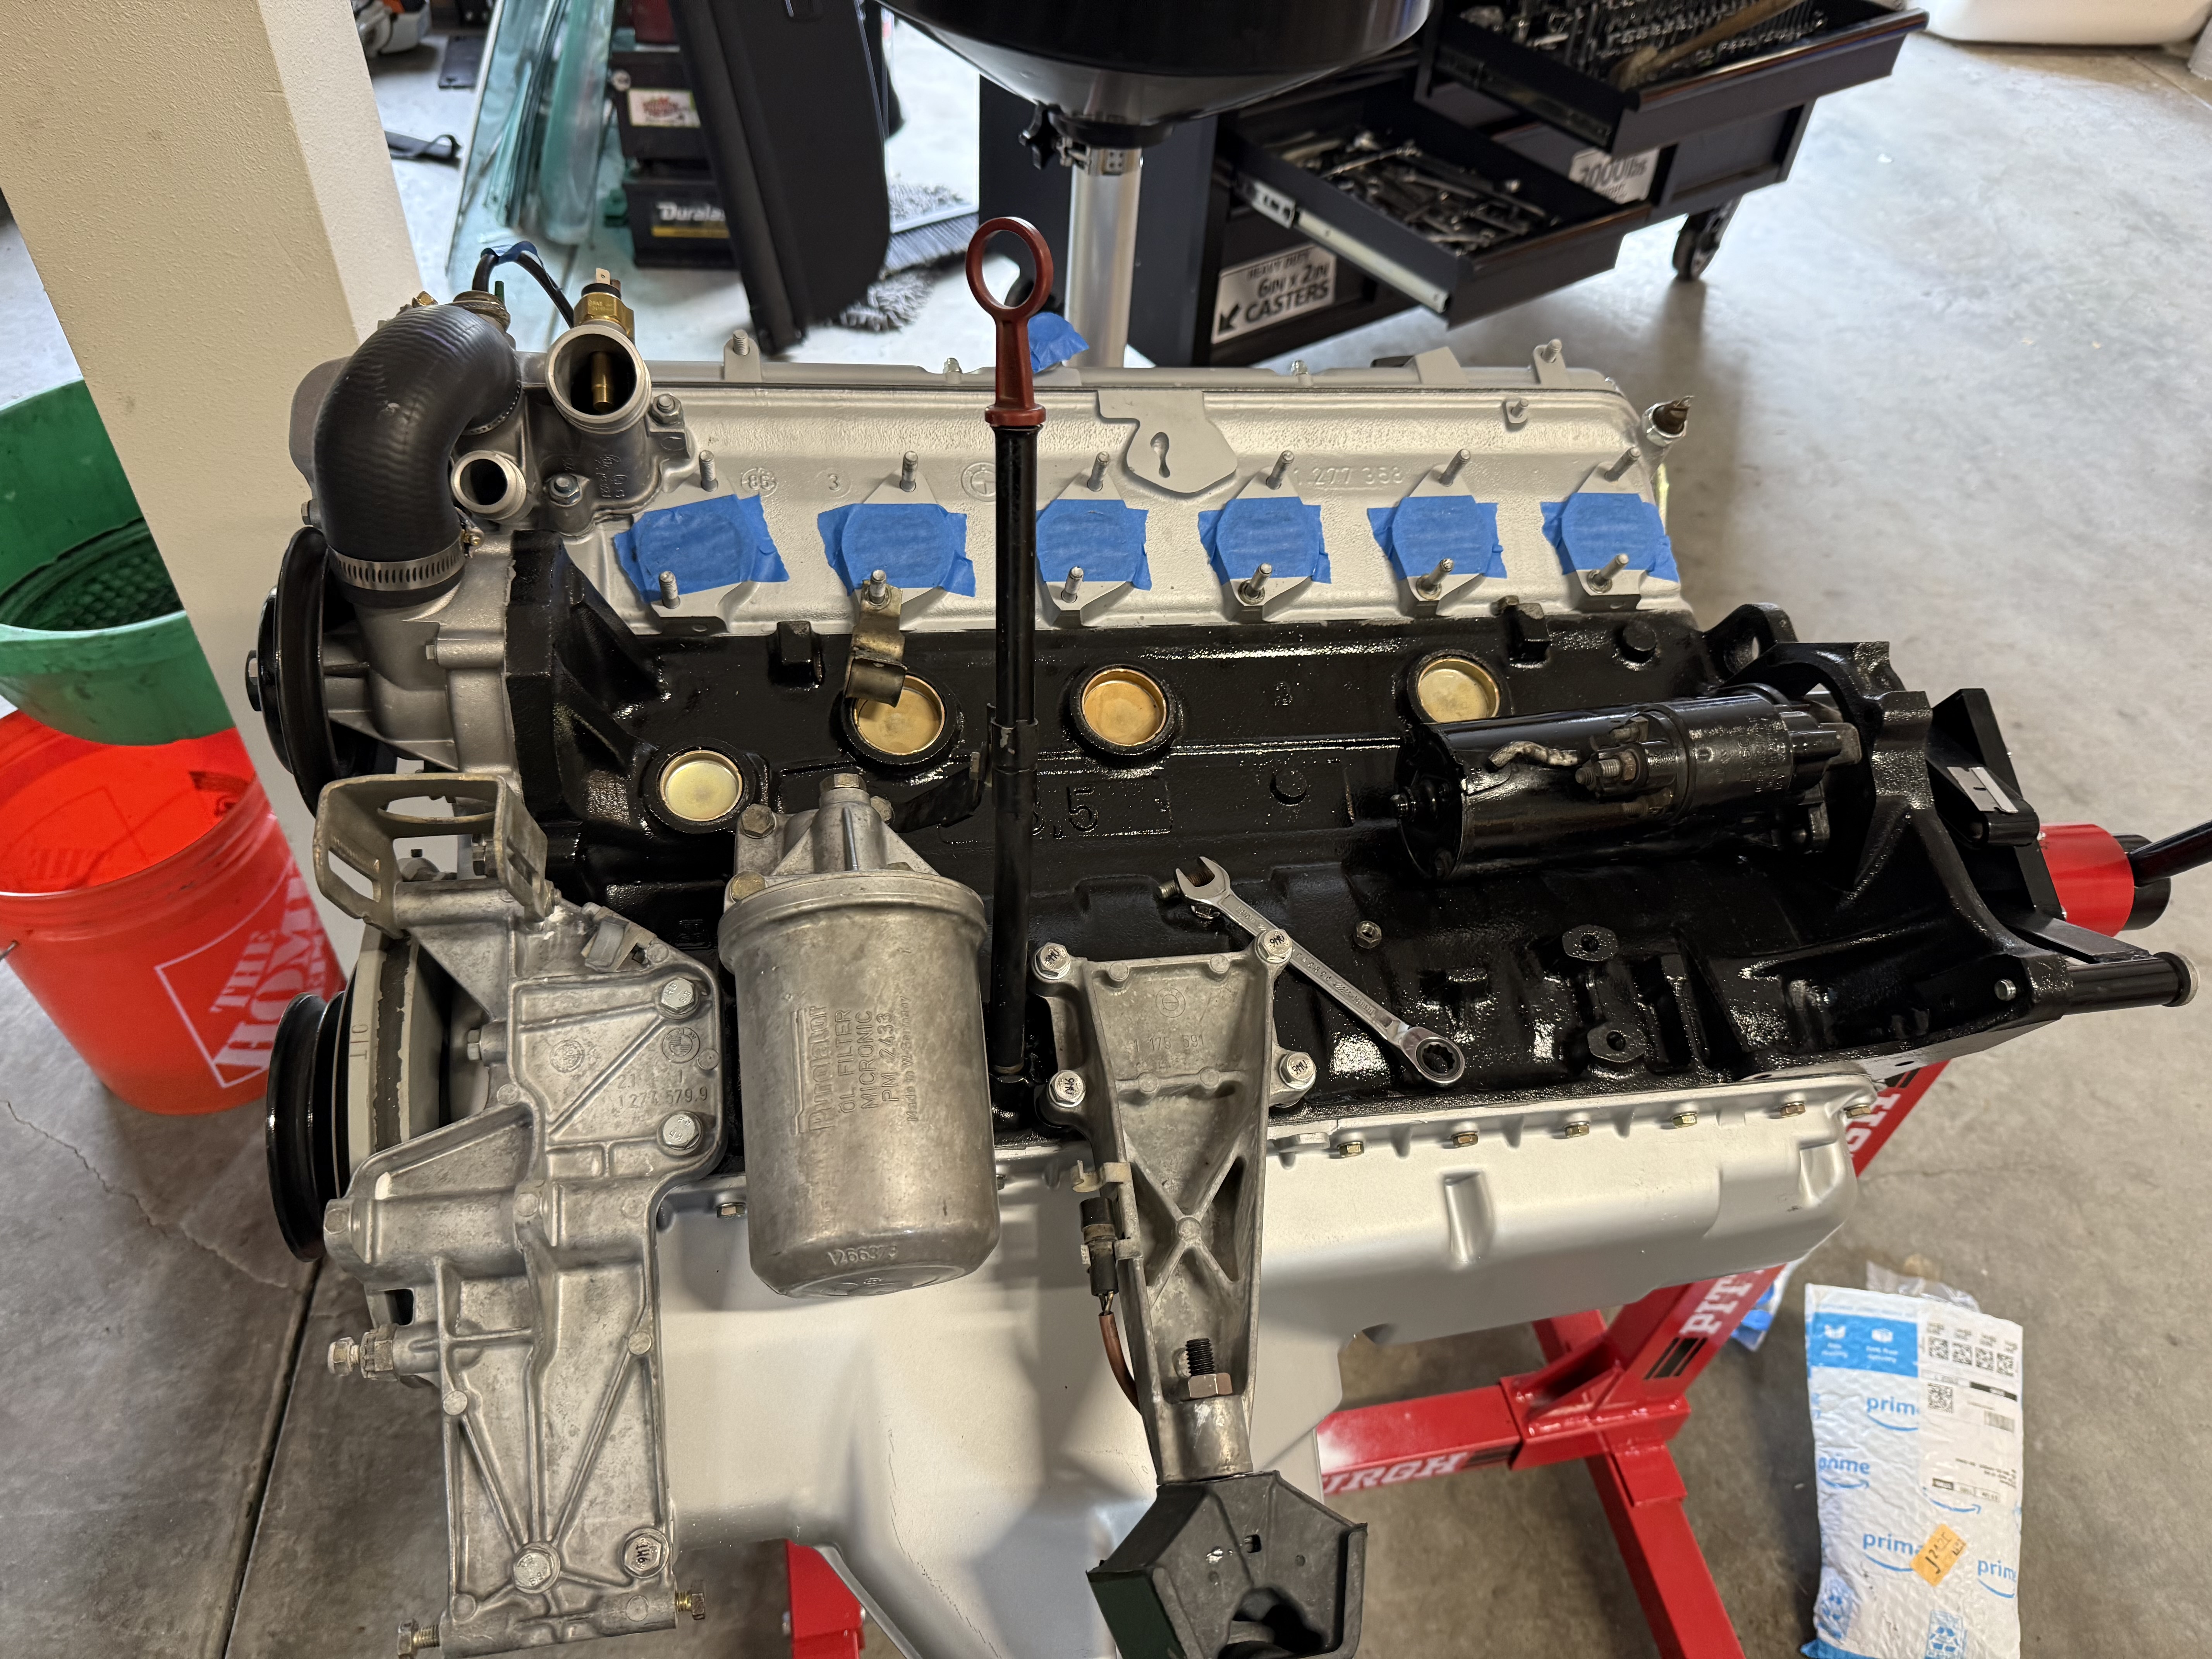
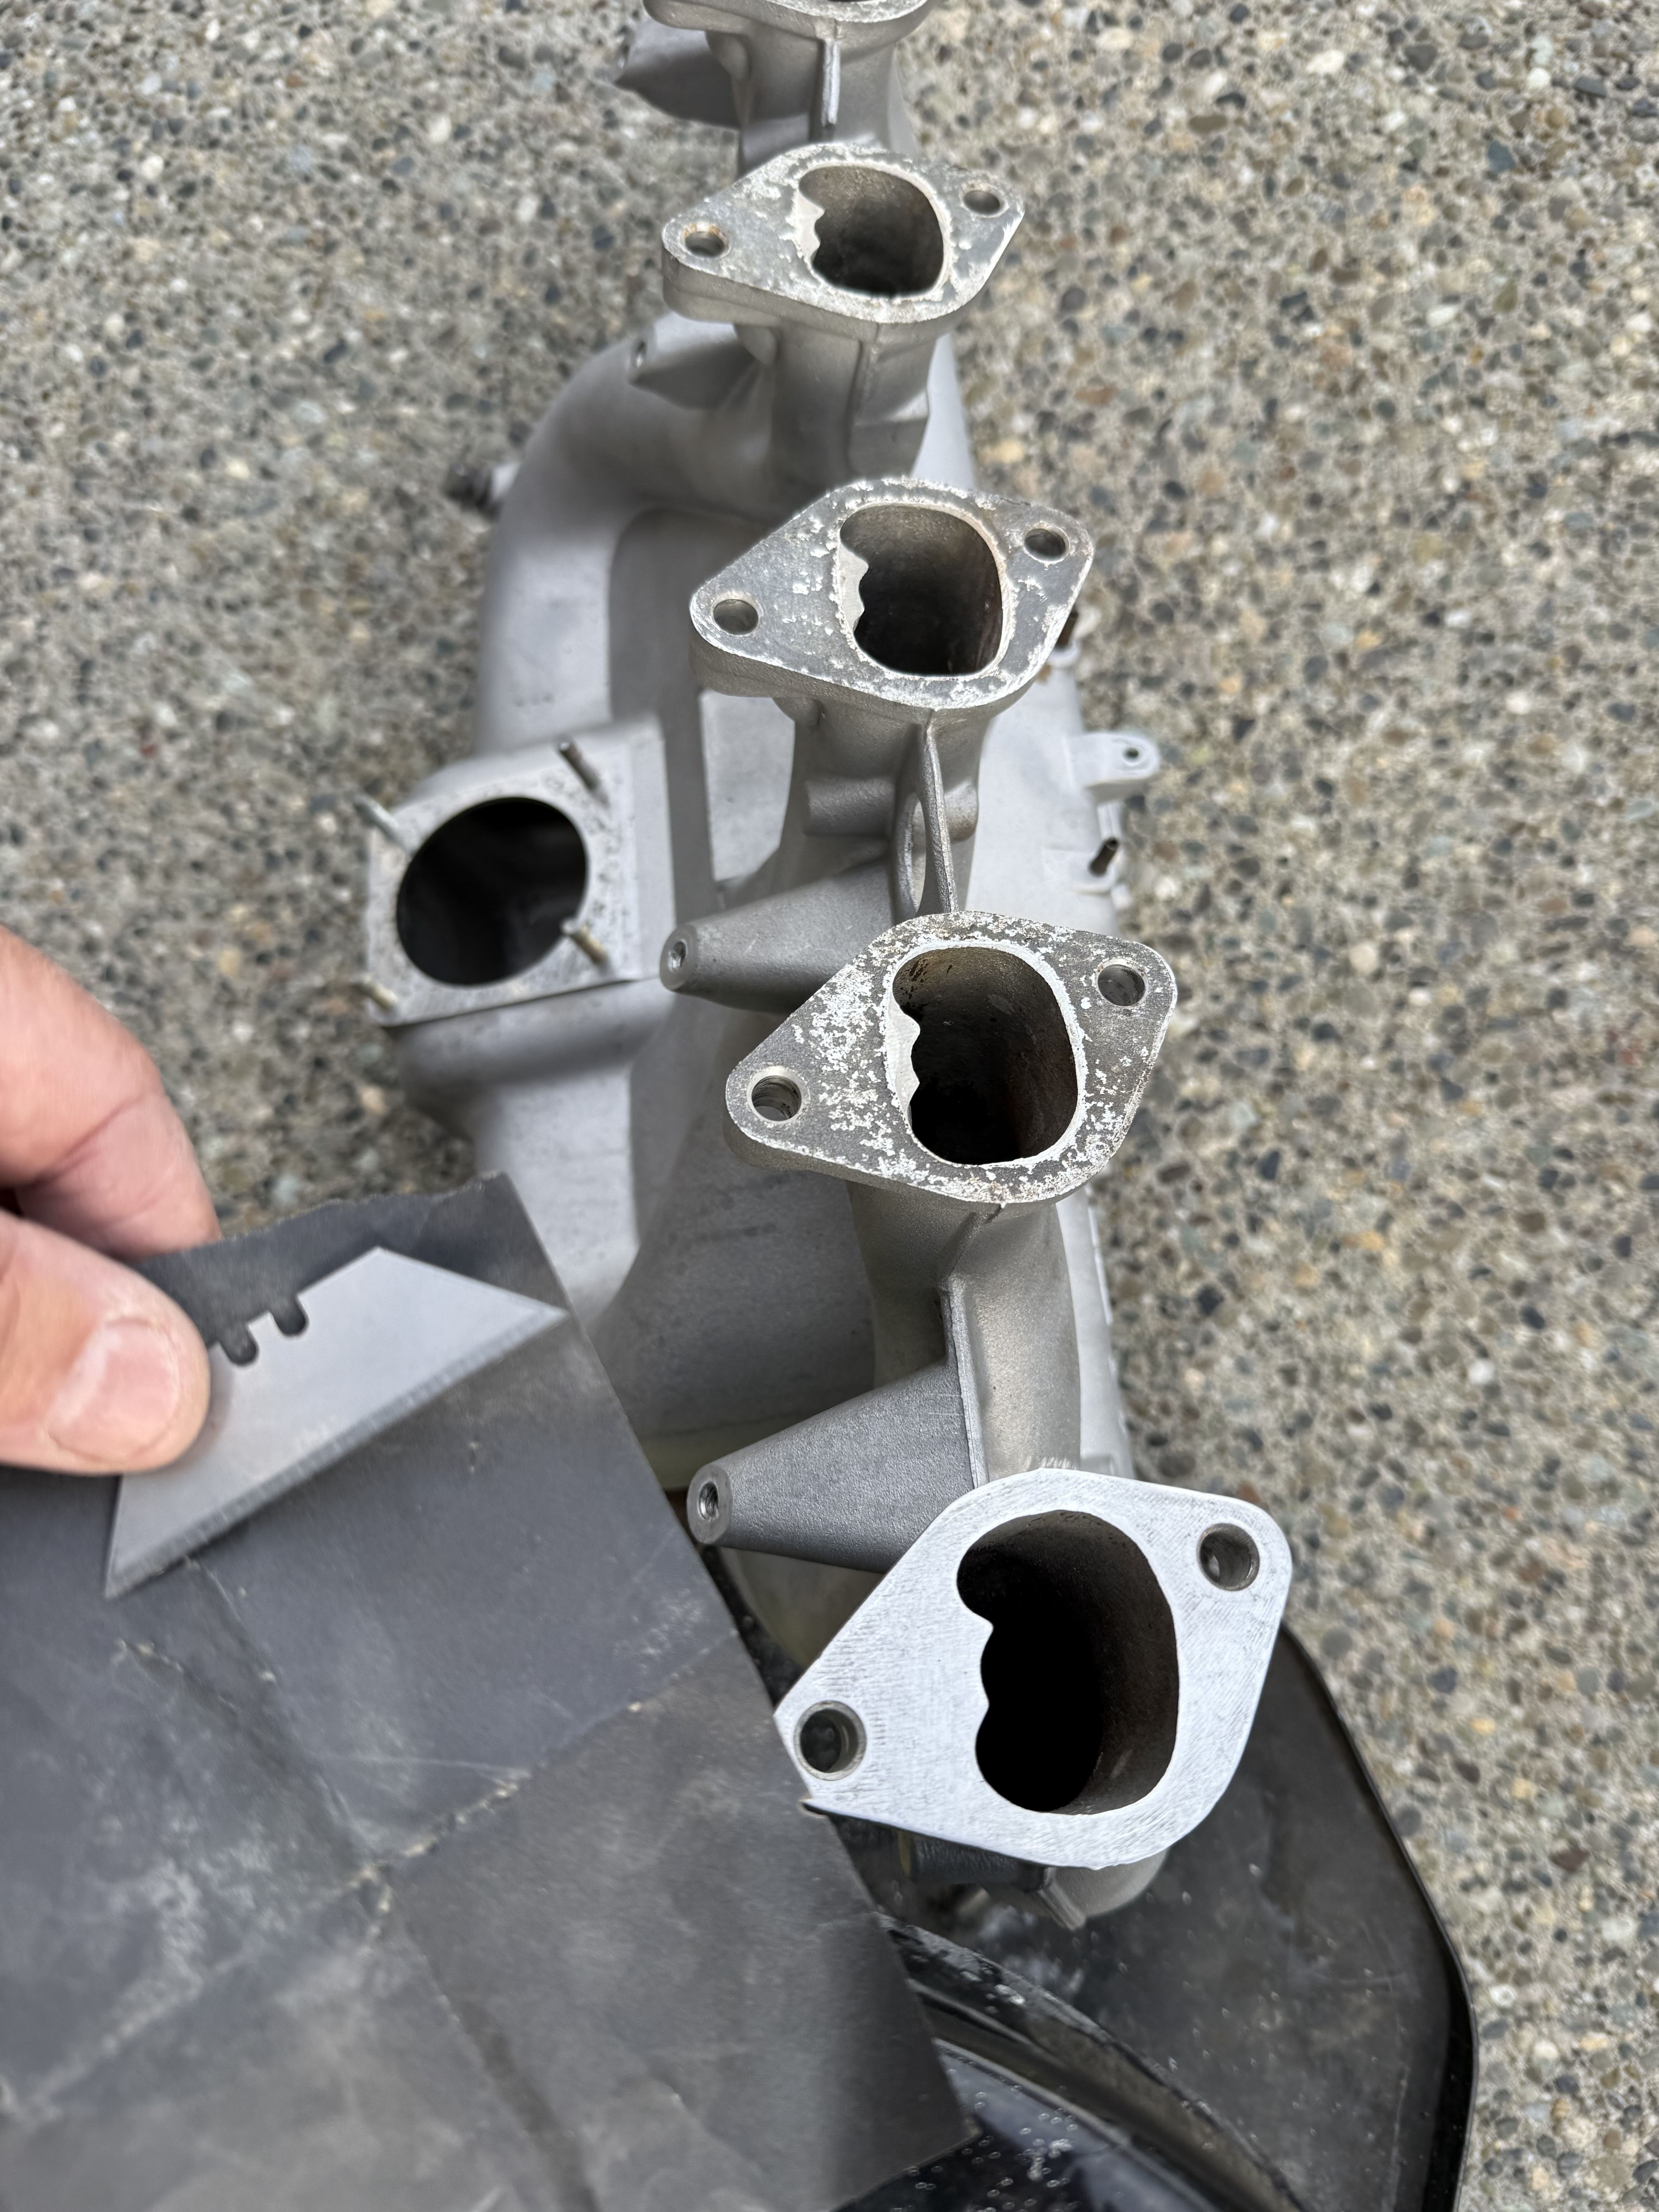
And the soda medium cleaned the intake manifold nicely. But as is common, the old intake manifold gaskets stuck to the manifold, so no other choice but to scrape with a box cutter blade and then 400 grit sand paper.
