22 Feb - 29 Apr 2021
It’s been a while. Some progress has been made, although some in vain.
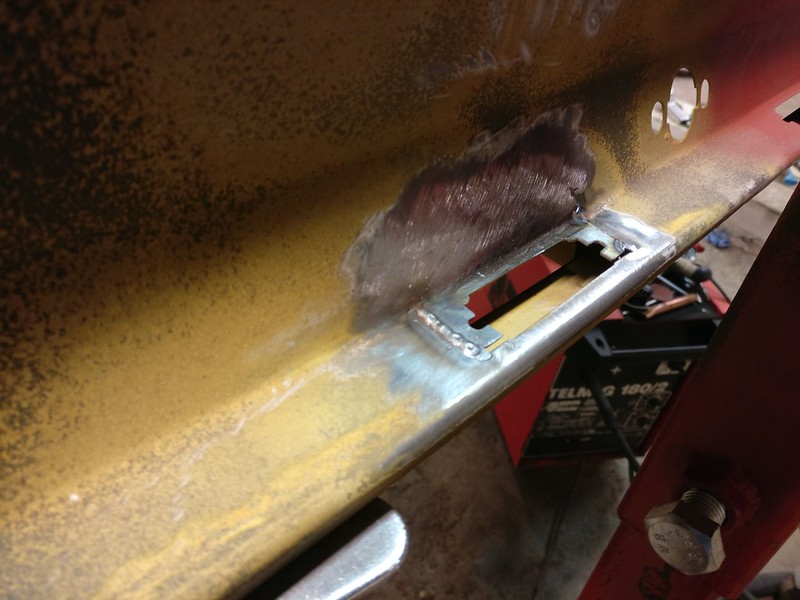
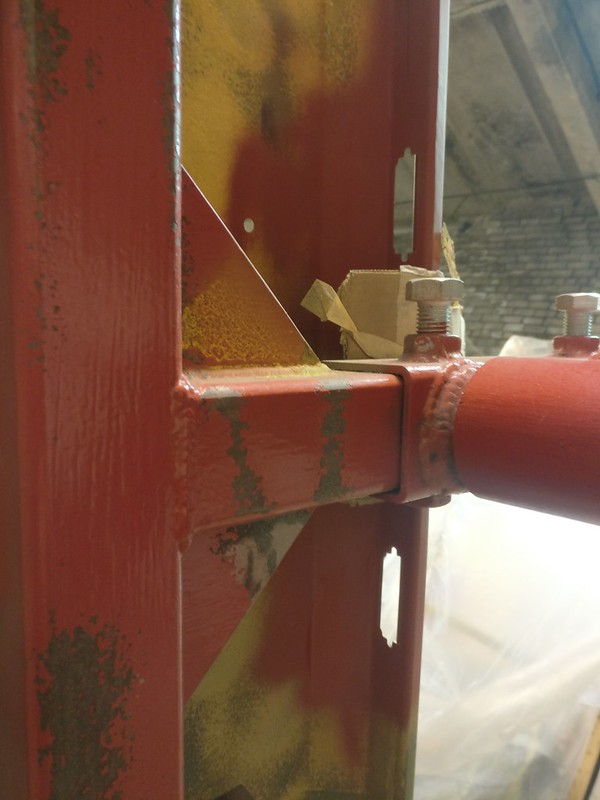
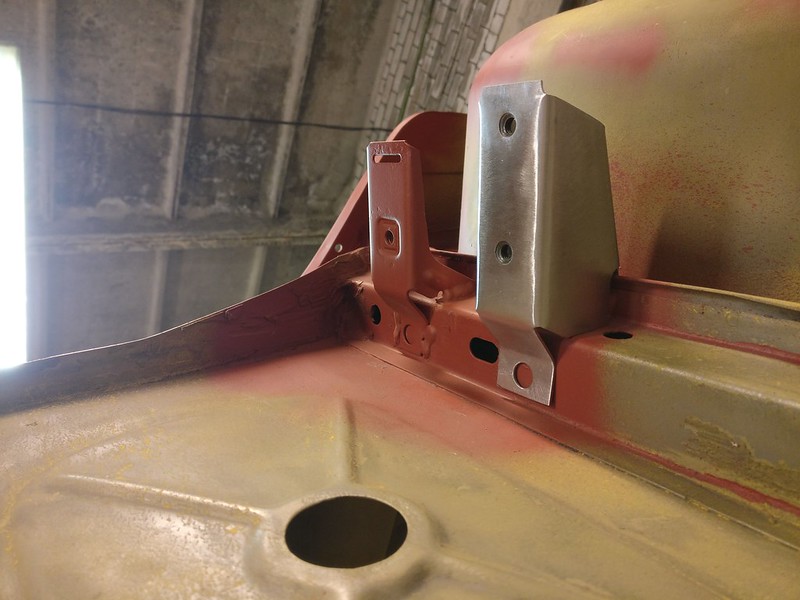
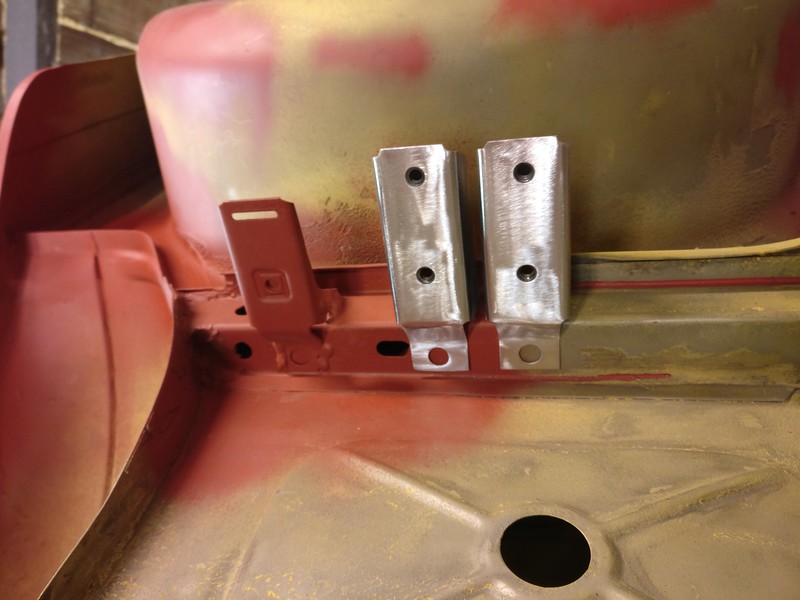
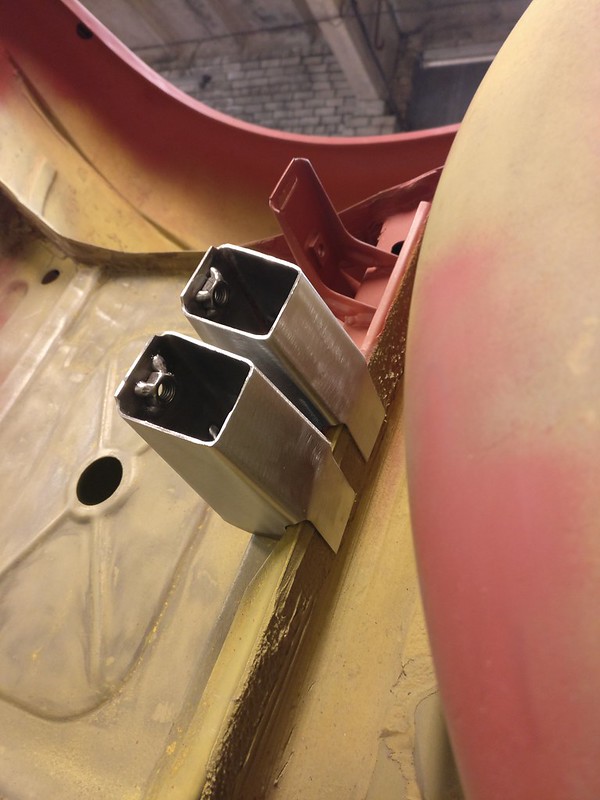
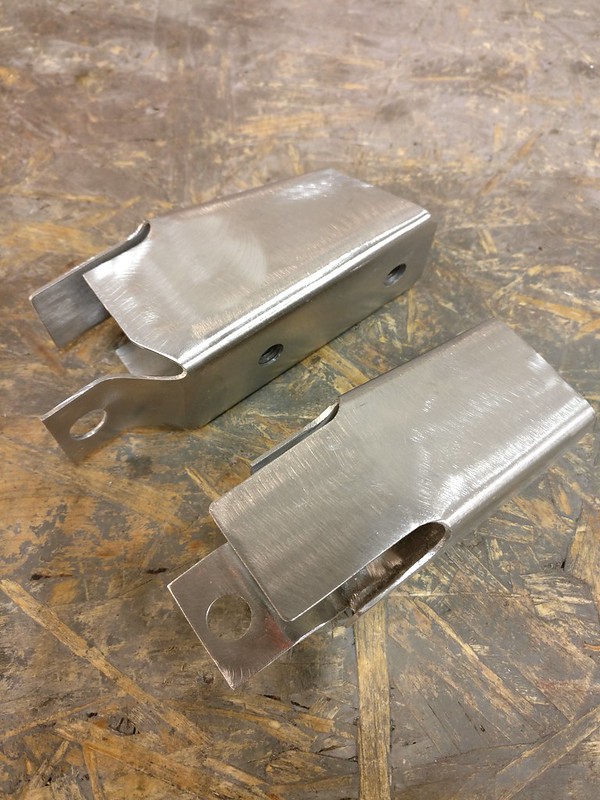
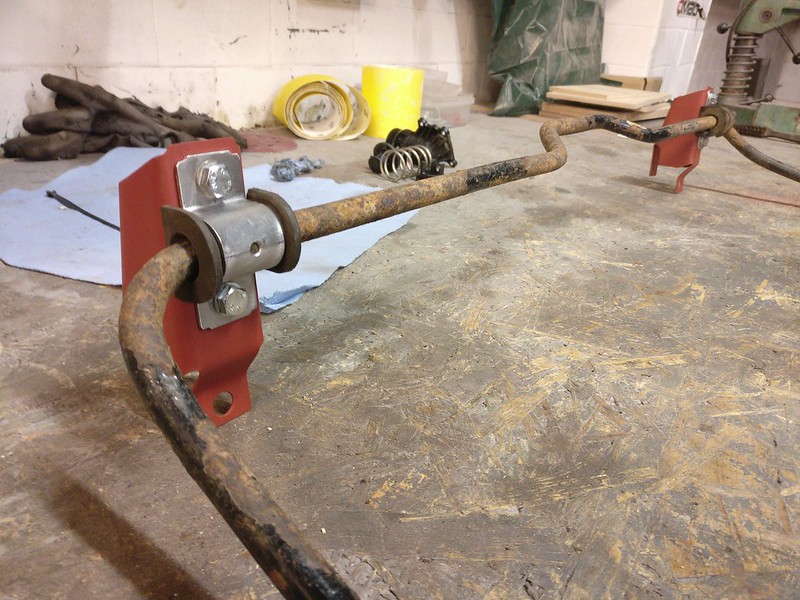
To continue where we left off, rear sway mounts got finished and installed. On the pictures is the newer style sway bar. In addition to not clearing diff mount it could potentially hit the edge of the crossbeam. Not that I had any hope of using it...
I should probably make one of the bolt holes on the clamp oblongated to facilitate installing. And get them zinc plated.
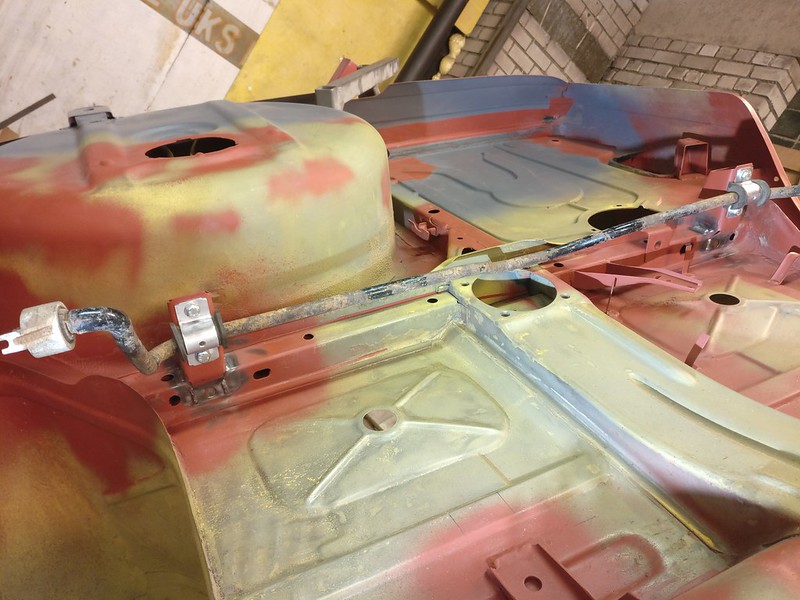
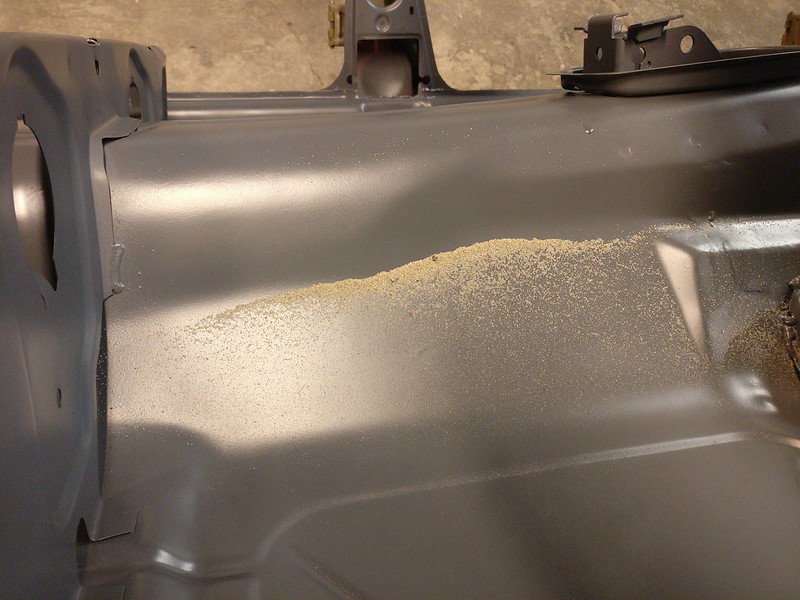
Rear mounts done I went on and started sanding the cabin, underside and engine compartment to prep for paint/primer. Nasty and slow work. At the same time I begun to work on the fenders.
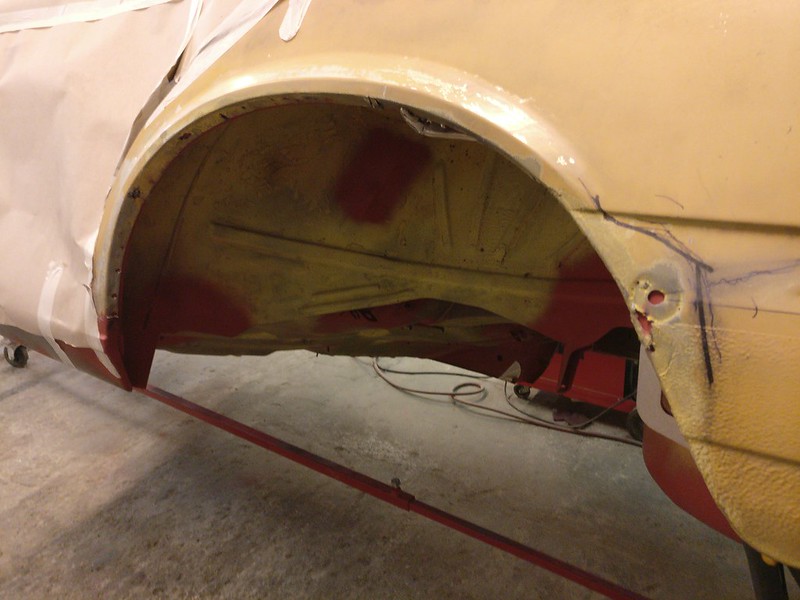
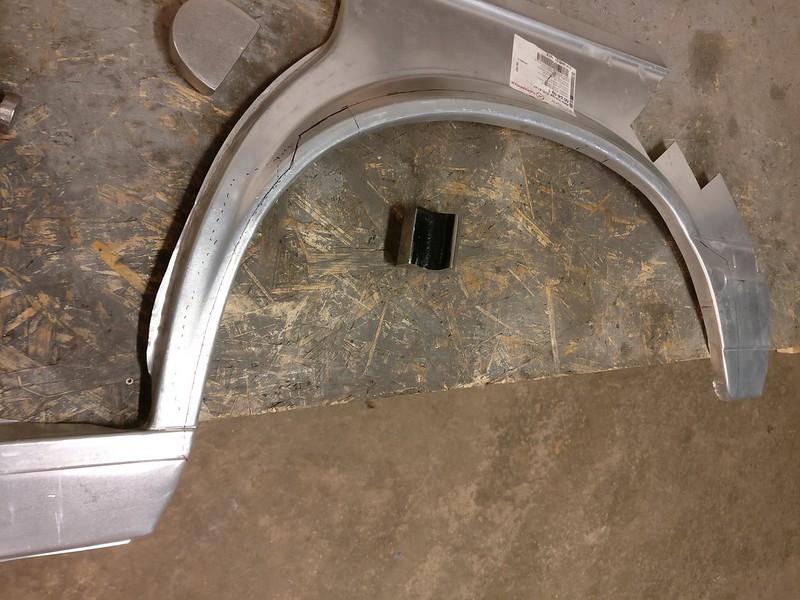
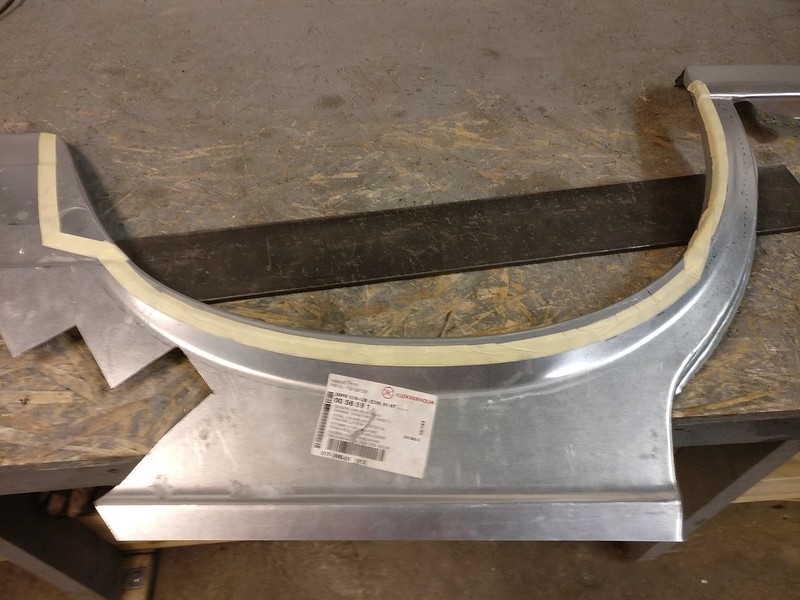
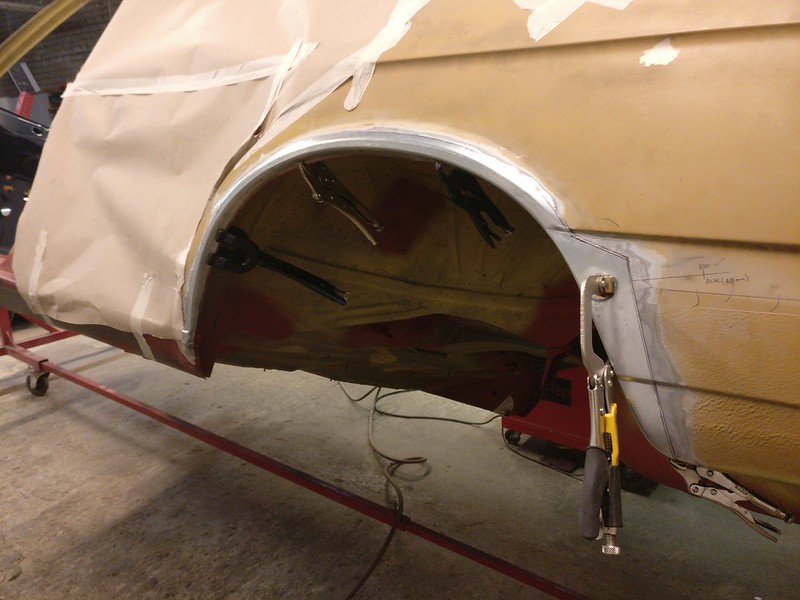
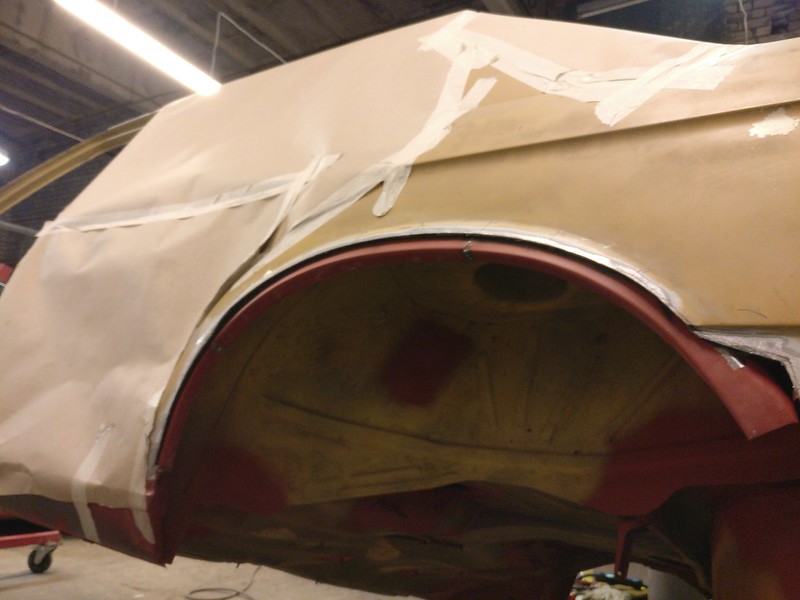
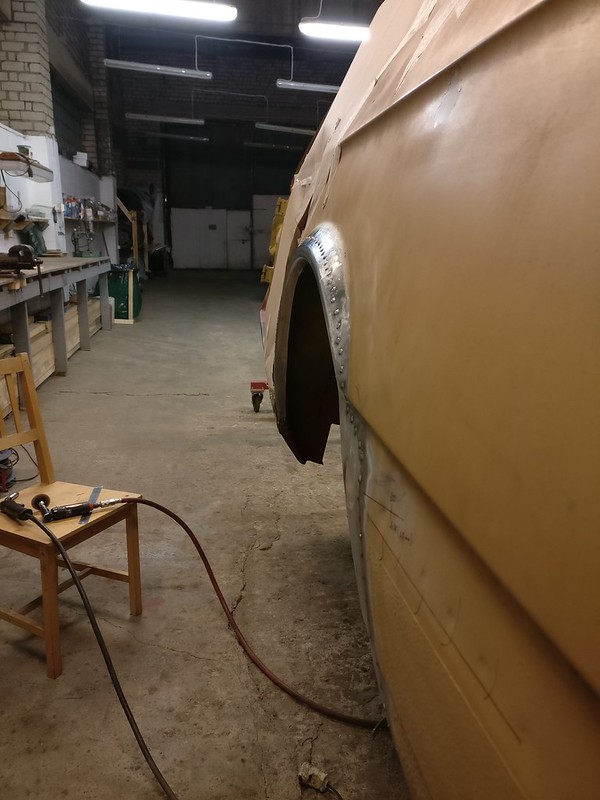
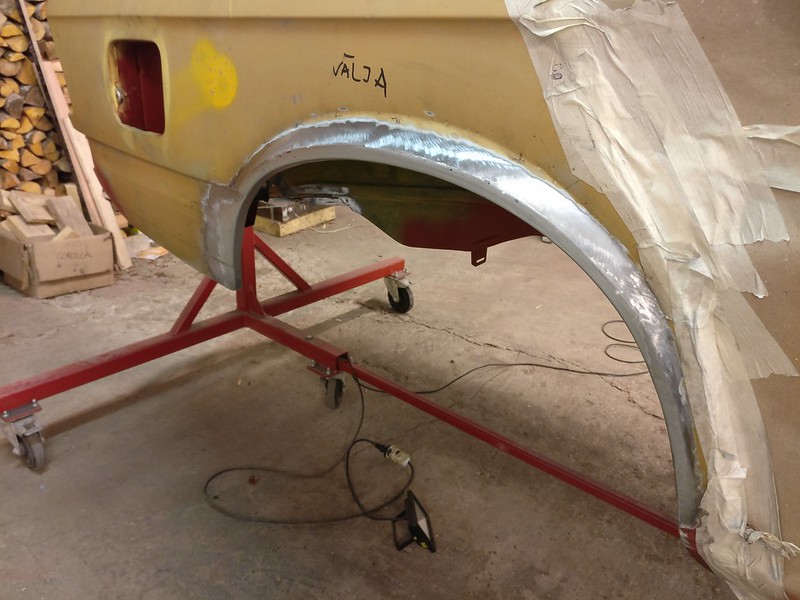
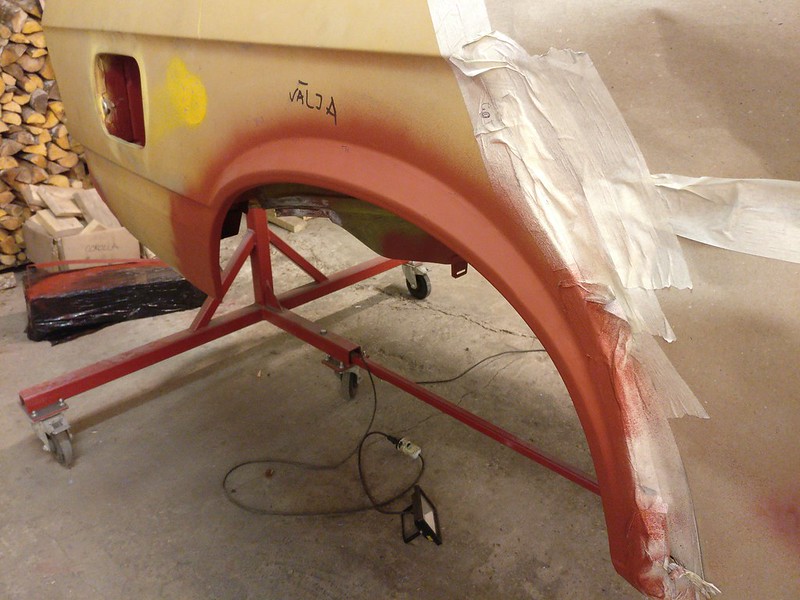
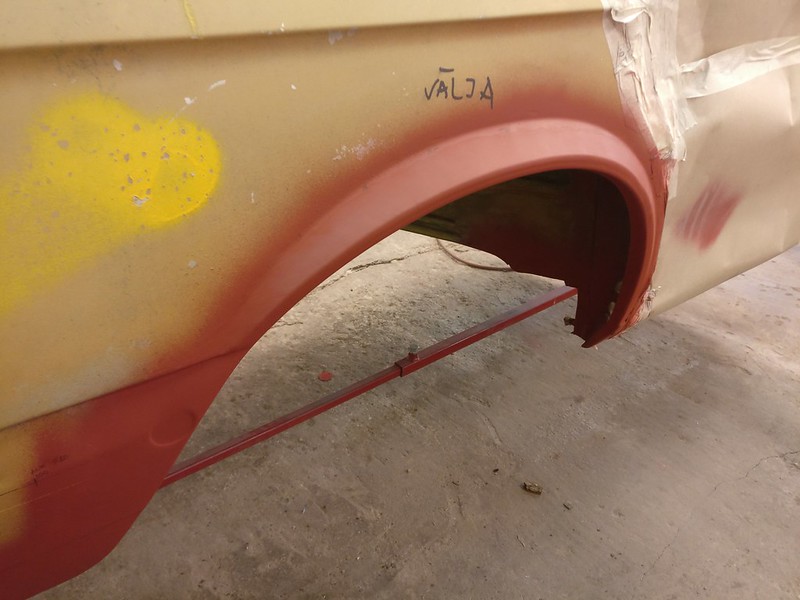
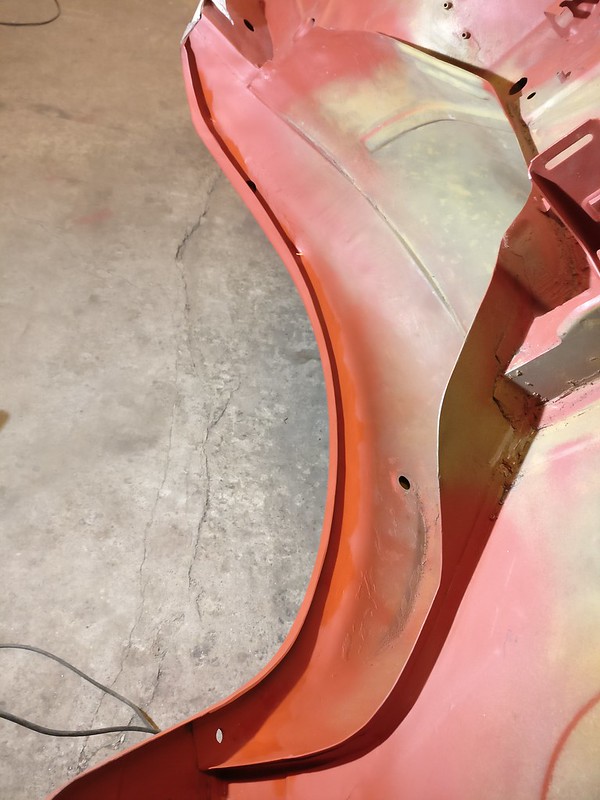
I had two OEM fenders for passenger’s side, this one seemed to be in better shape overall. Needs new bottom section, other rust is superficial and cleaned off well enough. Also had a couple of small dents to be worked out but nothing major.
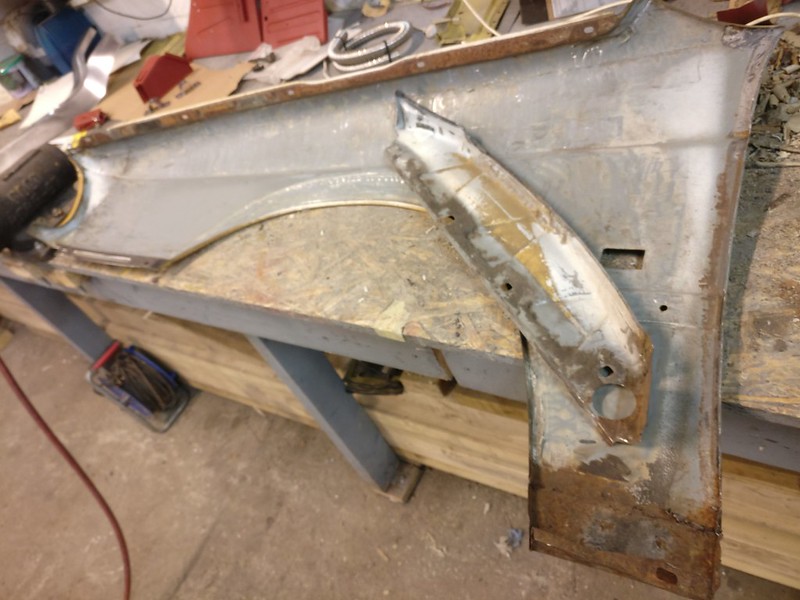
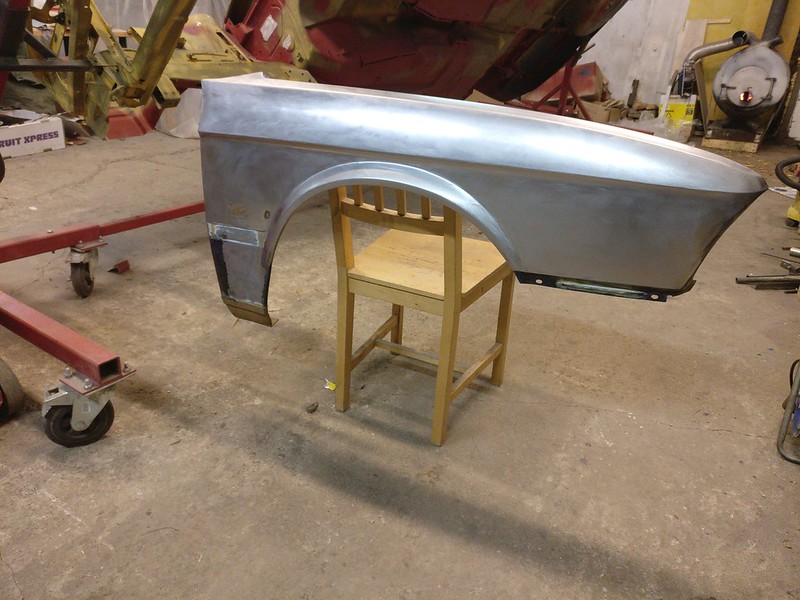
Put some cheap black primer on it to protect the metal until it gets properly coated. Plan was to later cover it with clear coat which should help to identify all the remaining dents.
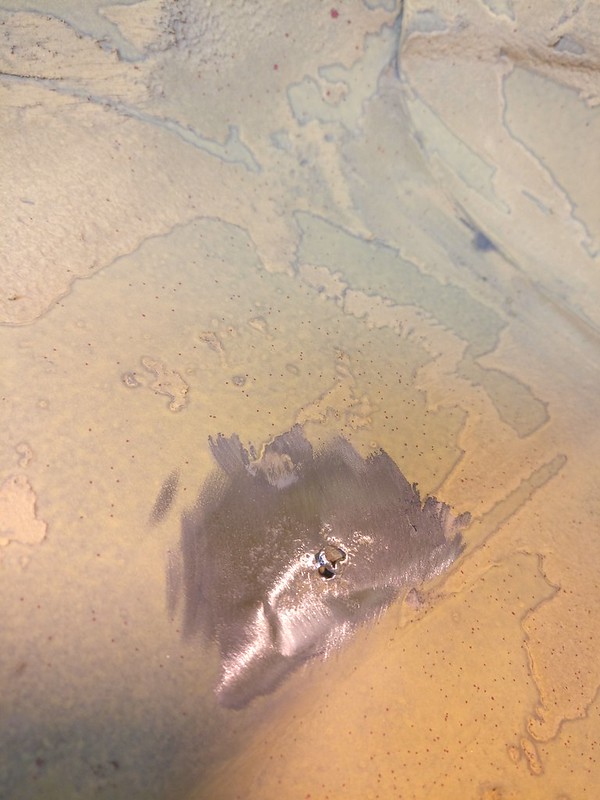
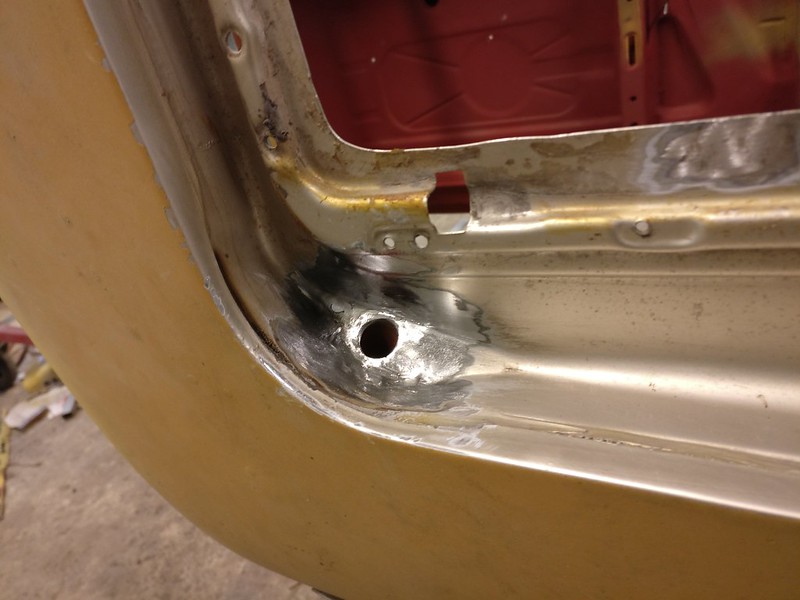
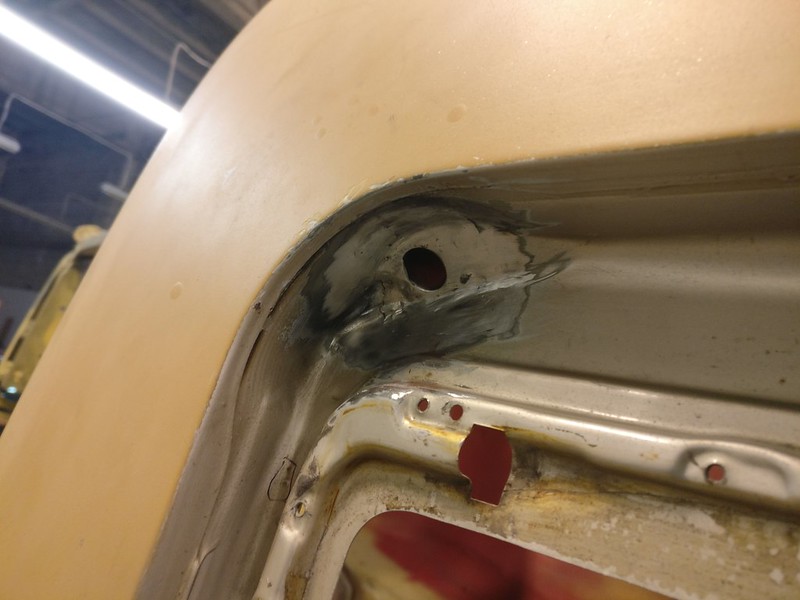
I don’t intend to use the side markers but this fender had holes cut out so these had to be filled.
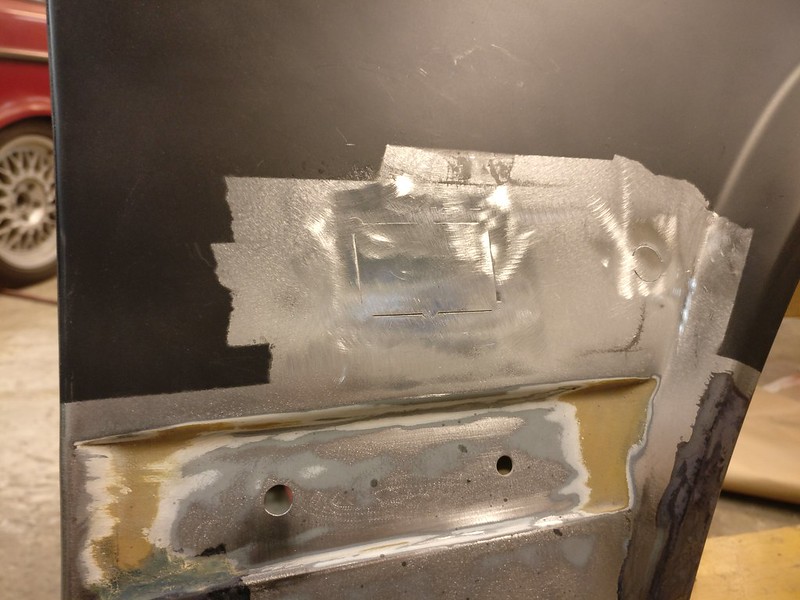
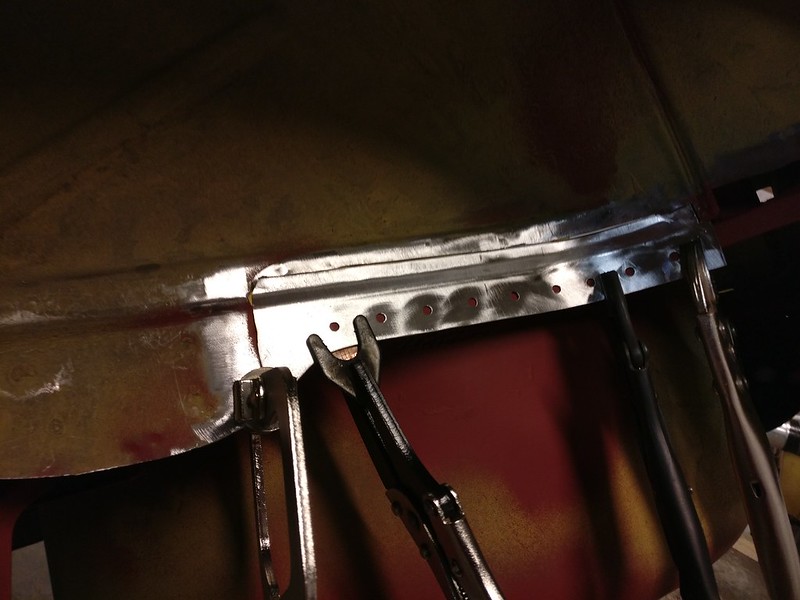
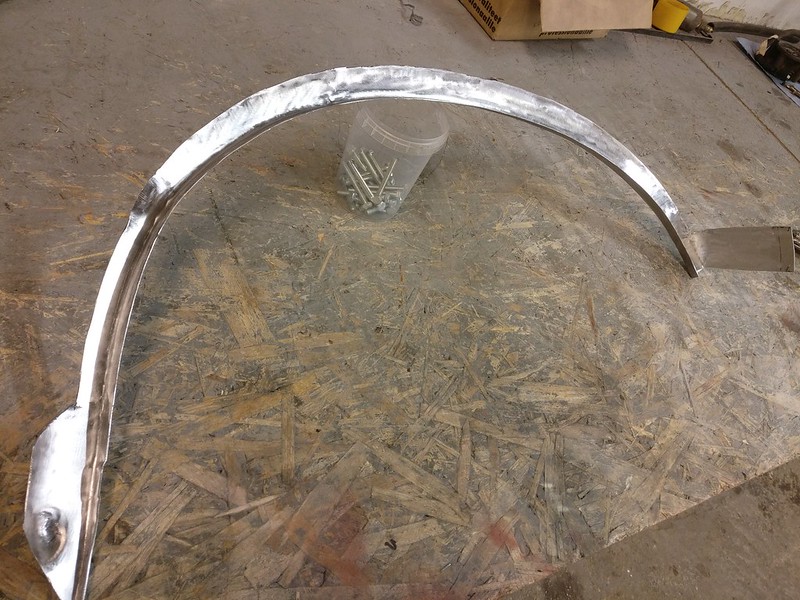
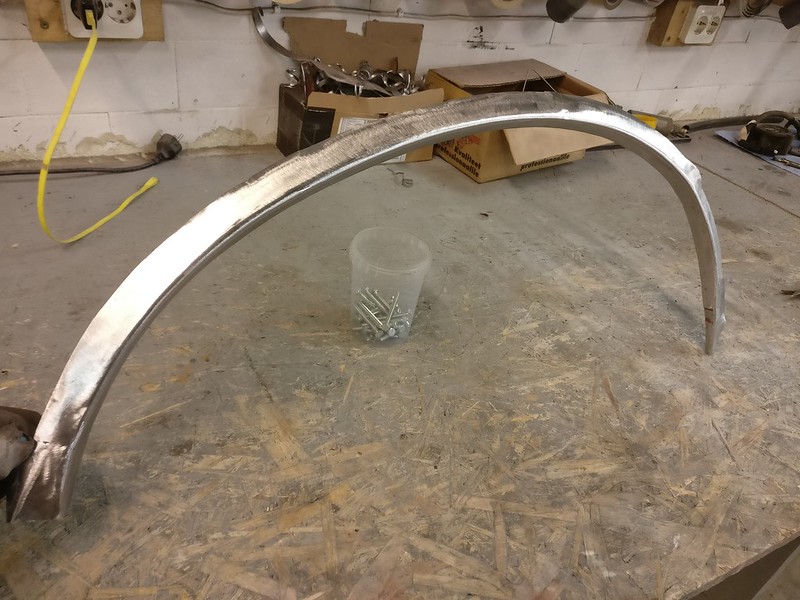
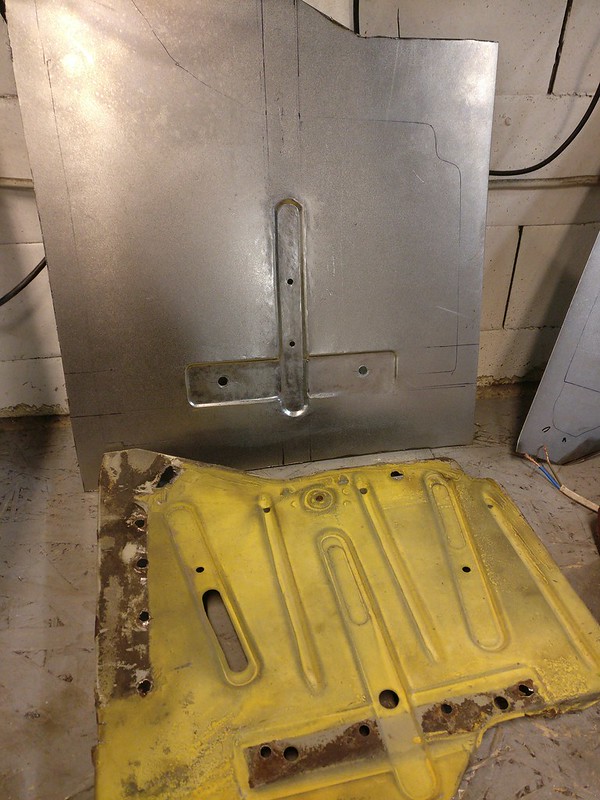
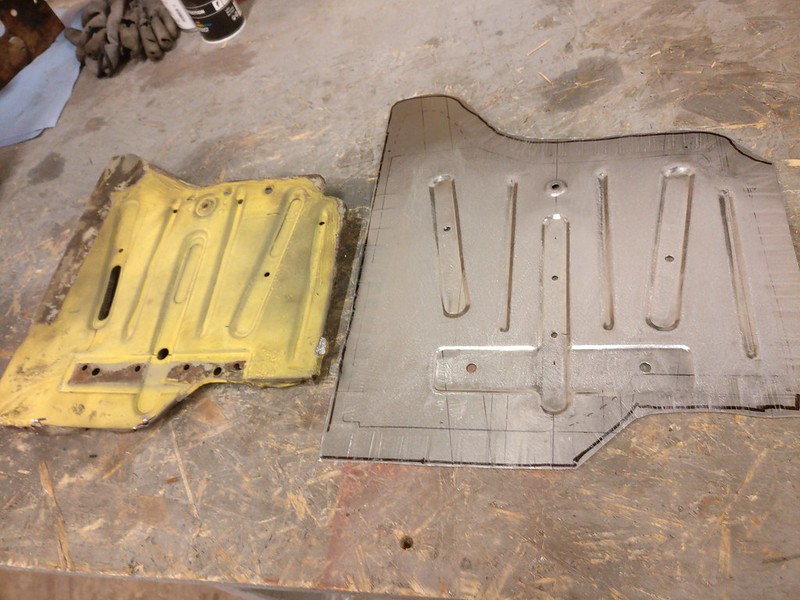
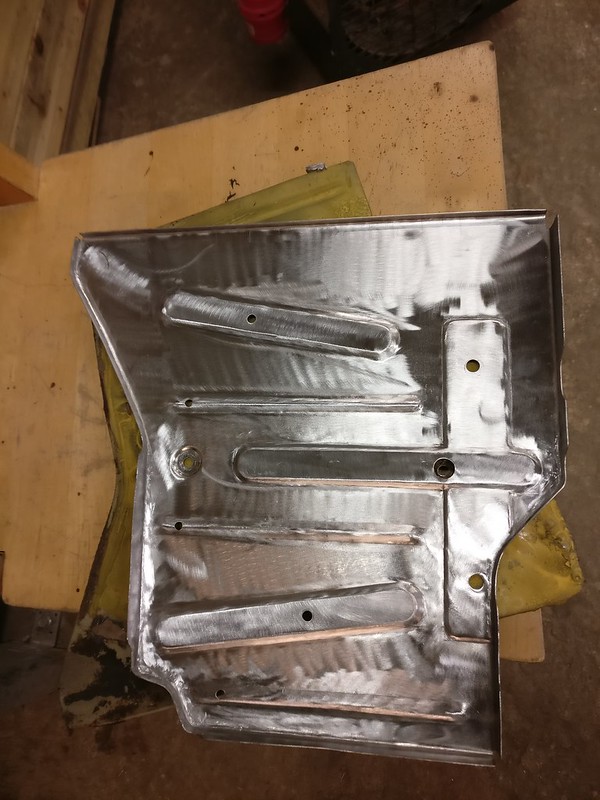
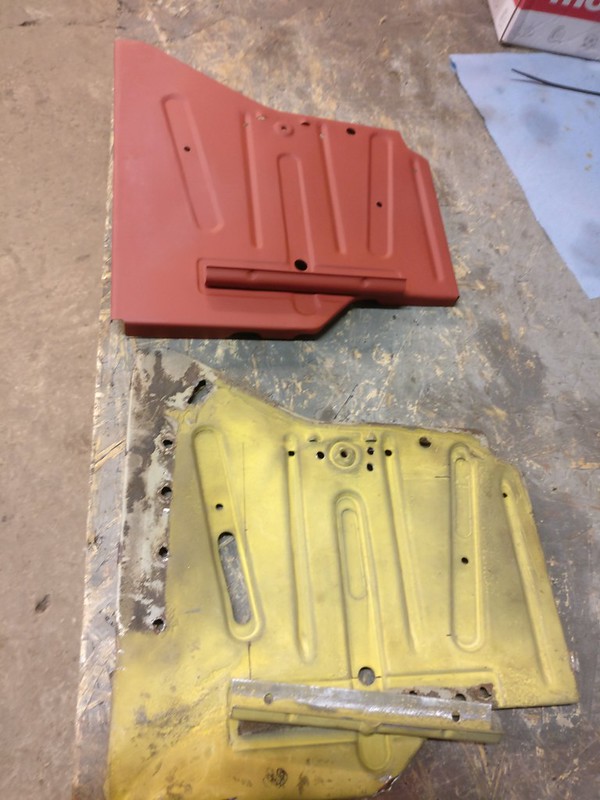
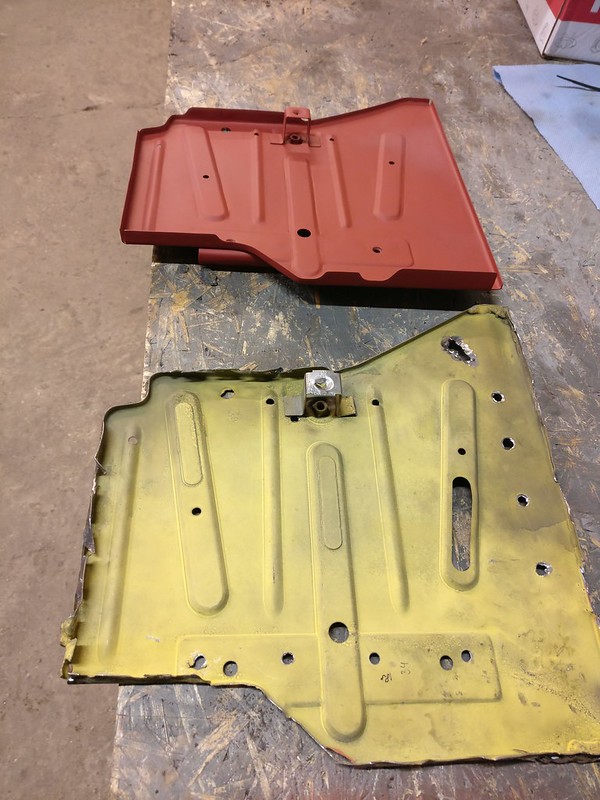
Fixed up support plates for both sides.
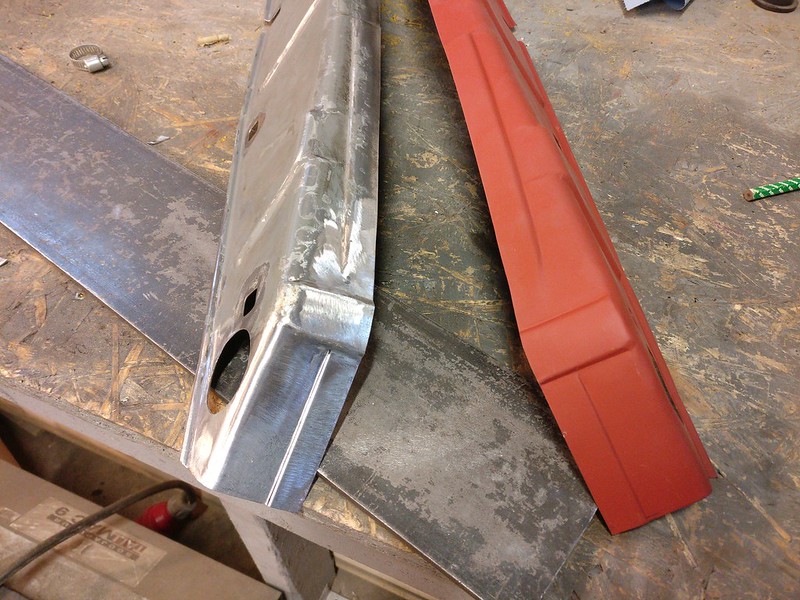
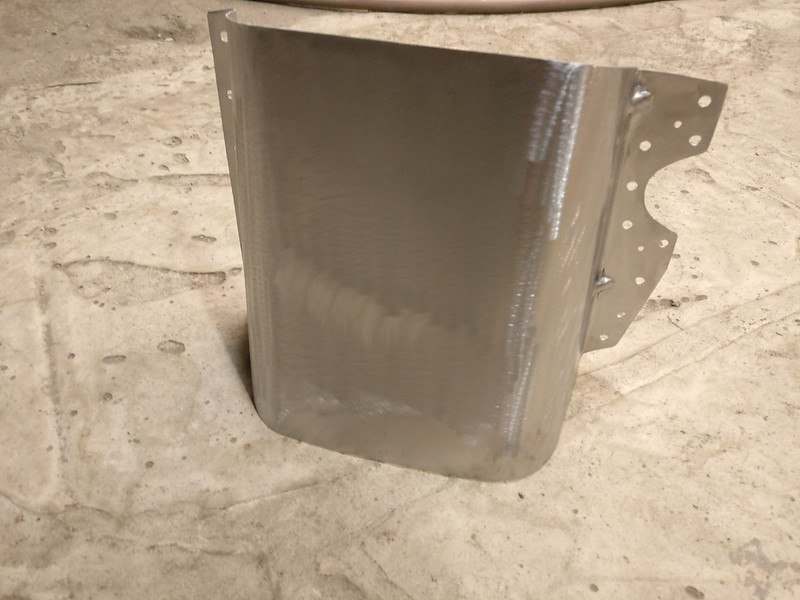
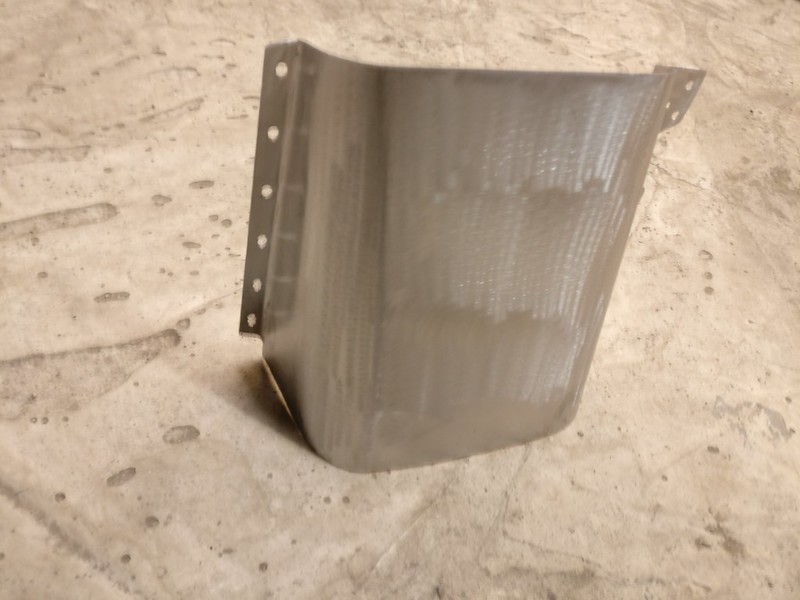
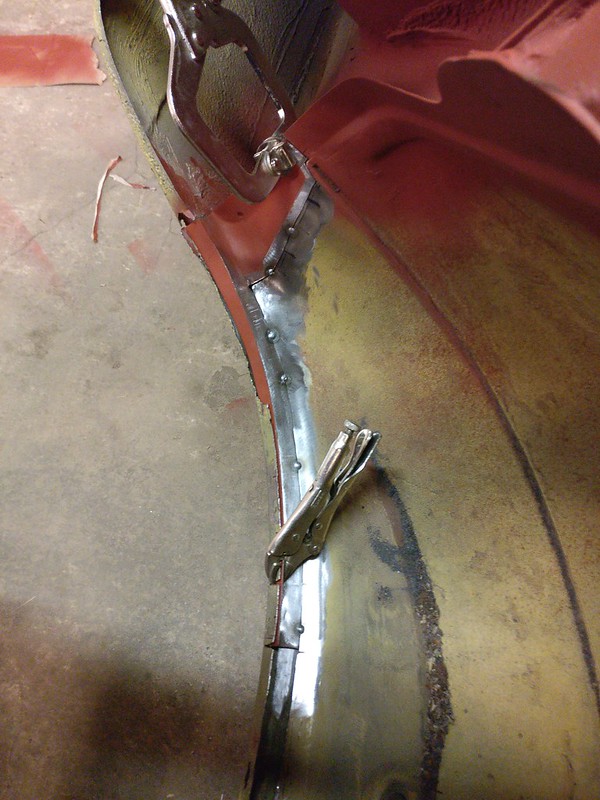
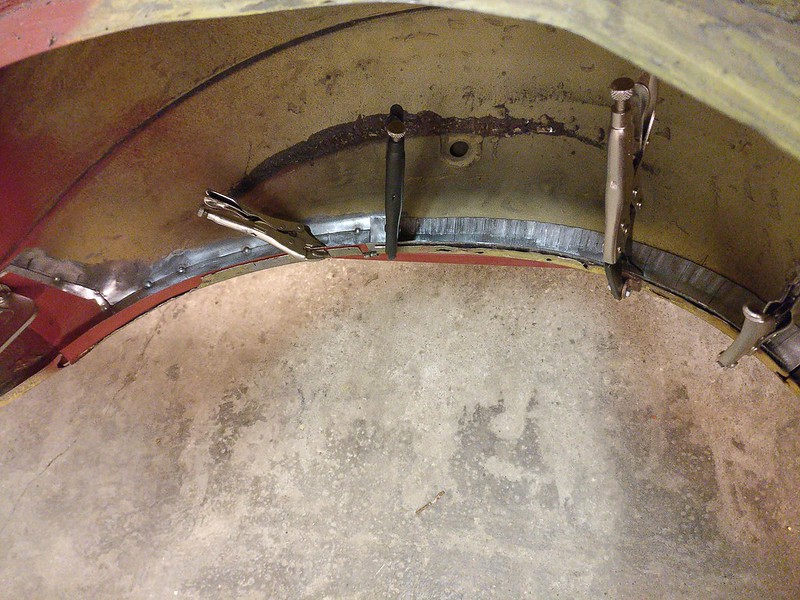
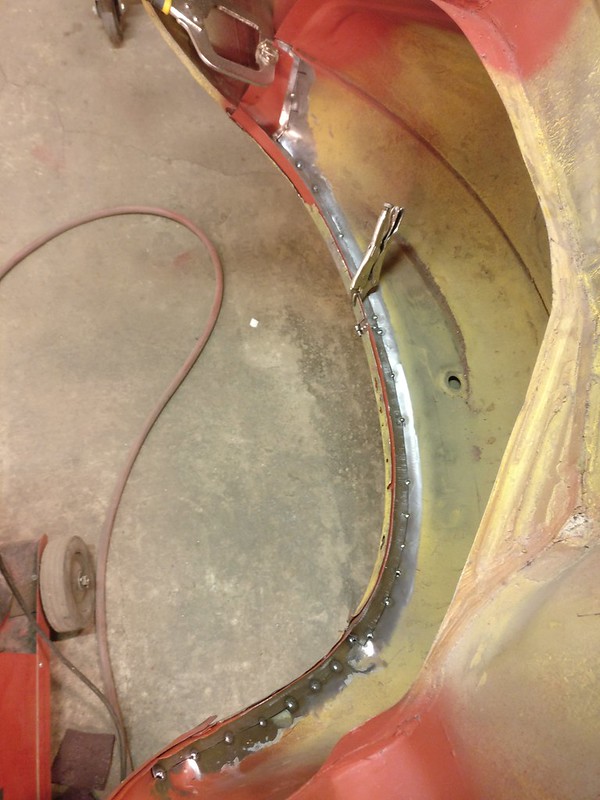
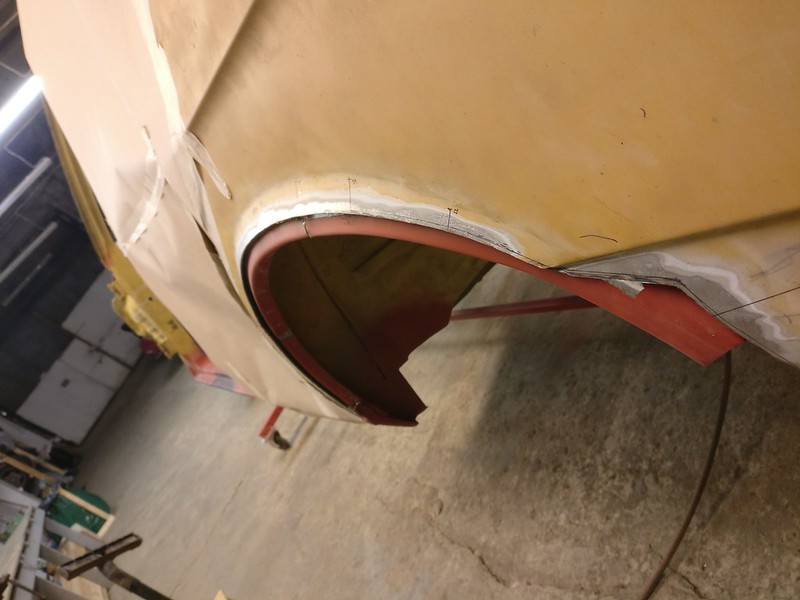
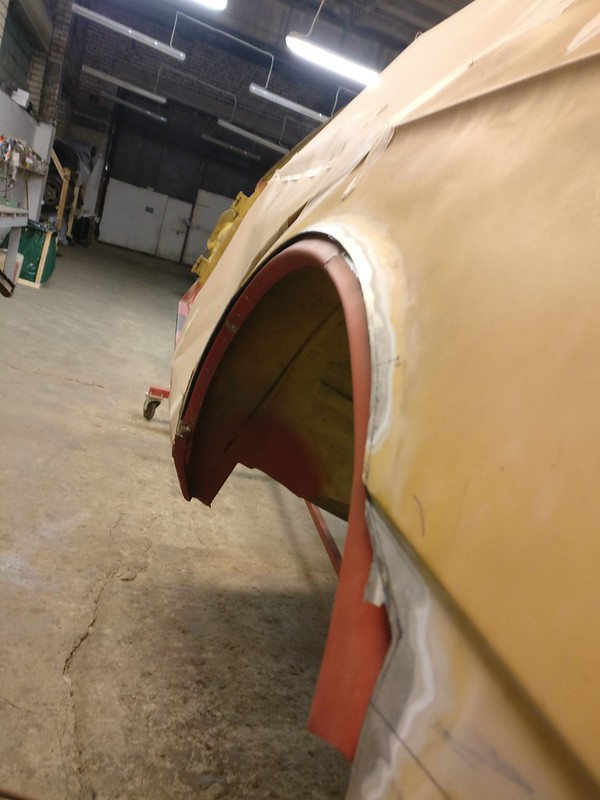
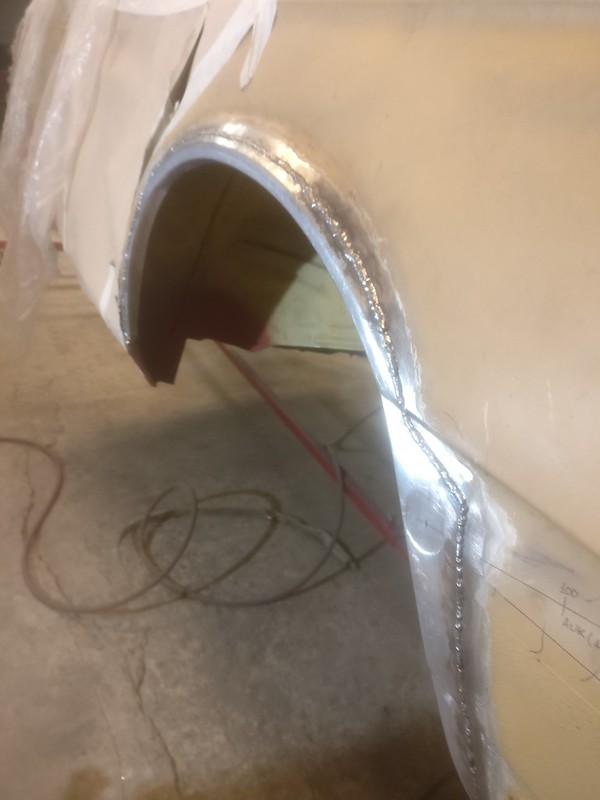
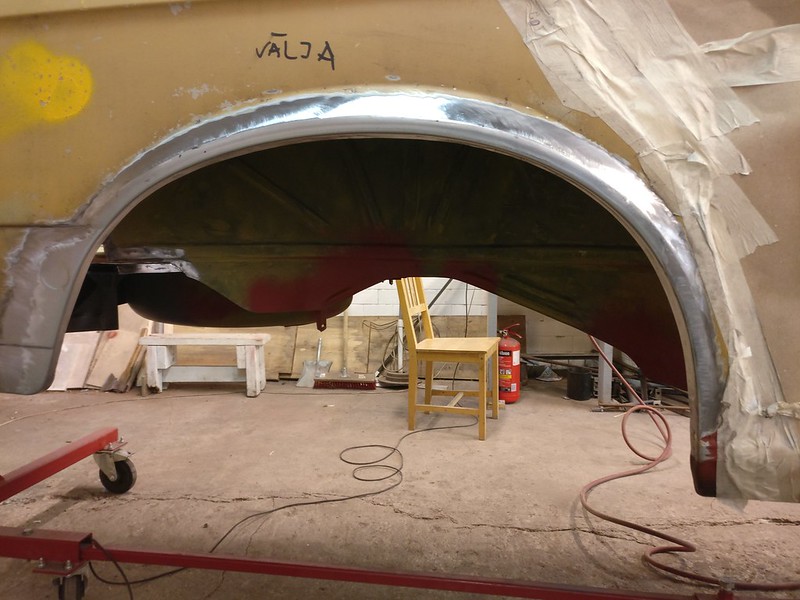
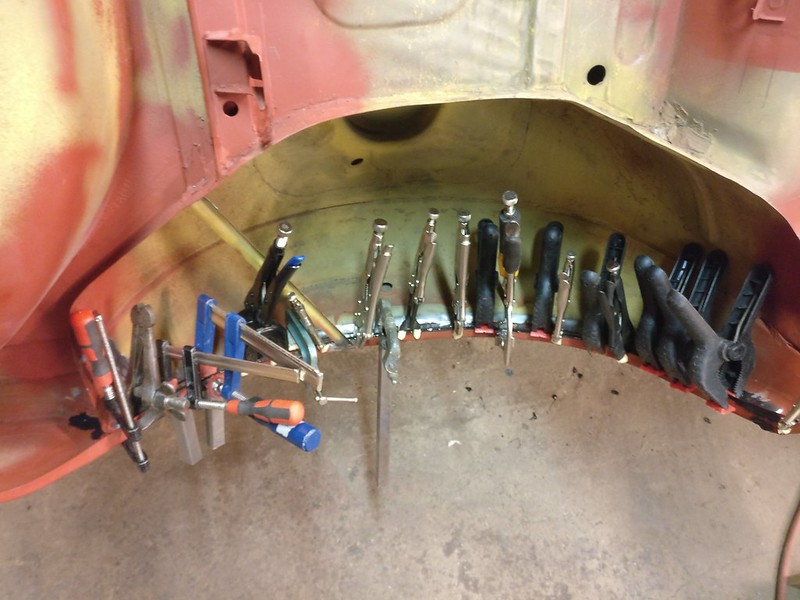
And made a patch for the bottom section
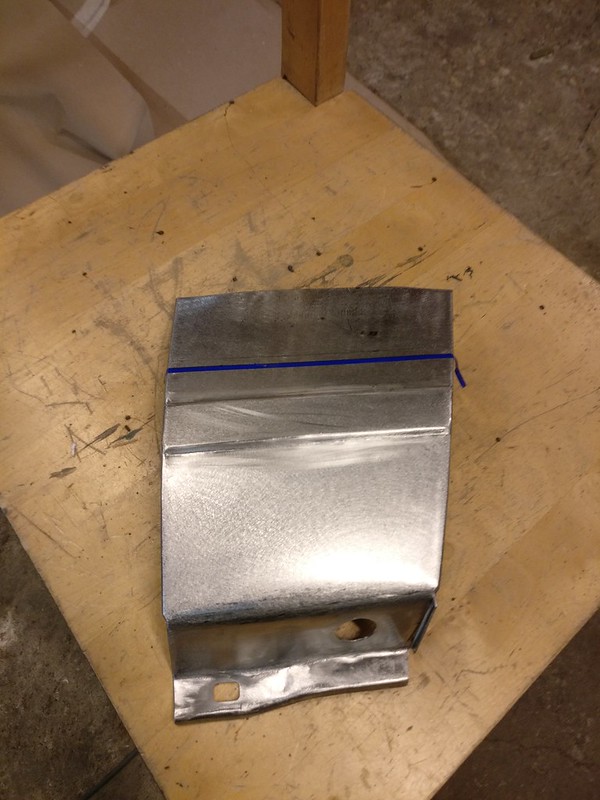
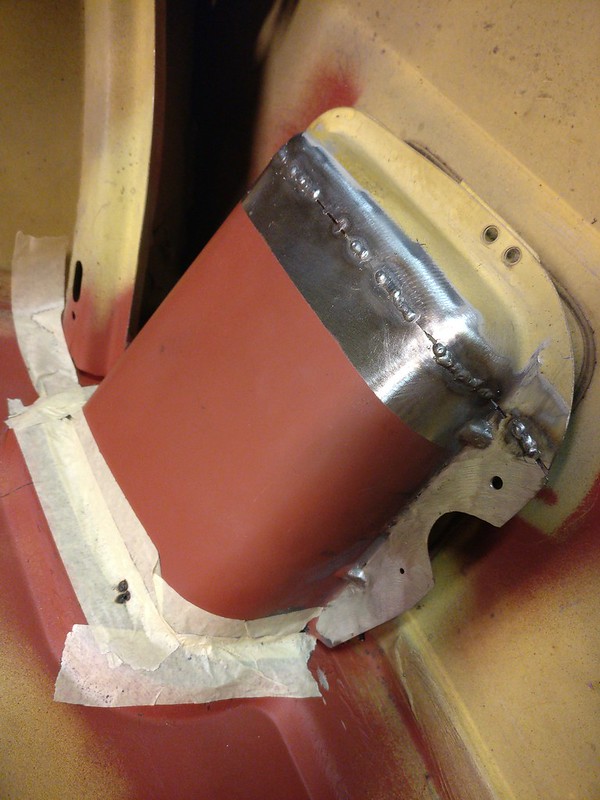
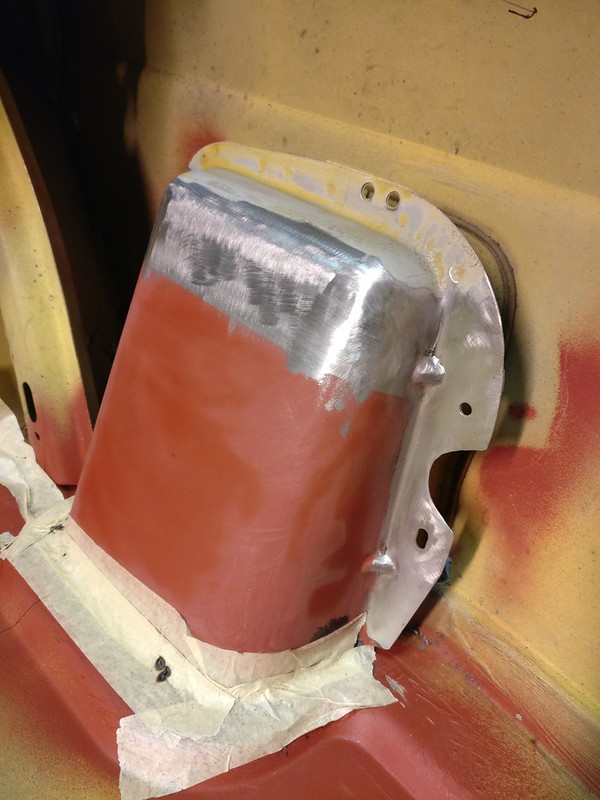
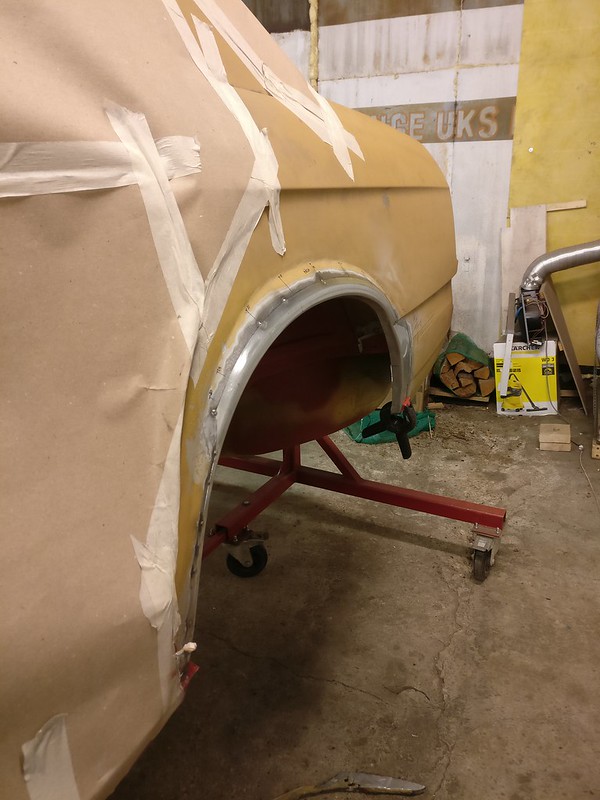
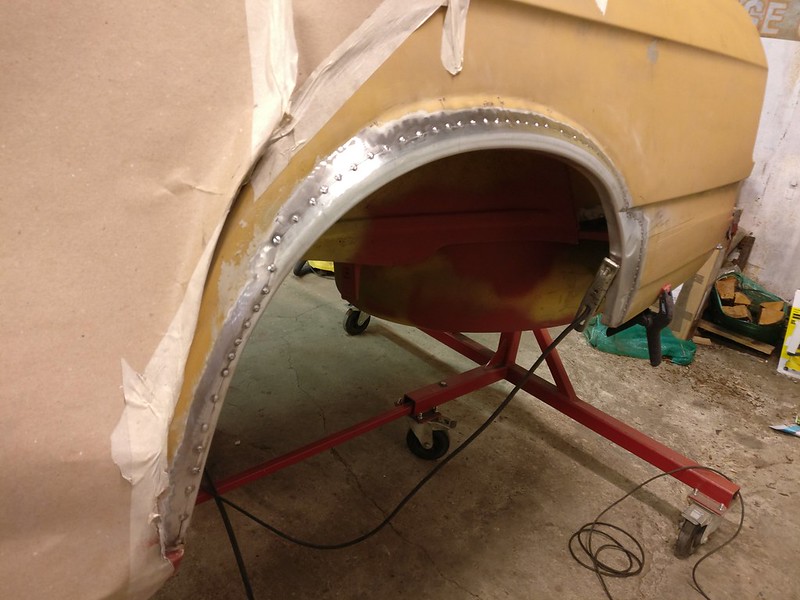
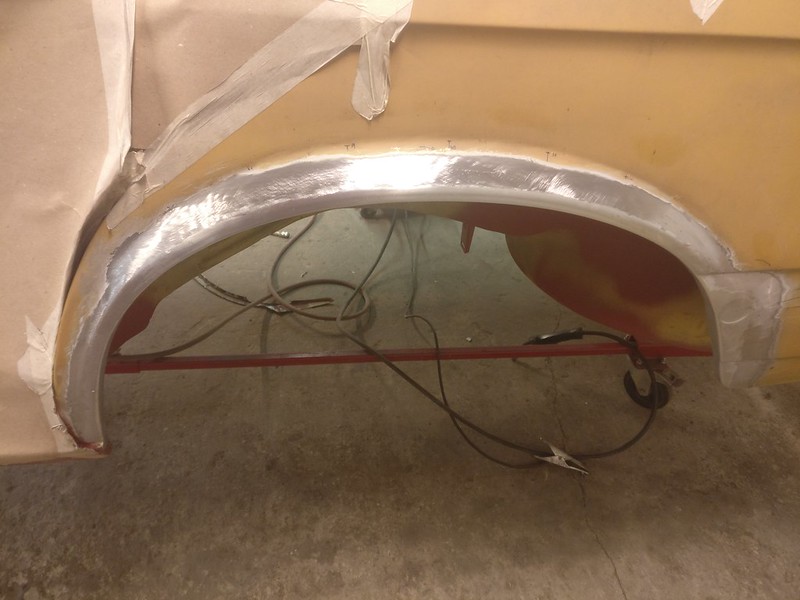
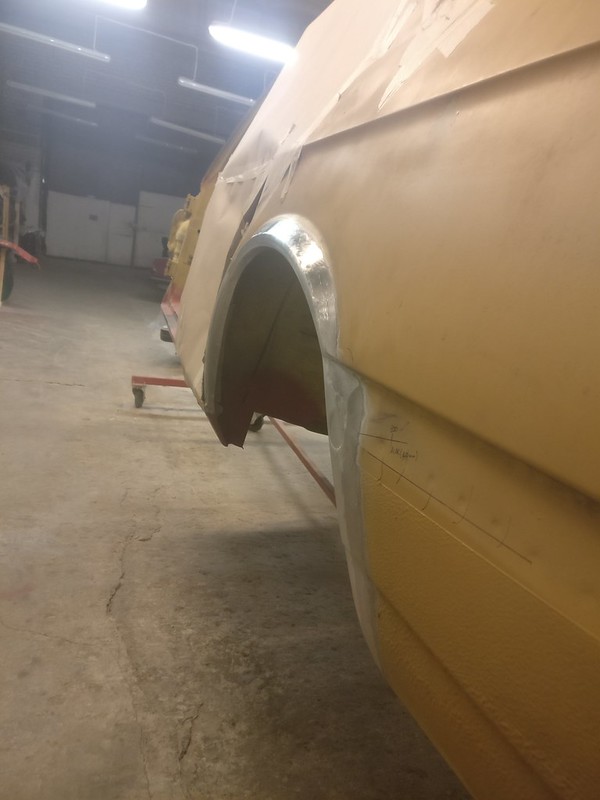
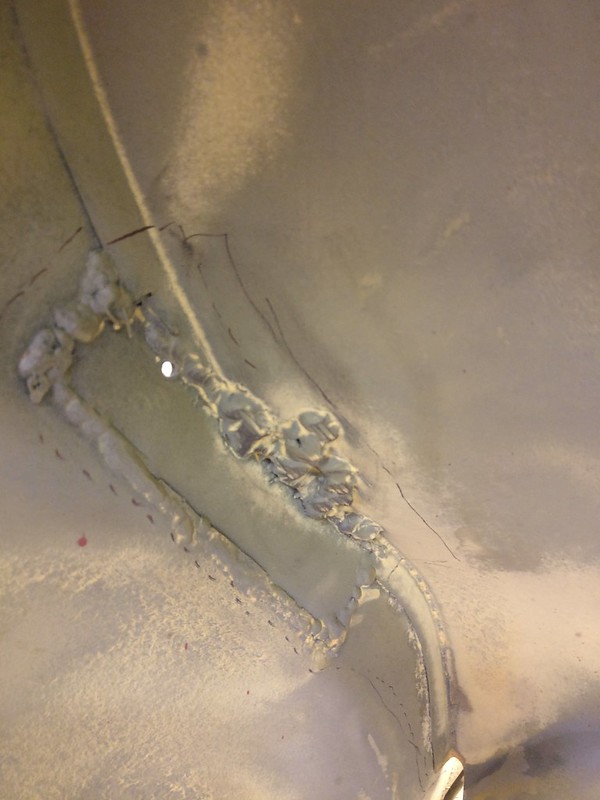
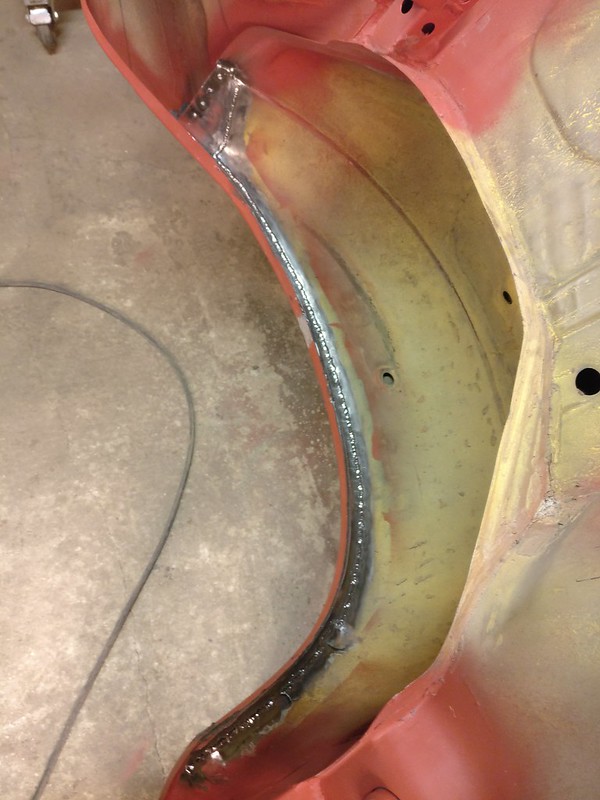
Tacked in. I was hoping my buddy would later TIG all those patches in so it would be easier to planish the welds. The rear line where it meets the door is a bit off but nothing that couldn’t be worked out.
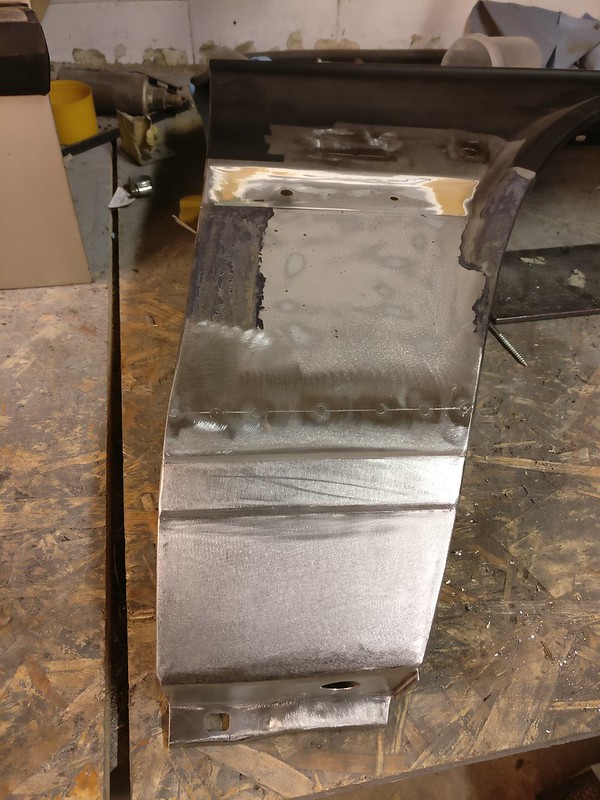
A little bit hammer work and the door line is already better.
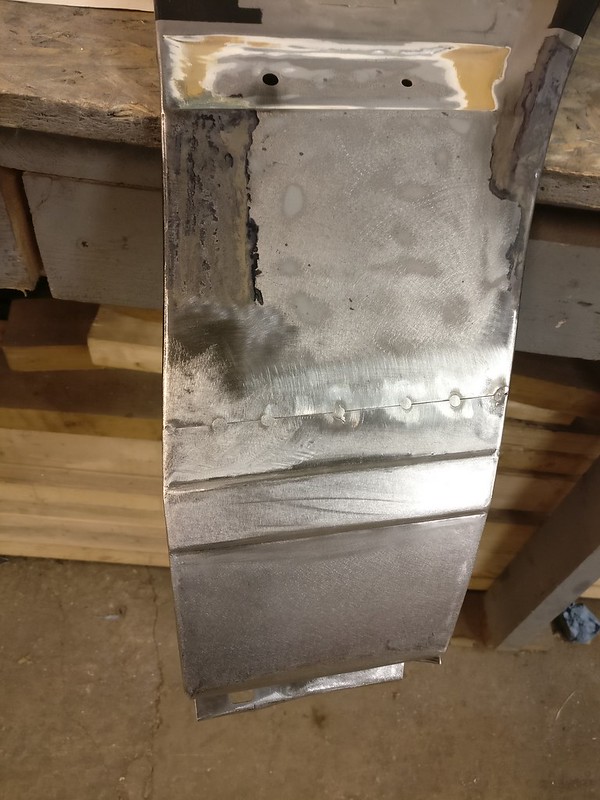
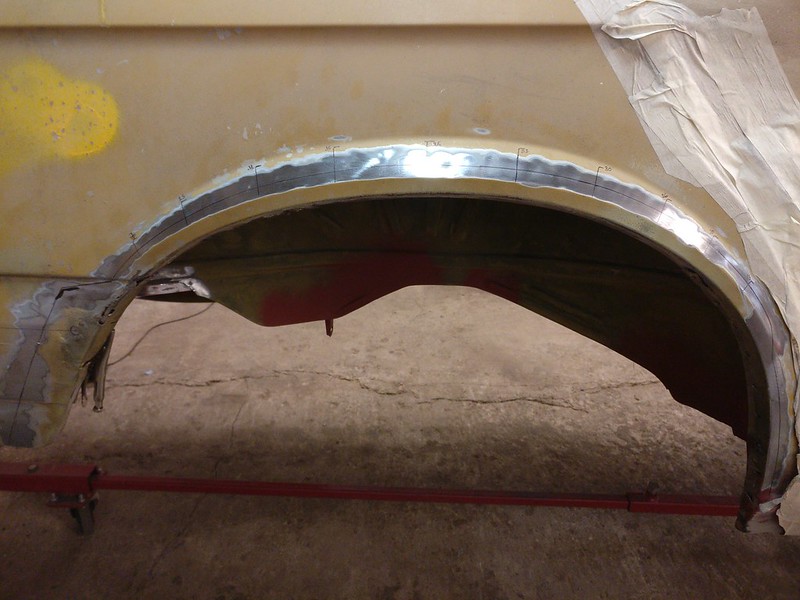
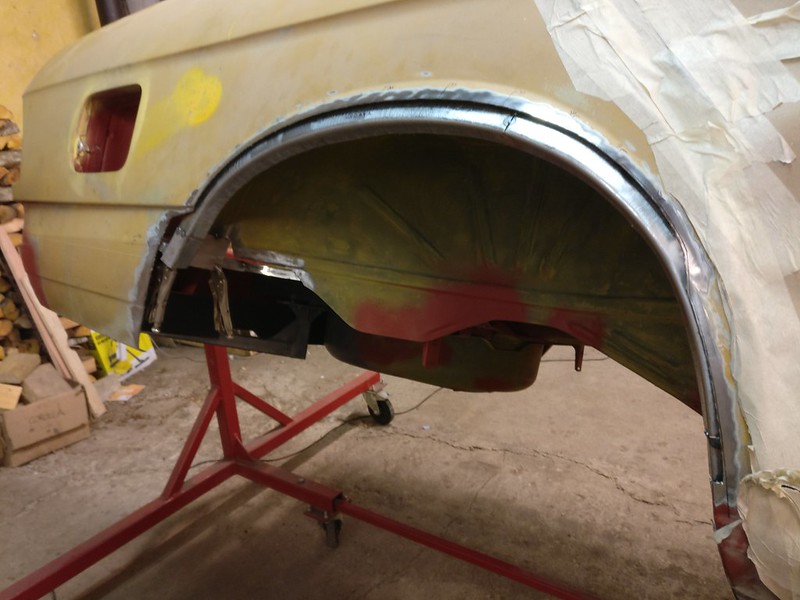
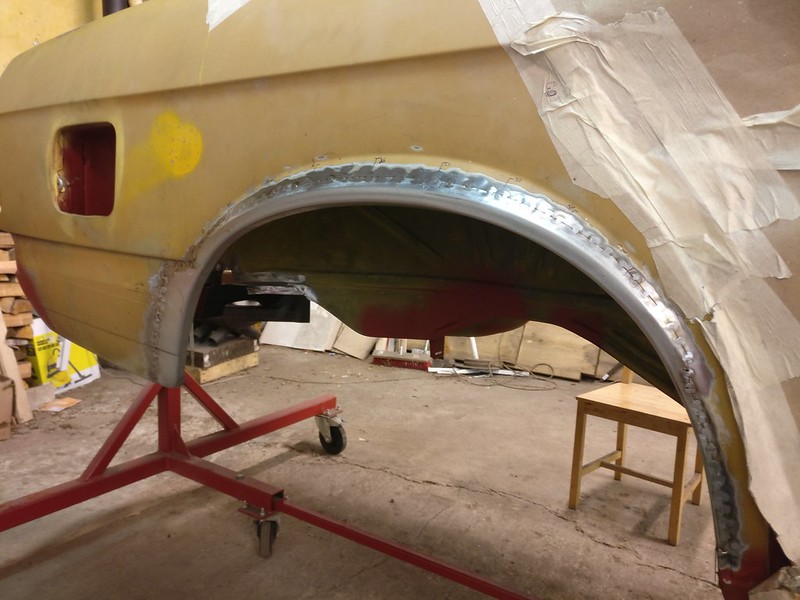
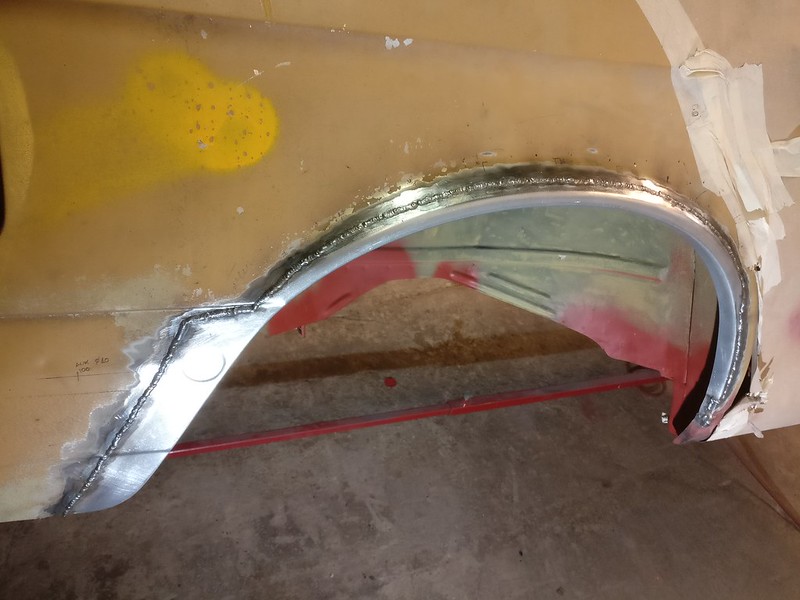
I then started removing paint from the only left side fender I had and it turned out to be in awful shape. The metal was really wavy like it had suffered from excess heat. This was kind of surprising as both the interior and exterior side still had original primer on them. But I guess you could put too much heat into it without sanding through all layers of paint.
Either way, all the waviness and rust made me not want to deal with this fender at all and I decided to get a new one. And you simply can’t replace one side without the other. So I wrote off all the hours put into the other fender as practice and carried on with other stuff.
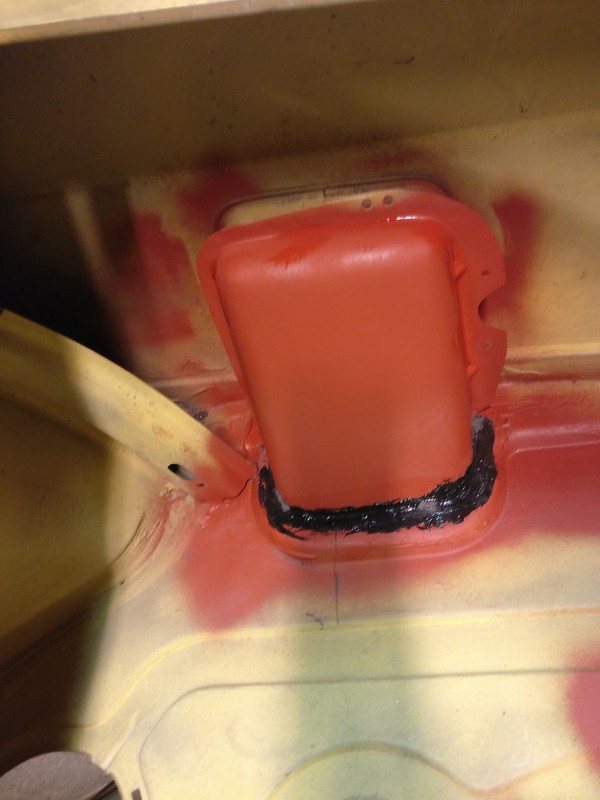
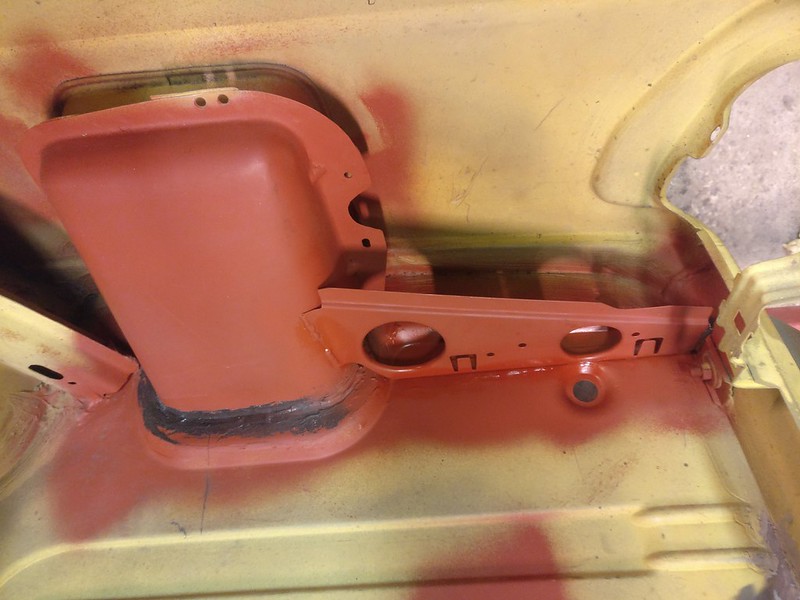
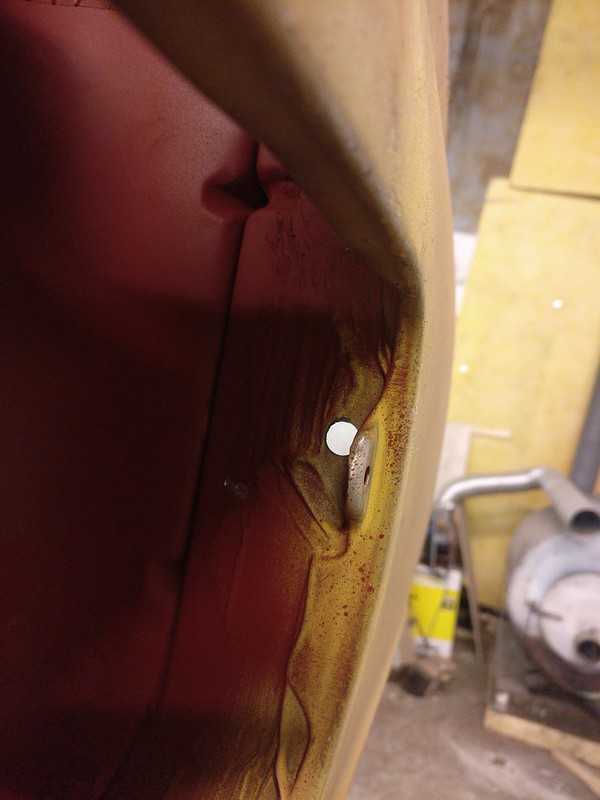
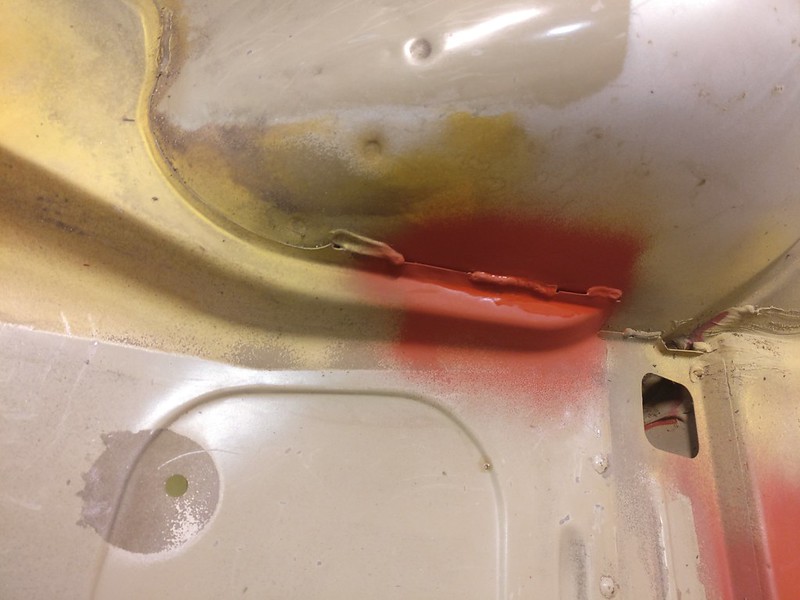
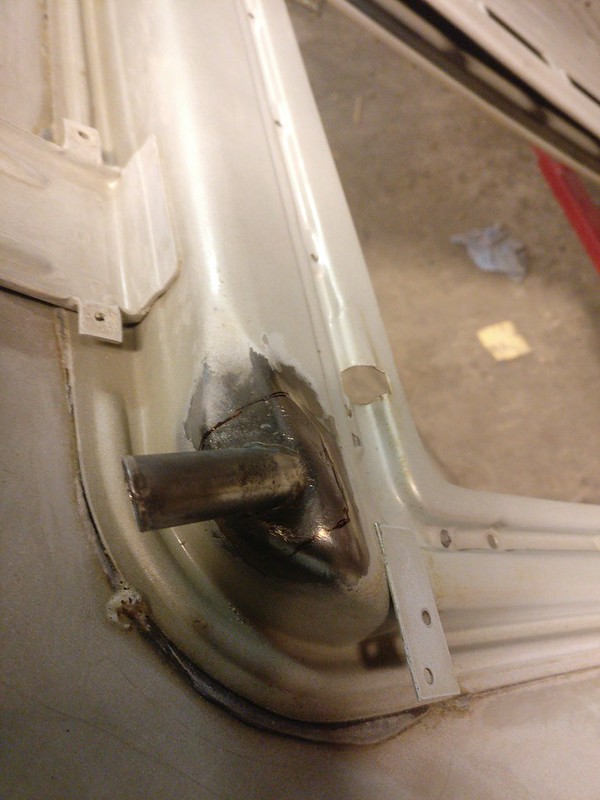
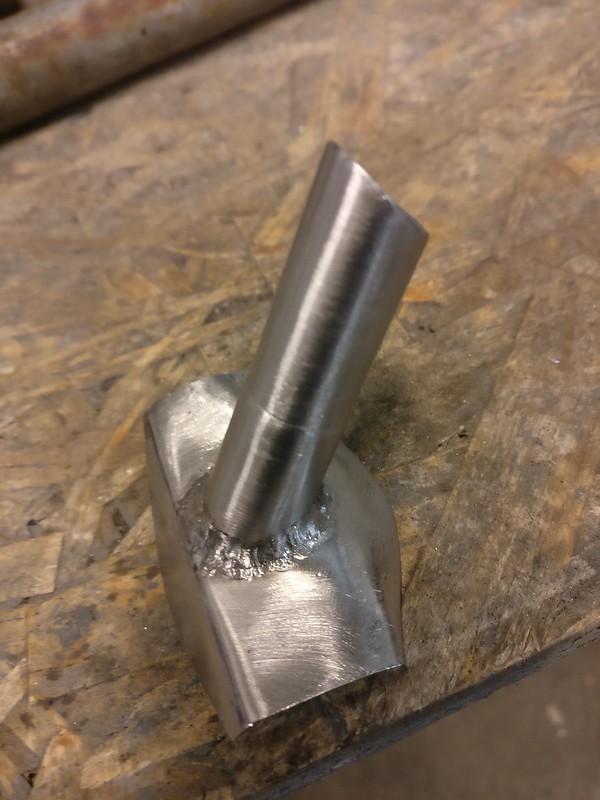
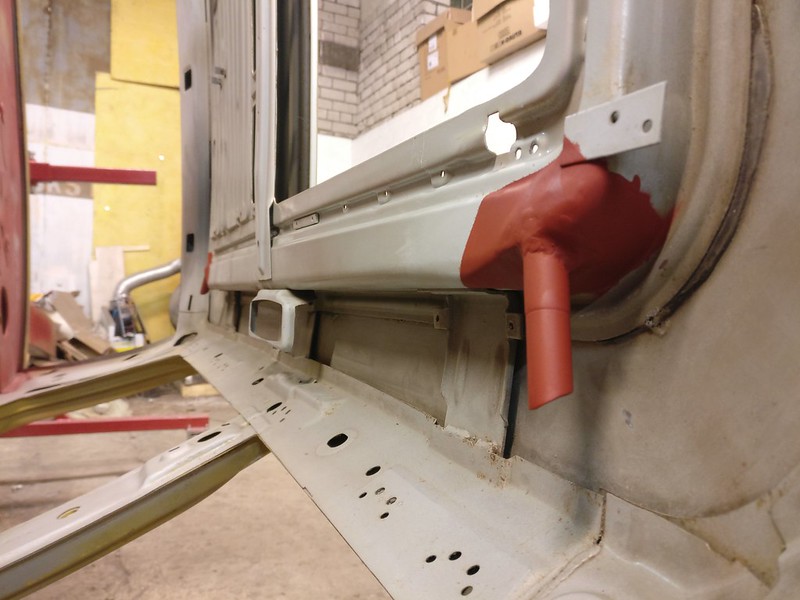
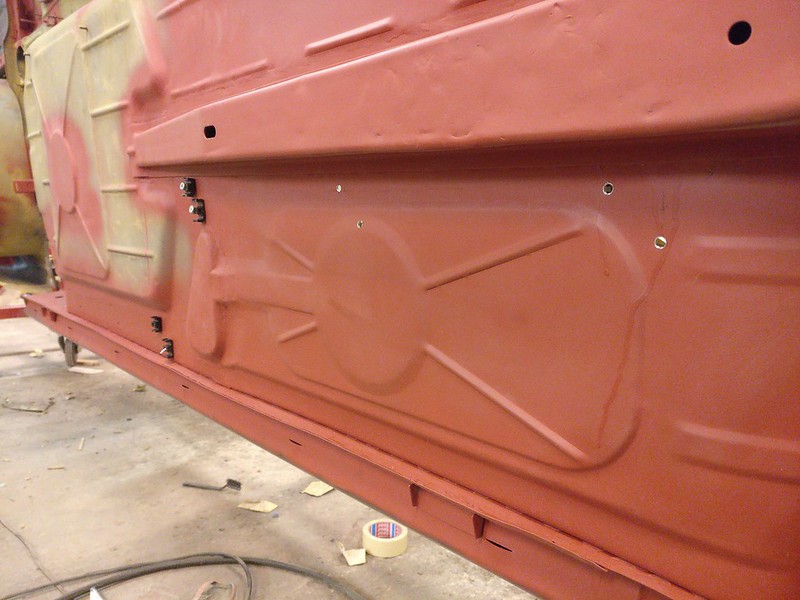
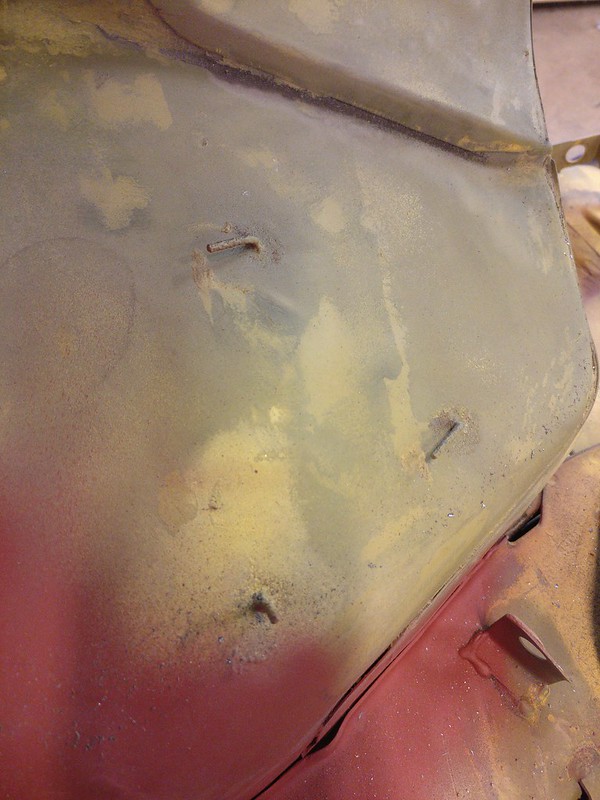
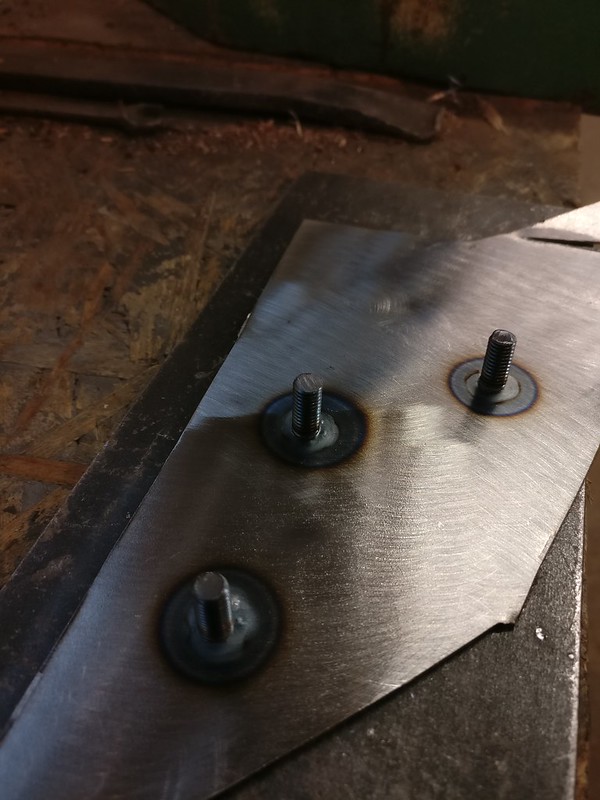
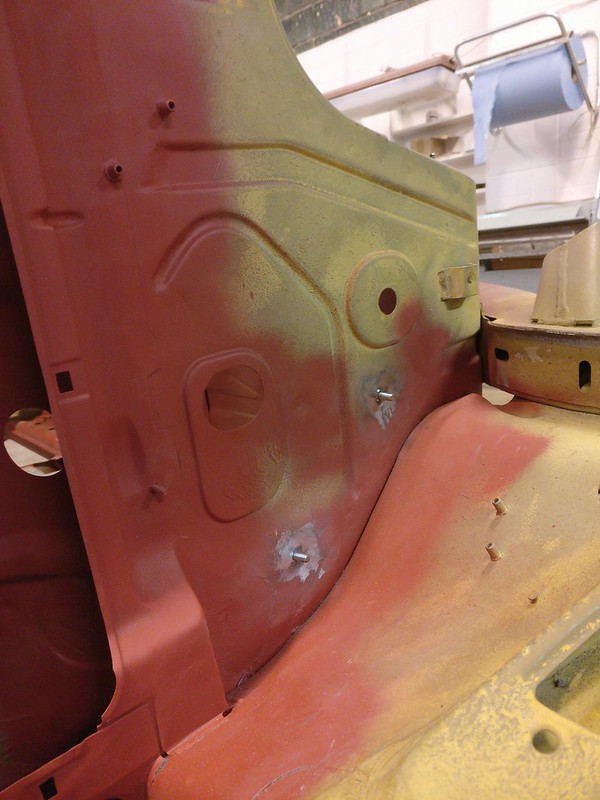
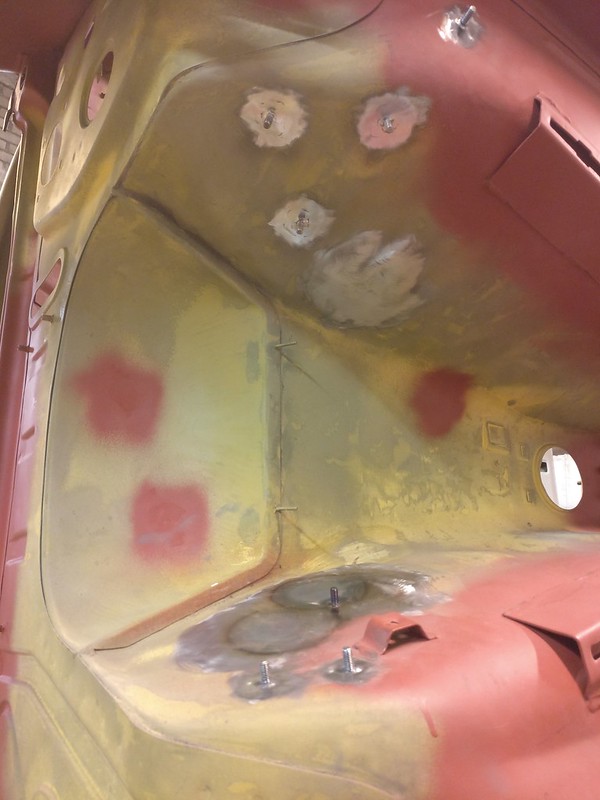
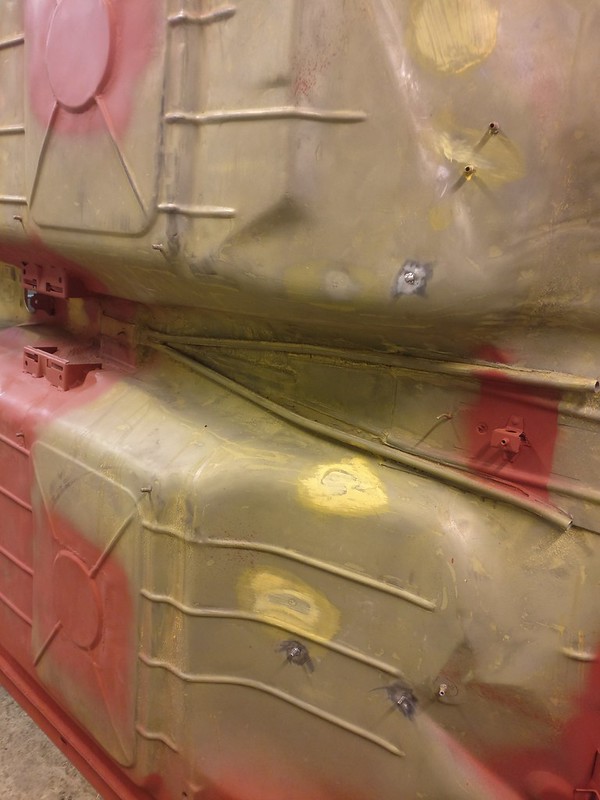
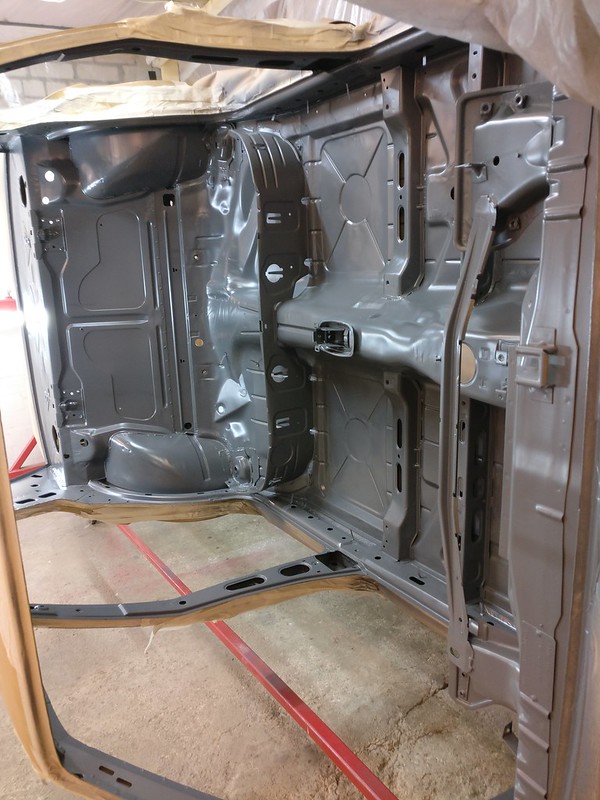
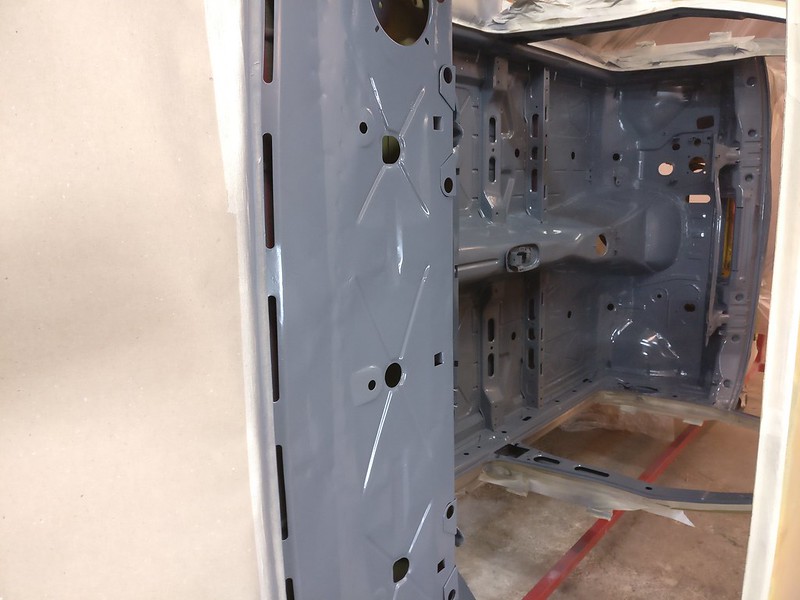
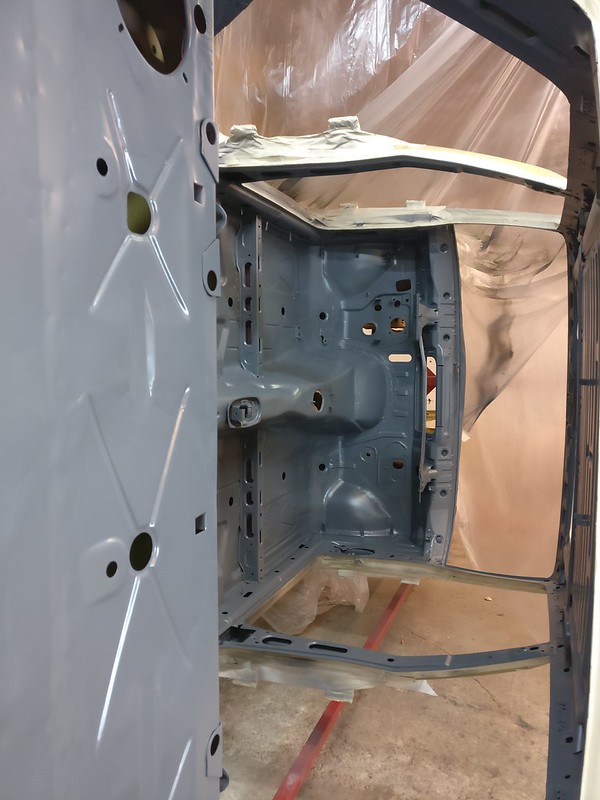
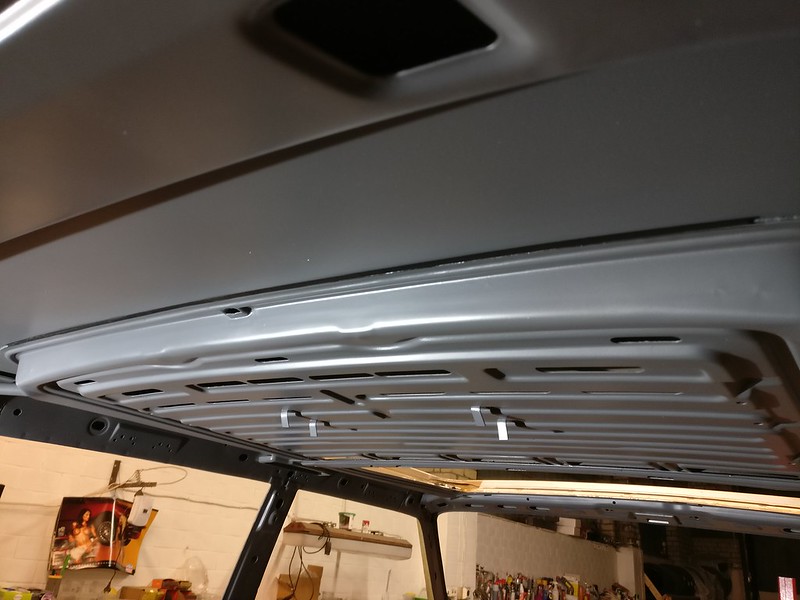
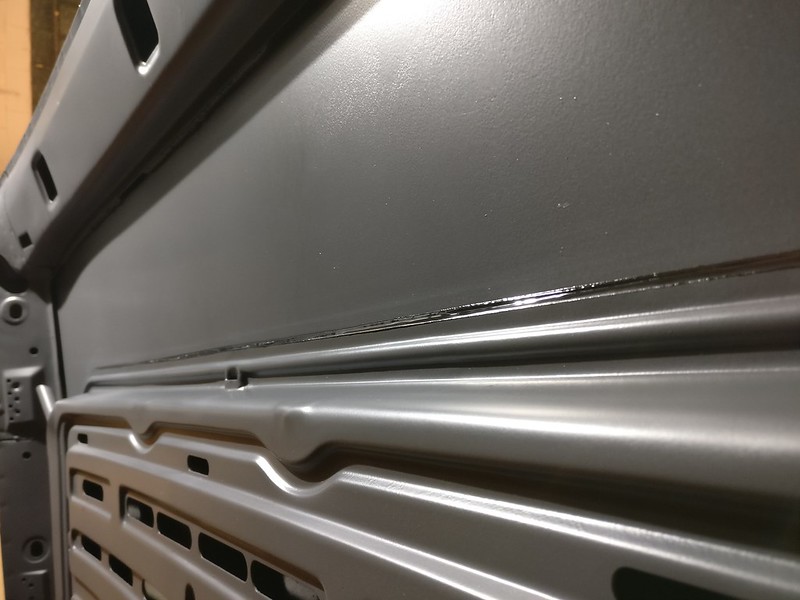
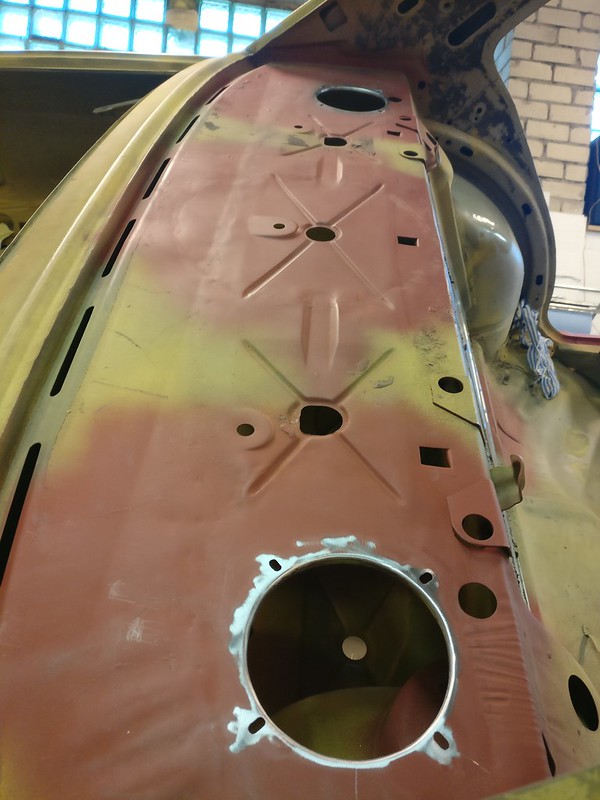
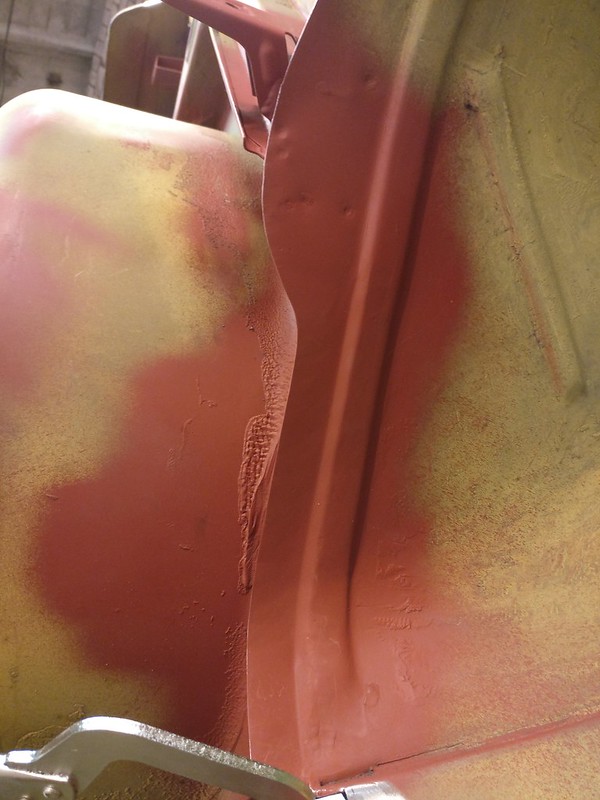
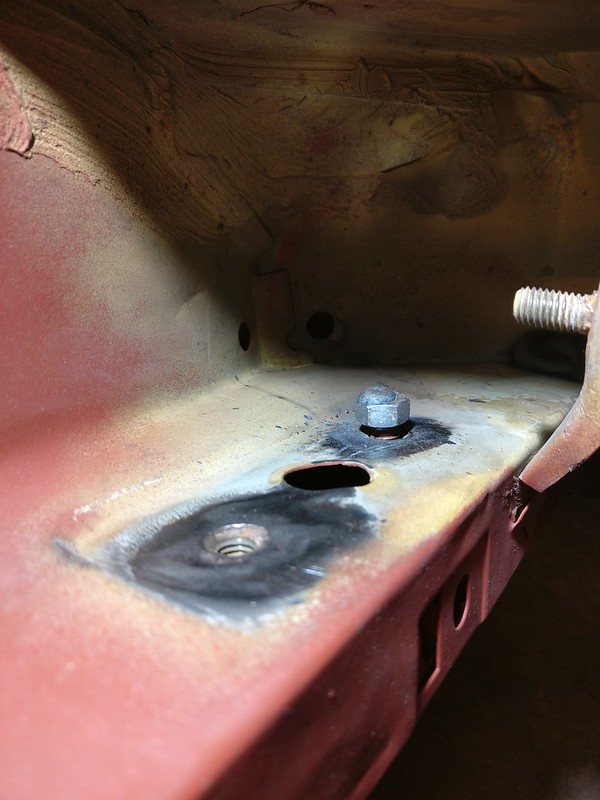
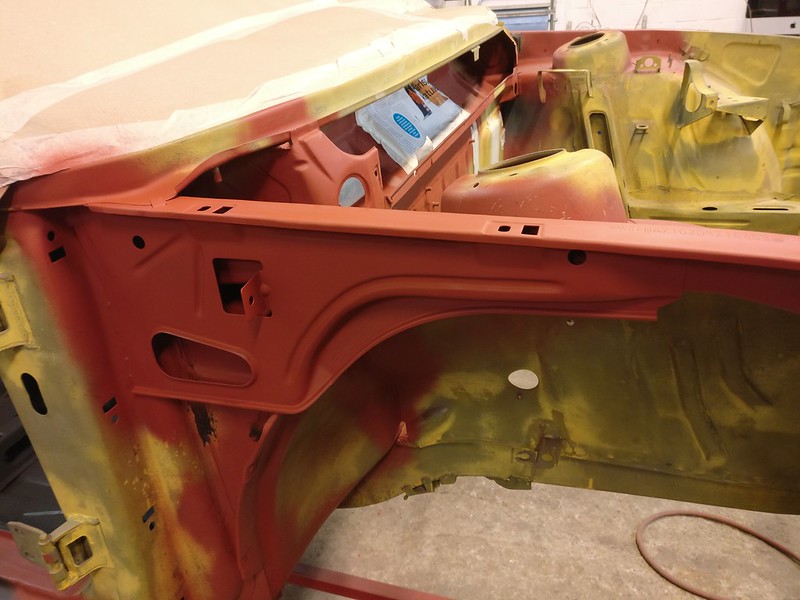
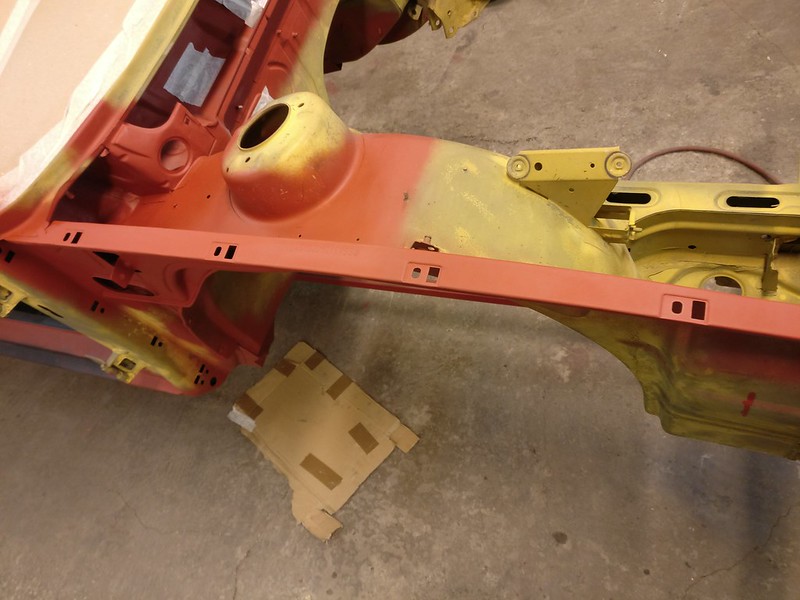
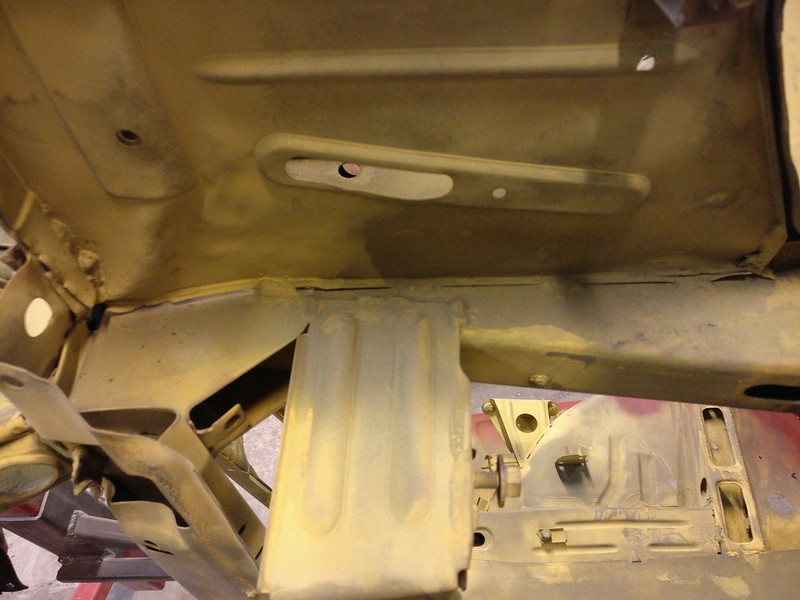
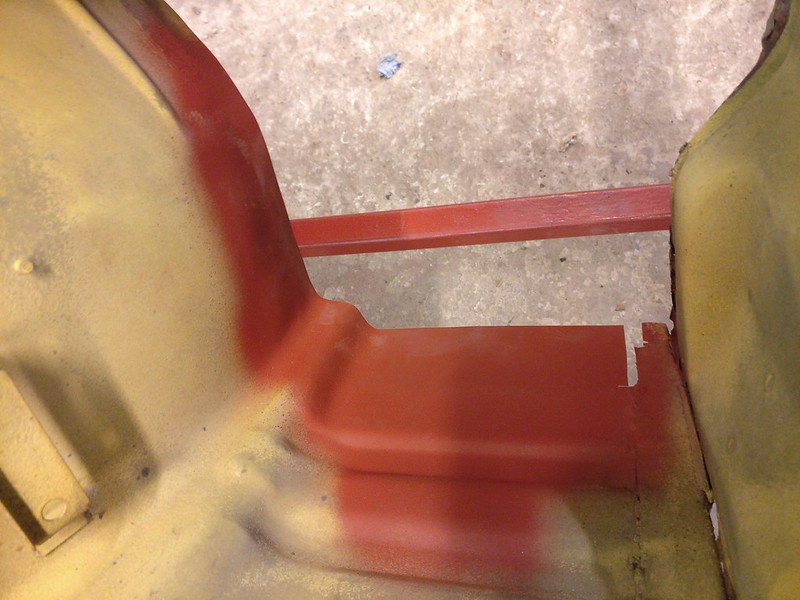
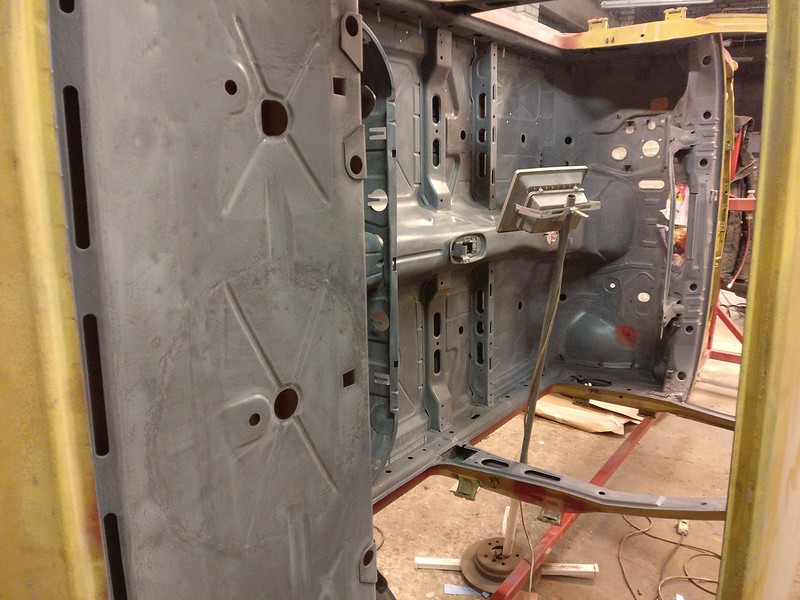
Here’s a shot of the cabin, all sanded and ready for paint. You can also spot the read area where I installed the missing stud for glove box hinge. In addition to cabin, underside and engine room are also cleaned, sanded and ready for primer.
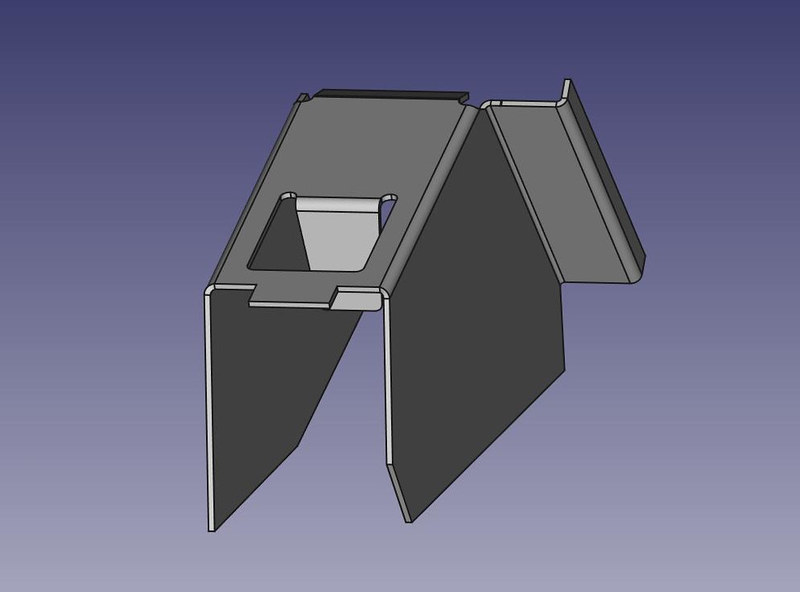
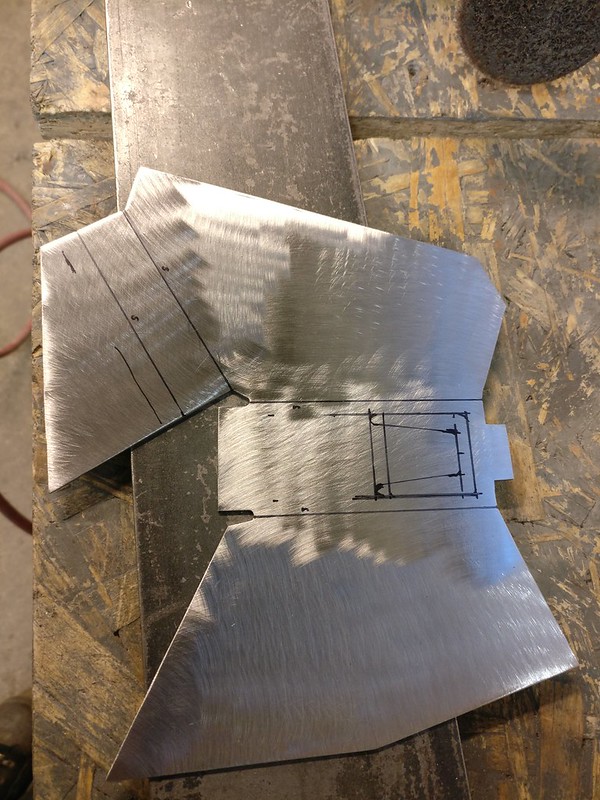
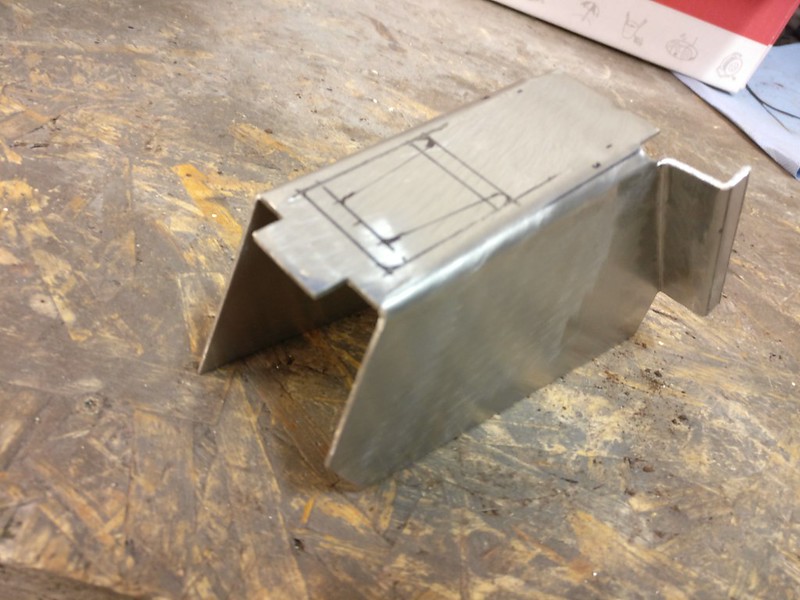
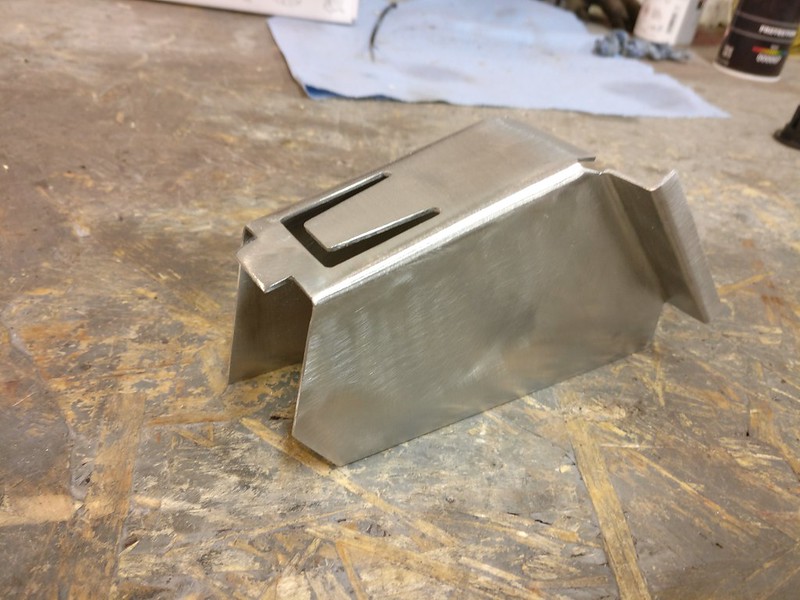
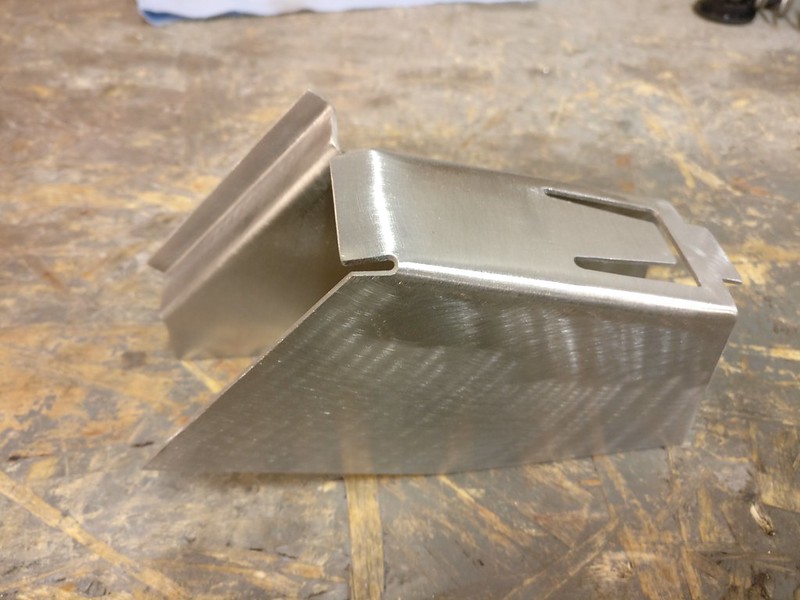
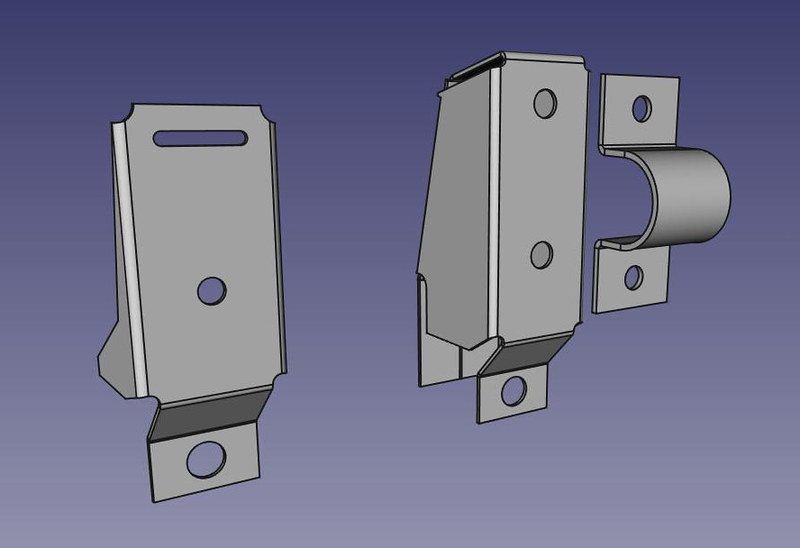
Front sway bar mounts. Decided to go for a flat mount and a simple clamp design that would accept universal bushings. This would give me the best versatility in terms of bar thickness and would be easy enough to fabricate.
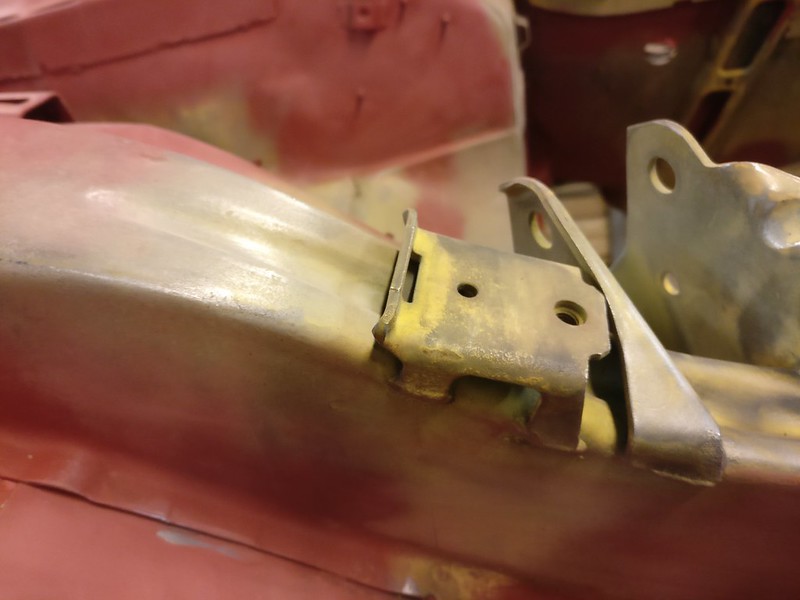
Made the mounts out of 3mm sheet metal so they’d be strong enough for any bar. Hardest part was to decide on the shape of the legs. The legs on the OEM mount look a bit odd so instead copying that I made them wider and angled like this. These mounts look fast, don’t they?
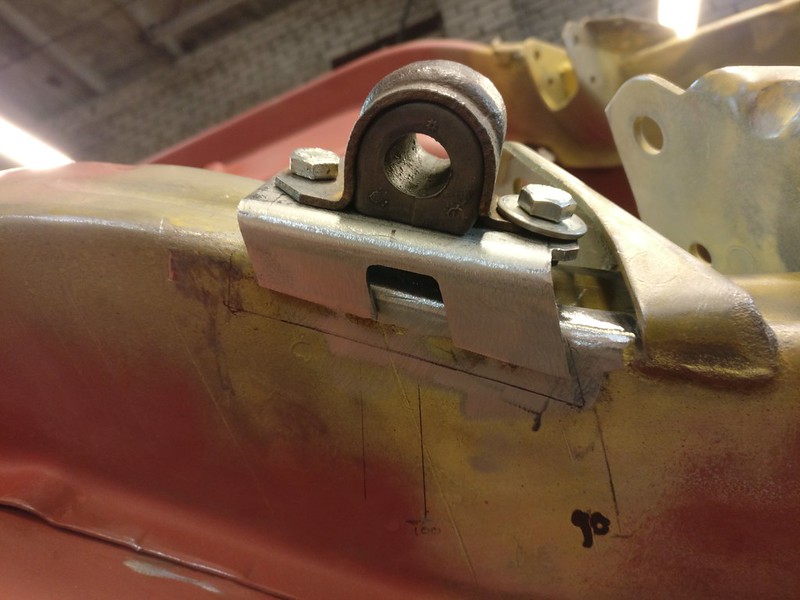
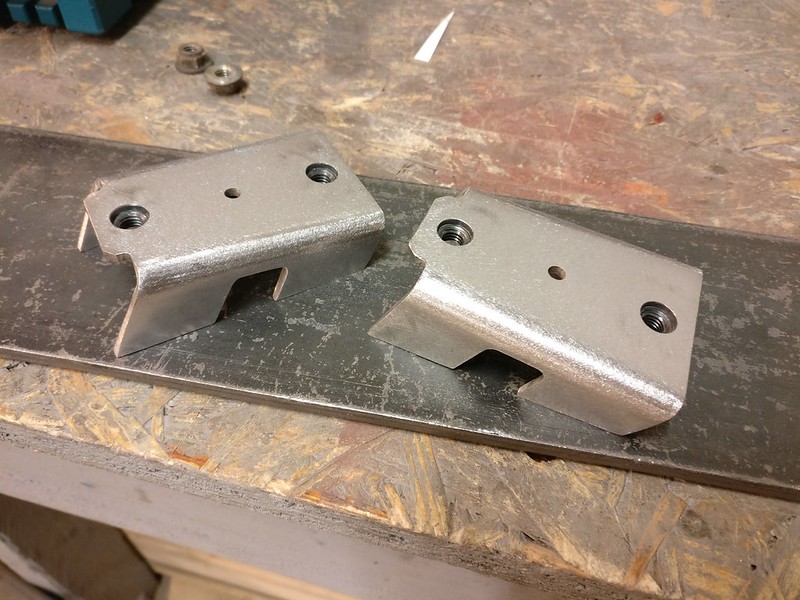
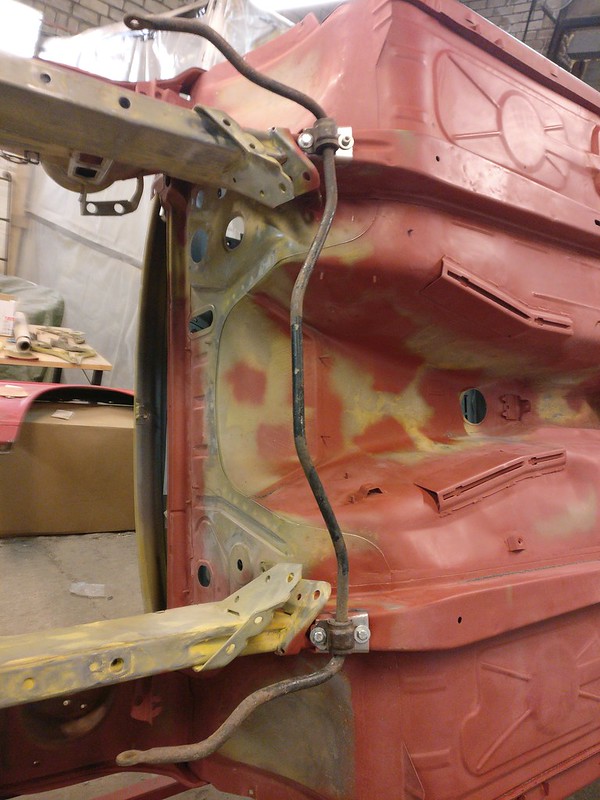
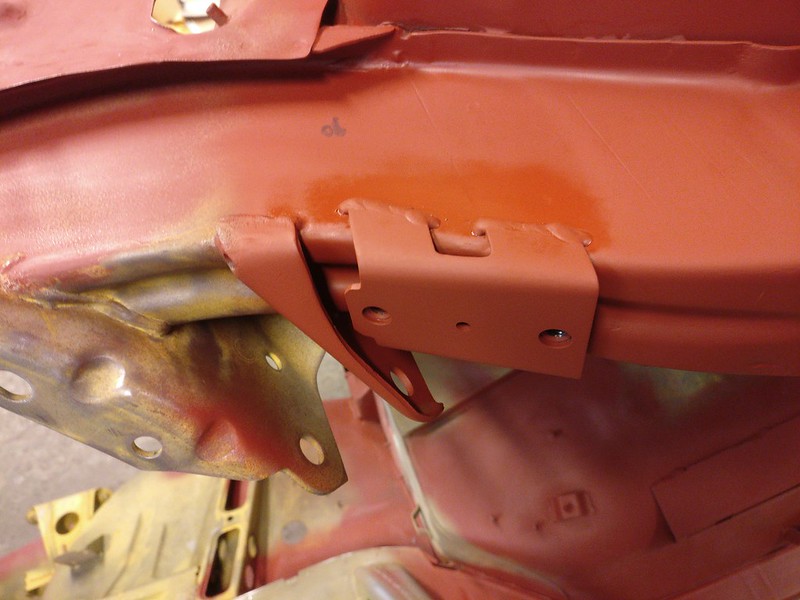
I’m yet to make the clamps. Maybe I’ll just order the bushings with clamps and be done with it.
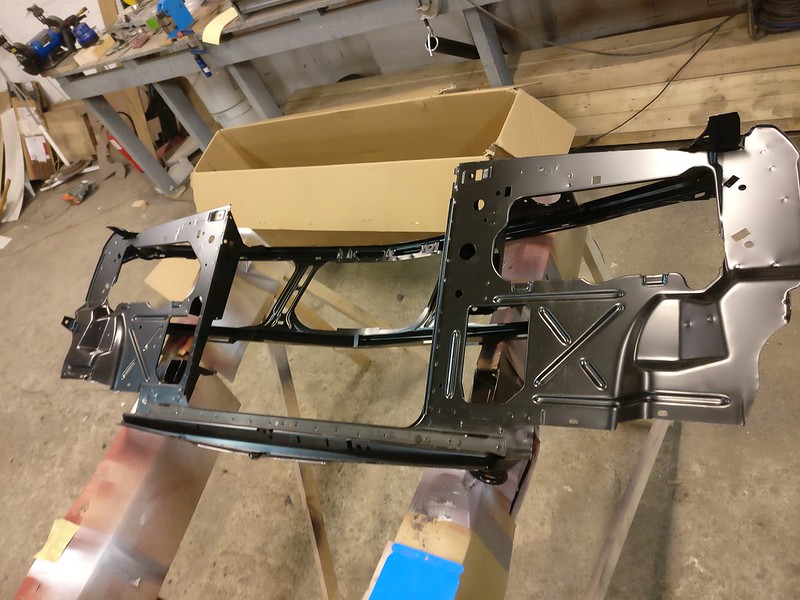
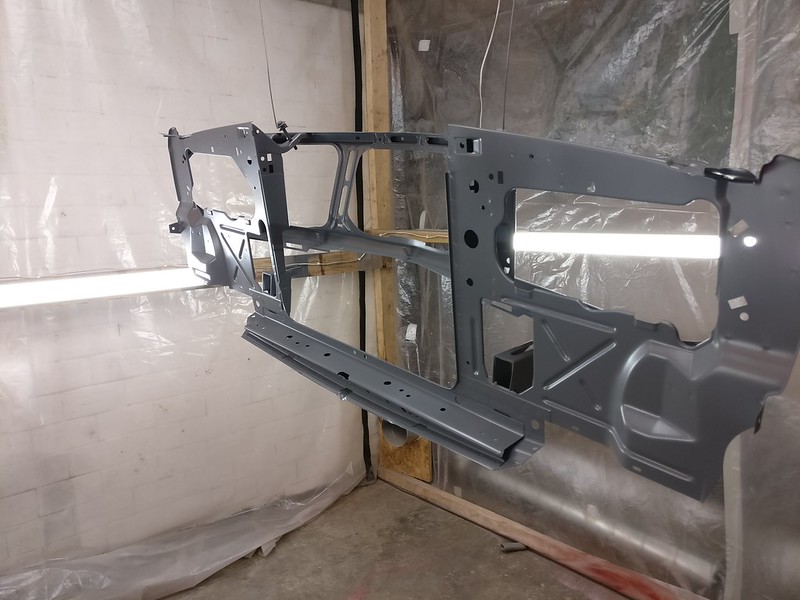
Now, all that’s left to do on the chassis is the nose section so it was time to lose the rotisserie and put the car on the table.
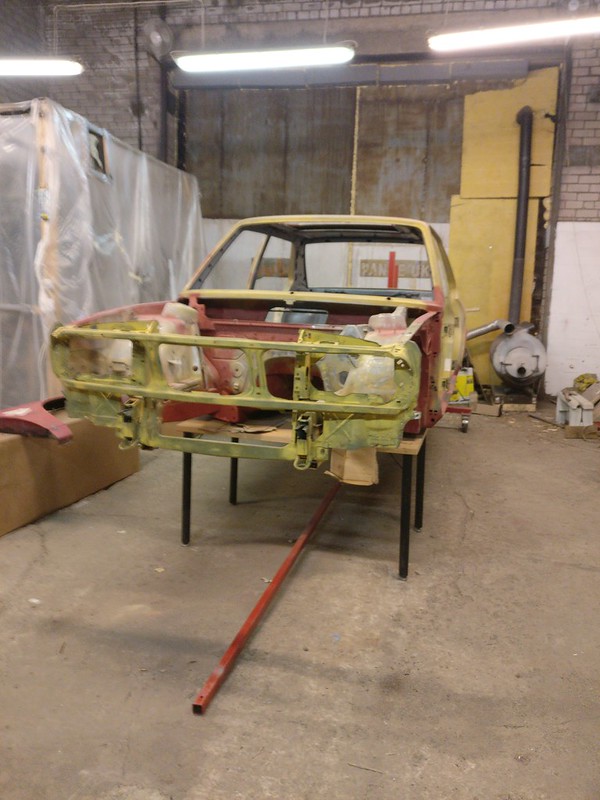
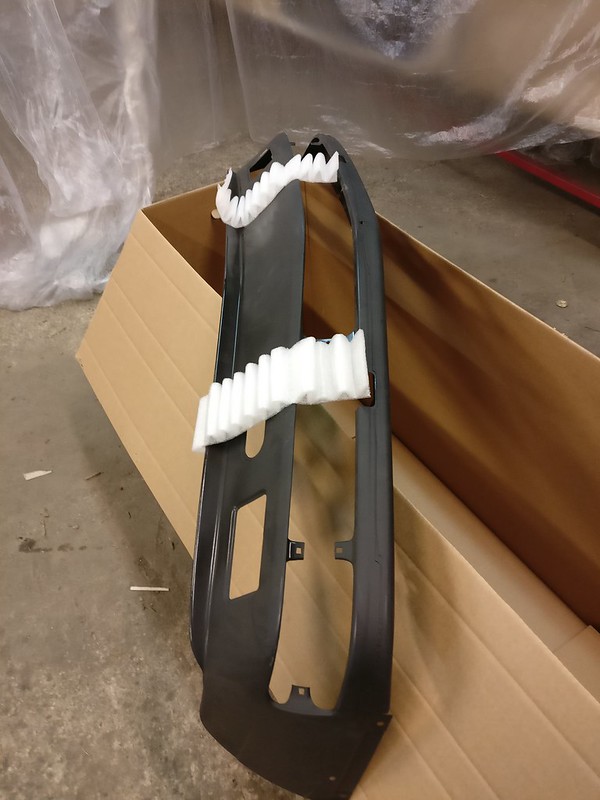
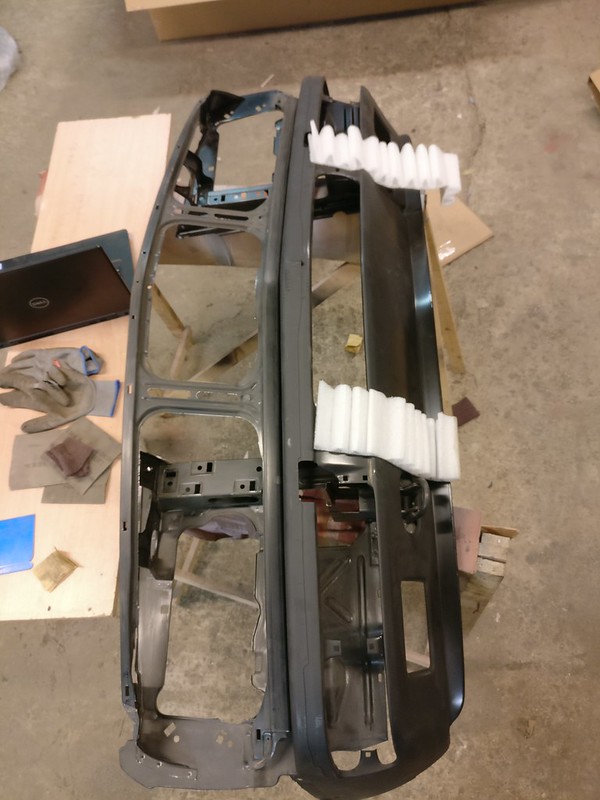
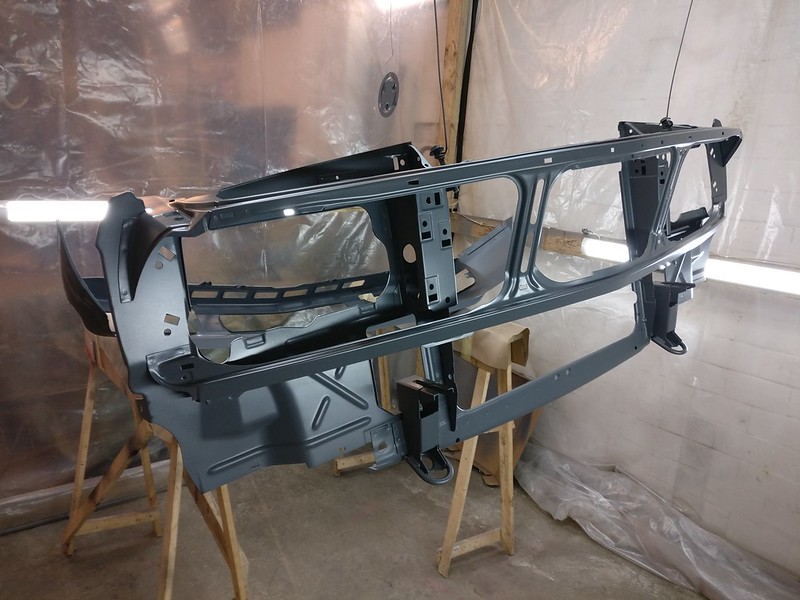
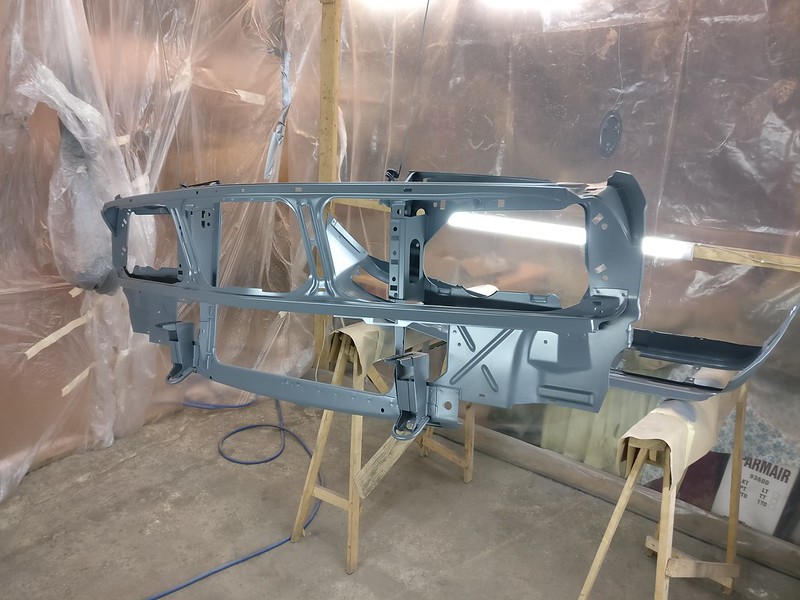
Followed by mounting and adjusting all the panels so I could align the new nose frame properly.
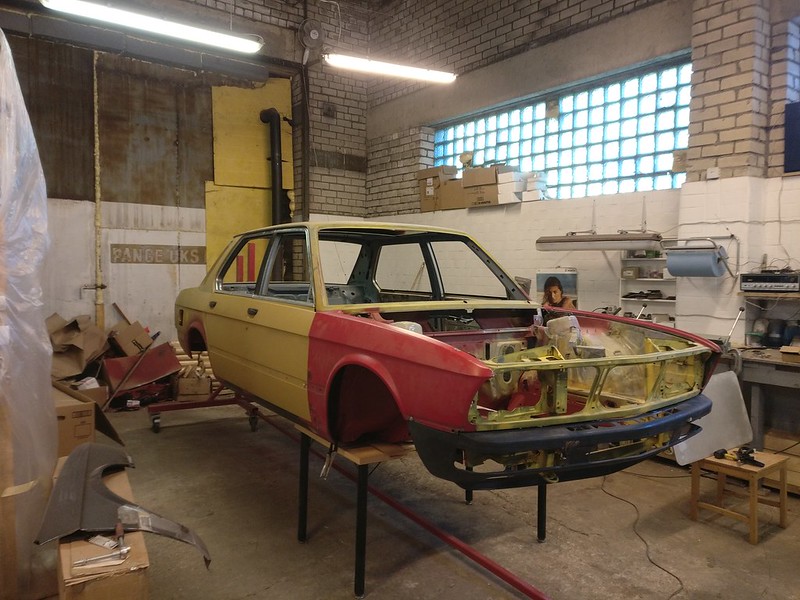
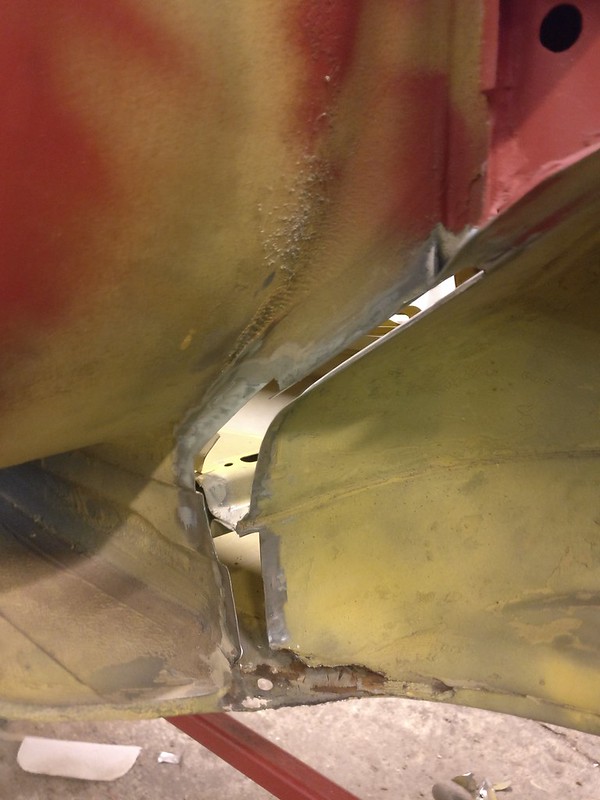
Here you can see how uneven the surface of the driver’s side fender is.
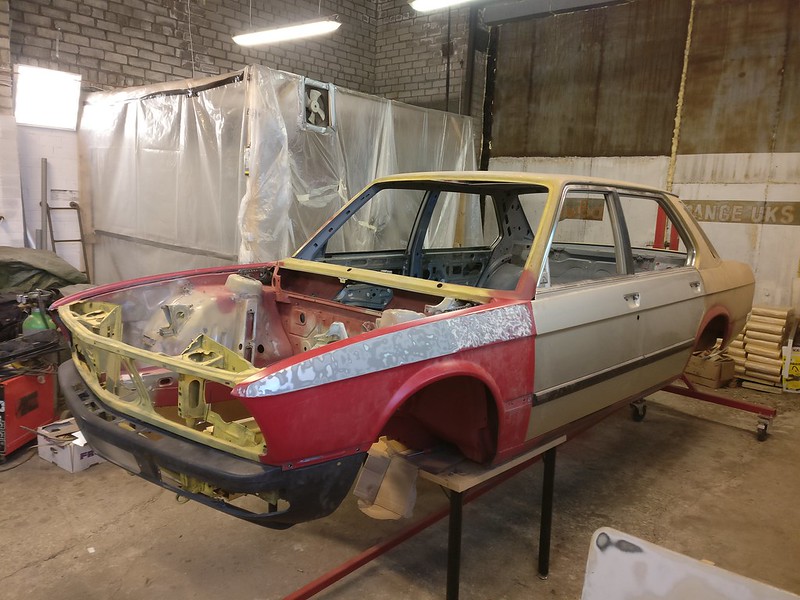
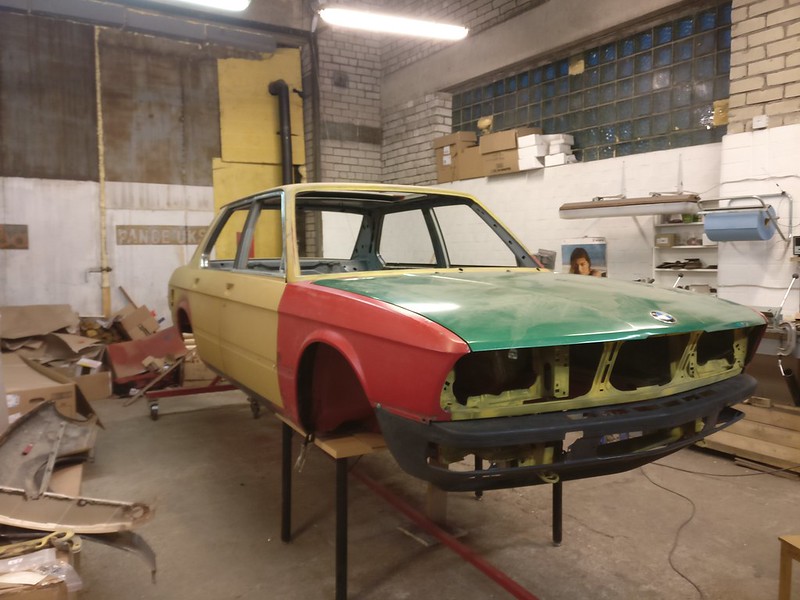
A little bit of drilling and cutting and off it was.
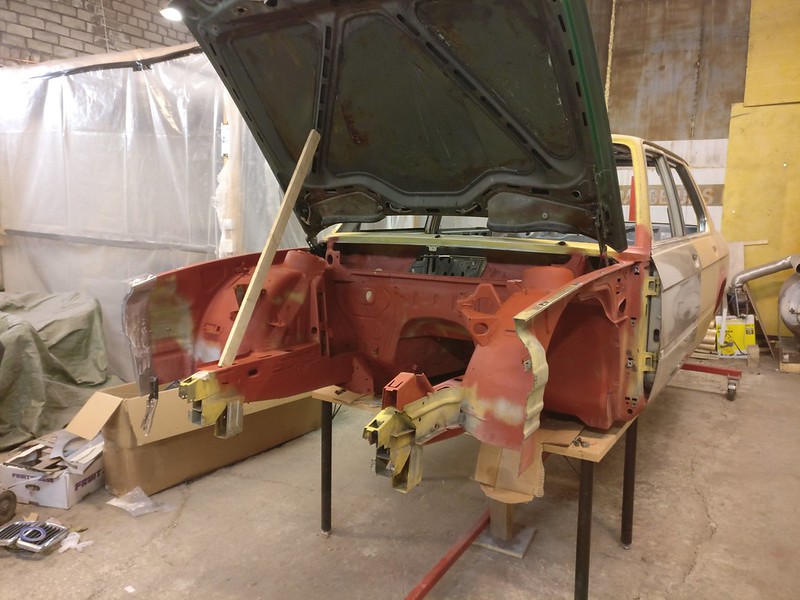
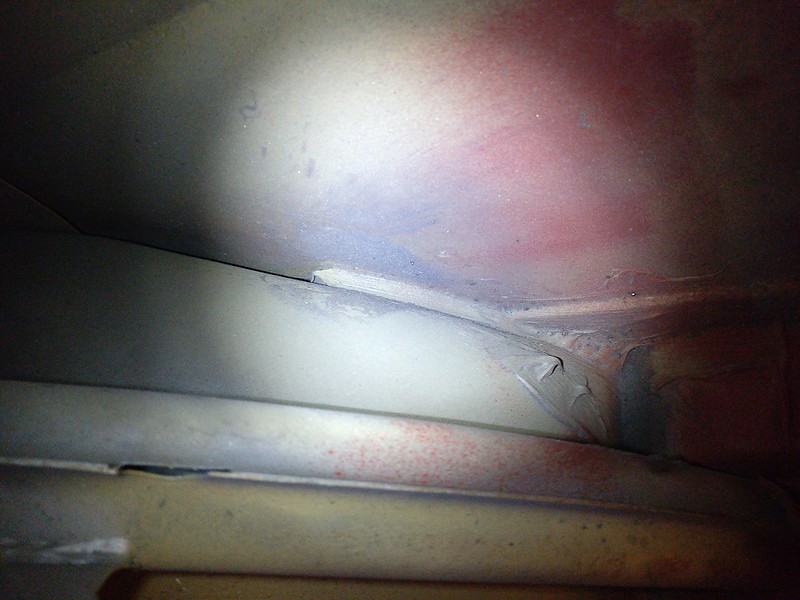
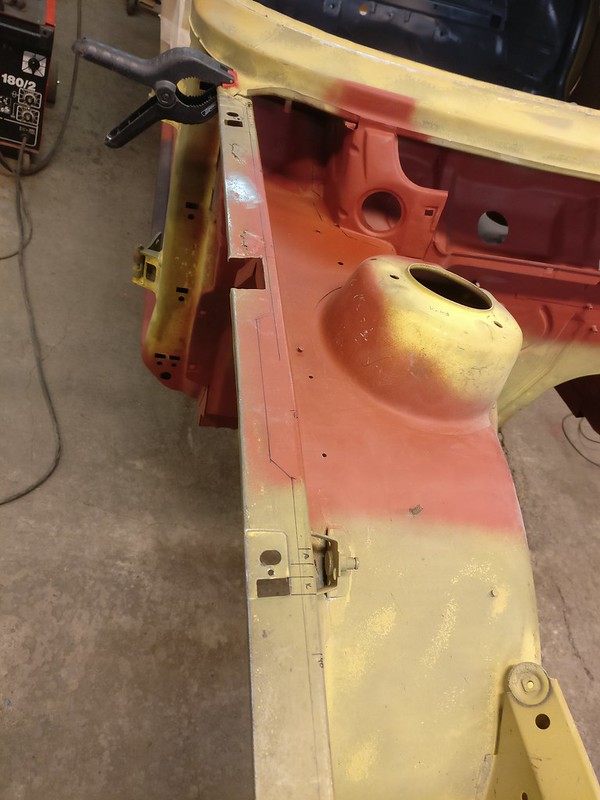
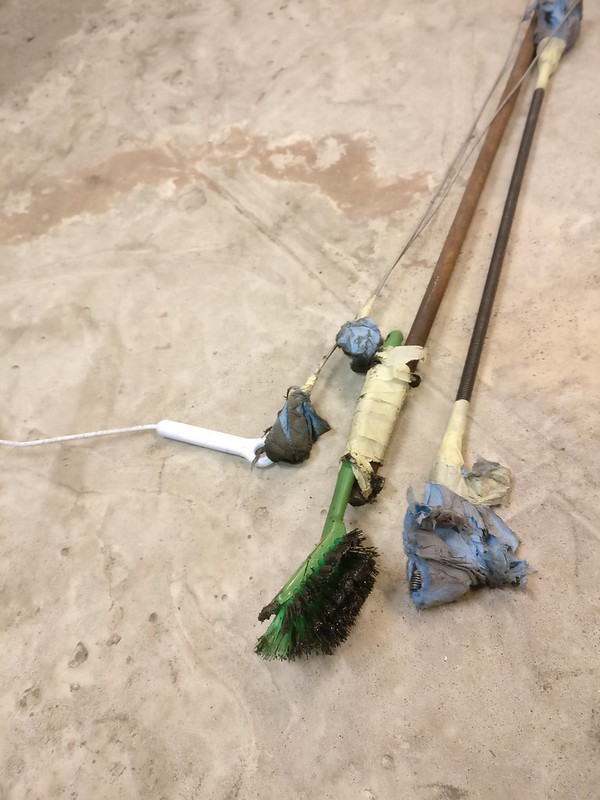
Perfect time to clean the insides of frame rails. In the driver’s side rail there was a lot of liquid cavity wax which had turned into a thick layer of mud. Took me half a day to get it cleaned. I guess a session with power washer before starting the metal work would have helped a lot. I try to keep that in mind if I ever tackle another project like that. Luckily, other side was pretty clean already.
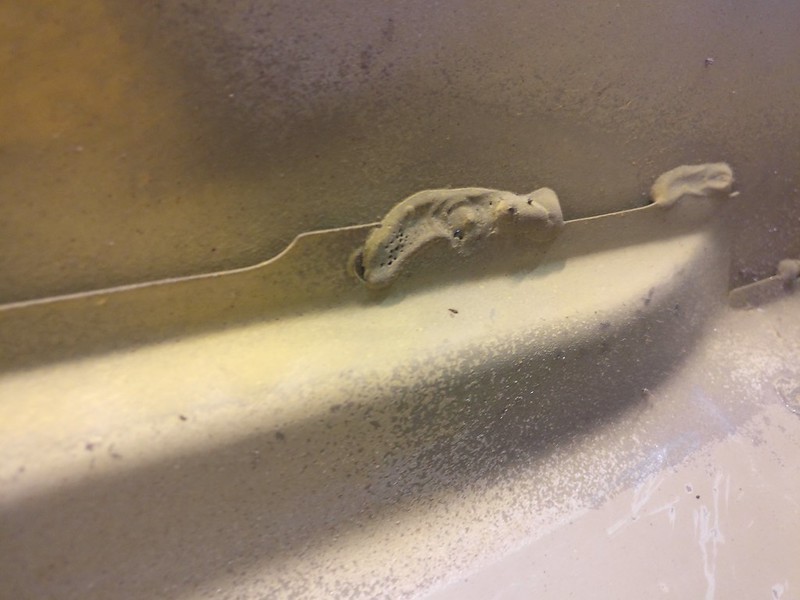
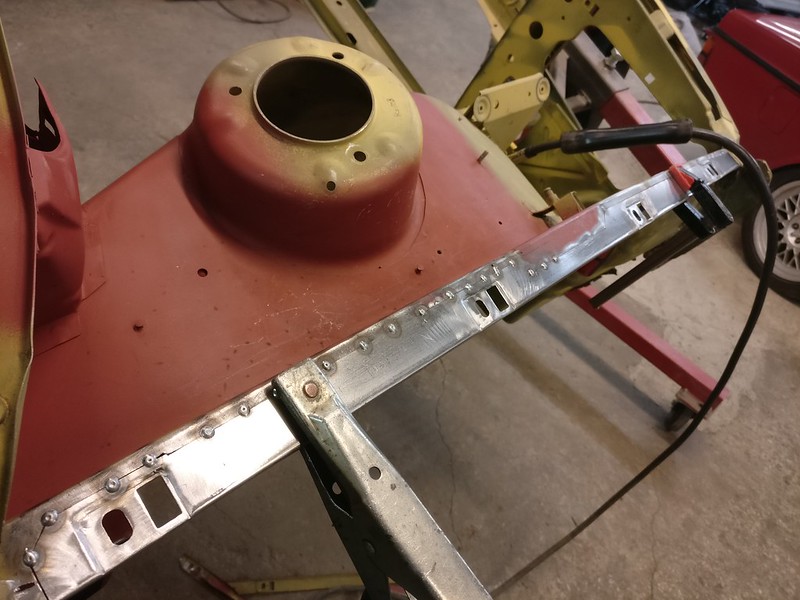
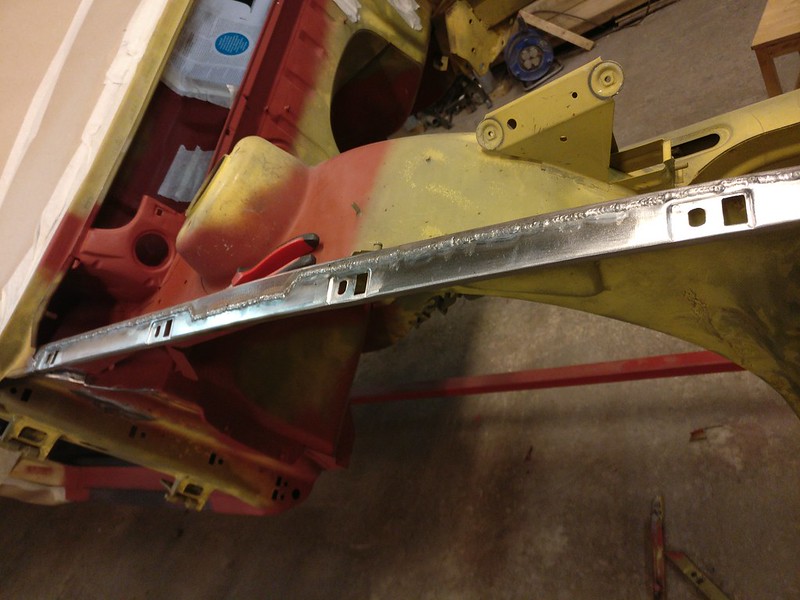
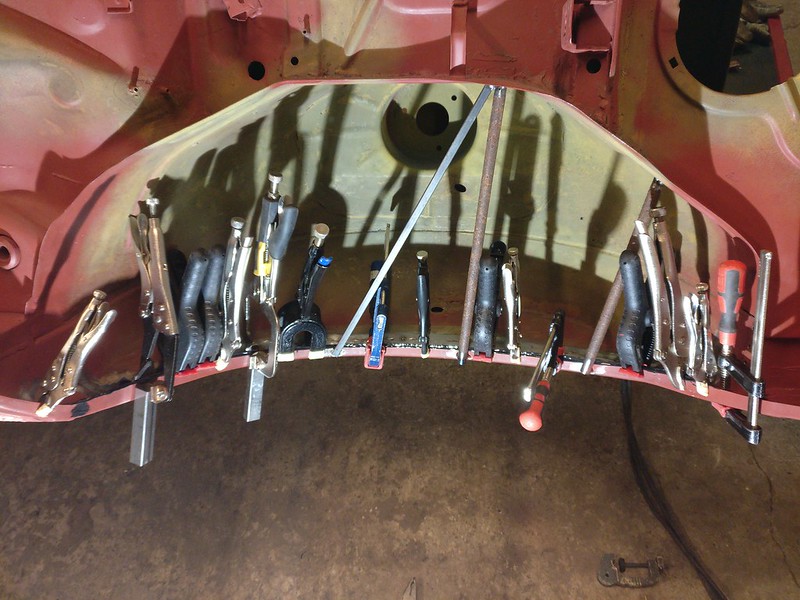
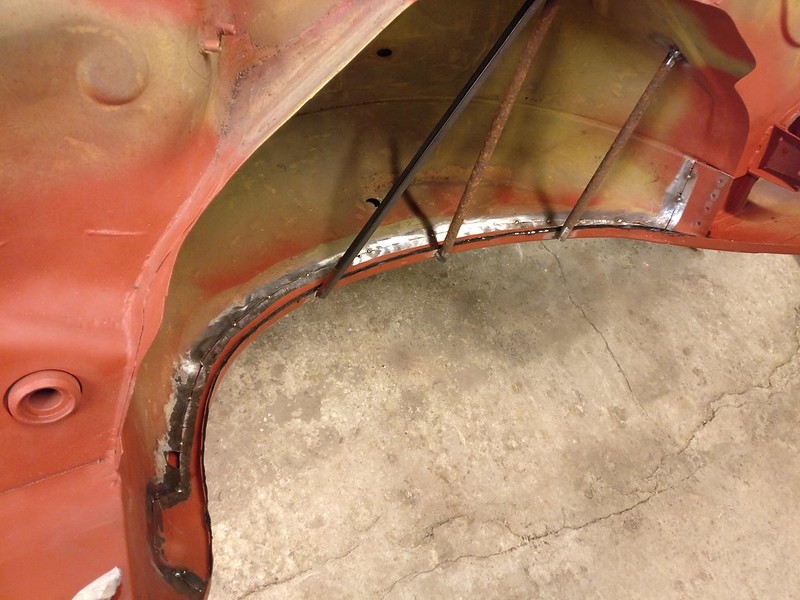
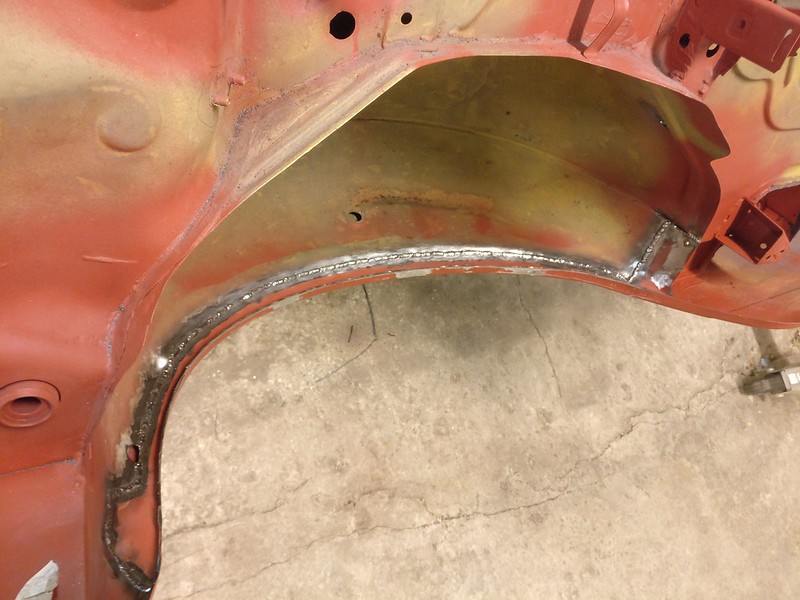
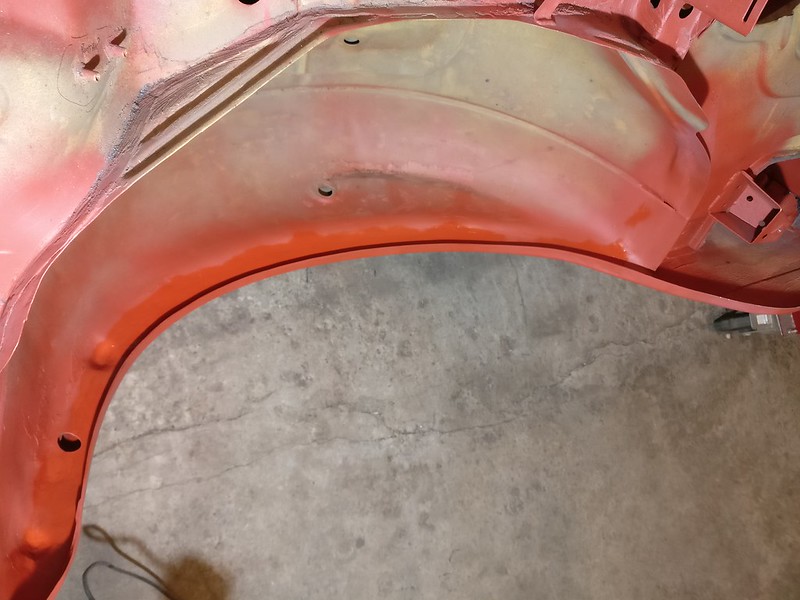
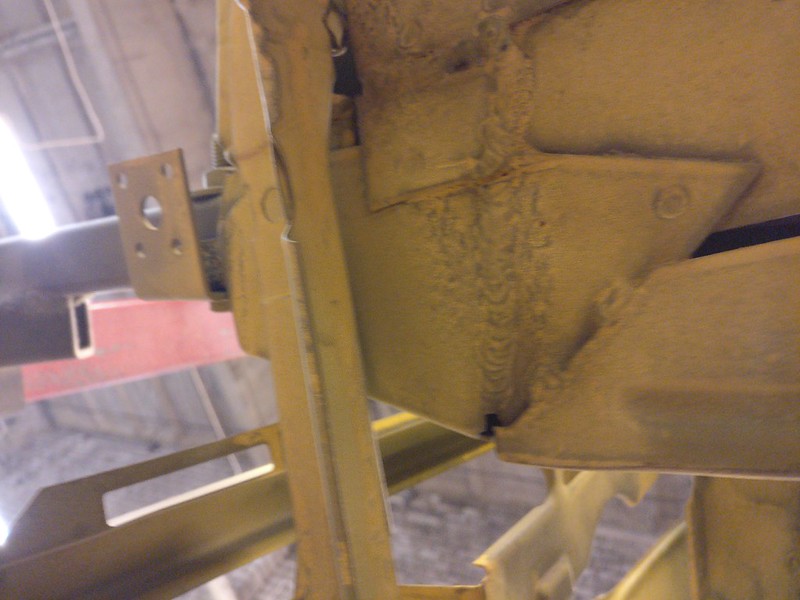
Some new pieces to fix the hack job on the frame rail.
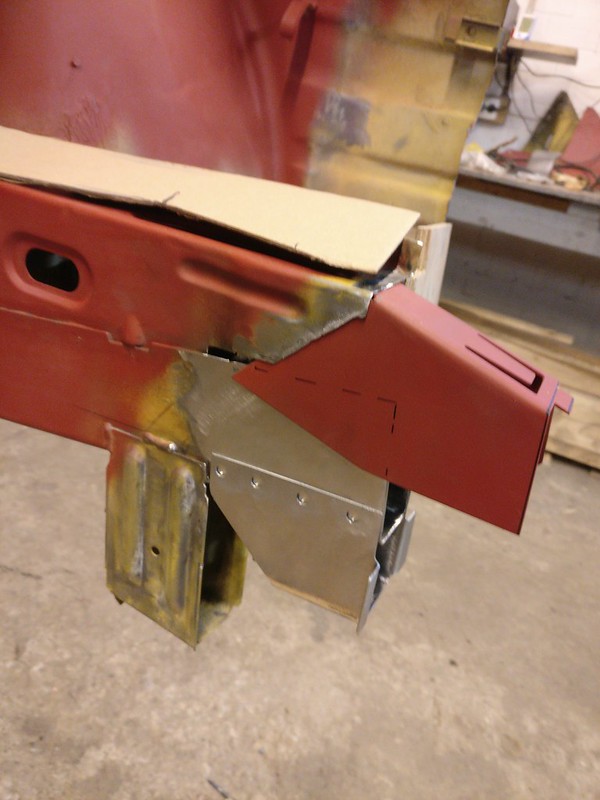
New side pieces. Need a bit more work but pretty much in shape.
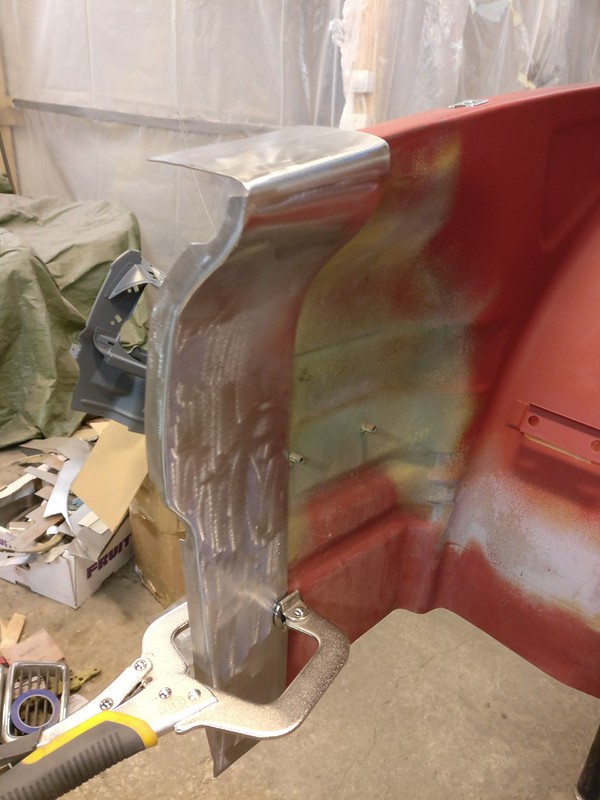
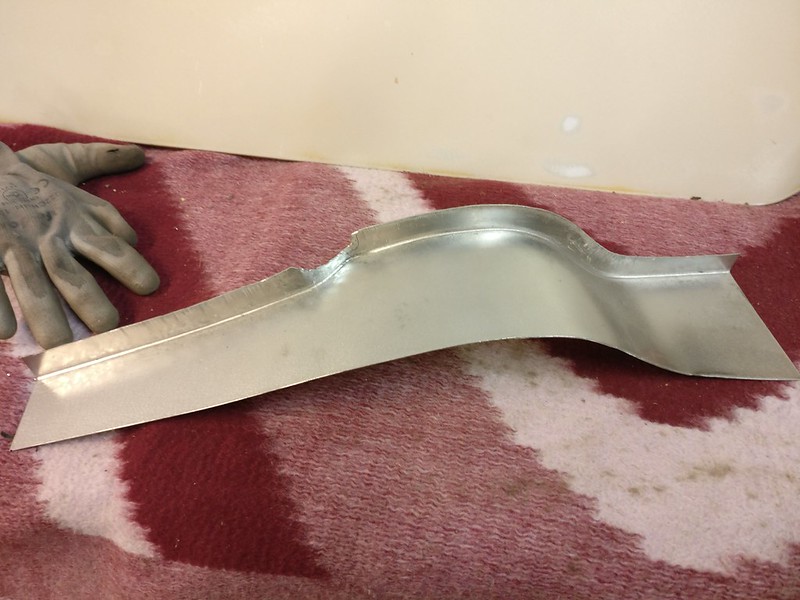
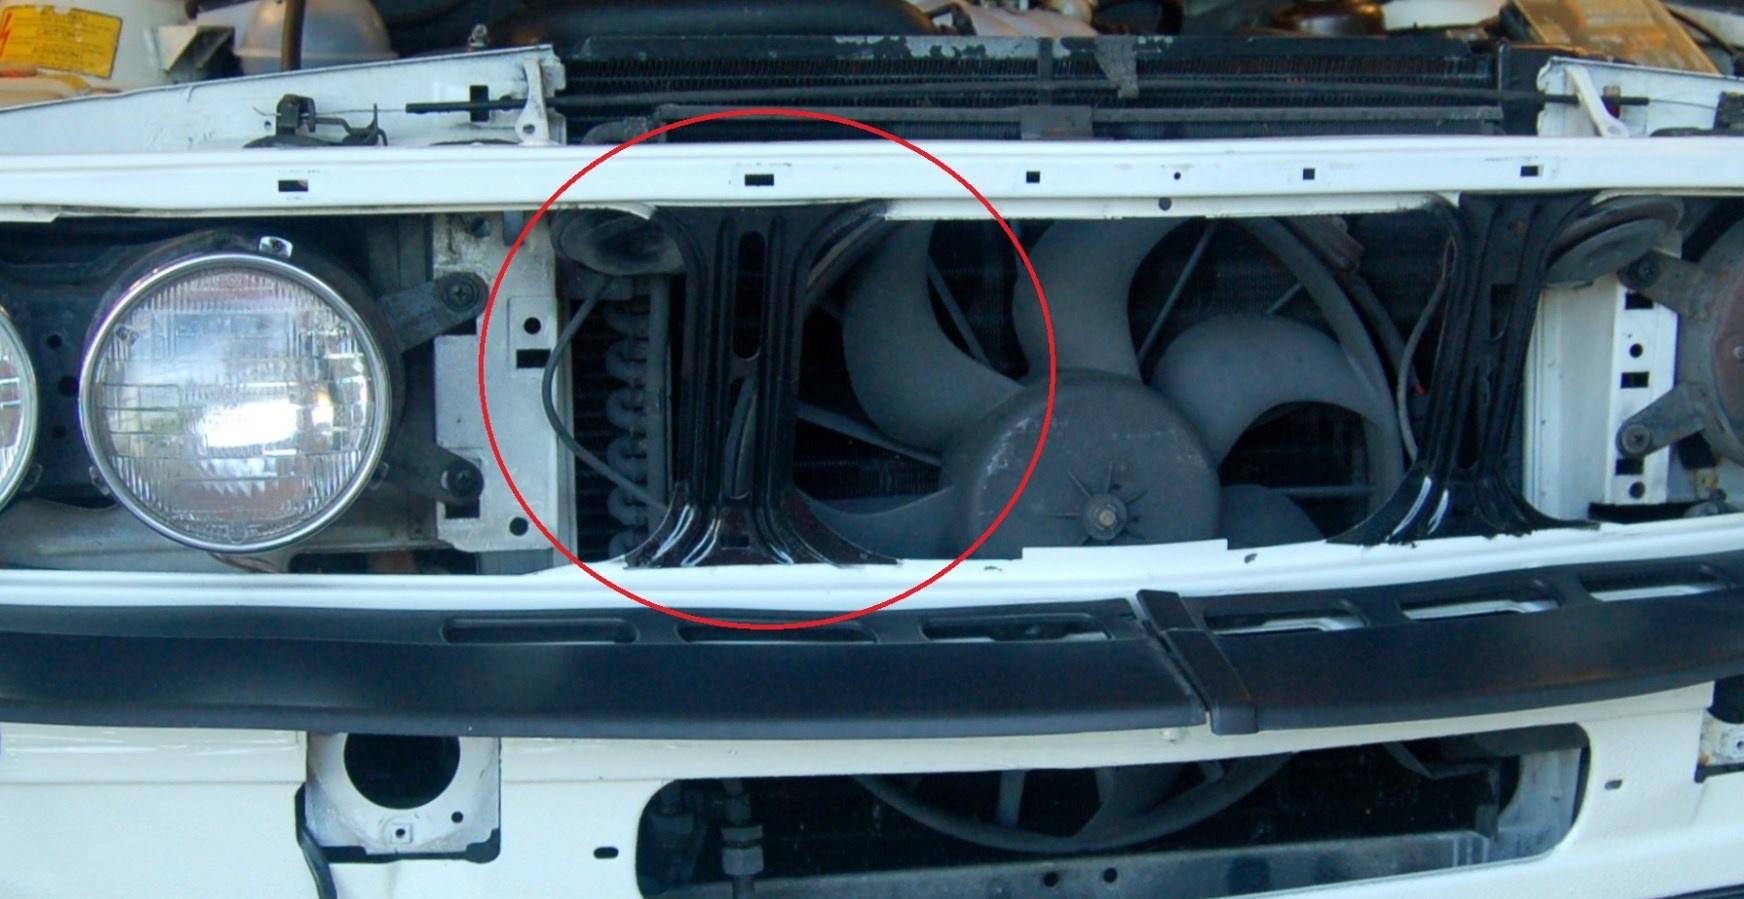
Clamped on the new nose frame to see how it fits.
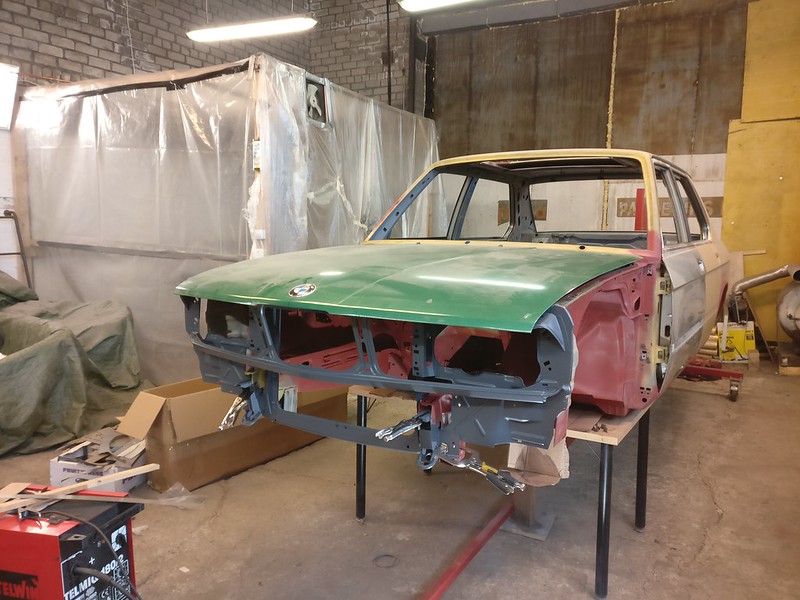
This week I’ve been just putting it together and taking apart, adjusting doors, fenders and hood to get everything right.
Passenger’s side is looking pretty good like this.
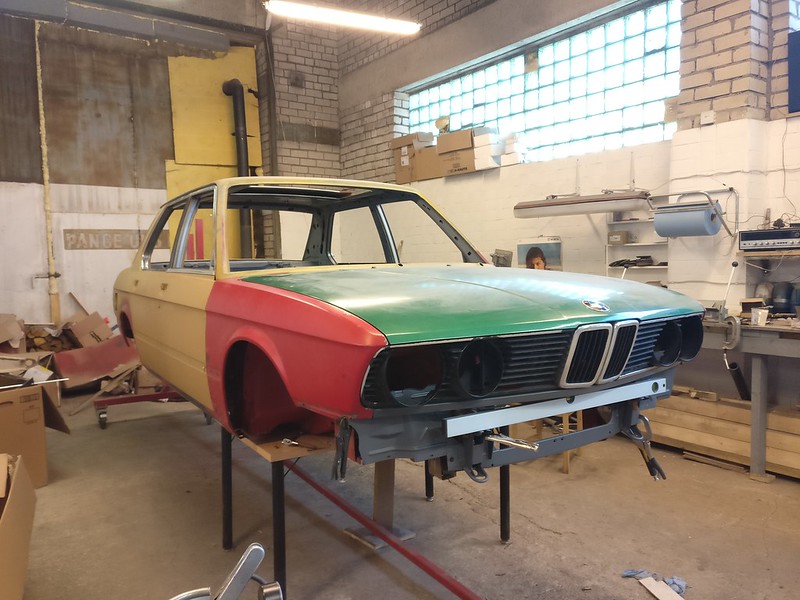
On the other side I have some minor issues but it looks like it will work. Don’t mind the hood gap. This hood has some damage here, so the corner is pushed down and surrounding metal has rised up. I’ll try on another straight hood today so it should help with aligning things.
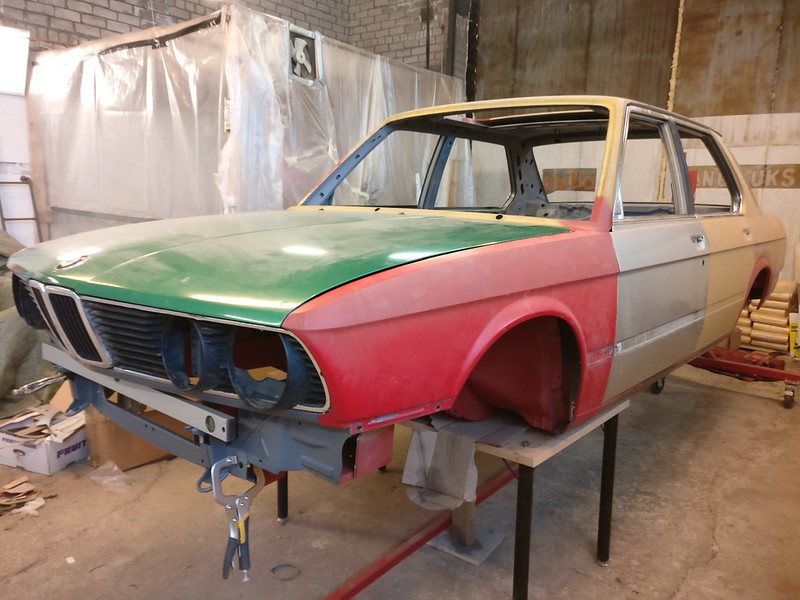 IMG_20210428_174952
Tomorrow I’ll get some help from a professional restorator and hopefully we get the nose frame attached by the evening.


