Maytag: The Alpine '87 529i

Post your photos and videos here!
tig
Posts: 9351
Joined: Mar 18, 2013 6:25 PM
Location: Durango
Contact:

Re: Maytag: The Alpine '87 528e Bench Player

Post by tig »

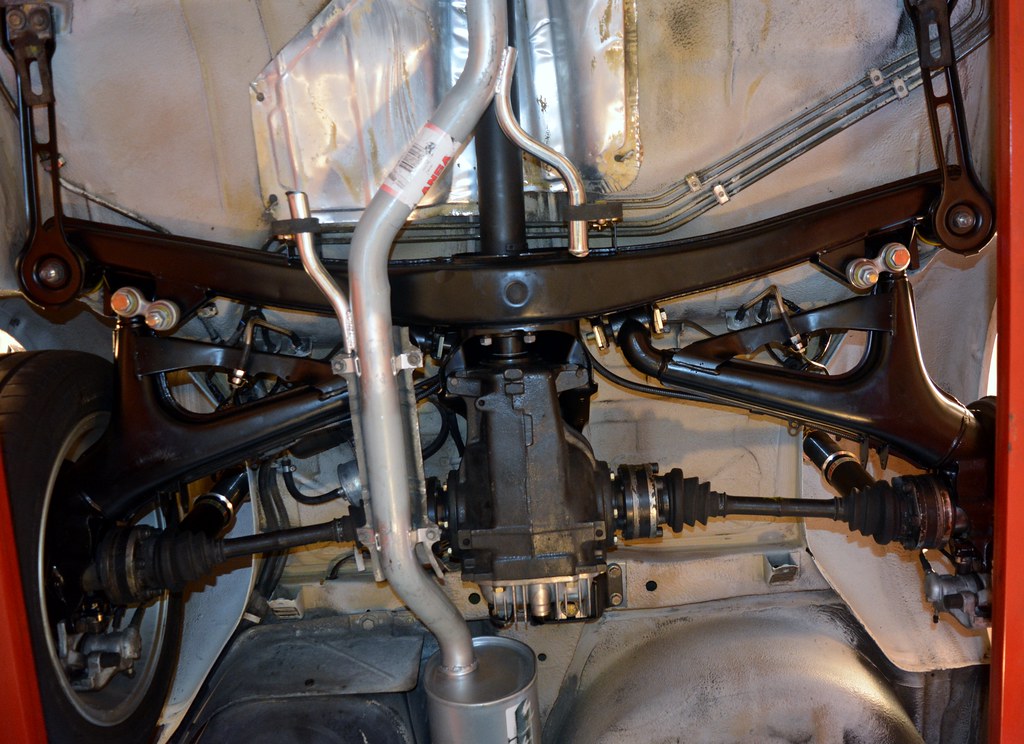
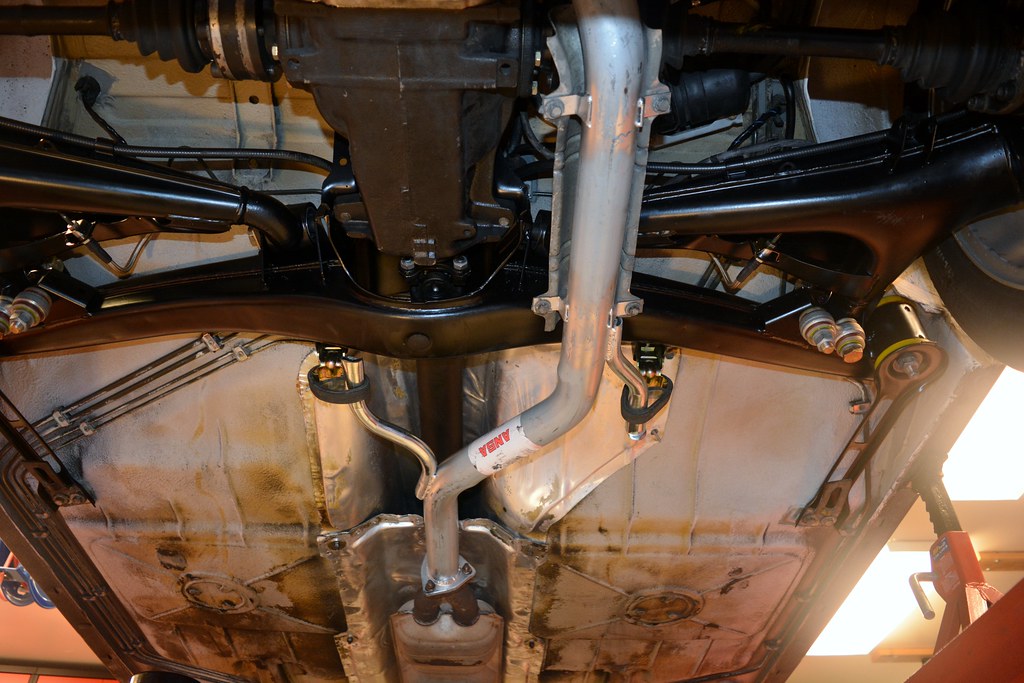
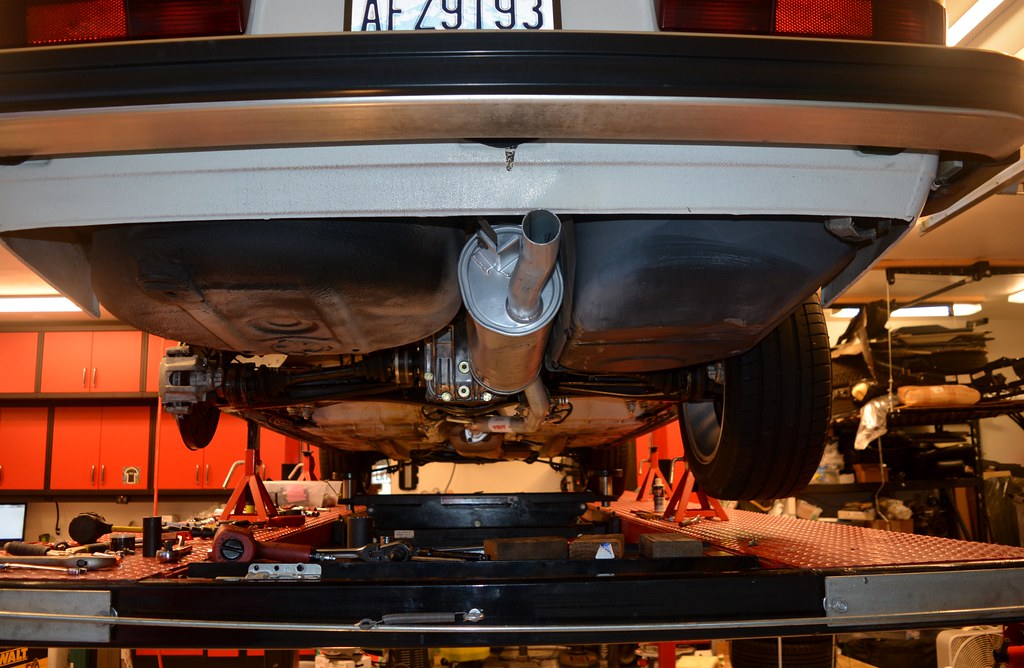
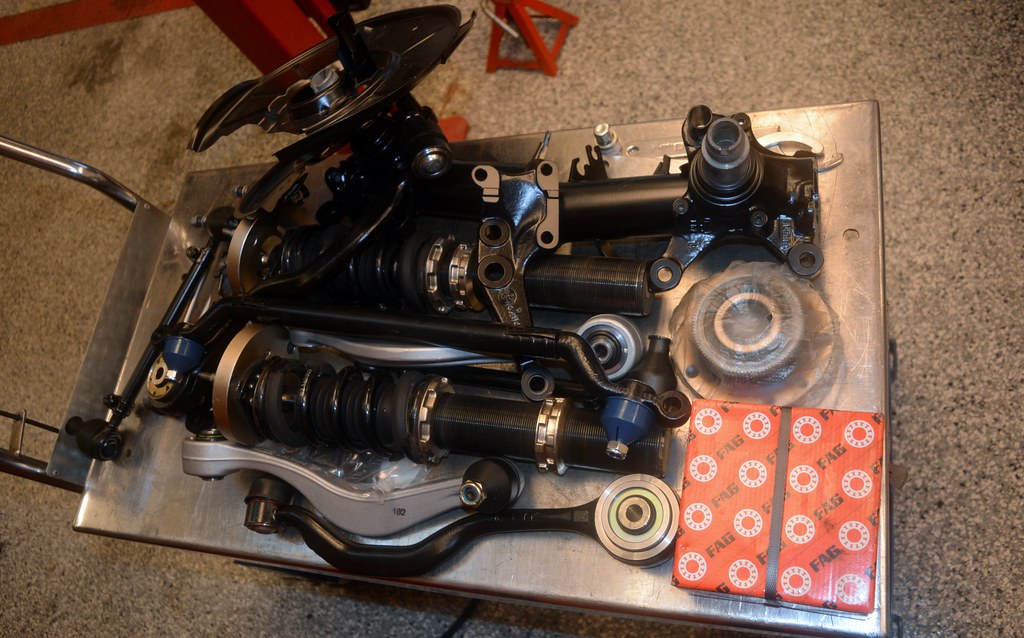
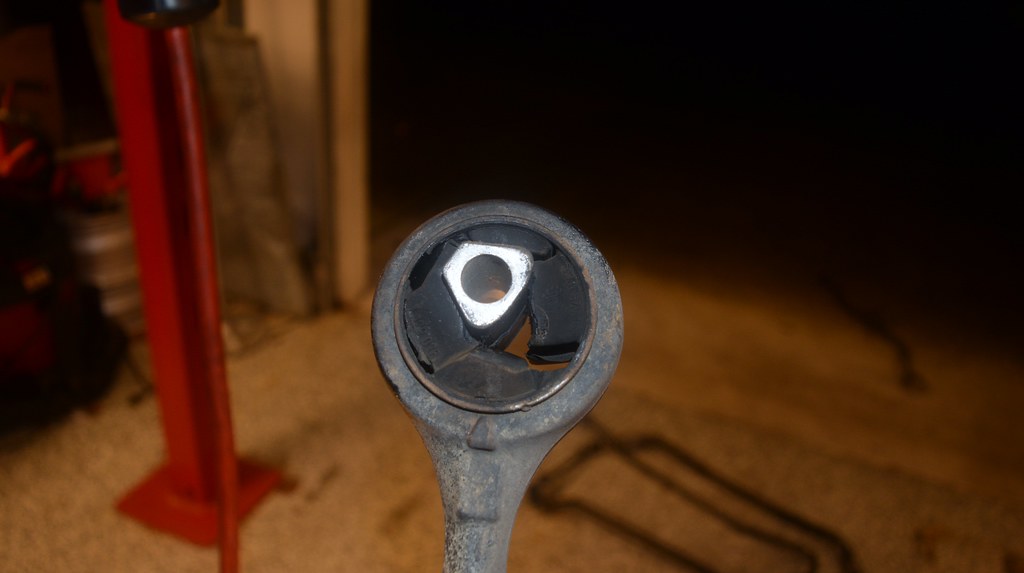
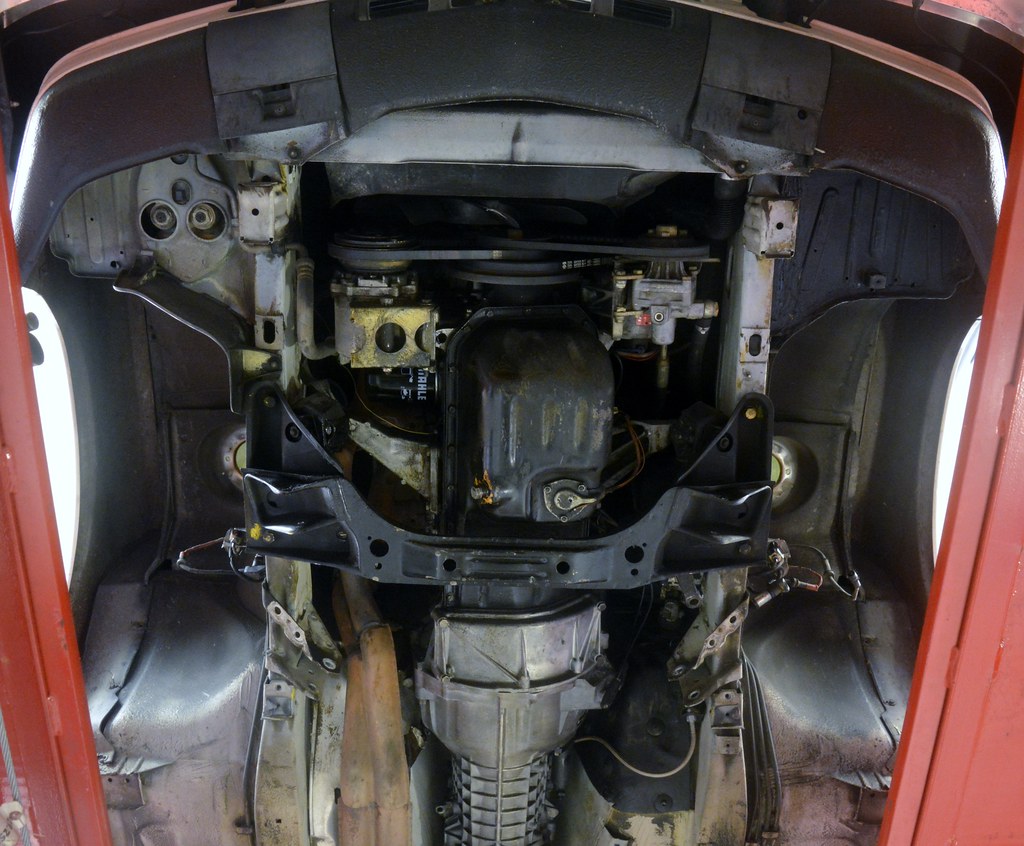
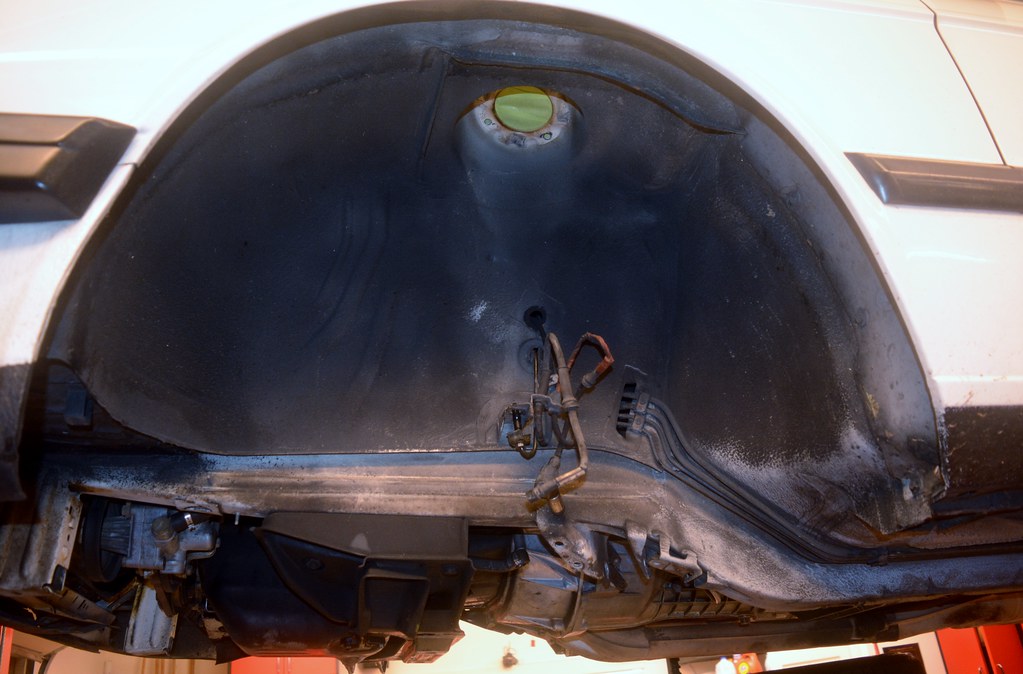
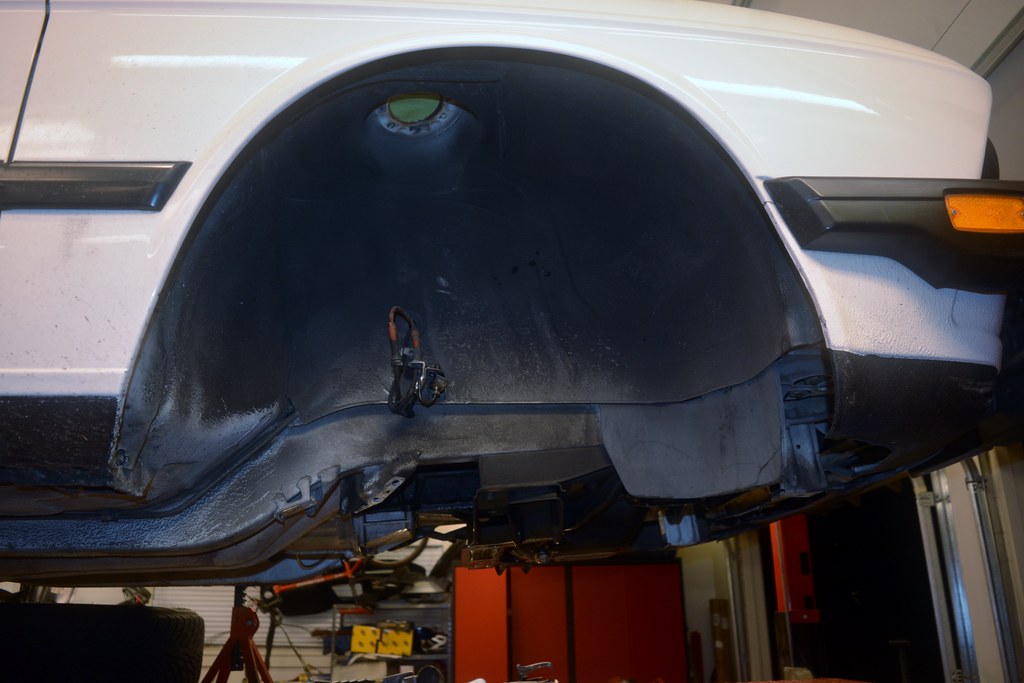
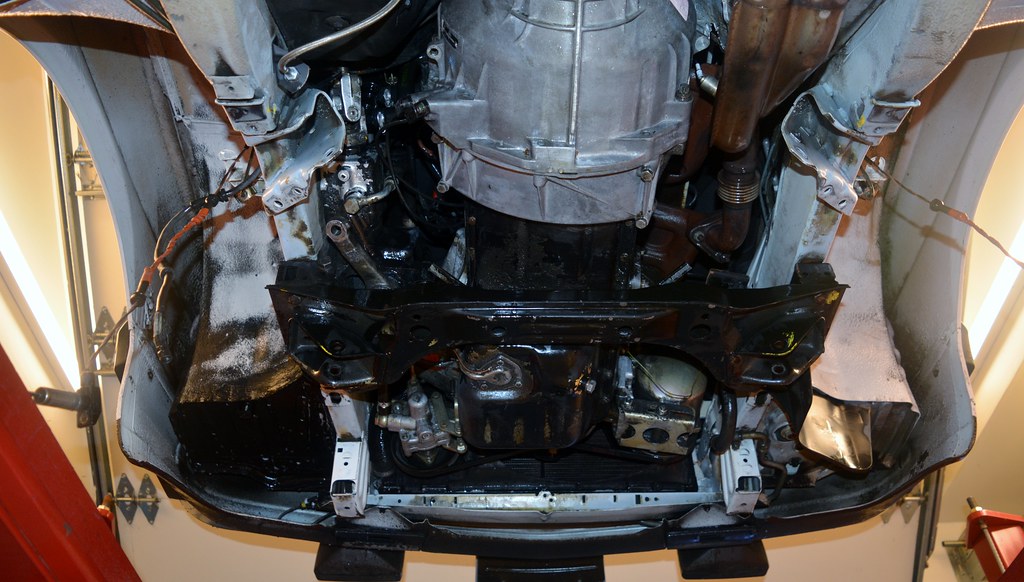
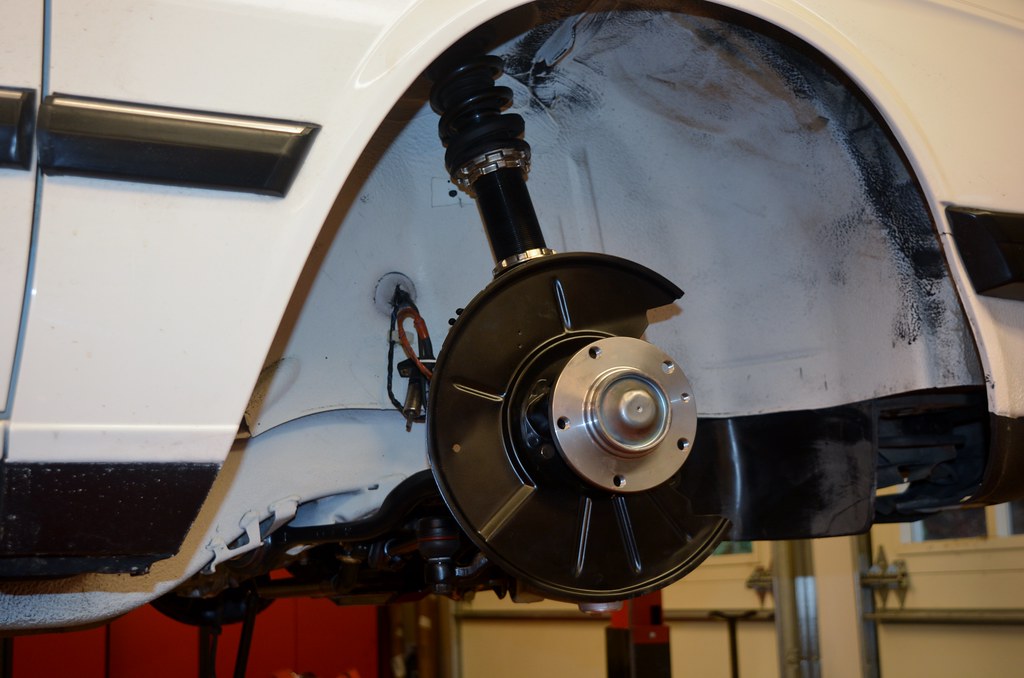
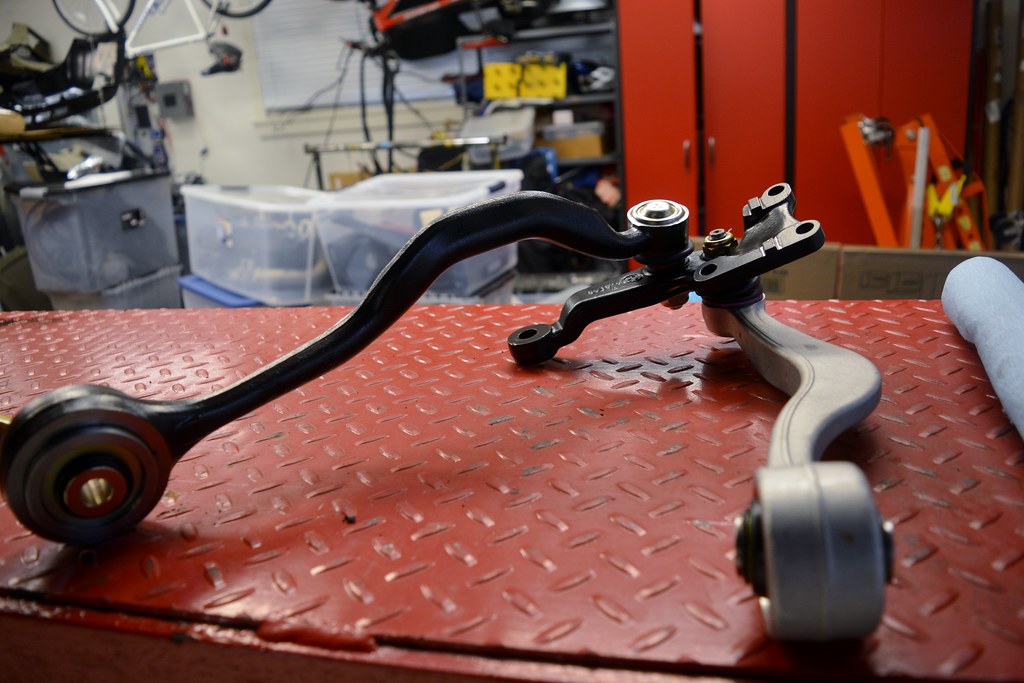
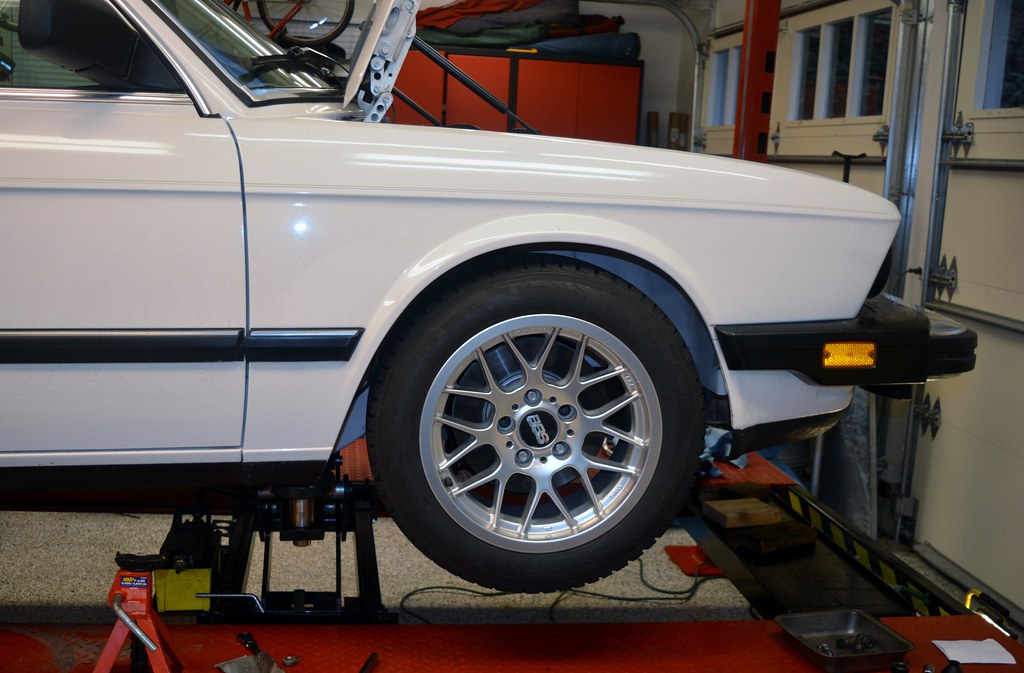
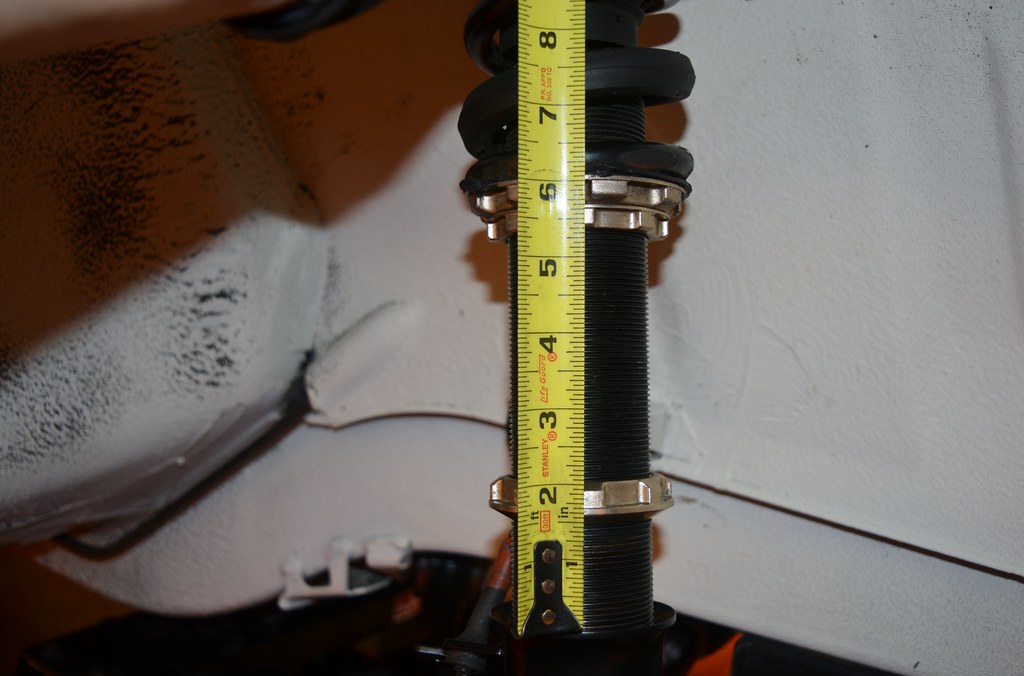
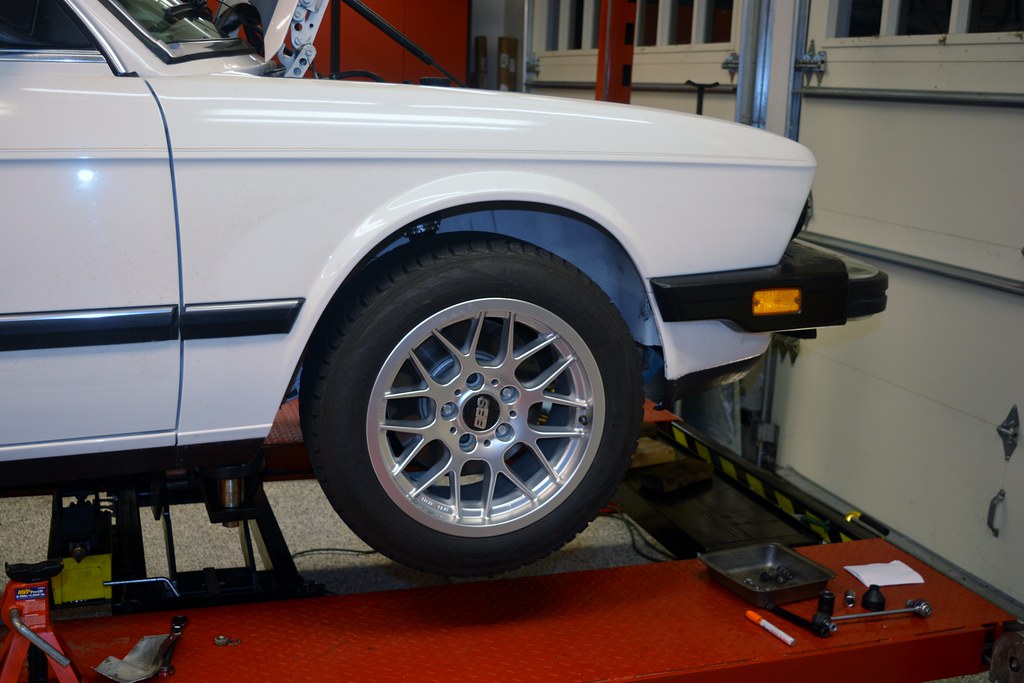
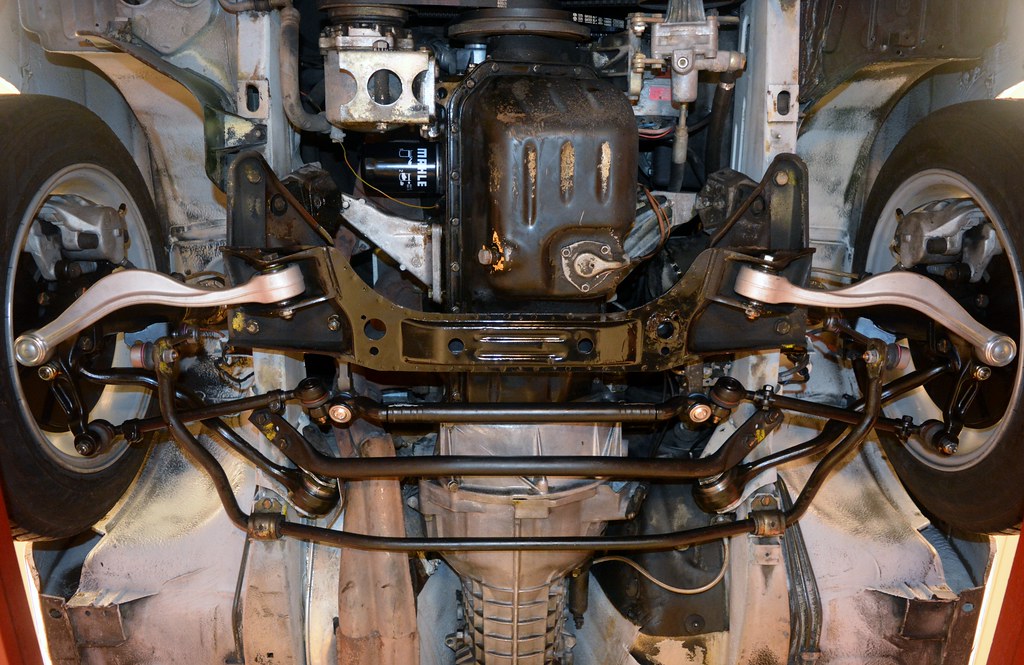
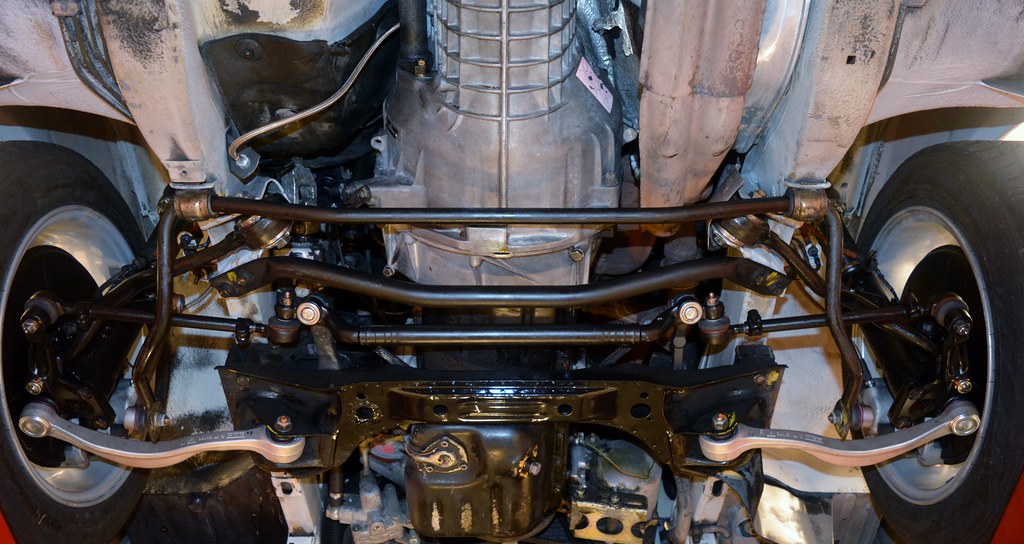
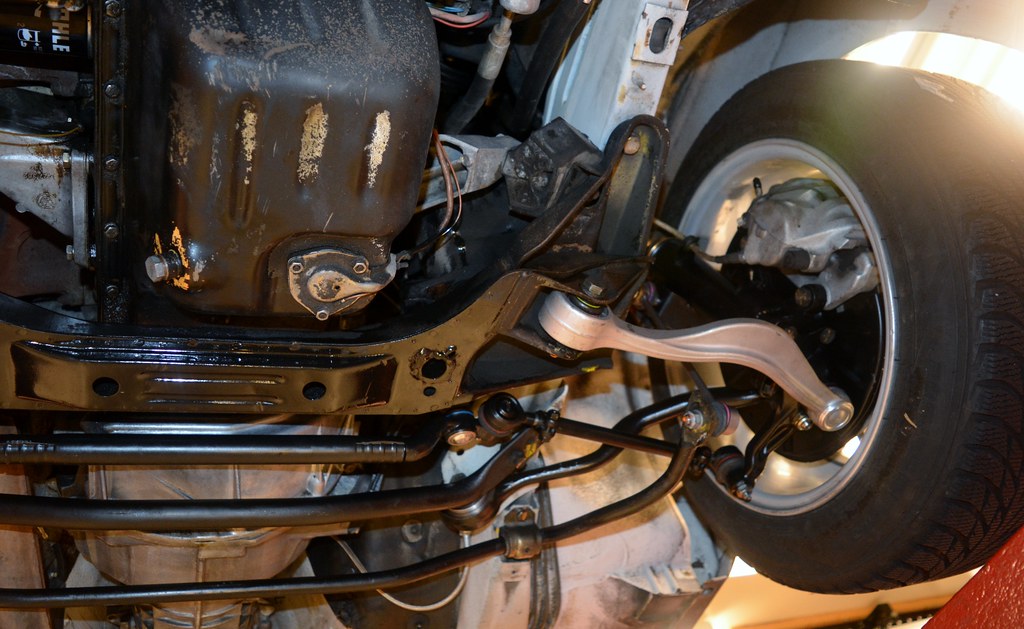
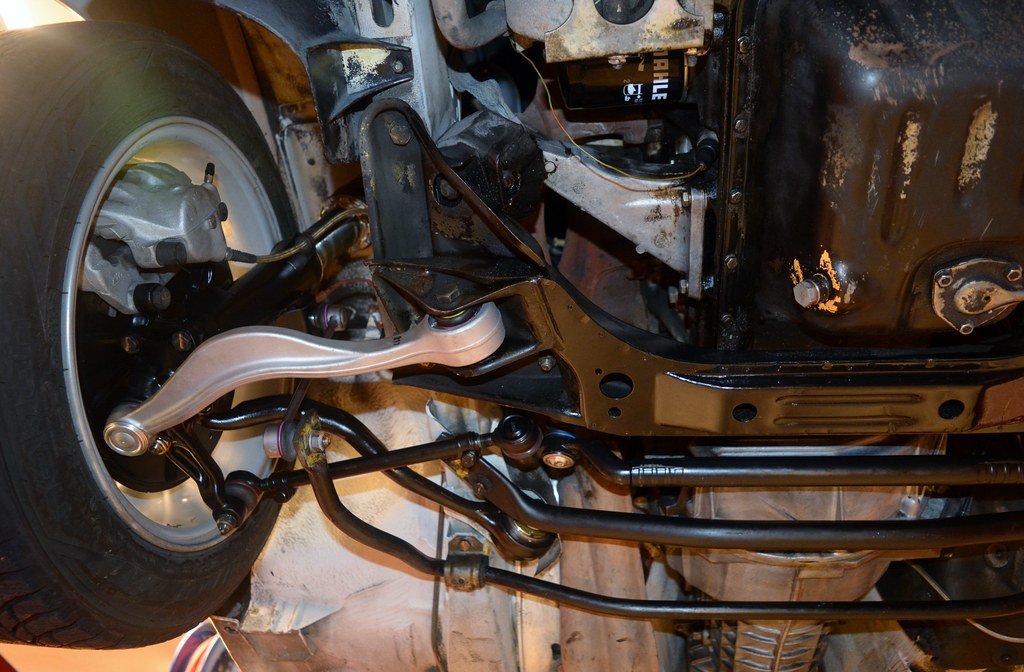
I realized I never posted these pr0n shots.

Image

Image

Image

Image
Mike W.
Posts: 27248
Joined: Feb 12, 2006 12:00 PM
Location: California Whine Country

Re: Maytag: The Alpine '87 528e Bench Player

Post by Mike W. »

You know, I think I keep my cars up pretty well. Not perfect, I don't throw money at them, but they work well. Engine compartment looks good compared to cars I look at. I do nice work, no broken bolts are kludged wiring. Quality work, no mickey mouse stuff. I've long thought I'd love to buy one of my cars sometime. But not anymore, now I want to buy one of CEKs cars. :bow:

Nice work Charlie. :up:
tig
Posts: 9351
Joined: Mar 18, 2013 6:25 PM
Location: Durango
Contact:

Re: Maytag: The Alpine '87 528e Bench Player

Post by tig »

Mike W. wrote:You know, I think I keep my cars up pretty well. Not perfect, I don't throw money at them, but they work well. Engine compartment looks good compared to cars I look at. I do nice work, no broken bolts are kludged wiring. Quality work, no mickey mouse stuff. I've long thought I'd love to buy one of my cars sometime. But not anymore, now I want to buy one of CEKs cars. :bow:

Nice work Charlie. :up:
Thanks Mike.

I just feel blessed that I have a hobby that lets me learn so much and then enjoy the results.
sail_or_drive
Posts: 388
Joined: Sep 17, 2013 9:51 PM
Location: Vancouver, WA

Re: Maytag: The Alpine '87 528e Bench Player

Post by sail_or_drive »

'Tis truly inspiring.
BenGerman
Posts: 743
Joined: Jun 26, 2016 2:19 PM
Location: MA

Re: Maytag: The Alpine '87 528e Bench Player

Post by BenGerman »

cek wrote:
Starting at rear. Plan is to complete it first then move to front.
Image
Where exactly do you place the jack stands under the car?
- Nevermind, found all the infos in the pictures. -

The car looks like new, awesome progress! :clap:
Last edited by BenGerman on Dec 21, 2016 12:00 PM, edited 1 time in total.
leadphut
Posts: 4499
Joined: Feb 12, 2006 12:00 PM
Location: Portland, OR

Re: Maytag: The Alpine '87 528e Bench Player

Post by leadphut »

This is the 666th reply.
Image
1st 5er
Posts: 21870
Joined: Jun 13, 2008 12:15 AM
Location: Cypress
Contact:

Re: Maytag: The Alpine '87 528e Bench Player

Post by 1st 5er »

leadphut wrote:This is the 666th reply.
Image


667 actually.
tig
Posts: 9351
Joined: Mar 18, 2013 6:25 PM
Location: Durango
Contact:

Re: Maytag: The Alpine '87 528e Bench Player

Post by tig »

With the whole fam home I've been nervous about jumping in on the front end. If I screw something up we're down a car and someone is likely to gripe. But this afternoon after doing honey-doos (landscape lighting) I dug in with the goal of getting disassembly done. Victory.

However read on to see why I already know I've screwed up.

All the new bits ready:
Image

Da fuq is going on here? How can this almost new slave be leaking? At least I think that's brake fluid and not oil. Sigh.
Image

Yeah, those UCAs were shot.
Image

All dis-assembled. Now that I've done it a few times, I actually feel like I know what I'm doing. The only fight I had was getting the steering arm separated from the steering box link. I had to destroy the old boot to get my my puller on.
Image

Image

Image

What'd I screw up?

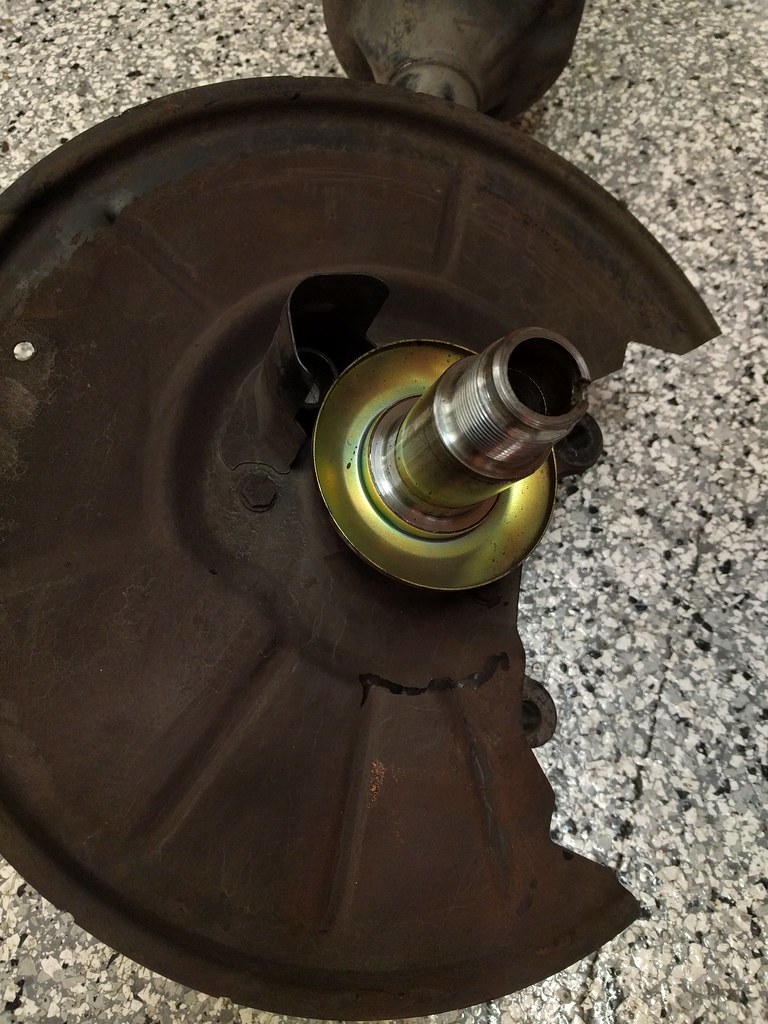
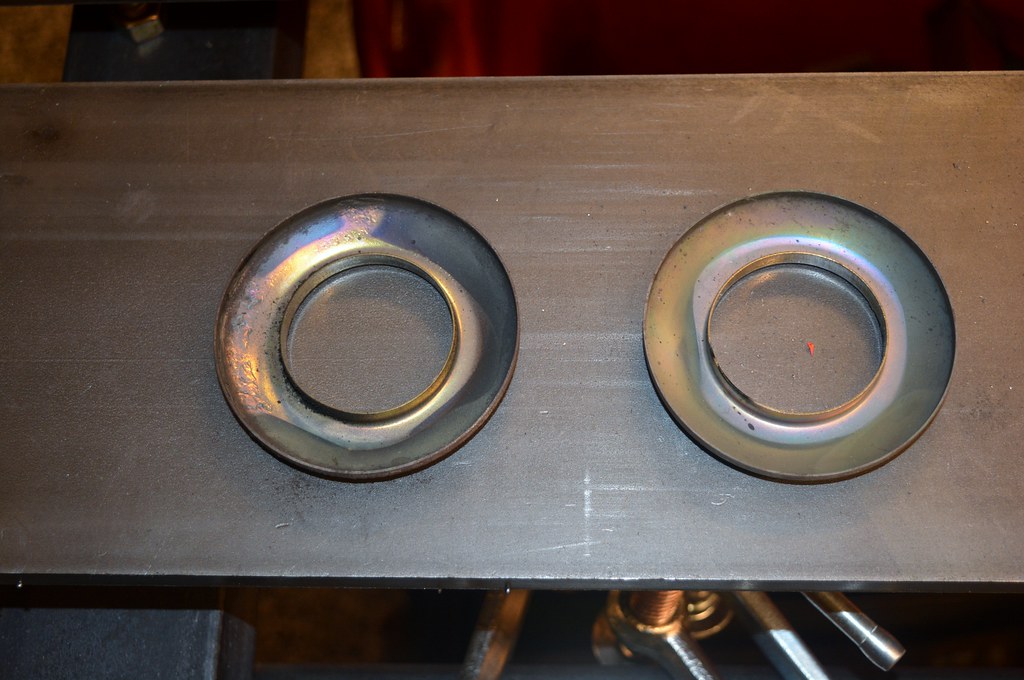
I pulled the front bearings off because I wanted to use the dust covers and hub nuts. That's when I realized I never ordered new back-side dust covers.
Image

I'm screwed getting this back together tomorrow. Hopefully I can find some shields locally on Monday!

Regardless, next steps are:

- Clean, clean, clean
- Weld on steering box re-enforcement
- Reassemble
- Align
- Drive
davintosh
Posts: 13952
Joined: Jan 28, 2009 1:05 AM
Location: Sioux Falls, SD
Contact:

Re: Maytag: The Alpine '87 528e Bench Player

Post by davintosh »

The gold-colored dust cover just presses in place; you might be able to get it off if you're careful. Really careful. Heat it up a bit first and you may get lucky.
tig
Posts: 9351
Joined: Mar 18, 2013 6:25 PM
Location: Durango
Contact:

Re: Maytag: The Alpine '87 528e Bench Player

Post by tig »

davintosh wrote:The gold-colored dust cover just presses in place; you might be able to get it off if you're careful. Really careful. Heat it up a bit first and you may get lucky.
Good call:
Image

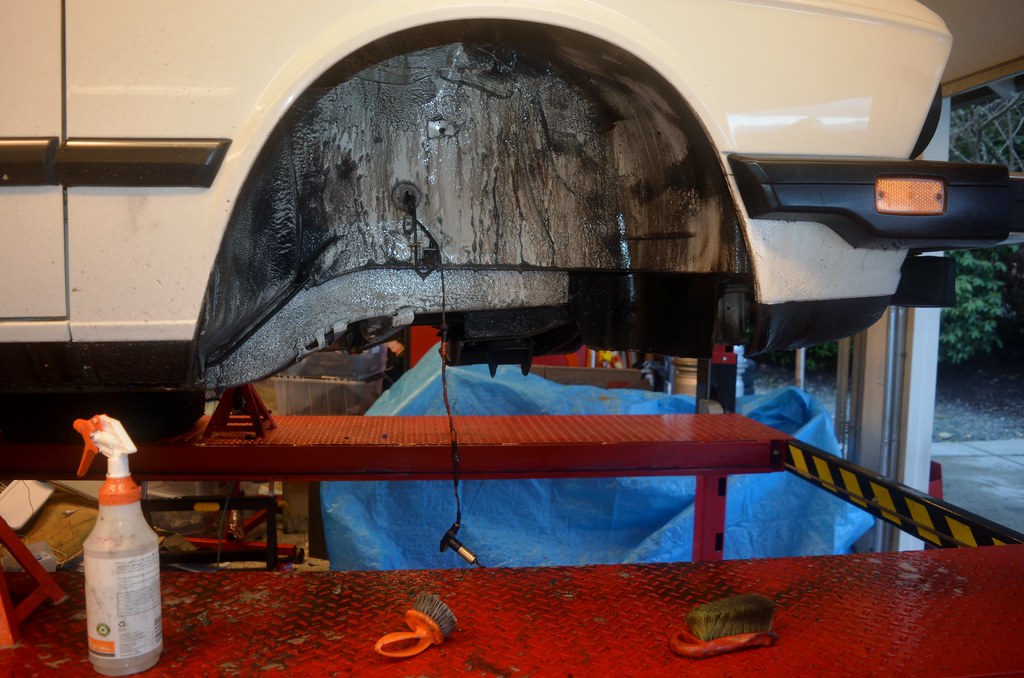
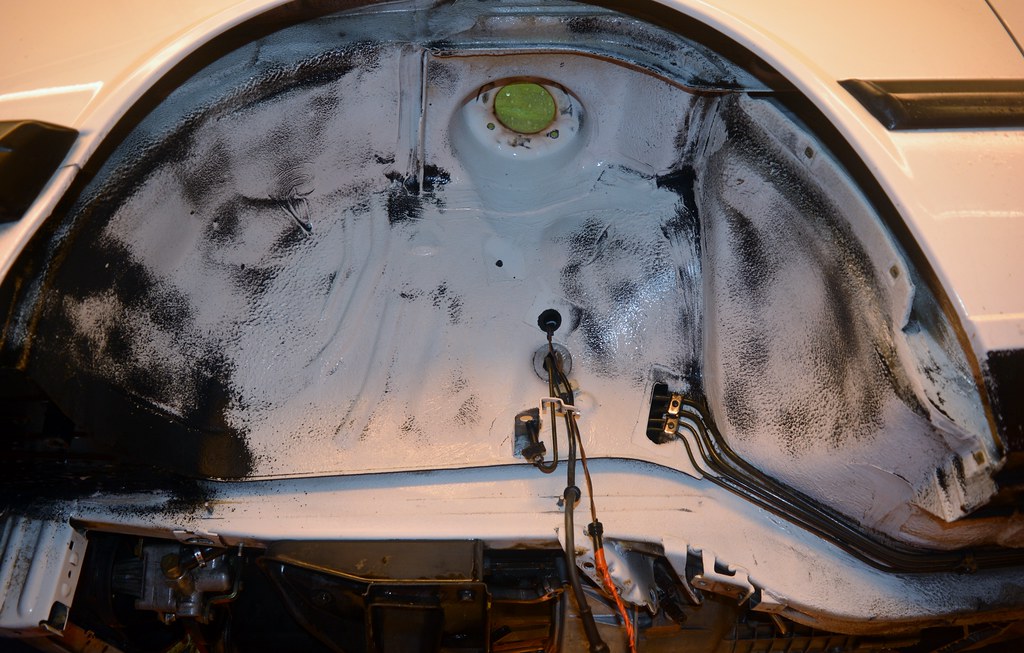
Didn't have tons of time today, so I set the goal of just getting it cleaned and getting the steering box reinforcement welded in...

Image

I declare this is clean enough. That black stuff will come off with a lot of elbow grease and a brillo pad, but given how cold it is and how tired I was, and how this car will be just fine with a little grime under it...
Image

Image

Image

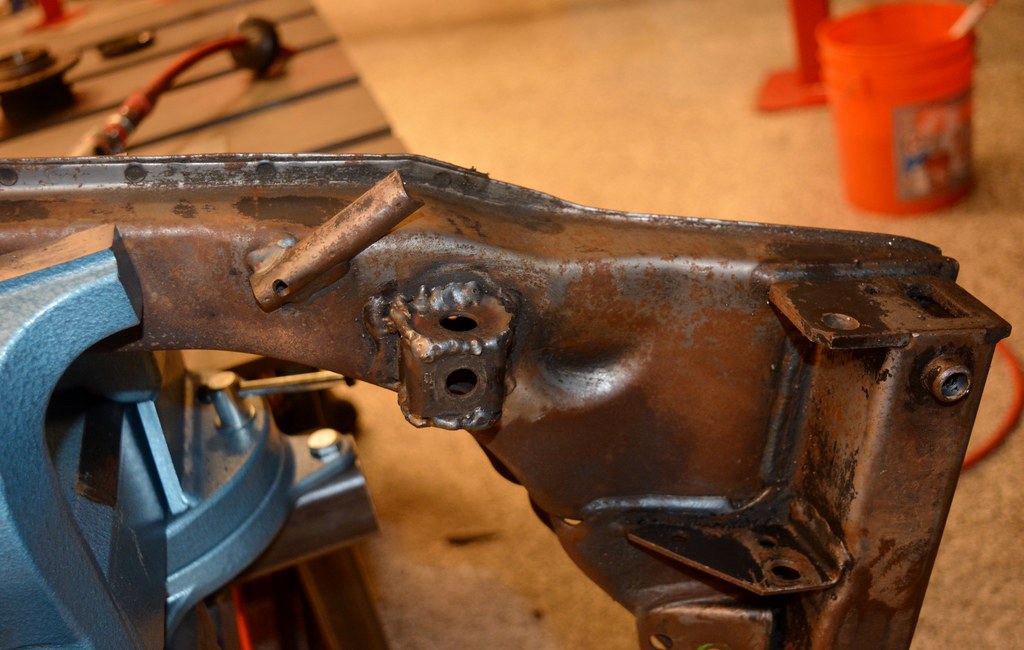
Before attempting to weld in the steering box reinforcement dowel in, when i've never welded under something before, and given how much a welding noob I am I decided to install the 2nd dowel I bought into the subframe that will go in the blue car for practice. That subframe had been repaired by an PO. This is probably a fine weld, and probably strong enough, but I thought it ugly. So I cut it off.
Image

I do love my new welding table. It's easy to move around enabling me to send grinding sparks outside the garage regardless of angle. ;-)
Image

I was about to weld this into place when I realized somethings wrong with my welder. Wire isn't feeding right. I am aborting for tonight so I can warm up and go play some indoor soccer...
Image
oldskool
Posts: 12001
Joined: Jul 13, 2008 3:46 PM
Location: coastal north carolina
Contact:

Re: Maytag: The Alpine '87 528e Bench Player

Post by oldskool »

Indoor soccer and welding shall never be mentioned in the same sentence. Ever.
Again.
leadphut
Posts: 4499
Joined: Feb 12, 2006 12:00 PM
Location: Portland, OR

Re: Maytag: The Alpine '87 528e Bench Player

Post by leadphut »

My best friend’s sister’s boyfriend’s brother’s girlfriend heard from this guy who knows this kid who’s going with a girl who saw Ferris welding at the indoor soccer stadium, before he passed-out at 31 Flavors last night. I guess it’s pretty serious.

Image
tig
Posts: 9351
Joined: Mar 18, 2013 6:25 PM
Location: Durango
Contact:

Re: Maytag: The Alpine '87 528e Bench Player

Post by tig »

I played well. We lost but I scored two goals. Best things is no one got hurt. That's our motto: get some exercise and don't get hurt. Then drink beer.

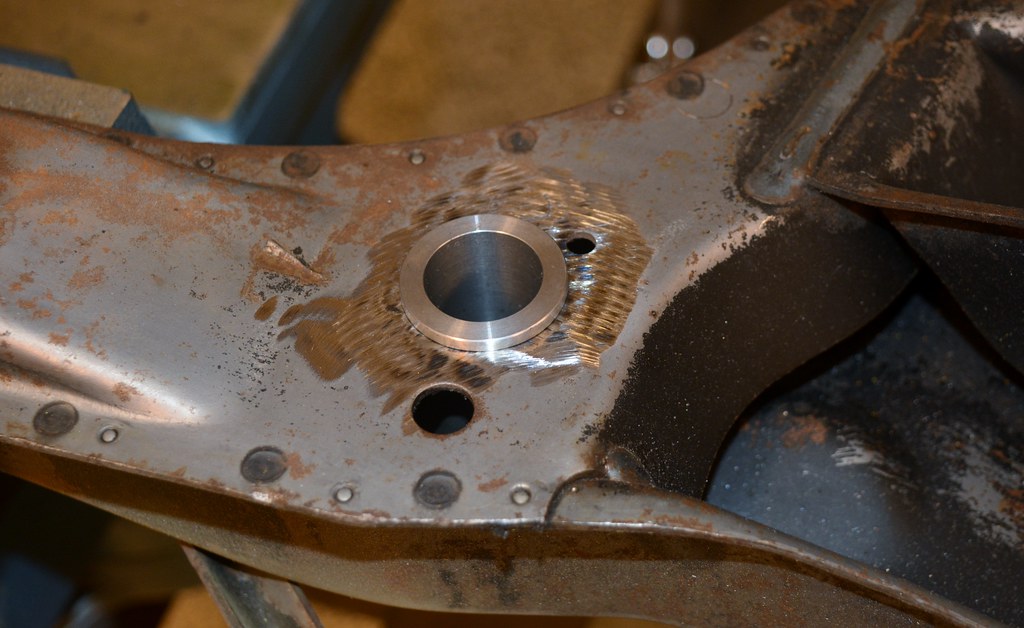
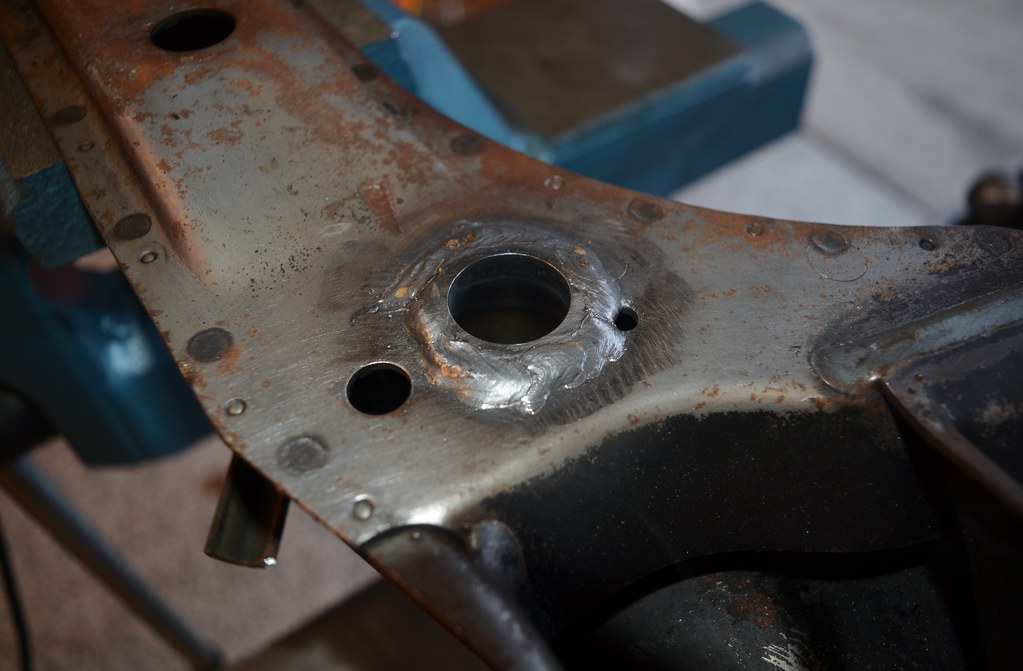
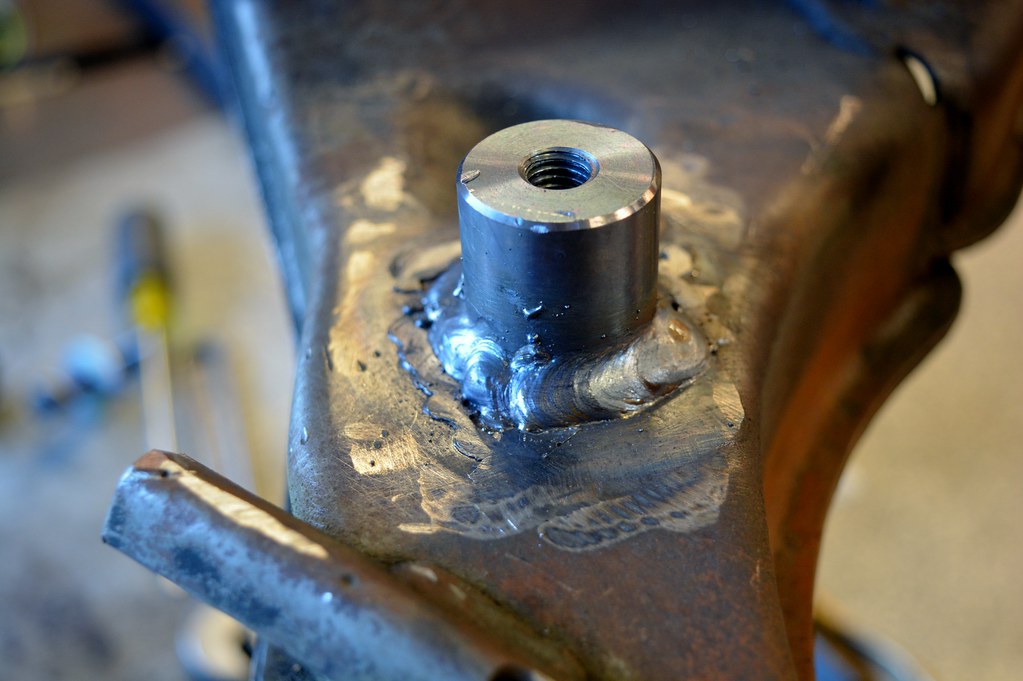
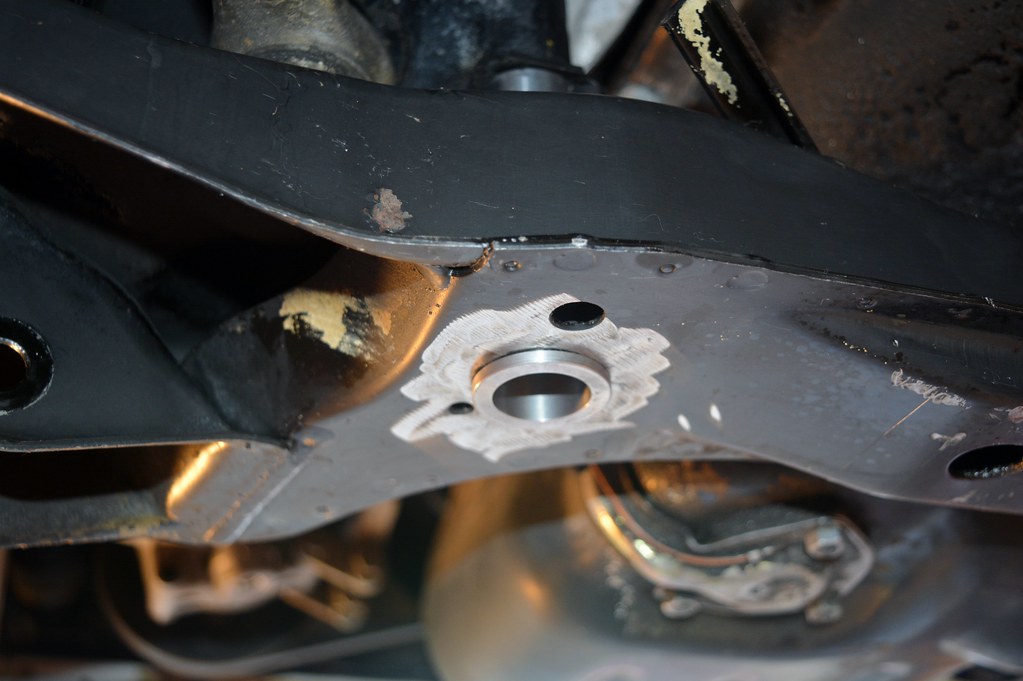
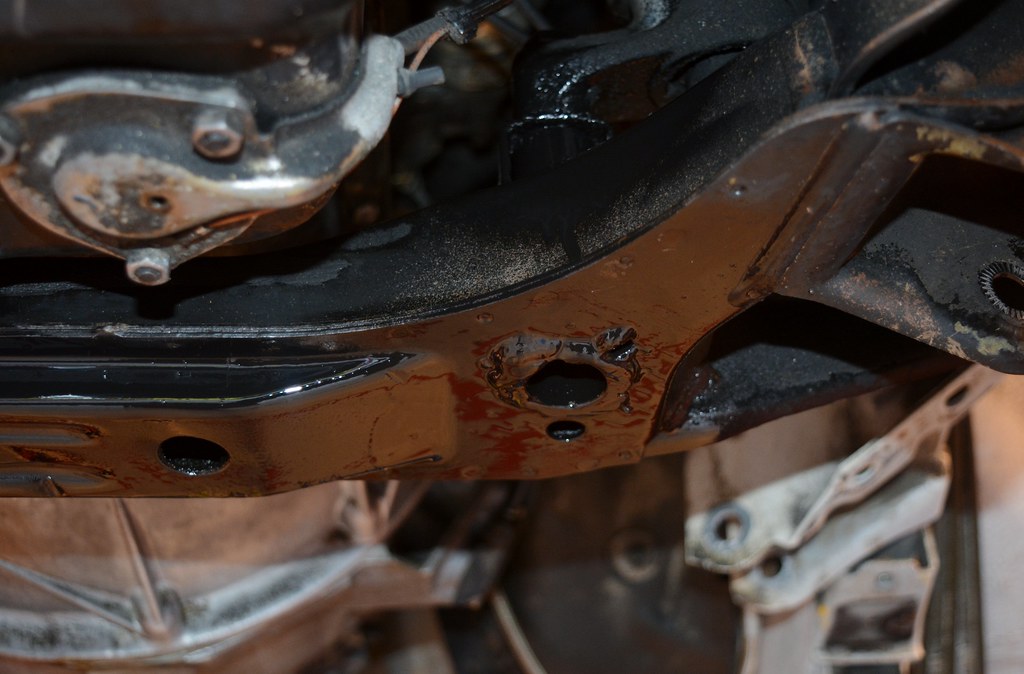
Today I used my newfound welding skillz to install Ed "Mr Wrench" steering box reinforcement dowels on both the subframe destined for the blue car and the one on maytag.

I think I did ok:
Image

Image

Image

This was taken after paint (paint's not dry in this pic). Not the cleanest weld...hard to weld upside down!
Image

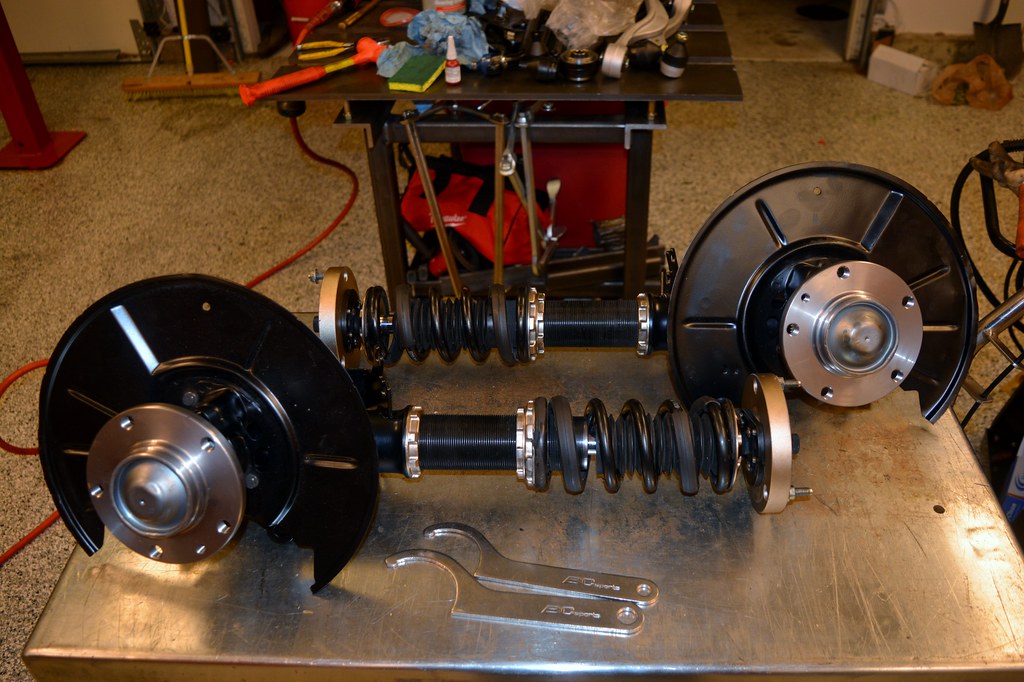
I also got the front struts/coil-overs all setup. This was more of a PITA than planned due to ineptitude, but now there's eptitude. The one thing I'm totally at a loss about is how to know how long to make these. The rears were easy because they were "as built" by the PO and I just made them about 1.5" longer knowing his car was pretty low. In this case, I had the lowers disconnected for cleaning and to get a replacement lower strut fabricated. I guess I'll just put 'em on and see how high/low it is. I think the only realistic way of changing the length is to unbolt them from the strut brace, let them drop and then spin; the shock rotates on the pivot mount, but not freely.

I also have no idea if the shocks are compressed right. They are both at the same setting and those nuts have not changed since the PO sold them to me (same as rears). I'll probably just leave it to the guy who does my alignment to tune them.
Image

I got the steering linkages installed, along with the new pitman arm. I used the old steering links to eyeball the lengths of the new ones so that alignment should't be too far off.
Image
davintosh
Posts: 13952
Joined: Jan 28, 2009 1:05 AM
Location: Sioux Falls, SD
Contact:

Re: Maytag: The Alpine '87 528e Bench Player

Post by davintosh »

cek wrote:I got the steering linkages installed, along with the new pitman arm. I used the old steering links to eyeball the lengths of the new ones so that alignment should't be too far off.
Image
:laugh: That's what we all think when we SWAG the steering link length. Then the car drives like crap all the way to the alignment shop. ;)

There are threads around here somewhere on how to do a quickie DIY alignment; I've never tried it, but some guys have had decent successes with it.
1st 5er
Posts: 21870
Joined: Jun 13, 2008 12:15 AM
Location: Cypress
Contact:

Re: Maytag: The Alpine '87 528e Bench Player

Post by 1st 5er »

:wave:
davintosh wrote:
cek wrote:I got the steering linkages installed, along with the new pitman arm. I used the old steering links to eyeball the lengths of the new ones so that alignment should't be too far off.
:laugh: That's what we all think when we SWAG the steering link length. Then the car drives like crap all the way to the alignment shop. ;)

There are threads around here somewhere on how to do a quickie DIY alignment; I've never tried it, but some guys have had decent successes with it.


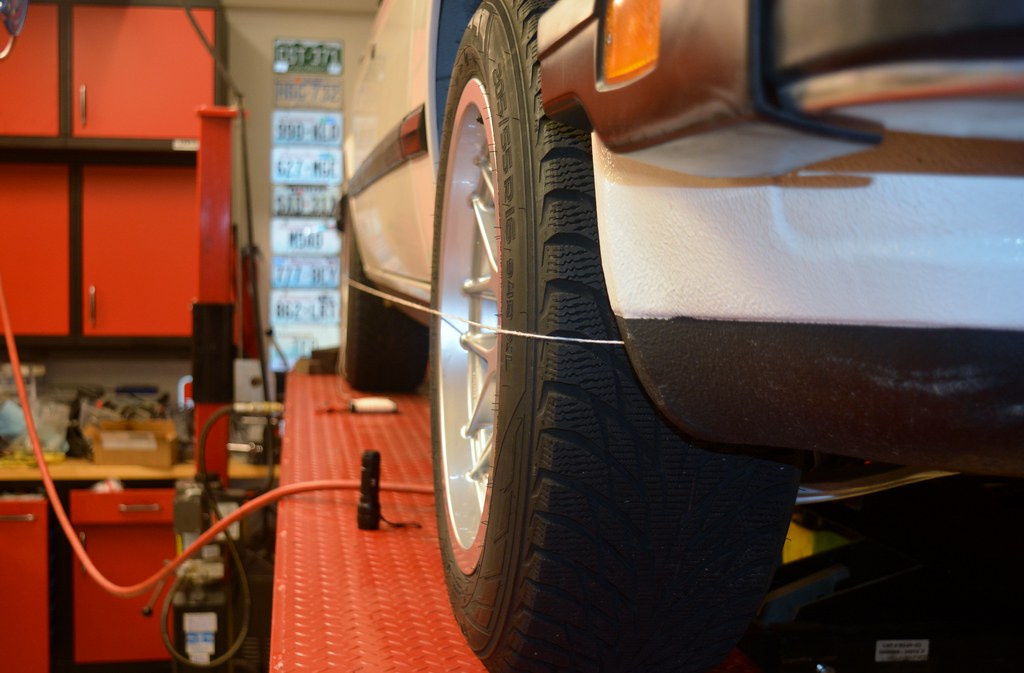
All it takes is a piece of string..
I do mine that way.

Not sure it'll work without stock suspension components though.
tig
Posts: 9351
Joined: Mar 18, 2013 6:25 PM
Location: Durango
Contact:

Re: Maytag: The Alpine '87 528e Bench Player

Post by tig »

After helping Mr. Quon buy just about the most perfect 1985 300SD from just about the most perfect 70+ yr old German couple, and after waiting for the power to come back on, I dove in...

Image

Last time I did this, I assembled the strut lower plates and control arms with the control arms attached to the car. That was dumb. This was much easier:
Image

As you can see I had the shocks way too low:
Image

It's pretty easy adjusting these things once on the car. Just undo the 3 nuts holding the struts to the strut tower brace, letting the assembly settle onto a jackstand. Then just spin the top part of the strut counter clockwise to make it longer. I added about 3.8cm of length for my second try to decided it's close enough. When I get it aligned I'll have them dial it in perfectly.
Image

Image

Ta-da:
Image

Image

Image

Image

Image

Then I tried my hand at the string-alignment technique. It was already pretty close to tits, but I was able to get it even closer. I didn't measure it, but the camber looks almost 0. The BC Racing coil overs have tons of camber adjustment.
Image

Went for a spirited shakedown drive in the rain/dark/wind. Felt fine. Tracked straight, turned left and right as expected, stopped, and even went over some bumps. Nothing fell off (I checked when I got it back on the lift).
Image

I had to use the freeway to get to my indoor soccer game and it felt a little squirlley. I think its a combination of both the front & rear not being aligned (I clearly have some (-) toe in the rear), the rear being about 1.27cm higher than the front (relatively), and the squishy sidewalls of the Nokian Hakkapeliitta snow tires. Ride feels great.

Hope to get it in to be aligned on tues or weds.
davintosh
Posts: 13952
Joined: Jan 28, 2009 1:05 AM
Location: Sioux Falls, SD
Contact:

Re: Maytag: The Alpine '87 528e Bench Player

Post by davintosh »

3.8 cm... I lol'd.

Nice work.

Now I'll just wait until you tire of your fancy-schmancy suspension, return it to stock, and sell those lousy coilovers to, um, me.

Image

At a nice discount.
tig
Posts: 9351
Joined: Mar 18, 2013 6:25 PM
Location: Durango
Contact:

Re: Maytag: The Alpine '87 528e Bench Player

Post by tig »

I hereby declare Operation "Coil-Overs + replace every suspension and steering component except the steering box" complete.

I got the car back from Kevin at KD Motorsports (same guy who's doing the Blue car; I wanted to compare his alignment service to Byron at Tru-Line whom I've used exclusively before) Friday night. He actually wasn't done with it when I went by there at about 7pm and so I was able to work with him on the final tweaks. Fun.

We did discover that I had over-torqued something causing steering to bind (not automatically return to center). This morning I discovered it was the nut connecting the idler arm to the subframe; I had over torqued it. Besides that he approved of all my work ;-).

Took it for a nice fast drive this morning and, damn, it drives well. I had started with the shocks at "soft" and could immediately tell it was too soft because bounce. I put 2 full turns in on all 4 corners and now it feels great. I may try an experiment at full "hard" to see the difference, but for now it seems great for how I use this car. Tracks straight at all speeds. Corners like it always should have (but never did). No wobbles. No shakes. Firm and crisp but not jarring. Color me happy.

And I think we got the ride height just right (see more details in this thread).

Image

Image

Image

Image

Image

Image

Left Front: 568mm,
Image

Left Rear: 545mm
Image

Right Front: 565mm
Image

Right Rear: 538mm
Image

Summary:
Left Front: 568mm, Left Rear: 545mm (23mm)
Right Front: 565mm, Right Rear: 538mm (17mm)

Avg: 567mm F, 542mm R

Recall from above, stock should be (with 16" wheels):
Front: 589±10mm (23±3/8")
Rear: 527±10mm (20 3/4±3/8")
Diff front to rear: 62mm

Thus Maytag is about 22mm (.9") lower than stock in the front and 15mm (.6") HIGHER than stock in the rear.

Happy to have the RX wheels back on the car as I think they look swell. The snow tires are a bit squishy for super spirited driving, but likely necessary given the cold weather we've been having...
davintosh
Posts: 13952
Joined: Jan 28, 2009 1:05 AM
Location: Sioux Falls, SD
Contact:

Re: Maytag: The Alpine '87 528e Bench Player

Post by davintosh »

Very nice. I sincerely believe Chuck would approve also.

Image
tig
Posts: 9351
Joined: Mar 18, 2013 6:25 PM
Location: Durango
Contact:

Re: Maytag: The Alpine '87 528e Bench Player

Post by tig »

Completely forgot that I hadn't re-installed the fender liners until the set I ordered from Blunt showed up the other day...
Image
foamy
Posts: 1527
Joined: May 29, 2007 6:39 PM
Location: North Branford Connecticut

Re: Maytag: The Alpine '87 528e Bench Player

Post by foamy »

man i wish my car was still clean like that underneath mines bathing in oil constantly and the harder i drive it the more oil gets out its never low in a 3000 mile interval though.
tig
Posts: 9351
Joined: Mar 18, 2013 6:25 PM
Location: Durango
Contact:

Re: Maytag: The Alpine '87 528e Bench Player

Post by tig »

foamy wrote:man i wish my car was still clean like that underneath mines bathing in oil constantly and the harder i drive it the more oil gets out its never low in a 3000 mile interval though.

There's nothing magical about getting it clean. No need to wish. It's just hard work. This car is leaking oil like a sieve too, from the HG between 3 & 4. I know that because I cleaned it.
tig
Posts: 9351
Joined: Mar 18, 2013 6:25 PM
Location: Durango
Contact:

Re: Maytag: The Alpine '87 528e Bench Player

Post by tig »

About two weeks ago Maytag started not starting on the first try.

I diagnosed it down to the in-tank fuel pump. 211,000 miles...

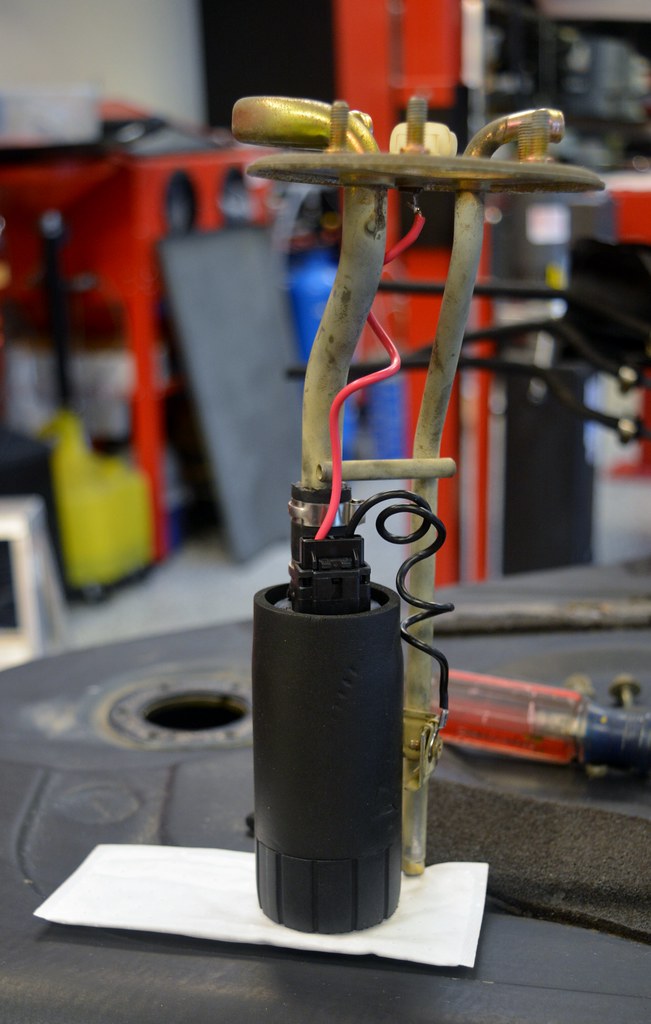
I decided to do the same single-pump conversion I had done on Vlad, using a TRE 255-LPF in-tank pump, with pump-by-filter delete.

Should be easy, right?

As I dug in, I realized I hadn't replaced the fuel lines at the back of the car when I basedlined it. I thought I had, but I must have been remembering Vlad. Much easier to replace the lines that go to the evap tank with the fuel tank out of the car. So it came out.
Image

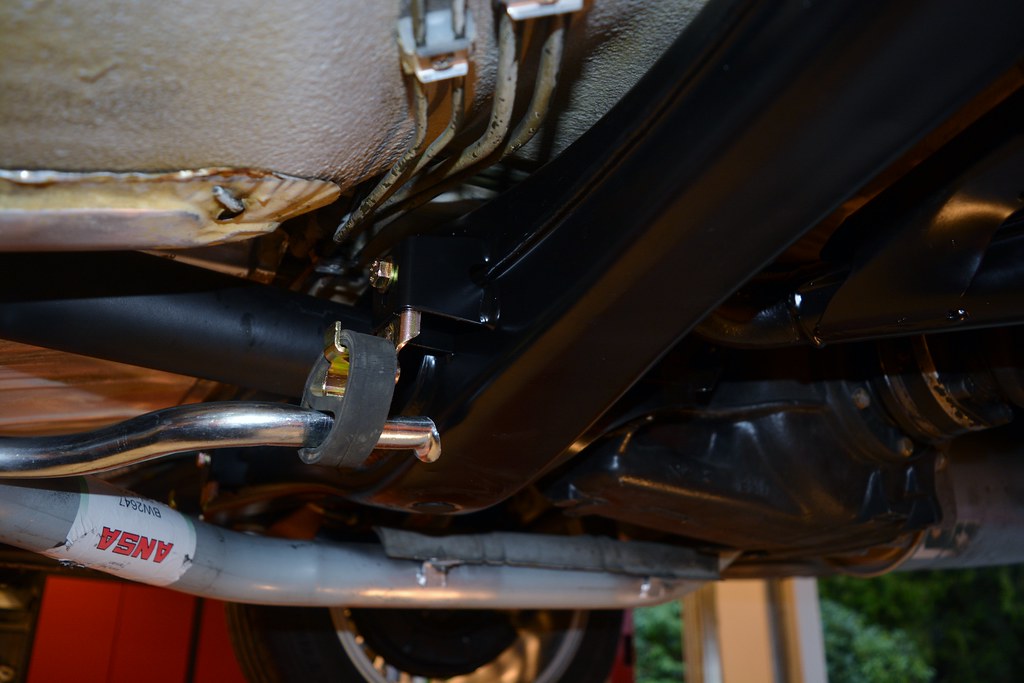
Then I noticed (remembered) the left-rear tow-hook was badly broken on this car. At some point in its life some hard force was applied and it sheared in two places. Good thing I now know how to weld...
Image

I'll post more in the in-tank fuel pump modification thread, but here's the rebuilt in-tank pump using the TRE unit:
Image

Given the TRE pump is only $79 shipped, and you get to delete a point of failure, I can't imagine why anyone would want to not do this when their pumps fail.

Today's job is to fix that tow-hook, fix some surface rust on the gas tank, and get 'er all back together...
tig
Posts: 9351
Joined: Mar 18, 2013 6:25 PM
Location: Durango
Contact:

Re: Maytag: The Alpine '87 528e Bench Player

Post by tig »

After all that. Sigh...

I got everything back together after painting the parts of the tank I sanded surface rust from and painting the fine welding job I did fixing the tow hook... Didn't have any alpine white, but this is the underside...
Image

Image

Image

Connected all the hoses and tested the new pump by jumping the pump relay. Made good noises and I could hear fuel pumping. Yay.

Still wouldn't start. Da fuq?

Previously in diagnosing the no start I found I had fuel (wet plugs) and spark (took a plug out and did the "see spark?" test). This is why I was convinced it was fuel supply and replacing the in-tank pump and filter would fix the problem.

Nope.

So I started from scratch again.

By the end of the day I:

Tried a backup 2.5 BAR FPR (and replaced all fuel hoses while I was "in there." I had never replaced the lower fuel hoses and they were still original. I was waiting to replace the engine since getting to the nipples by the steering box is a bitch). No Joy.

Pulled the disty and rotor off. The cap broke on me. I figured "YAY, that's it". The brushes were pretty scored/corroded too, making me think "that must be it". I don't remember if I replaced the cap & rotor when I did the timing belt (11/2013 @ 202k; now has 212k), and my records don't indicate. I'm guessing not because a Bosch cap that new should not break.
Image

Got a new cap/rotor and installed it. No joy.

Double checked that I was getting spark. Yep...but not blue. Yellow.

Tried a backup coil. No joy.

Tried a backup ECU. No joy.

While in the glove box noticed I had a spare main relay in there. Figured, "Might as well try it".

Joy. Started right up.

Mother-fudger. ALL OF THAT AND IT WAS THE MAIN RELAY THE WHOLE TIME. Yes, Ivo, I know you said to check it. Don't know why I didn't.

Anyway I got a bunch of stuff done to the car that I had been planning on doing anyway at some point. Some of it was actually kinda fun. And I feel better knowing those fuel lines have finally been replaced.

The oil leak from the head gasket has spread to the drivers' side... I gotta get that M20B27 build moving along real soon now.
tig
Posts: 9351
Joined: Mar 18, 2013 6:25 PM
Location: Durango
Contact:

Re: Maytag: The Alpine '87 528e Bench Player

Post by tig »

The whole point of this coil-over job was to learn. Well, I'm learning.

I now understand, very viscerally, how spring rates affect how a car rides and handles.

PO had put 9Kg coils front & rear. This is not only much stiffer than what BC Racing normally provides (7Kg front/6Kg rear) but a different ratio. Because drift.

The end result was a pretty bouncy ride over larger depressions/bumps at speed.

After consulting with the nice guys at BC Racing (great customer support, BTW) I went with their stock setup:
Image

Installed them yesterday. Rare glam shot.
Image

Much, much better, but now I need to re-dial in the dampener hardness setting again.

Also replaced that leaking clutch slave. I was going to buy another rebuild kit to rebuild the OE steel unit (again), but given the rebuild started leaking after about 5k miles and the new FTE unit was about the same price as a rebuild kit, I went plastic.
Image

Oh and I re-organized my wrench drawer.
Image
Kenny Blankenship
Posts: 4920
Joined: Feb 12, 2006 12:00 PM
Location: NNV

Re: Maytag: The Alpine '87 528e Bench Player

Post by Kenny Blankenship »

You make me feel insignificant... :oops: :)

I would ask what you intend to do with the car and how do you want it to feel? If you want the car set up for aggressive handling, then 7 kg (400 lbs/in) might be appropriate. However, if you want a little more balance with better ride, maybe consider 5.3 - 6.2 kg (300-350 lbs) in front. In order to maintain a decent ride with stiffer springs, you'd want to consider increasing compression in the struts minimally (or not at all) while increasing rebound.

What is your rake front to rear? Measure at the rocker panel line or at the moulding, behind the front wheel well and in front of the rear wheel well. Depending upon how you want the look, I'd recommend 3/4" to 1 1/2". I like 1" to 1 1/4".

When I had my M7 I had compression (compared to stock) minimally increased but rebound was up 33-40%. You don't have to be that aggressive, though...
Mike W.
Posts: 27248
Joined: Feb 12, 2006 12:00 PM
Location: California Whine Country

Re: Maytag: The Alpine '87 528e Bench Player

Post by Mike W. »

cek wrote:
Also replaced that leaking clutch slave. I was going to buy another rebuild kit to rebuild the OE steel unit (again), but given the rebuild started leaking after about 5k miles and the new FTE unit was about the same price as a rebuild kit, I went plastic.
Image
A plastic clutch slave??? I've never heard of that. Assuming it's strong enough, which I suspect it is, and since a clutch is never going to get a mash it thru the floor pressure like brakes, it doesn't actually sound all bad, if it's the right plastic. But the thought of it has me shaking my head.
tig
Posts: 9351
Joined: Mar 18, 2013 6:25 PM
Location: Durango
Contact:

Re: Maytag: The Alpine '87 528e Bench Player

Post by tig »

I just read this whole thread again. Conclusion: The OP is insane.
dsmith
Posts: 2362
Joined: Jan 20, 2012 12:52 AM
Location: Charleston, SC

Re: Maytag: The Alpine '87 528e Bench Player

Post by dsmith »

cek wrote:I just read this whole thread again. Conclusion: The OP is insane.
For reading 28 pages of a 528e? Yes

For keeping a solid, no rust 528e in good knick? Hardly.
Mike W.
Posts: 27248
Joined: Feb 12, 2006 12:00 PM
Location: California Whine Country

Re: Maytag: The Alpine '87 528e Bench Player

Post by Mike W. »

cek wrote:I just read this whole thread again. Conclusion: The OP is insane.
Yes, but not nearly as crazy as someone who would do it to a Toyota Corona/Corolla/Camry/Cwhateverthefuck, and I'm sure there are those who do. Besides, I'm not a fan of etas, I've never wanted an eta, I've never owned an eta, but now I want one. Yours!
Post Reply