Re: Another restoration - 83' 528i
Posted: Jul 06, 2021 5:55 PM
May - June 2021
An update is long overdue.
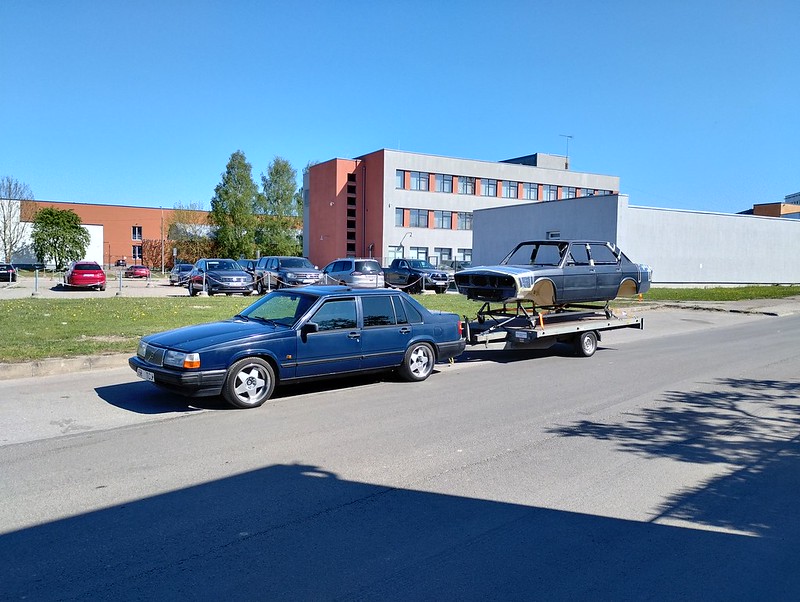
First attempt at getting the nose fitted was kind of a bust. After spending many hours trying to get those old rusty fenders to fit we decided it would be best to wait until the new ones arrive so if anything needs adjustment (read: hammering) it gets adjusted with the actual panels going on the car.
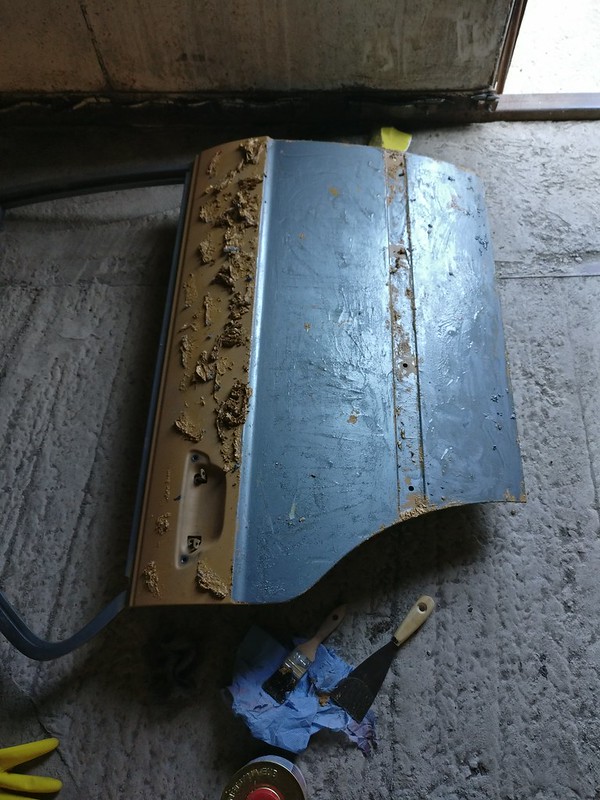
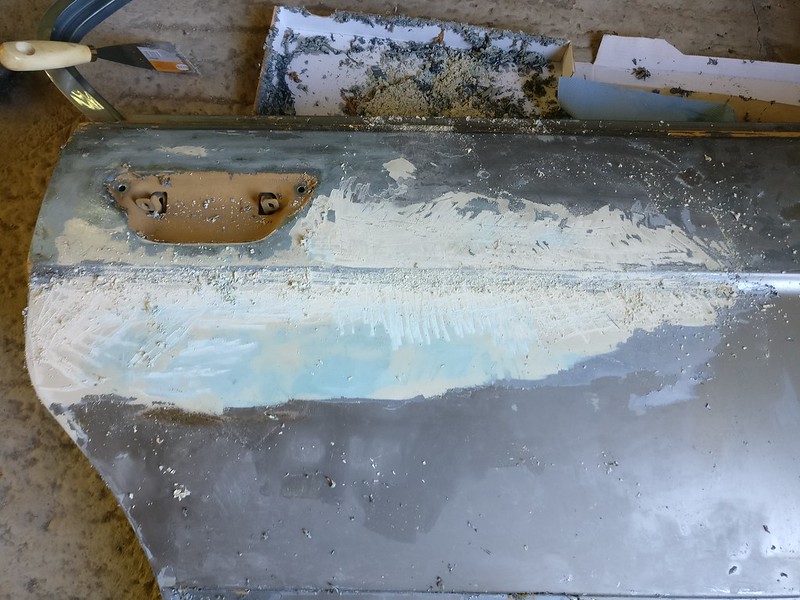
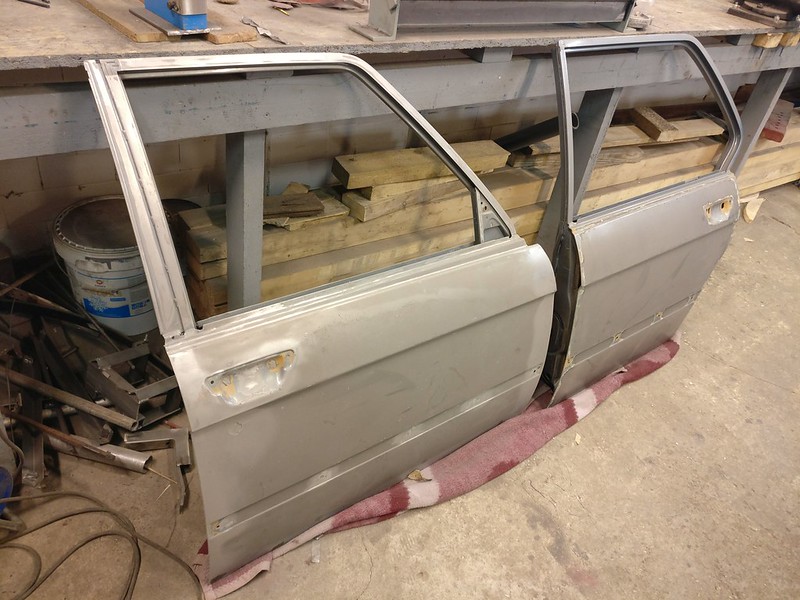
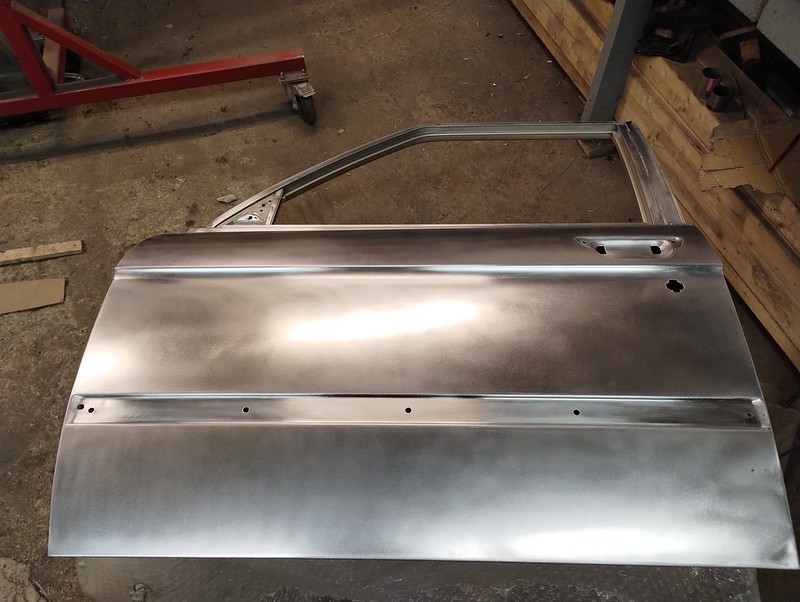
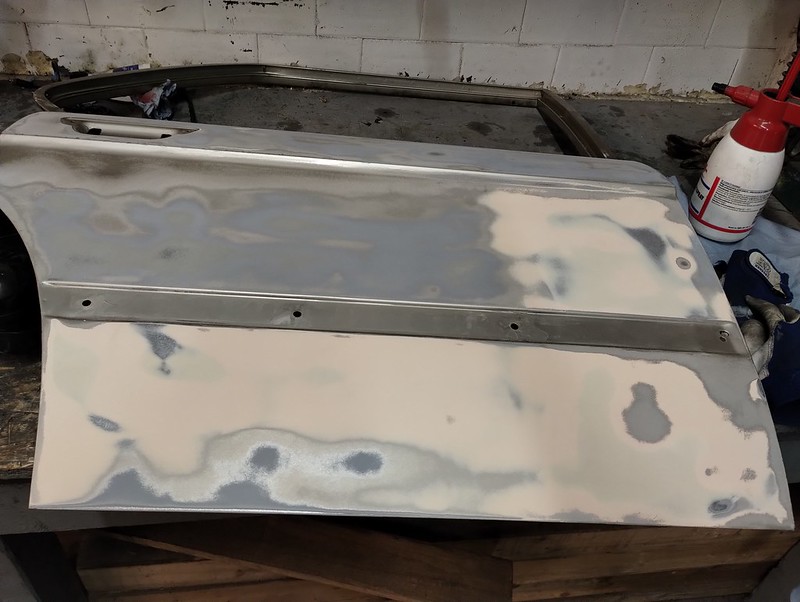
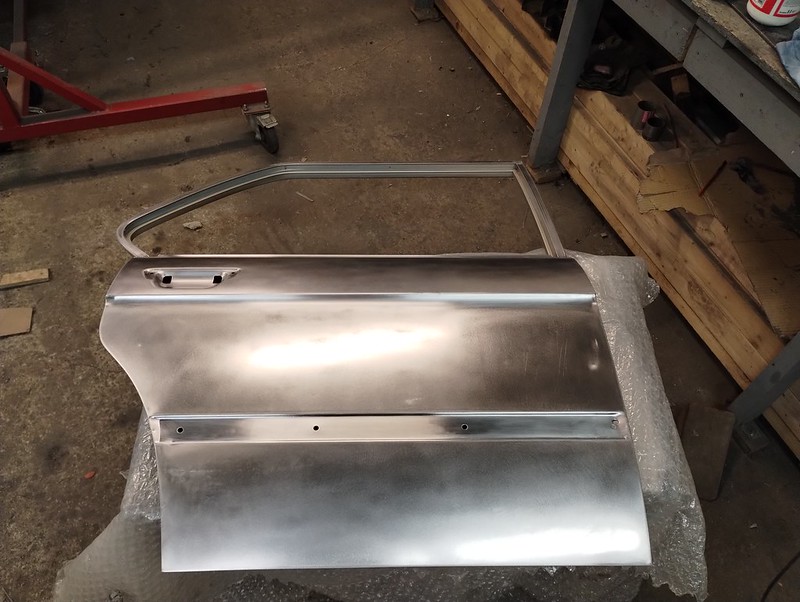
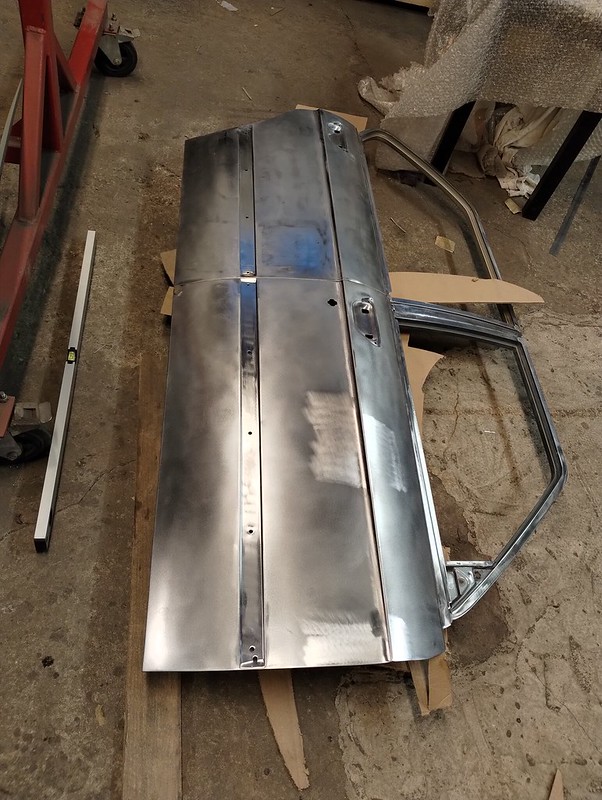
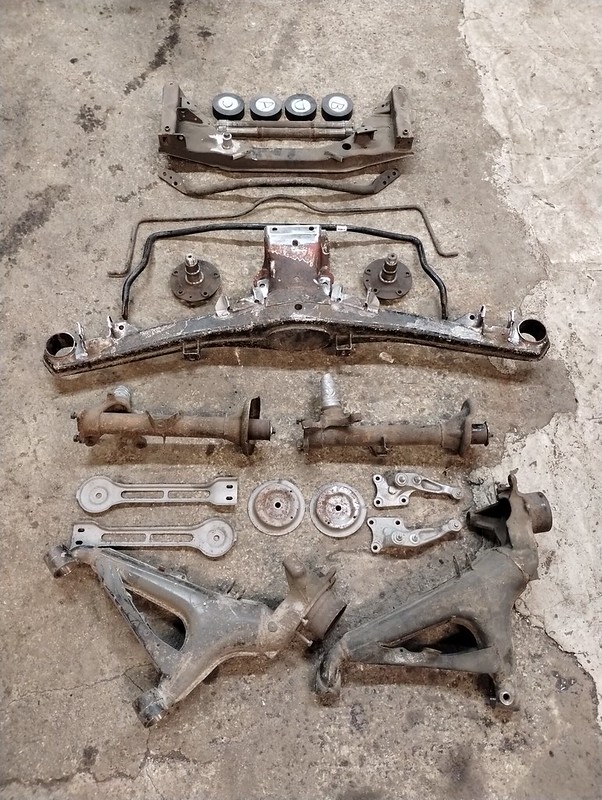
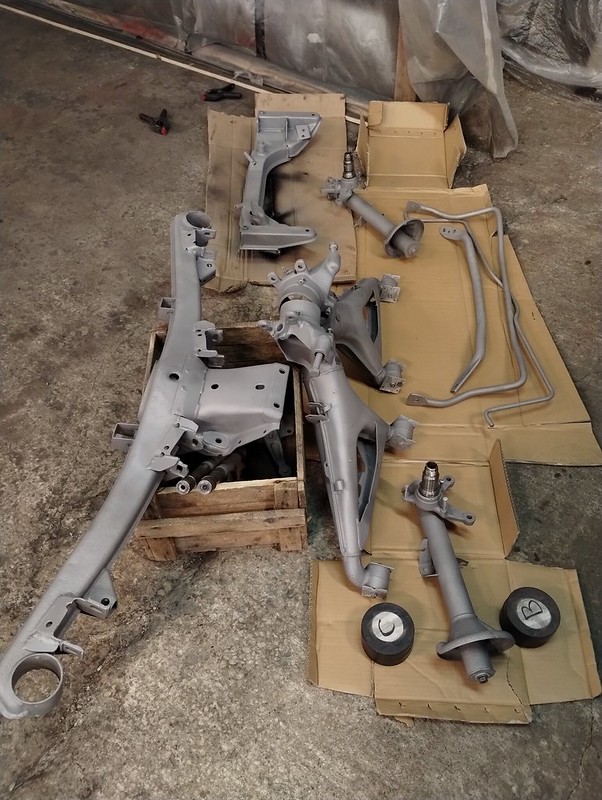
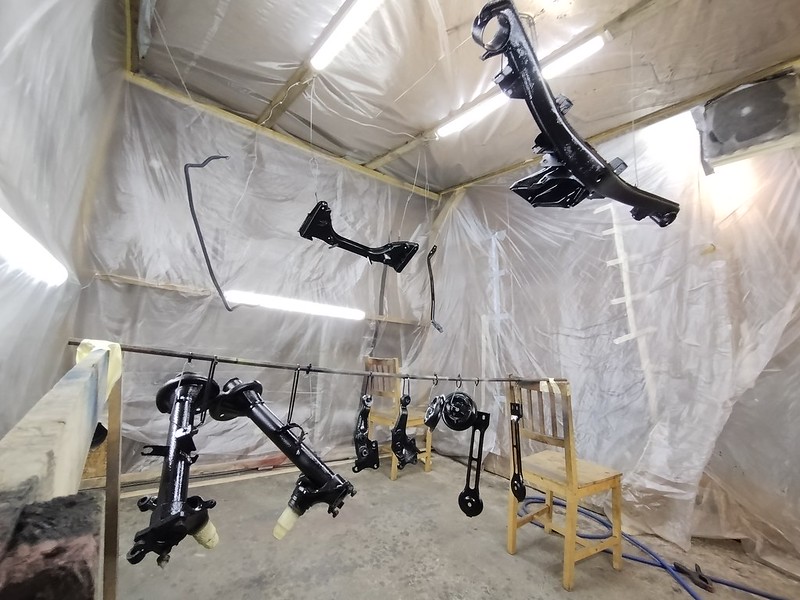
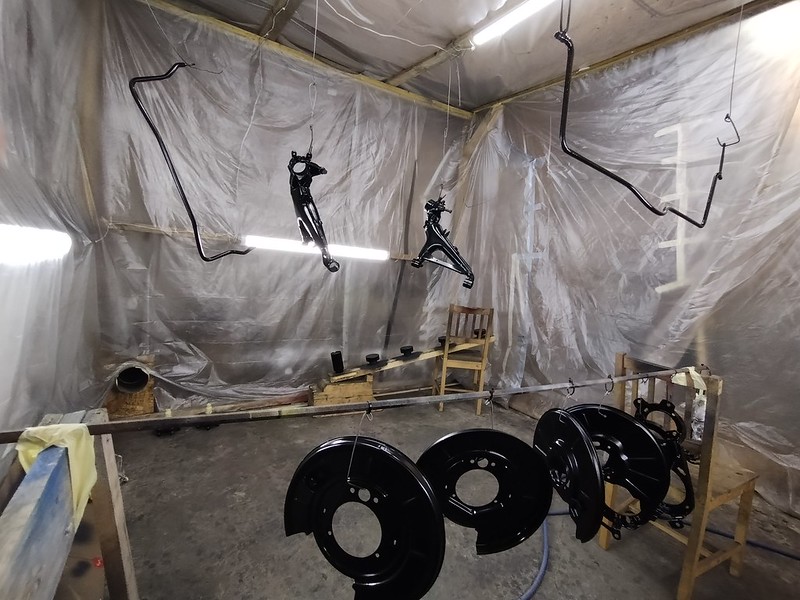
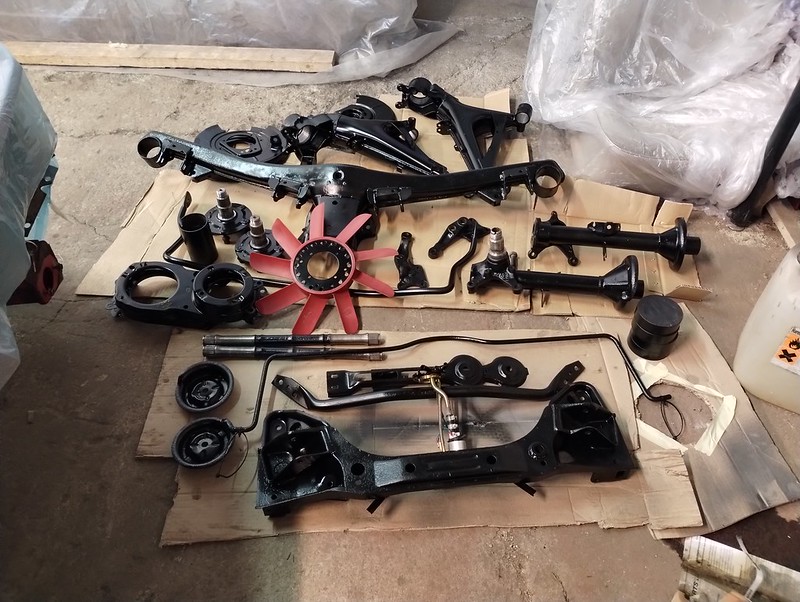
So, until fenders arrived I had to focus on other stuff. I don’t have much anything to show from May, thus the lack of updates. Took last trim pieces and trinkets off the doors, went through the axles removing some old bushings and getting things ready for sandblasting. Installed the replica steering box reinforcement piece I had bought from e28goodies. Fits well, unfortunately no pics for now.
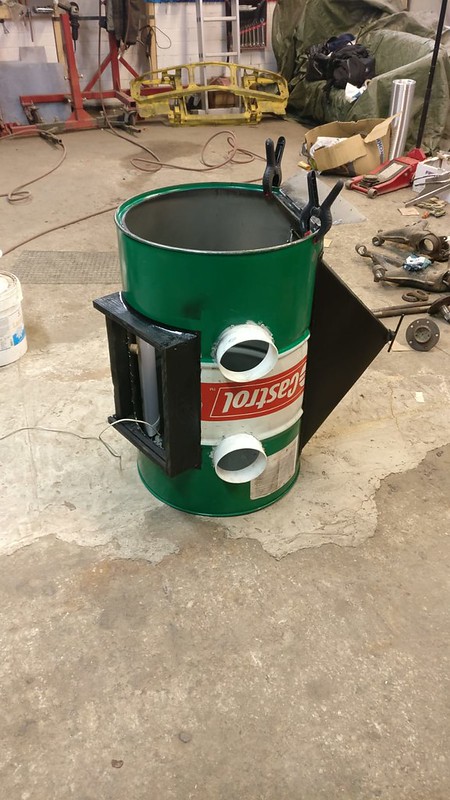
Built myself a small sandblasting cabinet out of an old oil drum so I could conveniently blast smaller things. Designed it so I could stick the gun of my large (is it though!?) sandblaster into the cabinet but this didn’t work out very well - the hose is really stiff and you can’t move it around much. Need to get a small siphon type blasting gun just for the cabinet.
Can't find a photo of finished cabinet but you get the gist.
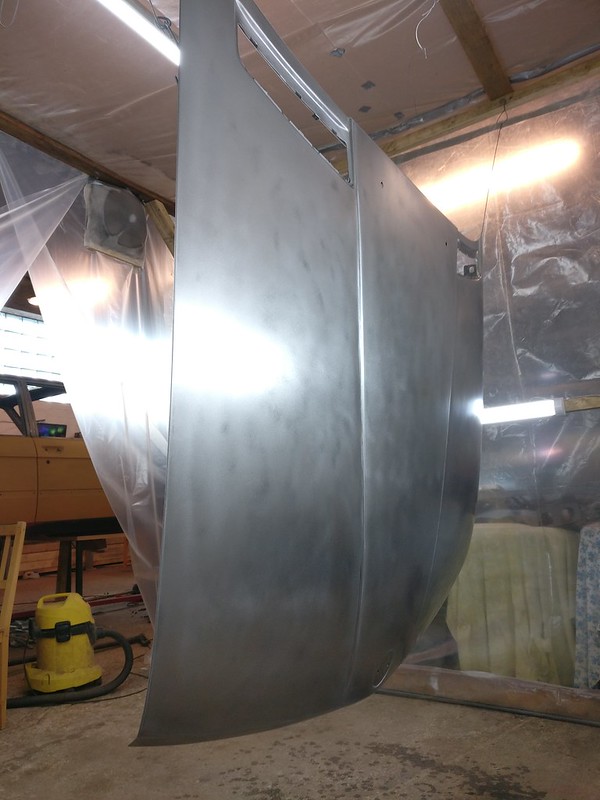
Then I began to strip the hood and the trunk lid of paint. I knew I had to do some repairs near the cabin air intakes are but first I wanted to be sure there aren’t any other big surprises waiting for me underneath the paint. Under the green paint (hood was from the first car) were original layers of paint and primer, so all good.
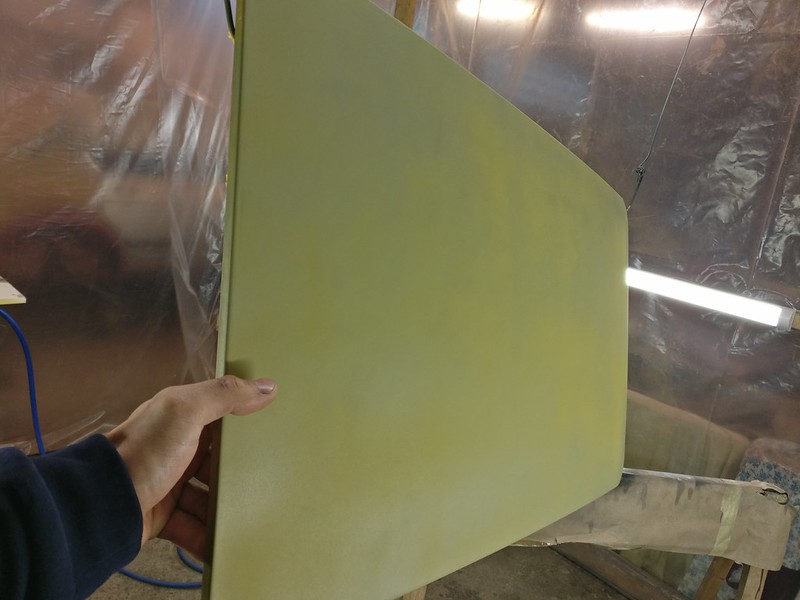
Here’s a pic of the hood from later on, already waiting for the primer.
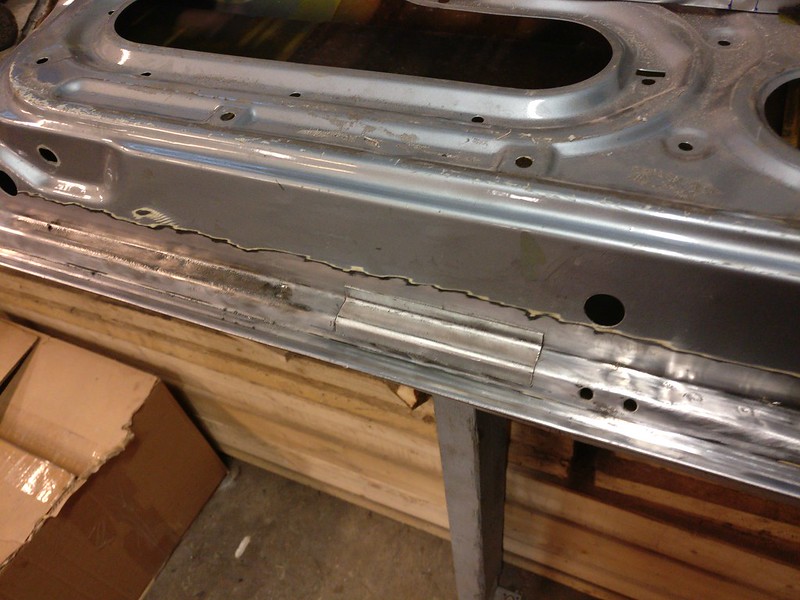
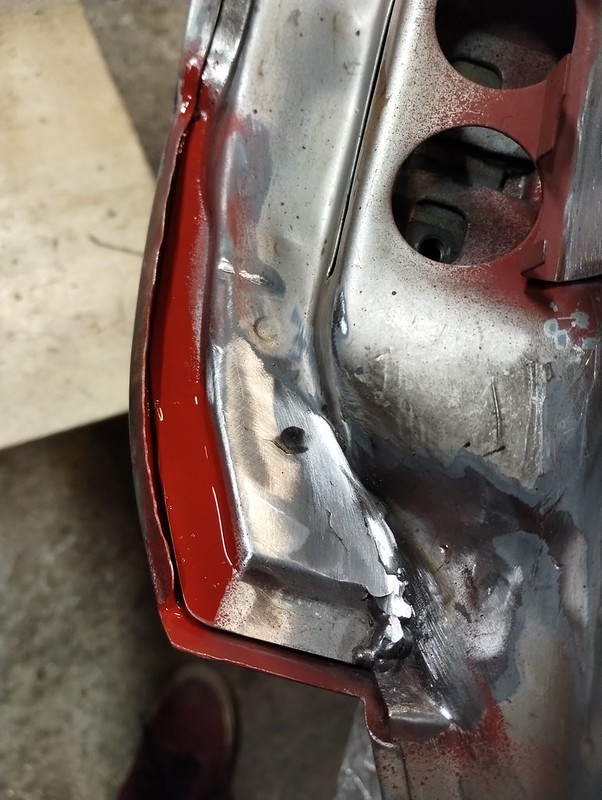
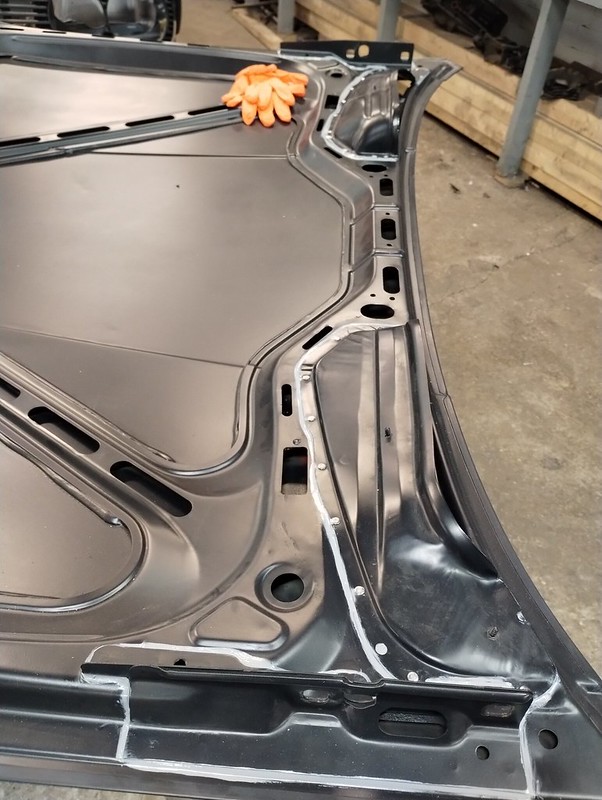
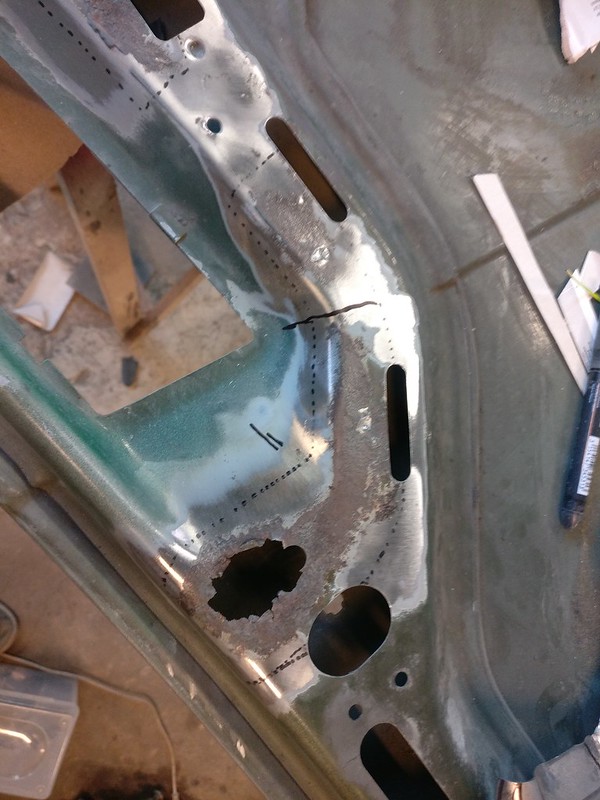
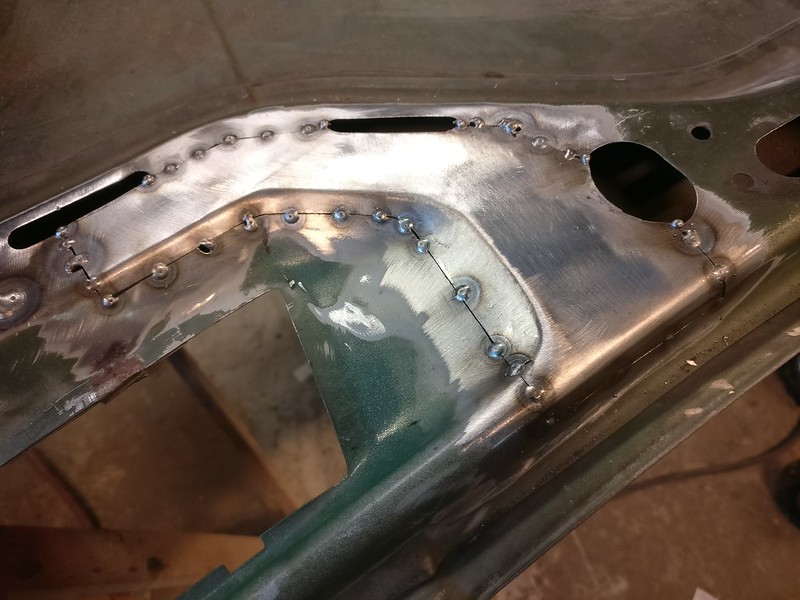
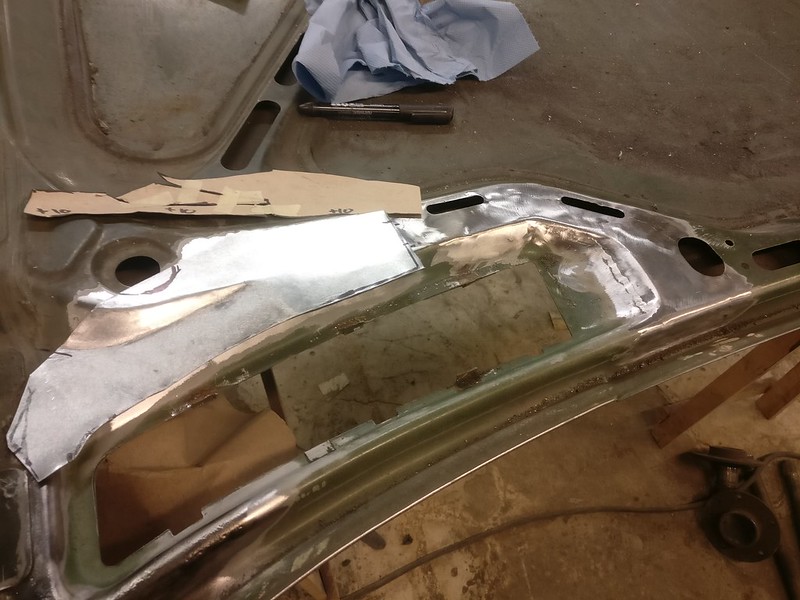
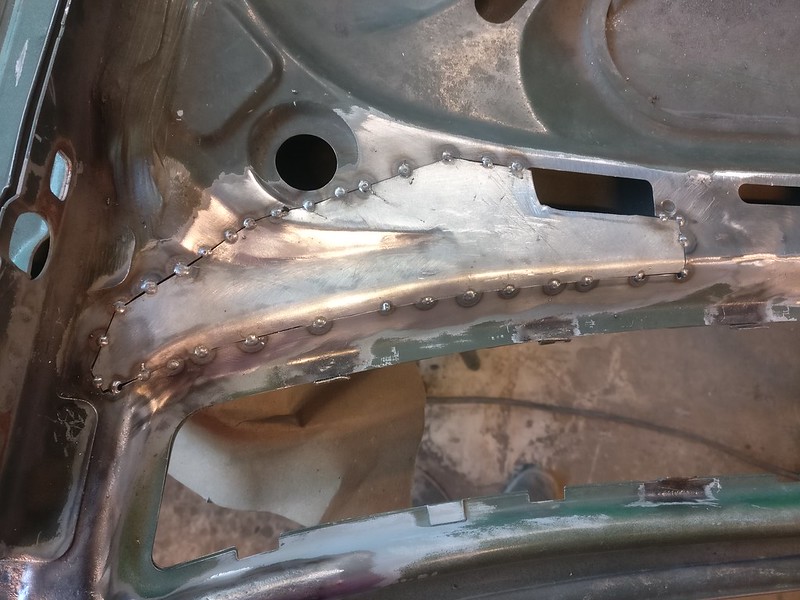
Some patches were due.
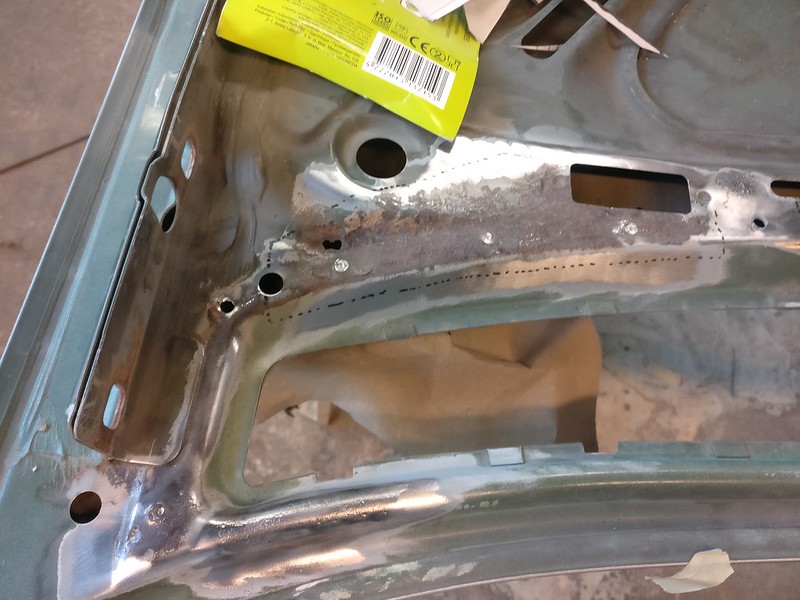
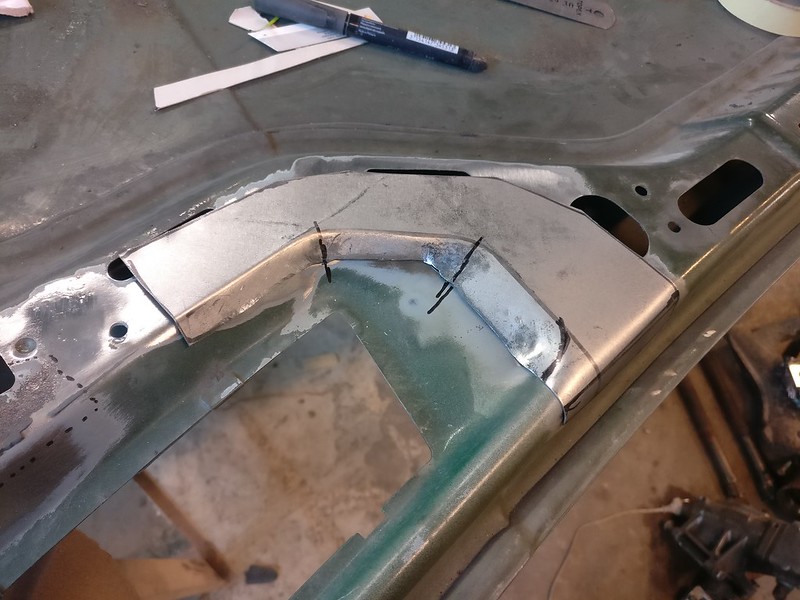
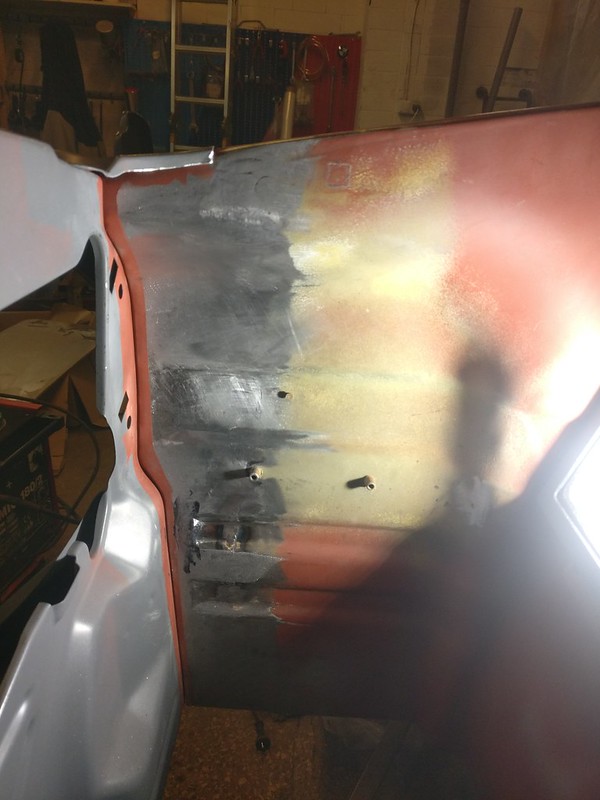
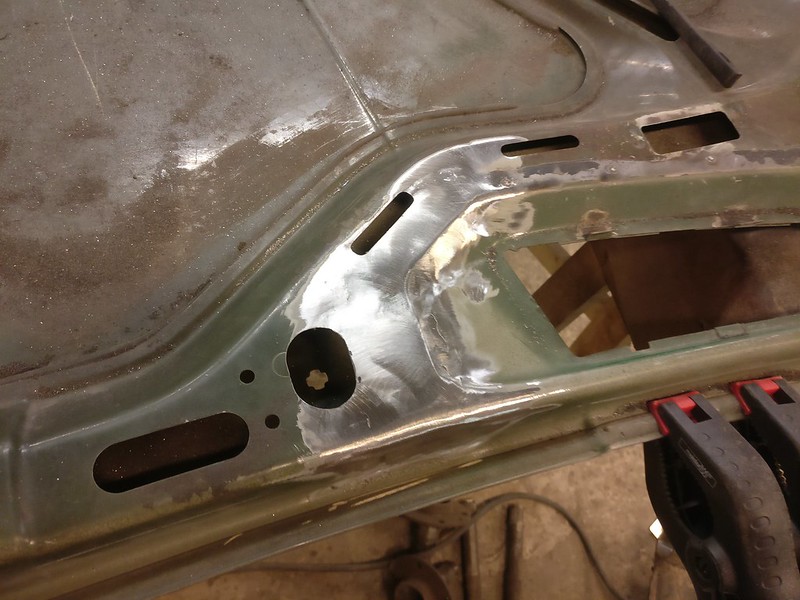
And one patch for the other side
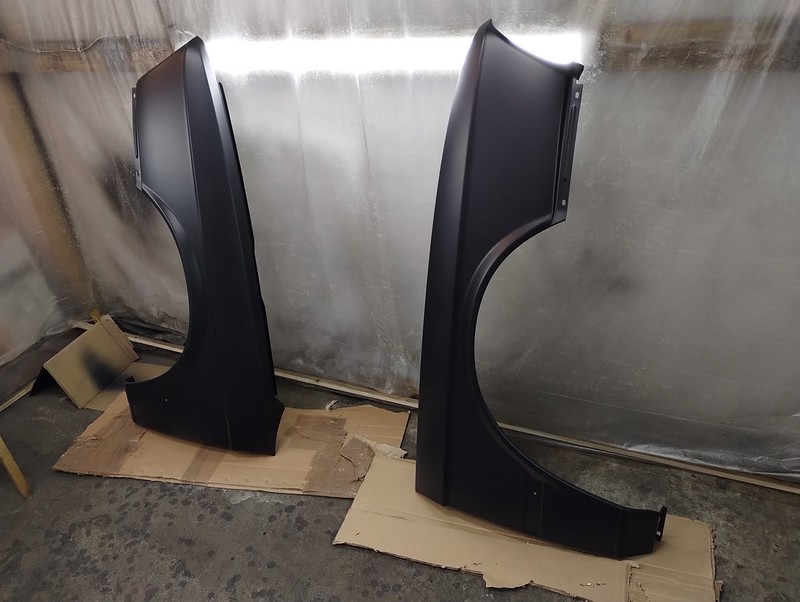
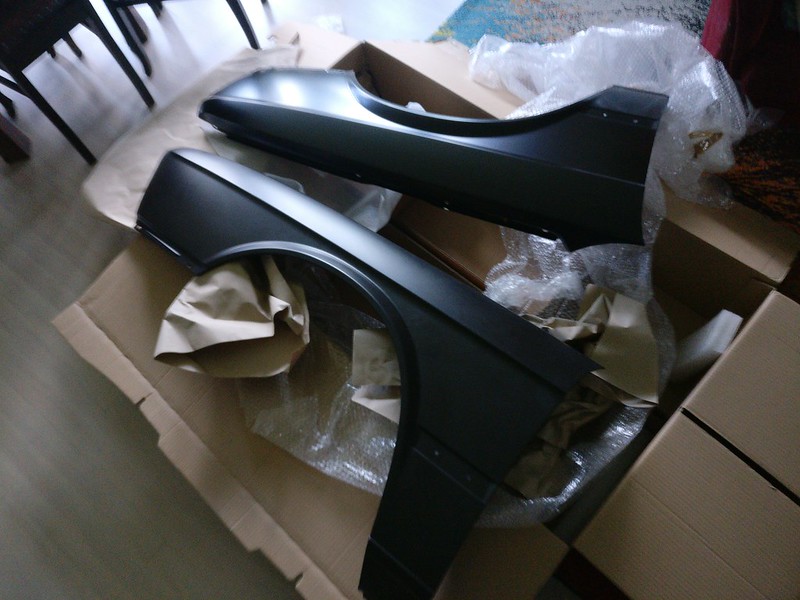
Sometime in the beginning of June my new fenders arrived. This time they had put some effort into packaging. Not sure if I mentioned it before but the nose frame was just delivered loosely in a cardboard box.
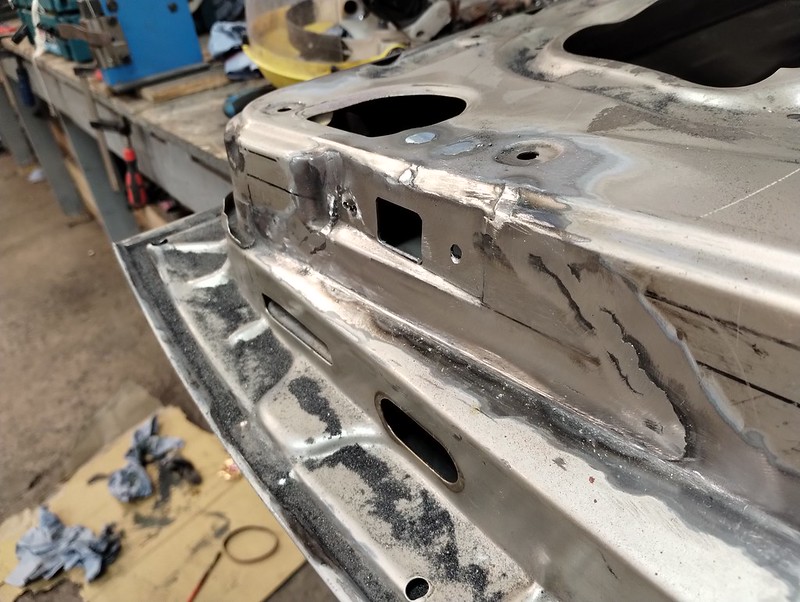
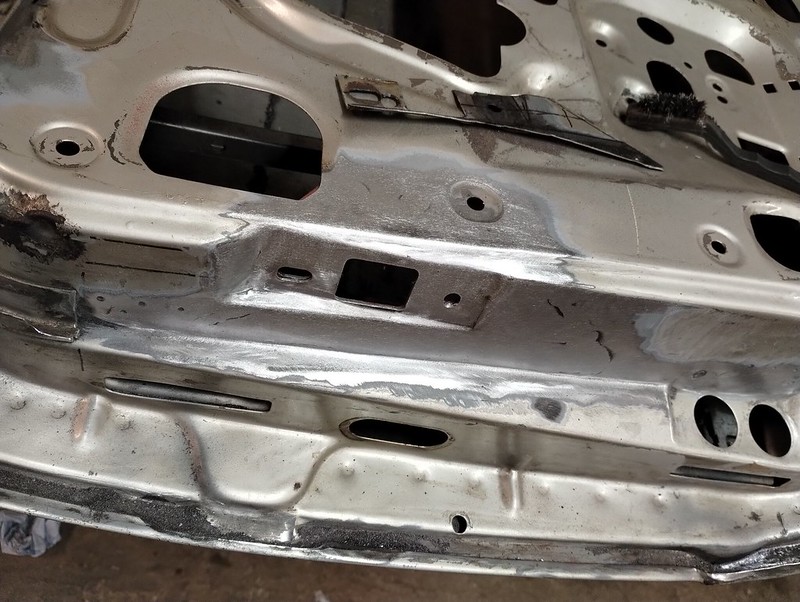
Since there was plenty of surface rust around all the openings in the bottom structure of the hood, I decided to strip this as well. In the large middle sections I just sanded it down to the e-coat. But damn this factory e-coating is tough...
Getting here (paint and one layer of primer removed) took about 1.5-2 hours.
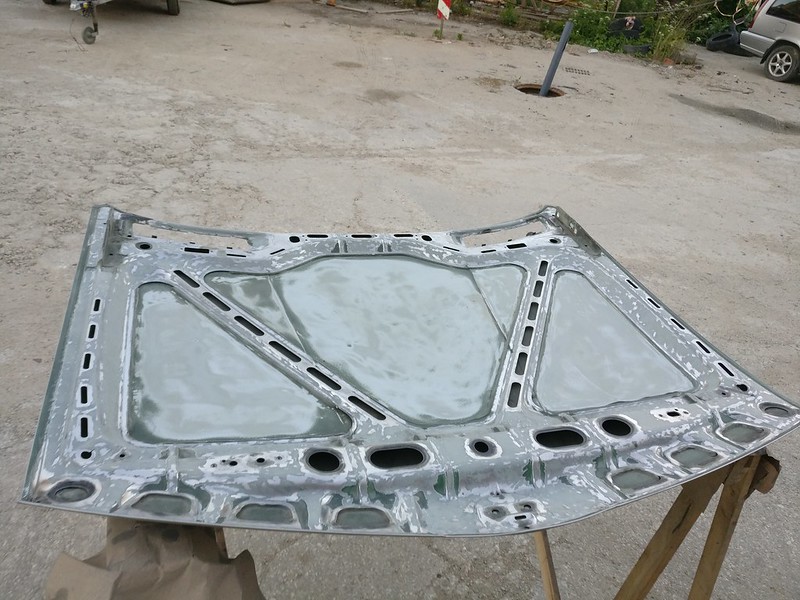
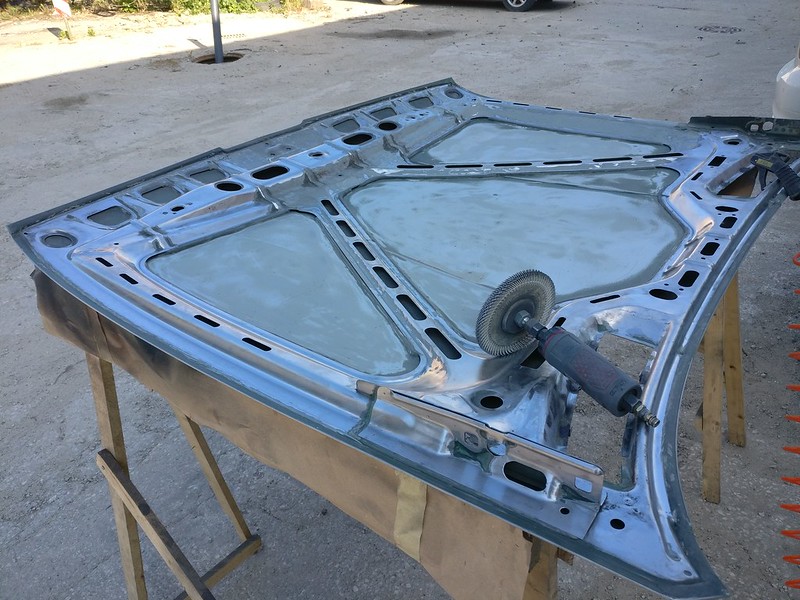
Getting through all the e-coating took about me about 7 hours (including the breaks but still).
Here you can see the tool I used to strip the bottom structure, attached to it are 3M stackable bristle discs. Really nice abrasive for something like this.
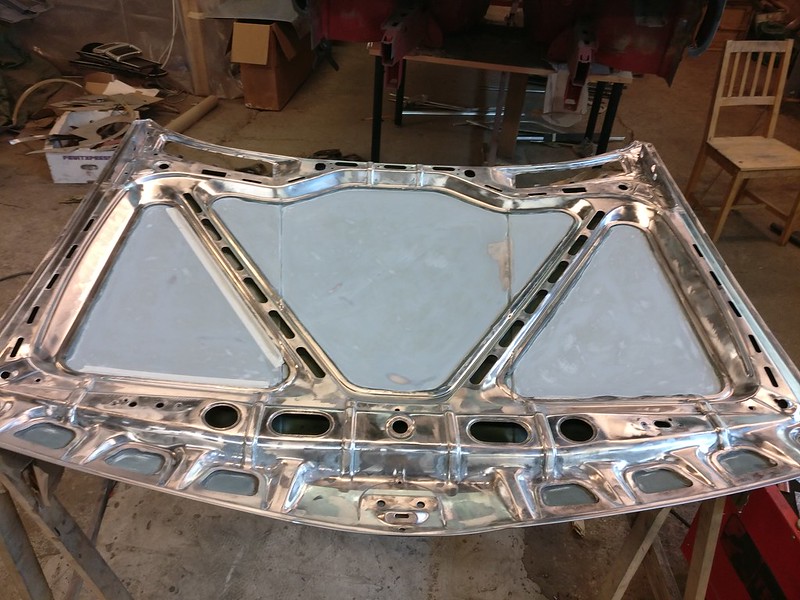
Bottom side all cleaned up
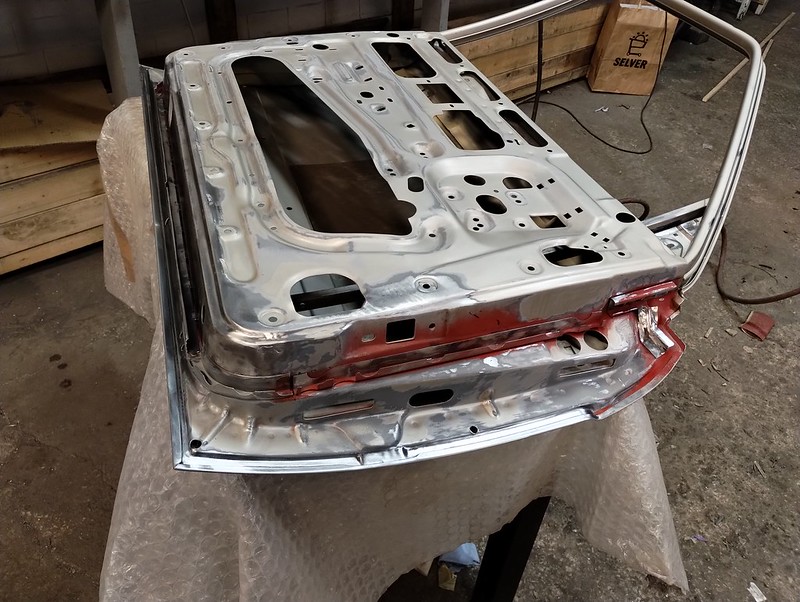
Trunk lid, on the other hand, had about 9 layers on it, including a layer of spray putty. So I was rather surprised not finding any damage after cleaning off this side.
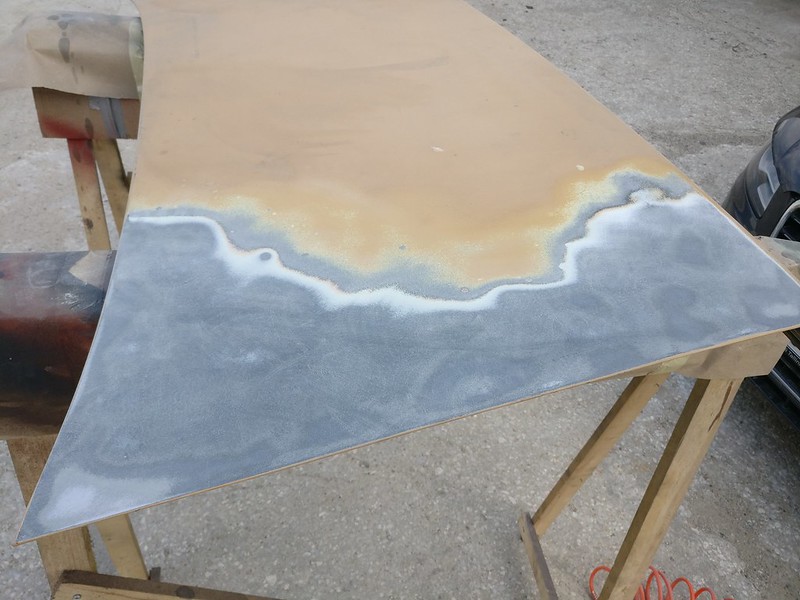
But there were plenty of dents in other sections.
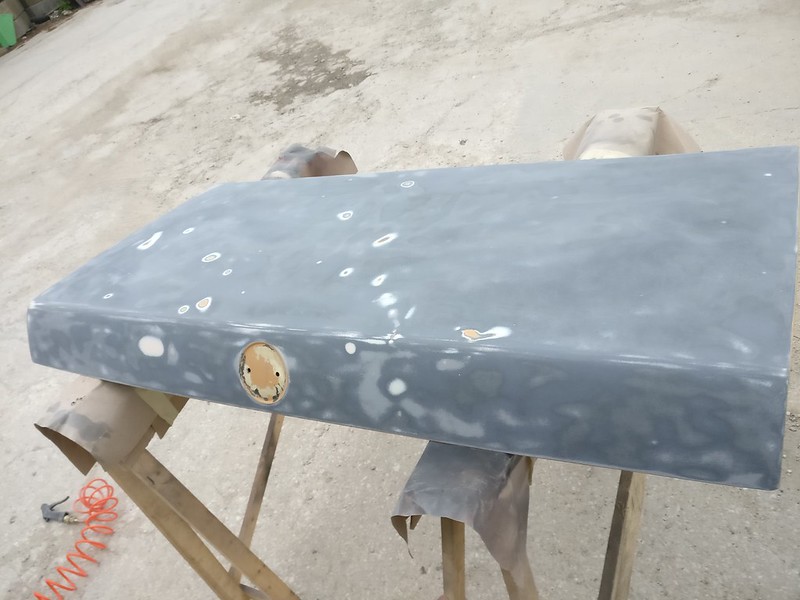
At least all those layers came of pretty quickly and most of those dents shouldn’t be hard to remove. Rust-wise this panel is really solid. I do have another trunk lid but it has the holes for the lip and a large opening underneath the badge, most likely from an attempt to unlock the trunk. Welding these shut would bring up another bunch of issues so I’ll stick to this lid.
Cleaned up
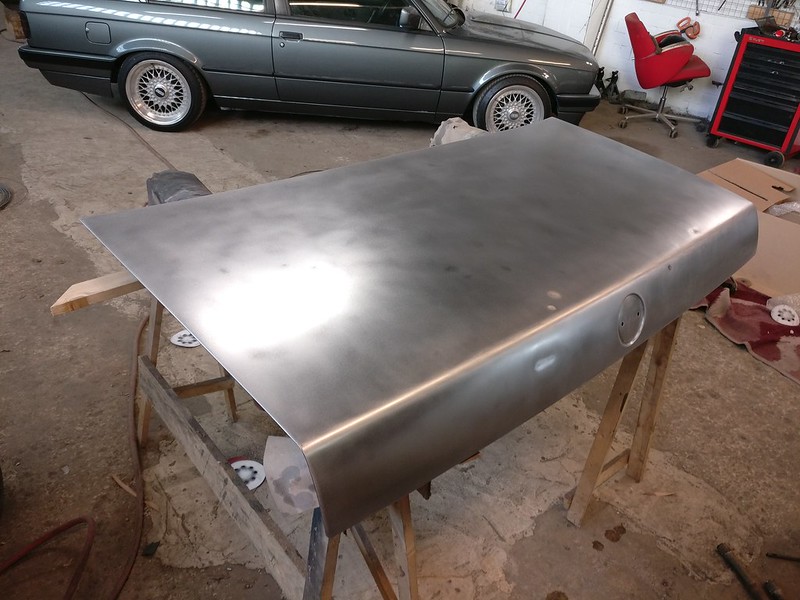
Time to shoot some acid primer on these panels.
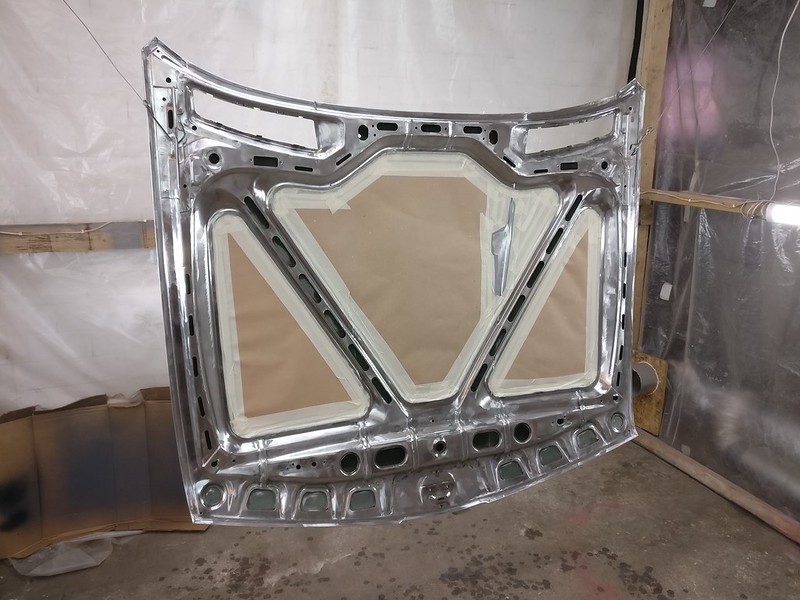
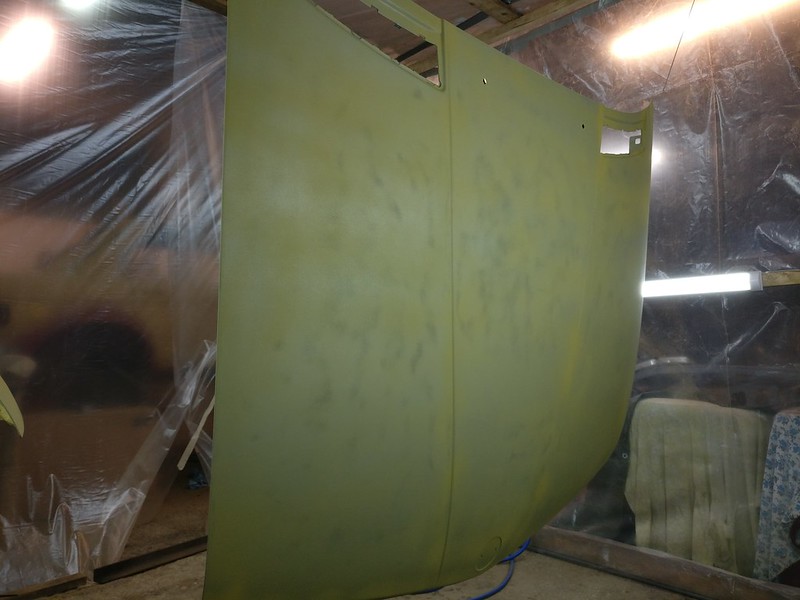
Notice that I forgot to shoot some primer on the area in the middle. According to the datasheet the following primer is okay to put on bare metal so I didn’t bother running another session just for that small area underneath the hood.
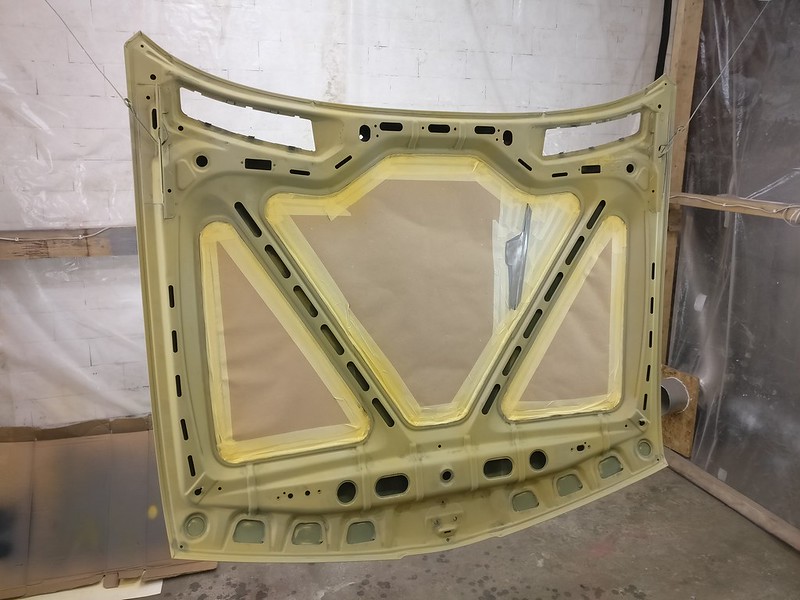
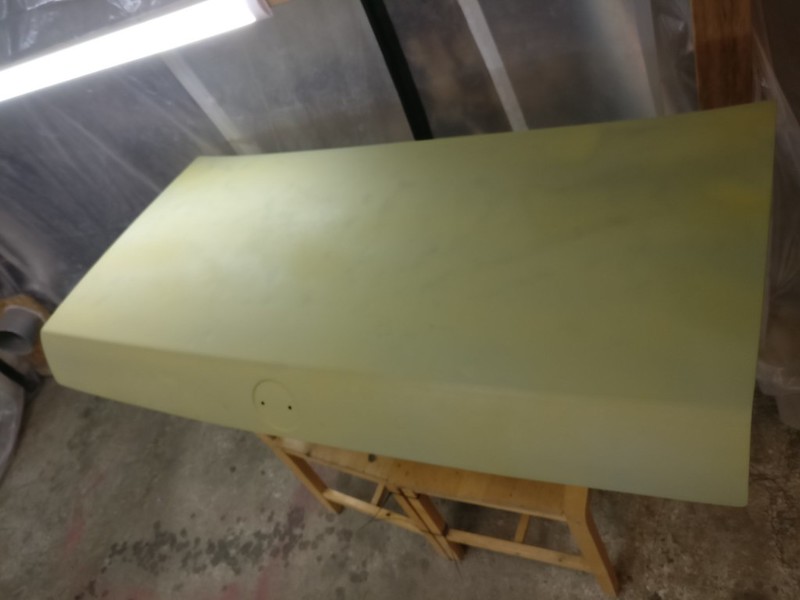
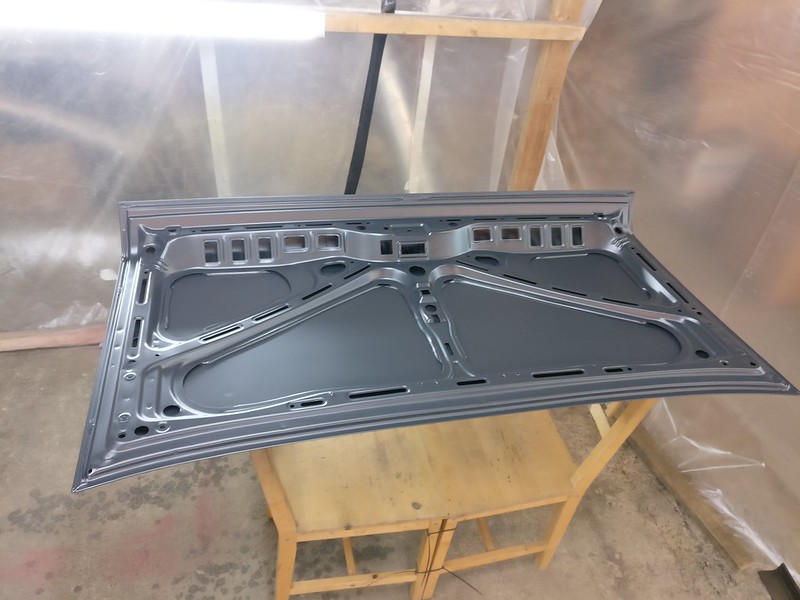
Some days later I shot the underside of both panels.
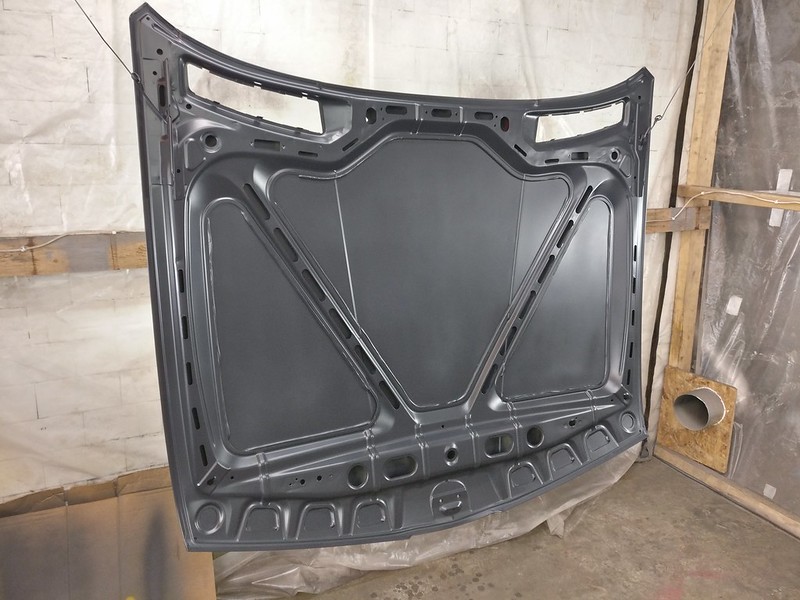
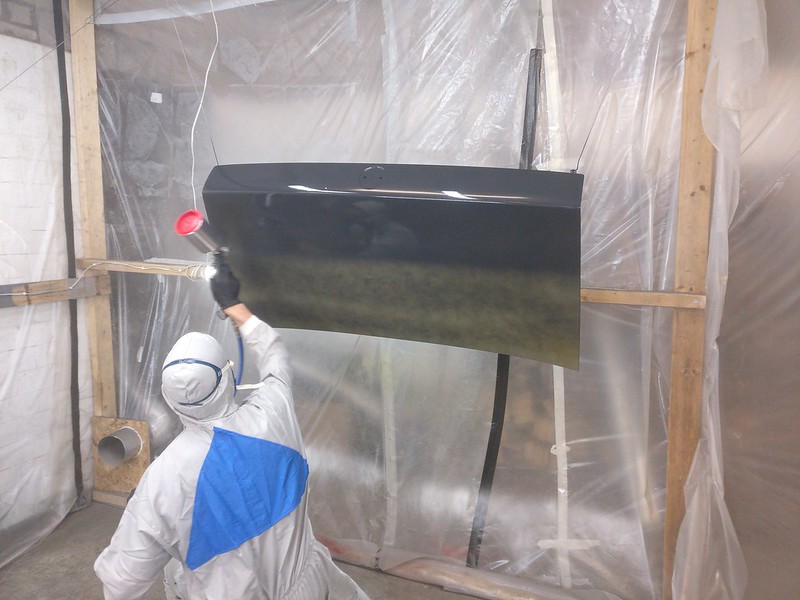
Top sides were done by my buddy as I didn’t want to risk messing these up.
This allowed me to get some shots of him in the action.
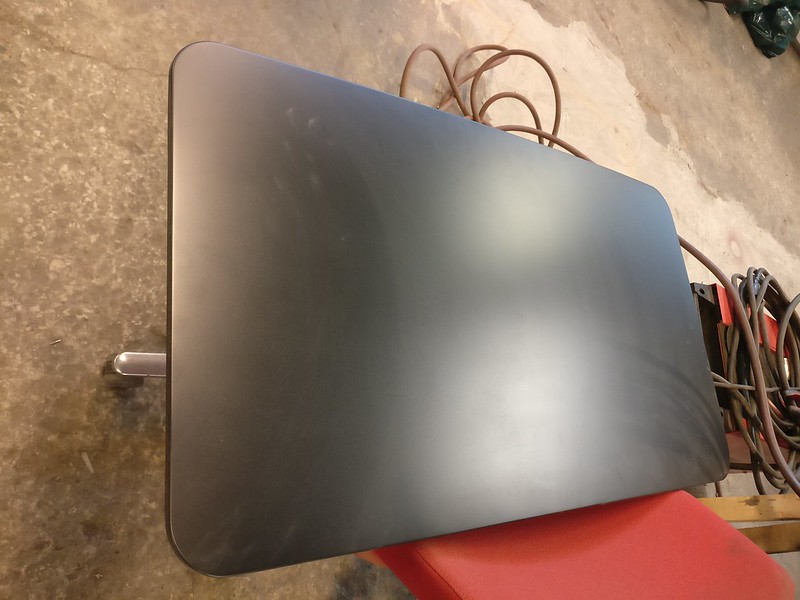
Both panels done and dry
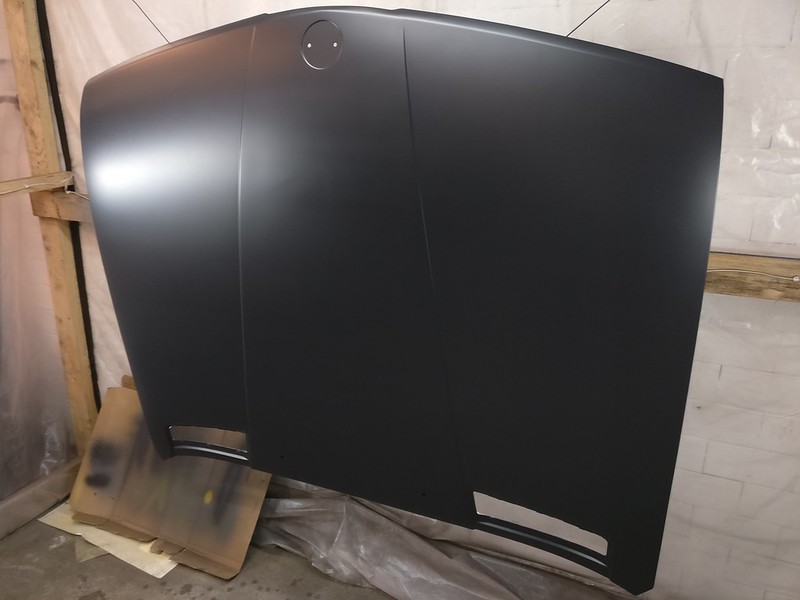
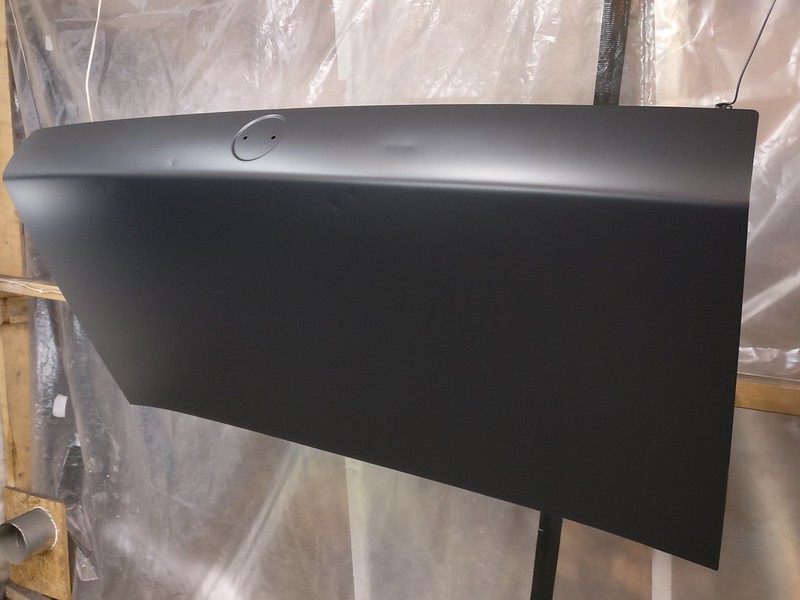
This dark primer will also work as a guide coat for the dent guy. Haven’t met him yet but he should be really good at that stuff. I believe he specializes in what you call paintless dent repair. Looking forward to seeing him in action.
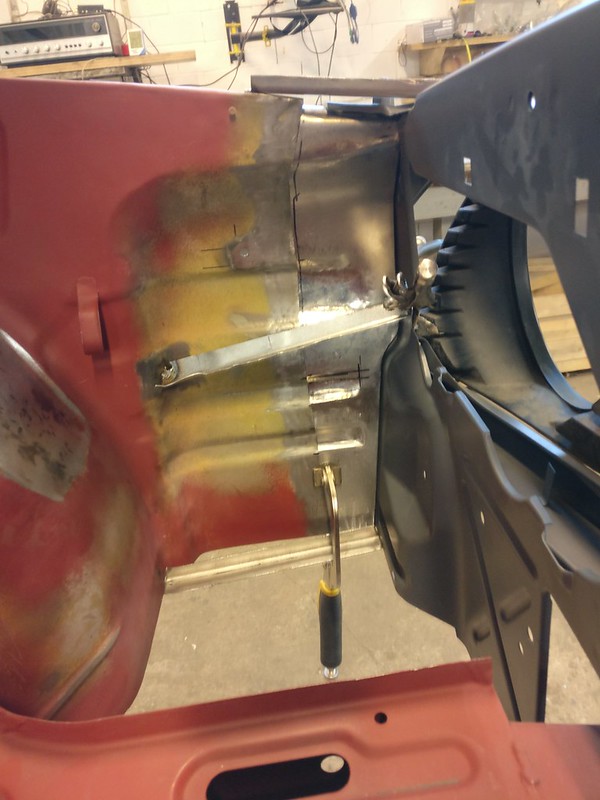
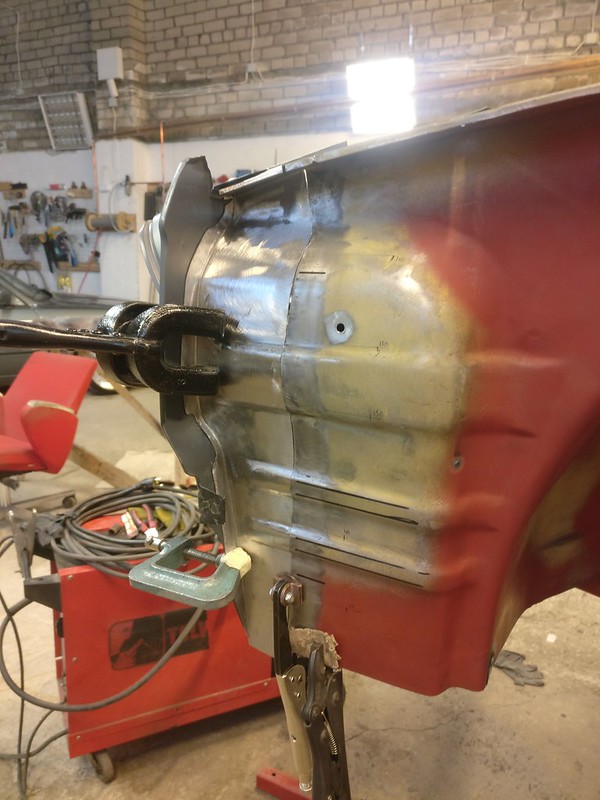
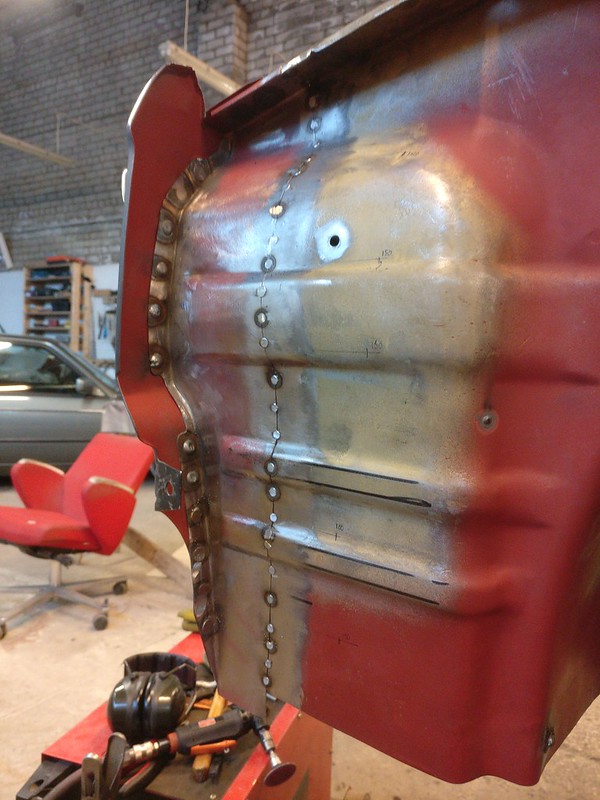
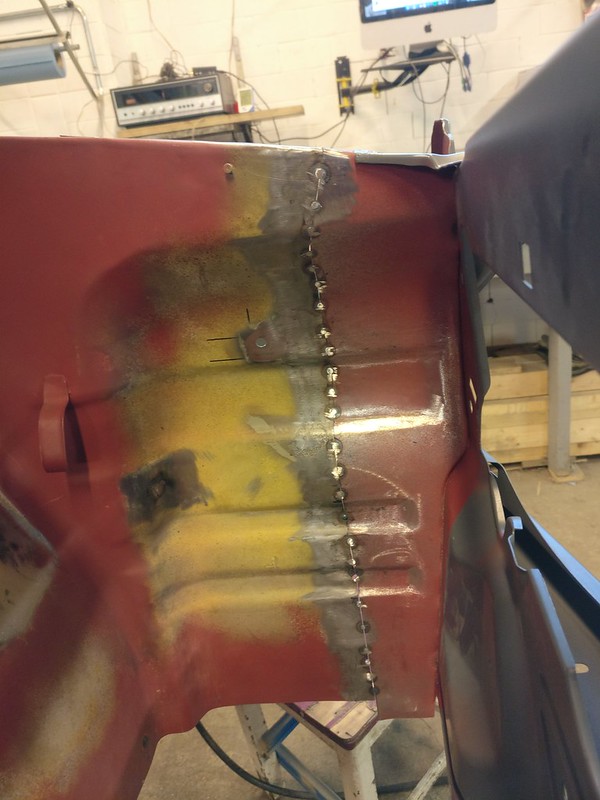
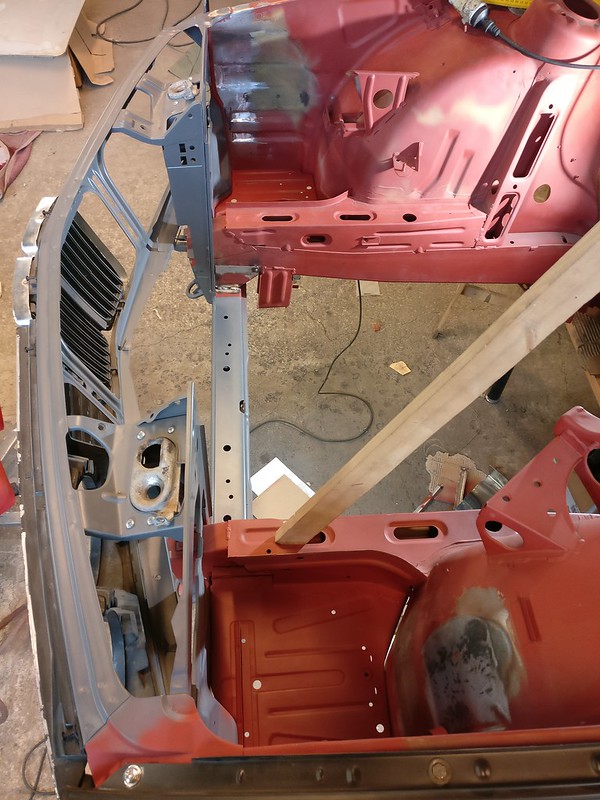
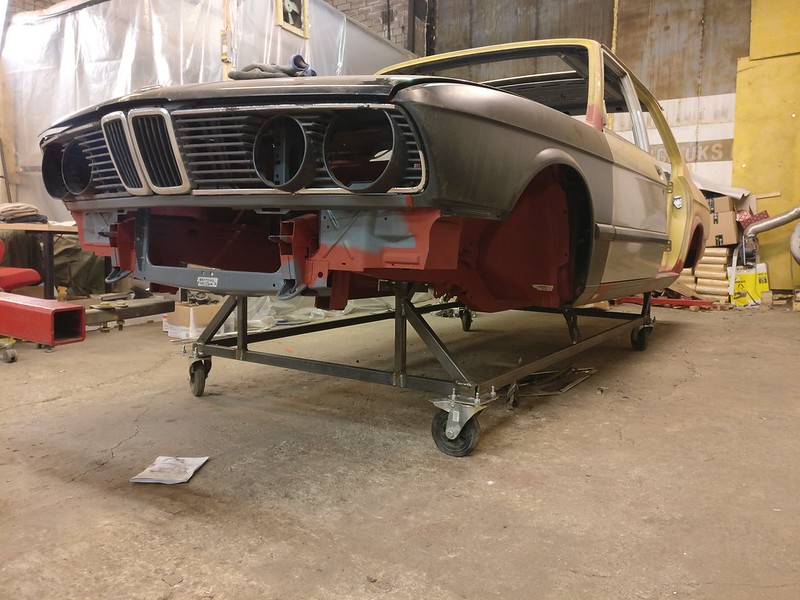
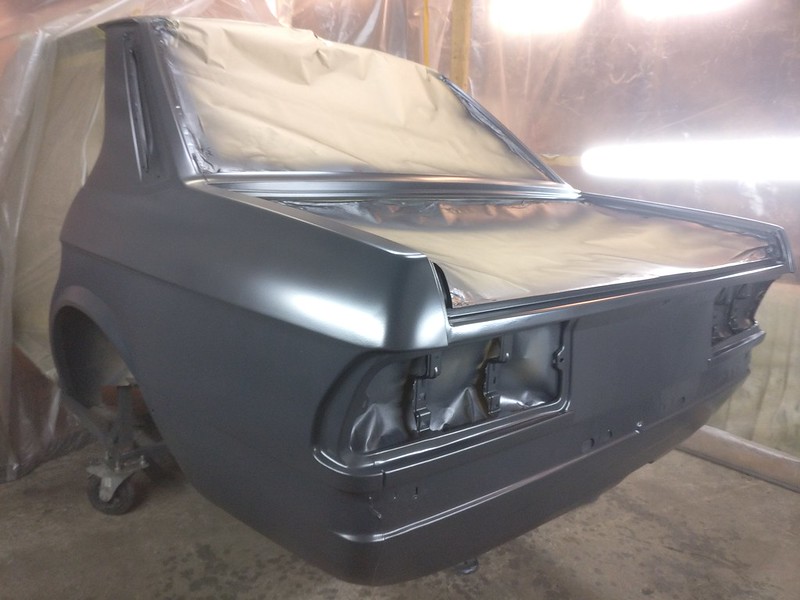
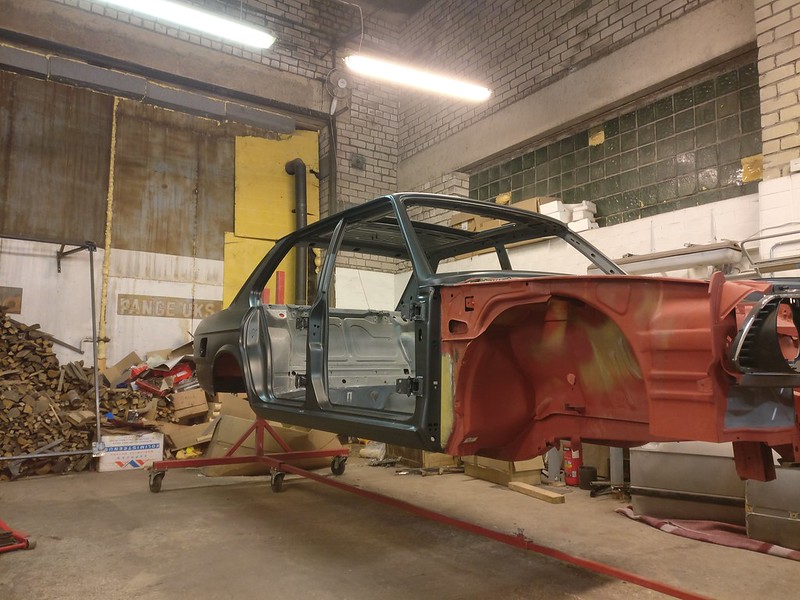
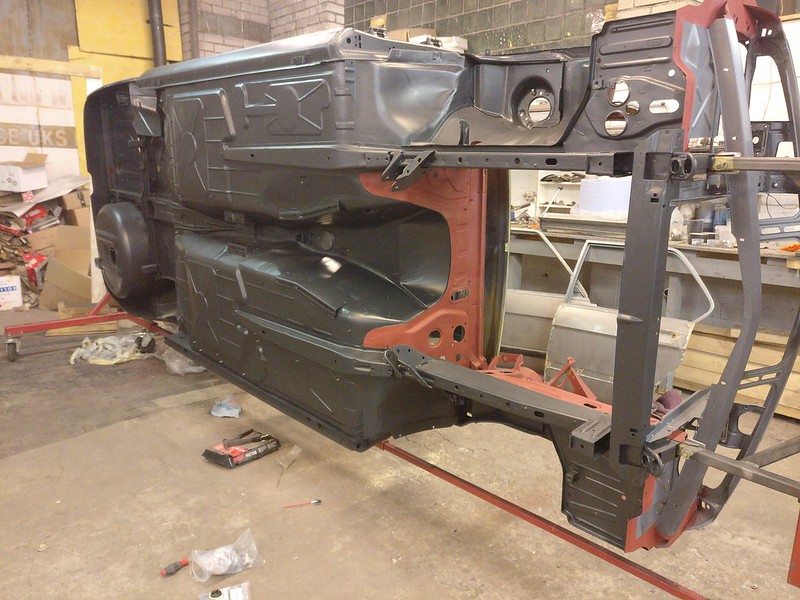
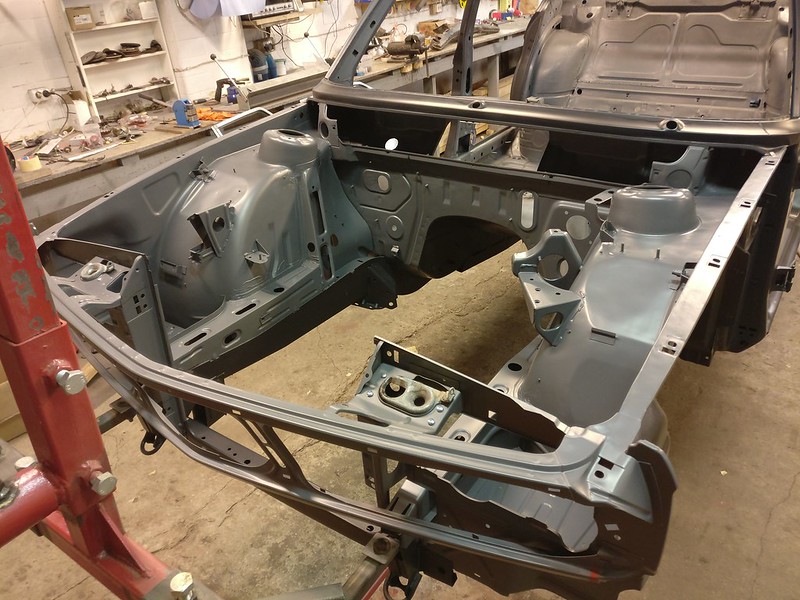
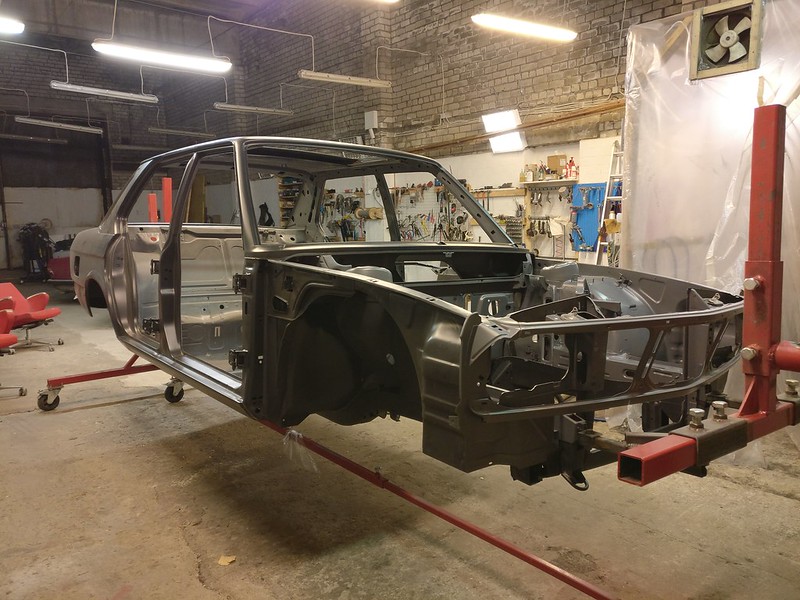
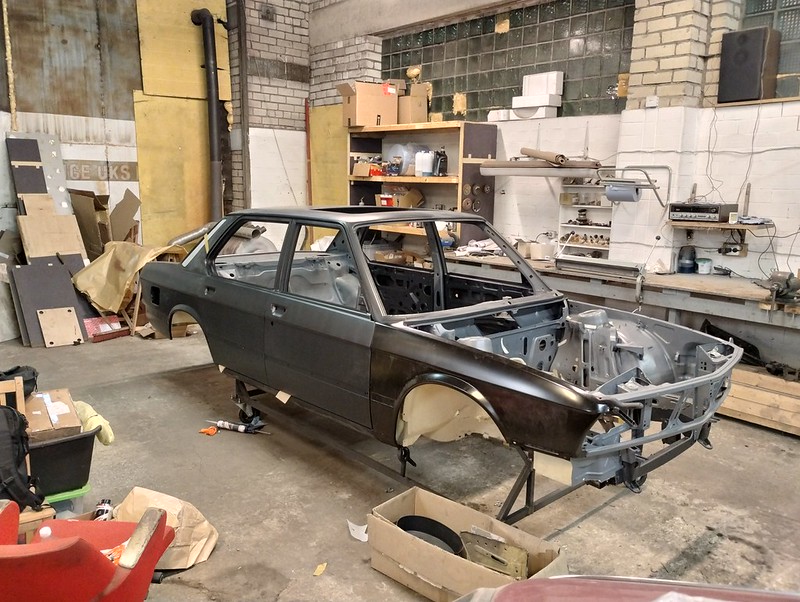
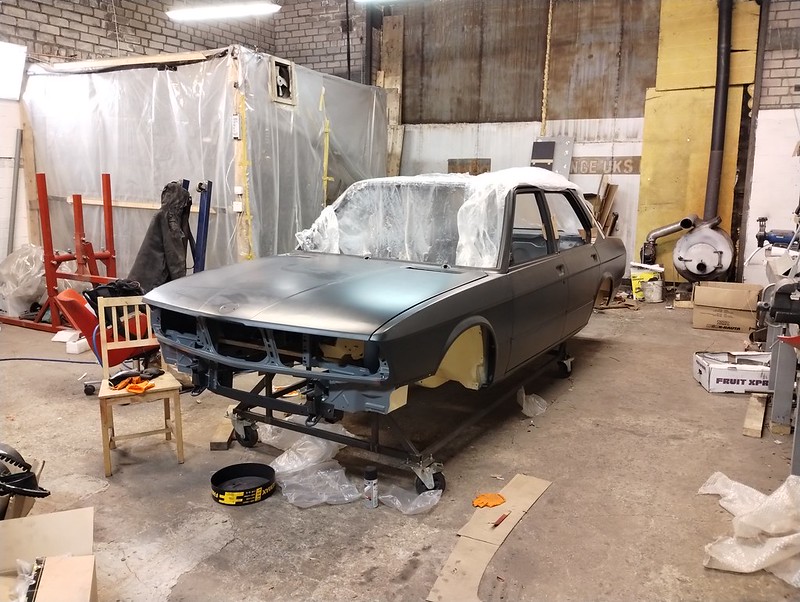
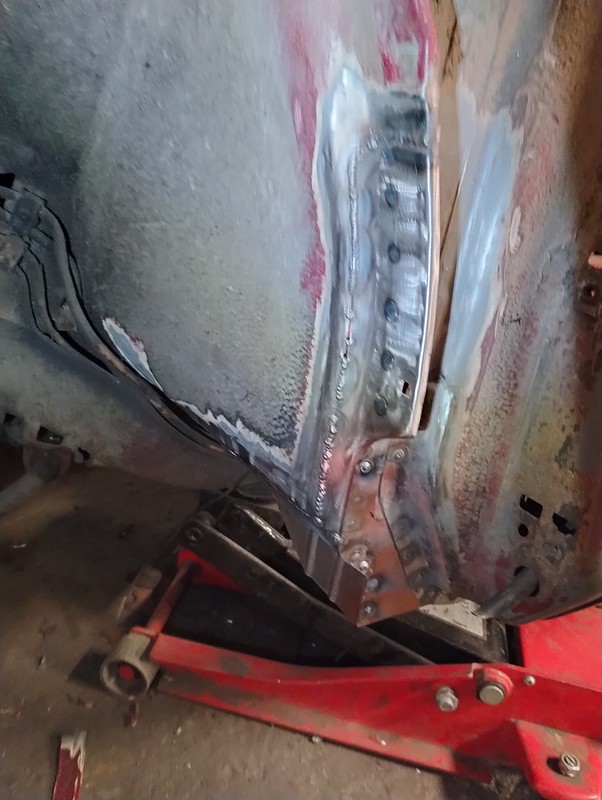
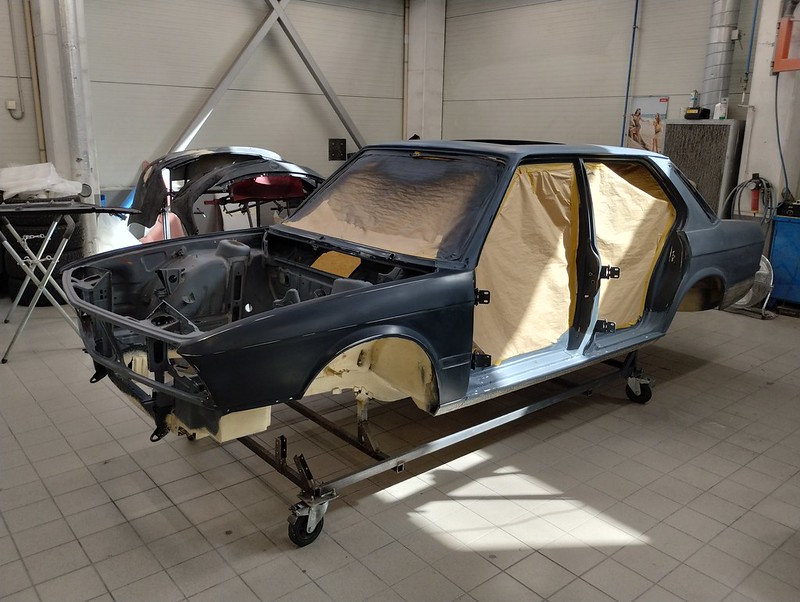
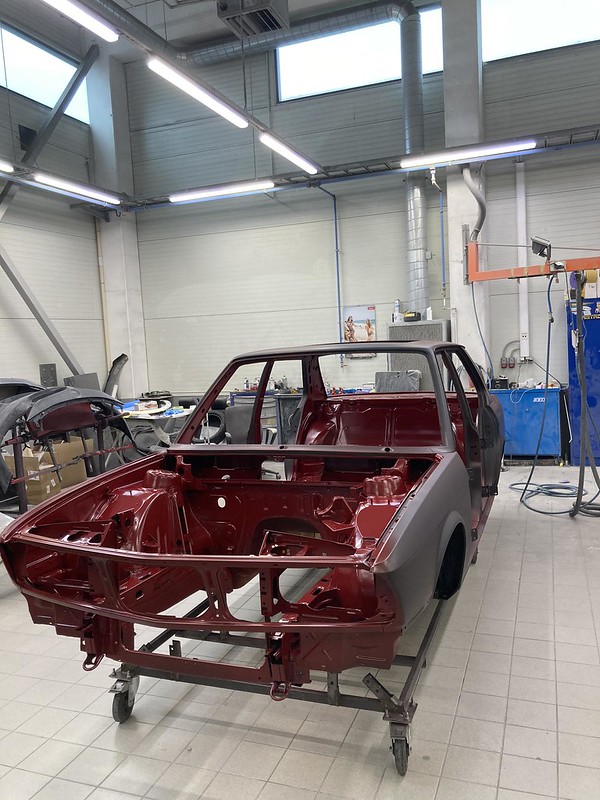
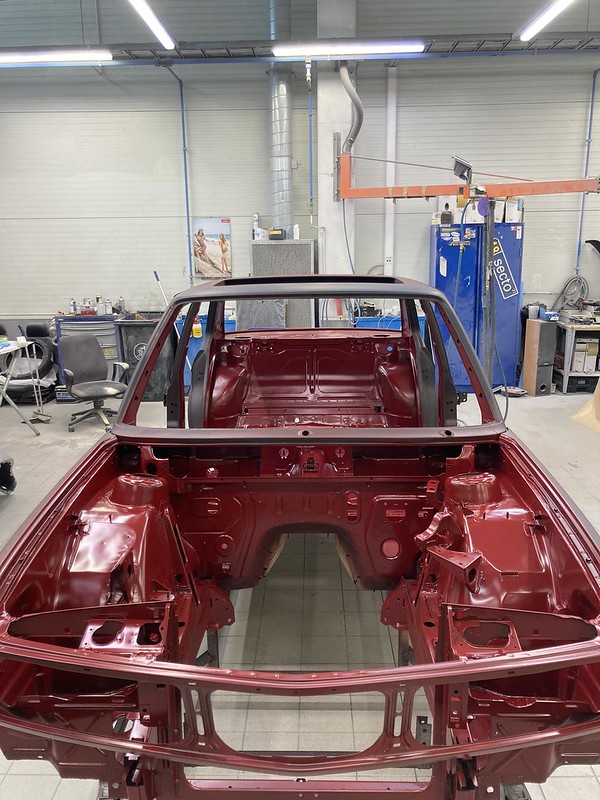
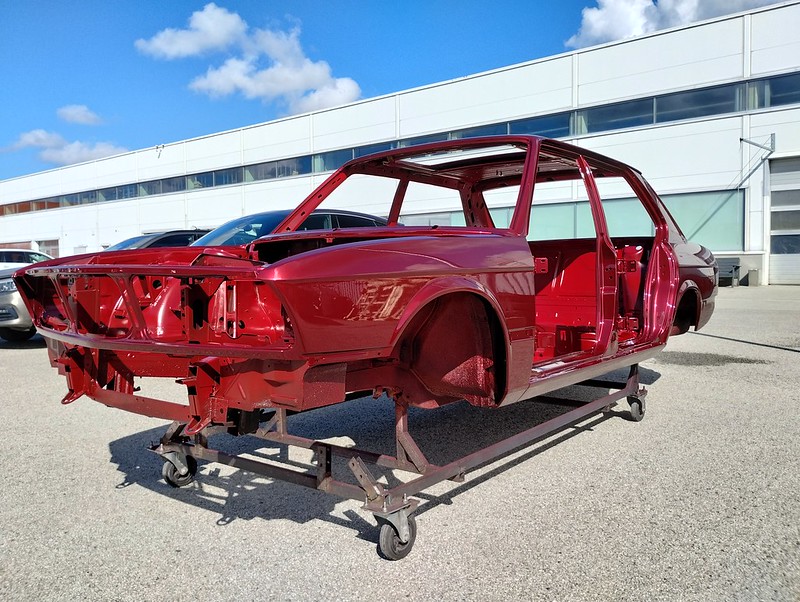
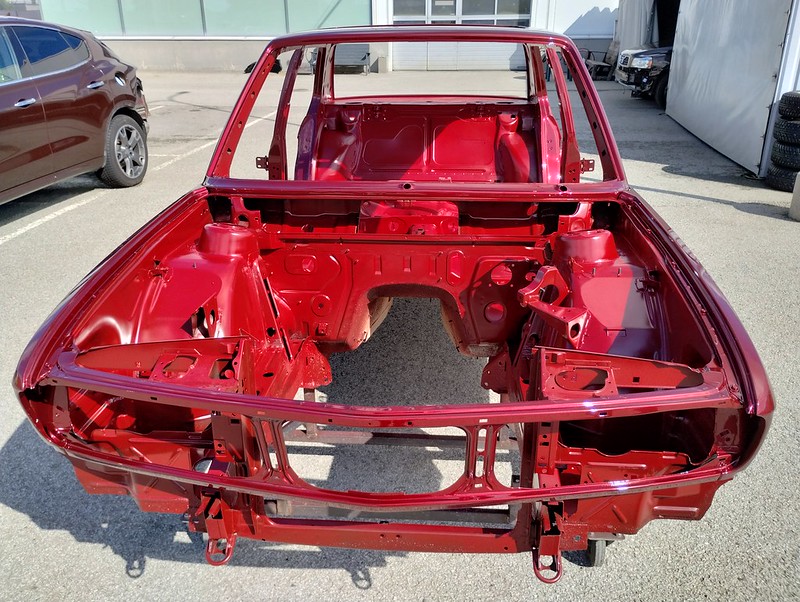
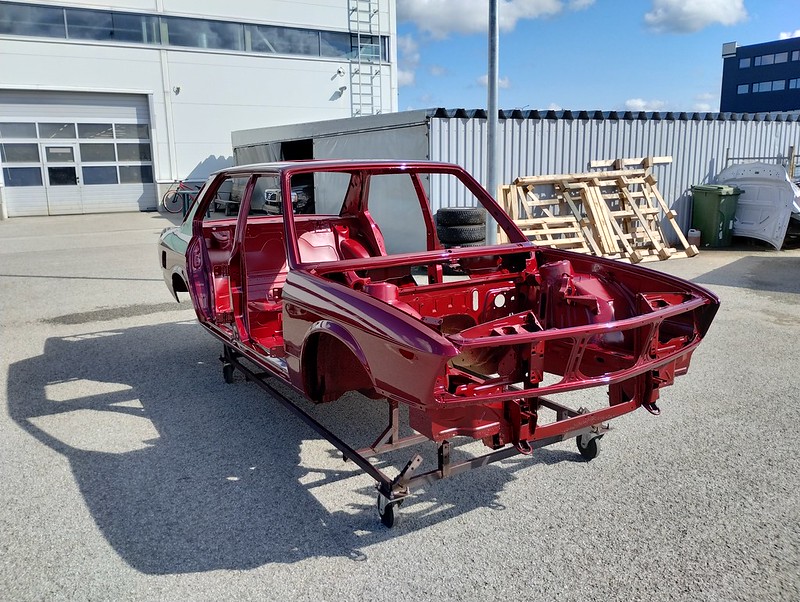
Last week I was playing around with my new fenders adjusting everything here and there so we could give another go at the nose frame. The main issue were the edges on which the fenders rest. Remember, I did some repairs there and I had angled the edge too high. This was causing some fitment issues near the doors. But some bending and tapping later the panels started to fit well. Well enough that when my buddy came over again to help me out we went on and welded in the frame straight away.
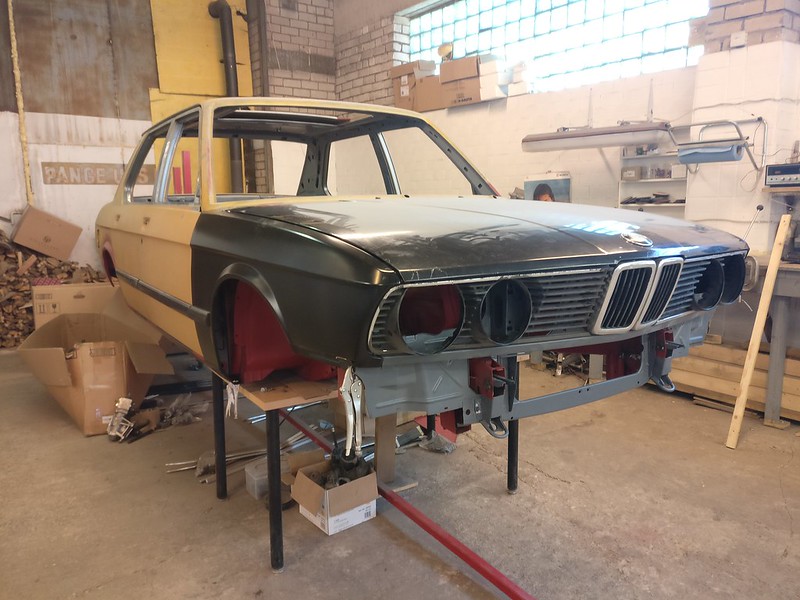
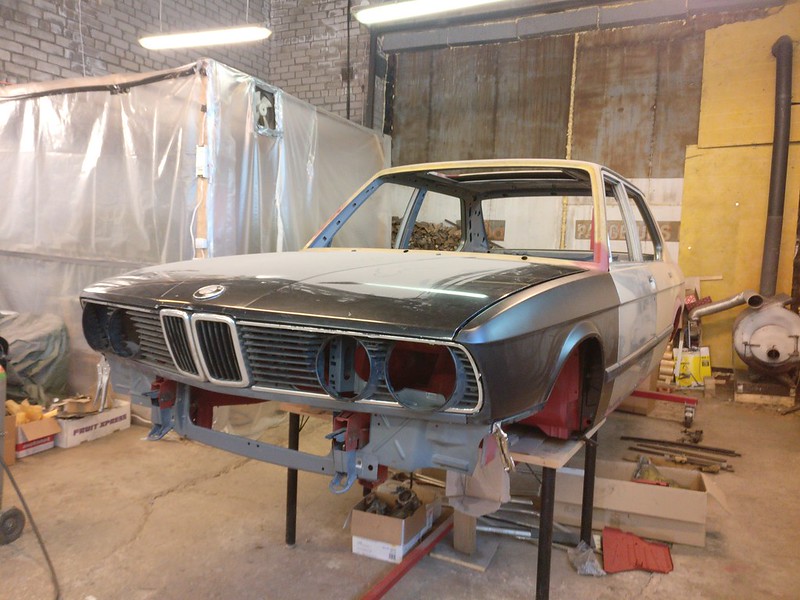
Hood gaps are good, driver’s side fender fits really nice, passenger’s side could do with a little bit more tinkering. After taking it apart and putting it back together for more than 25 times, I’m really glad to finally have the nose frame installed. Well almost installed, as I still need to fit the corner pieces and then the ABS and battery plates. But after that all the metal work on the chassis should be done.
An update is long overdue.
First attempt at getting the nose fitted was kind of a bust. After spending many hours trying to get those old rusty fenders to fit we decided it would be best to wait until the new ones arrive so if anything needs adjustment (read: hammering) it gets adjusted with the actual panels going on the car.
So, until fenders arrived I had to focus on other stuff. I don’t have much anything to show from May, thus the lack of updates. Took last trim pieces and trinkets off the doors, went through the axles removing some old bushings and getting things ready for sandblasting. Installed the replica steering box reinforcement piece I had bought from e28goodies. Fits well, unfortunately no pics for now.
Built myself a small sandblasting cabinet out of an old oil drum so I could conveniently blast smaller things. Designed it so I could stick the gun of my large (is it though!?) sandblaster into the cabinet but this didn’t work out very well - the hose is really stiff and you can’t move it around much. Need to get a small siphon type blasting gun just for the cabinet.
Can't find a photo of finished cabinet but you get the gist.

Then I began to strip the hood and the trunk lid of paint. I knew I had to do some repairs near the cabin air intakes are but first I wanted to be sure there aren’t any other big surprises waiting for me underneath the paint. Under the green paint (hood was from the first car) were original layers of paint and primer, so all good.
Here’s a pic of the hood from later on, already waiting for the primer.

Some patches were due.


And one patch for the other side

Sometime in the beginning of June my new fenders arrived. This time they had put some effort into packaging. Not sure if I mentioned it before but the nose frame was just delivered loosely in a cardboard box.

Since there was plenty of surface rust around all the openings in the bottom structure of the hood, I decided to strip this as well. In the large middle sections I just sanded it down to the e-coat. But damn this factory e-coating is tough...
Getting here (paint and one layer of primer removed) took about 1.5-2 hours.

Getting through all the e-coating took about me about 7 hours (including the breaks but still).
Here you can see the tool I used to strip the bottom structure, attached to it are 3M stackable bristle discs. Really nice abrasive for something like this.

Bottom side all cleaned up

Trunk lid, on the other hand, had about 9 layers on it, including a layer of spray putty. So I was rather surprised not finding any damage after cleaning off this side.

But there were plenty of dents in other sections.

At least all those layers came of pretty quickly and most of those dents shouldn’t be hard to remove. Rust-wise this panel is really solid. I do have another trunk lid but it has the holes for the lip and a large opening underneath the badge, most likely from an attempt to unlock the trunk. Welding these shut would bring up another bunch of issues so I’ll stick to this lid.
Cleaned up

Time to shoot some acid primer on these panels.


Notice that I forgot to shoot some primer on the area in the middle. According to the datasheet the following primer is okay to put on bare metal so I didn’t bother running another session just for that small area underneath the hood.


Some days later I shot the underside of both panels.


Top sides were done by my buddy as I didn’t want to risk messing these up.
This allowed me to get some shots of him in the action.

Both panels done and dry


This dark primer will also work as a guide coat for the dent guy. Haven’t met him yet but he should be really good at that stuff. I believe he specializes in what you call paintless dent repair. Looking forward to seeing him in action.
Last week I was playing around with my new fenders adjusting everything here and there so we could give another go at the nose frame. The main issue were the edges on which the fenders rest. Remember, I did some repairs there and I had angled the edge too high. This was causing some fitment issues near the doors. But some bending and tapping later the panels started to fit well. Well enough that when my buddy came over again to help me out we went on and welded in the frame straight away.


Hood gaps are good, driver’s side fender fits really nice, passenger’s side could do with a little bit more tinkering. After taking it apart and putting it back together for more than 25 times, I’m really glad to finally have the nose frame installed. Well almost installed, as I still need to fit the corner pieces and then the ABS and battery plates. But after that all the metal work on the chassis should be done.
