Page 1 of 2
Gerda. Yet another daily driver ETA.
Posted: Dec 11, 2017 11:58 PM
by sail_or_drive
This car was my daily up to about 4 months ago. I bought it in 2013 and did a basic baseline then, see here:
http://www.mye28.com/viewtopic.php?f=2& ... 1#p1197081
The rear end started to get pretty splashy feeling so I parked it. in addition, I have an exhaust leak and it's pretty noisy. First I am going to tend to the rear suspension/subframe, then mess with the exhaust.
The parts smorgy for the rear end "refresh"
1. Transmission Filter
2. Output Shaft (CV boot) "rebuild" kits.
3. Rear Wheel Bearings. (SKF)
4. Dog bones (Lemforder)
5. Trailing Arm Bushings (Lemforder)
6. Subframe Bushing Bolts (BMW)
8. Subframe Bushing Nuts (BMW)
9. Trailing arm Bushing Bolts and nuts (BMW)
10. Subframe Bushings (FEBI).
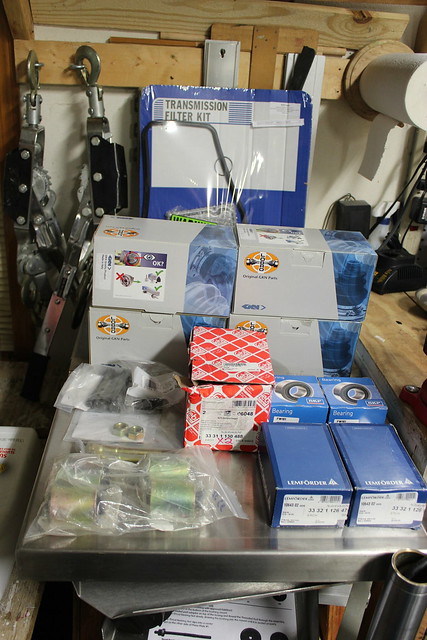
The Plan (such as it is):
1. Pull the OutPut Shafts.
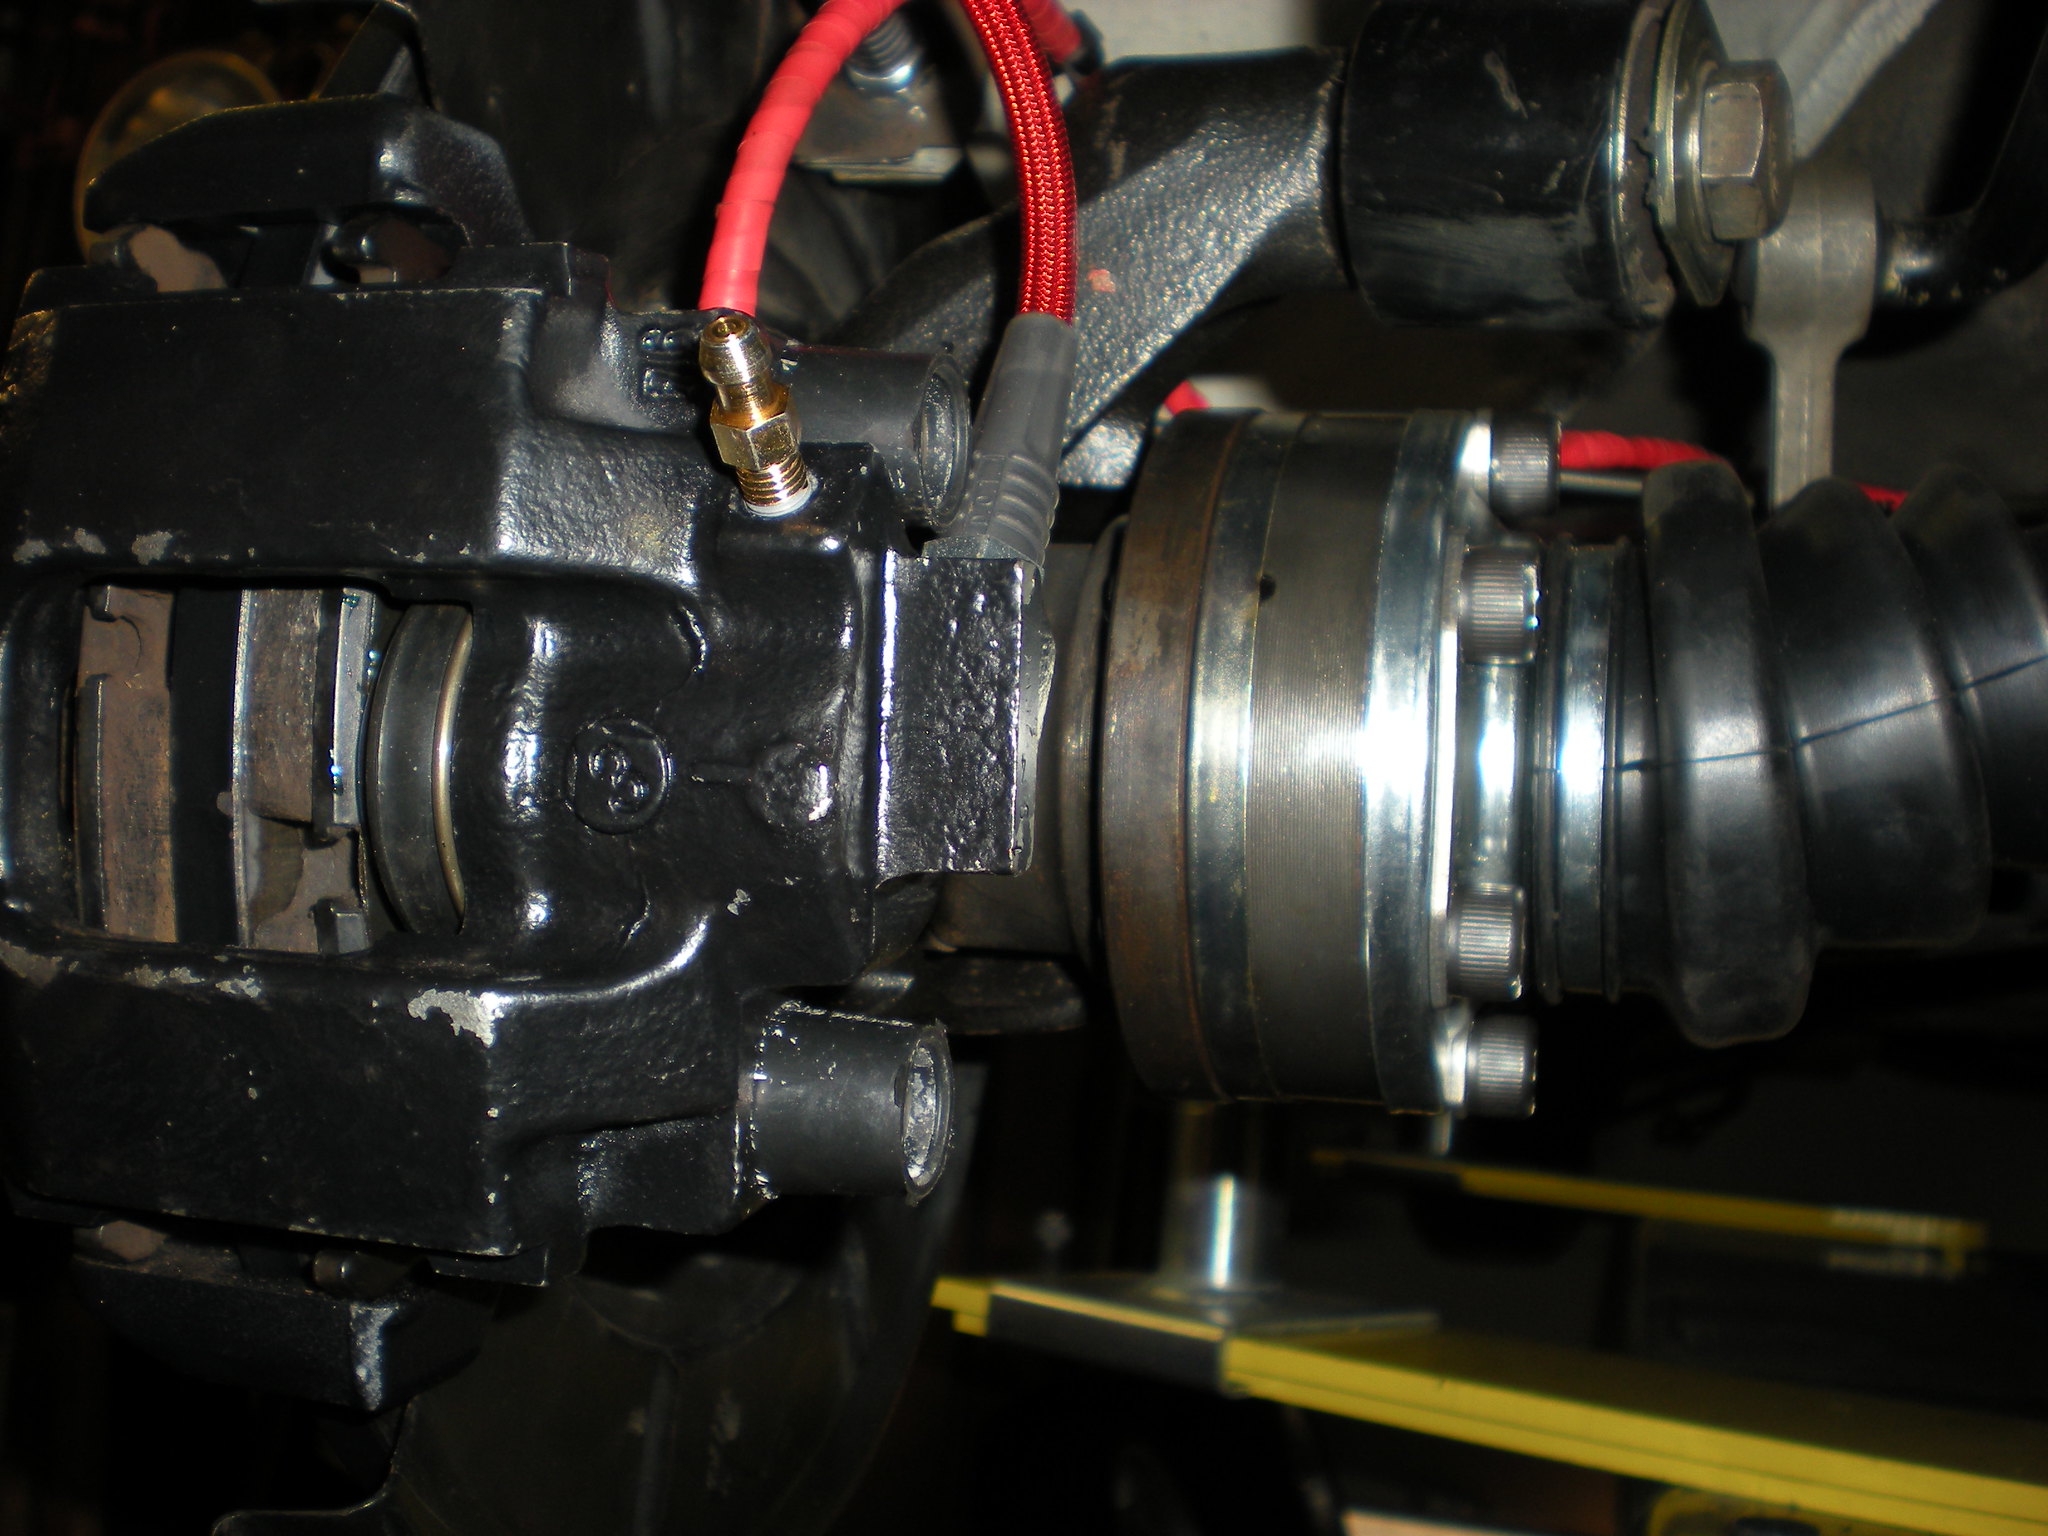
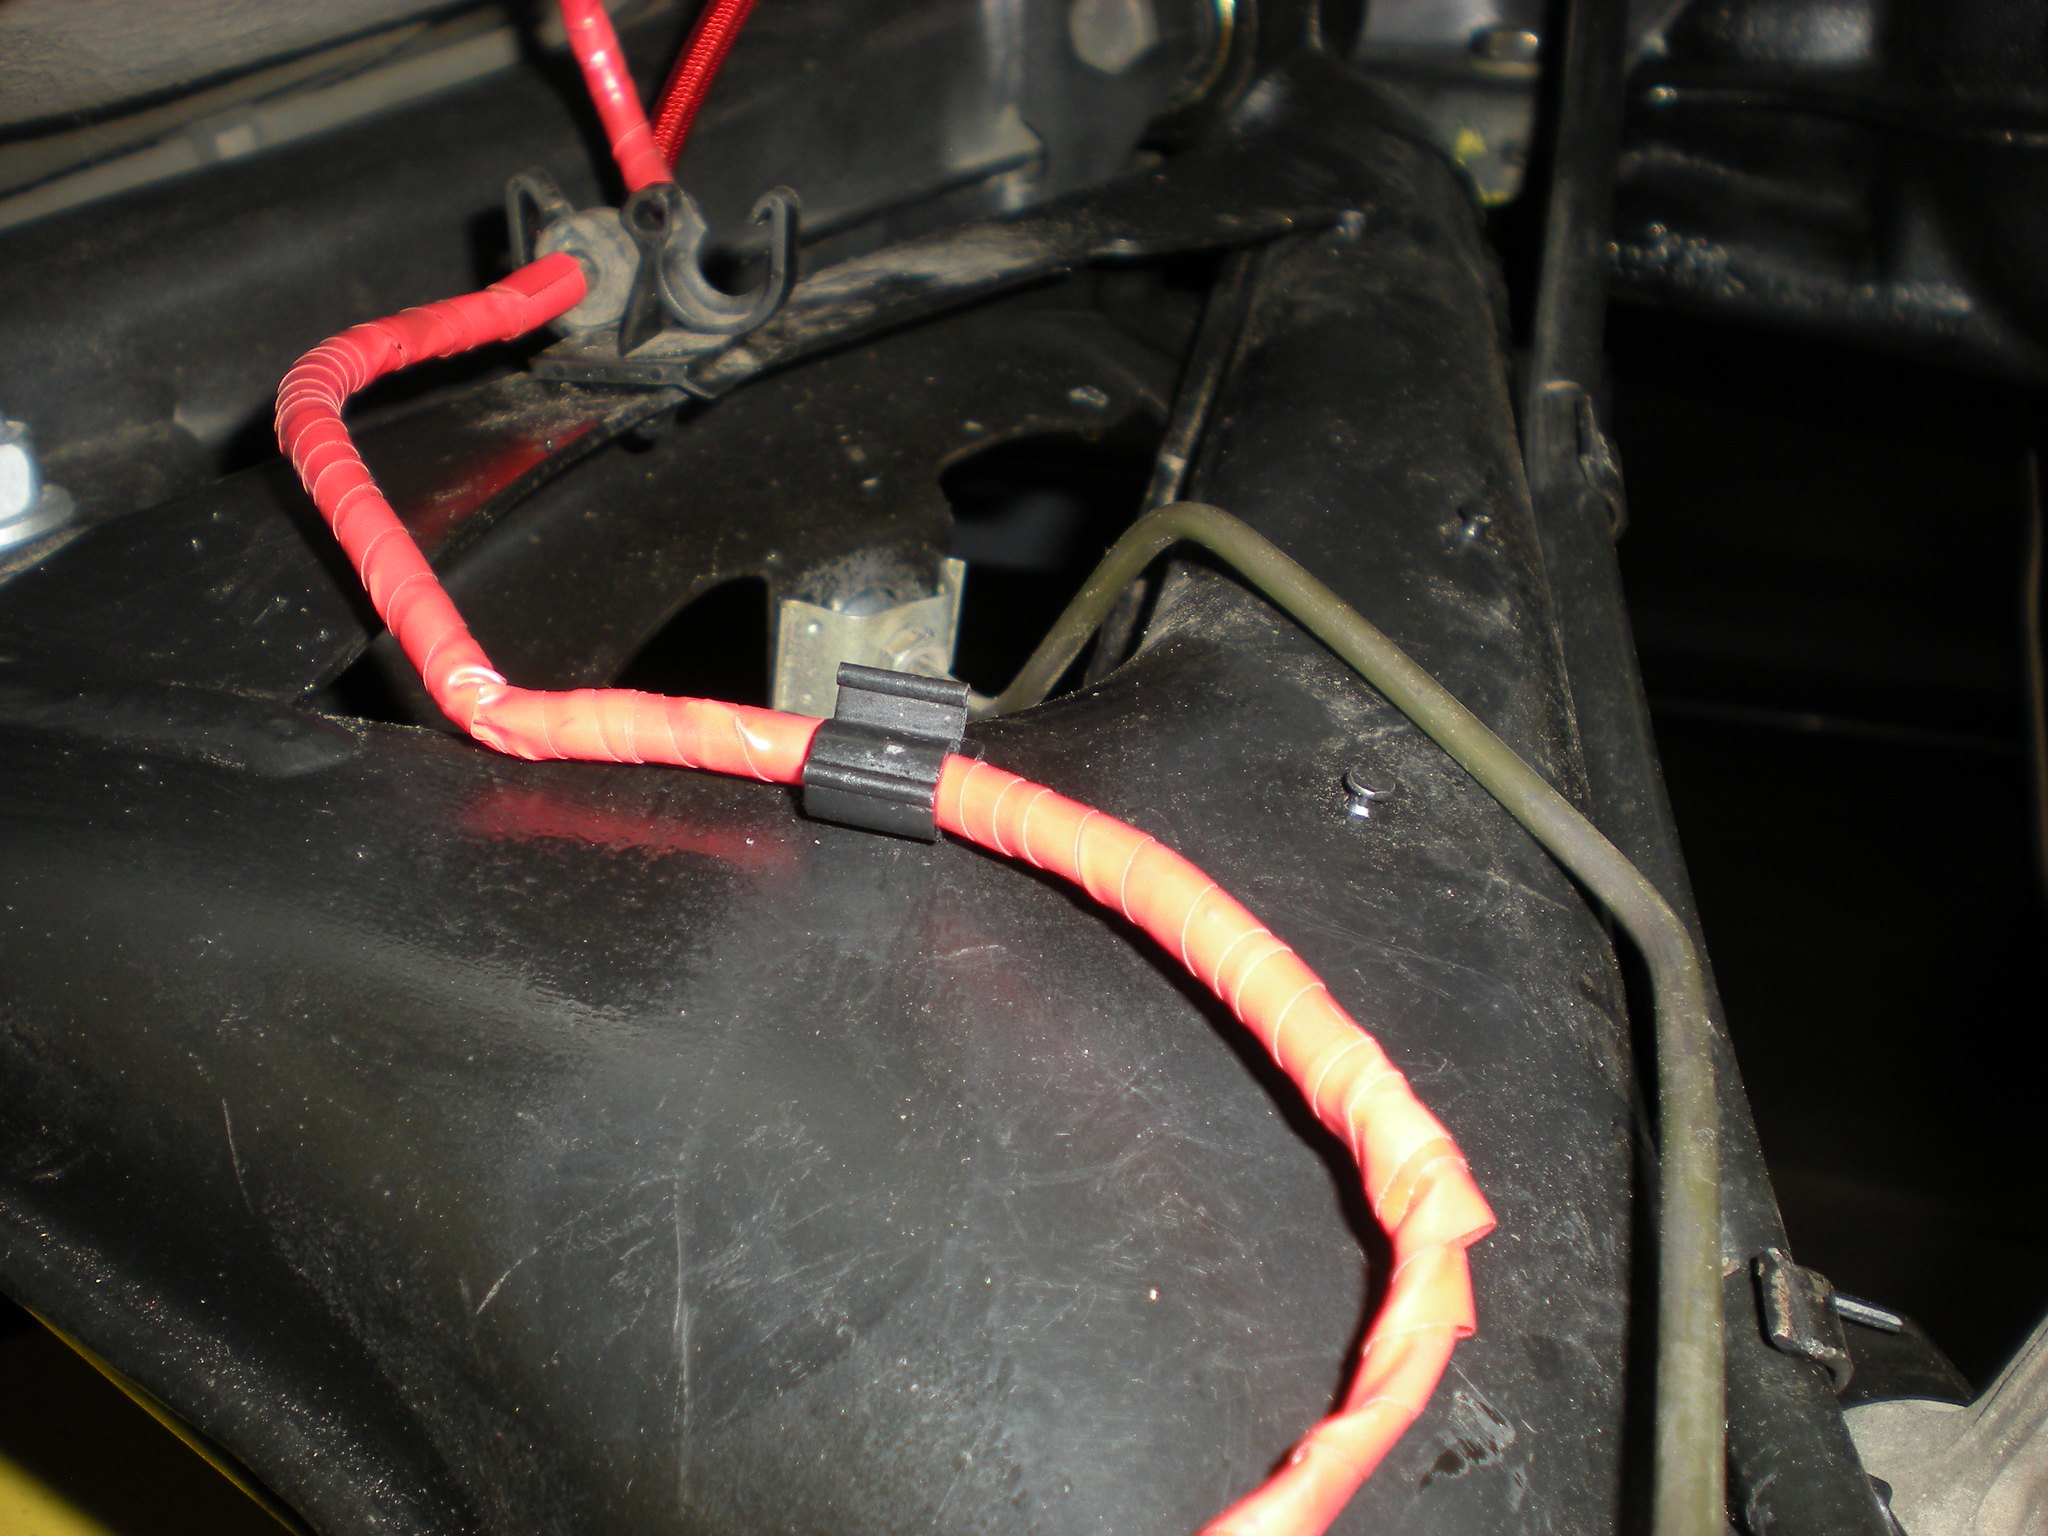
2. Remove the Brake disks, calipers, ABS lines, Brake fluid lines, plug/tie off.
3. Remove the Trailing Arms. Not having done this before and not having read about the dust shield removal/wheel bearings I will "mumble" past this and do some research.
4. Take the Trailing arms to a machinist to press out the old bushings and press in the new.
5. Maybe take the trailing arms to get powder coated. Maybe I will paint them myself. I certainly don't know jack about this decision. Seems like Powder coating is reasonably priced, but not sure it is necessary.
6. Change out the Subframe Bushings. I have the "$300" tool.
7. Maybe pull the subframe and get it powder coated. Maybe not. If it's not that involved maybe I will give it a go.
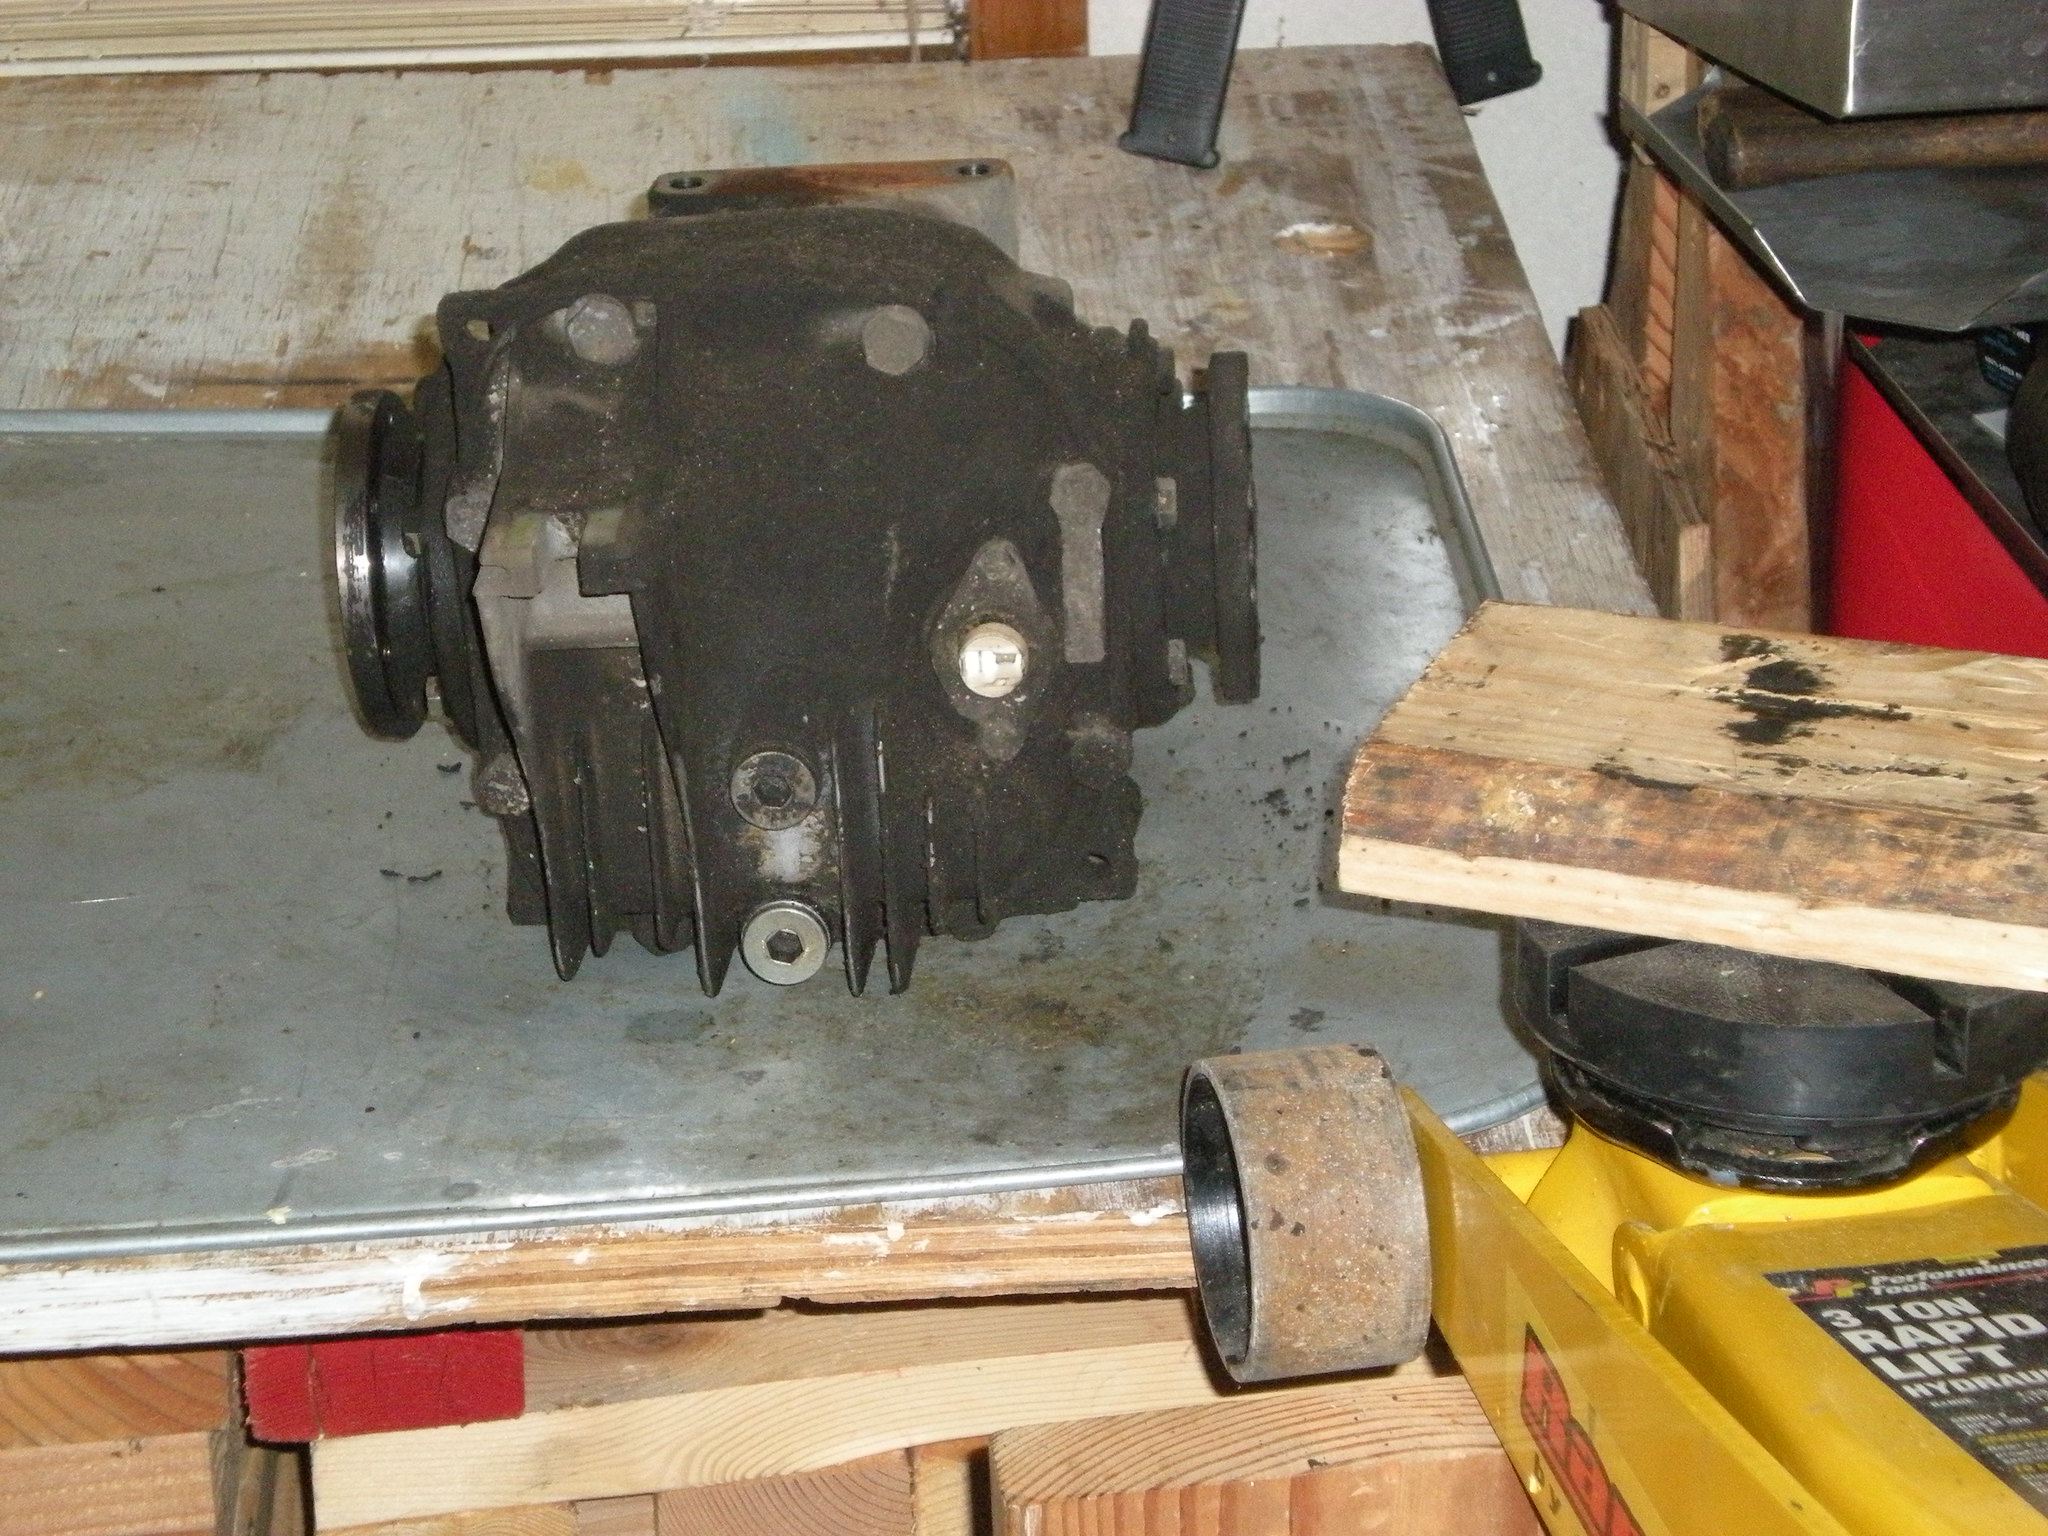
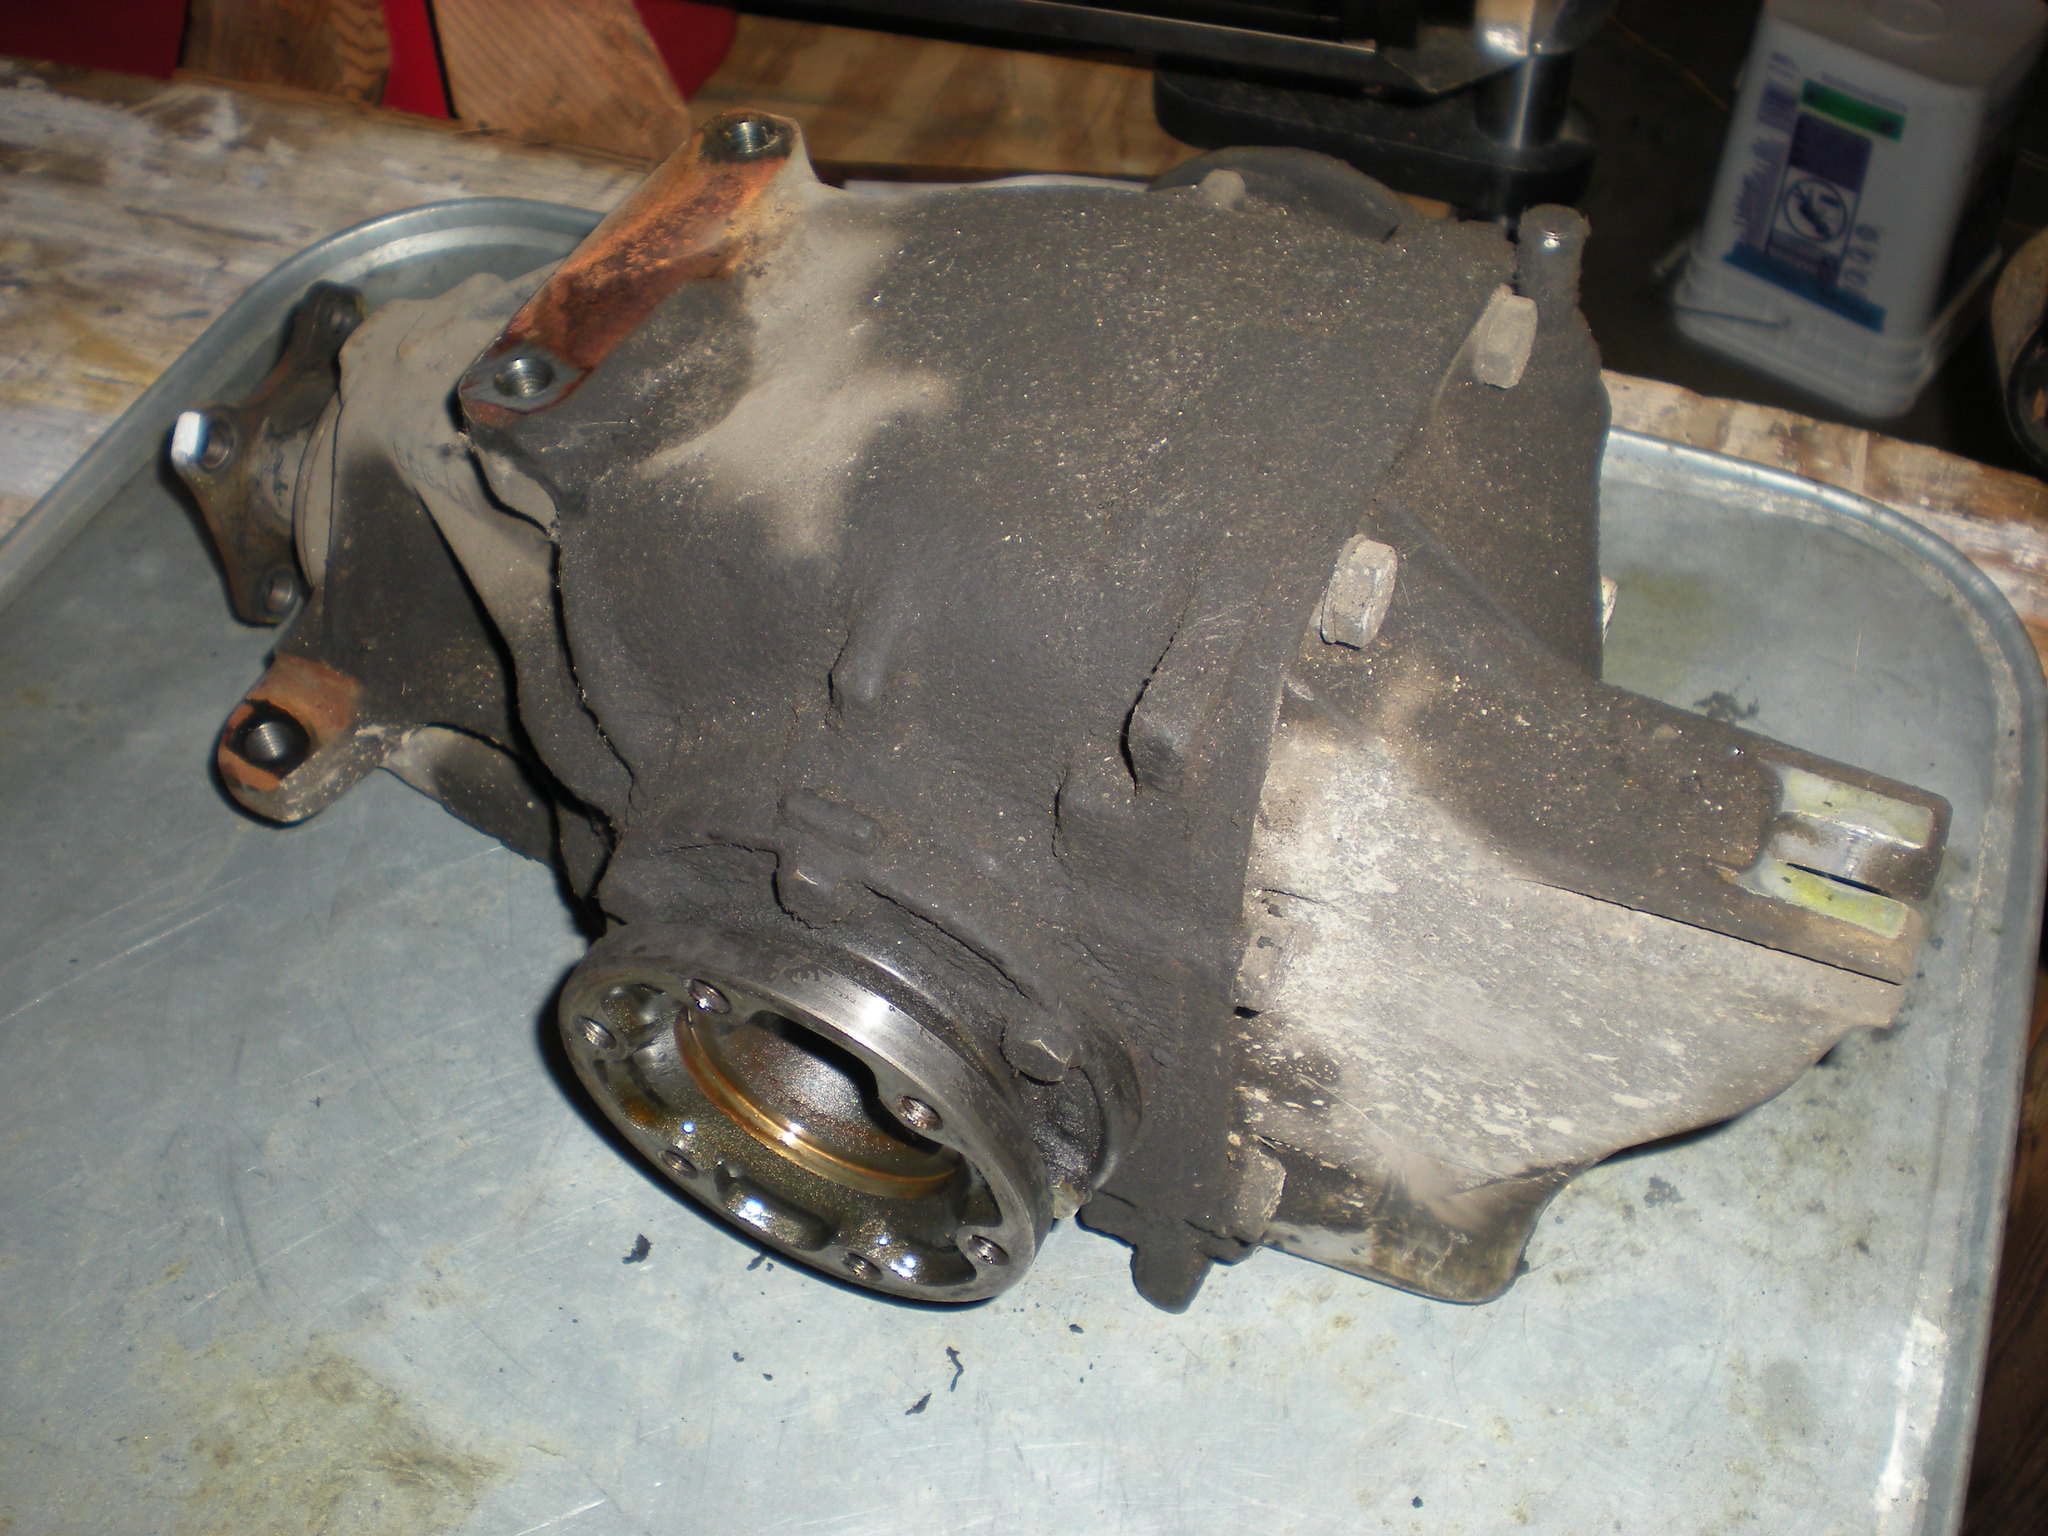
8. Clean up the Diff. It's pretty crusty, or appears pretty crusty to me.
Put it all back together and test drive it. Pics below of what it looks like now.
Left Side Dog Bone is pretty thrashed.

[/url]
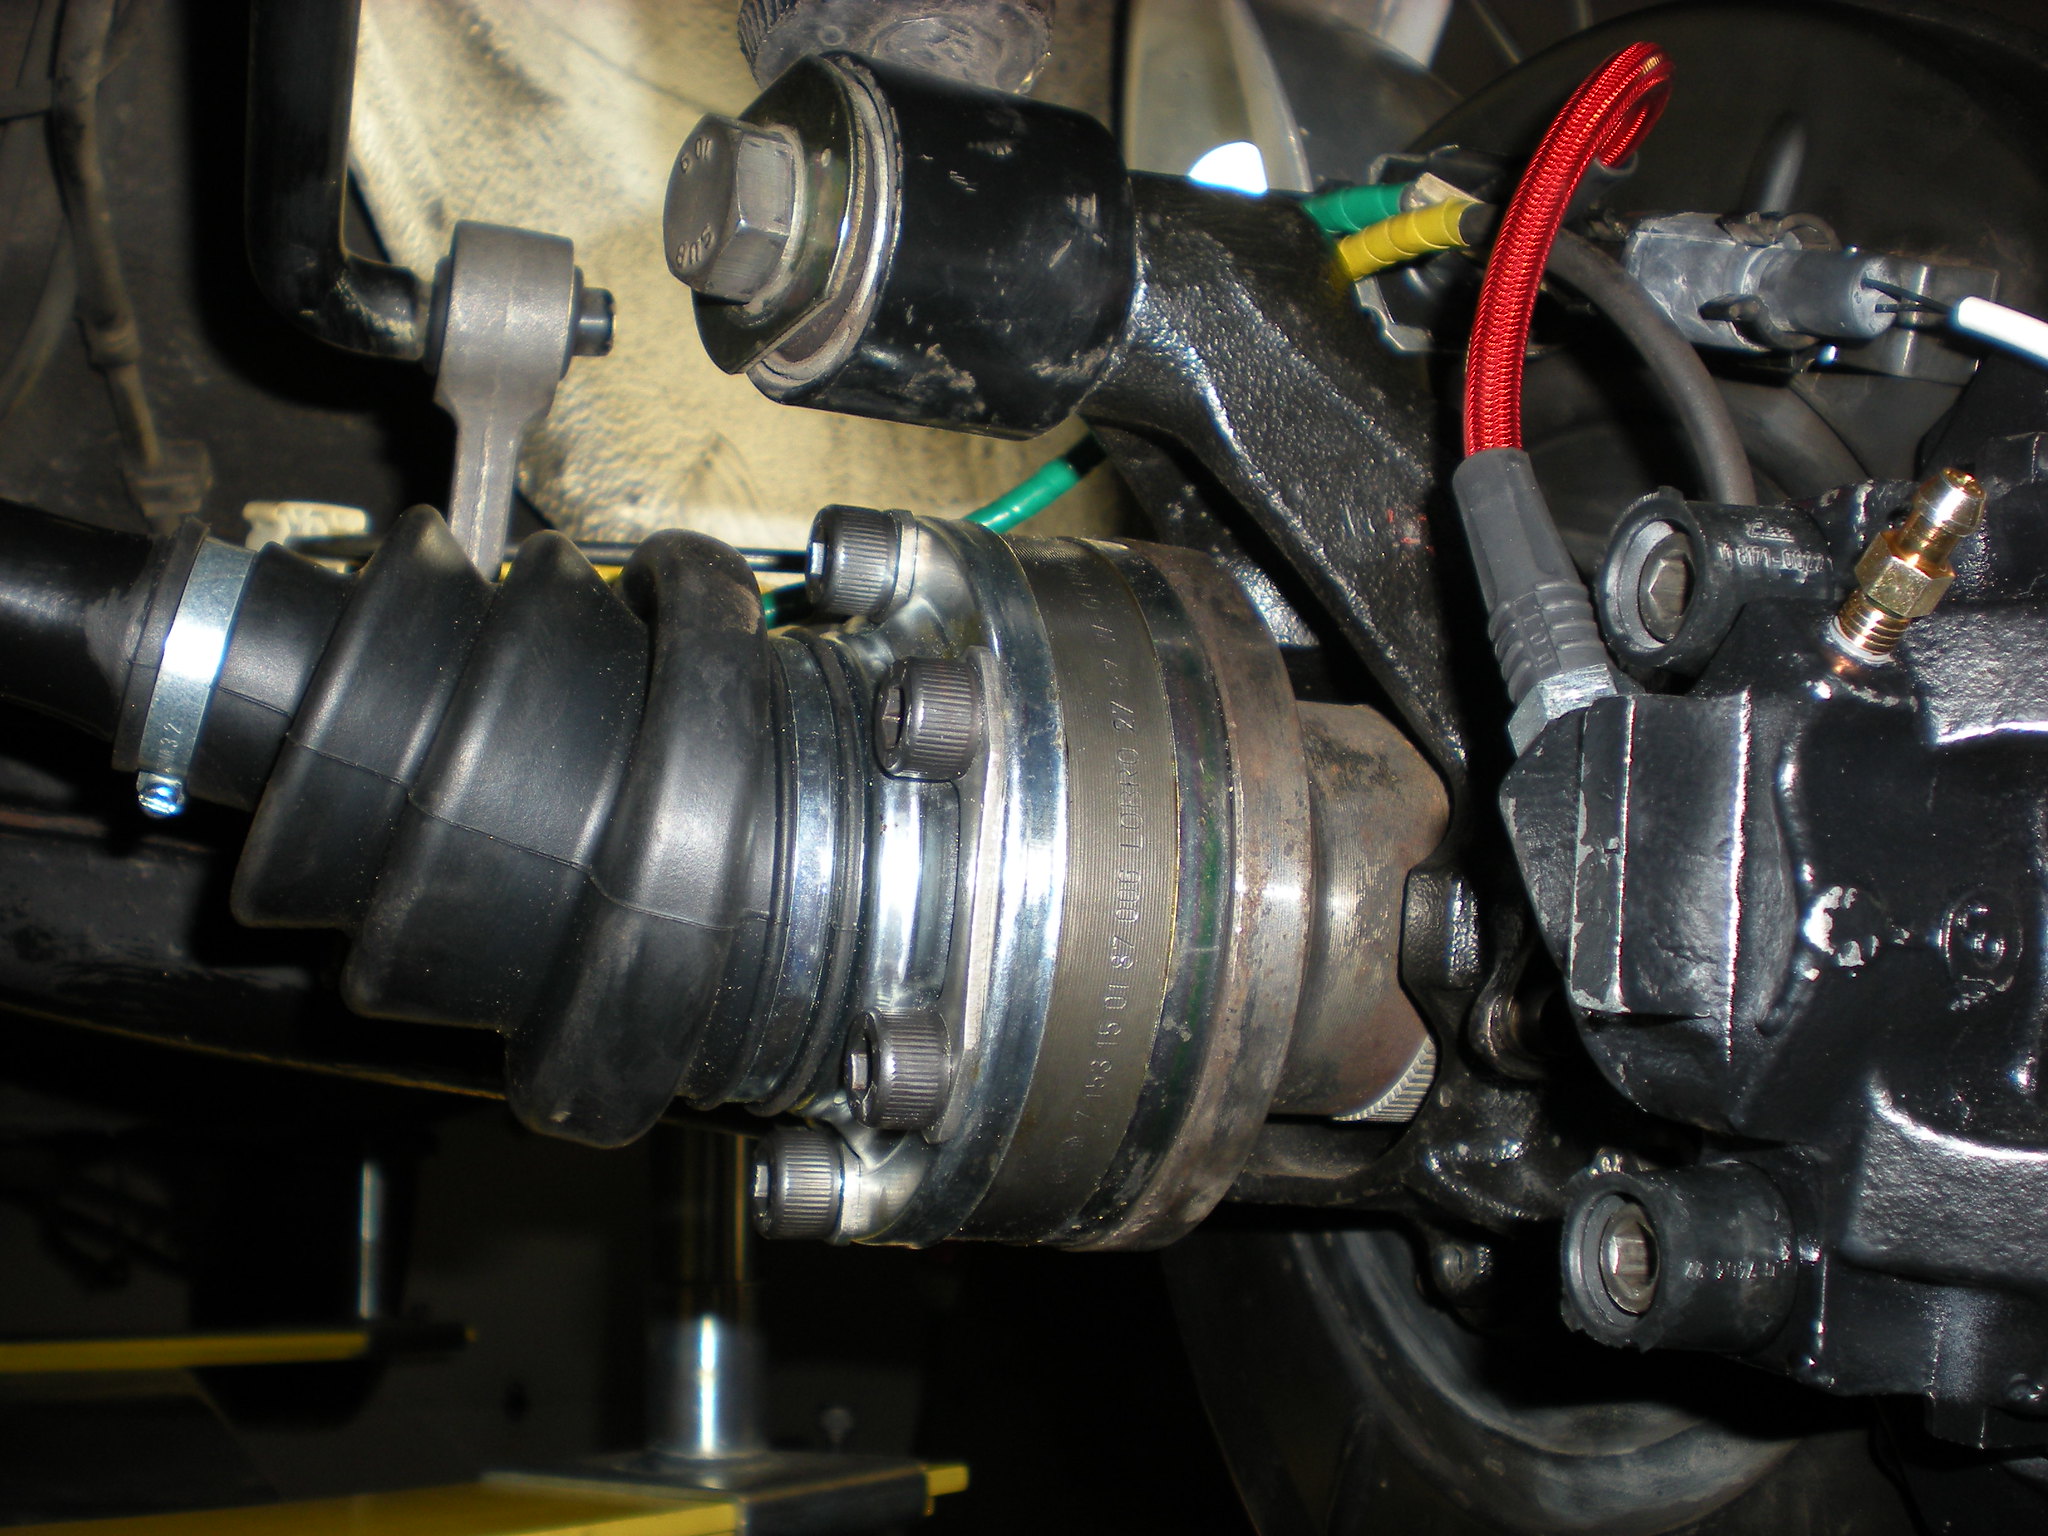
Driver Side boot, see split at the left:

[/url]
Greasy Diff:

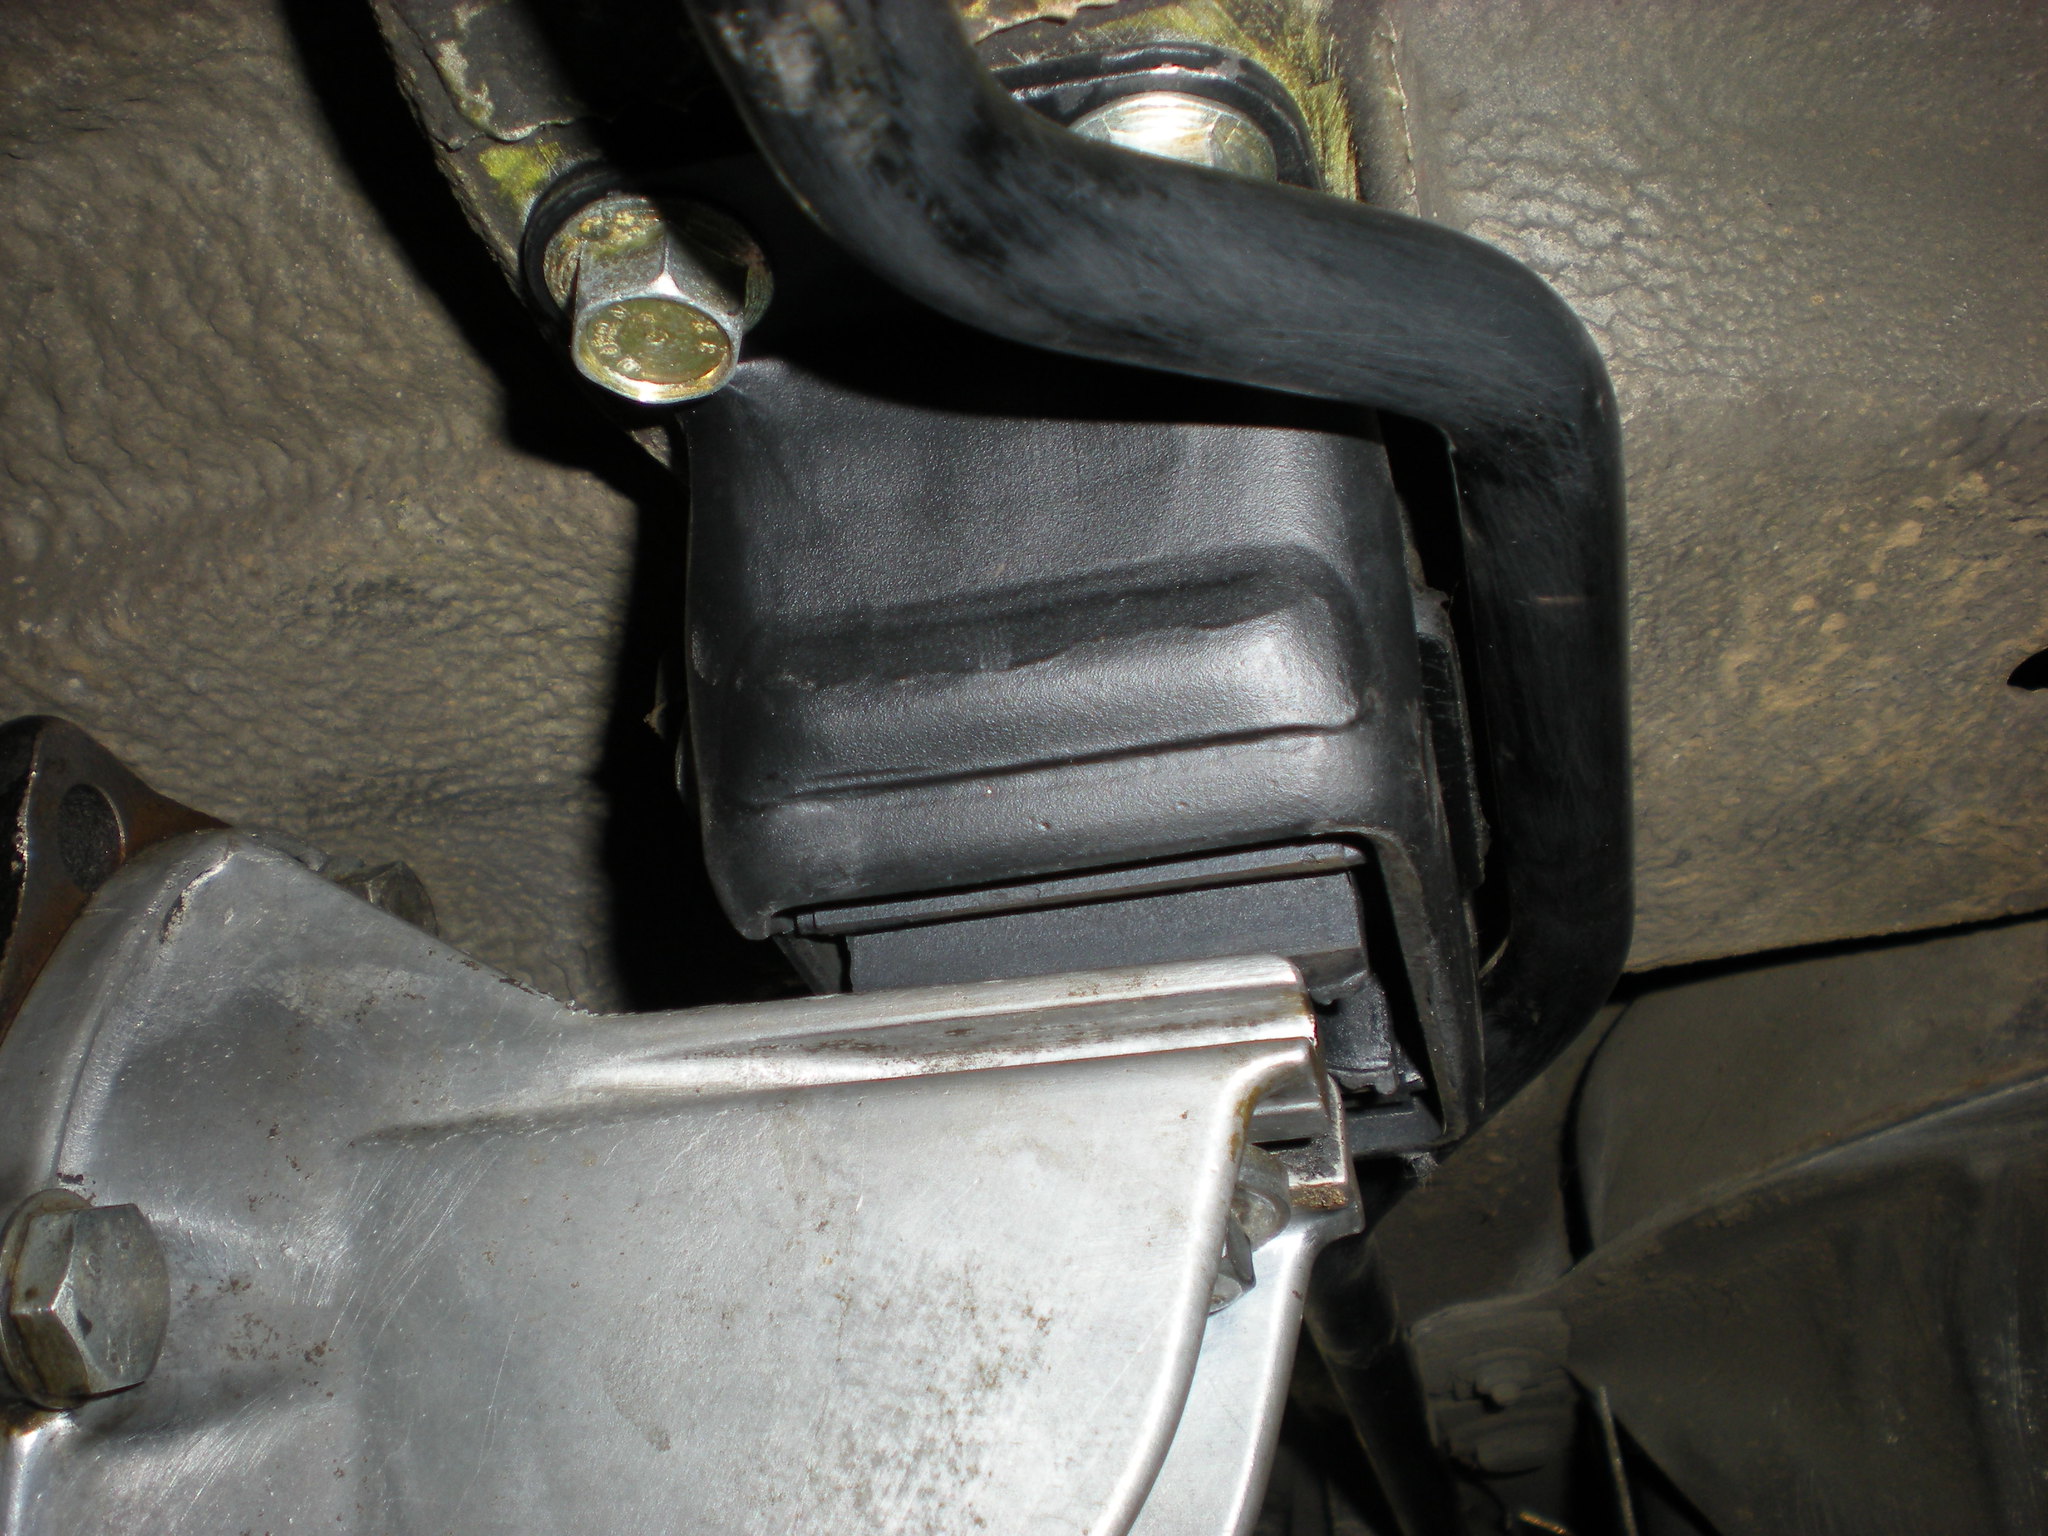
Right Side Subframe Bushing and equally thrashed Dog Bone.

[/url]
Re: Gerda. Yet another daily driver ETA.
Posted: Dec 12, 2017 11:43 PM
by tig
sail_or_drive wrote:First I am going to tend to the rear suspension/subframe, then mess with the exhaust.
The parts smorgy for the rear end "refresh"
1. Transmission Filter
2. Output Shaft (CV boot) "rebuild" kits.
3. Rear Wheel Bearings. (SKF)
4. Dog bones (Lemforder)
5. Trailing Arm Bushings (Lemforder)
6. Subframe Bushing Bolts (BMW)
8. Subframe Bushing Nuts (BMW)
9. Trailing arm Bushing Bolts and nuts (BMW)
10. Subframe Bushings (FEBI).
Having done this twice in the last two years...
- Jealous about your $300 subframe bushing tool.
- Rebuilding the axles is character building. I've bought another set of kits for Minerva and I'm going to suffer through it again myself, but I keep hearing Rock Auto axles are just fine.
- You can press in/out the wheel bearings yourself. I think for the amount you'll pay an machinist you can buy {1} (or eqivalent) and do it yourself as I did.
- Trailing arm bushings are a bitch to get out. Are you sure they are bad? Be sure. That $300 tool wont help, but you'll wish it did. In the end Mr Sawzall will be your friend.
When you drop the diff you'll know right away whether it's good or not. When you turn it, if it feels crunchy go find an LSD that's not crunchy. If it's not crunchy then just clean the case (and change the fluid).
On powder coating. I've found it's always $300. I take him one part and it's $300. I take him 10 parts (including two rear subframes) and it's $300. So take lots of stuff to him.
{1}
https://www.amazon.com/gp/product/B004Z ... =ceklog-20
Re: Gerda. Yet another daily driver ETA.
Posted: Dec 13, 2017 11:19 PM
by sail_or_drive
Thanks for the response, I had looked at your photos of Maytag to get some (very detailed) visual cues. Some responses inline below:
- Jealous about your $300 subframe bushing tool.
If you wish to borrow it, let me know. I am just down the road in Portland. Same goes for others in the Portland/Seattle area.
- Rebuilding the axles is character building. I've bought another set of kits for Minerva and I'm going to suffer through it again myself, but I keep hearing Rock Auto axles are just fine.
It looks like a goop fest, I was tempted by the pre-assembled units. Is the mess the most character charged part of the rebuild? Or should I go through your post(s) again? It's like Playboy, sometime the articles don't get read.
- You can press in/out the wheel bearings yourself. I think for the amount you'll pay an machinist you can buy {1} (or eqivalent) and do it yourself as I did.
I have a neighbor that is a Car guy. He has the technology and told me he would be offended if I took them to the machinist. I already purchased the bearings and with that kind of support I should be just fine. Will need beer for after.
- Trailing arm bushings are a bitch to get out. Are you sure they are bad? Be sure. That $300 tool wont help, but you'll wish it did. In the end Mr Sawzall will be your friend.
This is where I was most hesitant. I had read a number of posts challenging the need to take them out unless they were obviously messed up. Therein lies the rub. If they feel solid (no lateral play, slop in their radius, etc) are they good? Also, will they have an adverse reaction to being baked in a powder coating oven ( the google says 400 degrees F)? Another reason not to powder coat? Or should I powder coat the trailing arms, then take them to the machinist to press out the old and press in the new?
When you drop the diff you'll know right away whether it's good or not. When you turn it, if it feels crunchy go find an LSD that's not crunchy. If it's not crunchy then just clean the case (and change the fluid).
Ok, one less decision. I am dropping the diff. 
On powder coating. I've found it's always $300. I take him one part and it's $300. I take him 10 parts (including two rear subframes) and it's $300. So take lots of stuff to him.
I have a pickup I can borrow so that should work.
Re: Gerda. Yet another daily driver ETA.
Posted: Dec 14, 2017 1:11 AM
by tig
sail_or_drive wrote:T
- Rebuilding the axles is character building. I've bought another set of kits for Minerva and I'm going to suffer through it again myself, but I keep hearing Rock Auto axles are just fine. It looks like a goop fest, I was tempted by the pre-assembled units. Is the mess the most character charged part of the rebuild? Or should I go through your post(s) again? It's like Playboy, sometime the articles don't get read.
Yes, goop. But also because it appears they can go together multiple ways. But they can actually only go together precisely one precise way. And you're dealing with a bunch of small, really slippery marbles that don't like sitting still.
sail_or_drive wrote:- Trailing arm bushings are a bitch to get out. Are you sure they are bad? Be sure. That $300 tool wont help, but you'll wish it did. In the end Mr Sawzall will be your friend. This is where I was most hesitant. I had read a number of posts challenging the need to take them out unless they were obviously messed up. Therein lies the rub. If they feel solid (no lateral play, slop in their radius, etc) are they good? Also, will they have an adverse reaction to being baked in a powder coating oven ( the google says 400 degrees F)? Another reason not to powder coat? Or should I powder coat the trailing arms, then take them to the machinist to press out the old and press in the new?
You do not want to powder coat things with rubber in them. Not a good idea, at all.
Re: Gerda. Yet another daily driver ETA.
Posted: Dec 14, 2017 11:18 AM
by sail_or_drive
And then there is this:
http://www.mye28.com/viewtopic.php?f=3& ... rm+bushing
It answers a lot of my questions. Appreciate your responding, Charlie.
Smooth, not crunchy, but oh so dirty.
Posted: Dec 17, 2017 5:50 PM
by sail_or_drive
The action of the diff is butter-smooth, but it is caked with at least 1/8 inches of grease and dirt all round. I am assuming that the seal(s) are likely leaking, replacement does not look like too big a job. Any comments on that would be appreciated. I have a lot of cleaning to do.
The half shafts came off easily. Just kidding. I had to use a breaker bar and a Handy Man Jack Handle for leverage. Whoever put them on did not own, or could not be bothered to use, a torque wrench. I toasted only one, thank fortune for Irwin Vise-Grips.
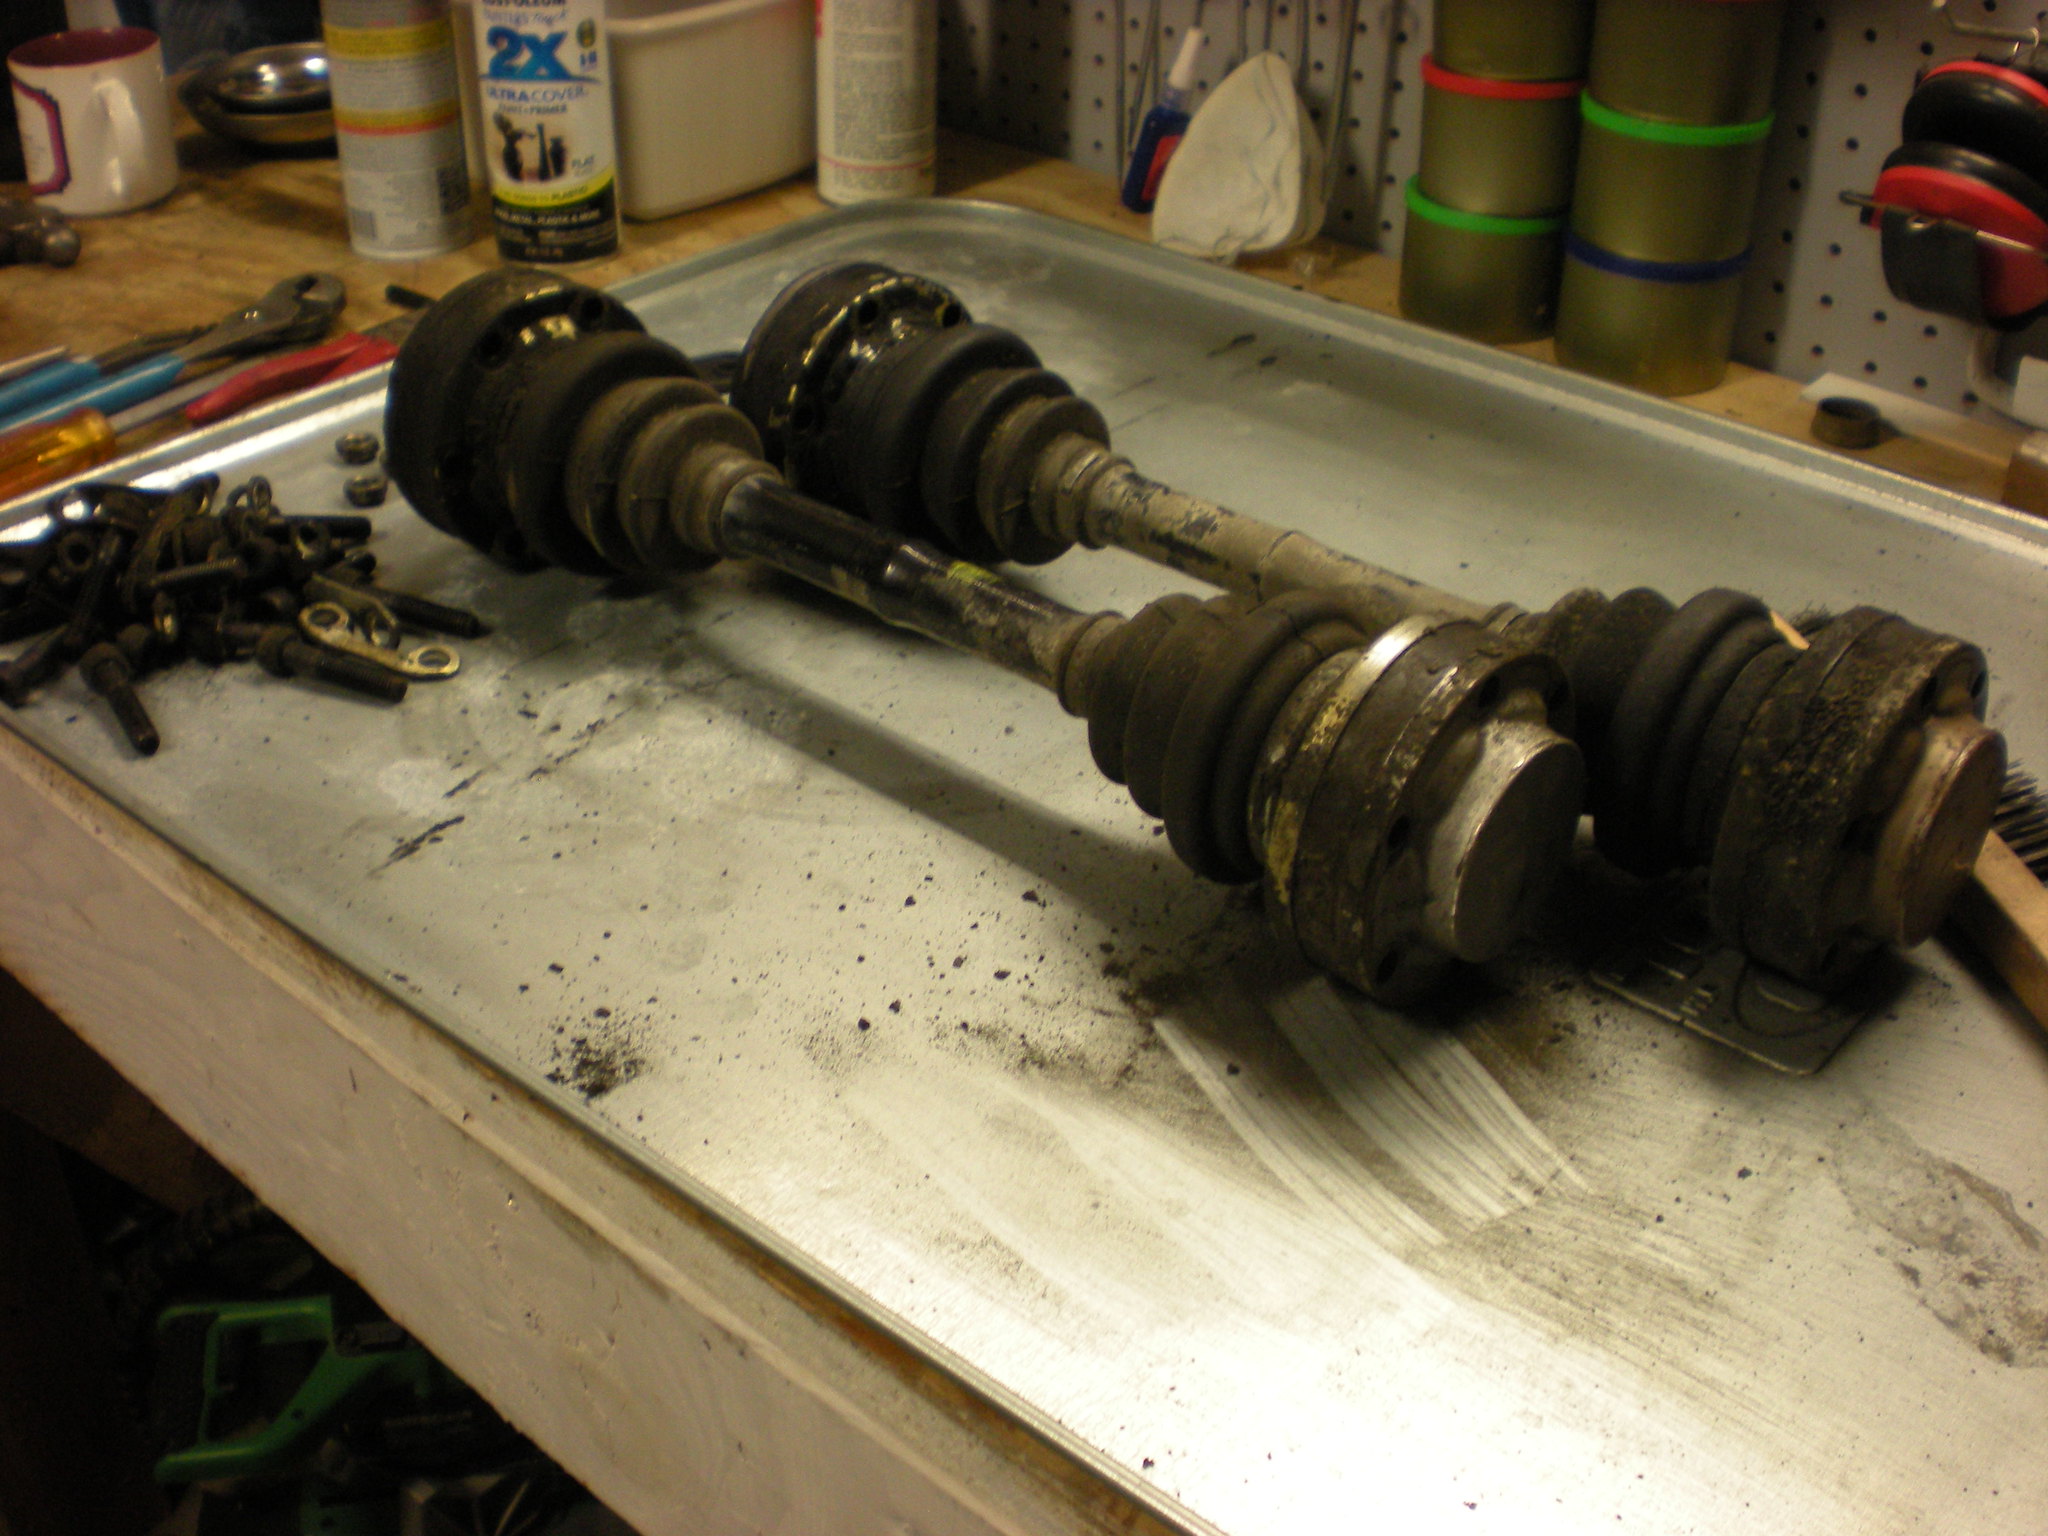
Re: Smooth, not crunchy, but oh so dirty.
Posted: Dec 17, 2017 7:46 PM
by Karl Grau
sail_or_drive wrote:The half shafts came off easily. Just kidding.
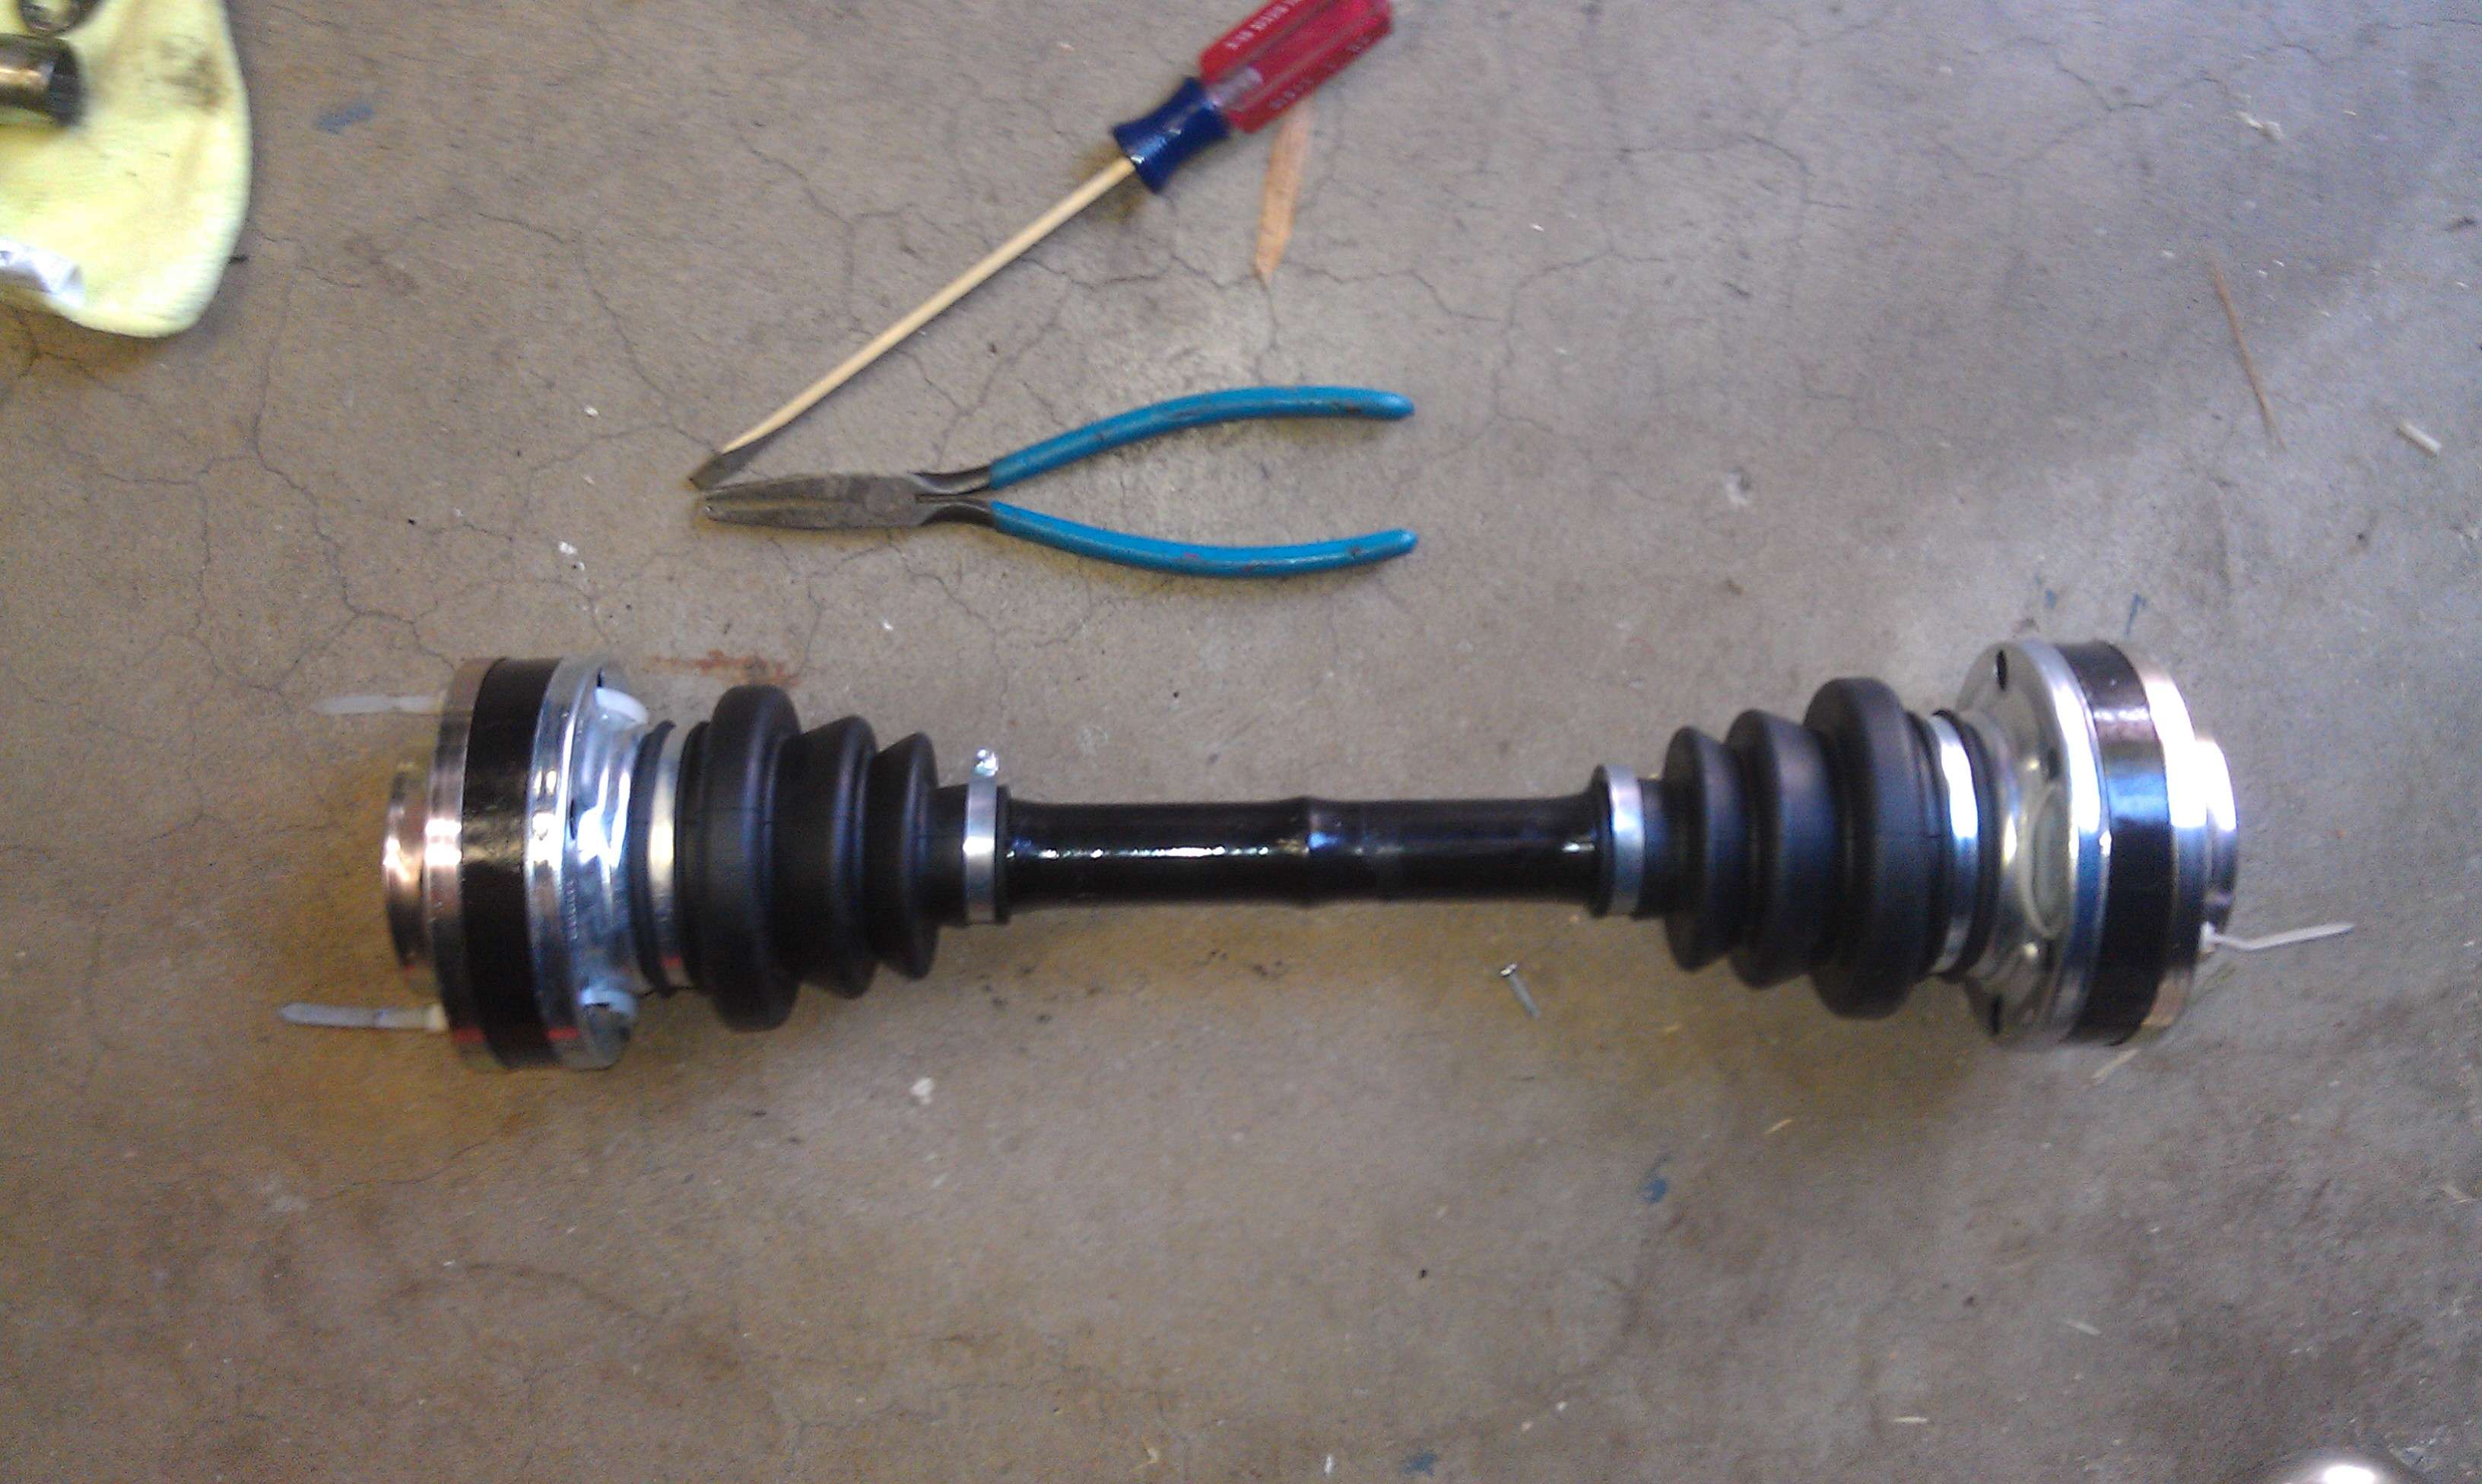
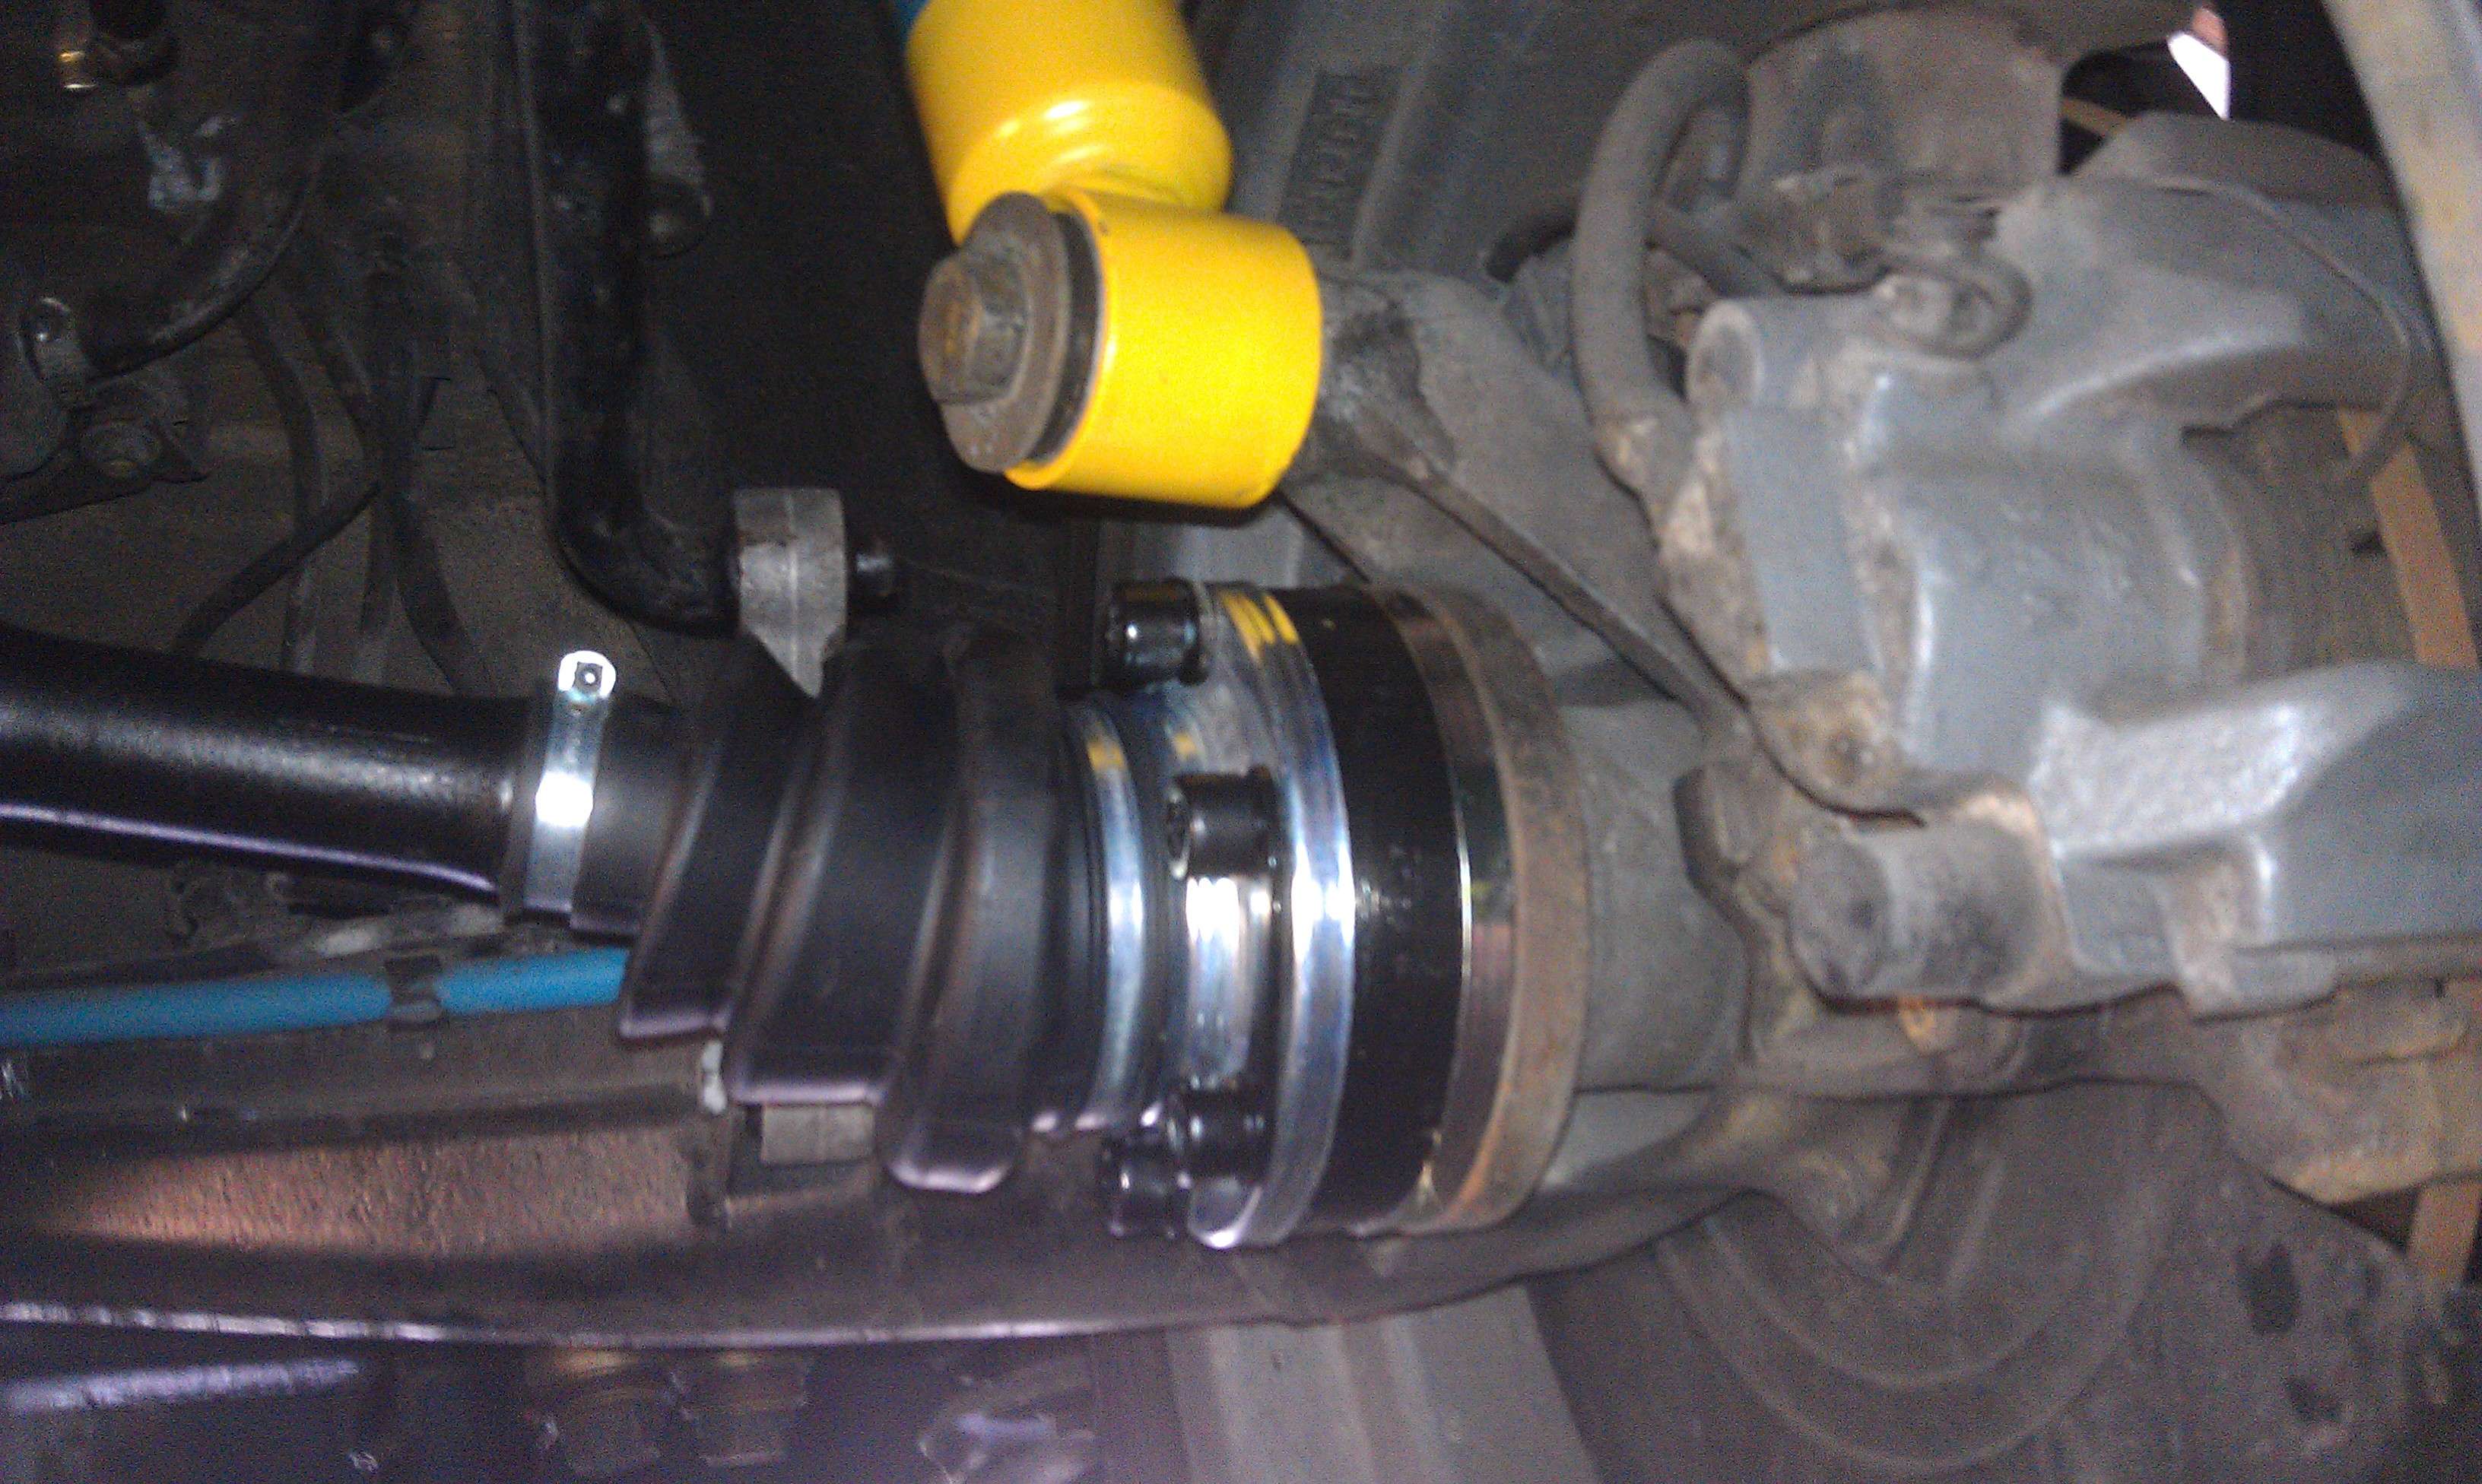
I did mine 5 years ago and I had only one scary bolt. I used a dental pick to clean out any grease build up so I could get the hex bit to seat as deep as possible. I also bought a brand new hex socket to reduce the chances of stipping a bolt.
I found the project messy, tedious and smelly but not particularly difficult. I bought all new bolts from McMaster-Carr for cheap and I highly recommend not reusing the old ones.
Re: Gerda. Yet another daily driver ETA.
Posted: Dec 17, 2017 8:24 PM
by sail_or_drive
Karl;
Thanks for the advice on the bolts. I did much the same with a pick but still managed to mangle one pretty badly. Question for you; did you replace the "washer" pieces (part no 33211209543) ? They don't appear to be compressed too badly. If they should be replaced I am all for it, if not, not as they are somewhere between $5 to $8 each depending on the supplier.
Re: Gerda. Yet another daily driver ETA.
Posted: Dec 17, 2017 9:14 PM
by tig
The diff cover seal is super simple to replace. Getting the gunk off will be easier than you think.
I do love a good thrift store.
Posted: Dec 24, 2017 4:31 PM
by sail_or_drive
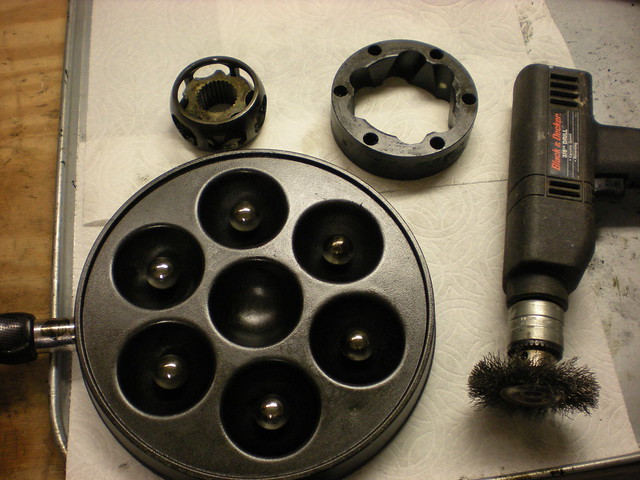
I buy old plug in drills in thrift stores and wear them out on projects that have nothing to do with drilling; depending on the drill they are $5 to $10 (a good 1/2 inch). I generally use them for things I would use air tools for if I had a compressor. They are lower RPM and do burn out, but at the price it works for me. When I picked up the drill in the picture I spied this egg pan on the way to the tool shelf. $2.50. Many had commented on how it was hard to keep track of the bearings when cleaning them. I punched a small dimple in the lower right of the pan (Picture orientation) and lined up a mark on the inner race before pulling them out. They are slippery little buggers.
I studied this post pretty carefully:
http://www.mye28.com/viewtopic.php?f=3& ... half+shaft. The question I have is about the alignment of the inner and outer races. Pictures below, inner and outer races are set up as if you were looking towards the diff, the cage has been removed for clarity. I am not sure, but if you looked at the side in this orientation the part numbers on the outer race would oriented correctly (rignt side up), I will have to clean up the shaft I have not taken apart and make sure this is the case, I was not careful about that when disassembling them.
I think that the first picture shows the proper alignment; the races should "swirl" (for lack of a better term) in the opposite directions. I am basing this on the picture of the post above of CEK removing the circlip to take his apart. They are "opposite" as in the picture below:
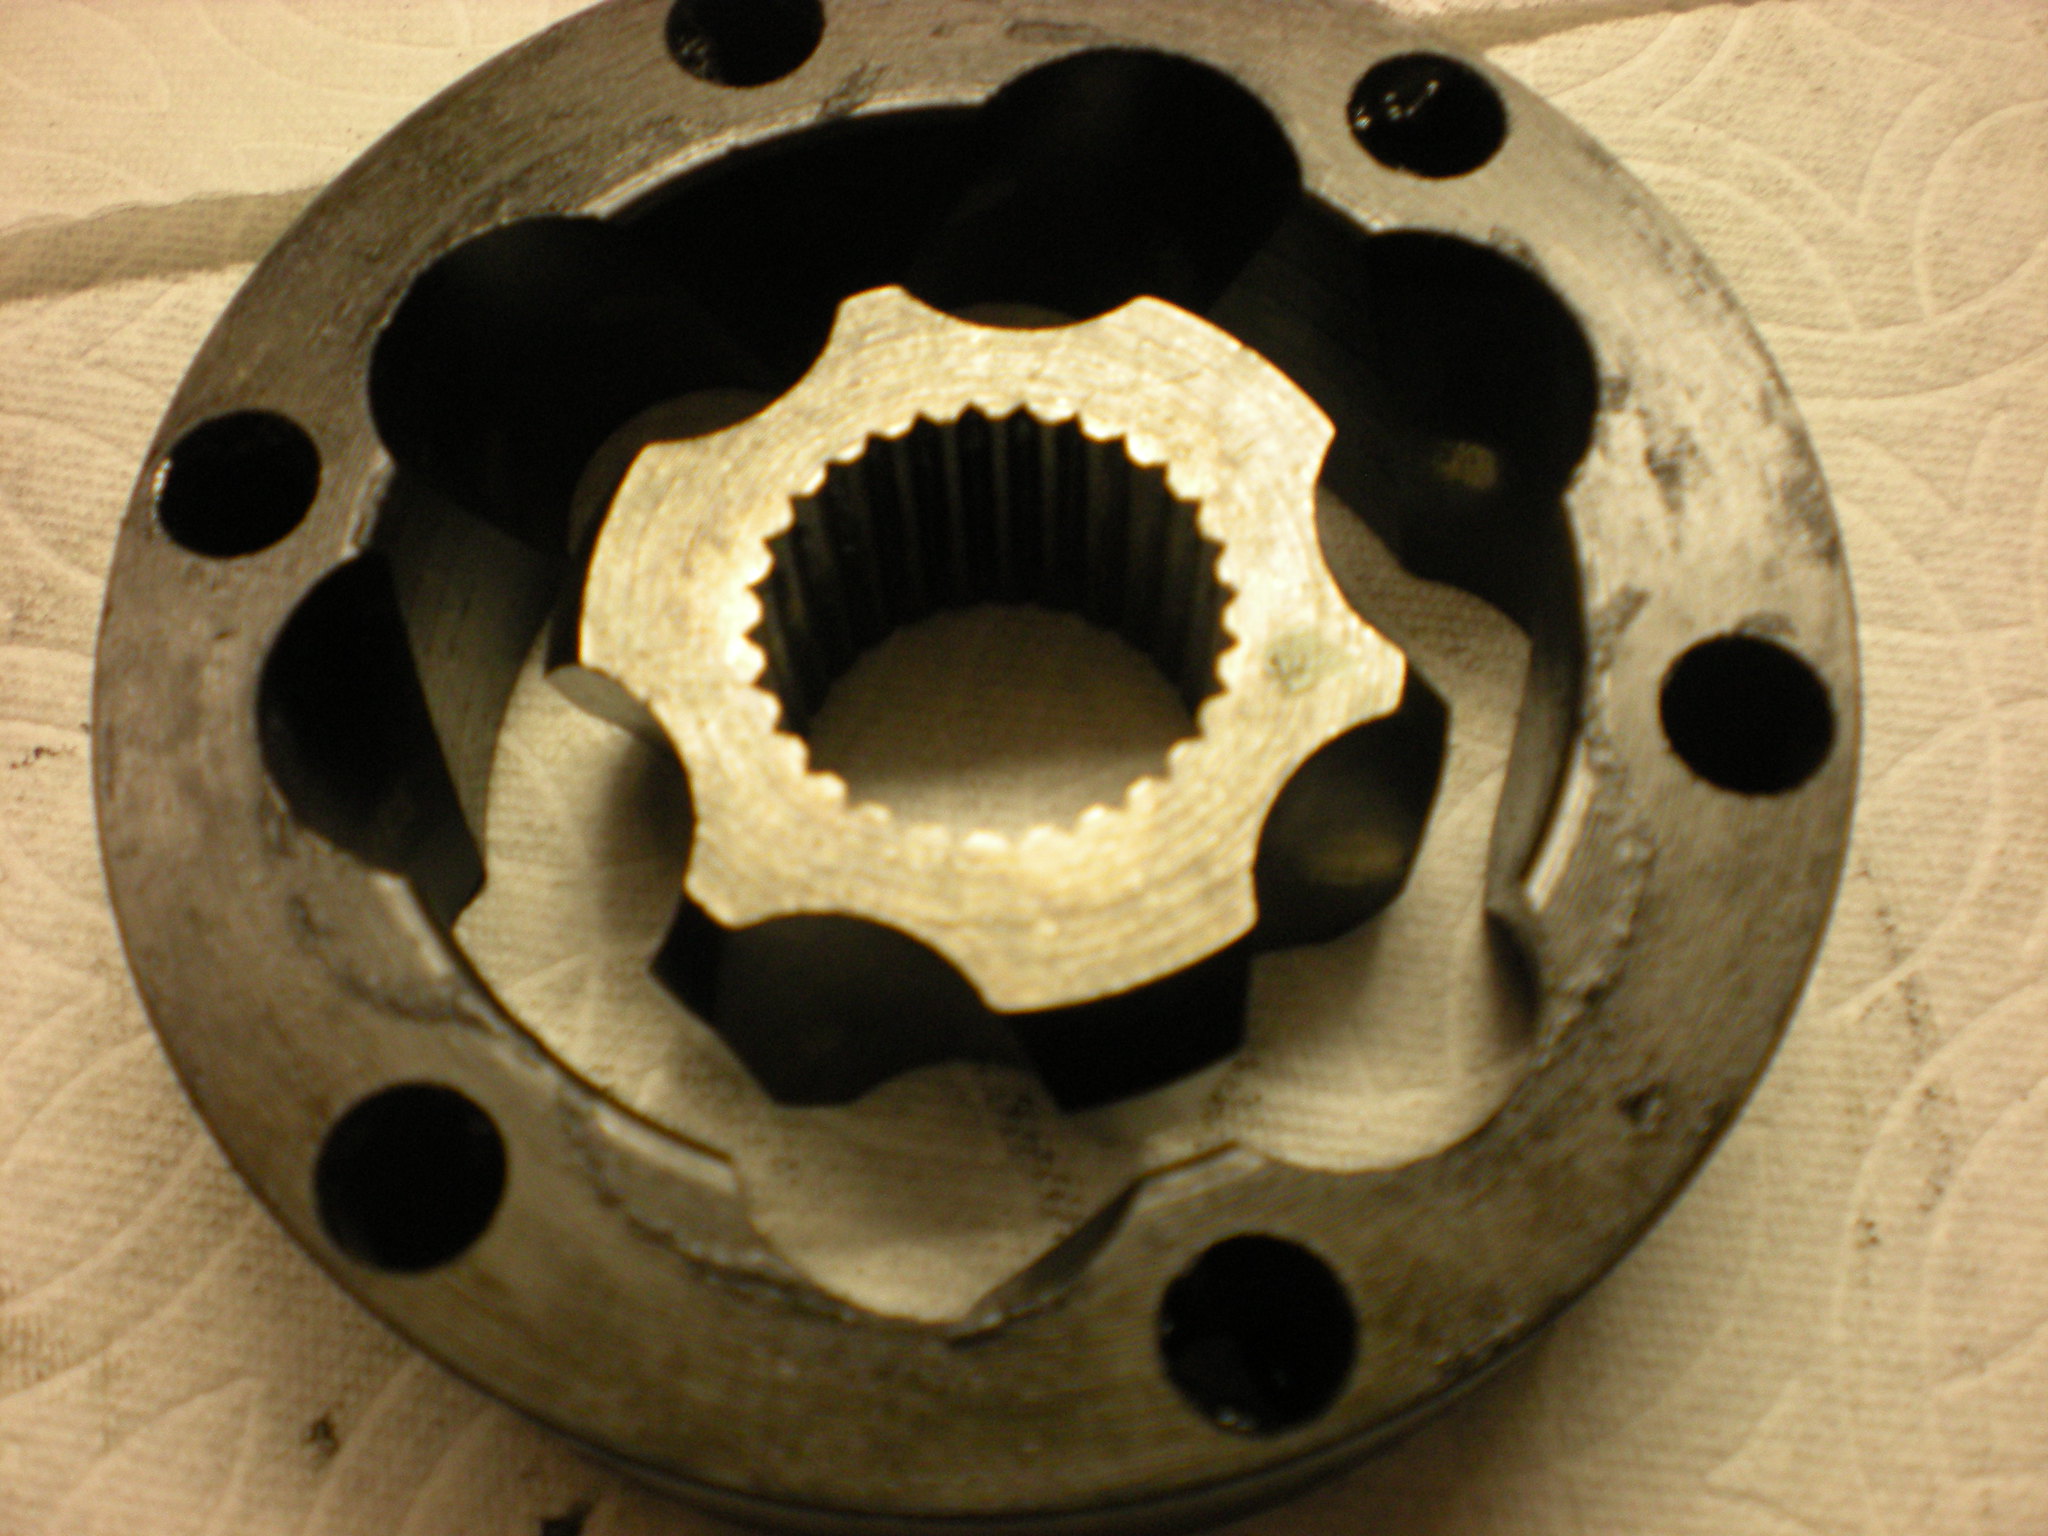
The second picture is with the inner race rotated 60 degrees, so the "swirl" is aligned to the outer:
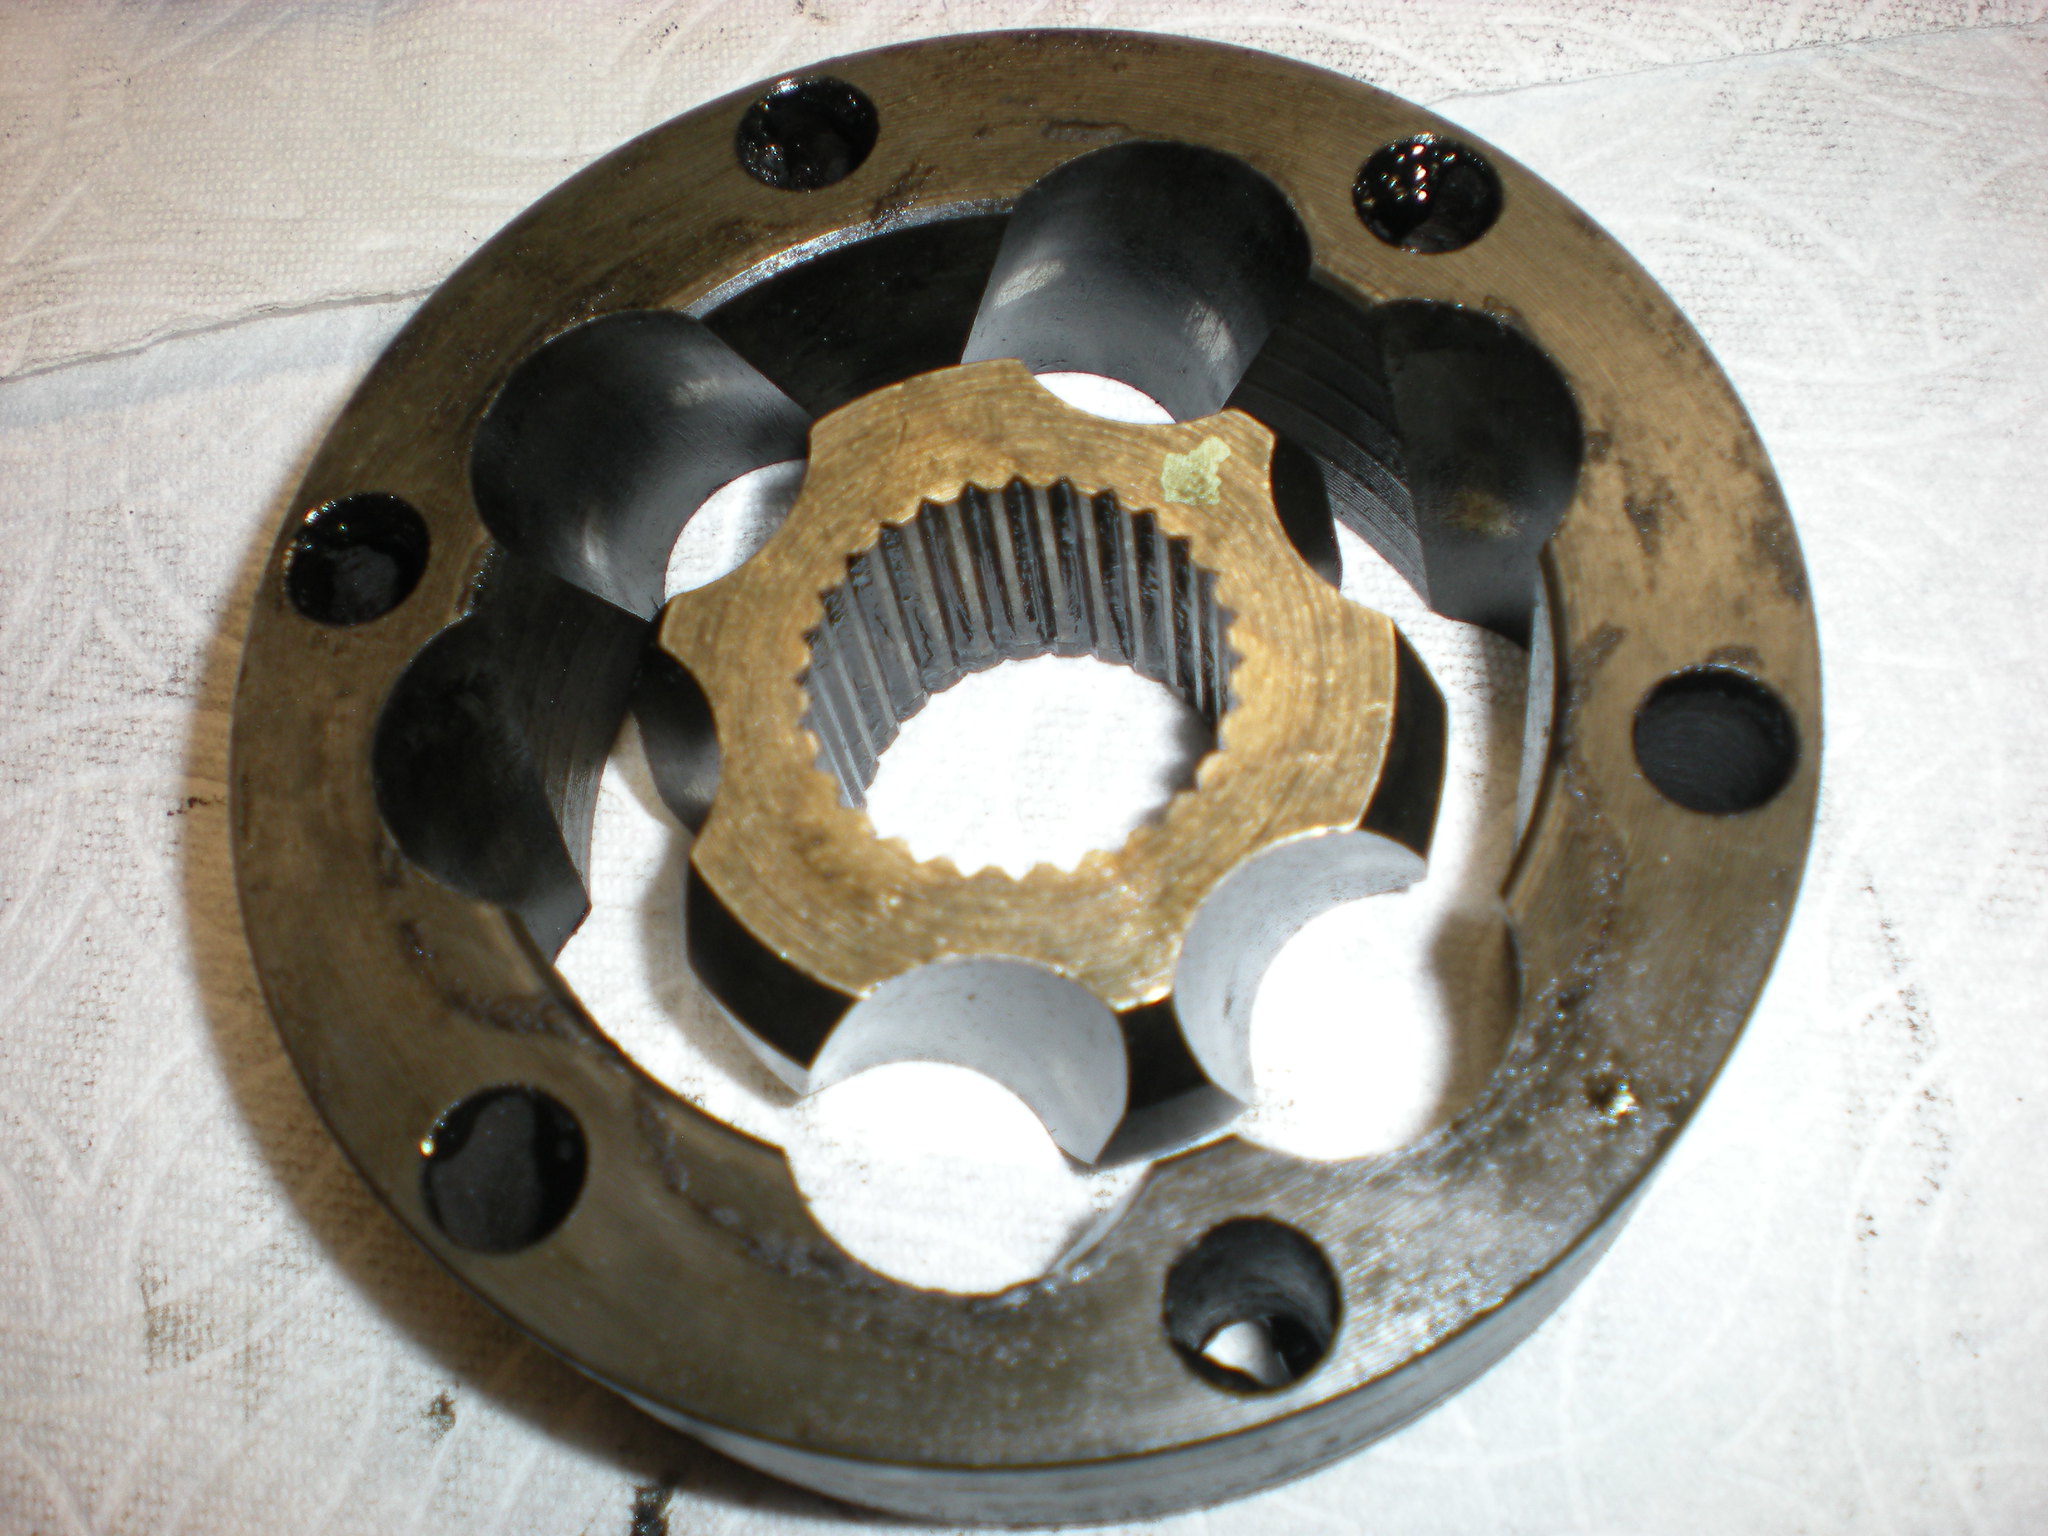
Apologies; these have not been through the parts washer yet, just wiped the worst of the 90 weight off them.
Re: Gerda. Yet another daily driver ETA.
Posted: Dec 24, 2017 5:01 PM
by Karl Grau
sail_or_drive wrote:Karl;
Thanks for the advice on the bolts. I did much the same with a pick but still managed to mangle one pretty badly. Question for you; did you replace the "washer" pieces (part no 33211209543) ? They don't appear to be compressed too badly. If they should be replaced I am all for it, if not, not as they are somewhere between $5 to $8 each depending on the supplier.
No, I just cleaned and painted the old ones. So far, so good.
Re: Gerda. Yet another daily driver ETA.
Posted: Dec 25, 2017 9:05 AM
by muleskinner
HA! I have that exact same drill. Had it since about 1987. It doesn't have much torque, but it's taken many beatings over the years, and still keeps going. I like the compact feel of it.
Re: Gerda. Yet another daily driver ETA.
Posted: Dec 25, 2017 12:43 PM
by sail_or_drive
Cool!. This one only works in reverse, which works fine for wire wheeling. I can't expect much for $4. +1 on the feel of it, it's lightweight.
Gerda. Subframe and arms are out..
Posted: Jan 02, 2018 11:42 PM
by sail_or_drive
Subframe and trailing arms are out. Time for cleaning and decisions on bushes.
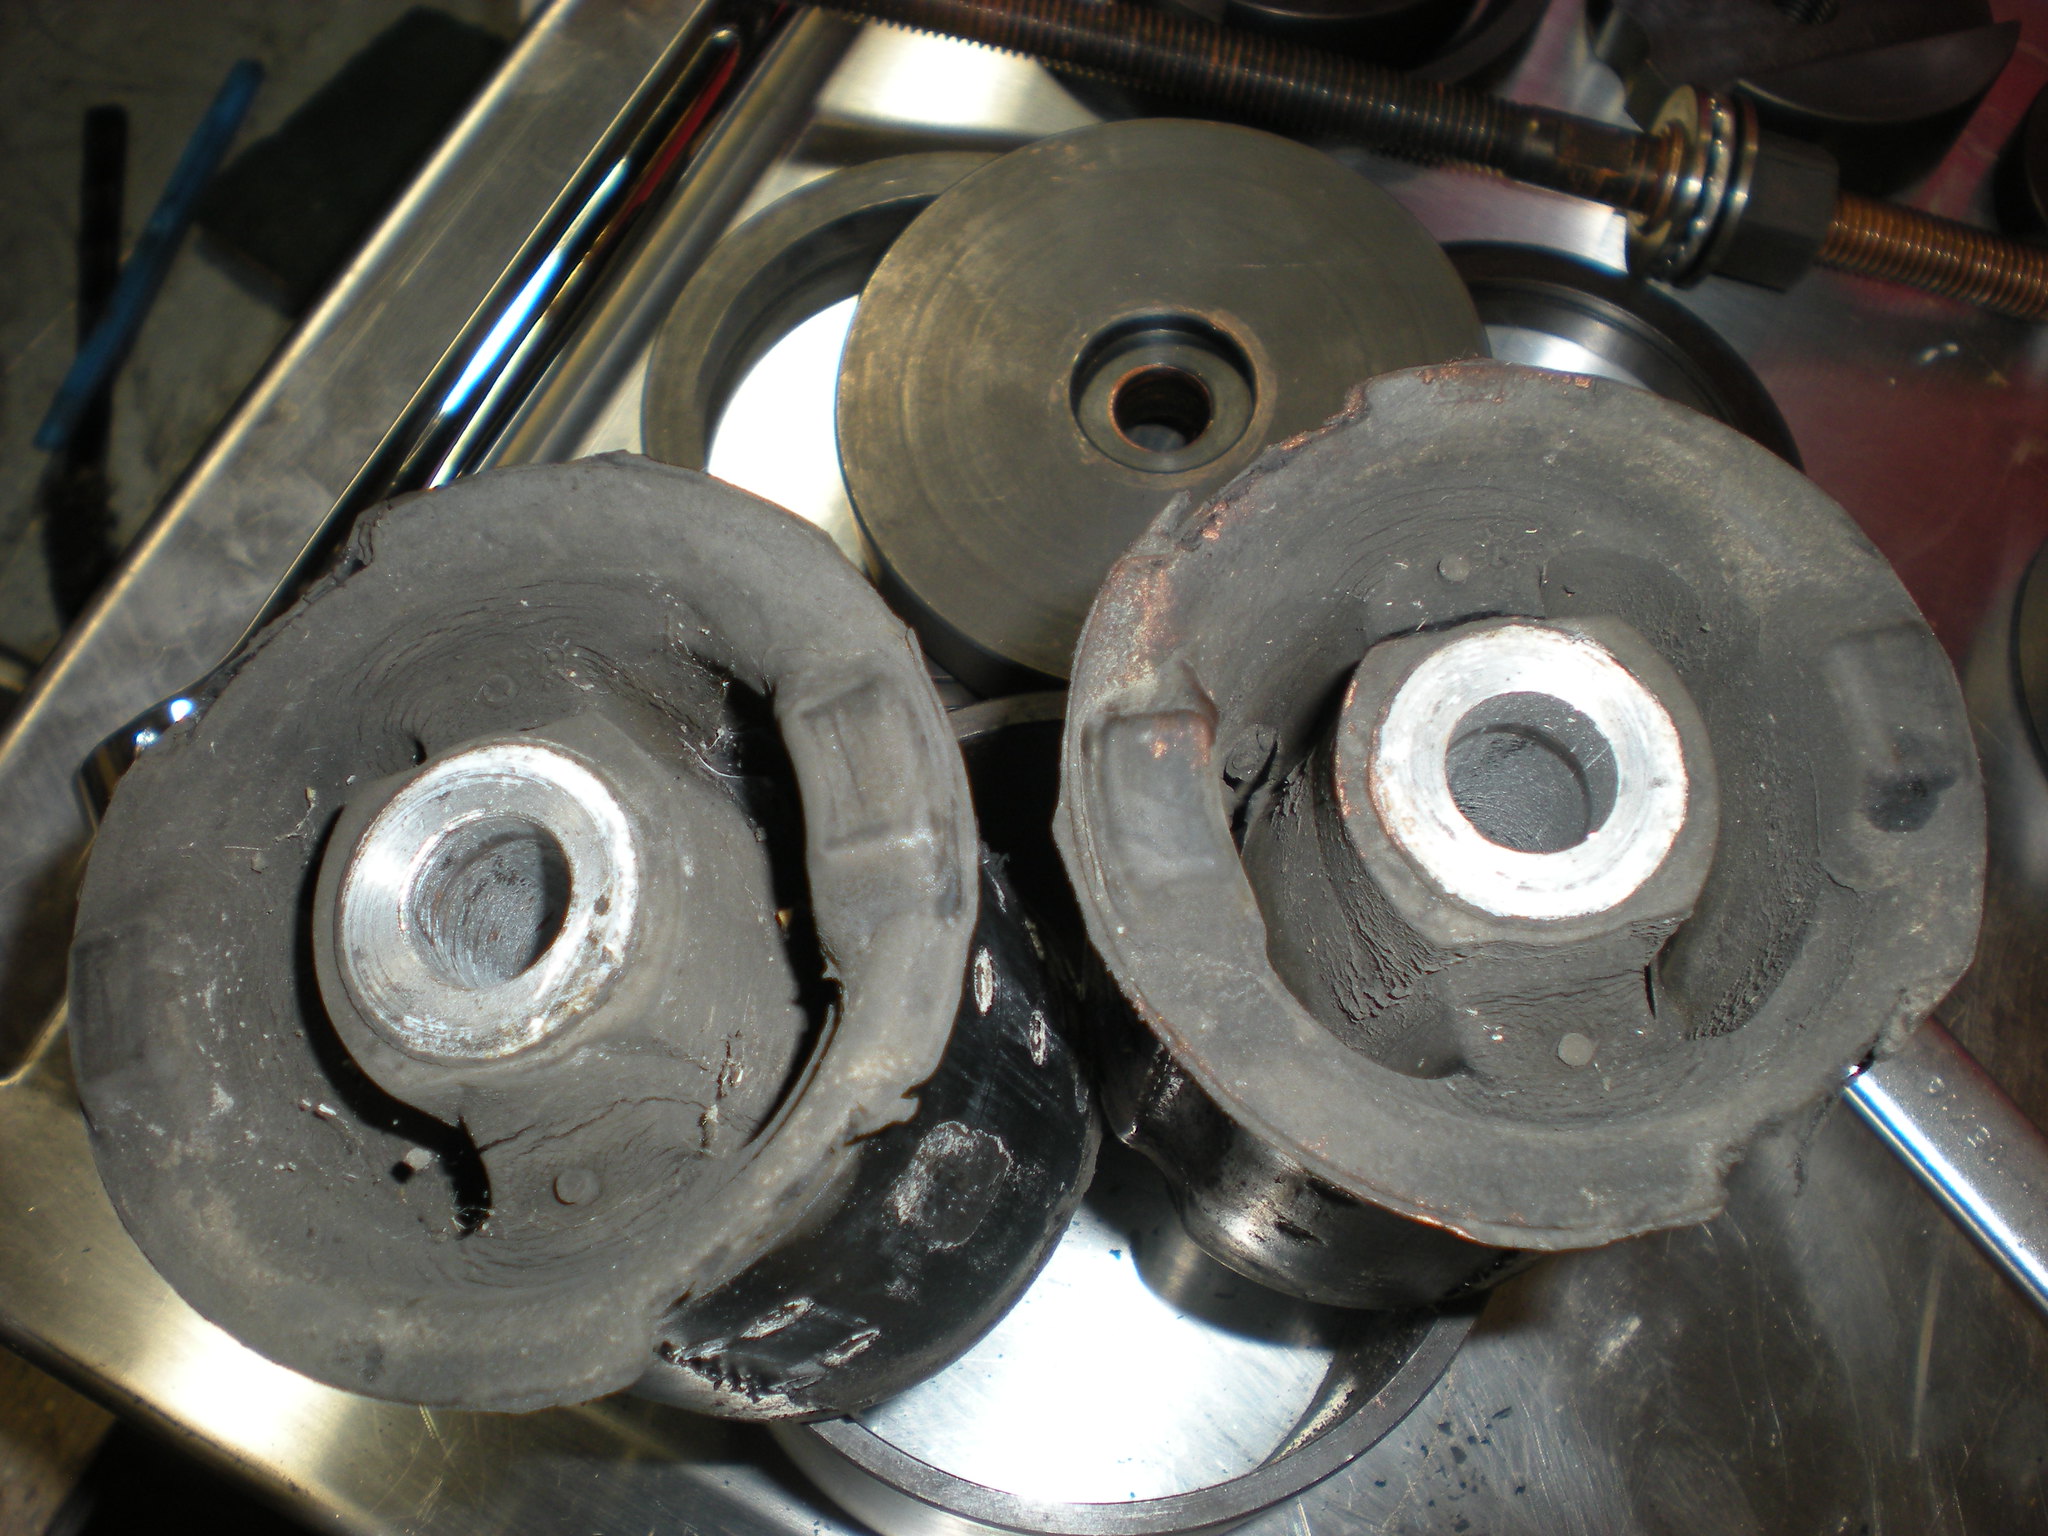
Used the "Sir Tools" subframe extraction tool. Started with hand tools; wound up finishing with them. I did not need to apply any heat either, which seemed odd. Pulled both within about 20 minutes, took my time.
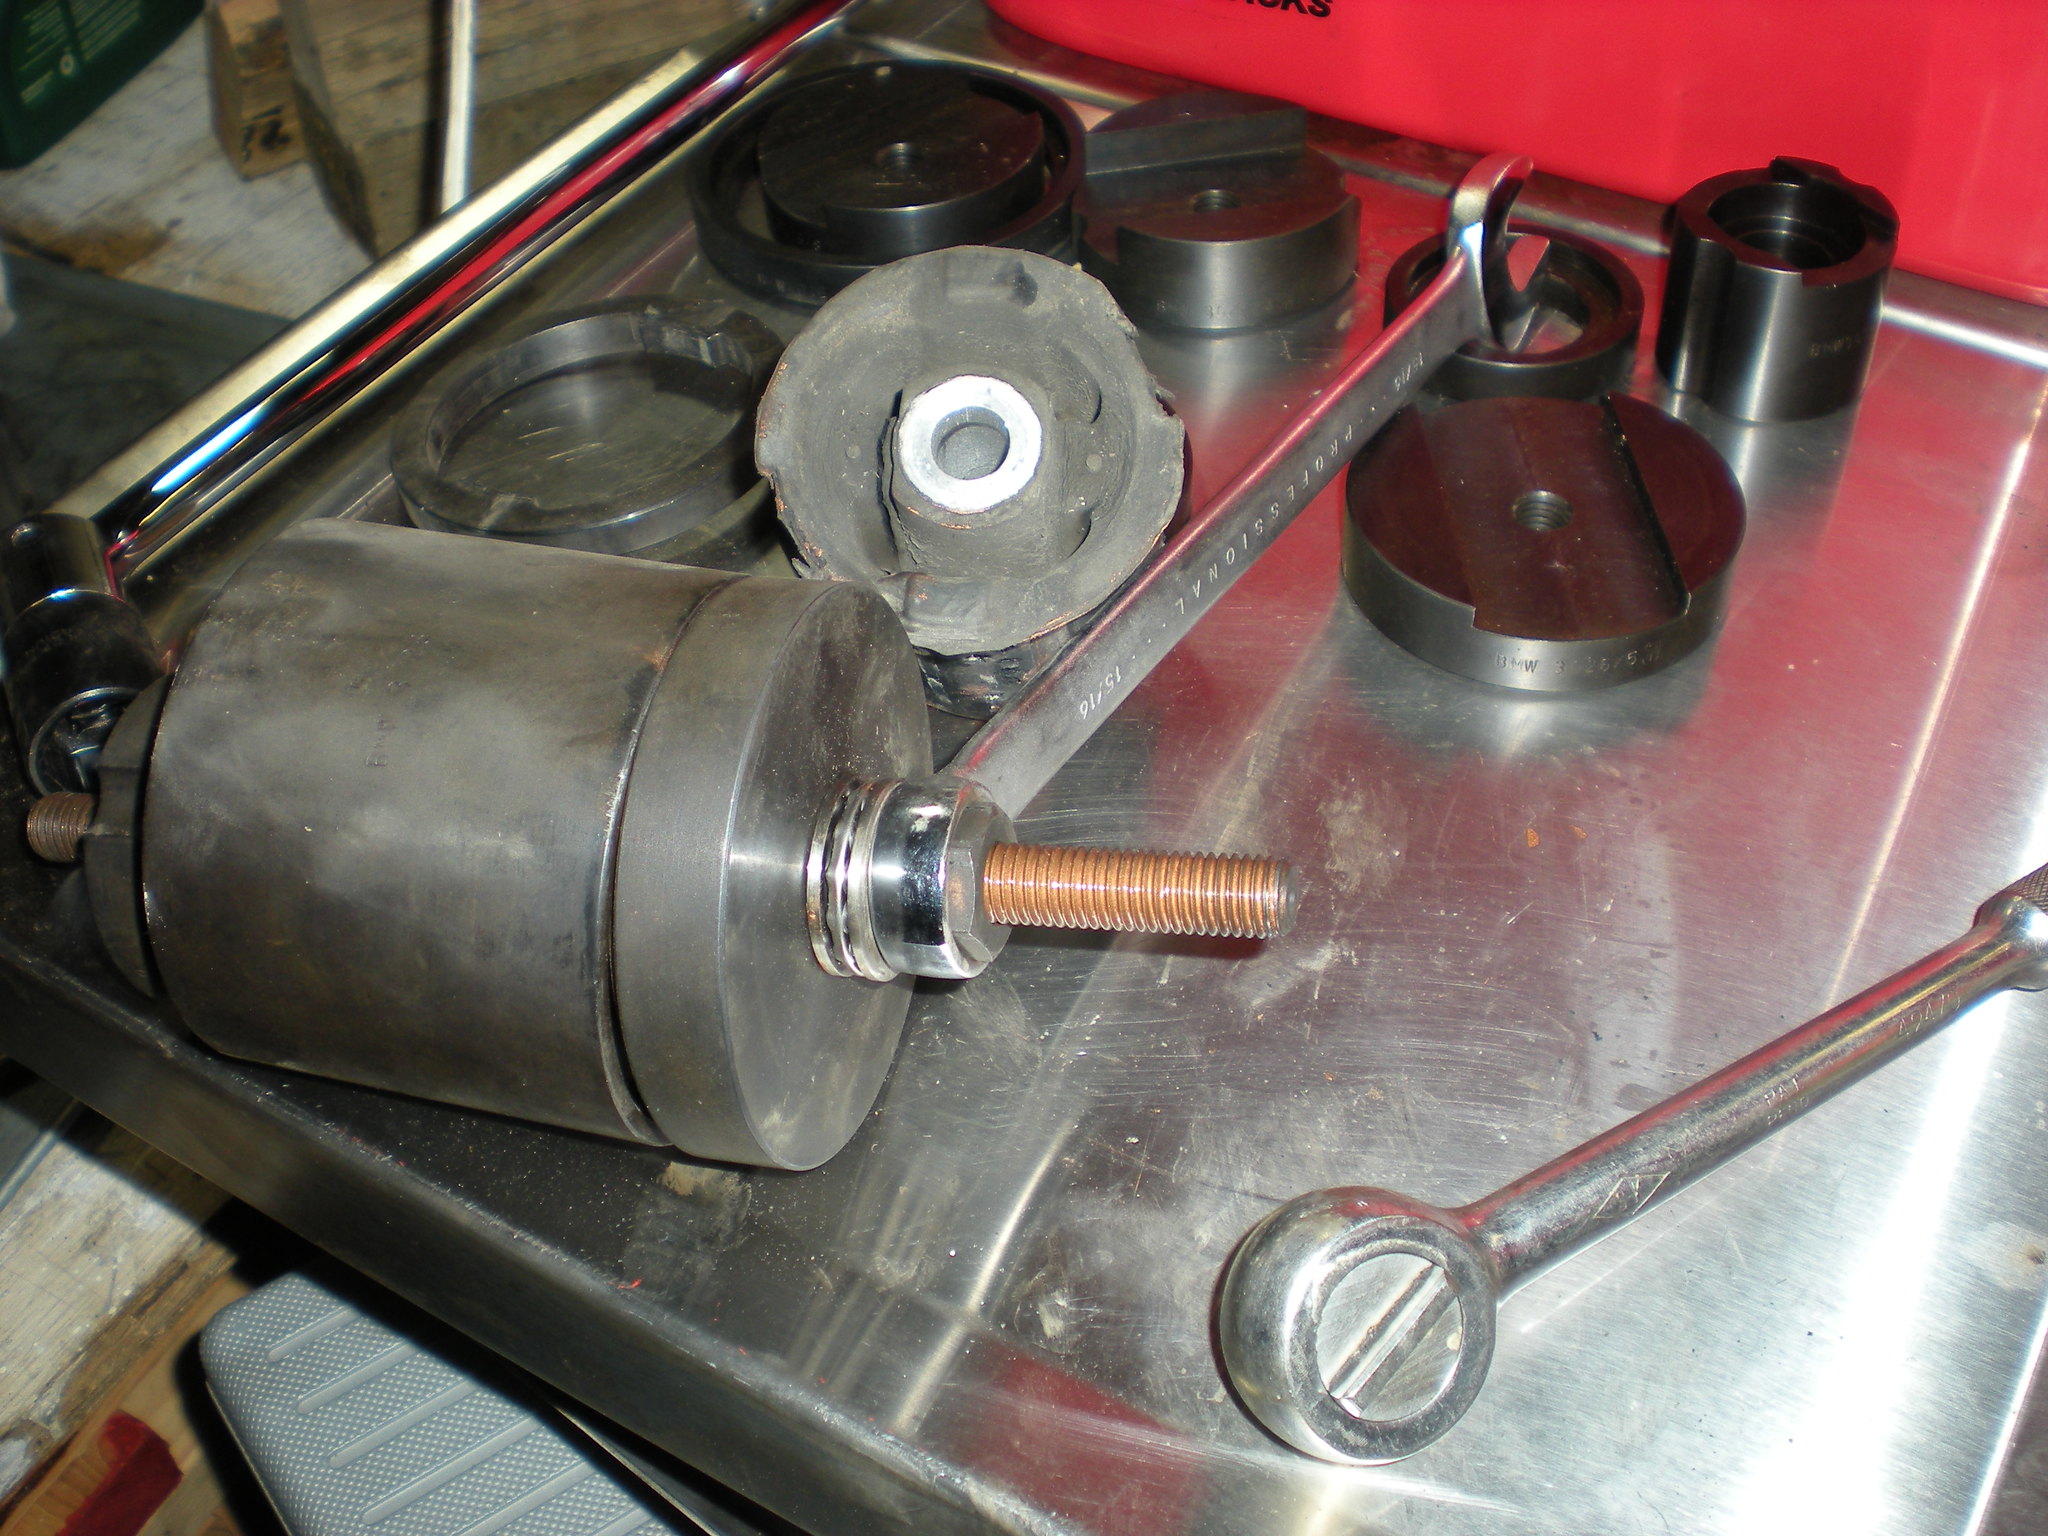
The bushes are not in that bad of shape, cracked on both sides of both bushes, but not all the way through. Possibly they were replacement bushes as the car has 178,000 miles on it.
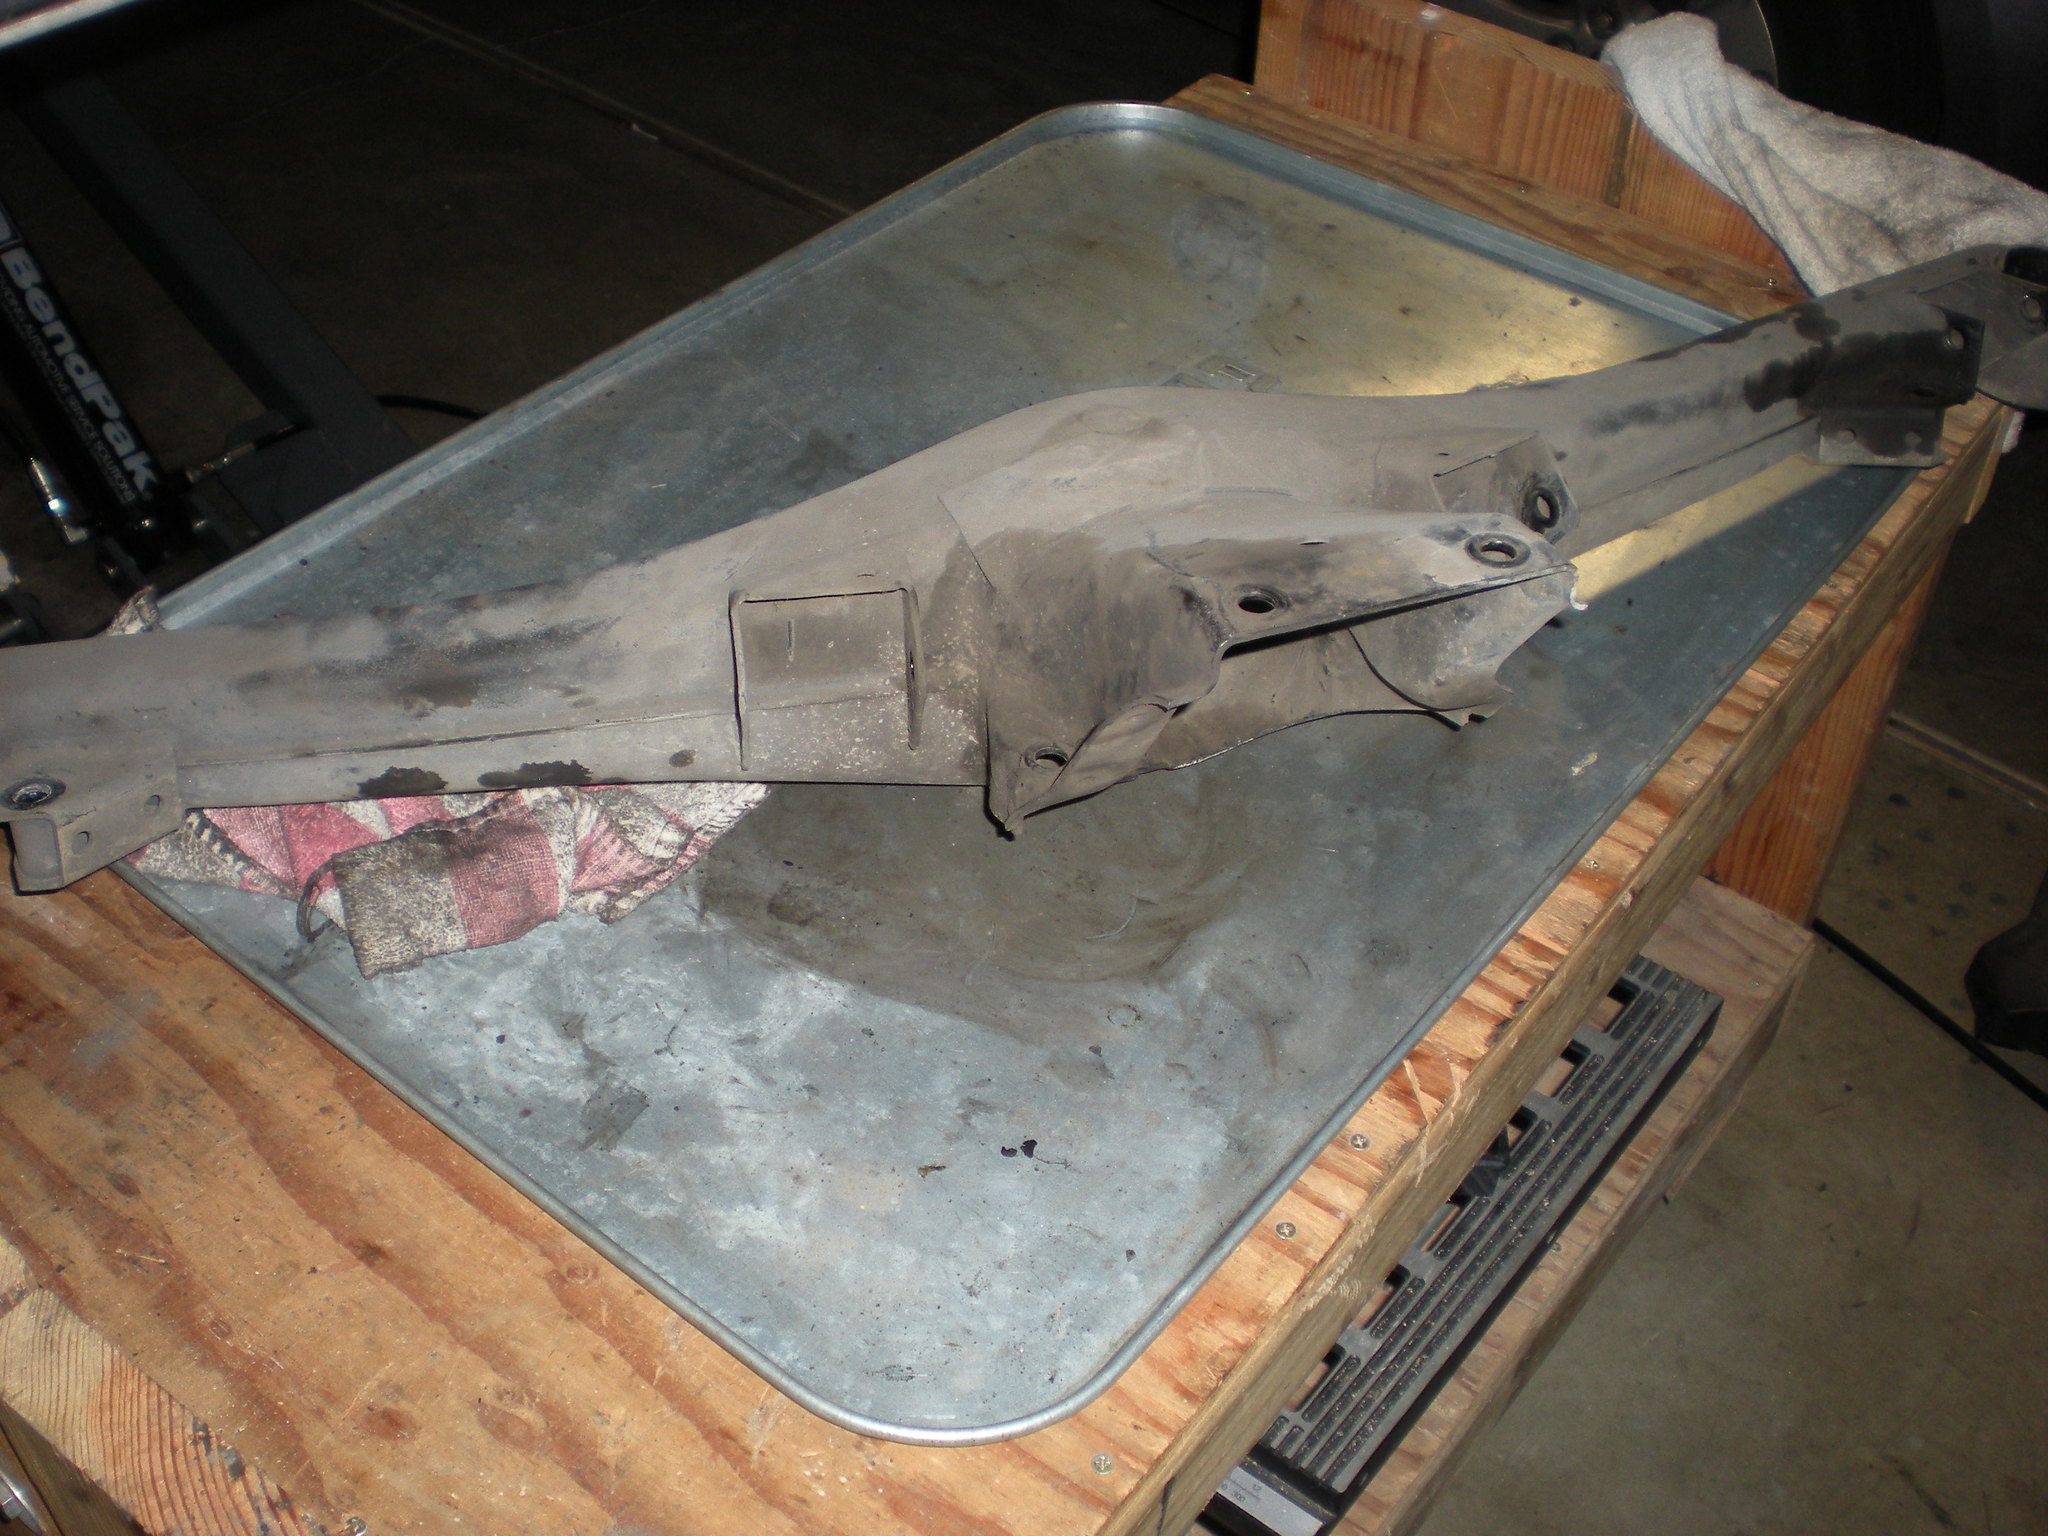
The Subframe, ready for cleaning, new bushes, and a coat of paint:
The trailing arms. Still debating taking them to a machinist to replace the bushes. I likely won't. I do have new wheel bearings that I will be replacing the current ones with, though.
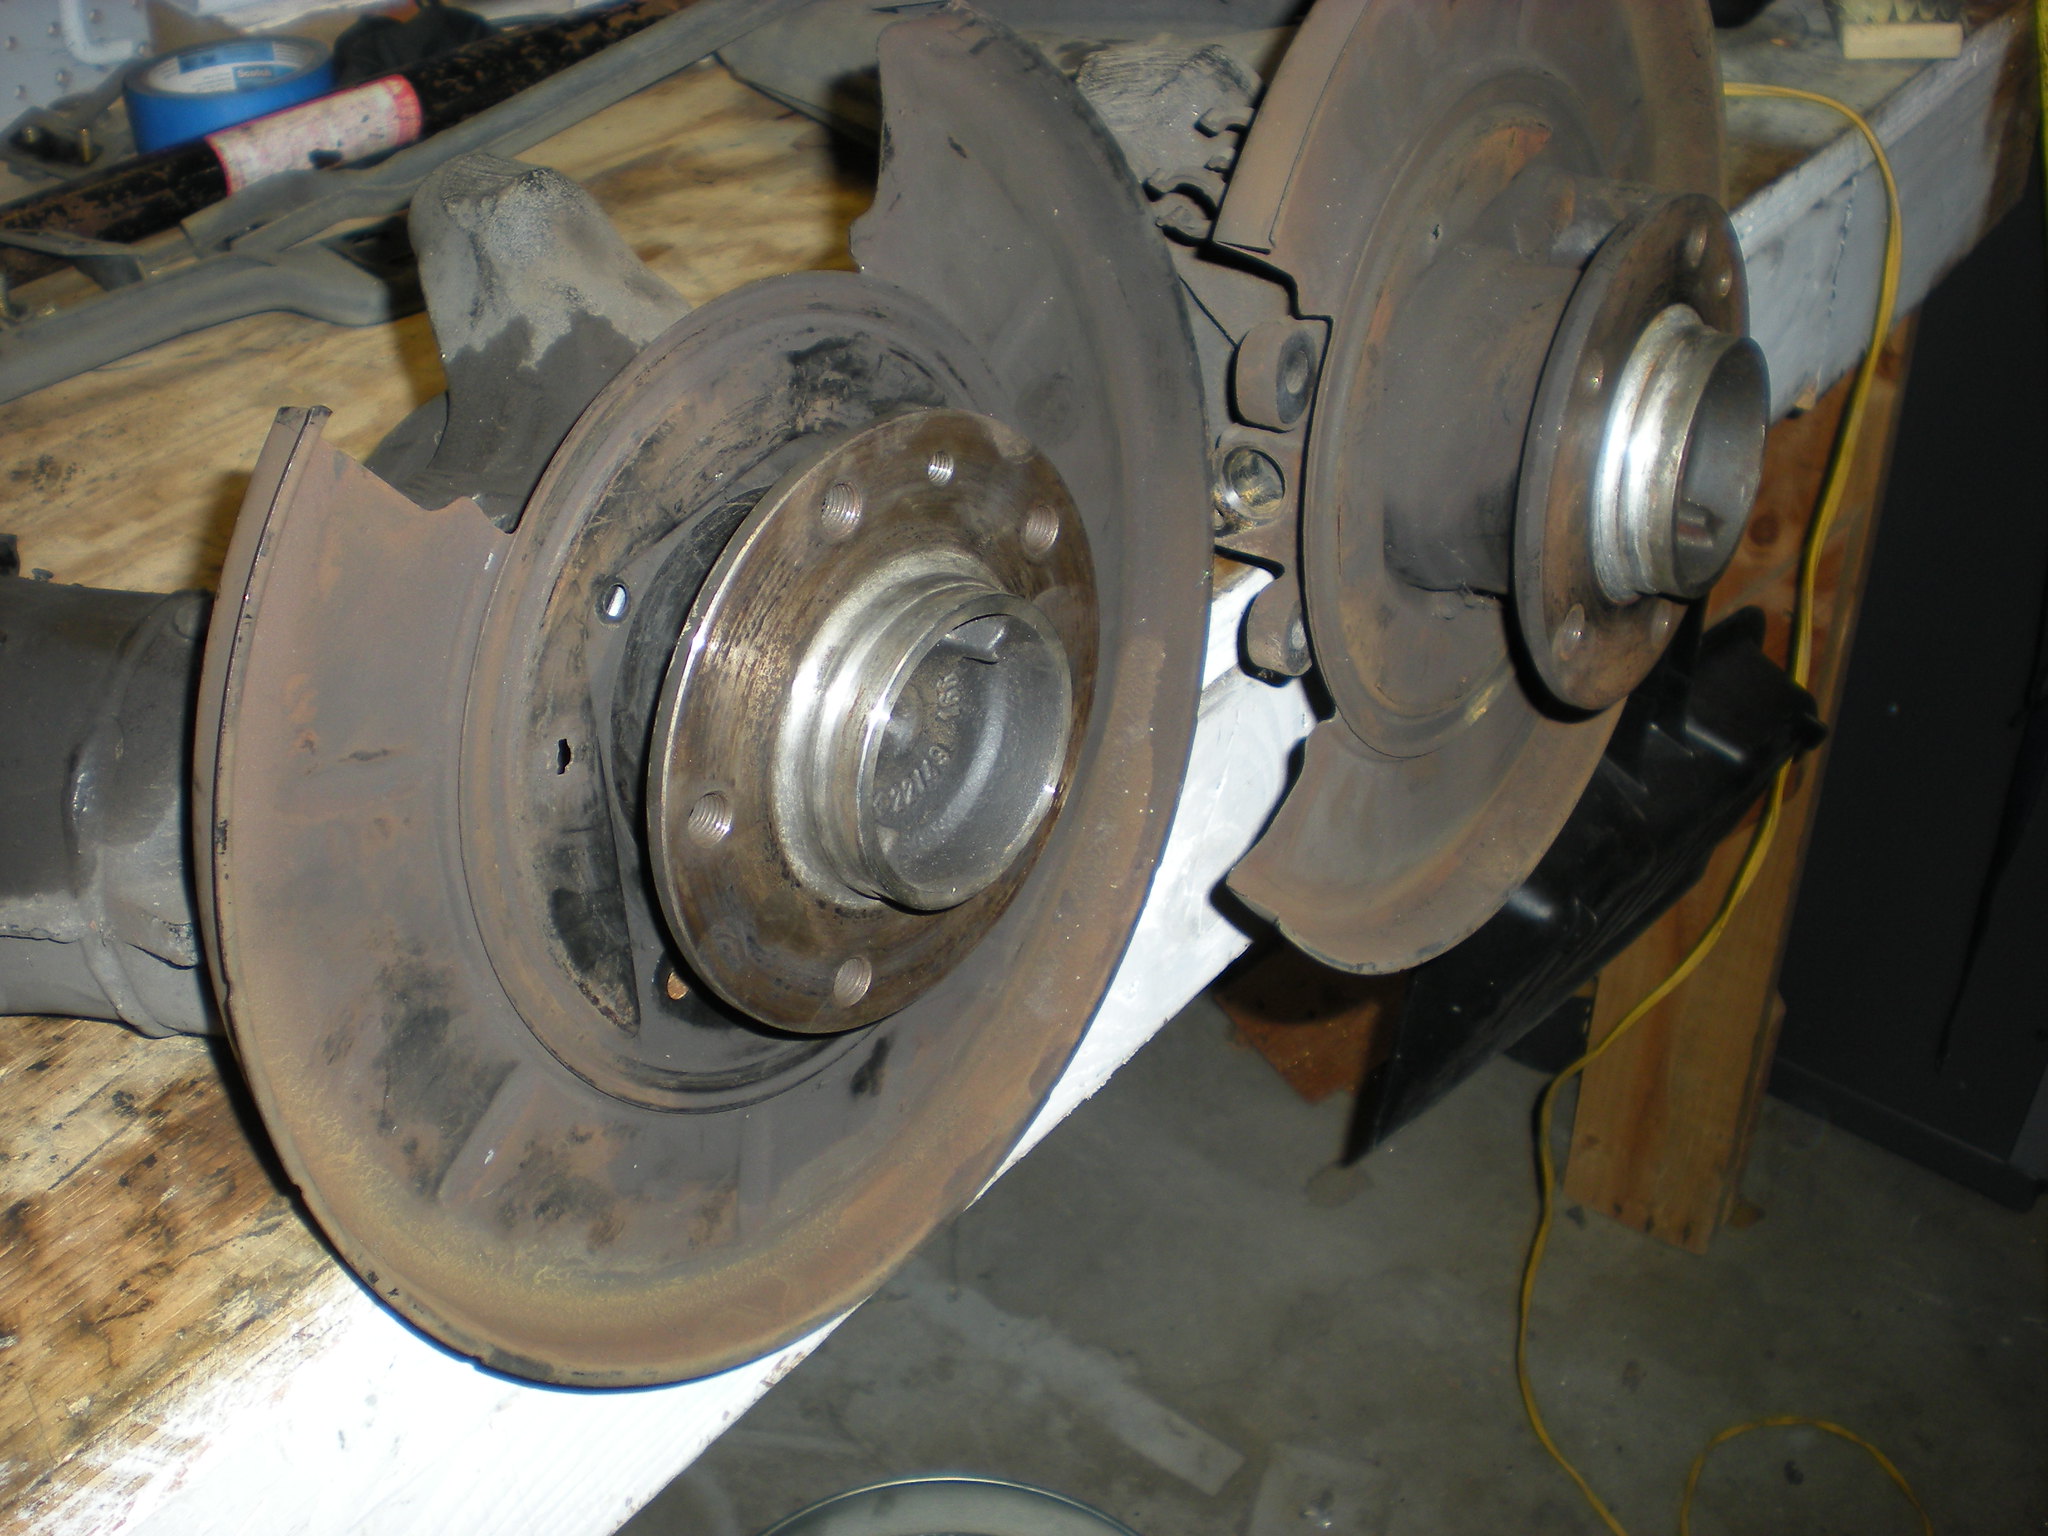
Re: Gerda. Yet another daily driver ETA.
Posted: Jan 03, 2018 2:59 AM
by Eselfjes
Ohh, I really should do the same job on my car

Keep posting!
Re: Gerda. Yet another daily driver ETA.
Posted: Jan 14, 2018 8:35 PM
by sail_or_drive
Progress.
The Diff is as clean as it is going to get, shaft seals and snap rings replaced, POR15 on the rust spots. It's a 3:46 LSD and "not crunchy".
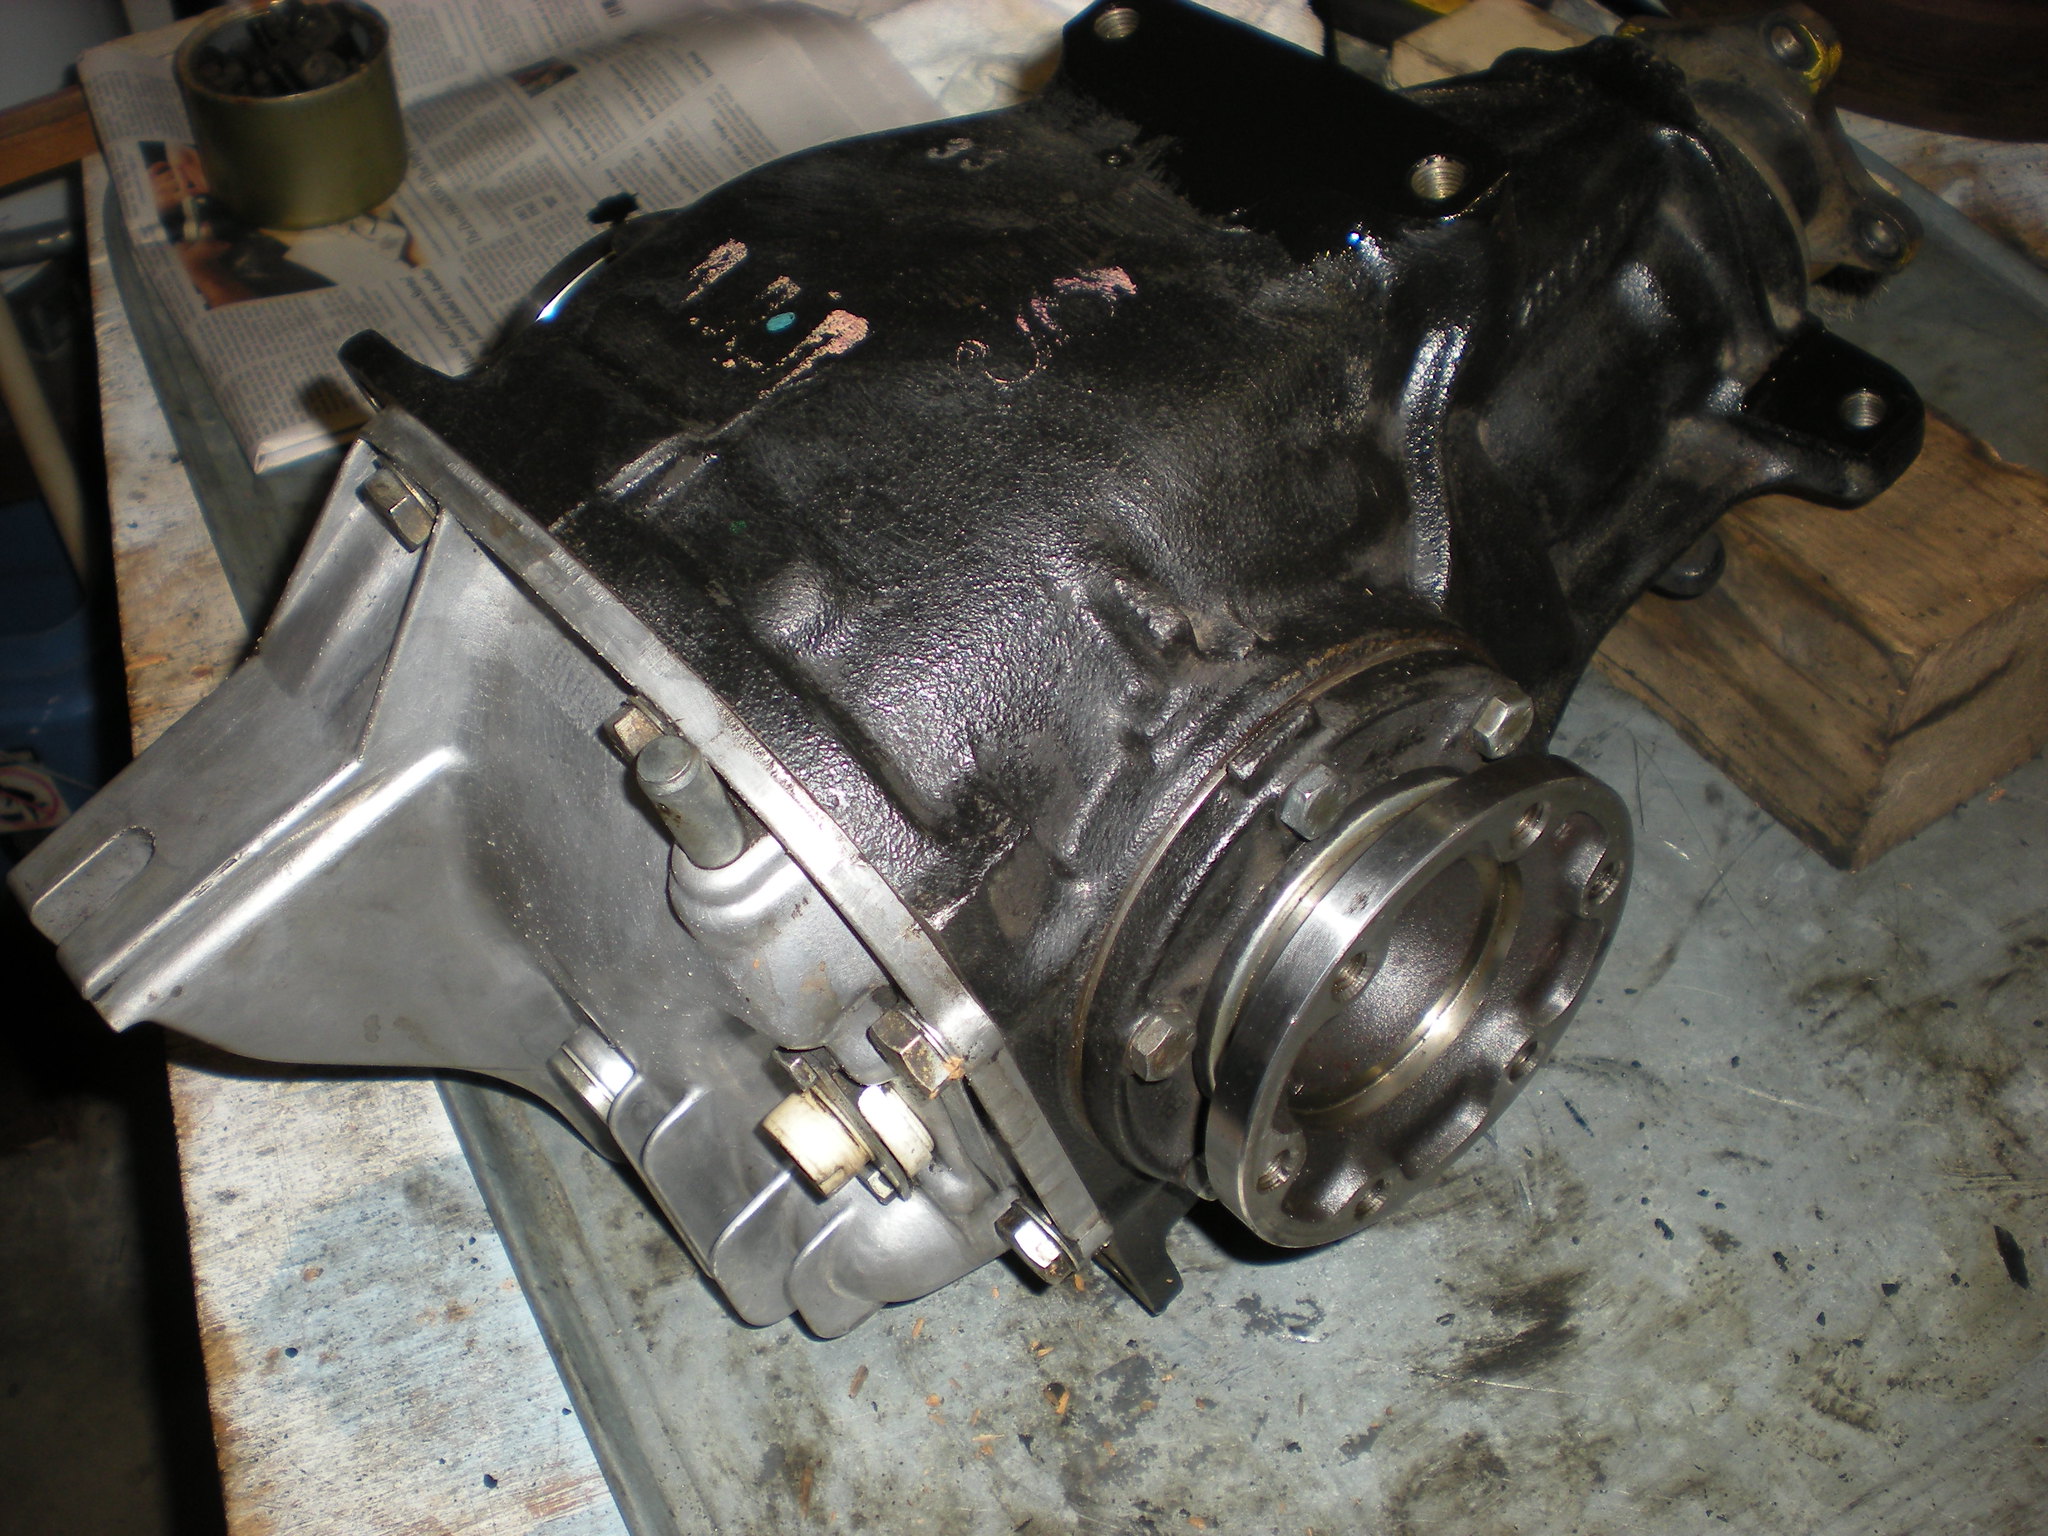
I had removed the muffler, new one was ordered and arrived on Friday. I cut the old one up and am feeding it to the trash. Curiosity got the better of me and I cut it open. I don't think this is what a muffler should look like. It is the original......
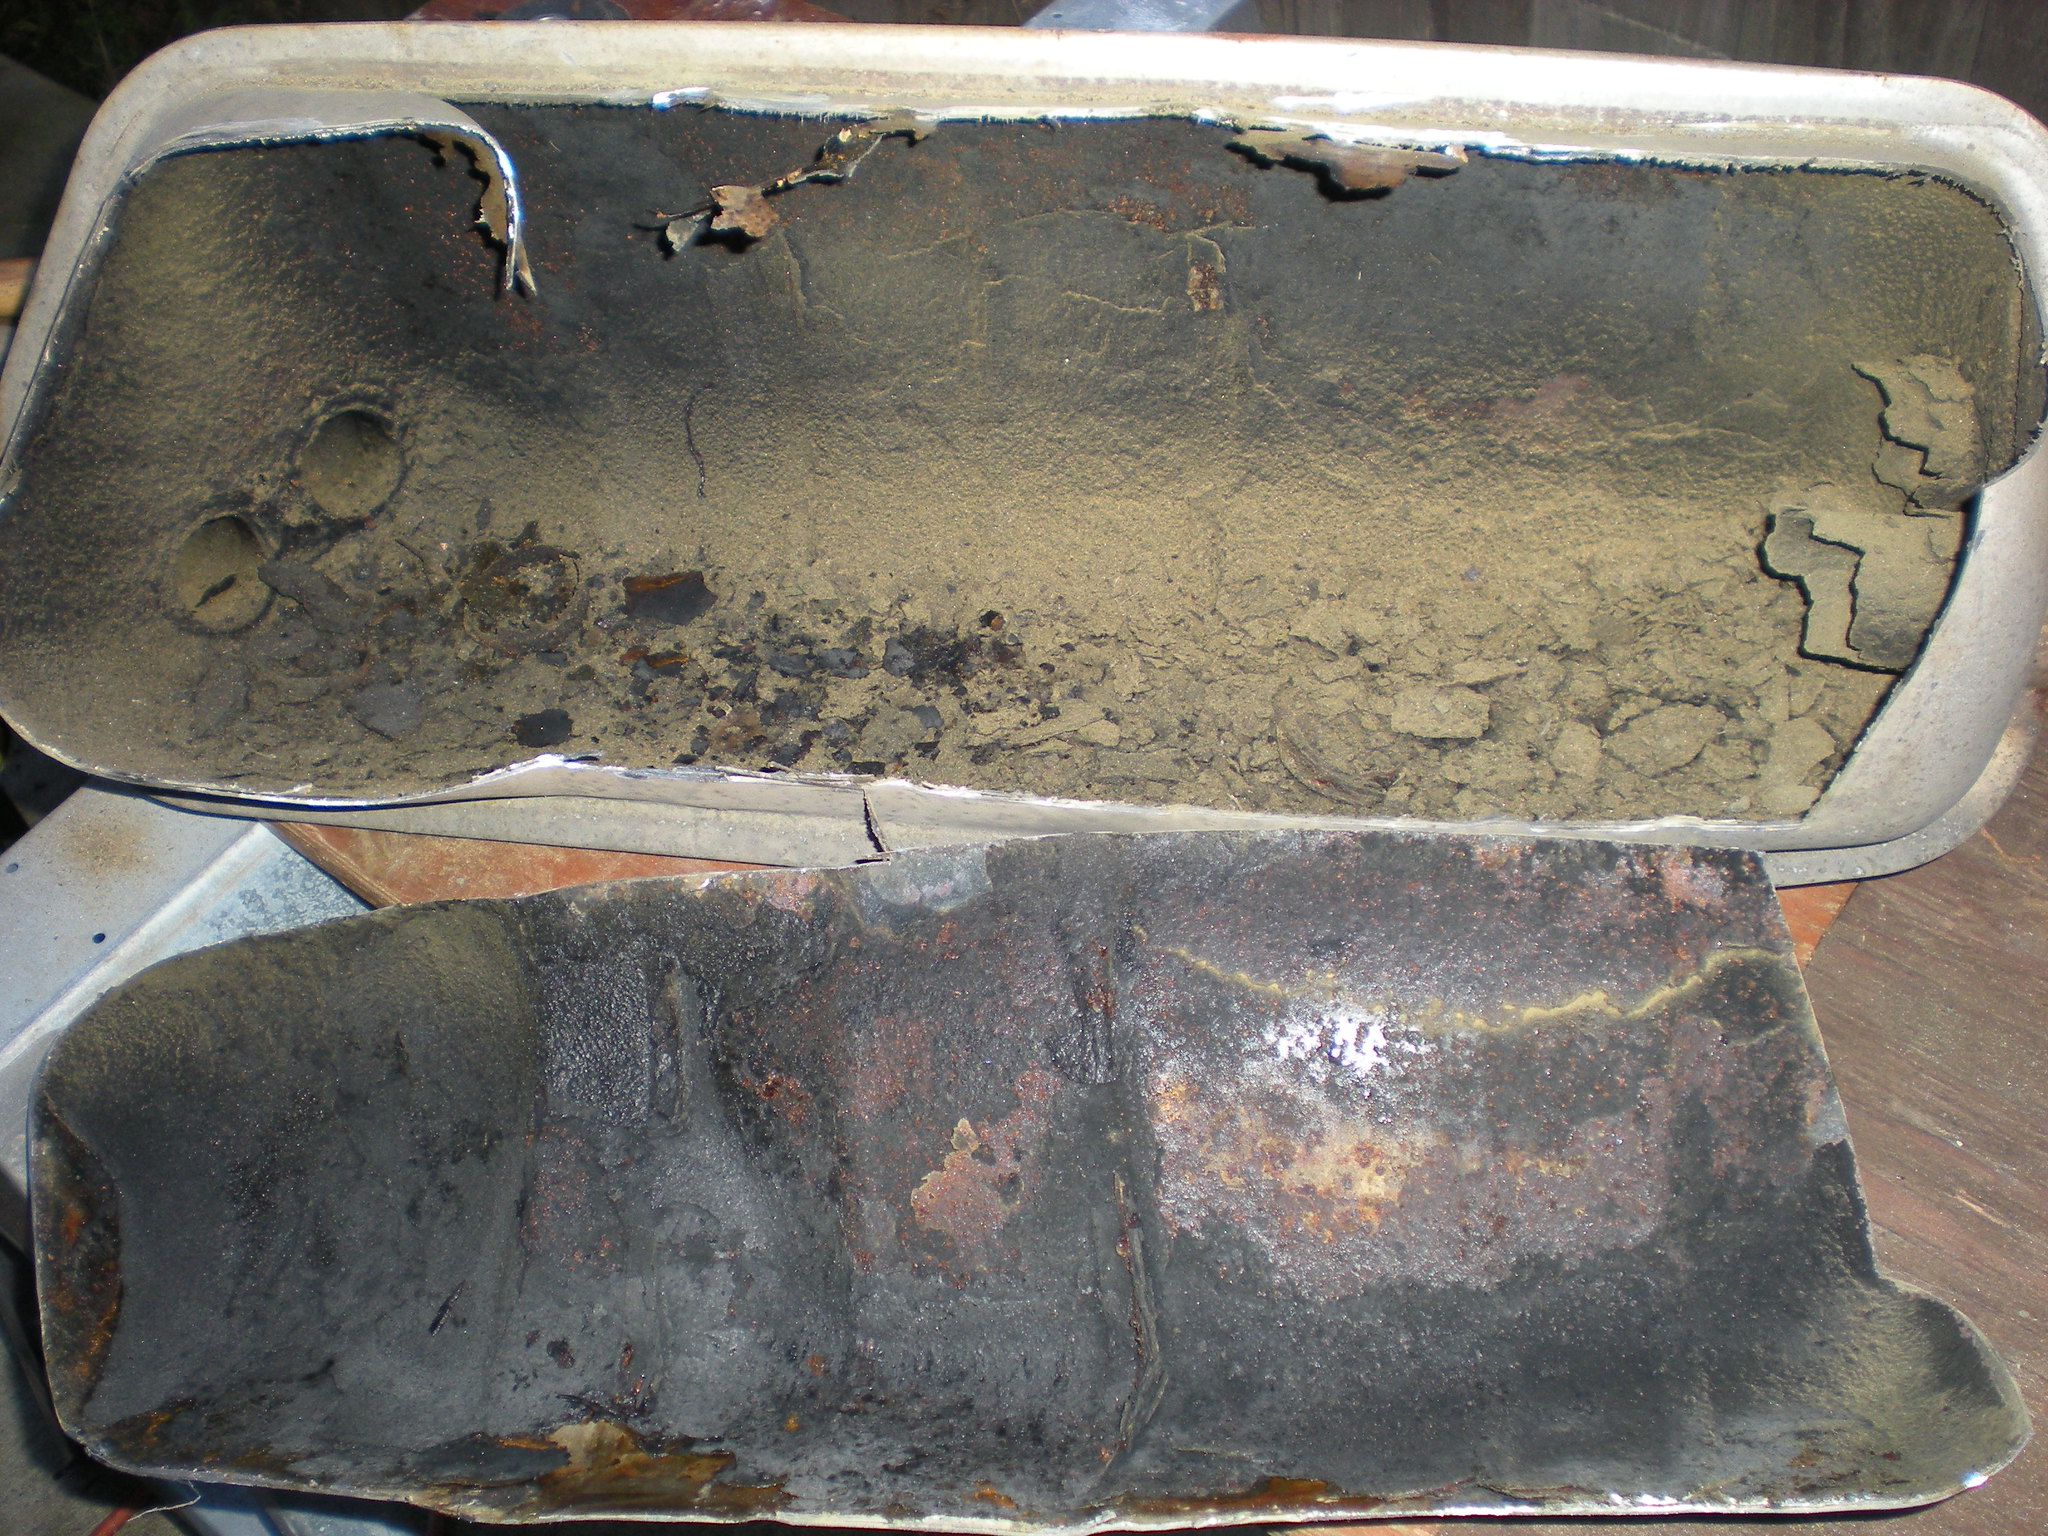
Now I know why my elderly neighbor complains about the car being a bit noisy. I am about 75% deaf so it has not made much of an impression on me.
Re: Gerda. Yet another daily driver ETA.
Posted: Jan 14, 2018 10:49 PM
by tig
Clean diffs make a difference. Nice work.
Re: Gerda. Yet another daily driver ETA.
Posted: Jan 15, 2018 11:48 PM
by sail_or_drive
As I was cleaning the diff I thought of the first task at one of my first jobs. I was working for a Insurance/Agent Gentleman Farmer; his dairy barn burned down and the insurance would not pay for a replacement so he turned the Dairy operation into all grain, alfalfa, and beef cattle. He had to go to work selling insurance and did not have time to give me much instruction, so he told me to clean the Equipment Shed, a 40 by 120 foot pole barn. I really wanted to impress him so I "went to town" on it, raking our all the straw/hay, organizing anything that looked like it needed it, sweeping the entire thing and washing everything in sight. He did not return for nearly 12 hours. He walked into the barn and looked around, then started laughing. He stopped when he saw the look on my face. I asked him what I had done wrong.
He said "Nothing, this place is as clean as the day it was built, maybe cleaner, you did a fine job. But you should keep in mind that it is a Barn, not a Kitchen."
I finished my last bit of diff polishing shortly after.
Re: Gerda. Yet another daily driver ETA.
Posted: Jan 16, 2018 12:31 AM
by tig
sail_or_drive wrote:As I was cleaning the diff I thought of the first task at one of my first jobs. I was working for a Insurance/Agent Gentleman Farmer; his dairy barn burned down and the insurance would not pay for a replacement so he turned the Dairy operation into all grain, alfalfa, and beef cattle. He had to go to work selling insurance and did not have time to give me much instruction, so he told me to clean the Equipment Shed, a 40 by 120 foot pole barn. I really wanted to impress him so I "went to town" on it, raking our all the straw/hay, organizing anything that looked like it needed it, sweeping the entire thing and washing everything in sight. He did not return for nearly 12 hours. He walked into the barn and looked around, then started laughing. He stopped when he saw the look on my face. I asked him what I had done wrong.
He said "Nothing, this place is as clean as the day it was built, maybe cleaner, you did a fine job. But you should keep in mind that it is a Barn, not a Kitchen."
I finished my last bit of diff polishing shortly after.
LOL.
Progress.
Posted: Jan 29, 2018 11:51 PM
by sail_or_drive
Lining up the jack for attaching the Diff.
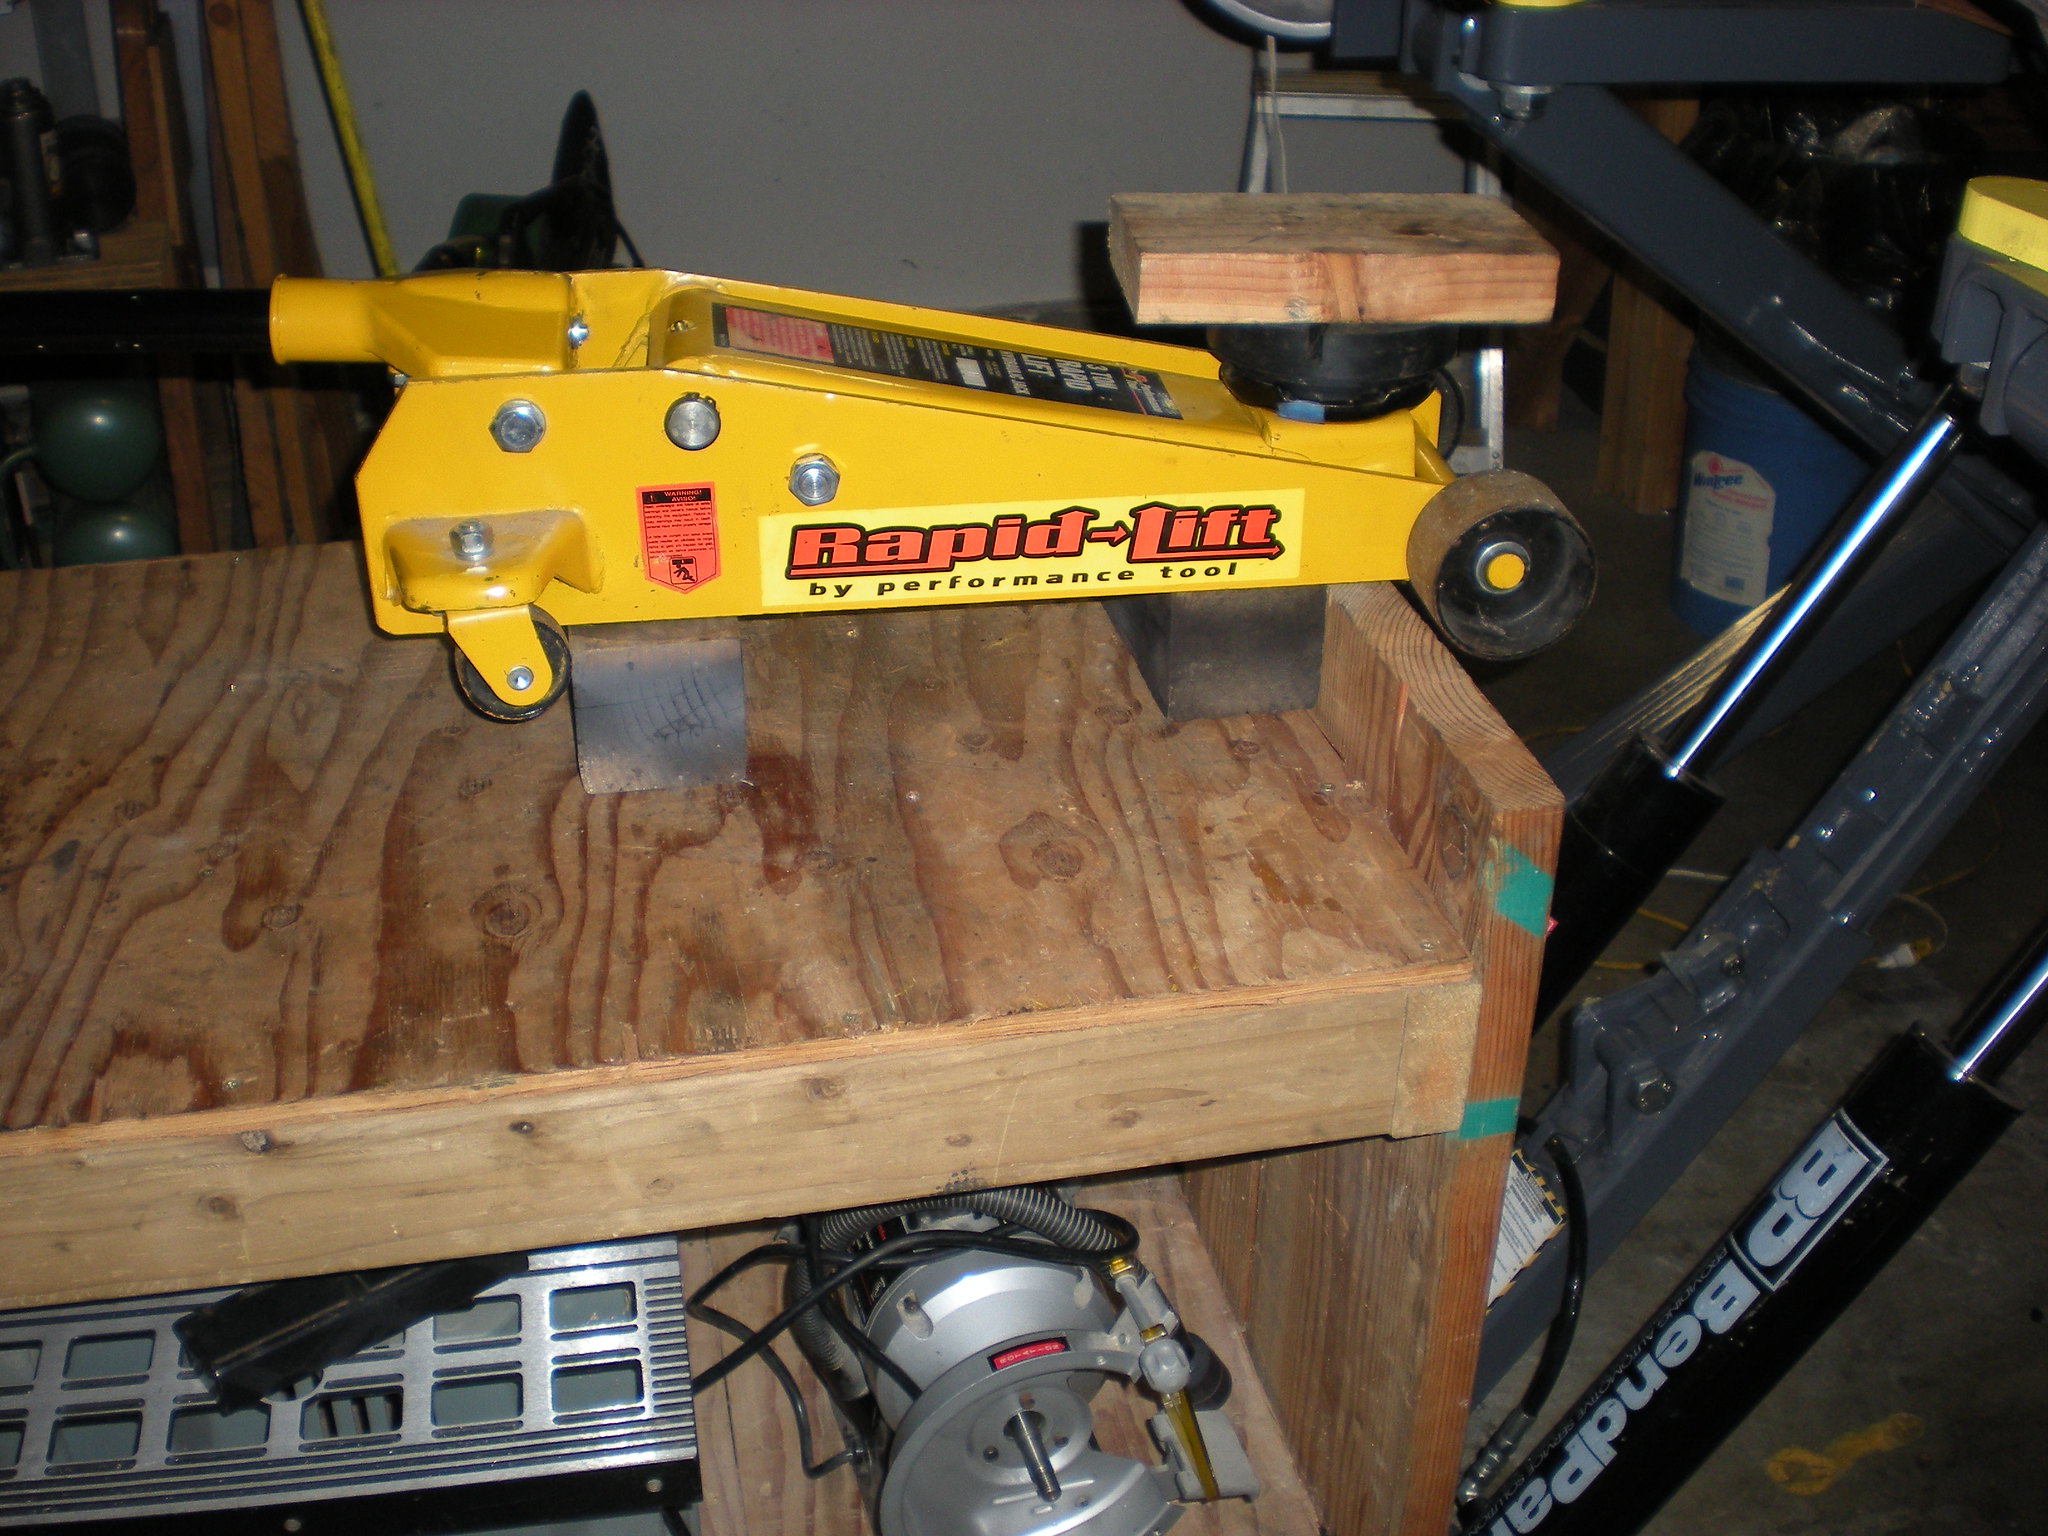
[/url]
The package is on the launch pad....
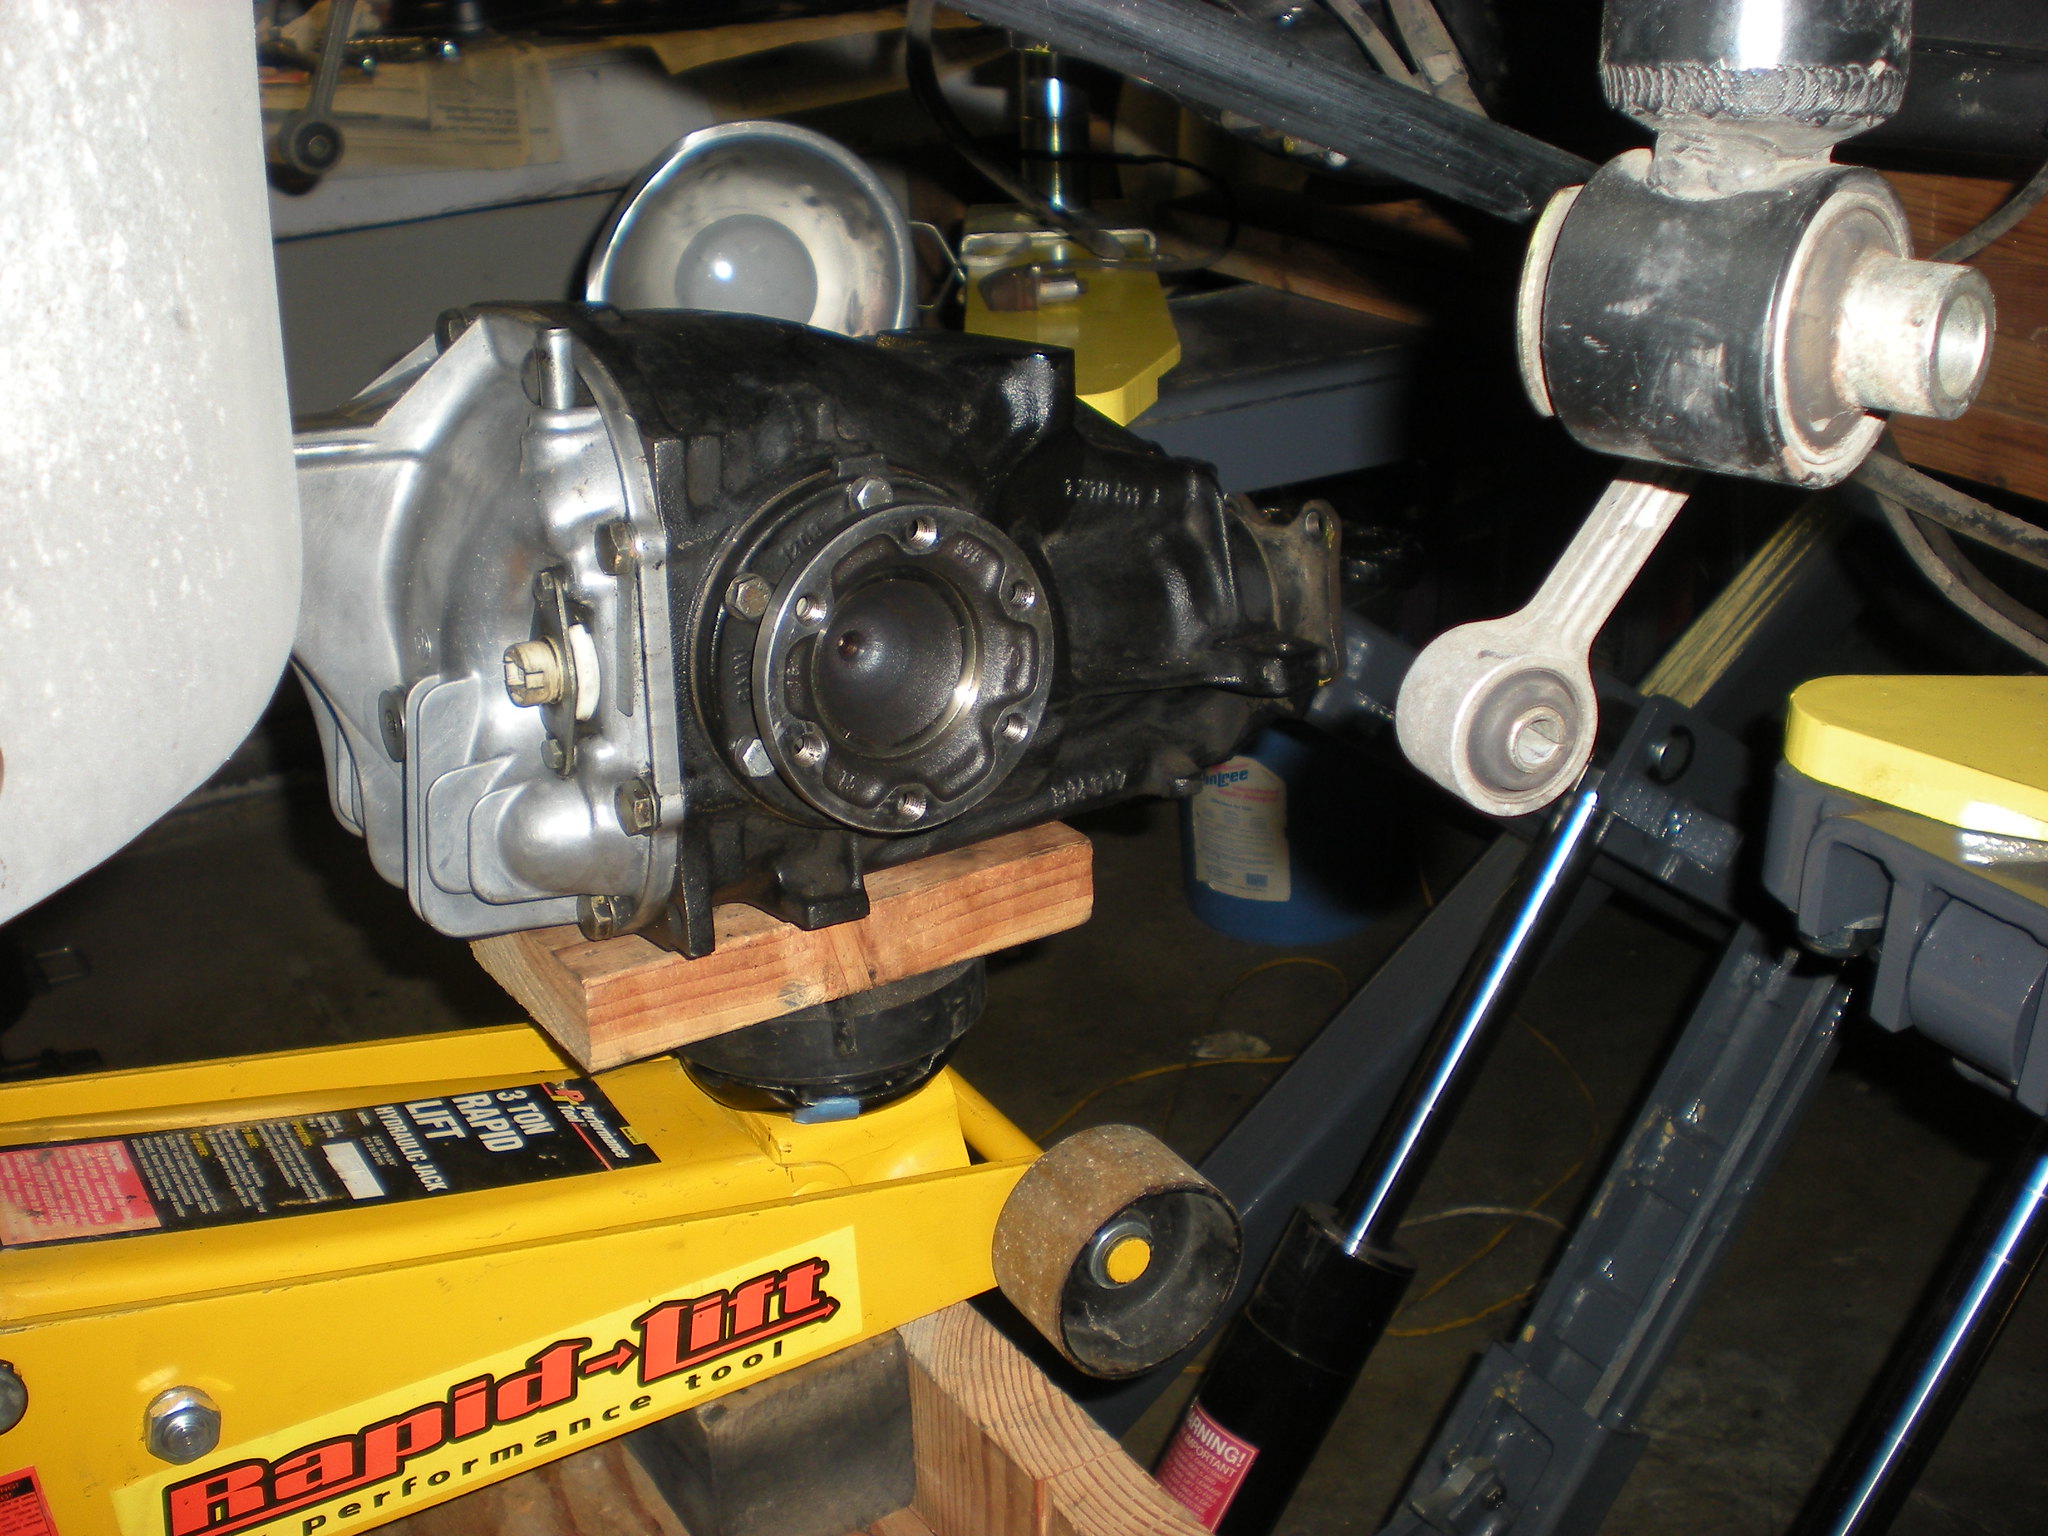
[/url]
It occurred to me as I was doing this how hard it must be to fly a helicopter. Lots of things going on in multi dimensions to make things line up just right.
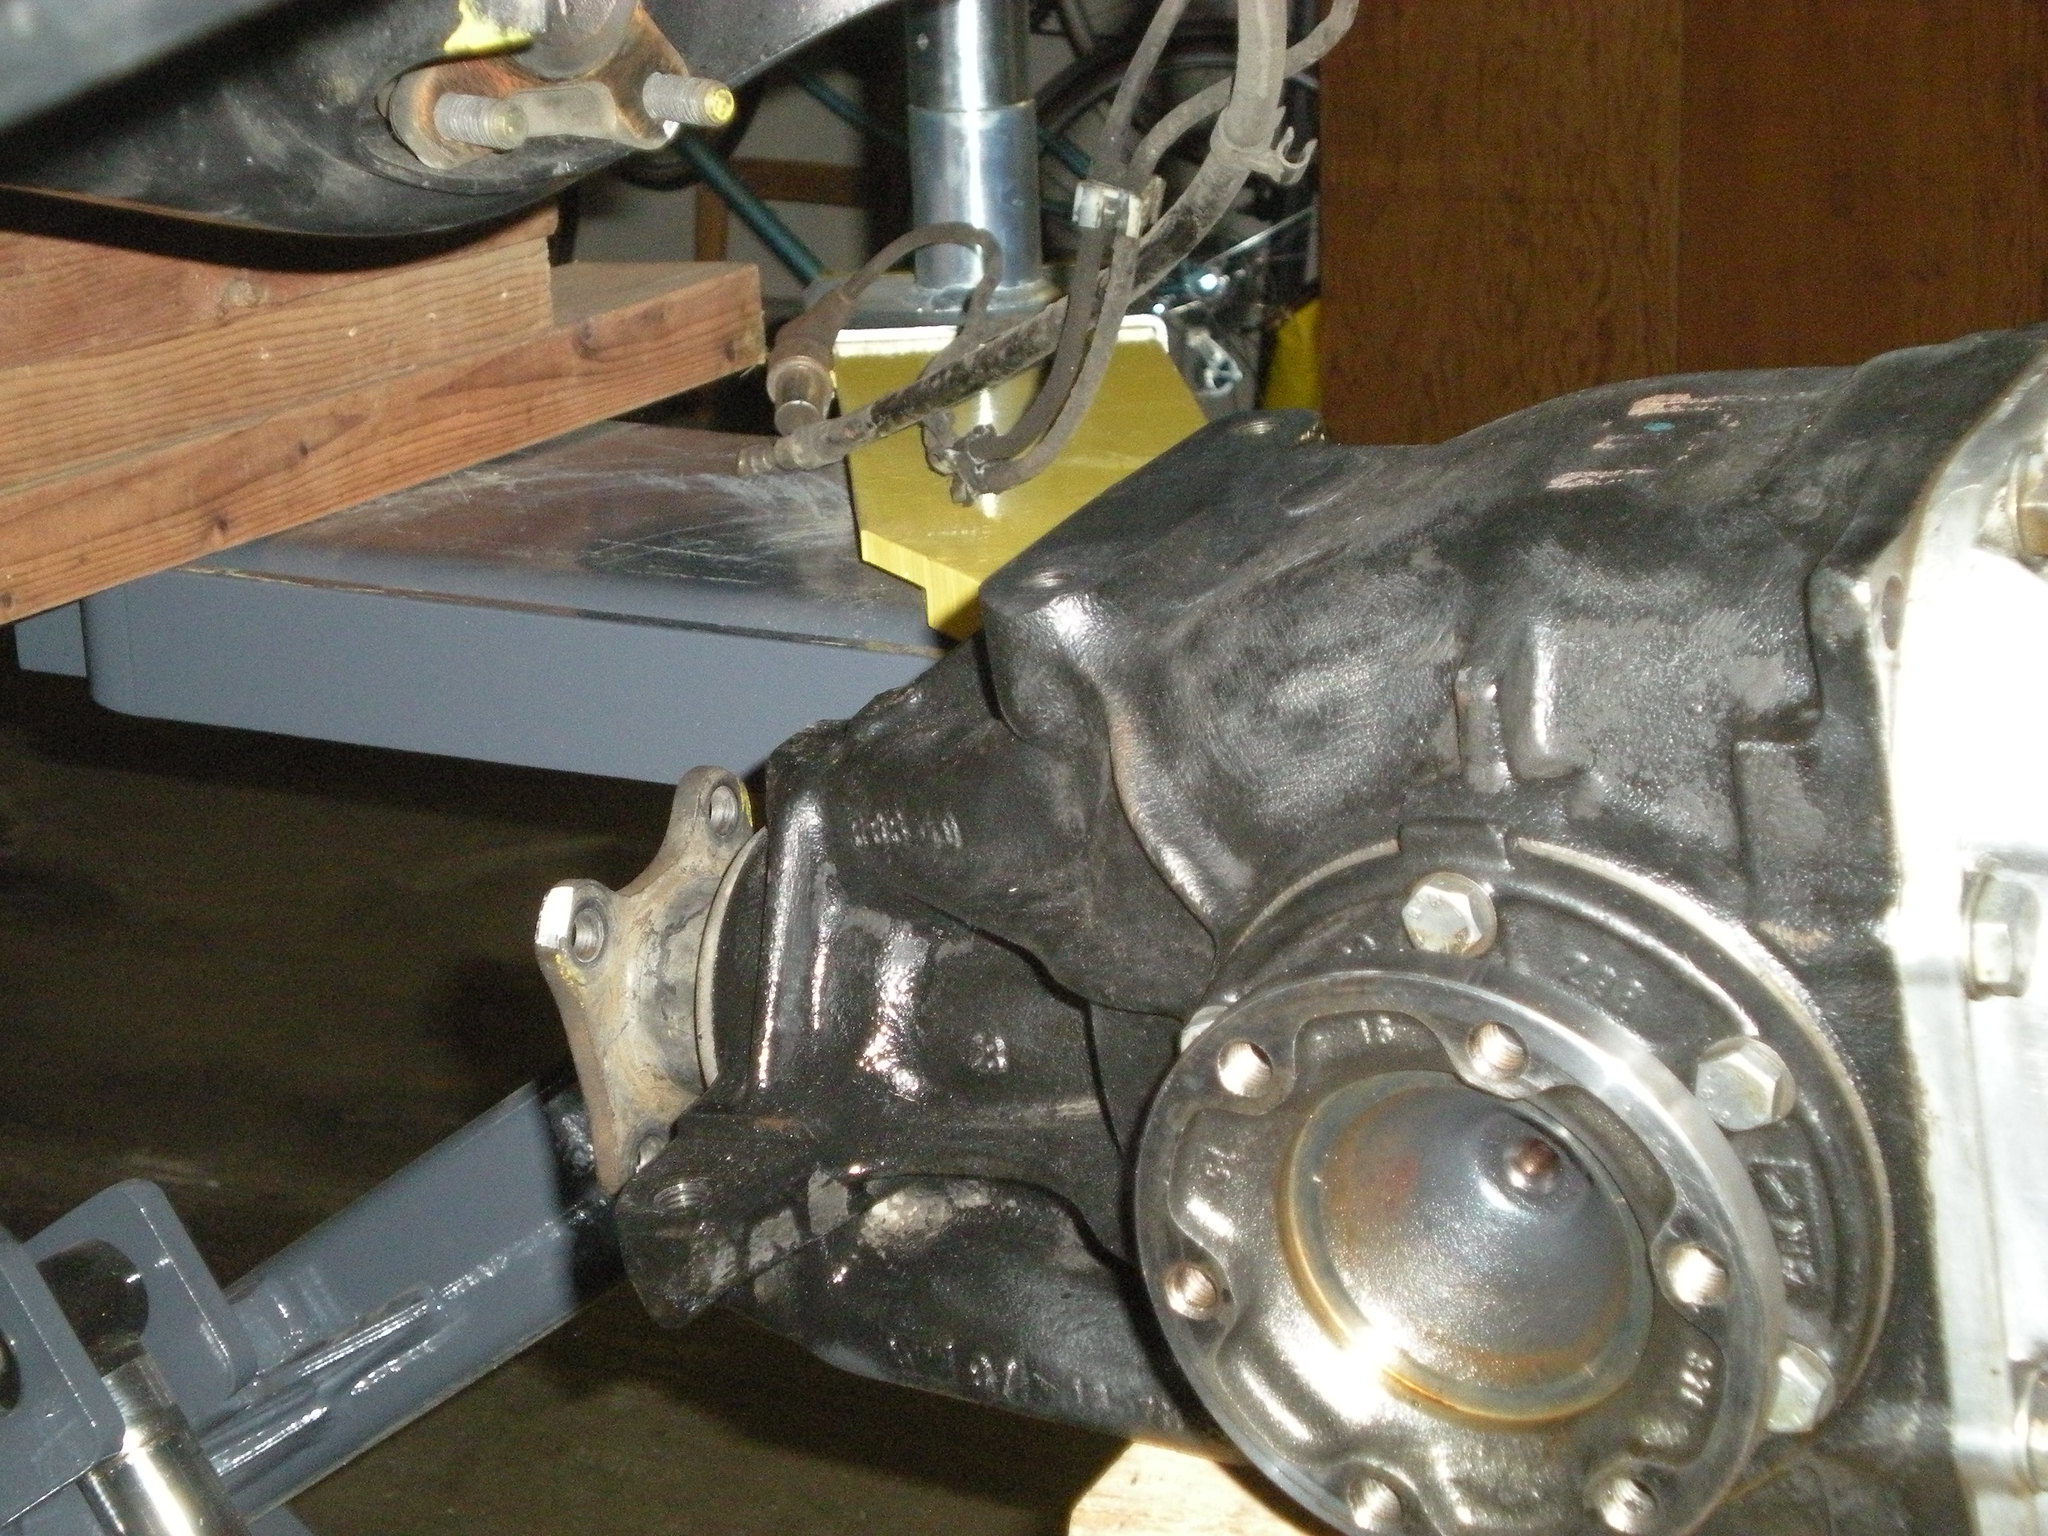
[/url]
Success. It was as others have described, bit frustrating getting everything to line up. I followed Rod Paine's instructions and thank him if he happens to stumble onto this post. It was still a bit of a puzzle but worked out in the end.
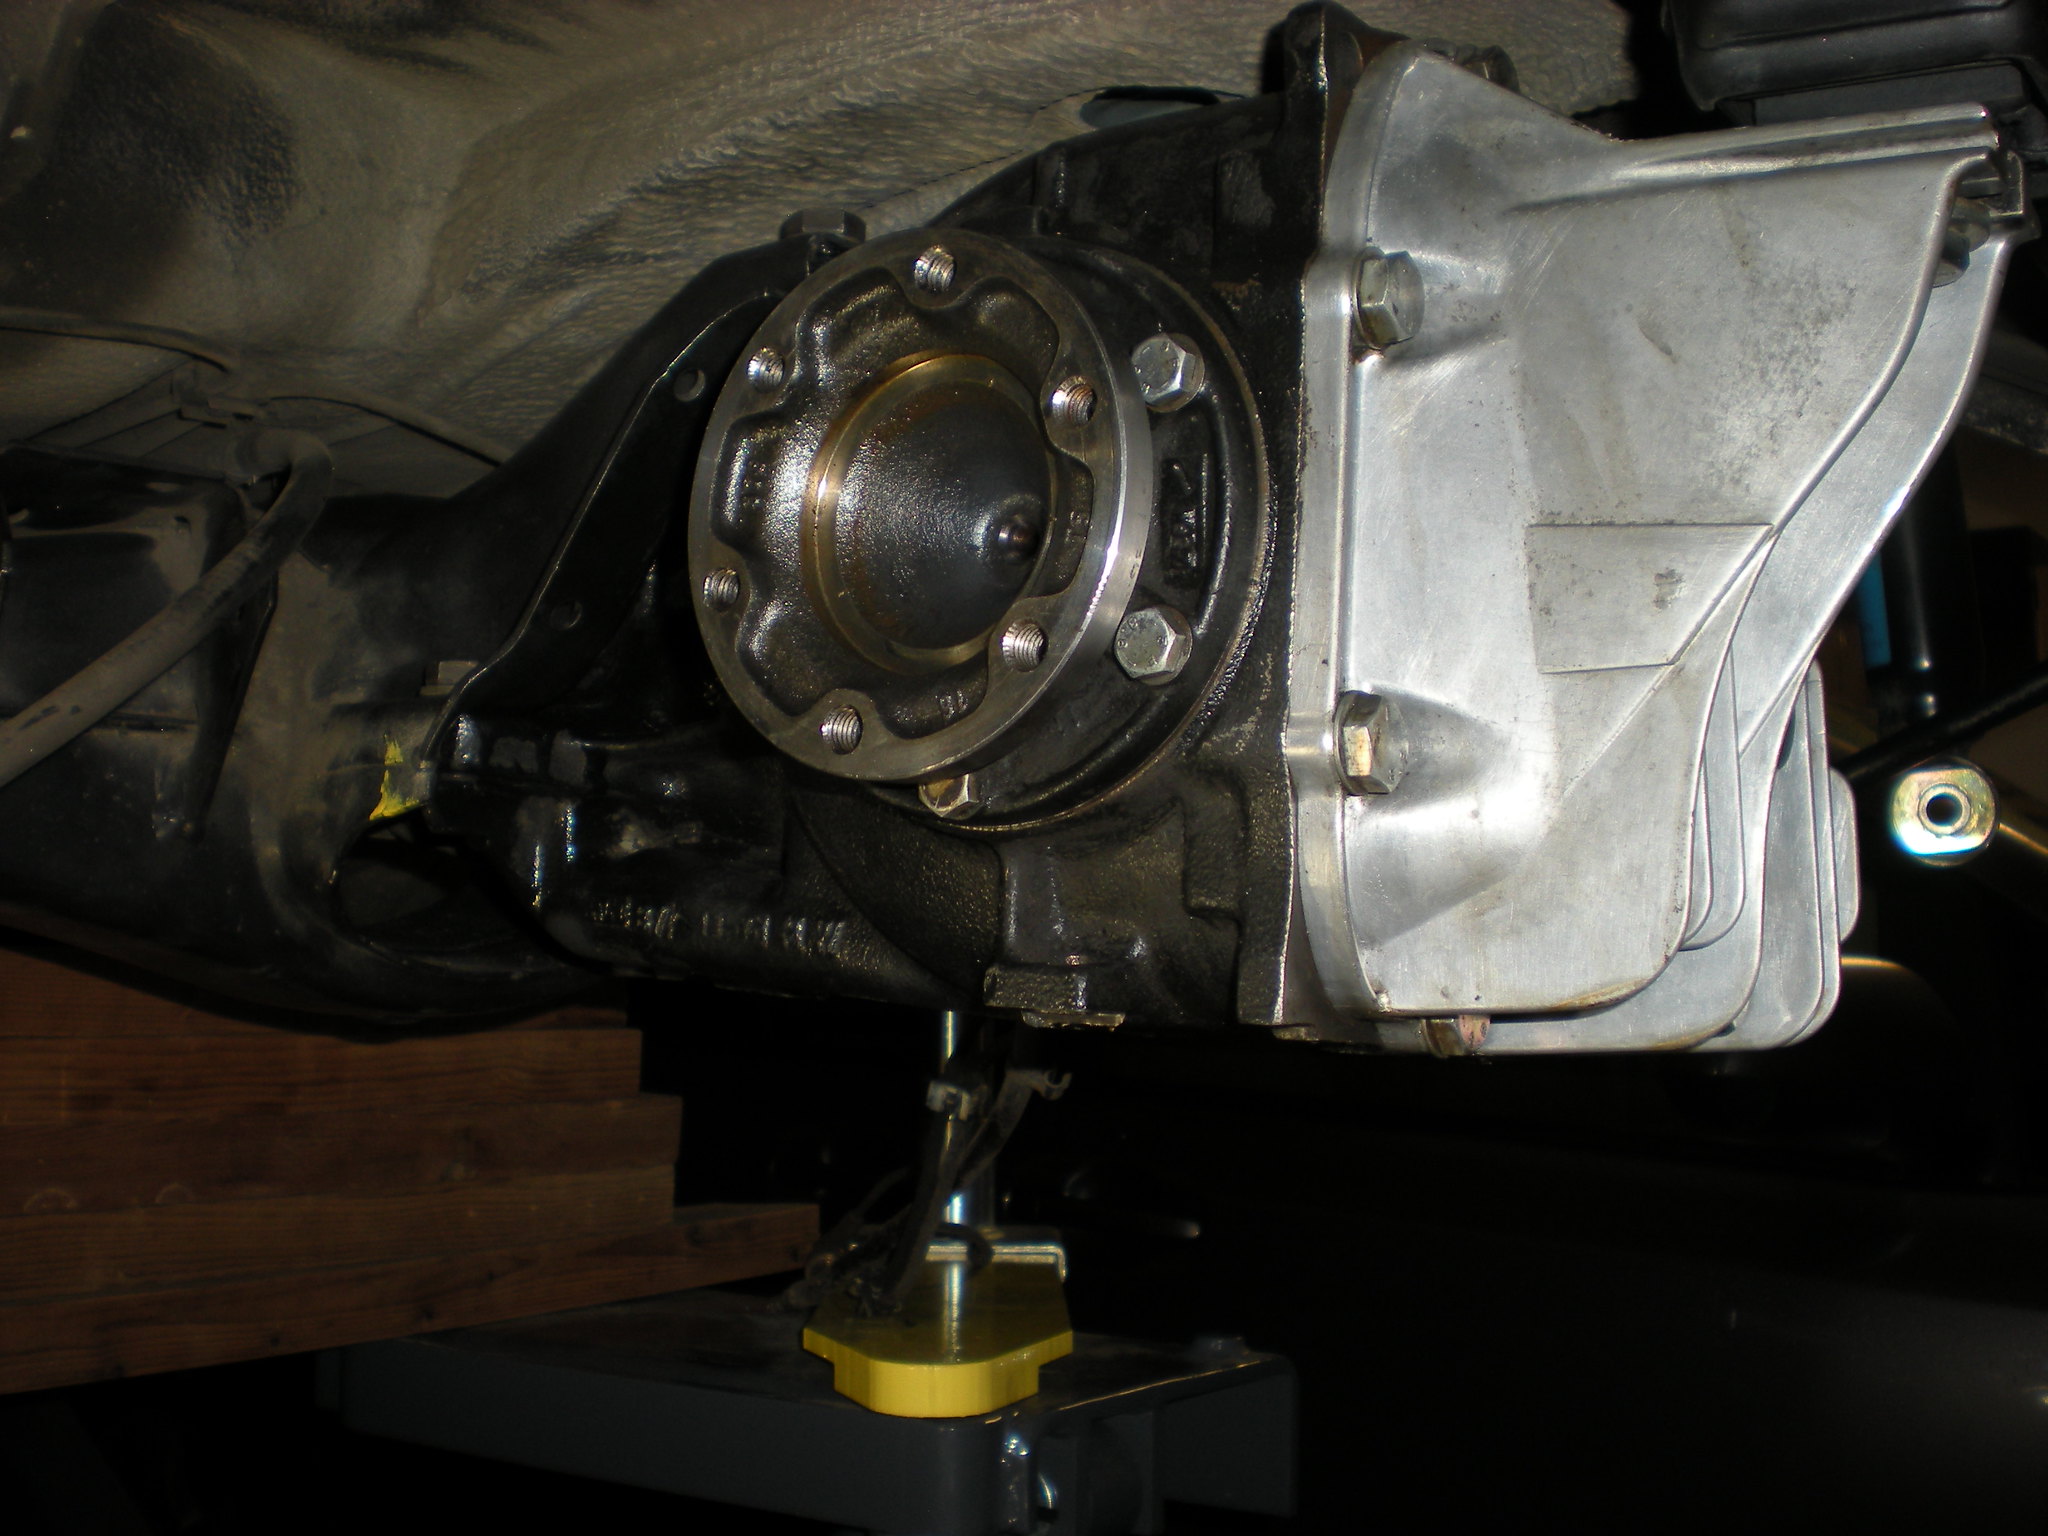
[/url]
Re: Gerda. Yet another daily driver ETA.
Posted: Jan 30, 2018 10:02 AM
by tig
It occurred to me as I was doing this how hard it must be to fly a helicopter.
LOL
Dag-Nabbit. Bent Trailing Arm.
Posted: Feb 03, 2018 5:27 PM
by sail_or_drive
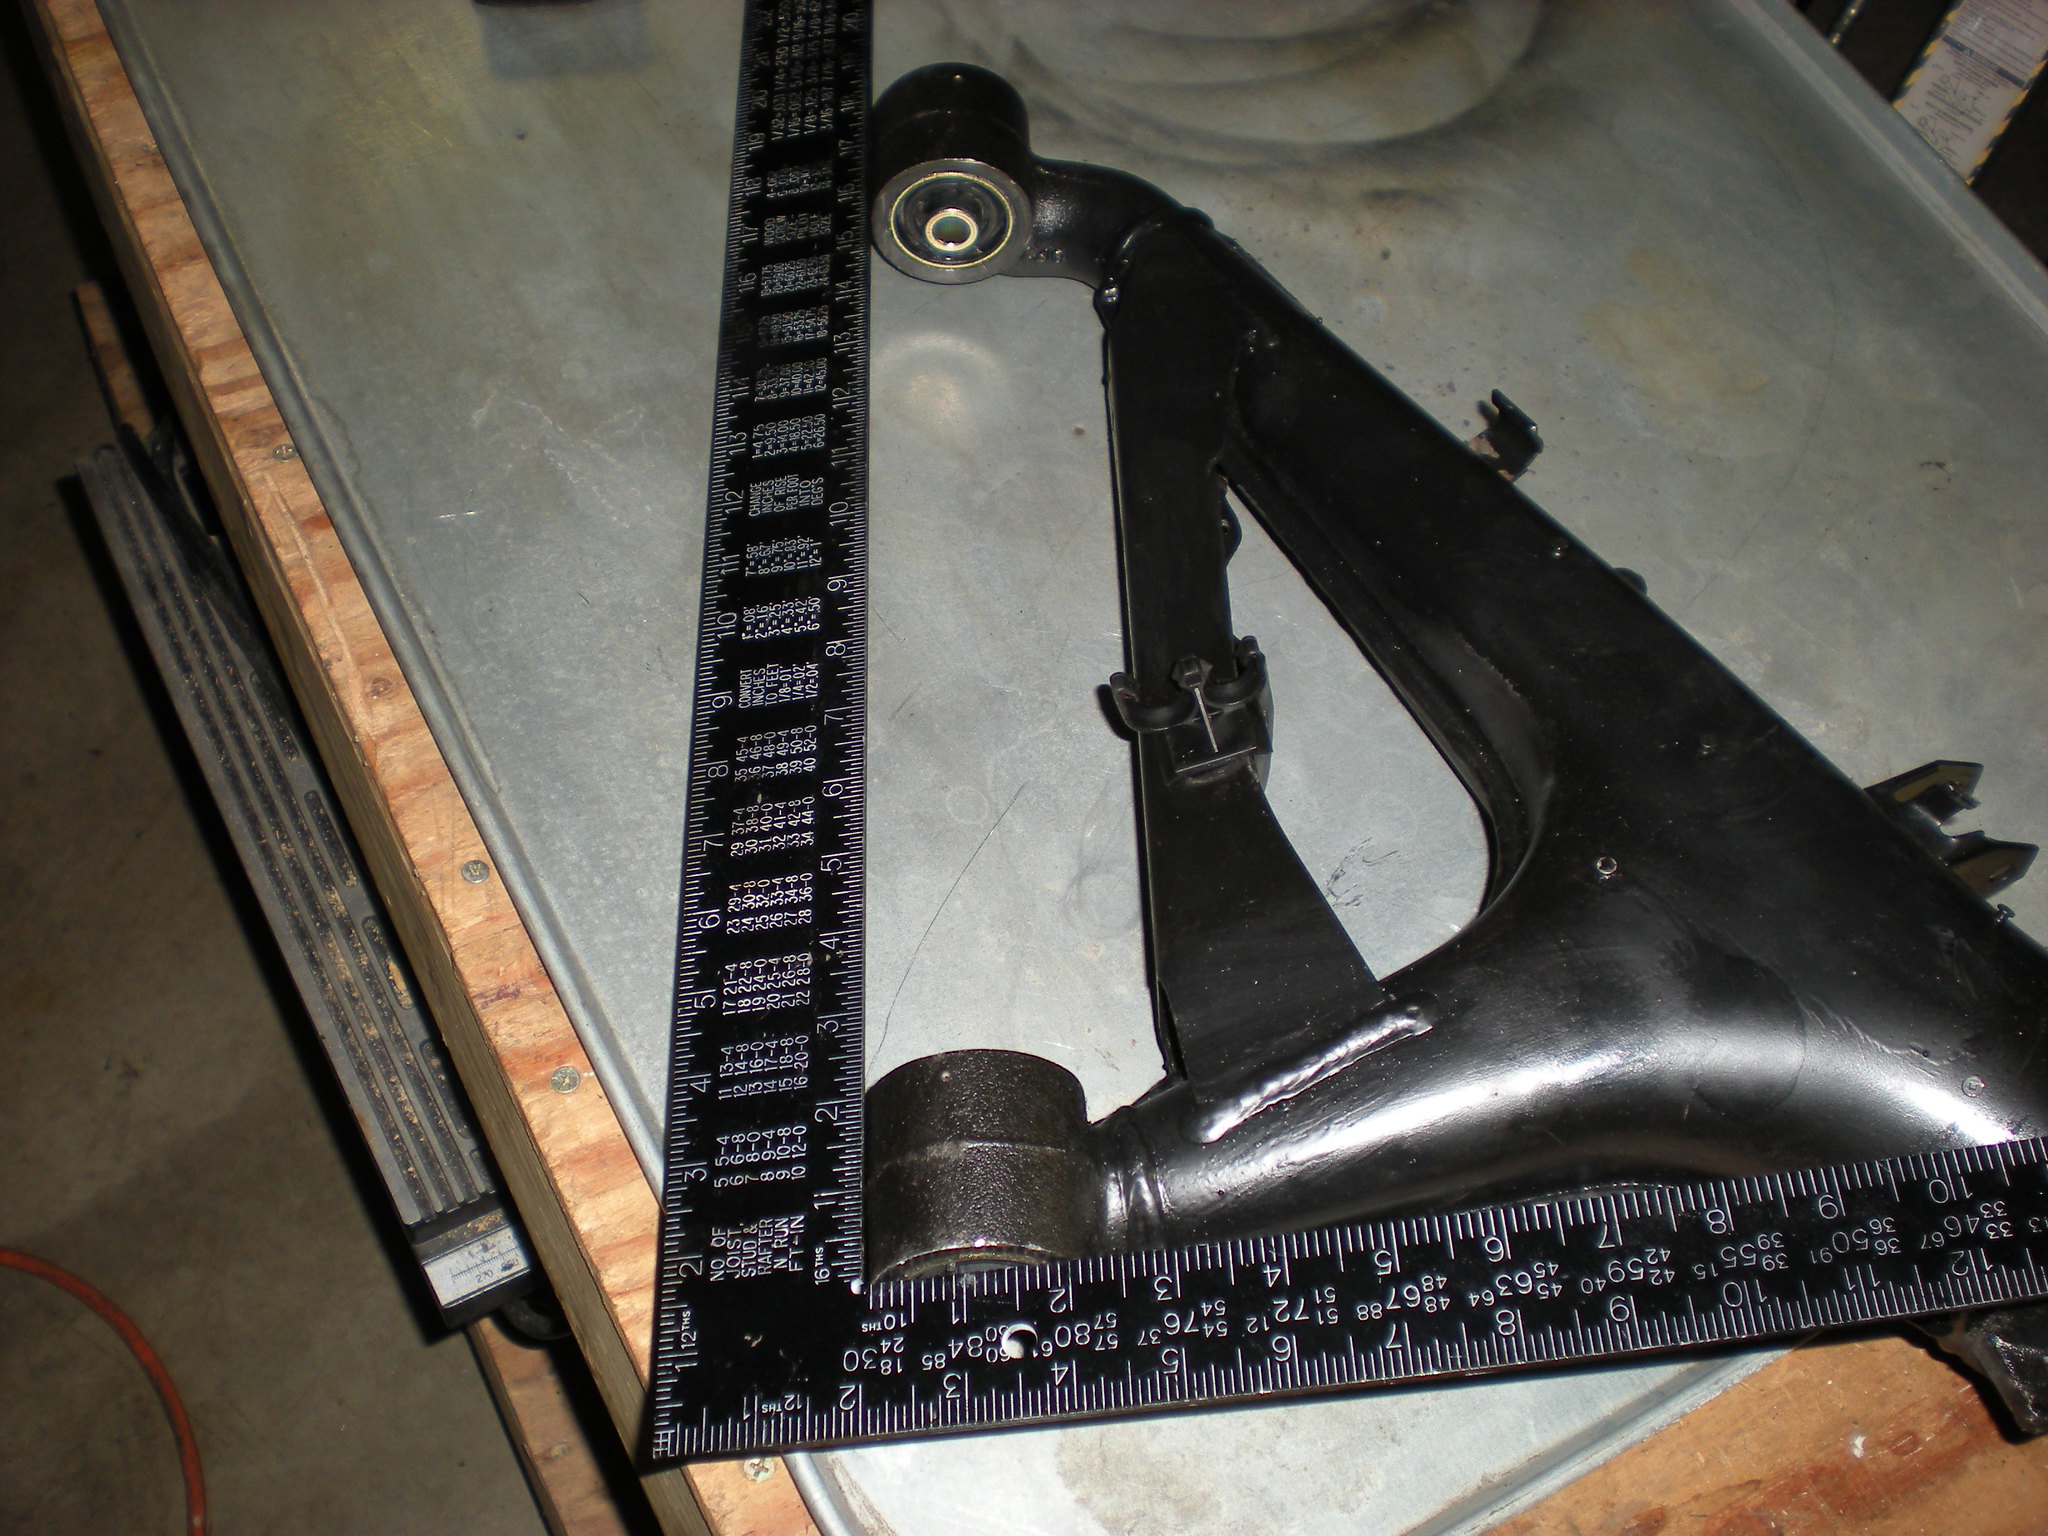
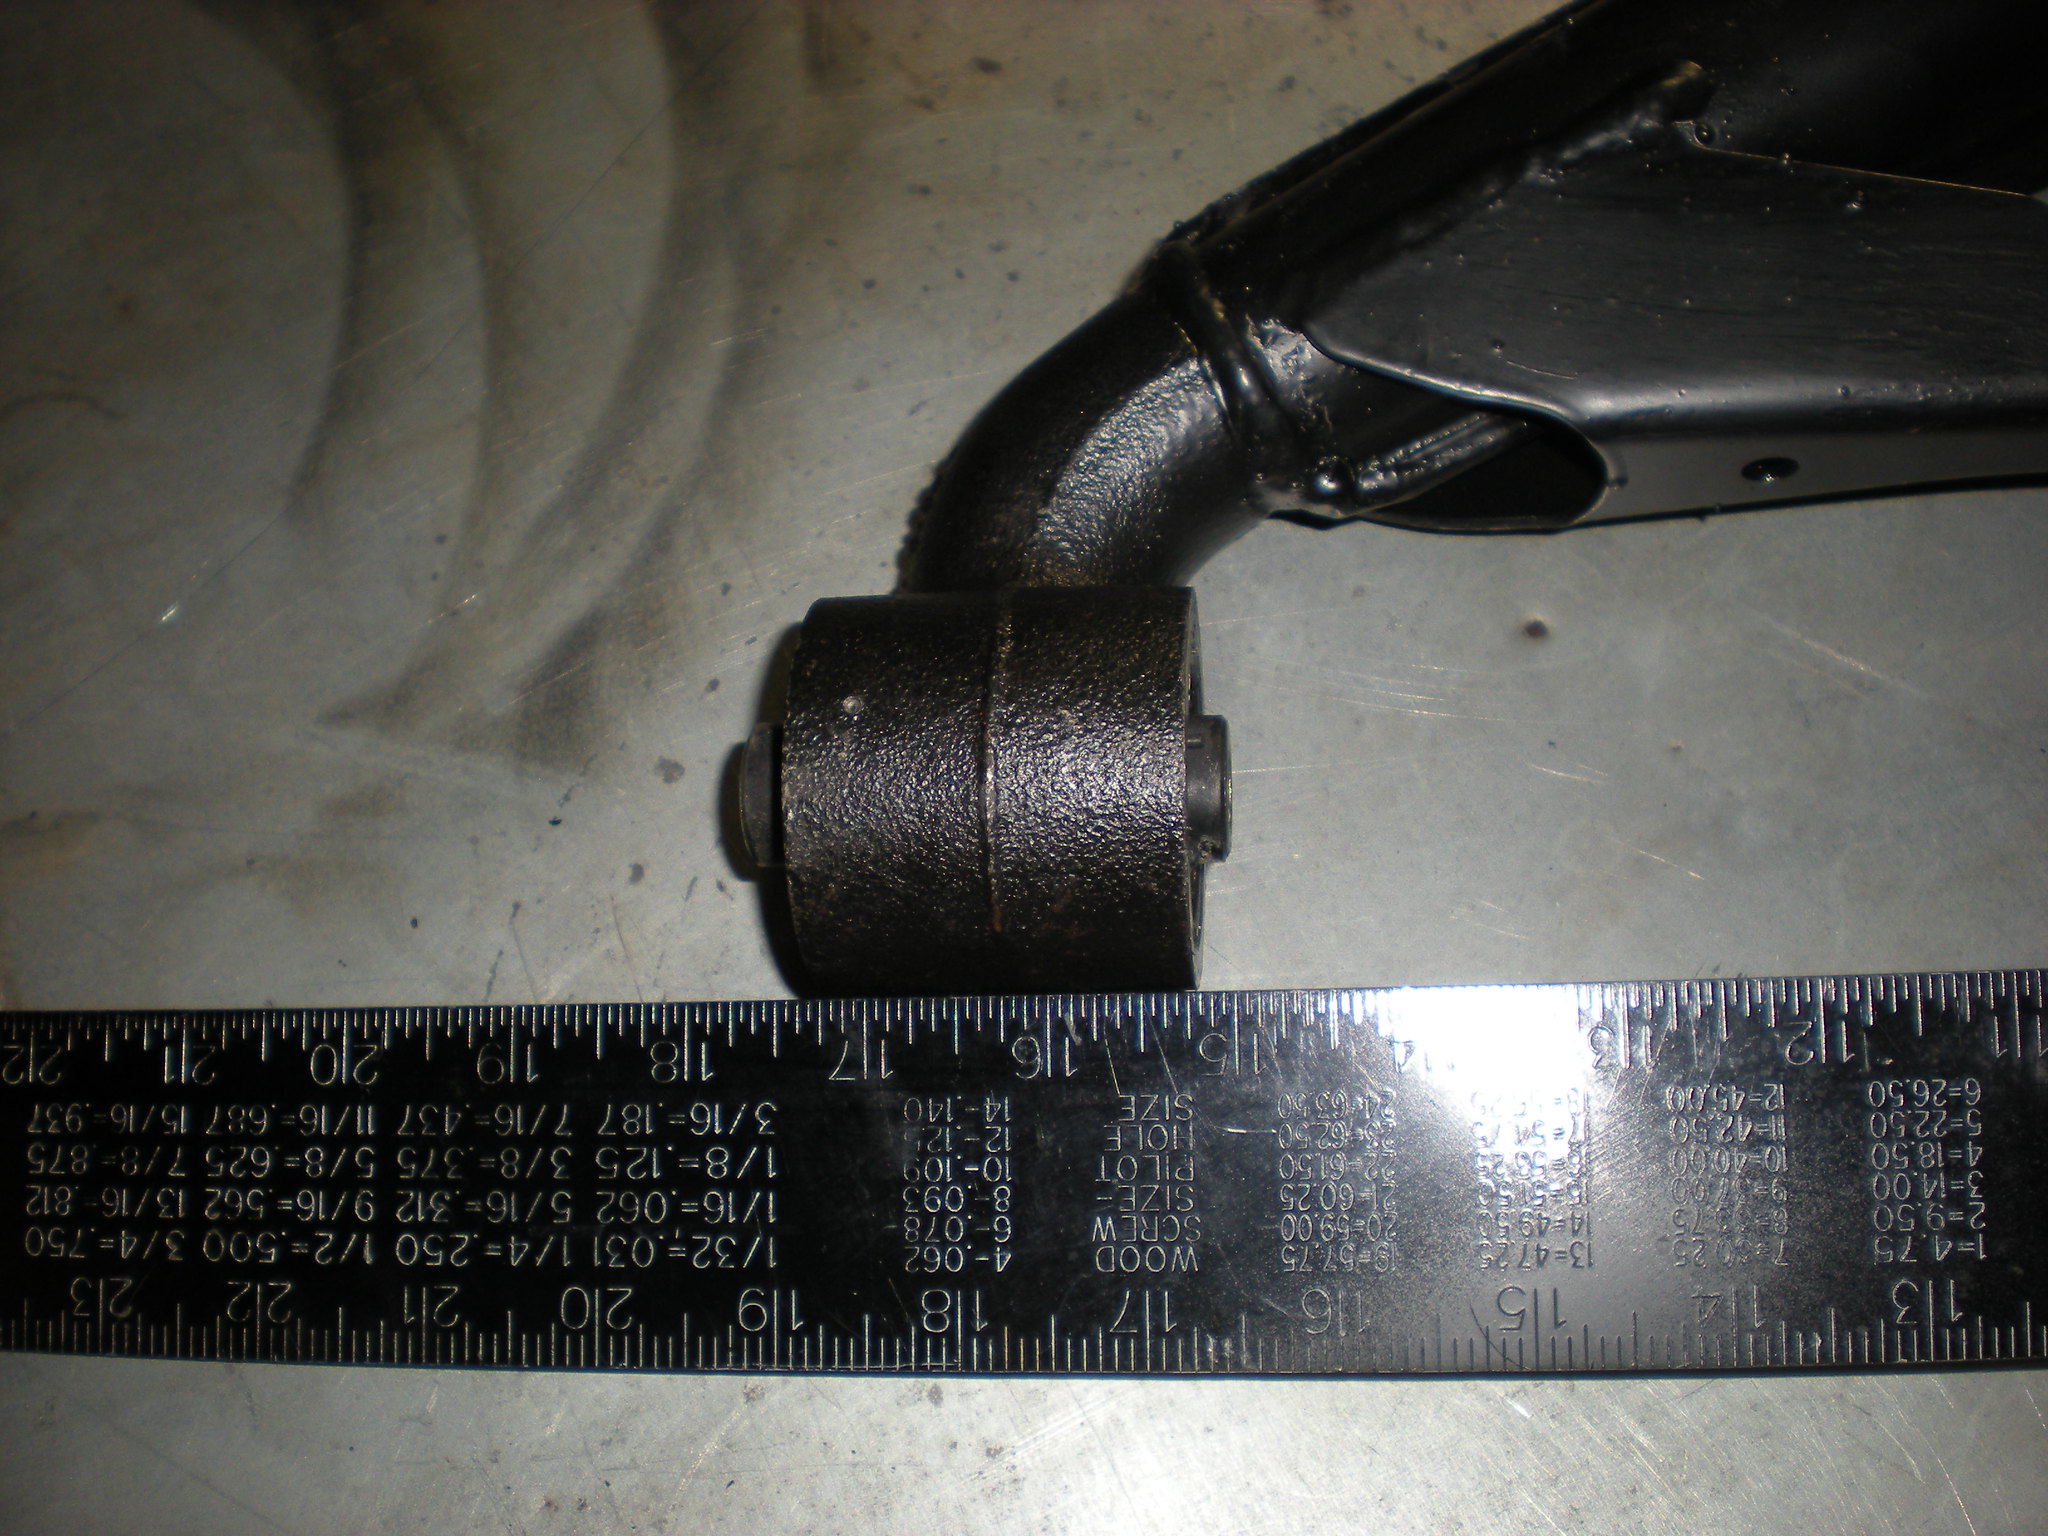
I thought I would bypass all the drama of removing the Trailing Arm bushings and the rear wheel bearings and have a shop do it. Had to try several shops in order to find one that was willing to take one on. Was specific about them not using the traling arm as any part of the pressing; only the bushing in question should be under pressure when removing them. I got them back about 2 weeks ago and just now had time to get to them. The picture doesn't do justice to the deformation. I noticed it when picking them up to try to install them; it's bent bad enough not to fit on the Rear Axle Carrier. Now I have to find 1, maybe 2 Trailing Arms and do it all over again.
The right side bolted right up, although I am having trouble aligning the shock; having problems getting the bolt threaded. I will have to take a hard look at that arm as well, time to get out the laser level.
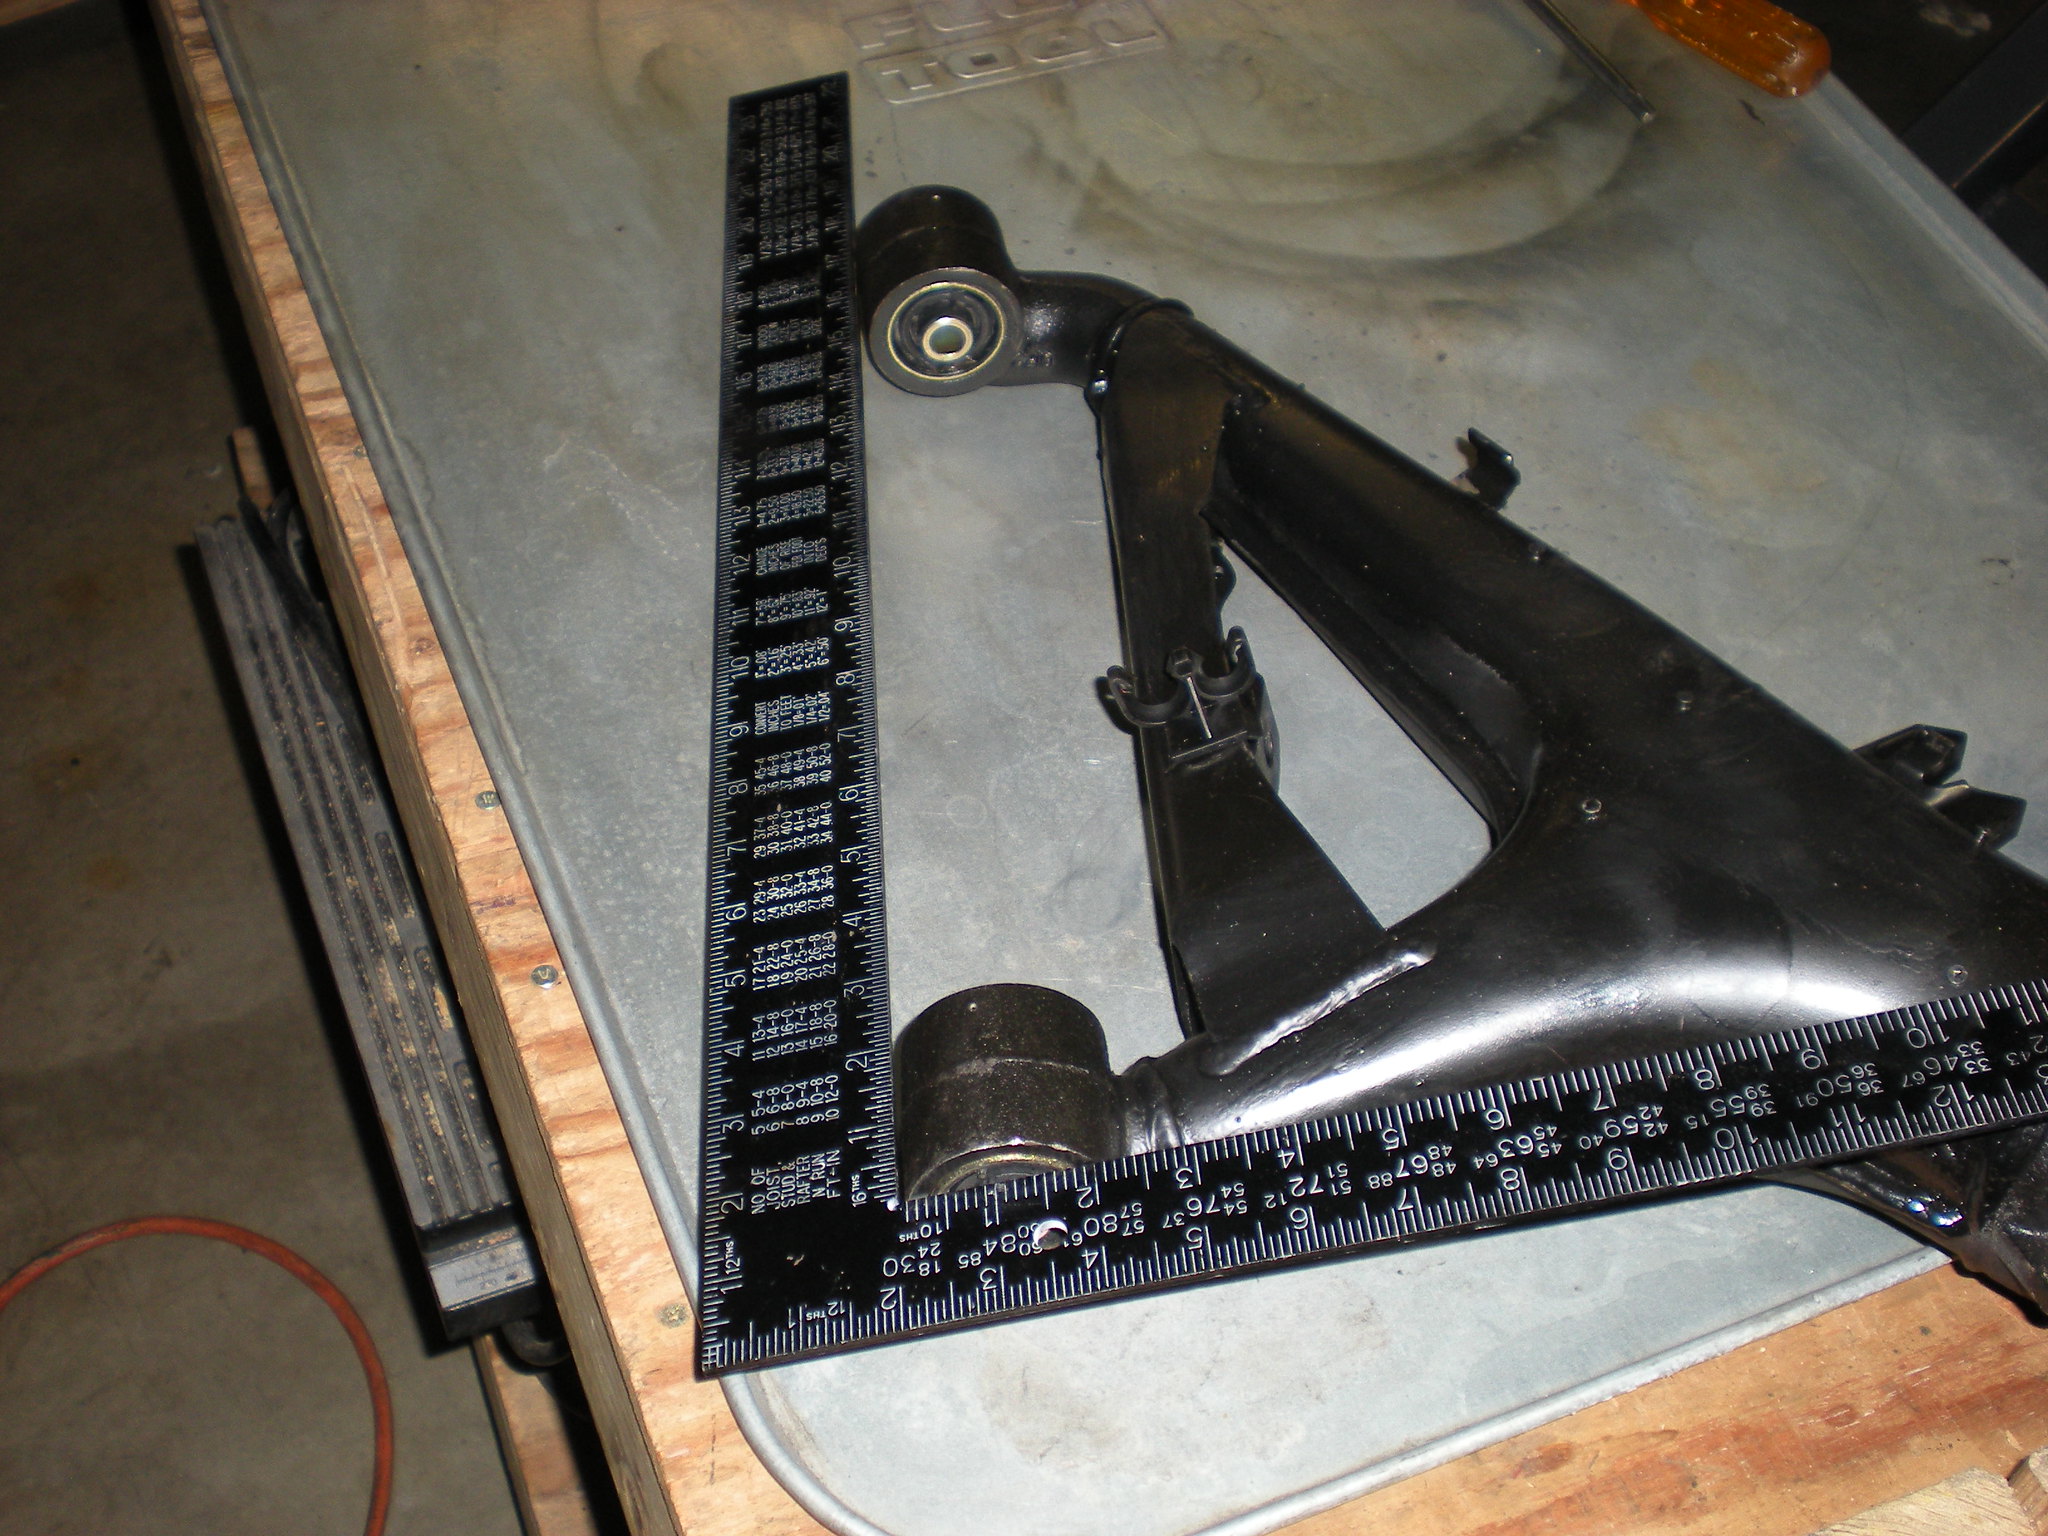
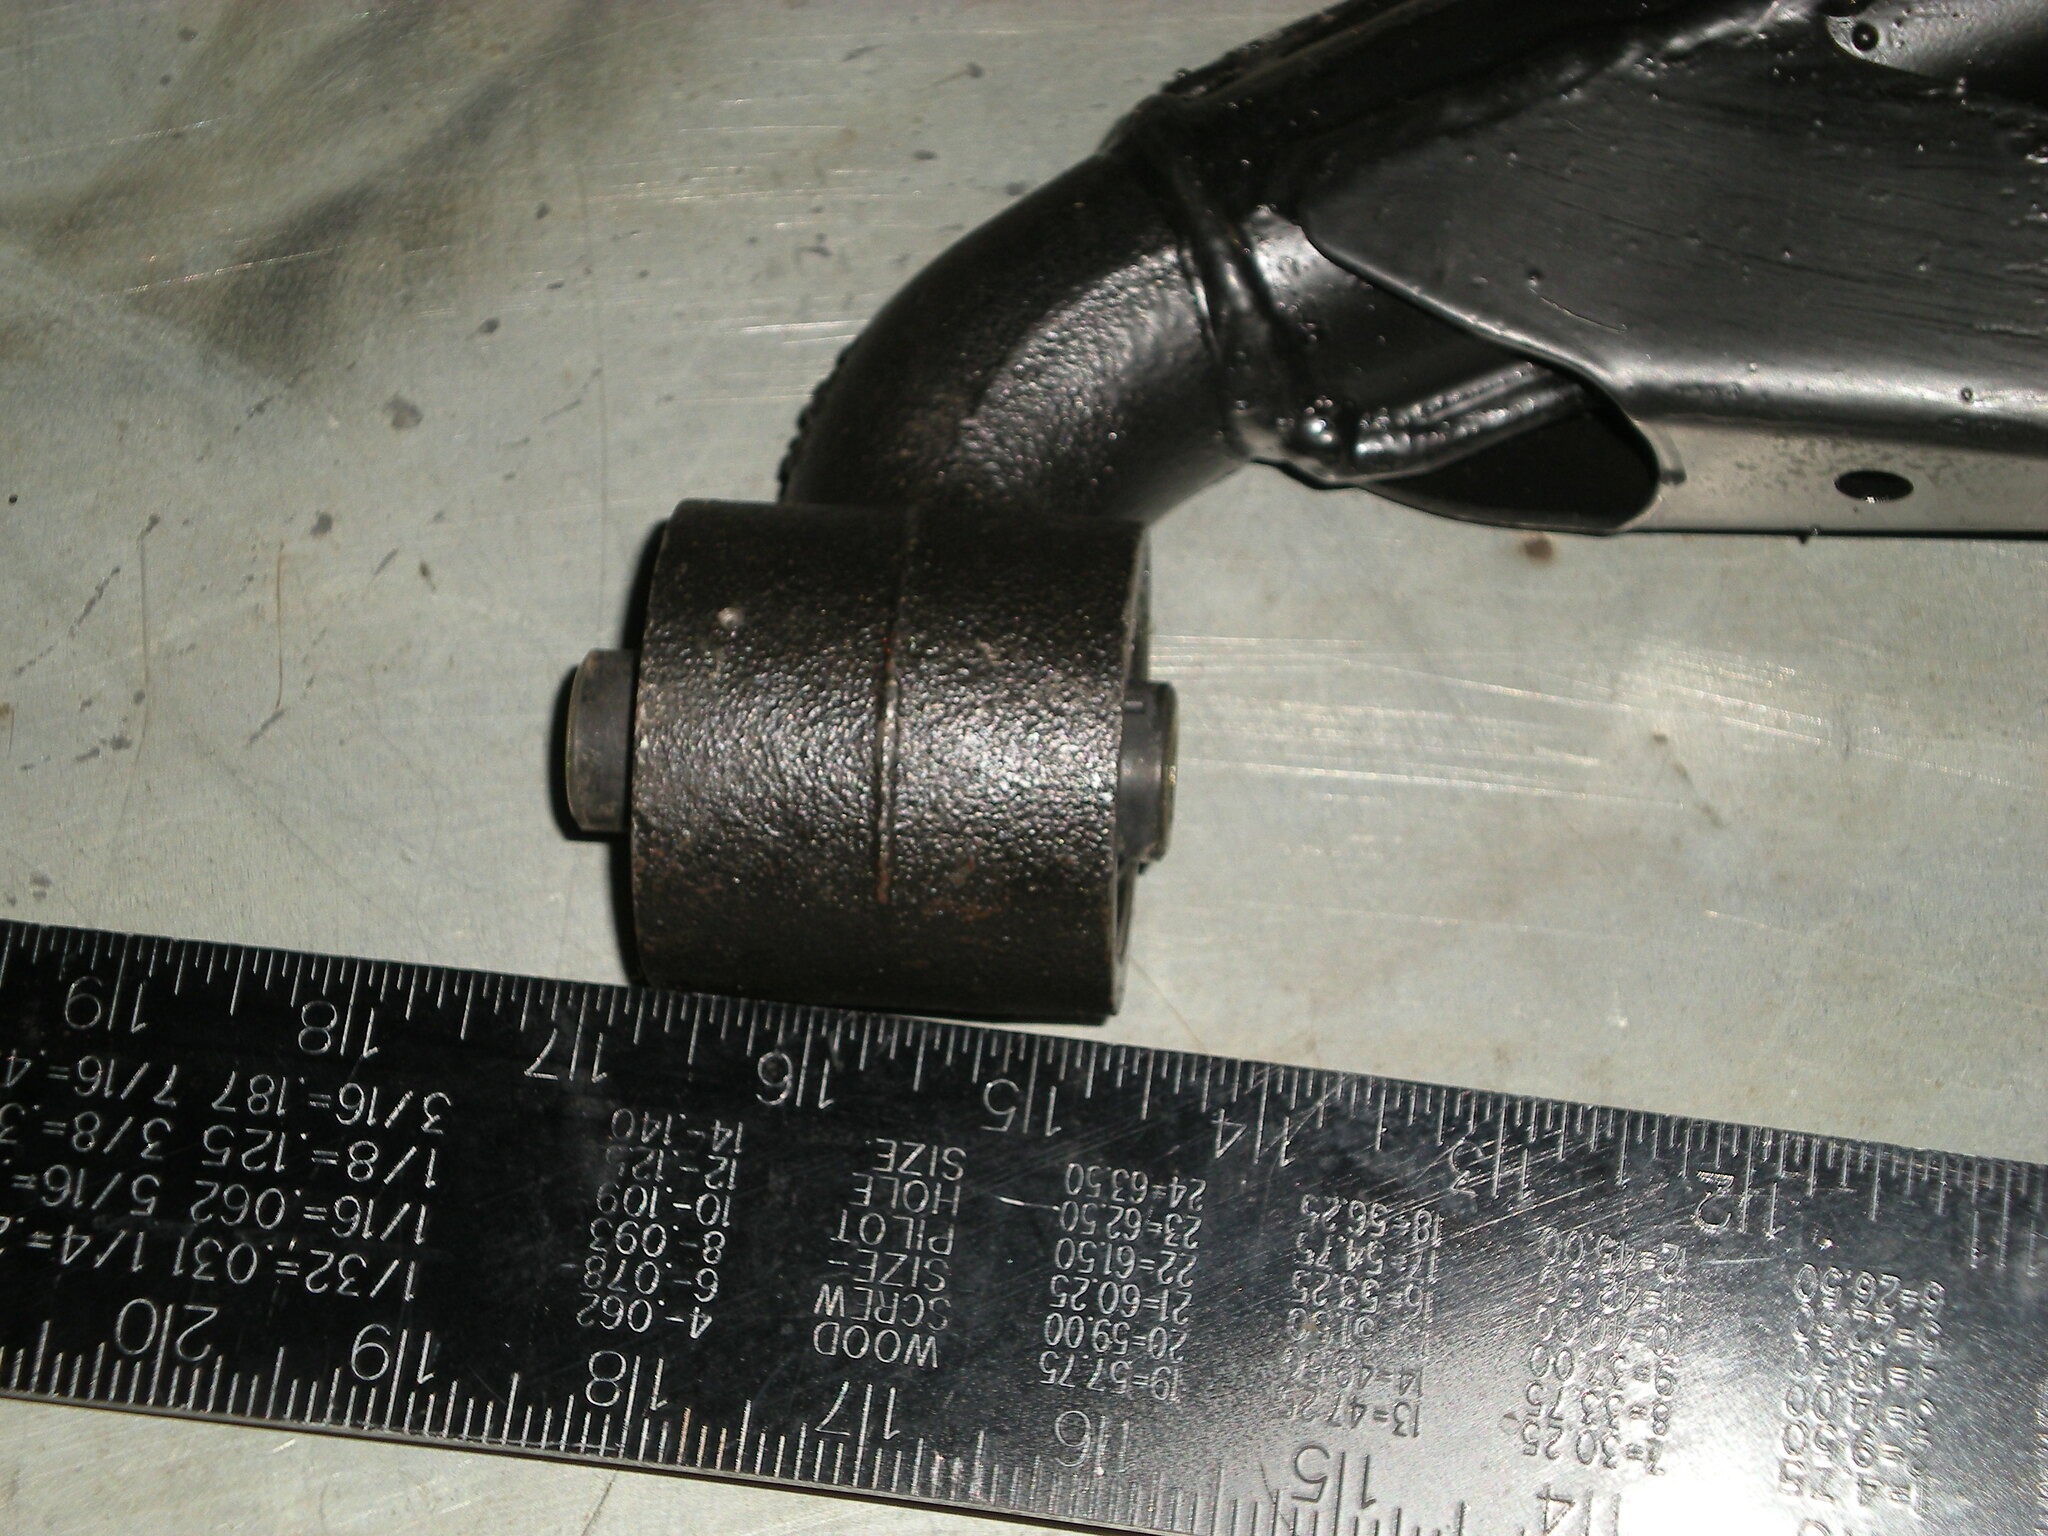
Bent Back:
I use a bottle jack to bend the arms back, appeared to work, but worries me. Posted in the Tech Talk section with a question.
Re: Gerda. Yet another daily driver ETA.
Posted: Feb 04, 2018 4:40 AM
by tig
Hole E Fuk.
That's horrific.
Re: Progress.
Posted: Feb 04, 2018 8:59 AM
by rodpaine
sail_or_drive wrote:Lining up the jack for attaching the Diff.
Success. It was as others have described, bit frustrating getting everything to line up. I followed Rod Paine's instructions and thank him if he happens to stumble onto this post. It was still a bit of a puzzle but worked out in the end.
THANK YOU! Always good to know that my web site is still helping folks with their E28. It was a labor of love and I greatly appreciate mye28.com publishing this work, when Verizon pulled the plug on everybodys web sites. And thanks, Wayne, for the heads-up link to this message.
-Rod
Going out on a limb, installed both Trailing Arms.
Posted: Feb 04, 2018 5:33 PM
by sail_or_drive
We shall see, I probably will be right back here after getting the car back together looking for some replacement Trailing Arms.
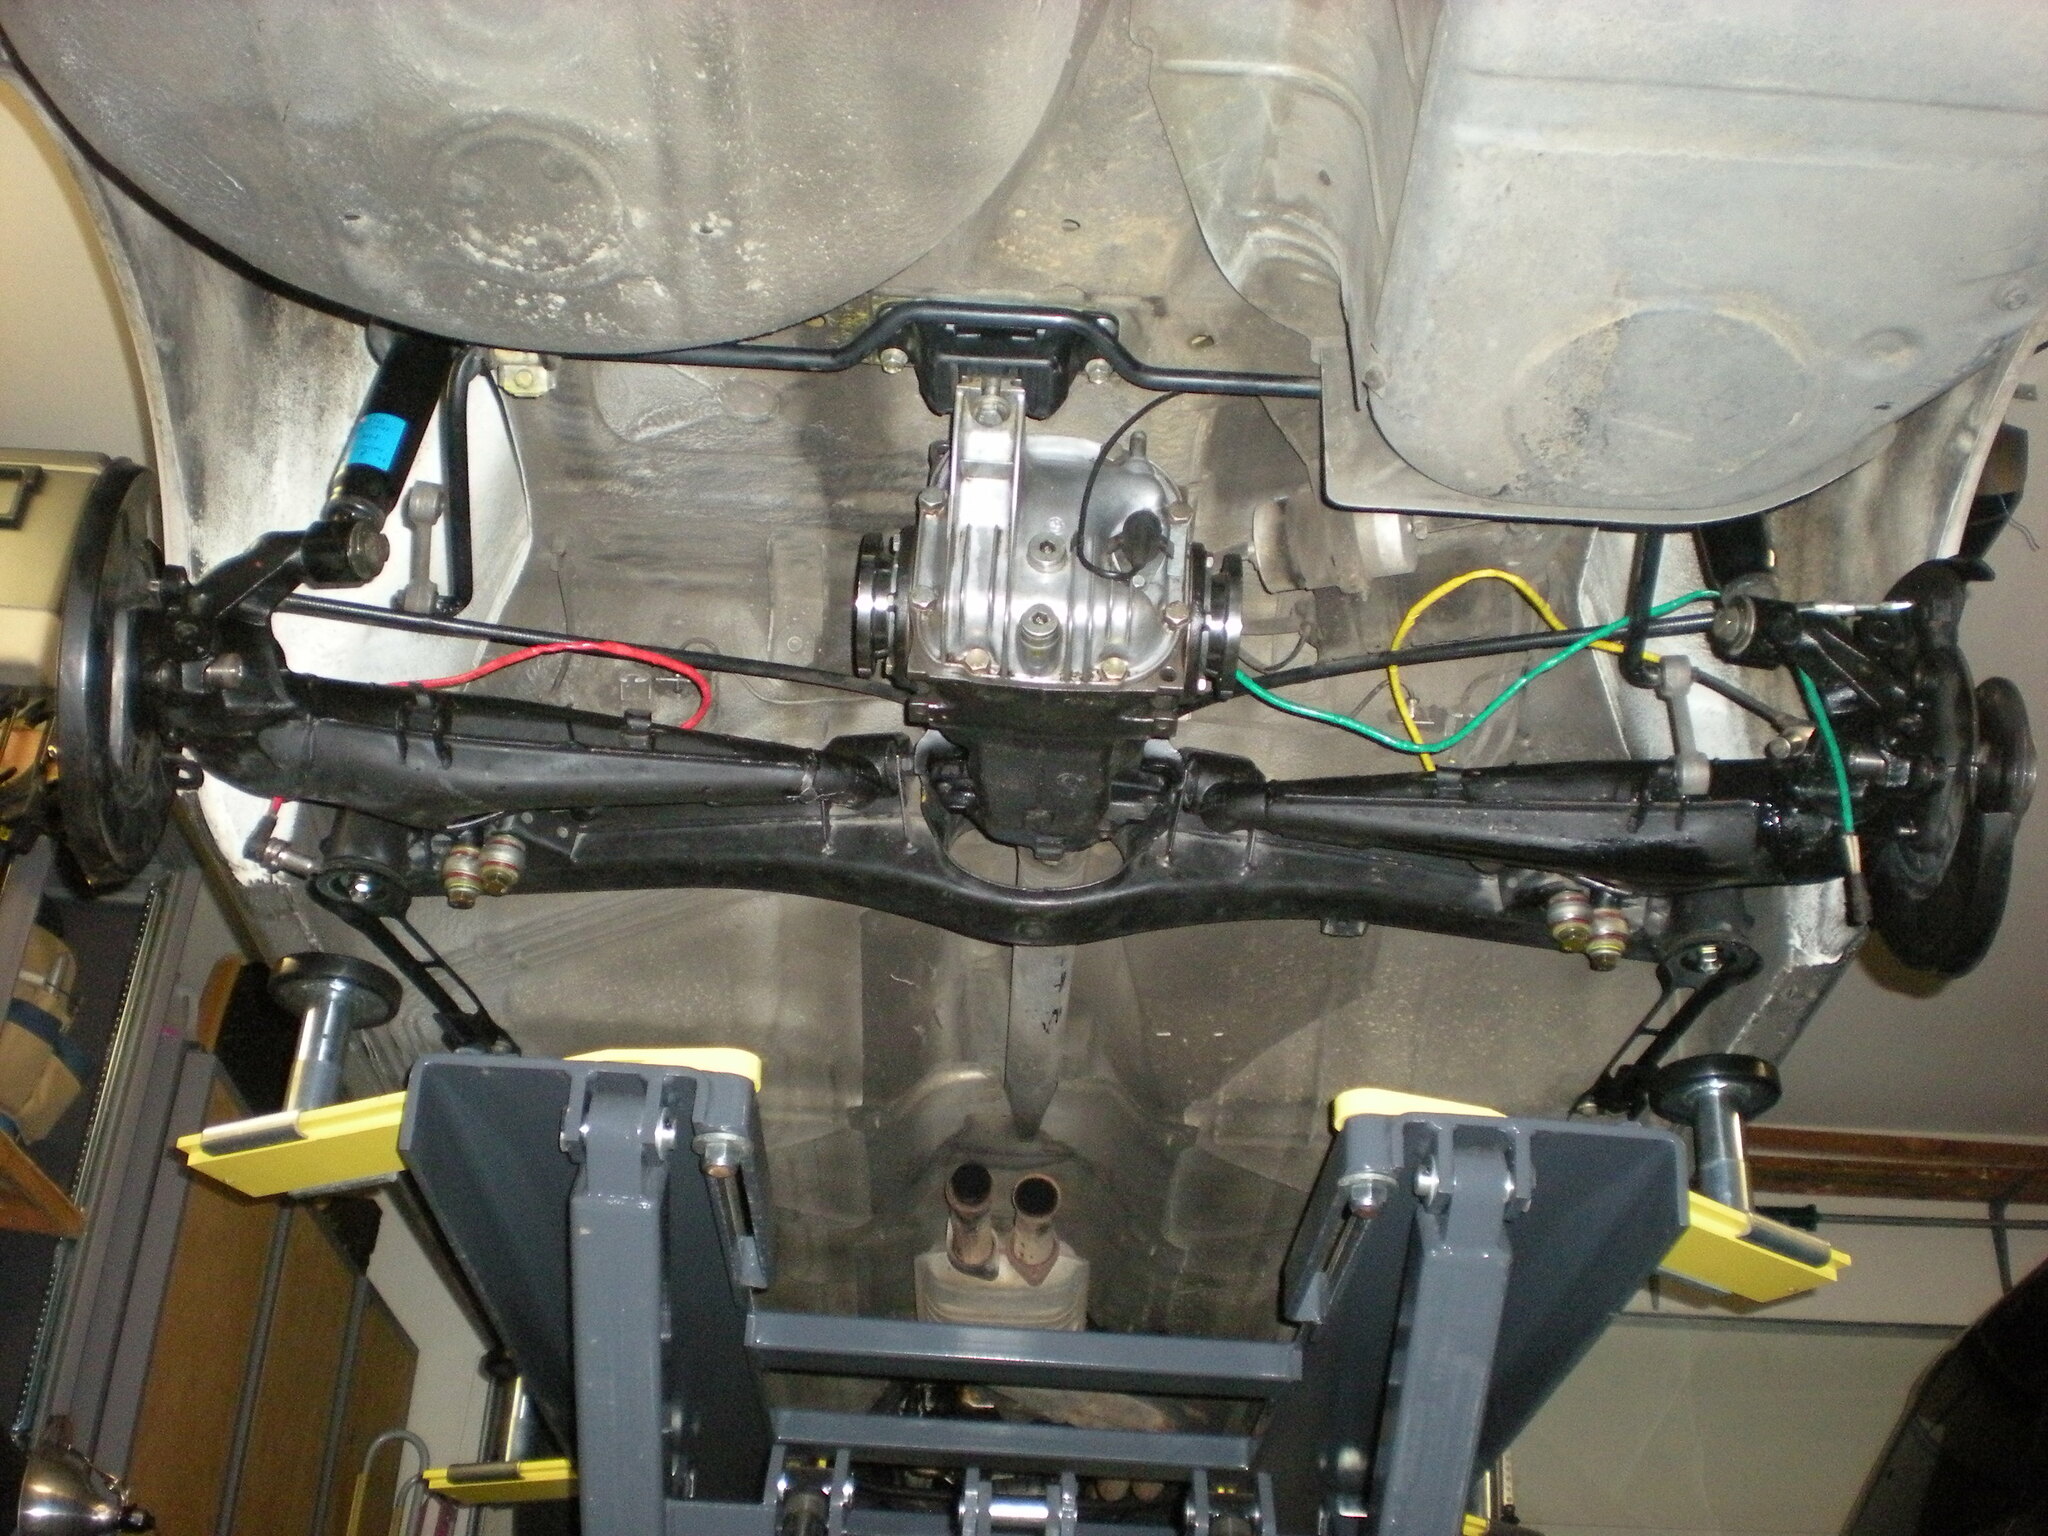
[/url]
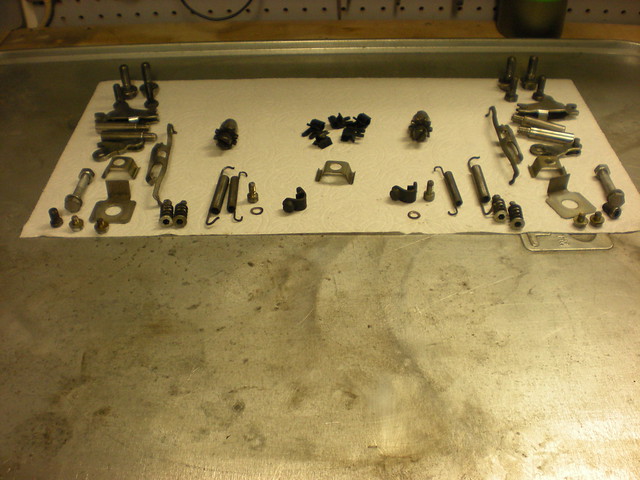
Step Next is to rebuild the E-brake assembly on both sides so I can get wheels on to install and tighten up the drive flanges.
Re: Gerda. Yet another daily driver ETA.
Posted: Mar 09, 2018 1:24 AM
by benloveless1
Need to see more! Currently doing the exact same thing you are, subframe, trailing arms, diff, brakes and all. Pretty much same build a mine. However I have tackled the gas tank, fuel pump, filter and new gas lines as well.
Re: Gerda. Yet another daily driver ETA.
Posted: Mar 10, 2018 12:10 AM
by sail_or_drive
What little progress is noted in the following two threads. I need to finish rebuilding the calipers tomorrow or Sunday. Rebuilding being cleaning, painting, gaskets, etc. Then assembly and brake lines back to the hard lines to the front of the car. Life has intruded, as usual. A run in with the flu, having to do annual reviews (easy, great people and not huge numbers), and some other things that take precedence.
A rabbit trail with e-brakes:
http://www.mye28.com/viewtopic.php?f=3&t=146840
And a WTF with leftover parts:
http://www.mye28.com/viewtopic.php?f=3&t=146948
Re: Gerda. Yet another daily driver ETA.
Posted: Aug 10, 2018 12:14 AM
by sail_or_drive
Down off the lift, parked next to OTTO.
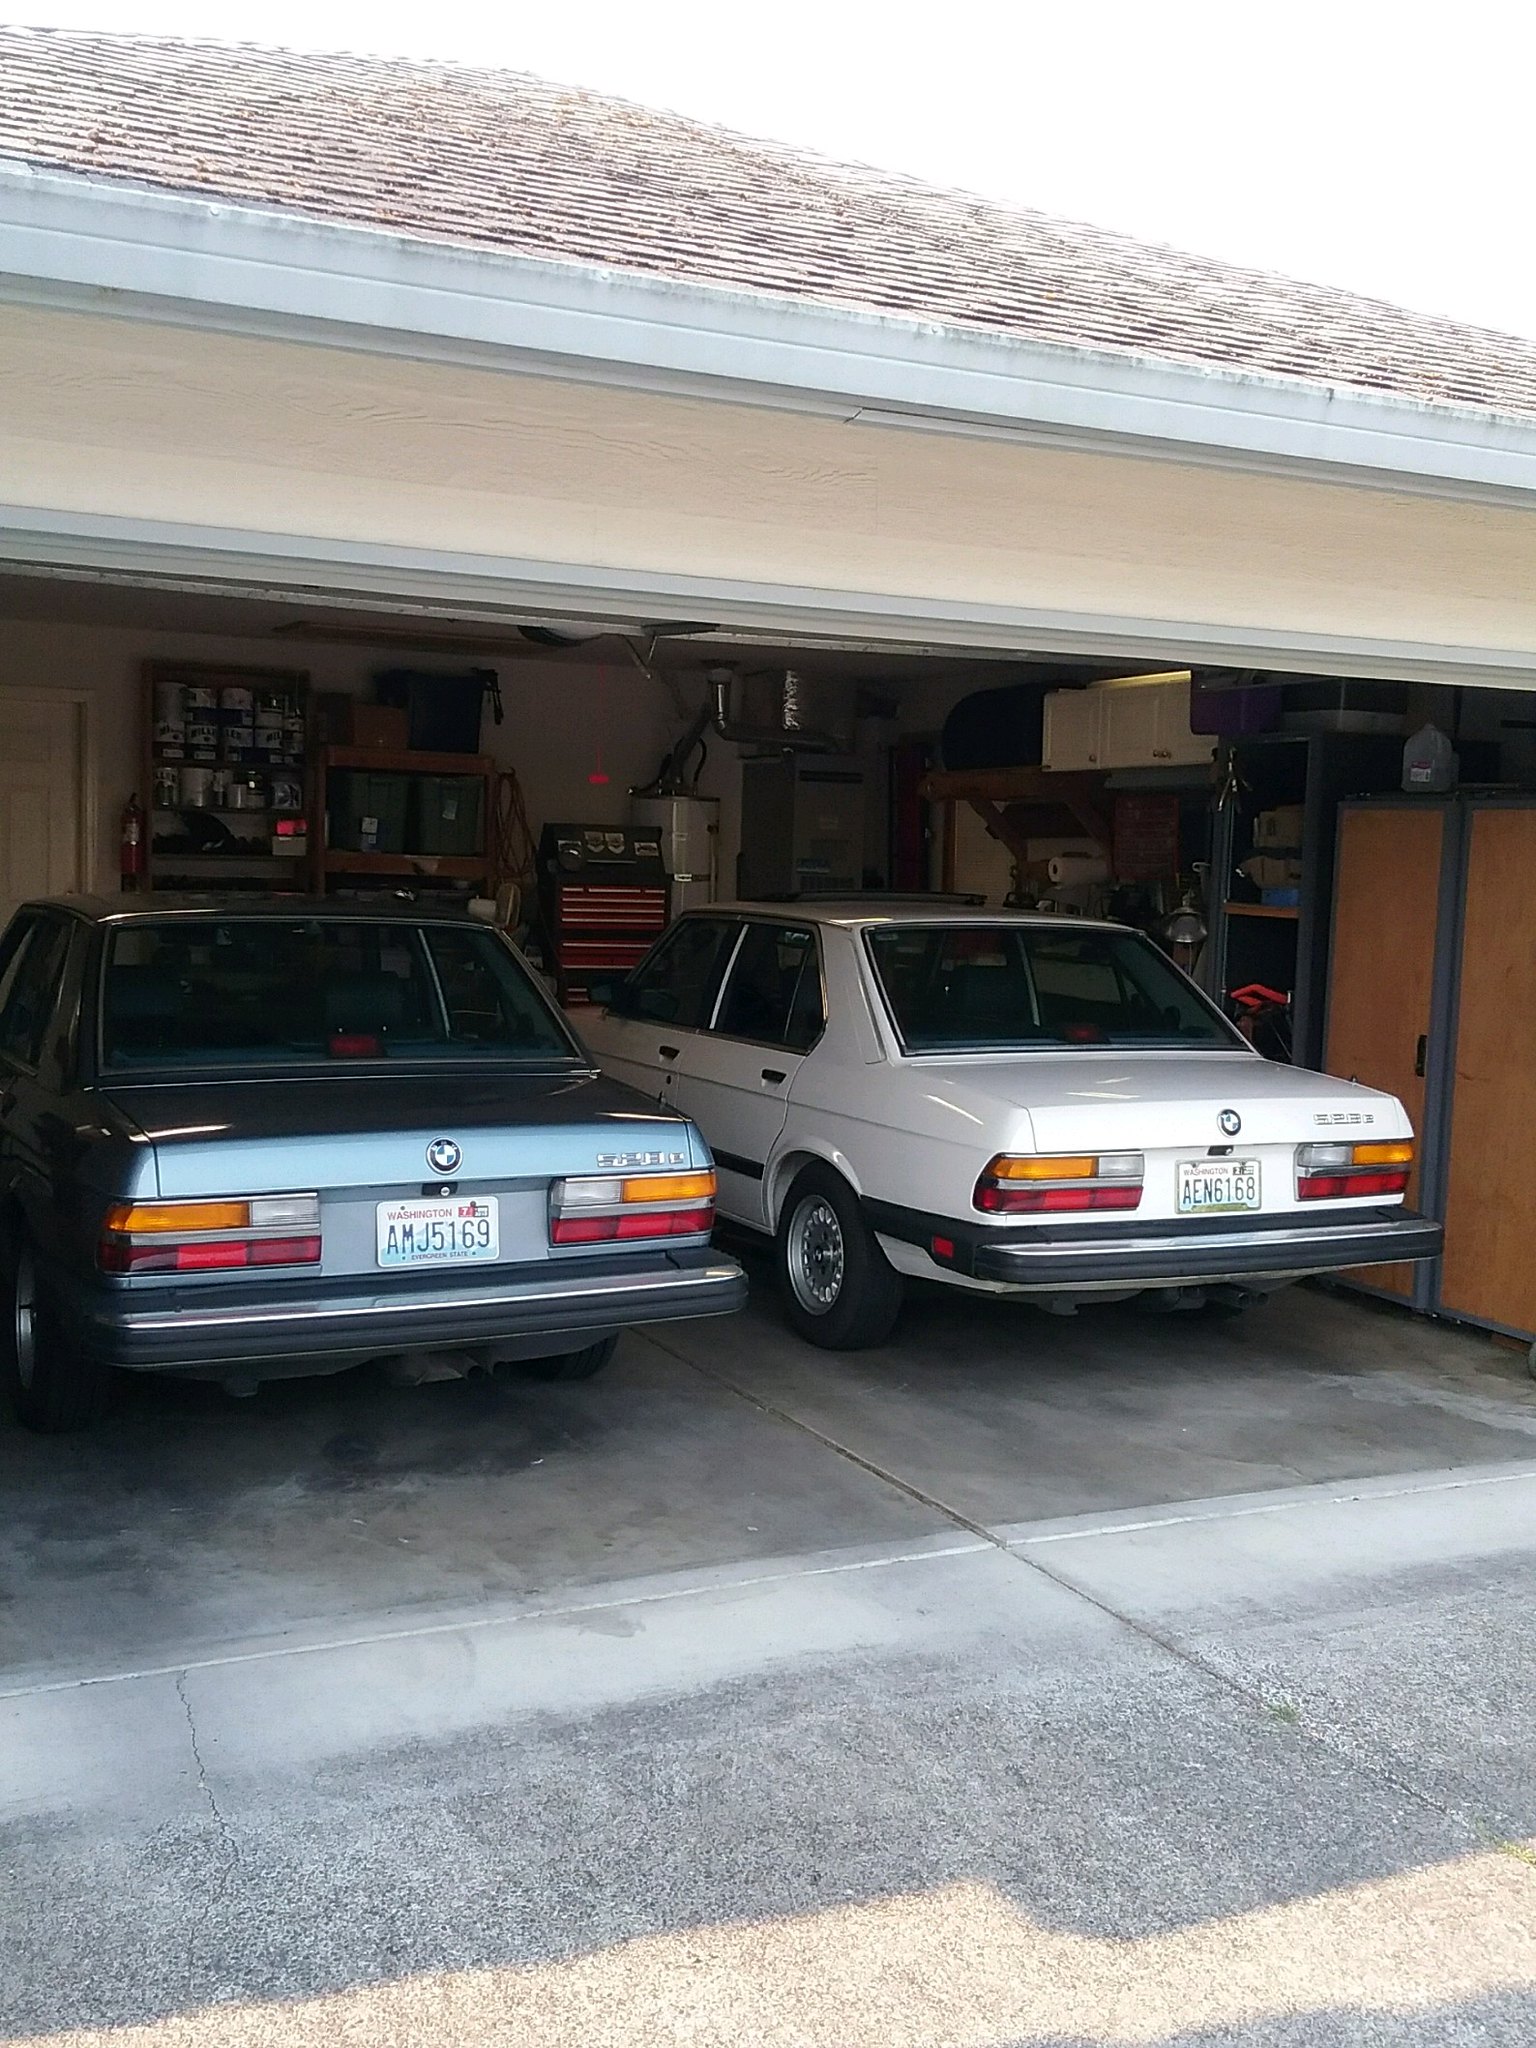
Got the exhaust hooked up, brakes re-bled. Having a devil of a time attaching the heat shield between the center resonator and the rear exhaust. The body bolts sent were the wrong size, got some from the hardware store, but they are not staying attached. The heat shield makes a rattle that is more like a hiss, or a cymbal that won't settle down. Until I get that sorted I won't be able to get it to speed to see if the trailing arm deformation is a problem. I have had it up to 40 MPH and it tracks down the road/street straight.
Re: Gerda. Yet another daily driver ETA.
Posted: Sep 16, 2019 11:03 PM
by sail_or_drive
Sold Gerda to a properly enthusiastic board member today; I hope he was as pleased as he appeared to be as he drove off.
I enjoyed owning the car and working on it with the help of this board. My daughter thought I should sell it for more, but my ever wise wife explained the situation to her:
"Your Uncle Joe golfs for fun, right? Your dad goes out in the garage and scratches his head with greasy fingers, then fixes things. Can you imagine your Uncle Joe asking for his green fees back? It's a hobby."
And what a hobby it is. Thanks everyone.

 [/url]
 [/url]
 [/url]
 [/url]
 [/url]
 [/url]


 [/url]
 [/url]
 [/url]
 [/url]


 [/url]
